Printable Version of Topic
Click here to view this topic in its original format
914World.com _ 914World Garage _ Suby Bremar plate info for DIY w/ pics!
Posted by: Zaney Jun 13 2010, 10:12 PM
Could someone who has already purchased the http://www.bremarauto.com/convertor%20kit.JPG please measure the thickness of the plate and, post the thickness.
Thanks!
Posted by: rickthejetman Jun 13 2010, 10:28 PM

Could someone who has already purchased the http://www.bremarauto.com/convertor%20kit.JPG please measure the thickness of the plate and, post the thickness.
Thanks!
i made my own out of 1/8" plate from the pics i saw of theres it looked to be around 1/4" but i figured they made it that thick because of the machined in logo.
Posted by: Zaney Jun 13 2010, 11:01 PM
Could someone who has already purchased the http://www.bremarauto.com/convertor%20kit.JPG please measure the thickness of the plate and, post the thickness.
Thanks!
i made my own out of 1/8" plate from the pics i saw of theres it looked to be around 1/4" but i figured they made it that thick because of the machined in logo.
Would you mind posting pics of your finished plate?
Thanks for the info!
Posted by: BIGKAT_83 Jun 14 2010, 07:19 AM
Here you go....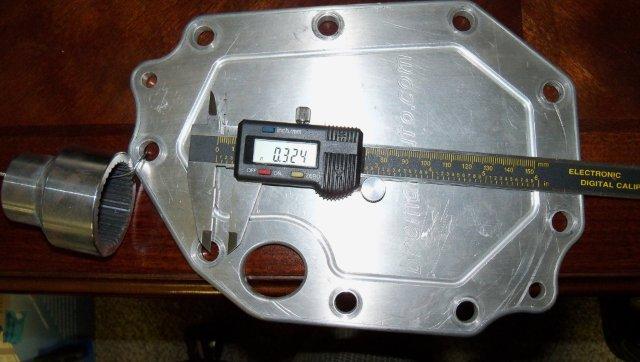
Bob
Posted by: rickthejetman Jun 14 2010, 07:33 AM
Could someone who has already purchased the http://www.bremarauto.com/convertor%20kit.JPG please measure the thickness of the plate and, post the thickness.
Thanks!
i made my own out of 1/8" plate from the pics i saw of theres it looked to be around 1/4" but i figured they made it that thick because of the machined in logo.
Would you mind posting pics of your finished plate?
Thanks for the info!
sure i'll take a pic when i get home from work.
Posted by: strawman Jun 15 2010, 02:08 AM
Could someone who has already purchased the http://www.bremarauto.com/convertor%20kit.JPG please measure the thickness of the plate and, post the thickness.
Thanks!
I just measured mine, and it is 0.32". But I don't think the thickness is critical, since it only appears to be keeping the gear oil in. Post pics when your plate is done!
Posted by: charliew Jun 15 2010, 01:58 PM
I agree it's just a cover plate but I would make it at least 1/4 thick just so it will seal good at the flange. It is probably 8mm or .3144 from bremar.
Posted by: Zaney Jun 17 2010, 01:53 PM
So, I took the pictures and advice from the members here and went to Everett Steel to see if they had a piece of aluminum in their remnant pile. Luckily, they had a 9 x 11 inch piece of 1/8 inch thick aluminum with someone's sign of "W.W.J.D". I think he would DIY! 
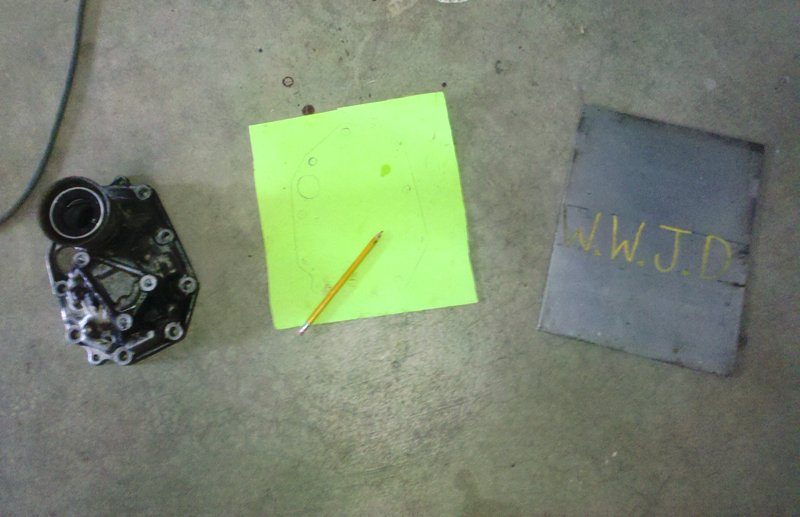
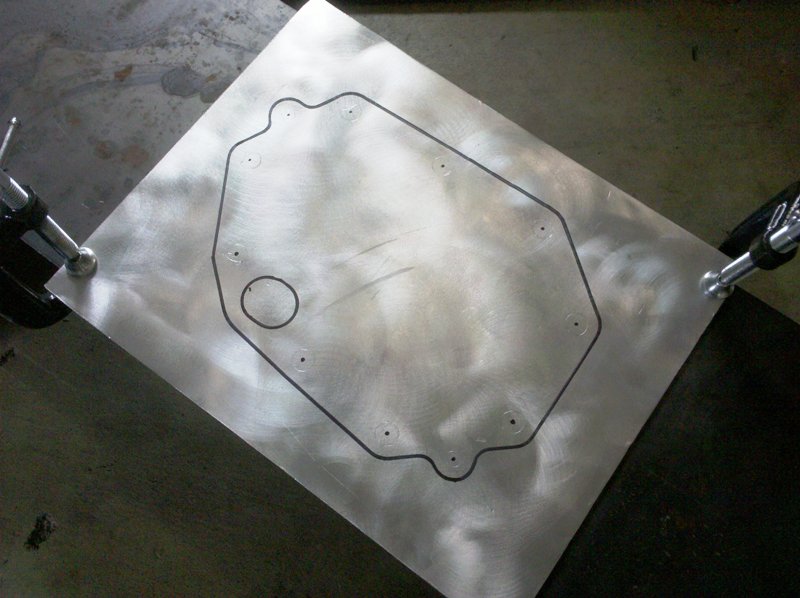
Then, instead of using the poster board I cleaned up the nose cone and traced it directly to the cleaned up piece of aluminum.
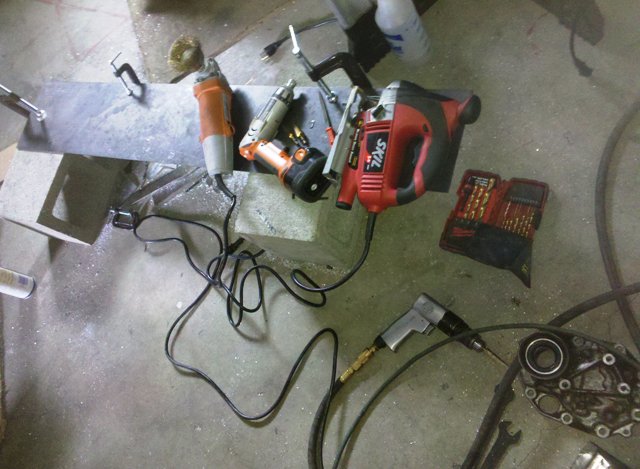
I used these tools to make the plate from a $4.68 piece of aluminum 
Posted by: Zaney Jun 17 2010, 02:01 PM
Next, i carefully drilled pilot holes in the plate and then chased them with the step drill bits to get the holes close.
I used a bolt to gauge how big the holes would be in the plate so I did not drill too big! For the shifter arm, drilled a hole in the plate then used a carbide drill bit to open up the hole to the traced dimensions. 
Then, after all the holes (including the drift pin holes) were finished I used various metal cutting blades in my jigsaw to cut out the plate.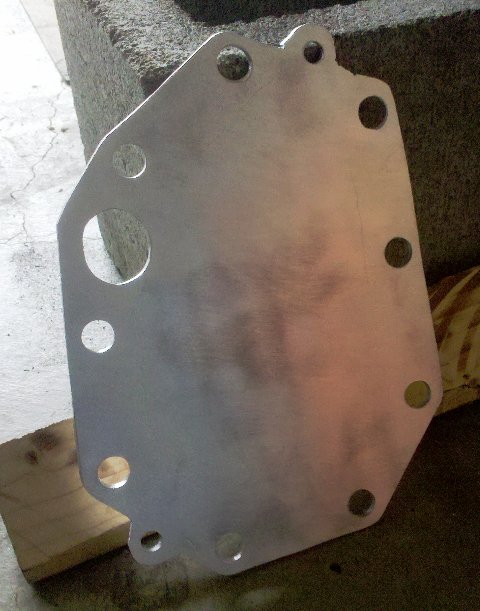
After I was close to the traced out lines I test fit the plate on the end of the trans.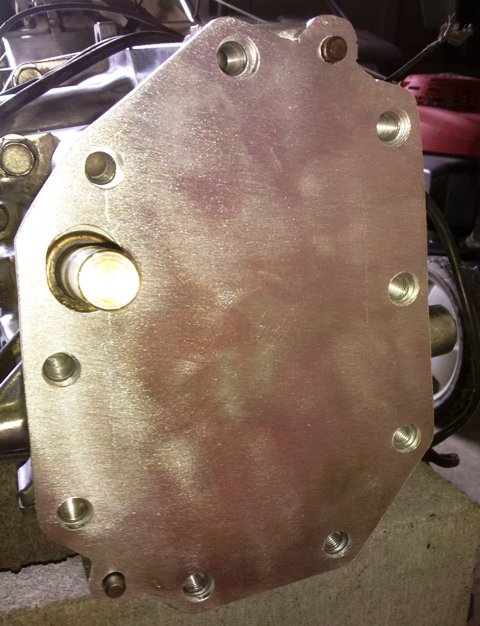
It took a bit of feathering with the step drill bits and emery cloth to get every hole aligned properly. But it worked out great!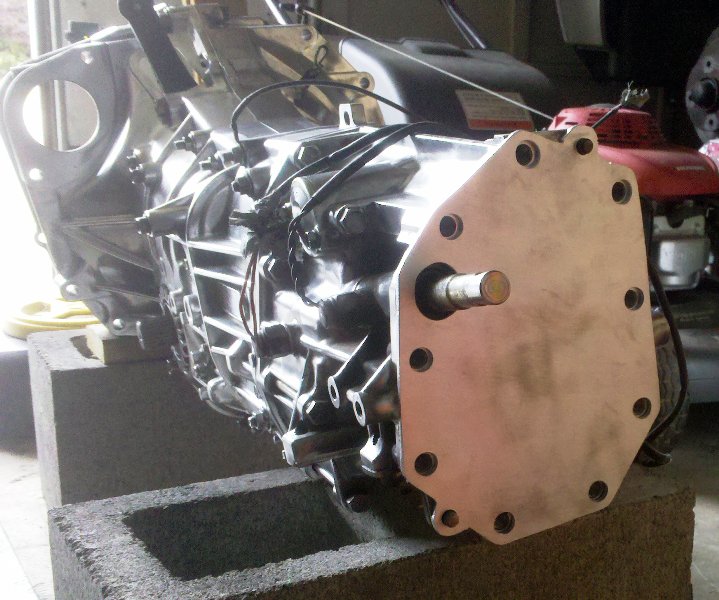
Posted by: Zaney Jun 17 2010, 02:06 PM
I am very pleased with the outcome of this DIY plate! 
I had to go out and buy new bolts and hardware for the plate (20mm bolts instead of original 40mm in length) that came to $6.50.
So, instead of forking out $350 or so for the http://bremarauto.com/subaru_transaxle_conversion.htm I spent $11.00 and used 3 cutting wheels for the http://www.914world.com/bbs2/index.php?showtopic=104513.
So, here are the results!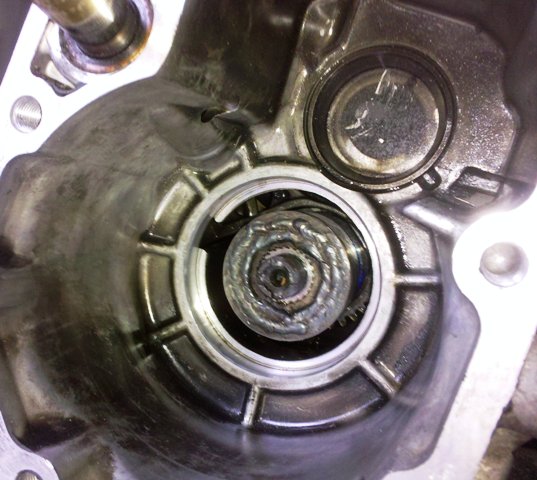
And the final plate pic with silicone sealant on the trans to make it tight!!!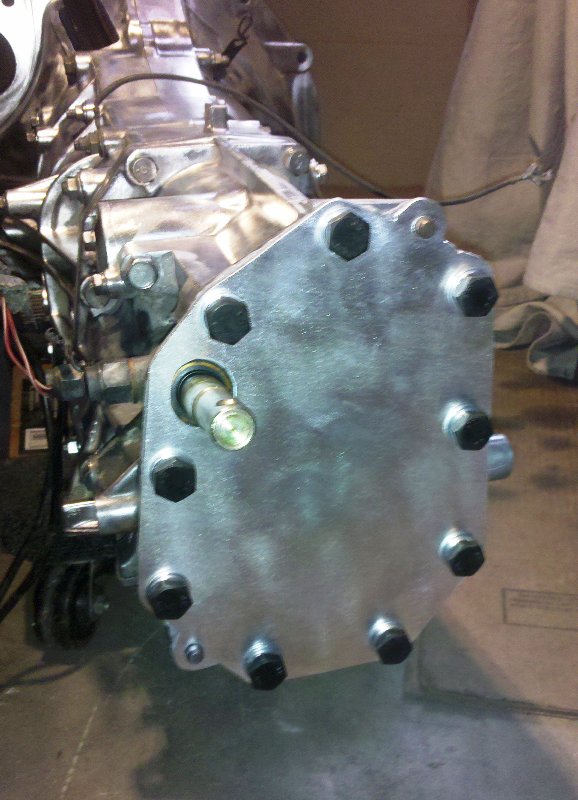
I recommend this method to anyone who wants to save $350 for the rest of their Suby project! Especially, coming from a novice like myself!
Cheers,
Nate
Posted by: strawman Jun 17 2010, 02:10 PM
Atta boy!!!
Posted by: jpnovak Jun 17 2010, 08:47 PM
Glad to see my method of cutting the diff works.
I made the same aluminum plate from a 3/16" scrap I found in the garbage behind an industrial strip center. If you don't mind a little smell and dirt you can find things as good as gold.
Powered by Invision Power Board (http://www.invisionboard.com)
© Invision Power Services (http://www.invisionpower.com)