Printable Version of Topic
Click here to view this topic in its original format
914World.com _ 914World Garage _ Interior Revival and more!
Posted by: thomasotten Jul 30 2010, 03:19 PM
So the time has come to renew the interior of my favorite car. Overall, the interior of this car is in decent shape, but there are so many things I wish to do to the interior. So here are a few photos...
Attached image(s)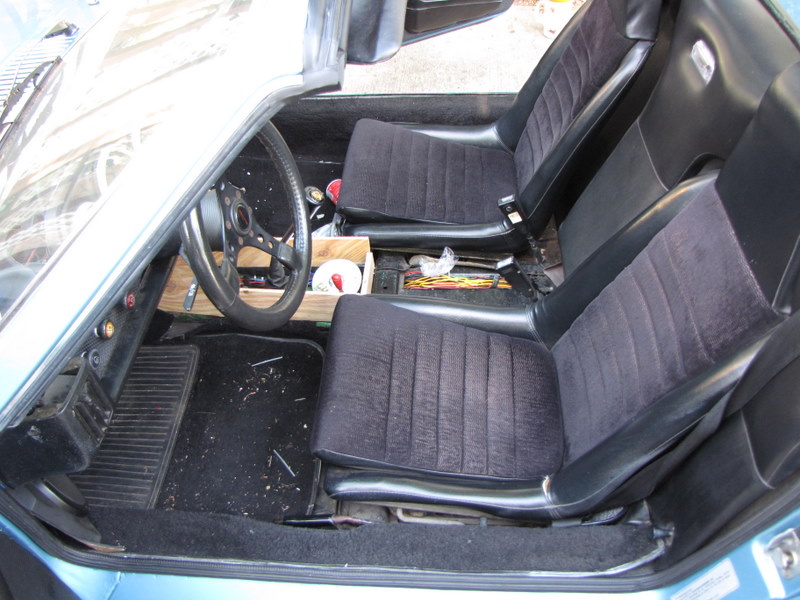
Posted by: thomasotten Jul 30 2010, 03:23 PM
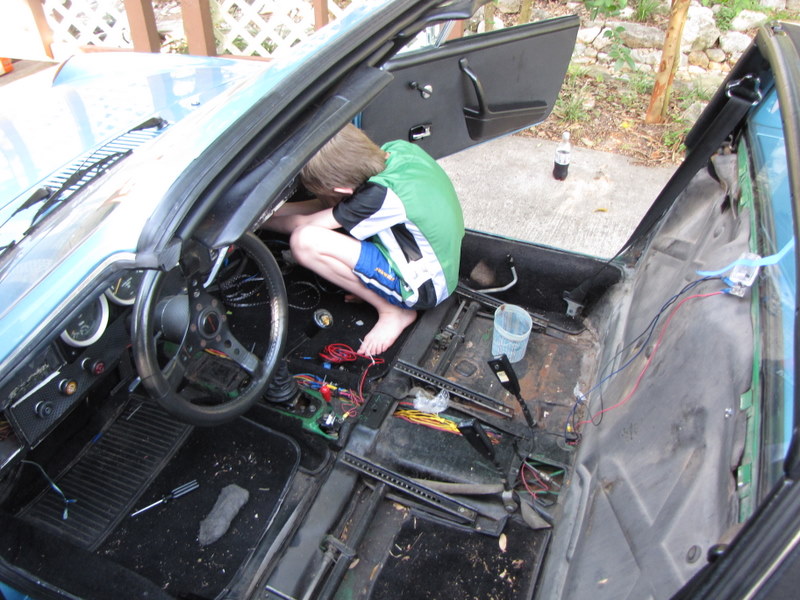
As you can see, I have enlisted the help of the next gerneration of 914 enthusiasts. It will be his car one day.
Attached image(s)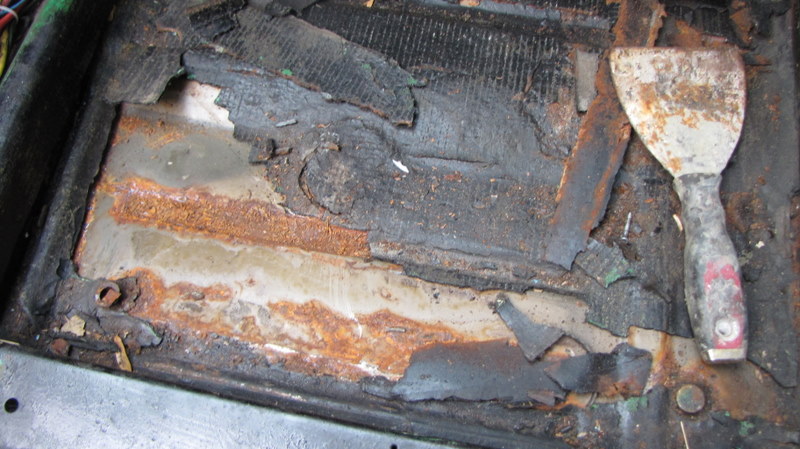
Posted by: thomasotten Jul 30 2010, 03:25 PM
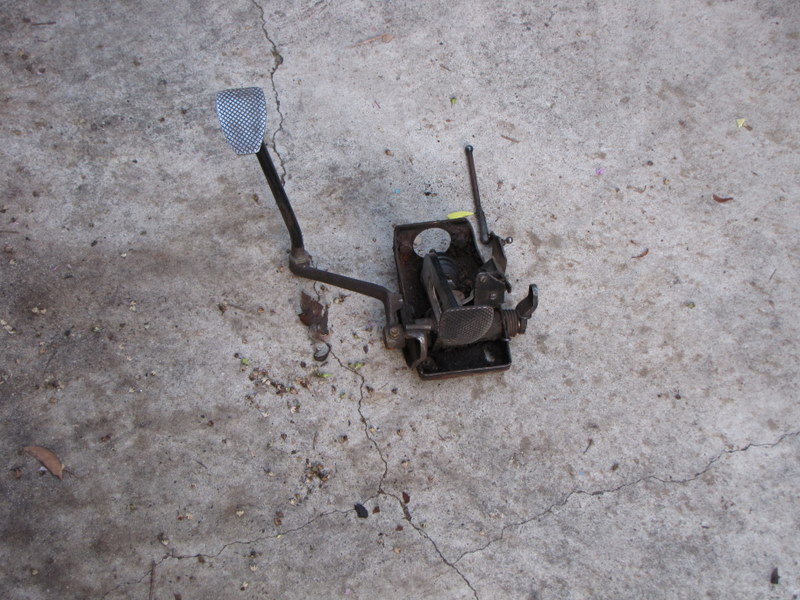
The pedals needed to come out. This was very easy actually.
Attached image(s)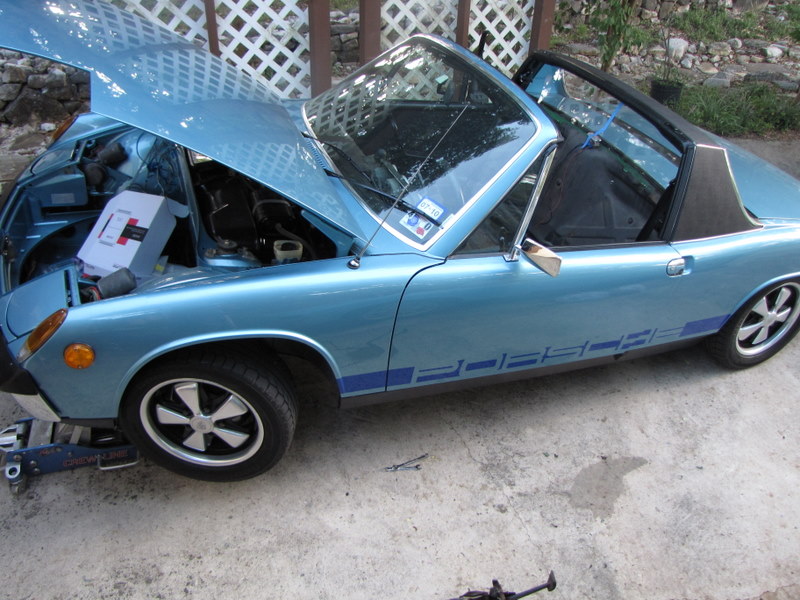
Posted by: thomasotten Jul 30 2010, 03:28 PM
The tar removal took about 2-3 hours. Some came off very easily, and some not at all. I used and air chisel for some of the really stuck parts.
Attached image(s)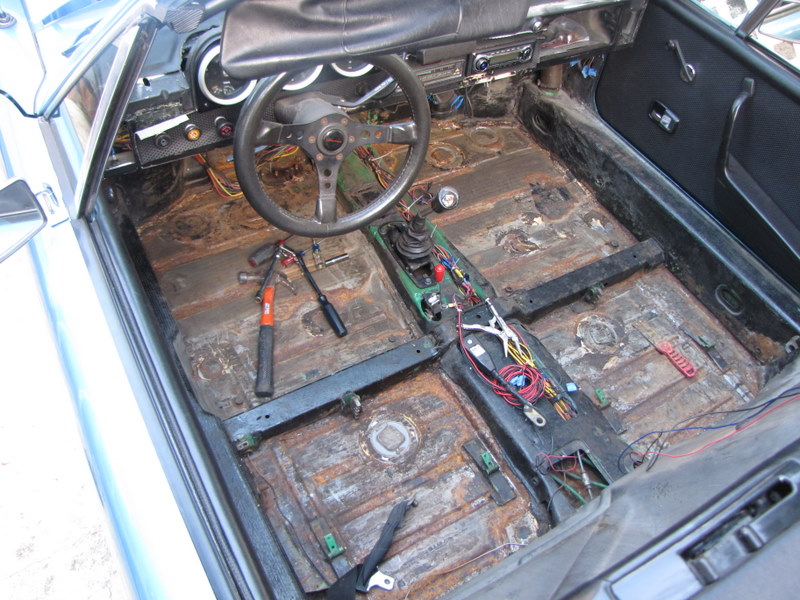
Posted by: mepstein Jul 30 2010, 03:29 PM
Kids should always wear masks and gloves. Too late to save us adults but no reason for kids to inhale fibers and dust. Gloves because kids tend to touch their face and mouth with bare hands before they wash.
Posted by: thomasotten Jul 30 2010, 03:35 PM
Don't worry, he washed his hands afterwards, during, etc. I did the heavy stuff.
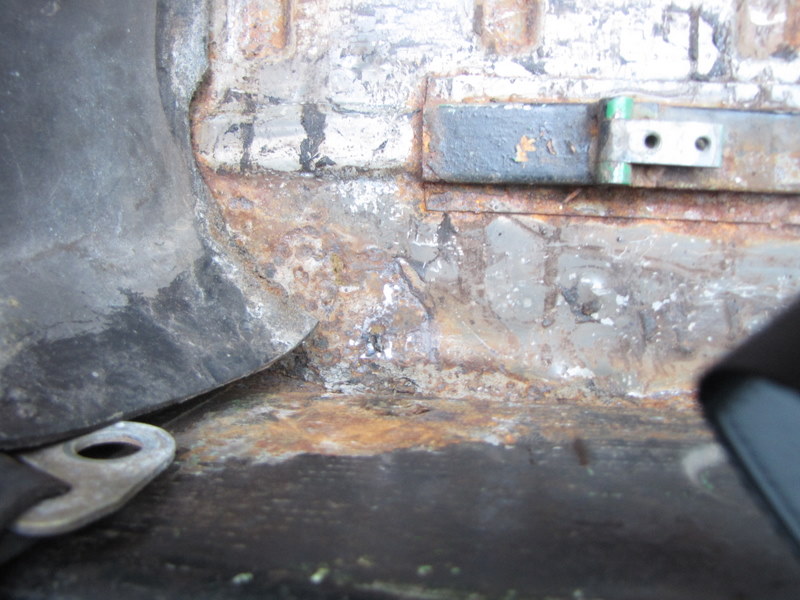
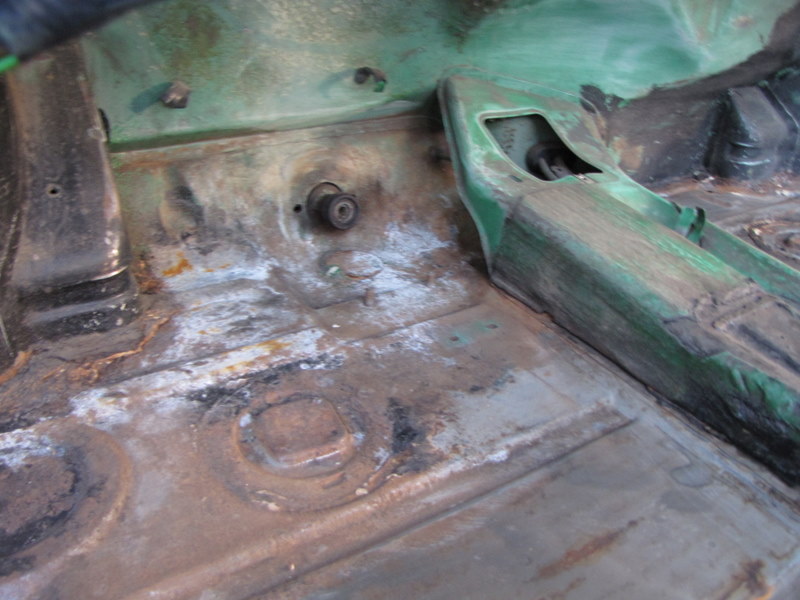
So here was the worst of it. Overall the pan was in good shape, but there were a few holes under the passenger seat.
Attached image(s)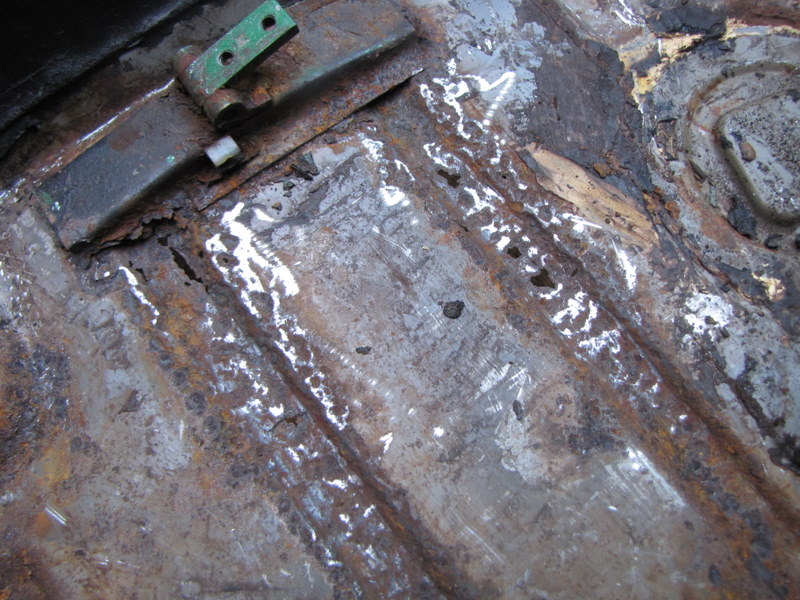
Posted by: thomasotten Jul 30 2010, 03:37 PM
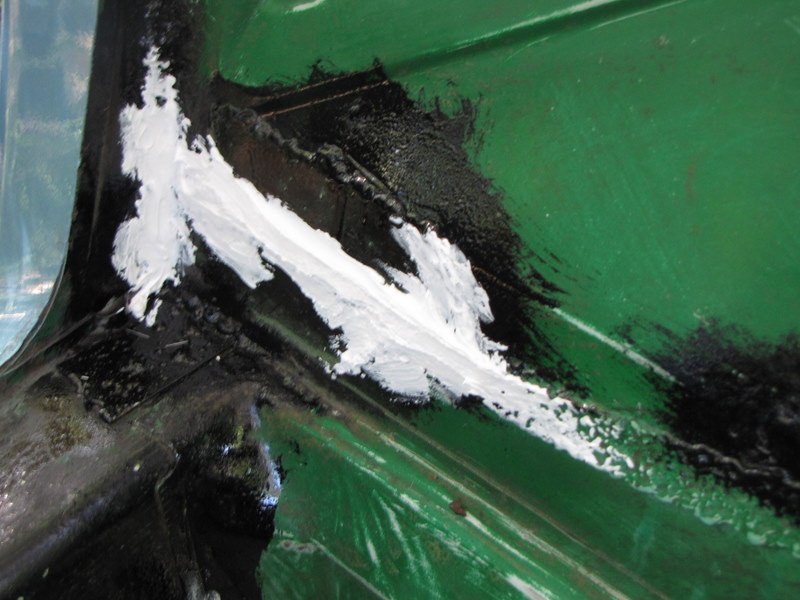
Ok, and here we have found a stress fracture on the longitudinal. Driver's side, just forward of the e-brake depression.
Attached image(s)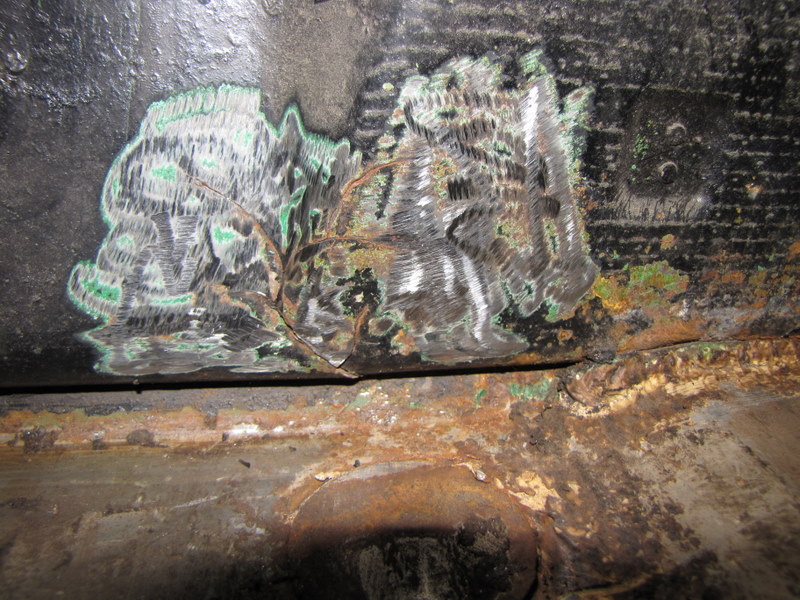
Posted by: thomasotten Jul 30 2010, 03:41 PM
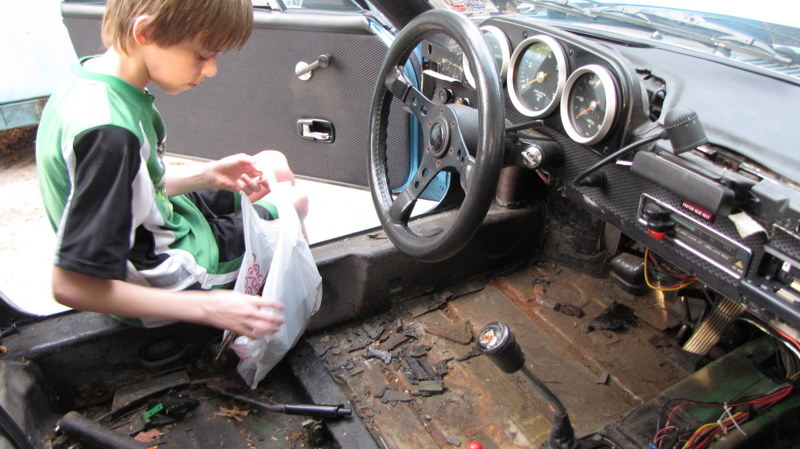
The rear pad was a toss-up. But, to be thurough, I removed it.
Attached image(s)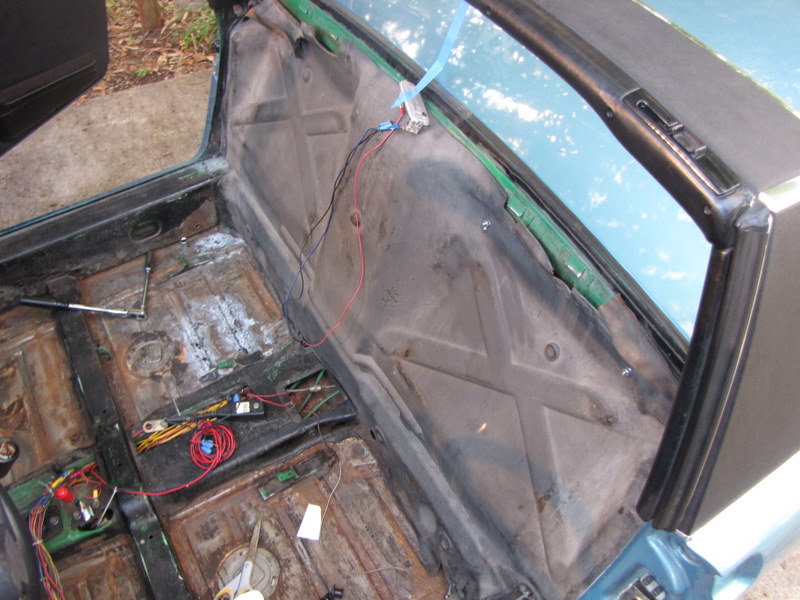
Posted by: thomasotten Jul 30 2010, 03:44 PM
...
Attached image(s)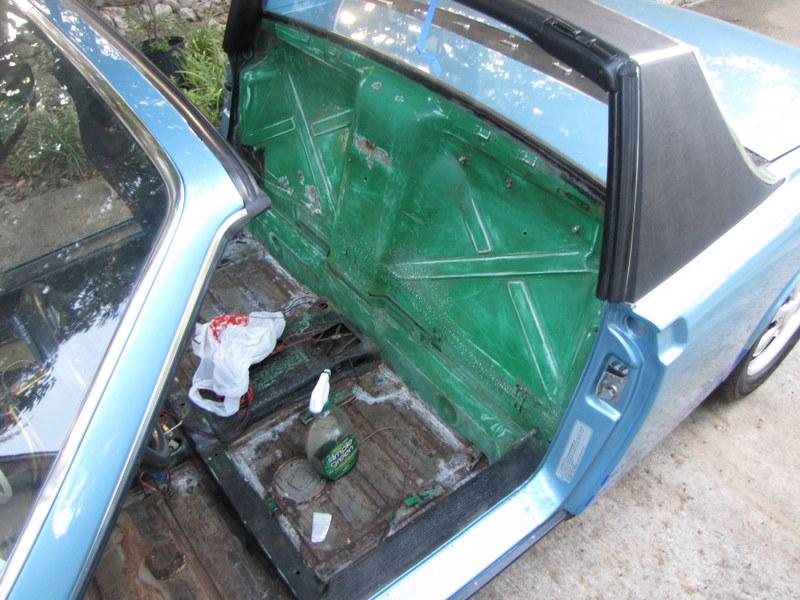

Posted by: thomasotten Jul 30 2010, 03:52 PM
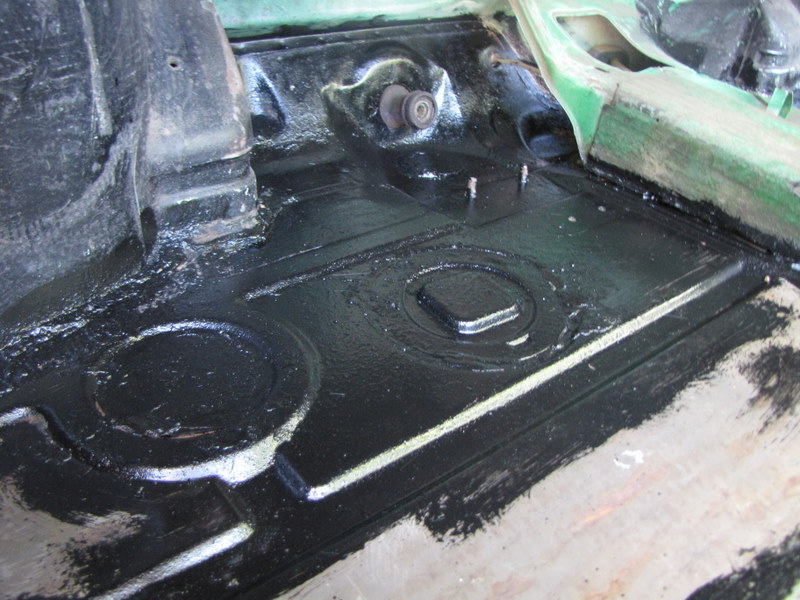
POR-15
Attached image(s)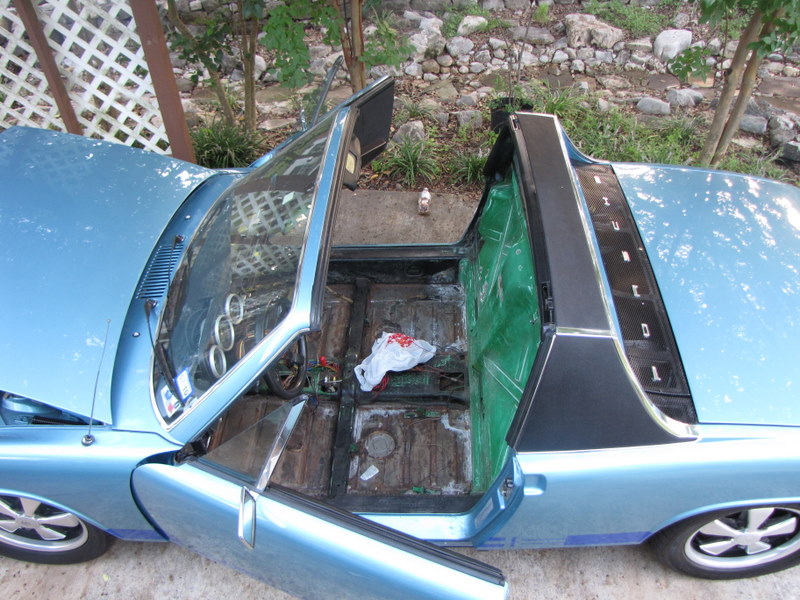
Posted by: thomasotten Jul 30 2010, 03:55 PM
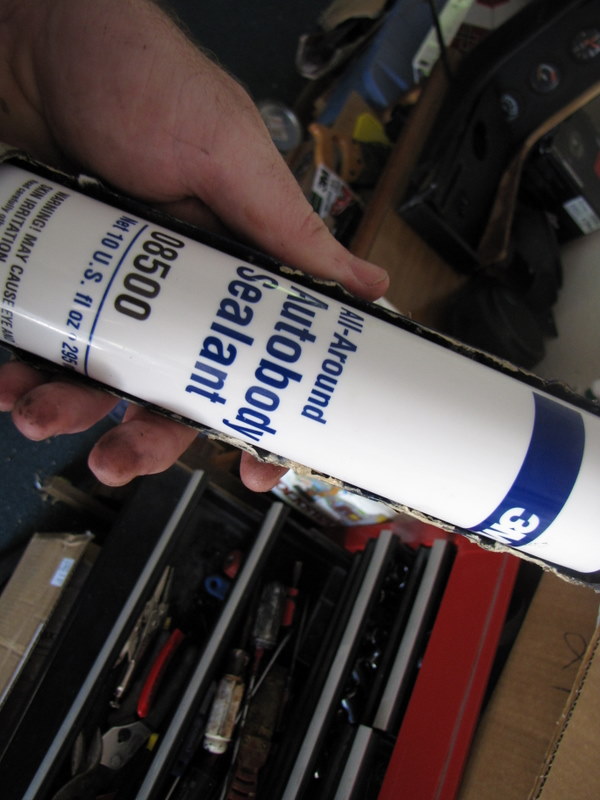
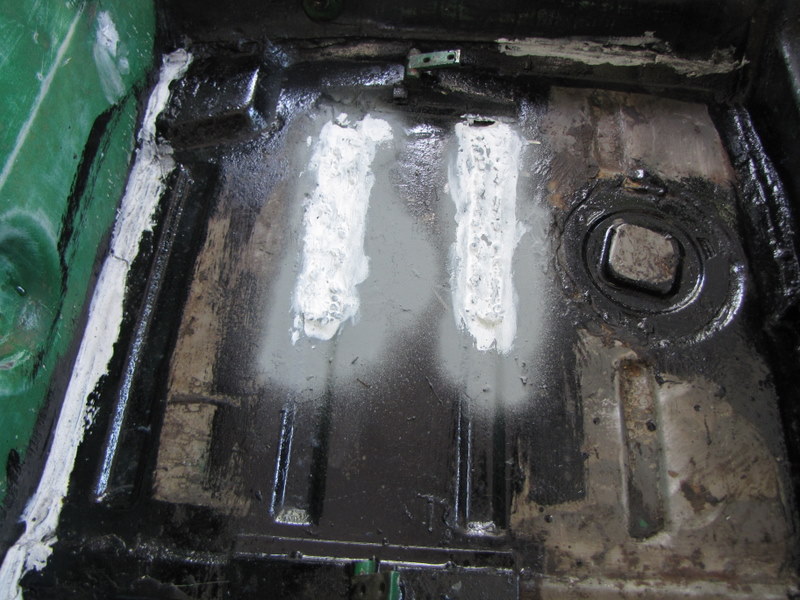
Seam Sealer
Attached image(s)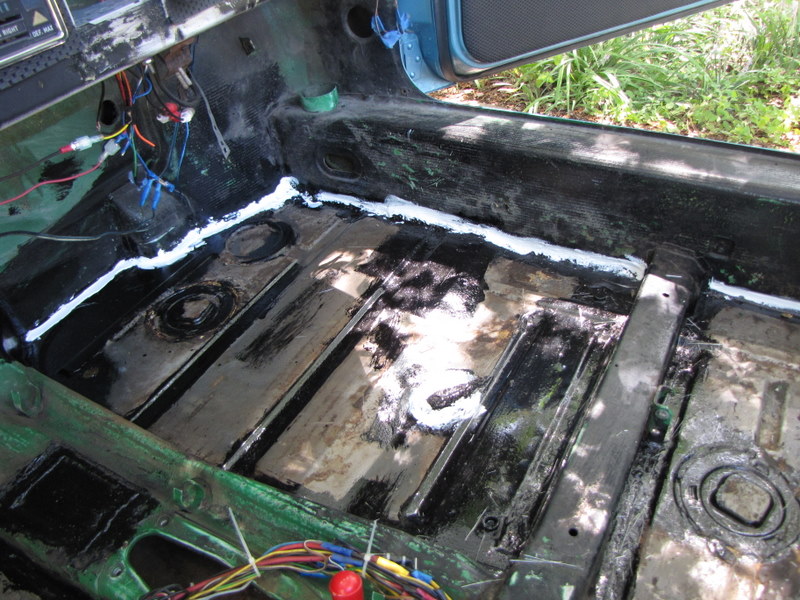
Posted by: rwilner Jul 31 2010, 06:22 AM
thanks for these pics -- i'm going to be doing the same thing soon!
Posted by: bembry Jul 31 2010, 03:14 PM
Mine had a similar crack in the long--McMark just fixed
Posted by: thomasotten Aug 4 2010, 02:15 PM
Some more pics from the last few days:
First, I had to weld in some plates for some minpr rust holes.
Attached image(s)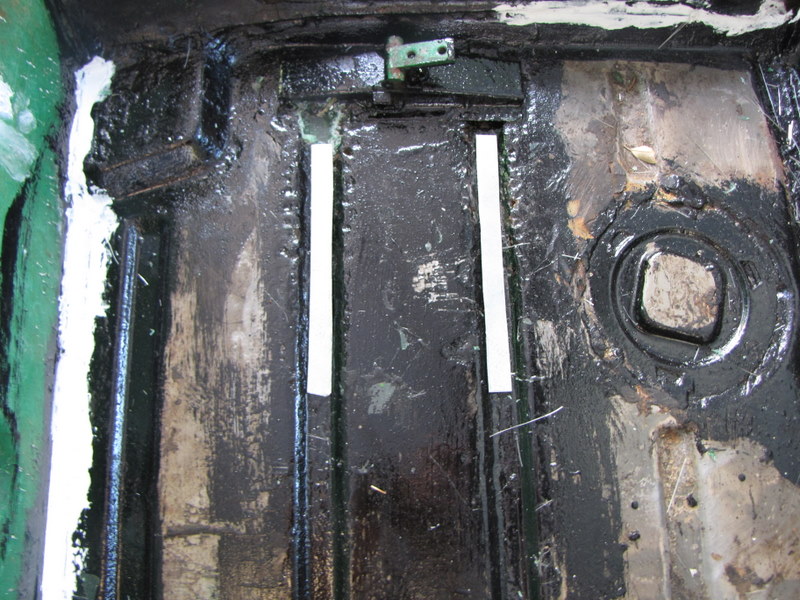
Posted by: thomasotten Aug 4 2010, 02:23 PM
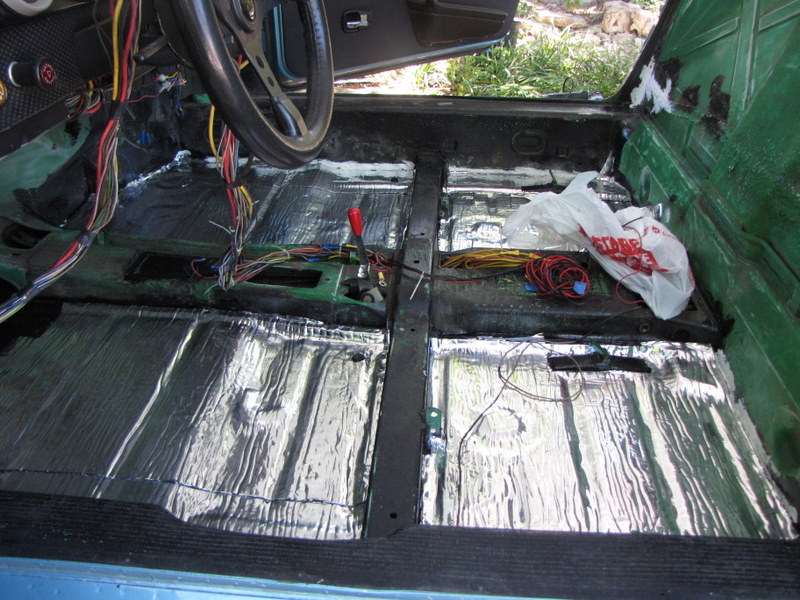
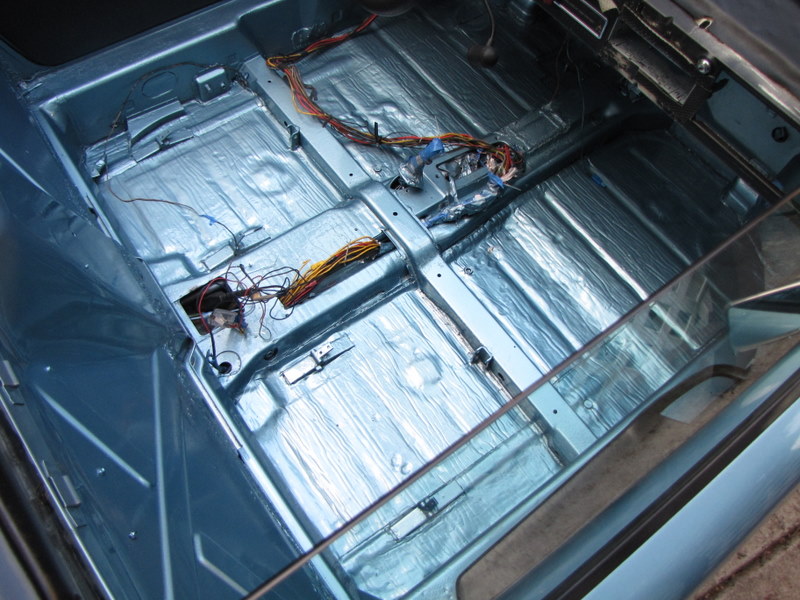
To replace the sound deadening tar, I purchased a roll from Raamaudio. I ended up putting three layers down.
Attached image(s)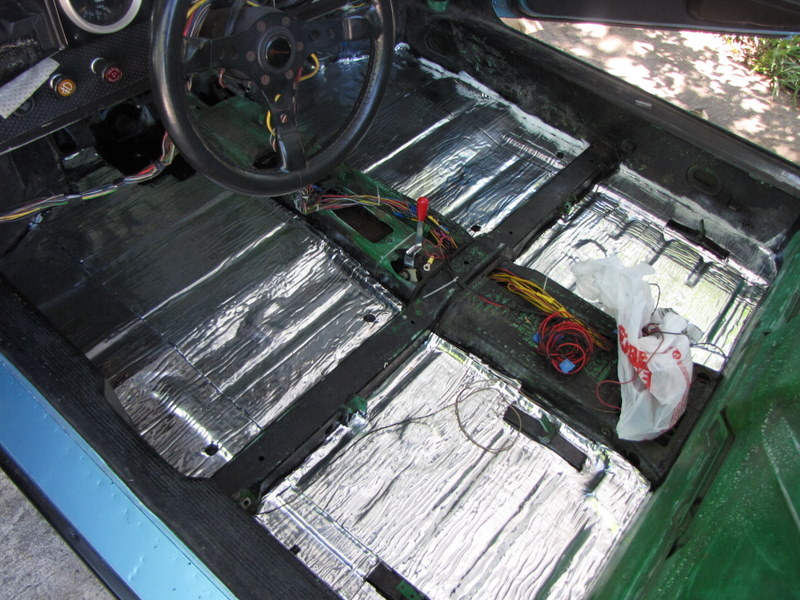
Posted by: thomasotten Aug 4 2010, 02:29 PM
OK, so I decided to repaint the interior. Most of it will be covered with carpet, but, well, I like painting.
Attached image(s)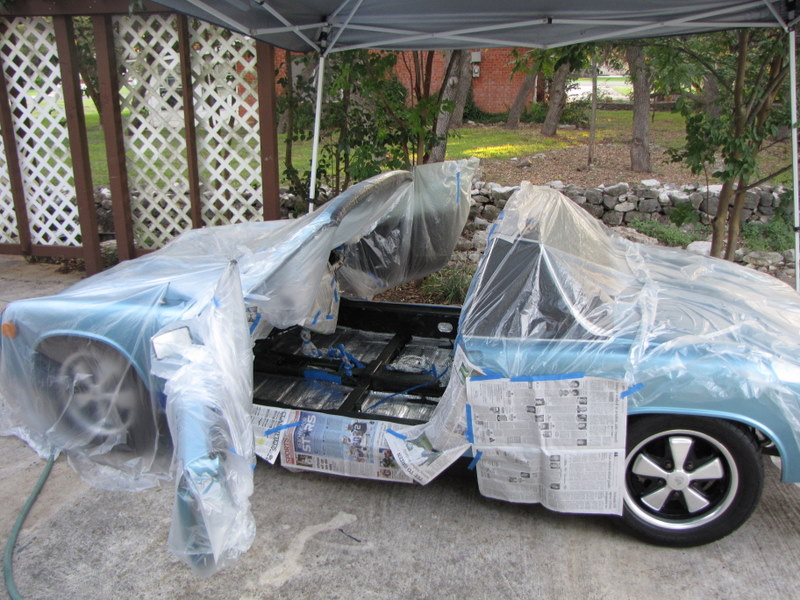
Posted by: thomasotten Aug 4 2010, 02:46 PM
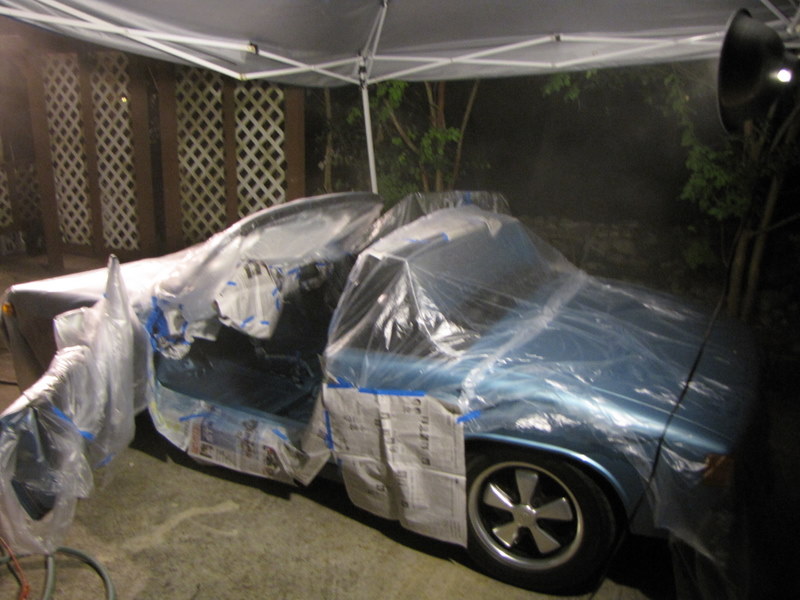
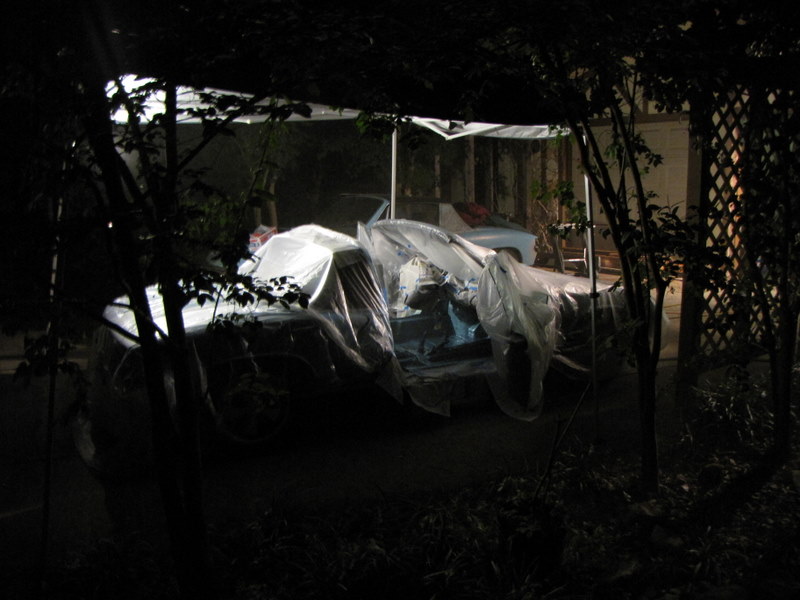
So this is what happens. I get off work at 6, spend two hours preparing, start painting and it gets dark!
Attached image(s)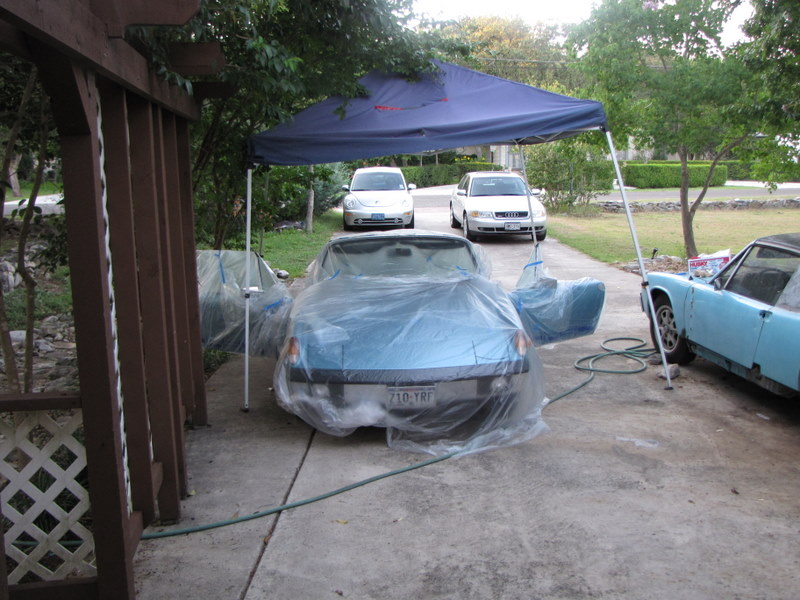
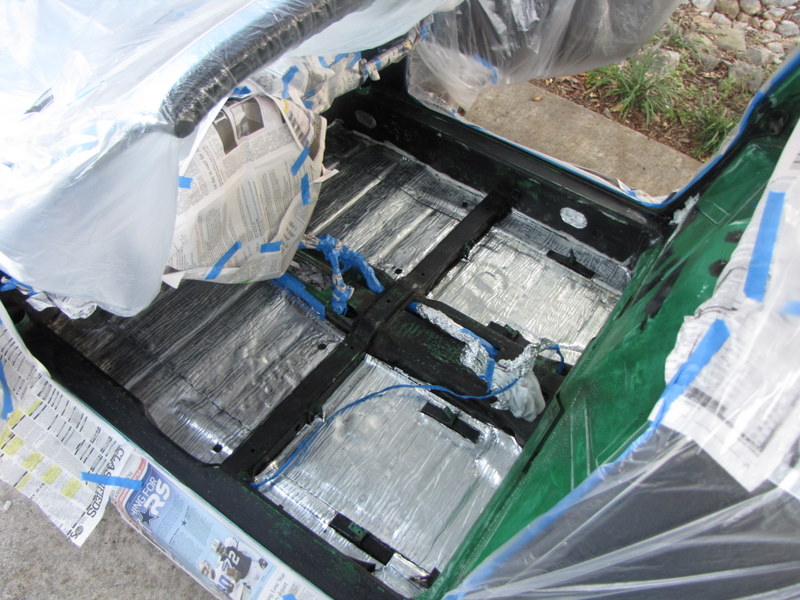
Posted by: thomasotten Aug 4 2010, 02:54 PM
Der nächste Morgen...
Attached image(s)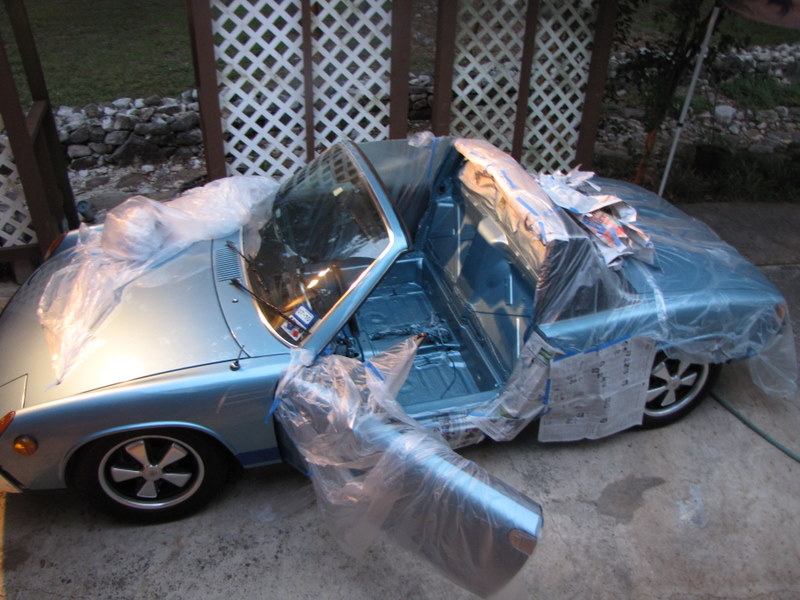


Posted by: thomasotten Aug 4 2010, 02:59 PM
frosty blau
Attached image(s)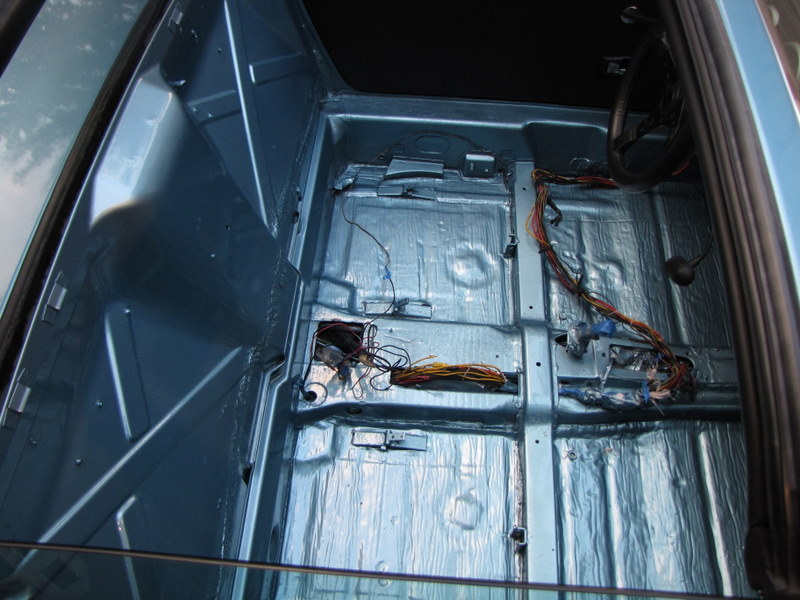
Posted by: rjames Aug 4 2010, 03:29 PM
Did you treat the rust or just paint POR15 over it? Hopefully you sanded most of that rust away and applied a converter before hand for good measure.
BTW, I love the color you've chosen for the car, btw. Looks fantastic with the 5 lug Fuchs.
Posted by: thomasotten Aug 4 2010, 03:33 PM
Rigorous sanding, grinding, then POR-15 with converter.
Posted by: PanelBilly Aug 4 2010, 03:51 PM
Aint isn't going to stick to the Por
just flakes off
Posted by: Drums66 Aug 4 2010, 03:58 PM
...Pretty pretty,such a pretty girl(914) 

Posted by: thomasotten Aug 4 2010, 03:58 PM

Aint isn't going to stick to the Por
just flakes off
You have to sand the POR-15 so the paint has a mechanical bond. I have done it before, and it holds very well.
Posted by: 914Sixer Aug 4 2010, 07:02 PM
Looking good!!
Posted by: thomasotten Aug 14 2010, 05:36 AM
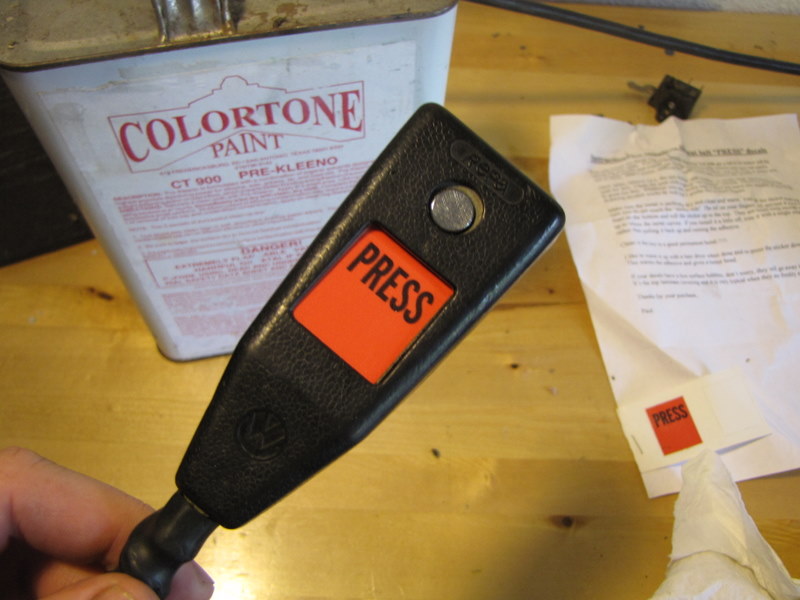
So in the meantime, while I let the interior paint harden up and air out, I decided to restore these seatbelts with this sticker kit I bought long ago.
Attached image(s)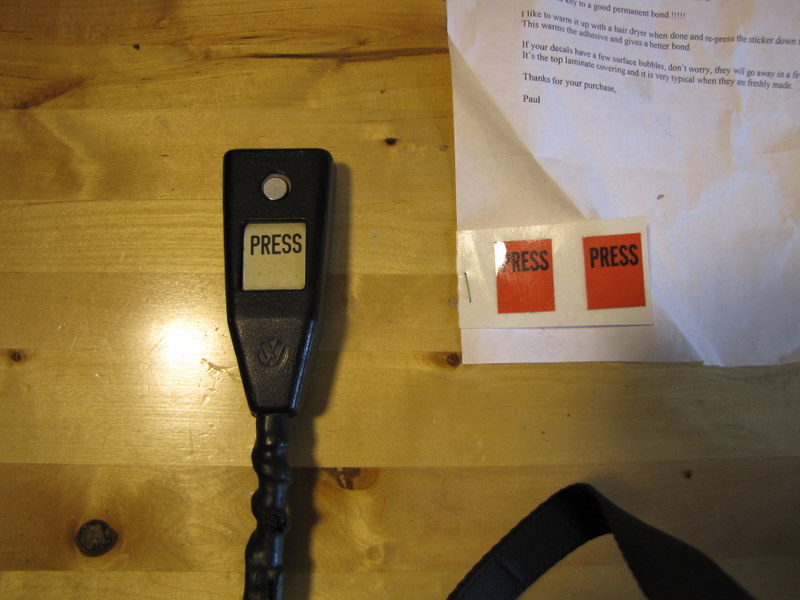
Posted by: thomasotten Aug 14 2010, 05:48 AM
So one thing leads to another right? This subproject was only to be an interior restoration.... but.... since I removed the pedal cluster, I decided to go ahead and remove my master cylinder to install a 19mm unit that I have had in storage for two years...but...while I was down there in the wheel wells I just did not like the look of this. For some reason, my 914 came from the factory with green fender wells. 
So, seeking the advice of the 914world
http://www.914world.com/bbs2/index.php?showtopic=109883&hl=
I decided to paint these bad boys body color. I came very close to painting them black, but I still have plenty of blue paint remaining. So here we go on a tangent....
Attached image(s)
Posted by: thomasotten Aug 14 2010, 05:55 AM
Cleaning a wheel well is a lot of work.
I had
1. Overspray
2. Undercoating or Road tar
3. Dirt
Each took me a couple of evenings to clean and sand properly.
Attached image(s)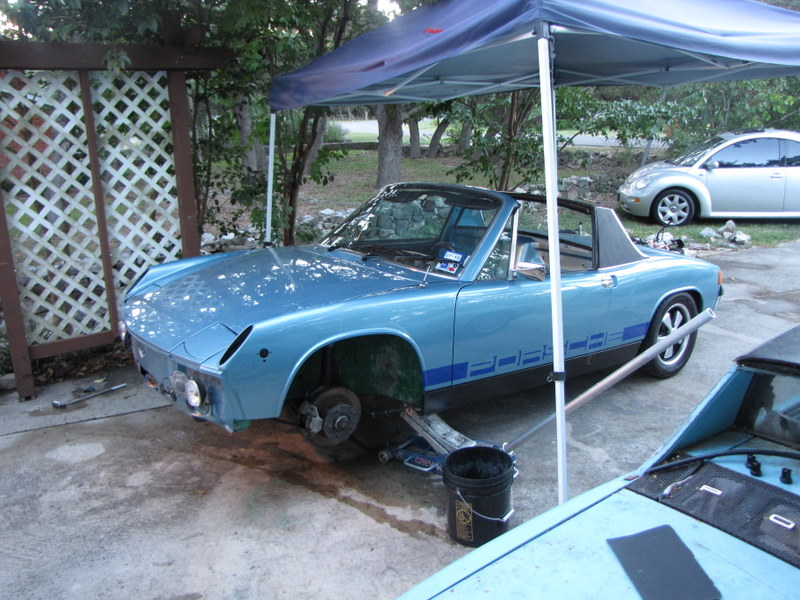
Posted by: thomasotten Aug 14 2010, 05:57 AM
I used a wire wheel on a cordless drill to get most of it clean.
Attached image(s)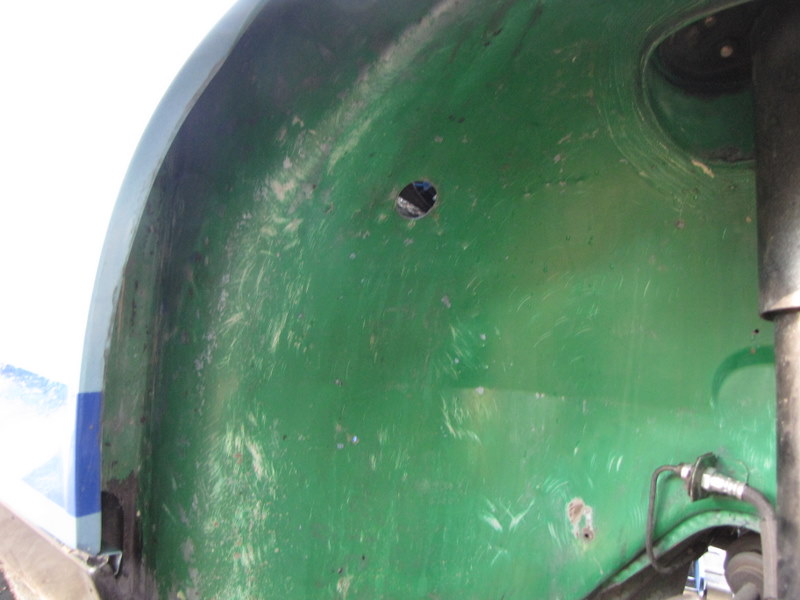
Posted by: thomasotten Aug 14 2010, 06:01 AM
Painting cars is fun. Taping them up is not. It takes forever.
Oh, and with masking tape I now have a race car also. 
Attached image(s)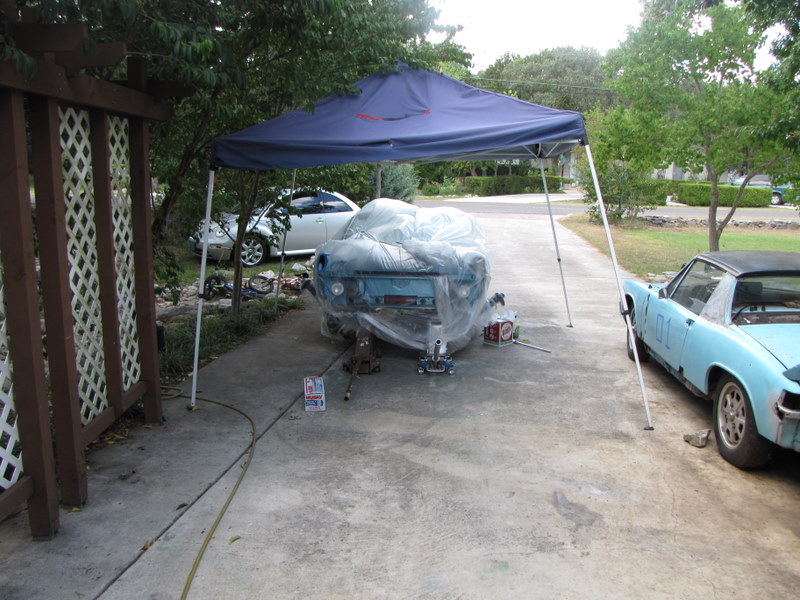
Posted by: thomasotten Aug 14 2010, 06:06 AM
So here is my product prior to paint. As can be seen, I used primer/surfacer to fill in the scratches left from road debri.
Attached image(s)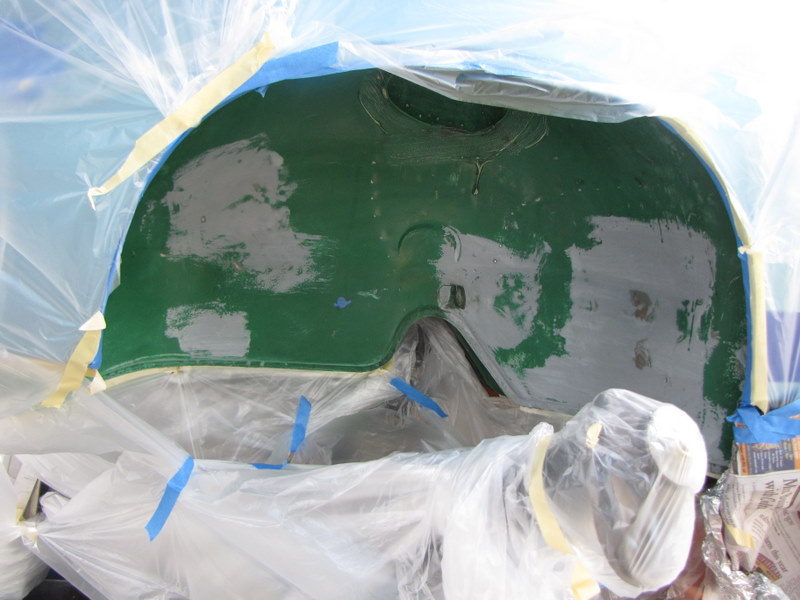
Posted by: thomasotten Aug 14 2010, 06:07 AM
Sealer applied....
Attached image(s)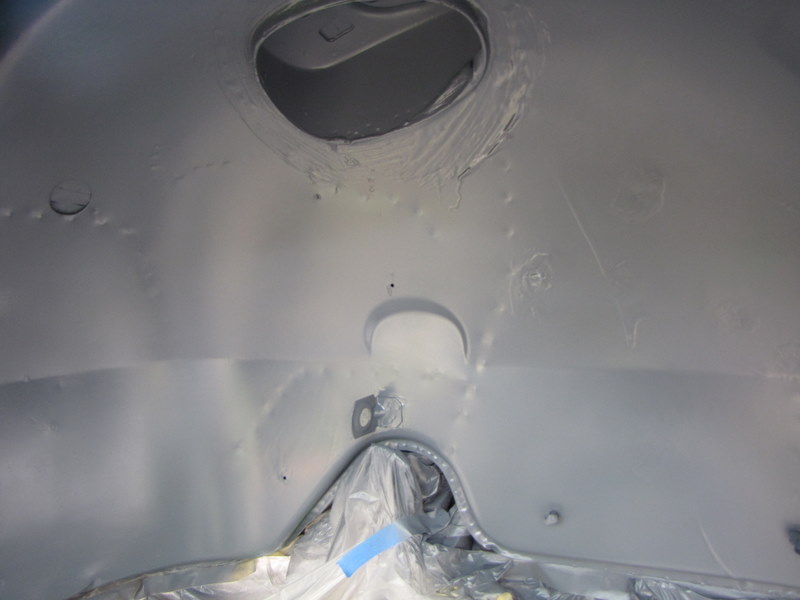
Posted by: thomasotten Aug 14 2010, 06:09 AM
Attached image(s)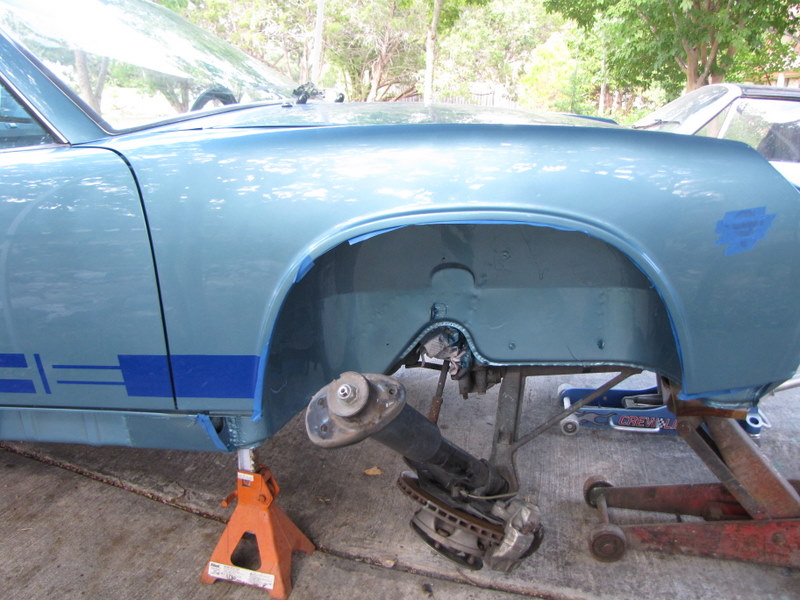
Posted by: avidfanjpl Aug 14 2010, 04:16 PM
Thomas, your craft is stupendous!
I love that color, the way you painted in the Marque, and all your rustoration.
It is a thing of beauty.
Now, I do have to ask, what year and engine is that Oly Blue?
I had a 73 2.0L on the East Coast and it got away.
30 years ago this month.
Just wondered.
John
Posted by: thomasotten Aug 14 2010, 08:41 PM
Now, I do have to ask, what year and engine is that Oly Blue?
I had a 73 2.0L on the East Coast and it got away.
30 years ago this month.
Just wondered.
John
Hi John,
The Oly Blau is a 73 2.0. It spent time in Germany, then California, then I bought it in Texas. I have all the paperwork on it from the beginning.
Powered by Invision Power Board (http://www.invisionboard.com)
© Invision Power Services (http://www.invisionpower.com)