Printable Version of Topic
Click here to view this topic in its original format
914World.com _ 914World Garage _ Engine tin rubber?
Posted by: RustyWa May 18 2004, 11:01 PM
So I got new side seals and am reusing the old rear seal. I'm assuming the side seals need to be trimmed, but my question is by how much? I don't remember how they mated together.
This photo shows the side seal running all the way to the end of the track.
Attached image(s)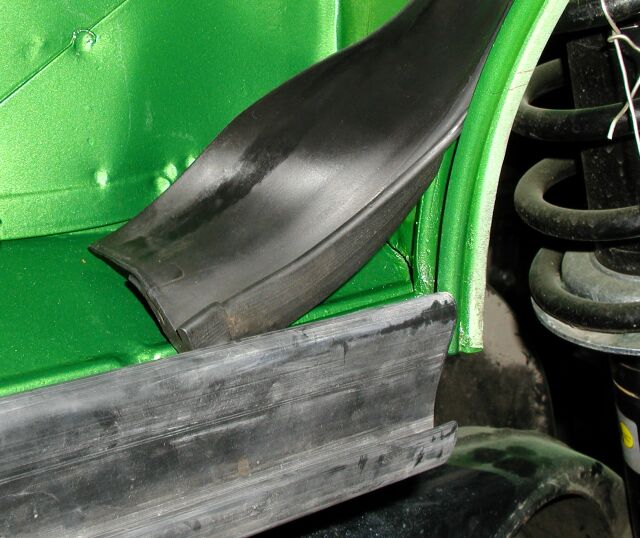
Posted by: RustyWa May 18 2004, 11:04 PM
Here's the other side.. The old side seals are long gone.
Attached image(s)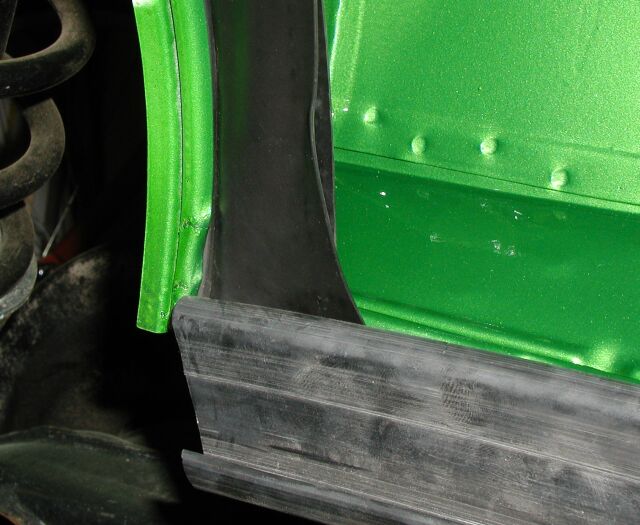
Posted by: SpecialK May 19 2004, 12:42 AM
Okay granted, it's been along time since I've seen my engine compartment with the engine seals installed, but those don't look like what I remember. I believe that they resembled the rear seal (split), and went above and below the engine tin. But then again...
Maybe this pic from PP helps.
Attached image(s)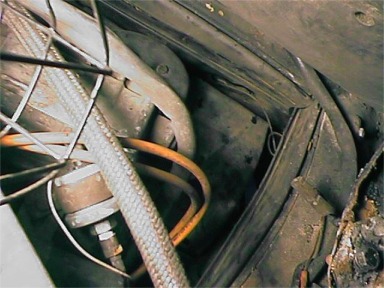
Posted by: jkeyzer May 19 2004, 12:56 AM
I can't help, but WOW, that's some nice paint in the engine compartment!
Posted by: Lawrence May 19 2004, 06:33 AM
This photo shows the side seal running all the way to the end of the track.
hey Rusty!

That's pretty beauteous! Since rubber tends to shrink over time, I would see how much of that new seal you can get into the seam. Perhaps a bit of creative fitting and scrunching, and you can get at least part of that "excess" into the channel.
No, I don't remember how they mate together.

-Rusty
Posted by: maf914 May 19 2004, 10:54 AM
Does anyone have any good suggestions about how to install these rubber pieces into the channels in the engine compartment? Is there some trick method to get them in? Thanks.
Mike
Posted by: SirAndy May 19 2004, 11:53 AM
don't trim your side pieces!!!!
they are correct!
the back seal (the one that makes the big arch) needs to go down past the side pieces (in front of them).
it looks wrong from your pictures.
the back seal should point somewhat downward not upward.
i think you might got it in flipped, can't really tell from the pictures ...
but it needs to overlap the side peices on both ends ...
Andy
Attached image(s)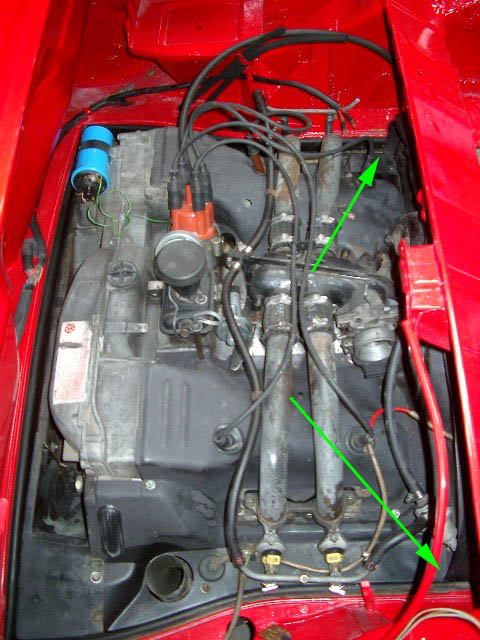
Posted by: tod914 May 19 2004, 12:51 PM
agree
Posted by: RustyWa May 19 2004, 01:53 PM
they are correct!
the back seal (the one that makes the big arch) needs to go down past the side pieces (in front of them).
it looks wrong from your pictures.
the back seal should point somewhat downward not upward.
i think you might got it in flipped, can't really tell from the pictures ...
but it needs to overlap the side peices on both ends ...
Andy
The back seal is pointing downwards, the picture is kind of funky.
In that first photo showing the rear (old) seal, there is a little portion say 1/2" long, that isn't "squished". Is that where that back seal ran past the vertical channel?
I need to look at it more tonight, but it would appear that I need to trim like 1/4" of the side seals back so the vertical could run past it. I know rubber likes to shrink a little with age.
Thanks for the paint comments, it's less than a week old.
Posted by: Jeffs9146 May 19 2004, 02:56 PM
Here is a photo of my 6 with the engine out!
Jeff
Attached image(s)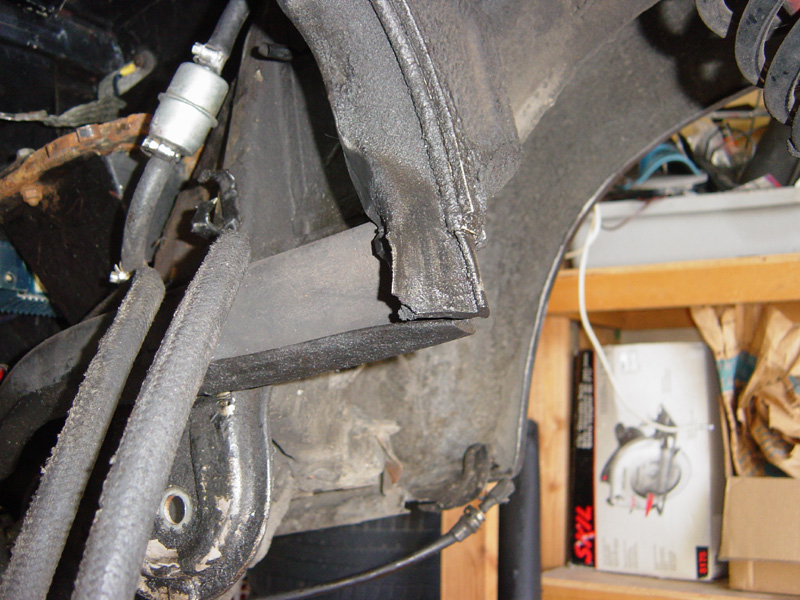
Posted by: nebreitling May 19 2004, 06:02 PM
Hey Eric
let's see the paint on the rest of the car!
Posted by: RustyWa May 19 2004, 06:17 PM
Ah, that's a good photo. Thanks...
Gotta keep the folks happy...

Attached image(s)

Posted by: RustyWa May 19 2004, 06:17 PM
Same place, later in the day.
Attached image(s)
Posted by: nebreitling May 19 2004, 06:39 PM
it ain't ugly!
Posted by: rhodyguy May 19 2004, 07:52 PM
pictures don't do eric's car's paint job justice. it's beautiful. for a green car  .
.
kevin
Attached image(s)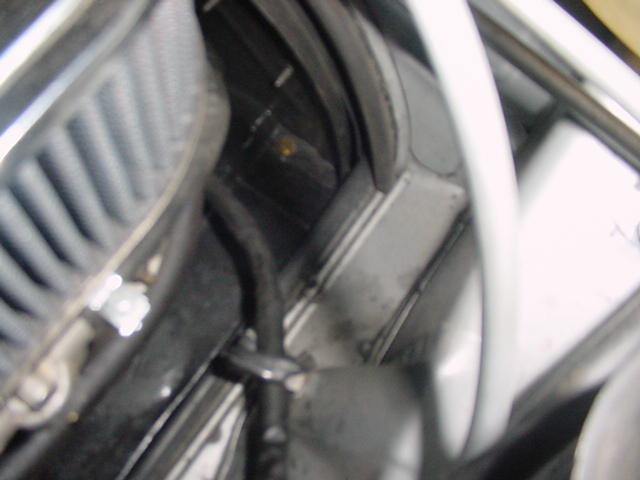
Posted by: rhodyguy May 19 2004, 07:57 PM
iirc, i did the rear first. a little glycerin helps a bunch.
kevin
Posted by: RustyWa May 19 2004, 10:55 PM
Ok, I got them all in. You are right Kevin. If I would have done the rear seal first, it would have been much less trouble and more self-explanatory while installing them. They look installed just like Jeff's photo shows.
I thought I read in this thread where someone asked how to install them?  I used a flat piece of wood, about 1/2" x 3/16 x however long. Working from below, starting at one end, place the seal into the upper part of the channel and push from the bottom with the wood.
Posted by: SirAndy May 19 2004, 11:30 PM
i just lubed up the channel with some WD40 and slid them in ...
werked fine for me, no sweat ...
Andy
Powered by Invision Power Board (http://www.invisionboard.com)
© Invision Power Services (http://www.invisionpower.com)