Printable Version of Topic
Click here to view this topic in its original format
914World.com _ 914World Garage _ Quick & Easy Way
Posted by: seanery Oct 10 2004, 10:17 AM
For Windows XP only!
First, download this file: http://download.microsoft.com/download/whistler/Install/2/WXP/EN-US/ImageResizerPowertoySetup.exe - Thanks to Paul Heery for the link.
The file will download. You have the option to save or run the file.
I chose to run it. It will ask you a couple of basic install questions.
After installed you can resize any image from the Windows Explorer view:
Right click on the image you want to resize and then
click on RESIZE PICTURES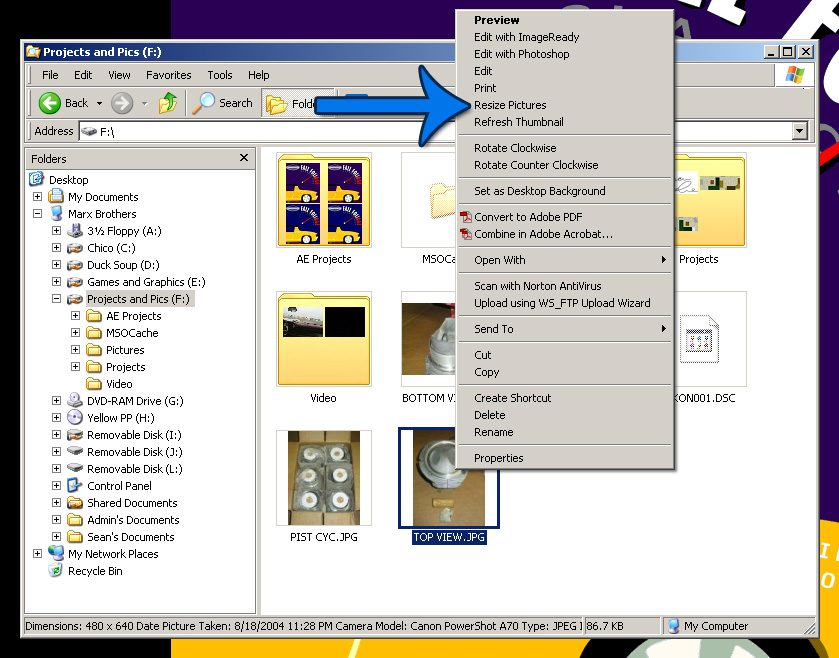
Select the size for your image or click ADVANCED OPTIONS for more choices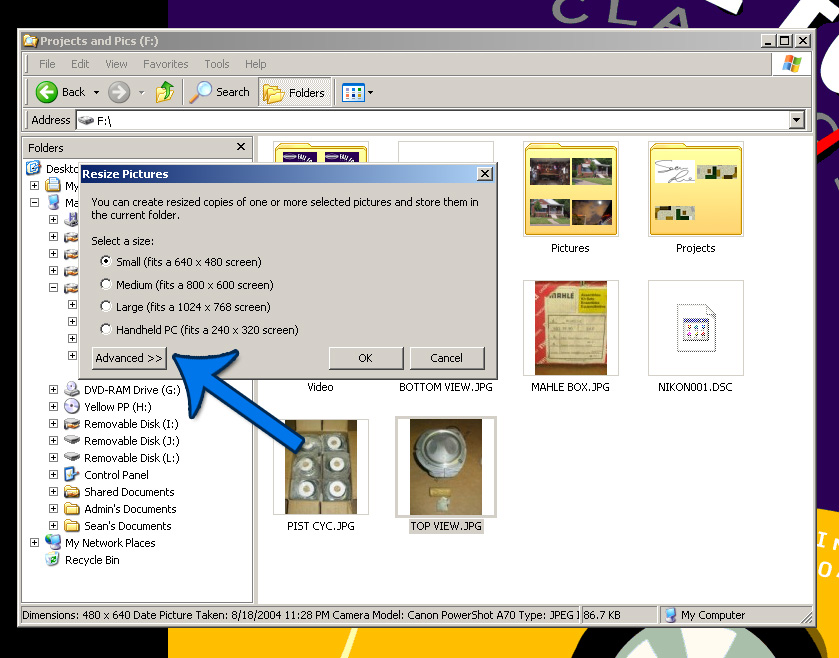
In the ADVANCED OPTIONS tab you can make sure that images are made SMALLER ONLY (this is valuable if you are doing a large number of images that are mixed sizes)
and you can REPLACE THE ORIGINAL (by default a copy is made)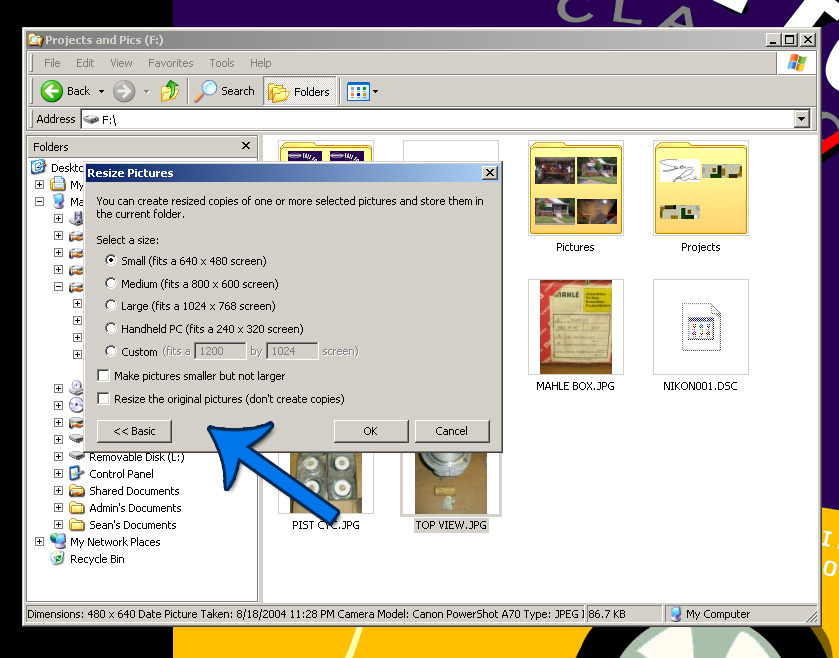
Pic 4 shows the copy that is made:
Pic 5 shows the details for both the original and the new copy.
You can see how the image size changed from 480x640 to 450x600 and the file size
changed from 86.7kb to 34.4 kb. Our servers allow no larger than 300kb file sizes.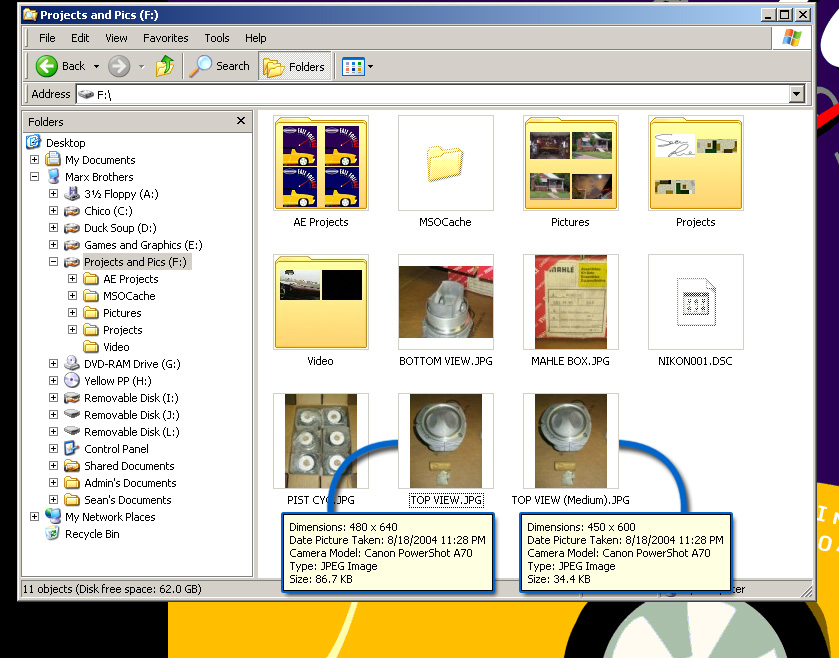
Posted by: SirAndy Jun 8 2010, 03:10 PM
On any version of windows, go to the start menu, then "Run" and type in:
mspaint
Once MsPaint has loaded, open your image in the "File/Open" menu.
Then go to the "Image/Stretch and Skew" menu and change the horizontal and vertical % values (They should always match, otherwise you will distort the image).
If you want to preserve the original image, save the re-sized image under a new name.
 Andy
Andy
Posted by: BigDBass Jun 8 2010, 03:14 PM
 Image Resizer is fast and easy. Once you try it, you'll want it on every PC you ever touch. It should be built in to the OS.
Posted by: poorsche914 Sep 18 2011, 12:43 PM
Great find. I always resize my images in Photoshop but this will be so much easier.
Powered by Invision Power Board (http://www.invisionboard.com)
© Invision Power Services (http://www.invisionpower.com)