Printable Version of Topic
Click here to view this topic in its original format
914World.com _ 914World Garage _ Rear trunk Repair
Posted by: 76-914 Jun 25 2012, 10:23 AM
It's finally down after 8 weeks on the jack stands. Ugh!  . I know; it shouldn't have taken that long but I'm old and stupid so I have two good excuses for being slow. Most of this is McMarks fault. Just kidding. I had read a post where McMark describes how to check your CV's. Mine failed.
  So, I ordered a set of CV's. Then that damned Otto posted these in the classified WTS:
Since it was on jack stands and my trunk looked like this I decided to repair the trunk while it was up.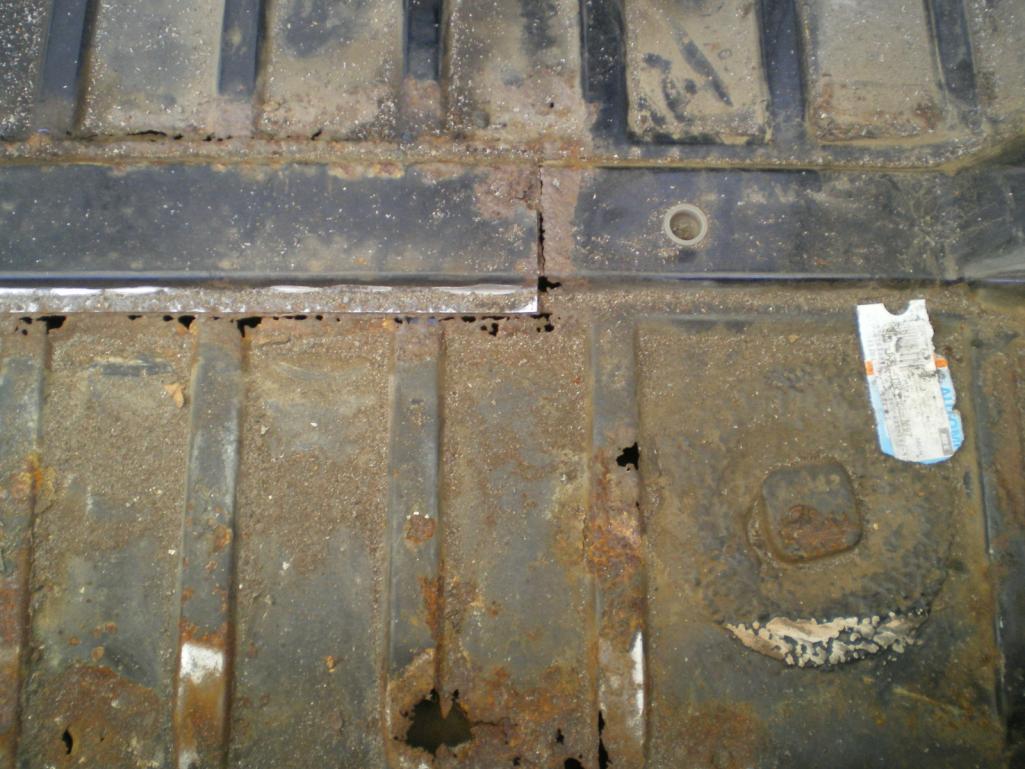
As I began fitting the rear panel piece I noticed the similarity between the rear panel and the piece in front of the trunk spar/brace and thought, maybe...... Then the G&R event happened and found another one of these panels ($5 cheaper than the one I bought from Otto) so I bought it, too! I said too because I also bought a set of Fuch's  Sure enough, after a few measurements and "trim to fit" I was able to "sneak" this rear panel piece into the front.
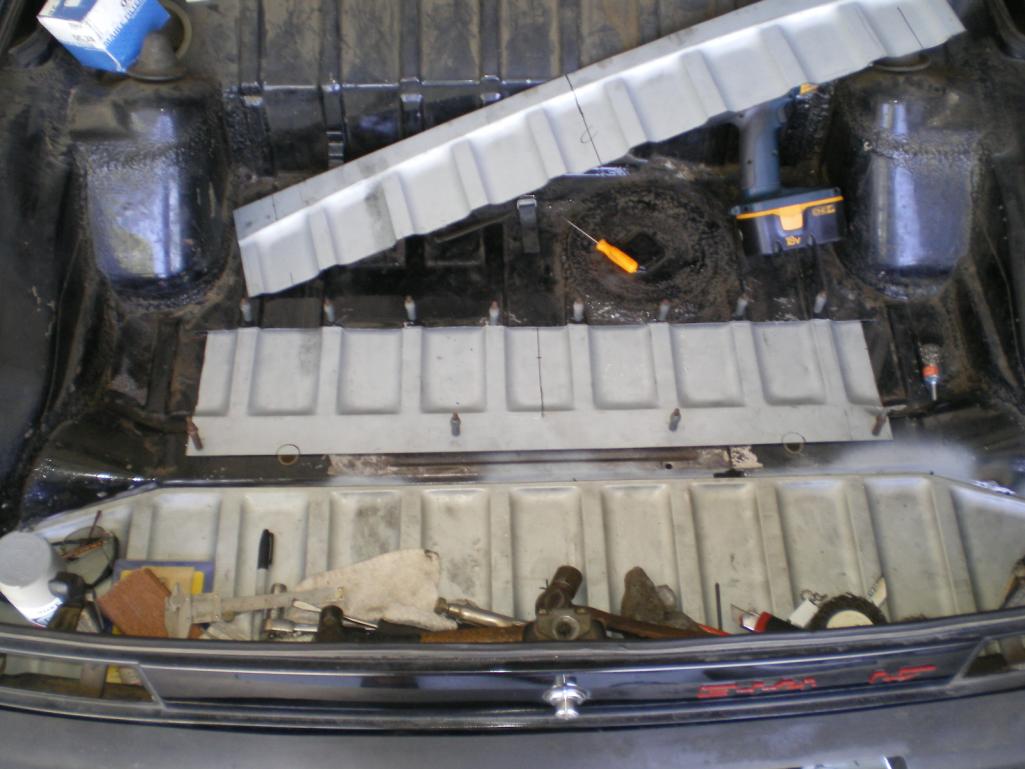
The slits were intentional to allow the piece to slid between. 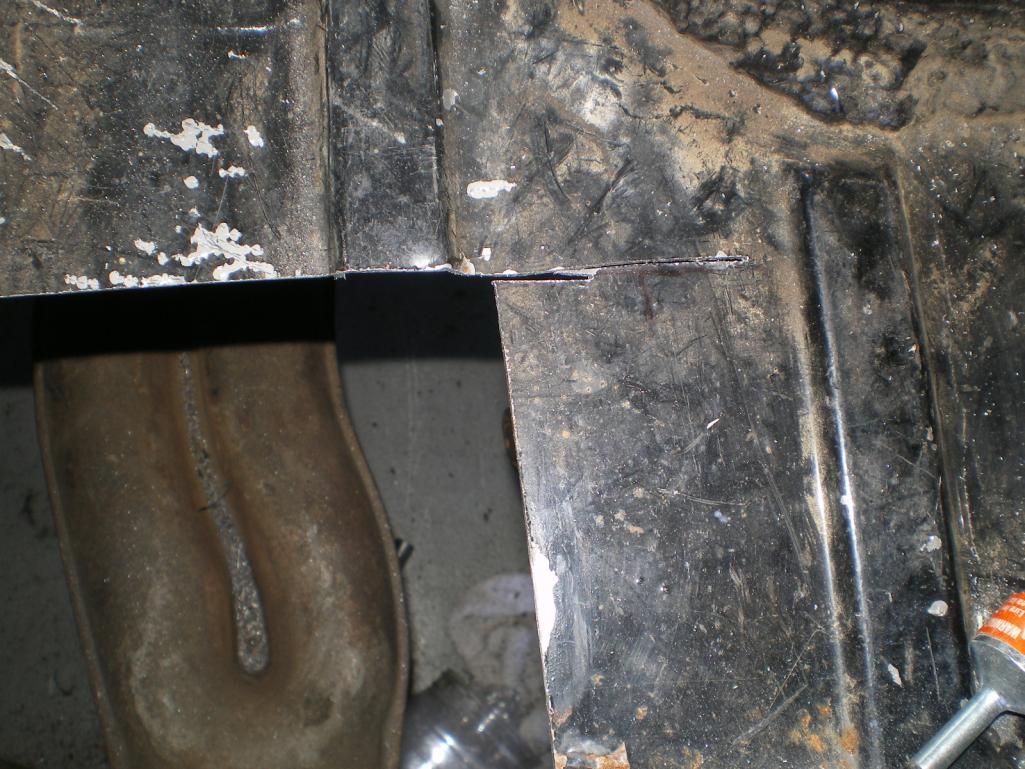
This is one place that it didn't match. Notice the gap between the new piece and the brace. It's a gap appx. 15mm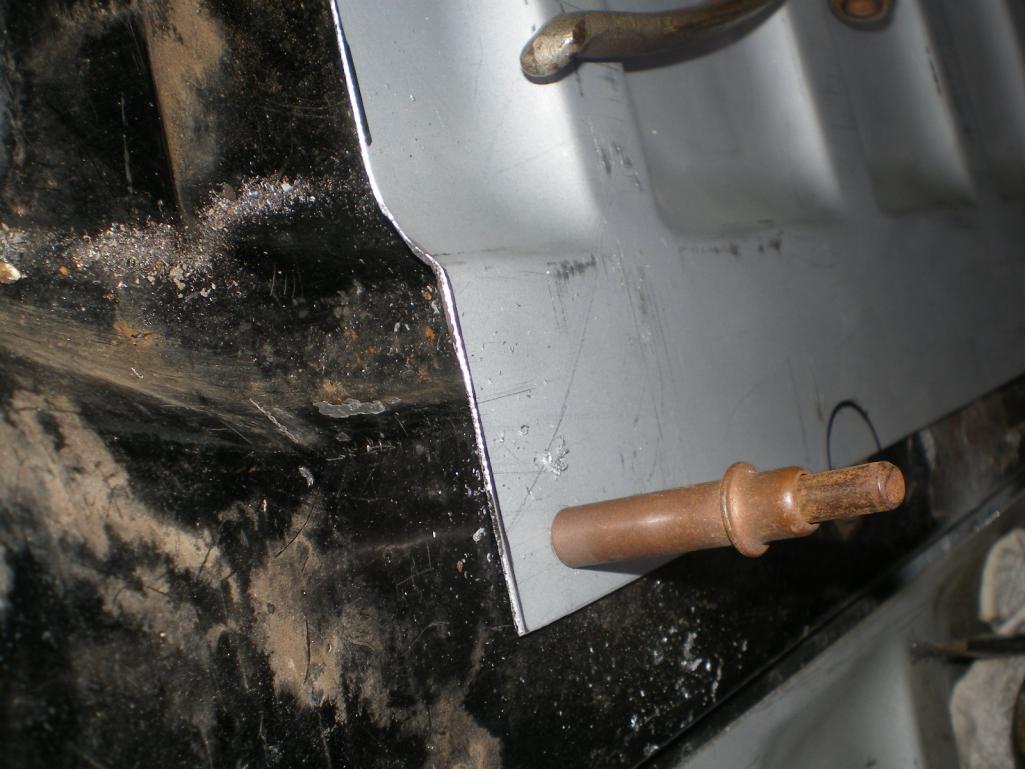
Posted by: 76-914 Jun 25 2012, 10:50 AM
Here is the other side "beaten" into submission with the ball pin hammer.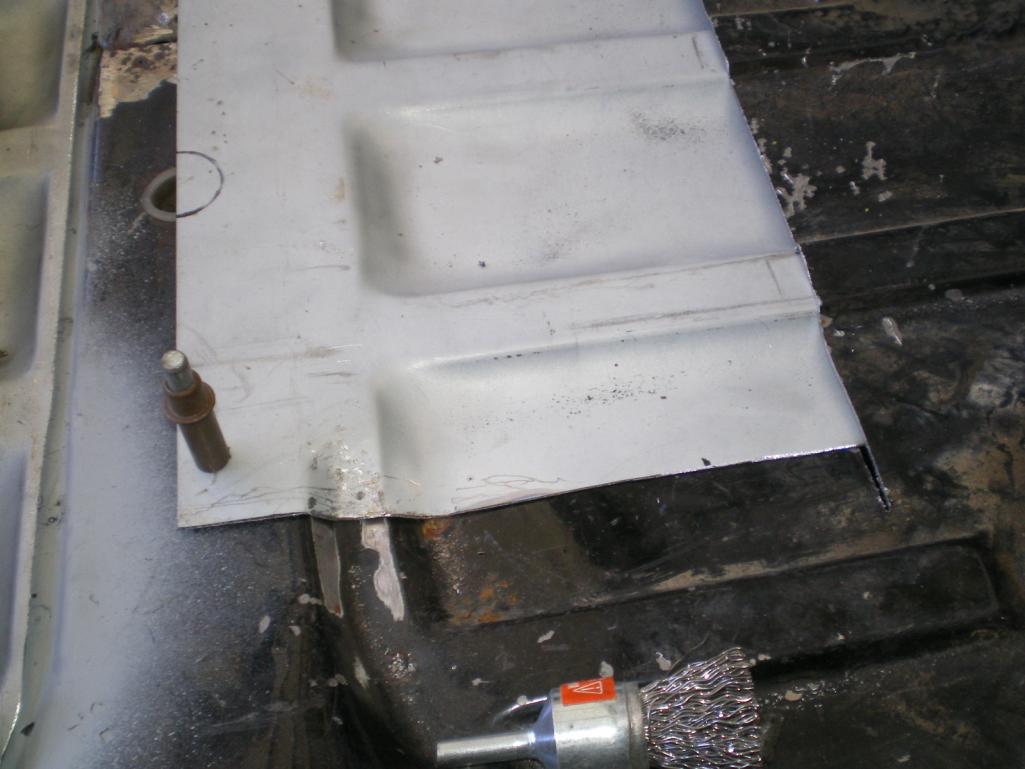
There is a height difference between the ridges/valleys of the front and rear pieces (appx 2 mm). The valleys of the old piece were hammered down at a slight angle to meet the new piece.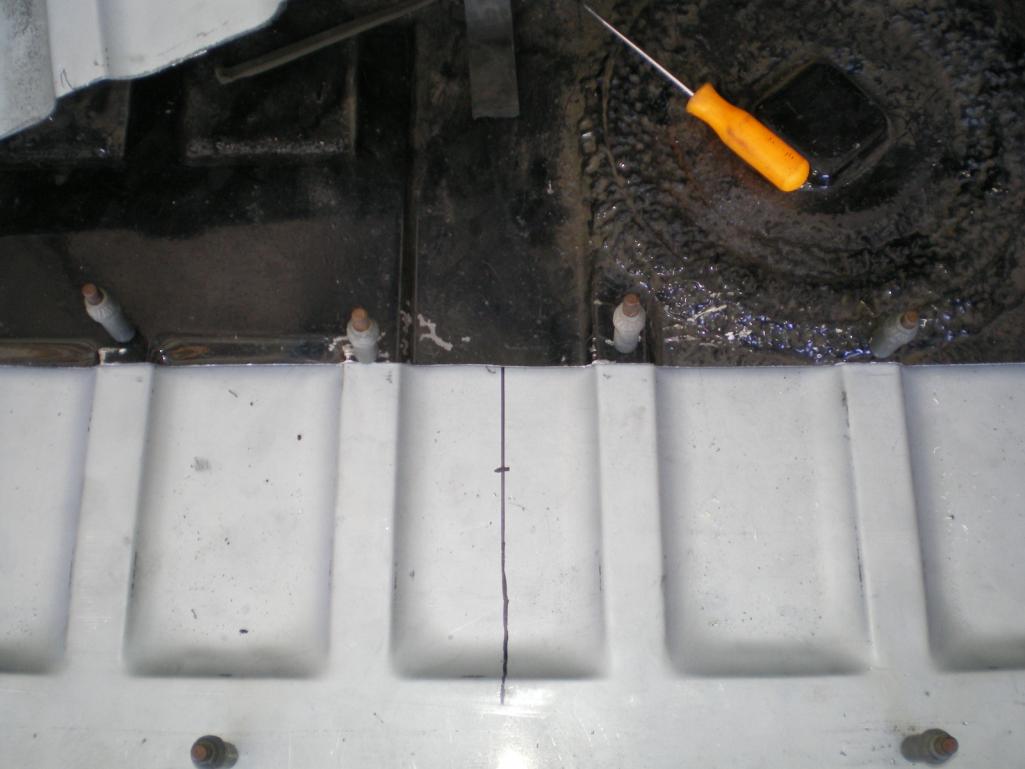
Once everything was clecoed into place the CV's finally arrived  so I took advantage of the temporary opening. BTW, it might just be my imagination but I believe the car runs much smoother with this addition.
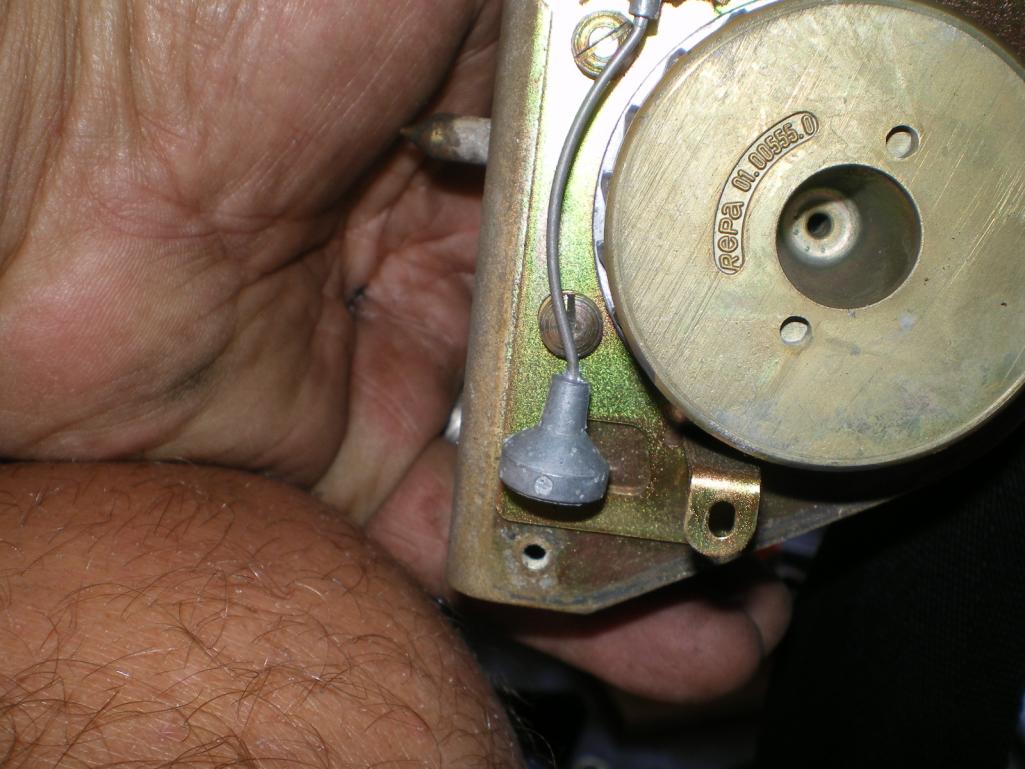
Next, it was onto the seat-belts which were reluctant to retract properly. I believe the greatest benefit came from polishing the chrome guide piece, though. 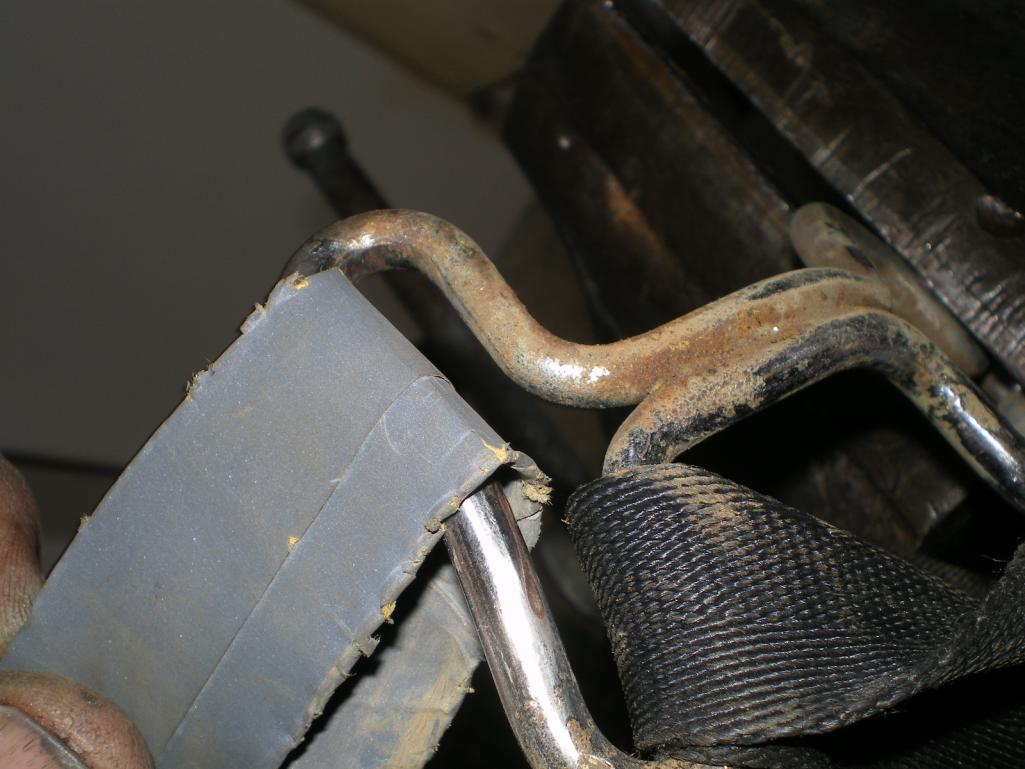
Posted by: 76-914 Jun 25 2012, 10:58 AM
So what in the Hell was I doing the rest of the time.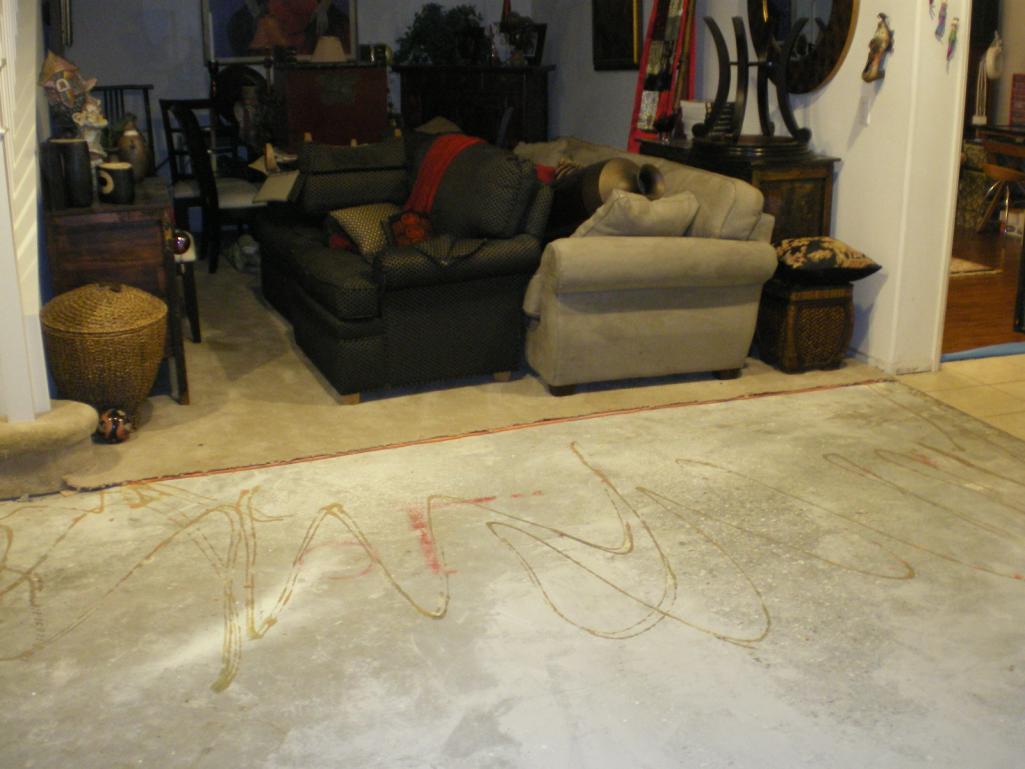
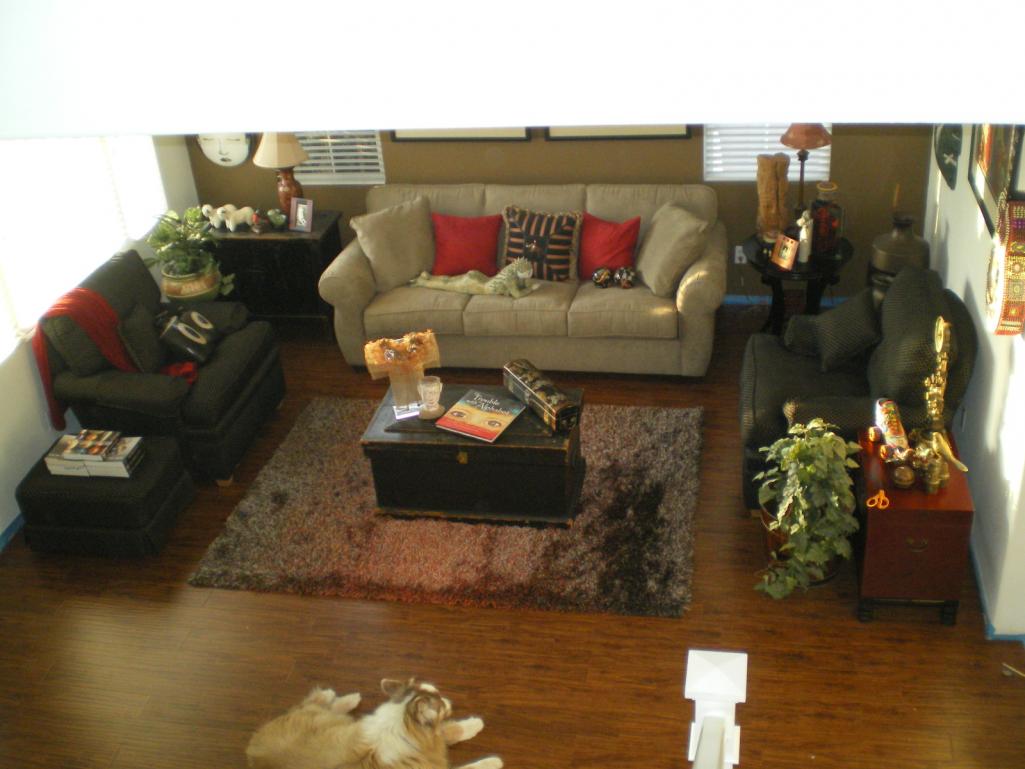
Wood flooring for my wife. Just the down stairs for now. Appx. 1500 sf. The car was easy compared to this. 
Attached thumbnail(s)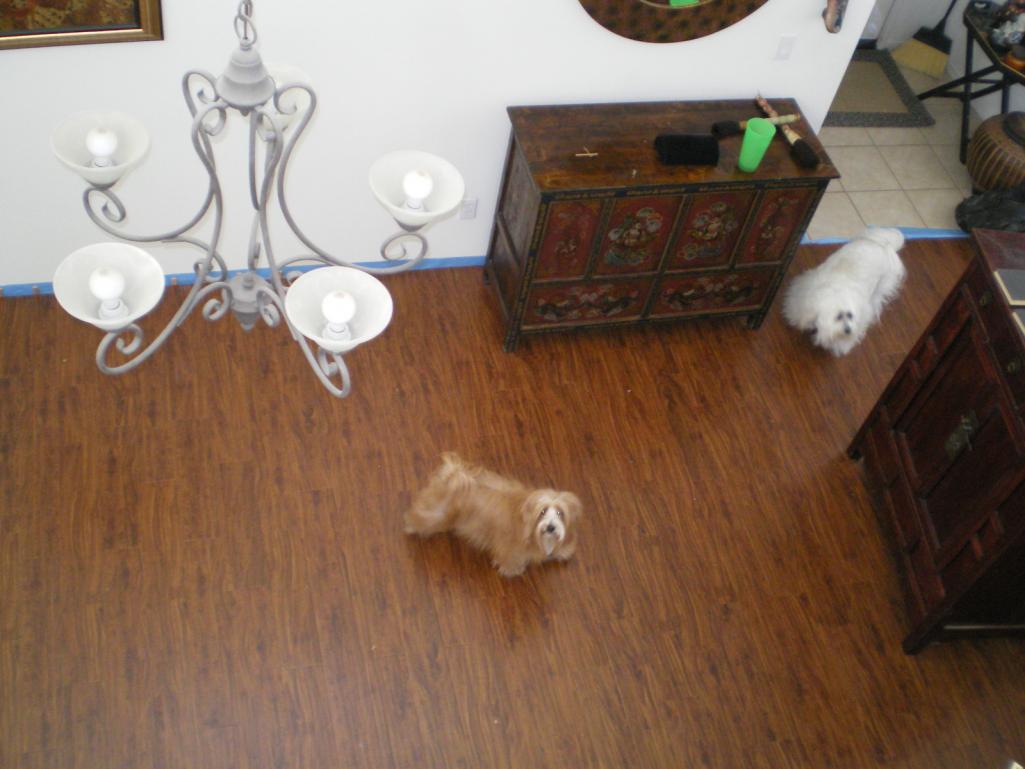
Posted by: 76-914 Jun 25 2012, 11:14 AM
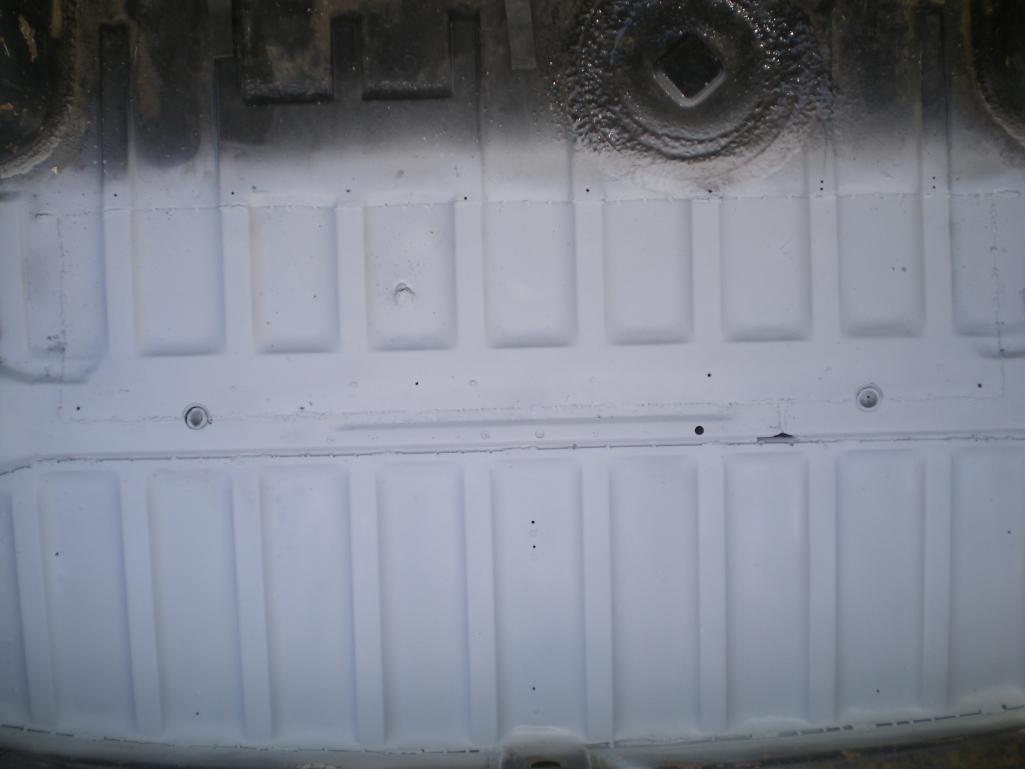
Geez, I almost forgot the "money shot". Ethan aka '73-914kid was gracious enough to weld these pieces up for me. I had attempted a few spots with the flux splatter machine before Ethan offered me the use of his mig welder. You can see where I began to weld the new ground stud in place with the splatter machine. After I witnessed his abilities over mine, I decided to have Ethan weld it up. Thx a million Ethan. 
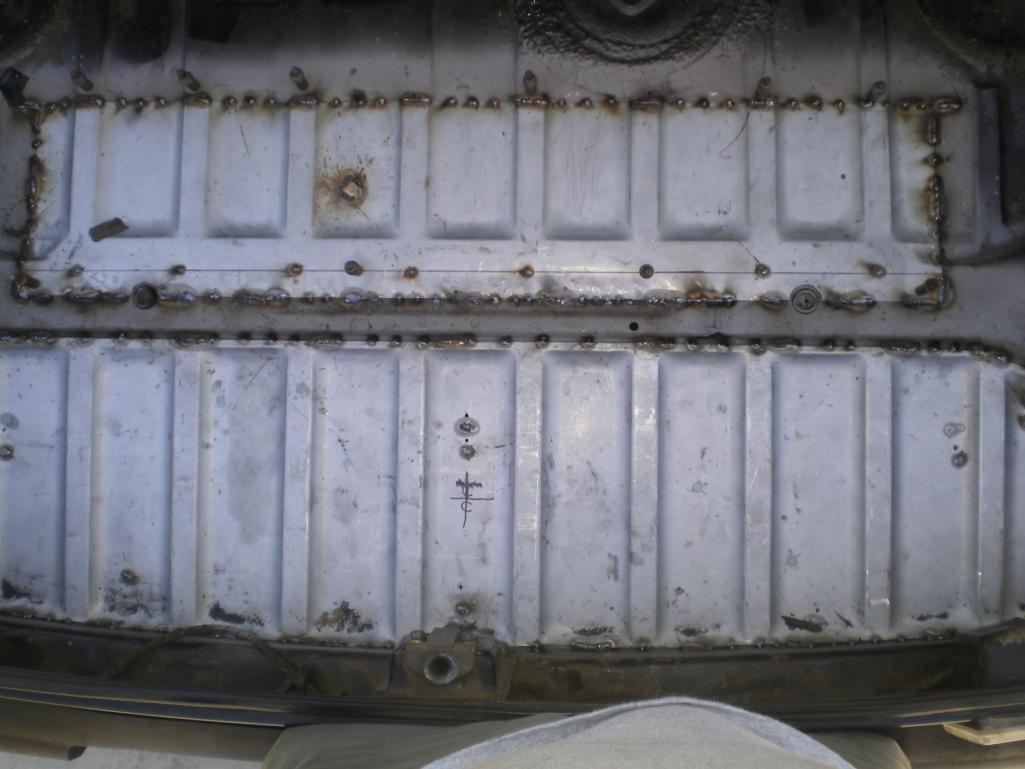

A can of Seam Sealer and a little paint is all she needs now!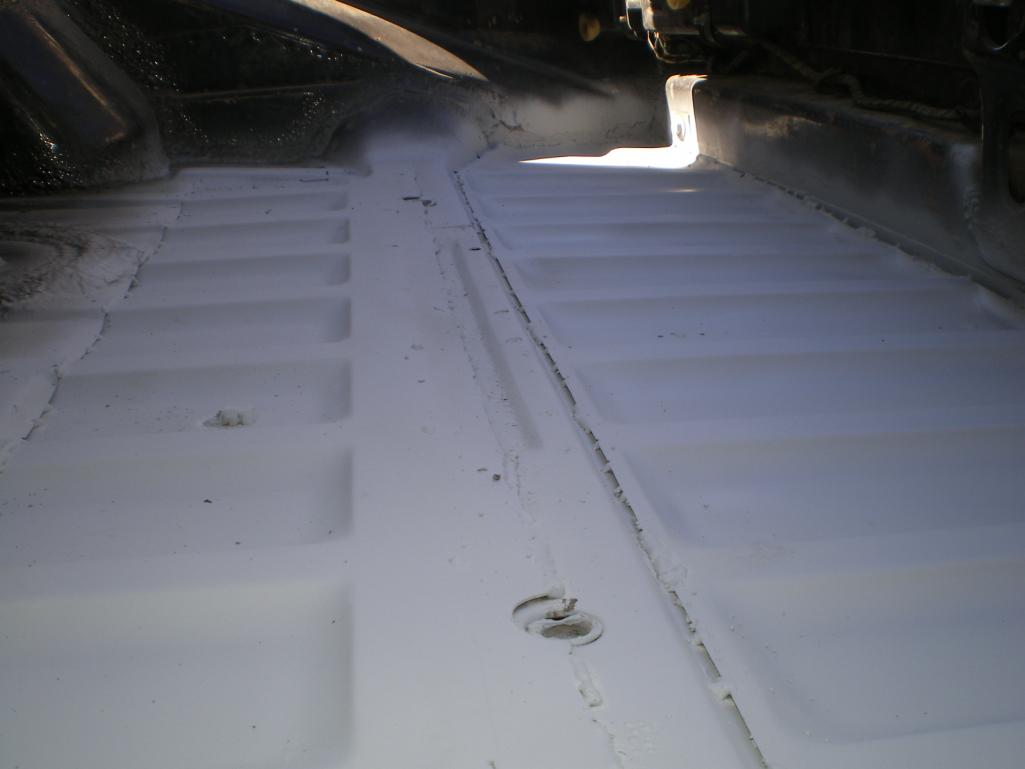
Posted by: SLITS Jun 25 2012, 11:26 AM
Now you can trap water again.
Good job Kent (at least supervising anyway).
Posted by: ThePaintedMan Jun 25 2012, 12:55 PM
Couple questions. Since this isn't load bearing, its just spot welded in, correct? Thats what it looks like. Makes sense.
Also, has anyone else used those new CV boots from Pelican? Mine had 2 blank bolt holes in them, like his. Do you plan on sealing them? I used nylon bolts from Home Depot, which seems to be working for now.
Wood floors SUCKKKKKK! I had to do a whole downstairs in bamboo tongue and grove once. My knees and back have never hurt so bad (no sick jokes)
Posted by: 76-914 Jun 25 2012, 03:32 PM

Couple questions. Since this isn't load bearing, its just spot welded in, correct? Thats what it looks like. Makes sense.
Also, has anyone else used those new CV boots from Pelican? Mine had 2 blank bolt holes in them, like his. Do you plan on sealing them? I used nylon bolts from Home Depot, which seems to be working for now.
Wood floors SUCKKKKKK! I had to do a whole downstairs in bamboo tongue and grove once. My knees and back have never hurt so bad (no sick jokes)
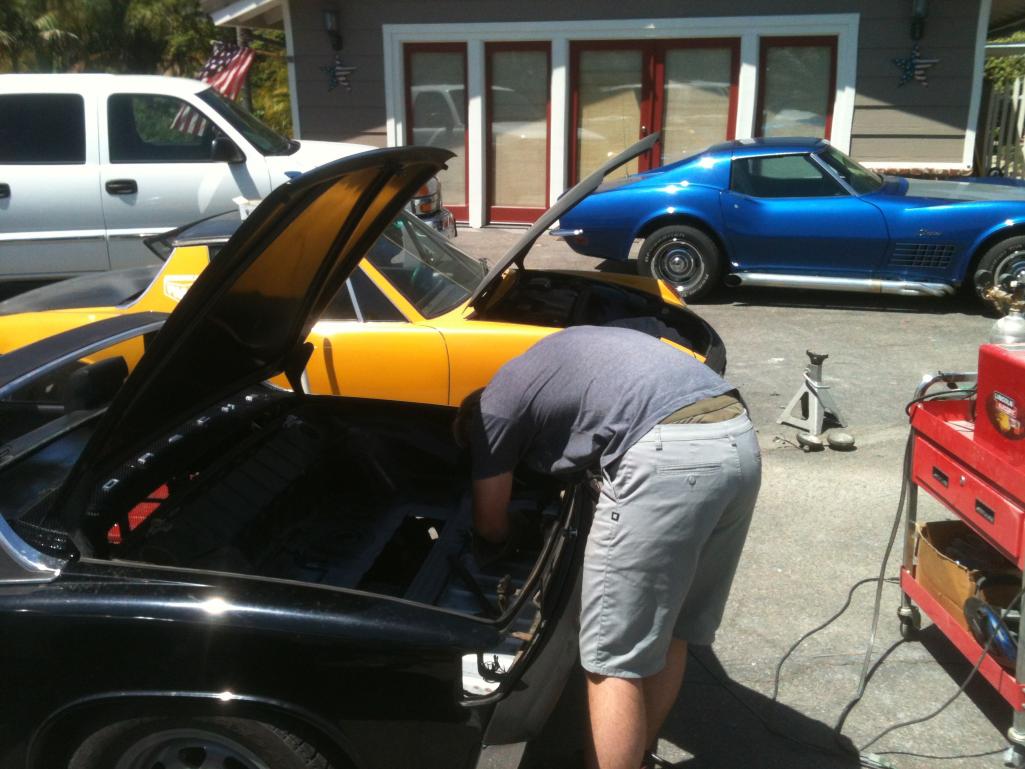
Correct, it is just spot welded similar to the factory. Is it load bearing? Not really. Those extra holes should have the dowel pins inserted there. w/o those pins you place the entire shear load on those CV bolt's. I suspect that the dowel pins are of a different hardness designed for "shear strength" and not "tensil strength" which the CV bolts would employ. Here is a pic of Ethan at work. Not his best side.
Posted by: ThePaintedMan Jun 25 2012, 07:40 PM
Those extra holes should have the dowel pins inserted there. w/o those pins you place the entire shear load on those CV bolt's. I suspect that the dowel pins are of a different hardness designed for "shear strength" and not "tensil strength" which the CV bolts would employ. Here is a pic of Ethan at work. Not his best side.
I should have been more clear. My apologies - was typing quickly when the boss lady wasn't looking. I do have the roll pins in the CVs, but look closer at the picture you posted. Where the holes for the roll pins are there are 2 open holes in the outer CV joint boot flange. Pelican's boots come like that. On buses you have 6 bolts instead of the roll pins, so they're covered up/sealed. I screwed nylon "bolts" in as far as I could to block them so no grease would escape.
Posted by: 76-914 Jun 25 2012, 09:54 PM
Now I got it. I usually have to dig out old grease with a screwdriver so I hope this will plug itself.
Posted by: xsJerry Jun 25 2012, 10:05 PM
Nice job on the trunk. I just cut out a piece of 16 gauge sheet metal and tack welded it in there, then seam sealed. works, but not as nice a a replacement piece.
Powered by Invision Power Board (http://www.invisionboard.com)
© Invision Power Services (http://www.invisionpower.com)