Printable Version of Topic
Click here to view this topic in its original format
914World.com _ 914World Garage _ Replacing Trunk Rollers?
Posted by: chris914 Nov 7 2004, 12:09 PM
Hi,
Whats the trick to replacing the rollers for the rear trunk?
Posted by: Lou W Nov 7 2004, 12:33 PM
Did you try the Classic Message Sections?
Posted by: d7n7master Nov 7 2004, 12:42 PM
If I had to do it again - I wouldn't... 
My plastic/stock roller on the drivers side broke one day when I opened the trunk. When it broke, it damn near hit me but missed. That should have been an "across the bow" warning - but no - not me. I bought the aluminum replacement rollers. WOW!!! Cool. I could see that I just needed to pry the bar down & push the new roller on. So I grabbed my BIG Craftsman screwdriver/prybar. Close but no cigar. Couldn't quite pry the bar down enough due to the angle req'd. So I made a tool out of some titanium tubing I pulled out of scrap at work. Cut it to a length that would give me the correct angle. Put the tool over the bar on one side, pushed like a s.o.b. & slid the roller on. WooHoo!!! Not so bad. Cool tool! But when I did the other side, the tool slipped off the end of the bar. At the time I was pushing with all I had... result? - blood - mine. The tool had hit my thumb so hard, the force split my thumb open. I came back the next day & installed that roller very carefully. Next time, if there is one, I'll buy the truck kit that eliminates the rollers. Do yourself a favor - check it out. 
Posted by: DJsRepS Nov 7 2004, 01:14 PM
The spring is killer. Made my rollers spring rides on a ball bearing with fender washers as a guide and smaller washers to position bearing and alan lock ring to hold it on. Pic inc
Attached image(s)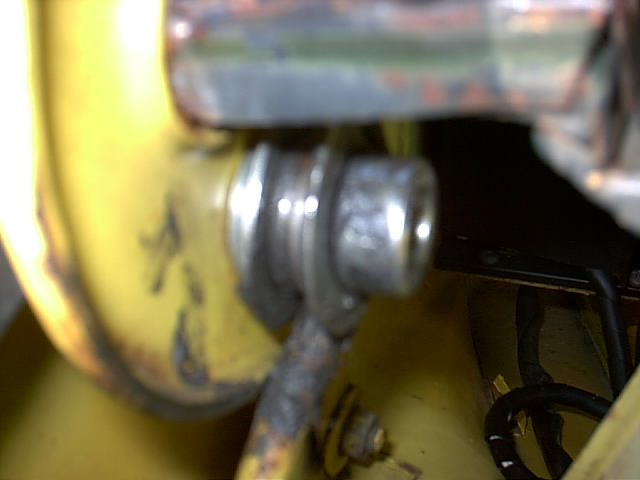
Posted by: scott thacher Nov 7 2004, 01:26 PM
heres a way to do it with out breaking a sweat or skin
http://forums.pelicanparts.com/showthread.php?threadid=3829
makes it real easy look for the post by retro 74
Posted by: 914GT Nov 7 2004, 01:28 PM
I hope it isn't 'verboten' to do this, but read this post on the PP board: http://forums.pelicanparts.com/showthread.php?s=&threadid=89571&highlight=trunk+roller+tool
Scroll down toward the bottom.
I made a simple tool out of 1/2" tubing, and somebody else had good luck with it to release the tension on the rod.
Posted by: McMark Nov 7 2004, 01:46 PM
Any better pictures? All I see is a yellow and gray blob. If you're having trouble with close-ups, hold the camera farther back and use the zoom function.
Posted by: Lawrence Nov 7 2004, 03:00 PM
The rollers are evil. 
Get Craig's rear trunk shock kit. 
-Rusty 
Posted by: Rhodes71/914 Nov 7 2004, 03:09 PM
Get Craig's rear trunk shock kit.
-Rusty
I currently have a bad roller on my trunk that still works but poorly. I was messing with the spring system to try and fix it...I GOT SCARED... forget that whole system.
Quick phone call to Craig at camp914 and $40 and a couple days later I had some shocks for the rear trunk.
I think its the way to go.
Posted by: DJsRepS Nov 7 2004, 03:46 PM
better camera and pic
Attached image(s)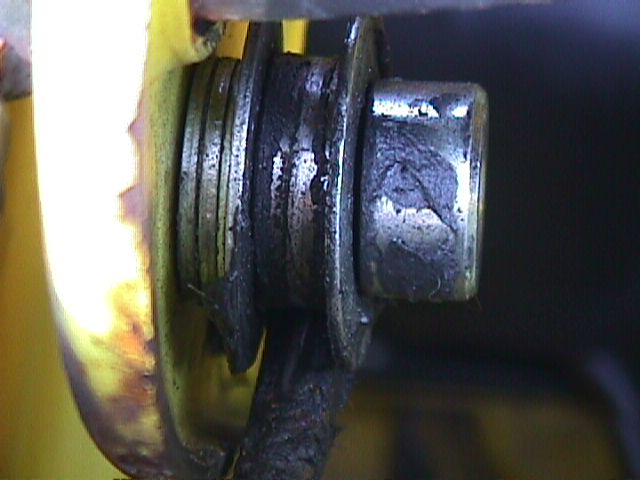
Posted by: DJsRepS Nov 7 2004, 03:47 PM
another pic
Attached image(s)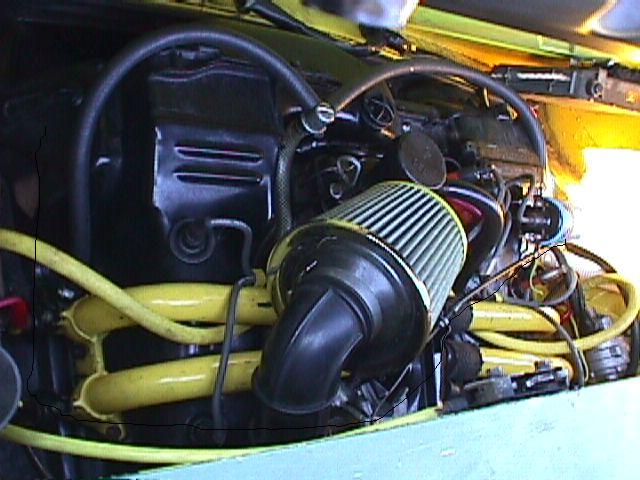
Posted by: Lou W Nov 7 2004, 03:48 PM
--------------------------------------------------------------------------------
QUOTE (Lawrence @ Nov 7 2004, 01:00 PM)
The rollers are evil.
Get Craig's rear trunk shock kit.
-Rusty
I currently have a bad roller on my trunk that still works but poorly. I was messing with the spring system to try and fix it...I GOT SCARED... forget that whole system.
Quick phone call to Craig at camp914 and $40 and a couple days later I had some shocks for the rear trunk.
I think its the way to go.
 I'm converting both my front and back over too.
Posted by: DJsRepS Nov 7 2004, 03:49 PM
test port
Attached image(s)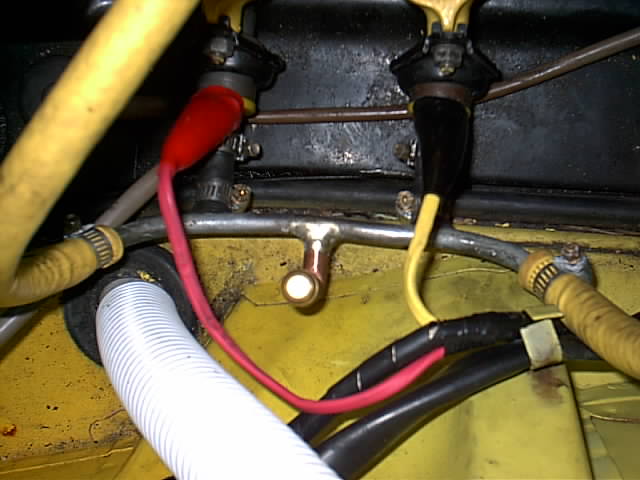
Posted by: rhodyguy Nov 7 2004, 03:54 PM
raise the trunk. use a deep 8, 9,or 10mm(i forget) socket and extension. slip it over the spring end. it will push down easily so you can slip the roller on. if you are going to stay with springs, use the metal rollers. you need the correct fuel line clamps.
kevin
Posted by: vsg914 Nov 7 2004, 03:57 PM
with Kevin. done it a few times. 10mm deep.
Posted by: Dr Evil Nov 7 2004, 04:39 PM
Chris,
I have the trunk shock kit and find it to be a better invesment. The springs put a lot of tension on your trunk hinges and will ultimately help them to fail where as the shocks only put force ont he trunk when its open. You can come by and check out my install if you like. If you want help installing the rollers I can do that too. It was easy the first time I did it with a 10mm socket and extension.
Mike
Posted by: Dr Evil Nov 7 2004, 04:41 PM
DJsREPS,
You really should replace those hose clamps on you fuel lines for the correct type (smooth). The type you have eventually will cut into your hoses.
HTH
Posted by: chris914 Nov 8 2004, 04:04 AM
Thanks everyone for the input.
The car is for Autocross use only. I'm going to take the springs and rollers off all together. Get rid of that extra weight.
I'll will but a stick in the truck if I need to hold it open. lol
Posted by: plas76targa Nov 8 2004, 02:33 PM
Chris, and others who may contemplate this..
Instead of a deep socket, I used the spark plug tool out of my 9-elebin tool kit. the hex end fits nicely over the spring steel. Get a helper to push down on the spring while you swap the plastic for the new aluminum roller. Schweet and easy change-over.
'course I can understand your current approach..
Posted by: ClayPerrine Nov 8 2004, 03:45 PM
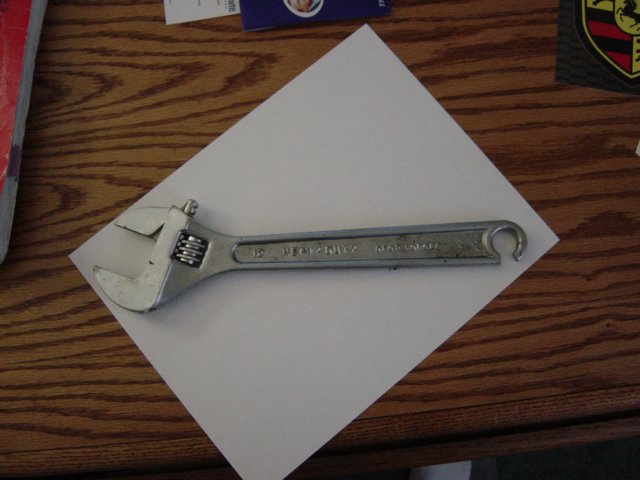
Take a 12" cresent wrench. Cut a notch in the loop on the back end until you have a C shaped opening instead of the loop. Hook it over the torsion bar, and pry down the torsion bar until you can change the roller.
Cheap, easy, and you already have it in your toolbox.
Posted by: Jeffs9146 Nov 9 2004, 11:44 AM
Thats what I did and it worked very well!
Jeff
Attached image(s)
Posted by: 9146986 Nov 9 2004, 07:40 PM
While we are on this topic, I'll tell you about a mod that I've been doing to the shoulder bolt for the rear lid brackets/pivots. Probably the number one source of hinge pivot failures is because the rear lid brackets sieze on the shoulder bolts, and stresses out the pivot bracket.
All you do is chuck up the shoulder bold in a drill press and machine a small V groove around the circumfrence, and in the center of the shoulder area (the "bearing" part of the bolt).
Next you drill a small cross hole all the way through the bolt right in the groove you just cut.
Now you drill down through the top of the bolt and stop at the cross hole.
Tap the last hole you drilled for a grease fitting.
I won't claim this to be my "original 914 Network" solution as I read abou this in the Up Fixin Der Porsche series of tech articles from old Panoramas, but it really solves a chronic problem for good.
Posted by: Gint Nov 9 2004, 08:14 PM
Next you drill a small cross hole all the way through the bolt right in the groove you just cut.
Now you drill down through the top of the bolt and stop at the cross hole.
Tap the last hole you drilled for a grease fitting.
Pics! PLEASE!!!!!!
Powered by Invision Power Board (http://www.invisionboard.com)
© Invision Power Services (http://www.invisionpower.com)