Printable Version of Topic
Click here to view this topic in its original format
914World.com _ 914World Garage _ how do I
Posted by: qa1142 Nov 12 2004, 11:52 AM
Manual says Porsche mechanic only 
I was thinking of drilling rubber out to free them up.
how do i get them apart and then back together?

Posted by: Cloudbuster Nov 12 2004, 12:01 PM
http://www.pelicanparts.com/techarticles/911_suspension_bushings/911_suspension_bushings_front2.htm
(Fire good!) 
Posted by: ClayPerrine Nov 12 2004, 12:15 PM
I just put the arms in a press and pushed the bushings out. They peeled right off with enough pressure, and I didn't piss off my neighbors by floating little bits of burned rubber into their pool. 
When you reassemble and you use delrin bushings, test fit them into the brackets, and slide them over the arms. They should move freely without lubrication. IF they don't ream them until they do. Don't check them without the outside metal collars, the installation into the collars will make the hole in the center smaller. BTDT.
Posted by: Eric_Shea Nov 12 2004, 01:21 PM
I've found it easier to use a torch and I've got a press sitting in the corner of the garage.
I don't like the out and out flame thrower idea either. Here's what I've found:
Have a large screwdriver available and ready to use on those collars that Clay talks about. Using a torch, evenly heat the collar until you see a wisp of smoke come off the rubber bushing. Once they start to smoke they're ready to go. Put the screwdriver in the bolt holes (for the front collars) or the adjustment hole (for the rears) and begin to twist the collar. They may cool enough as to where you will have to heat them again but, by working the screwdriver and collar back and forth they will slide right off. After that it's fairly easy to cut the bushing and remove it from the arm.
I put this off for a couple months and couldn't believe that I was done in five minutes 
Not that tough and about a 1 or a 2 on a 10 scale.
Again... don't cook the sheite out of them, just get them warm enough to smoke a bit.
My $0.02 
Posted by: Eric_Shea Nov 12 2004, 03:54 PM
Found some pics...
Not as it looks, this is simply the undercoating flaming off the collar. In the background you can see the rear adjusting collars removed and the bushings cut.
Attached image(s)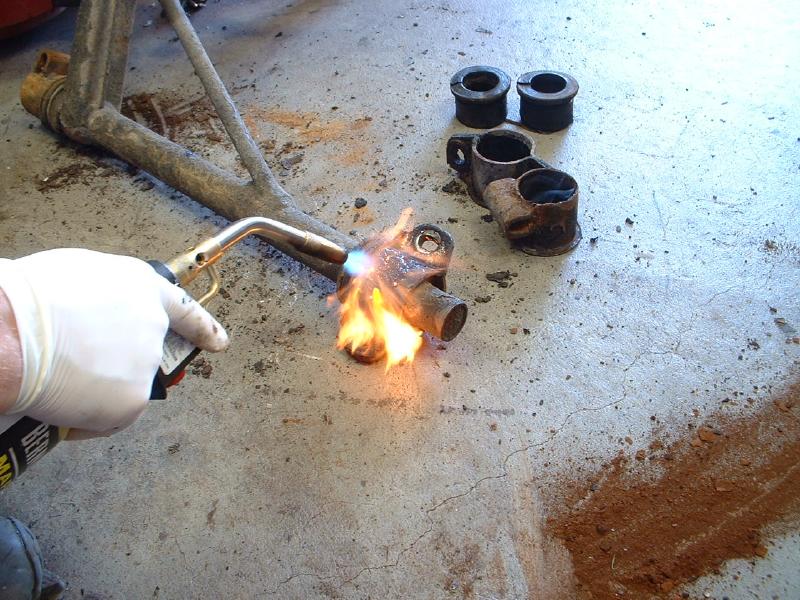
Posted by: Eric_Shea Nov 12 2004, 03:56 PM
This is more like it. Apply even heat on both side until you see some blue smoke come out from under the collar.
Attached image(s)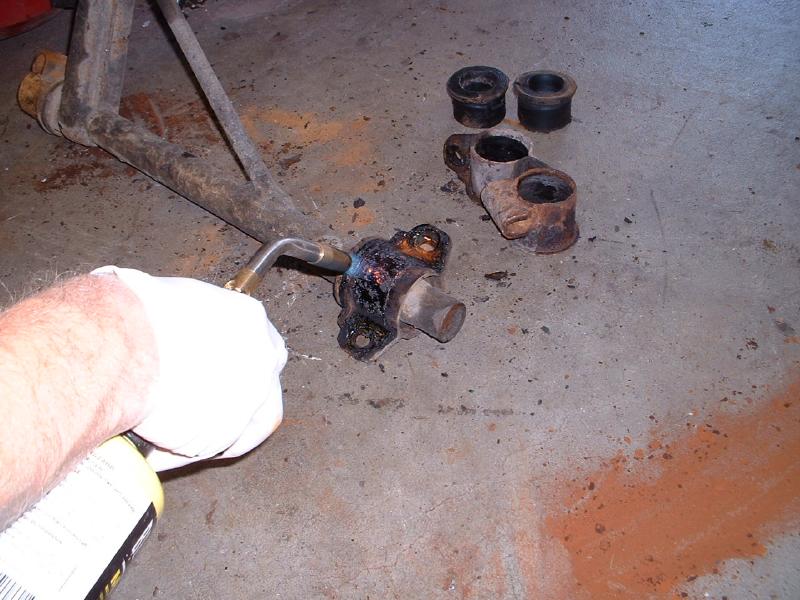
Posted by: Eric_Shea Nov 12 2004, 03:57 PM
Insert the screwdriver and twist away...
Attached image(s)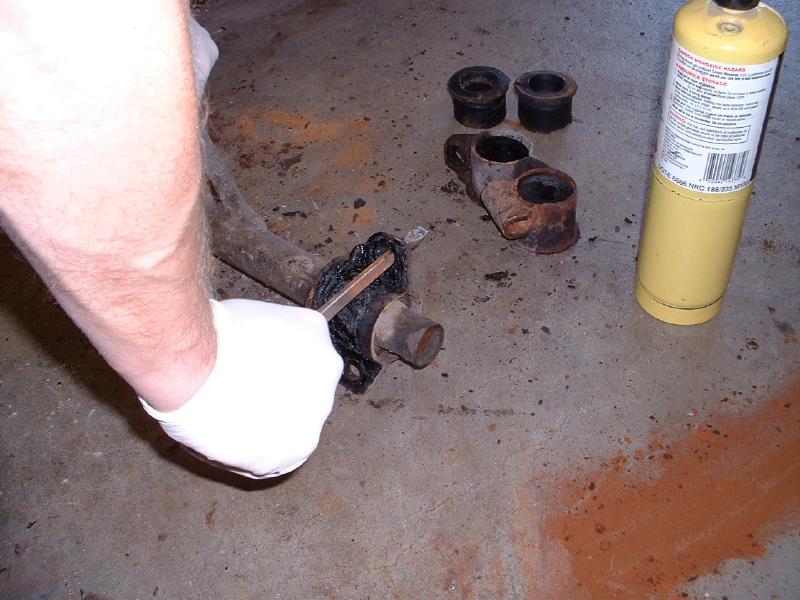
Posted by: Eric_Shea Nov 12 2004, 04:01 PM
I usually bead blast them after that and repaint with POR-15. Powdercoating is always nice
Attached image(s)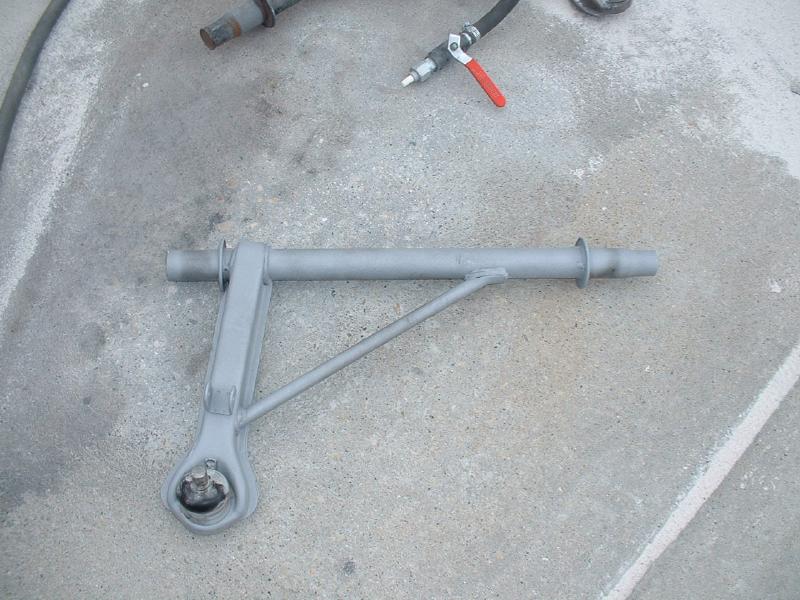
Posted by: watsonrx13 Nov 12 2004, 04:10 PM
Classic, this has to go to the classic section. Simple, yet descriptive...
Again Eric, you are DA MAN for tech specs.
BTW, great pics.... 
Posted by: Eric_Shea Nov 12 2004, 05:48 PM
We need a blushing smiley.
Thanks Rob. I like to help.
Any recent pics of your project??
Powered by Invision Power Board (http://www.invisionboard.com)
© Invision Power Services (http://www.invisionpower.com)