Printable Version of Topic
Click here to view this topic in its original format
914World.com _ 914World Garage _ Jim's Restoration Thread
Posted by: Jmedeiros Apr 3 2013, 10:19 PM
Let the tear-down commence!! 
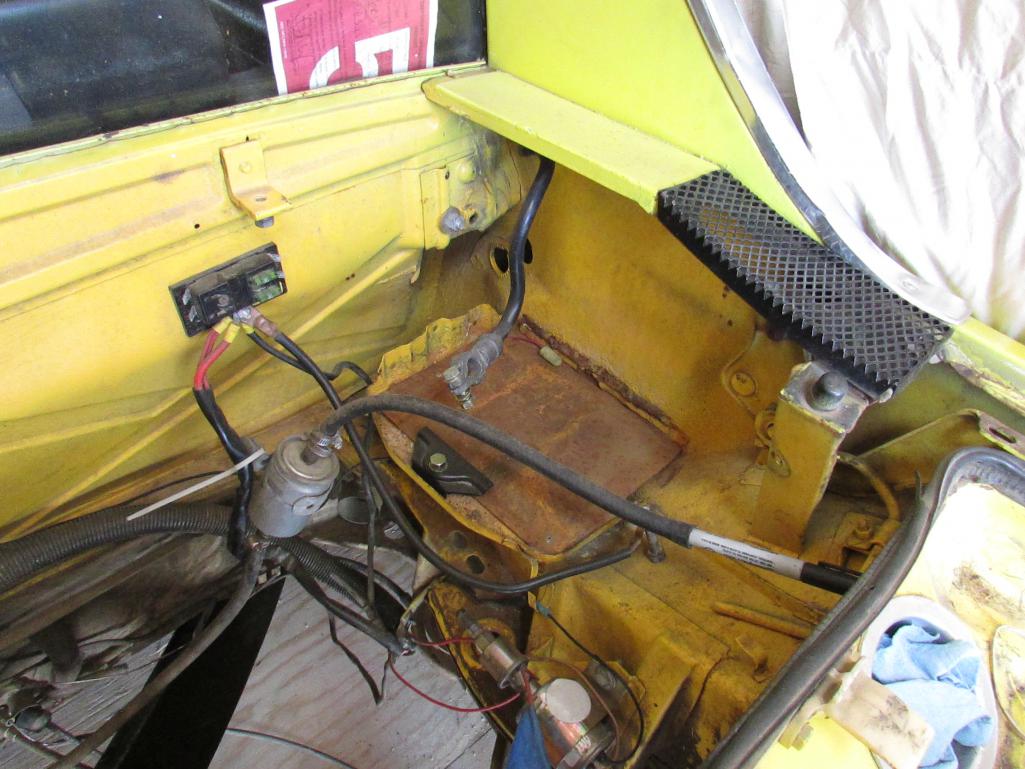
After months of waiting, the yellow monster arrived from Houston, TX. Previous owner stripped all the D-Jetronix off & replaced everything (I mean everything) with 2 EMPI carbs. The owner previous to this guy was in Alabama. I was happy to see that the battery is sitting on a well constructed shelf with no apparent rust. I'll take some more photos of the body once I get into it. I pulled the driver seat to remove some speaker wires running under the carpet & seat into the engine compartment. Tomorrow I'm going to try to get the light effects off the car. Previous owner thought it would be cool to put illuminations under the left & right sides of the car. Many more days & nights of work & pics to follow!!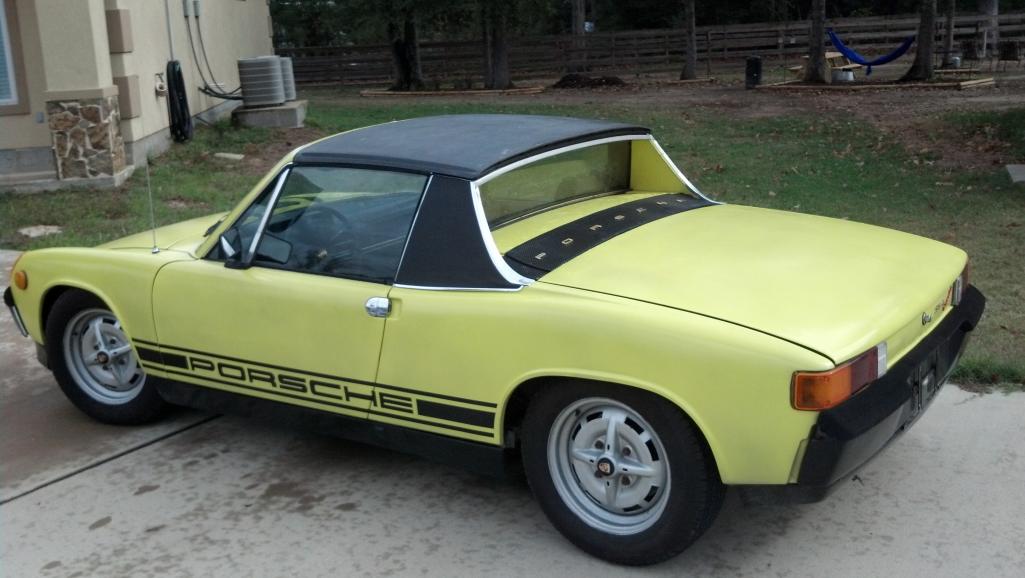
Posted by: jcd914 Apr 3 2013, 10:34 PM
 from one Jim to another
I guess I'll have come up with a different name for my restoration thread when I start on my 72.
Jim
Posted by: abnrdo Apr 4 2013, 12:21 PM
From another Jim!
Looks like a nice car to start with. Cant wait to watch your progress.
Posted by: krazykonrad Apr 4 2013, 07:49 PM
Best of luck. Remember to bag and tag all the various nuts and bolts when you pull them off. After tearing down my 72, I ended up with various piles of bolts and stuff that its going to take forever to match back up.
Here is the parts manual with diagrams and part numbers.
http://www.porsche.com/all/media/pdf/originalparts/en/E_914_KATALOG.pdf
Best of luck!
Konrad
Posted by: Jeffs9146 Apr 4 2013, 07:55 PM
Can you shrink the size of the photos to a more viewable size? 
Posted by: Jmedeiros Apr 8 2013, 02:54 PM
Many thanks! I'm sure that Katalog will come in handy!!

Best of luck. Remember to bag and tag all the various nuts and bolts when you pull them off. After tearing down my 72, I ended up with various piles of bolts and stuff that its going to take forever to match back up.
Here is the parts manual with diagrams and part numbers.
http://www.porsche.com/all/media/pdf/originalparts/en/E_914_KATALOG.pdf
Best of luck!
Konrad
Posted by: Jmedeiros Apr 8 2013, 02:55 PM
Looks good on the 42" monitor! :-) I'll see what I can do!!
Can you shrink the size of the photos to a more viewable size?
Posted by: Jmedeiros Apr 8 2013, 03:45 PM
Stripped out the Dropbox links and uploaded directly. Looks better on my side. Did that fix it on your end?
Looks good on the 42" monitor! :-) I'll see what I can do!!
Can you shrink the size of the photos to a more viewable size?
Posted by: Jmedeiros Apr 8 2013, 03:50 PM
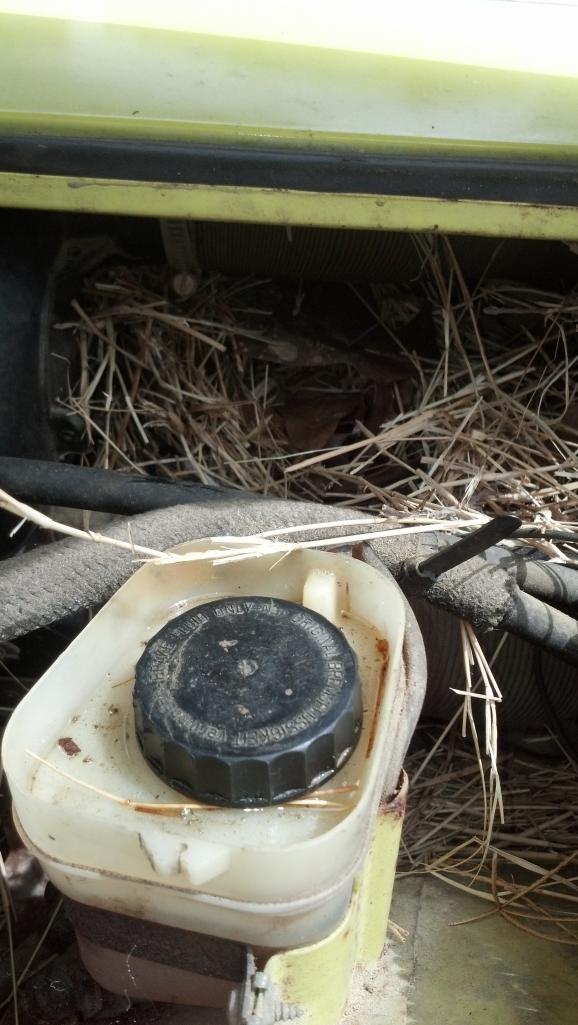
Oh lookie what I found! It appears that a mouse (now deceased) had built a little nest/house under the dash in the front trunk. Had a full bucket of hay come out of there! Ran into a starter issue  that I had to get fixed & am replacing the ignition right now so I have the steering wheel pulled & am starting the teener with a screwdriver! MrHolland stopped by yesterday to see the teener and drove over his '73. Glad to have another fanatic close by!
Posted by: Jmedeiros May 2 2013, 12:36 AM
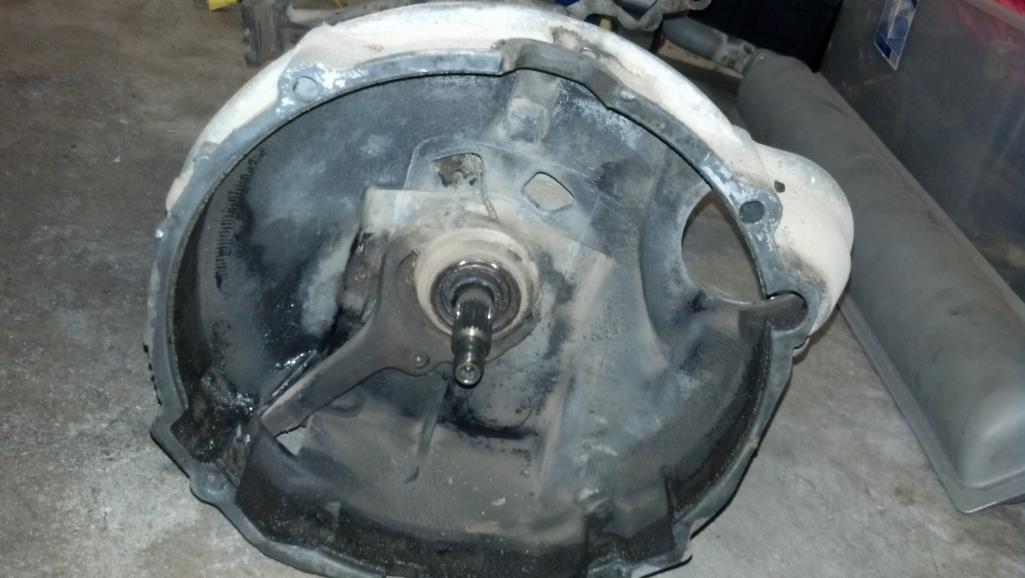
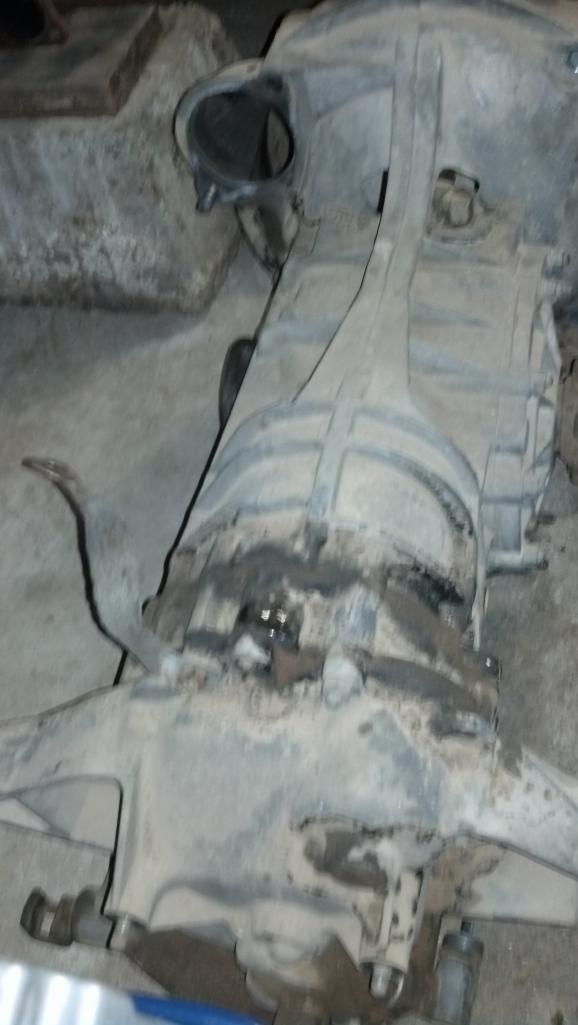
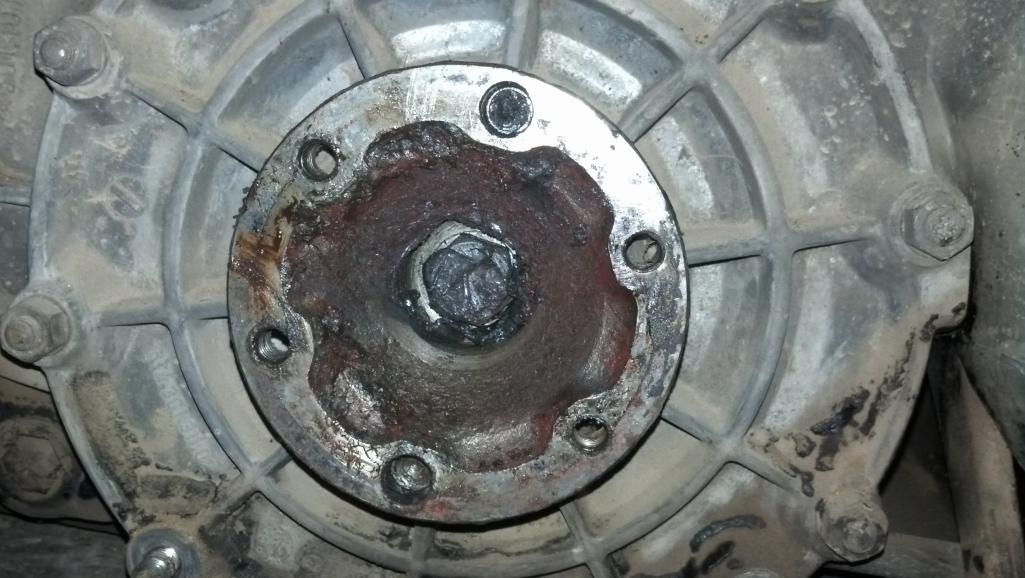
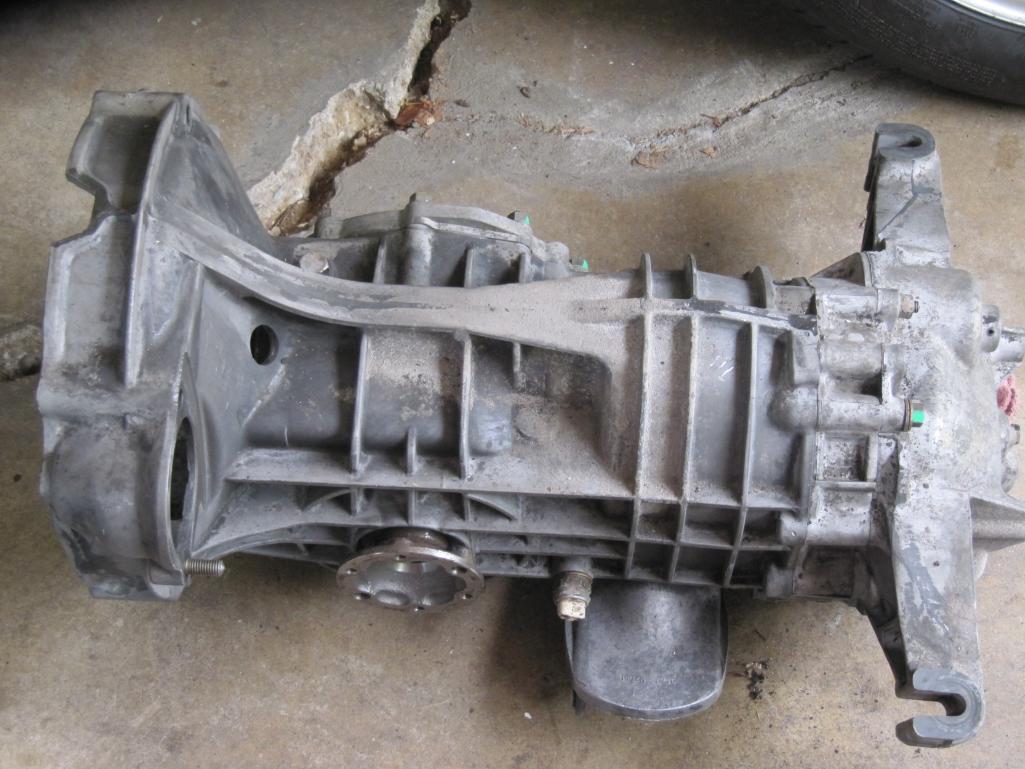
Got to pull the engine today. Took a trip to Parts 'Heaven' & was able to find a side shifter though it'll take them about 1.5 weeks to get everything together. I'm beat so here's a couple pics of the engine and tranny. Will take more of the engine compartment & the underside of the car tomorrow.
Attached thumbnail(s)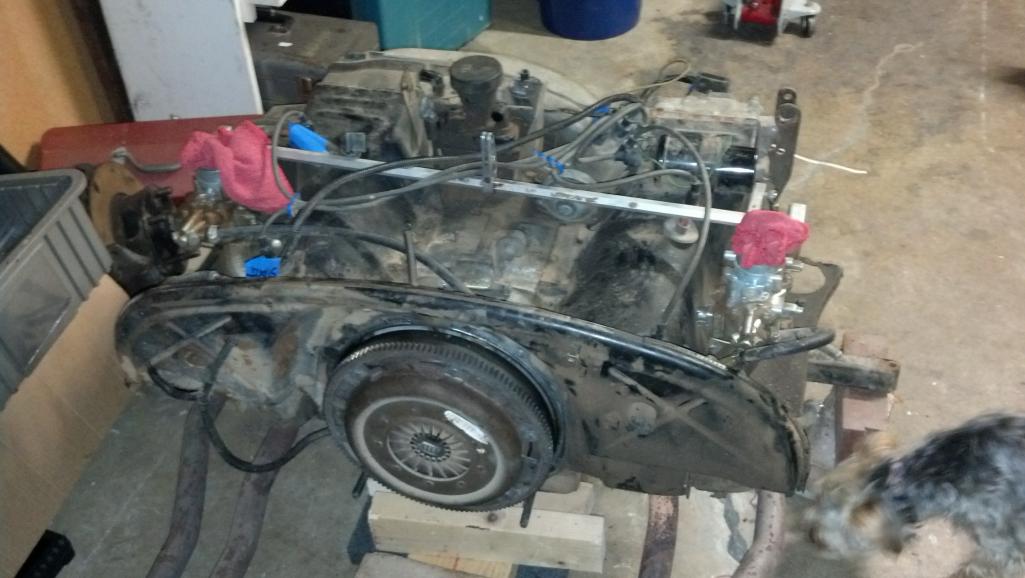
Posted by: FourBlades May 2 2013, 03:04 PM
You are making fast progress... 
That is a nice looking car.
John
Posted by: Jmedeiros May 11 2013, 02:20 AM
A few pics of the engine compartment after pulling the engine. Started pulling tin off the engine and taking them back down to bare metal. Will add a few more pics tomorrow if I get time after Cars and Coffee at Canepa. G'night ya'll.
Posted by: mdelwiche May 11 2013, 10:14 AM
Good luck on your project, I'll be checking in as I am doing the same thing to my yellow monster!
Posted by: Jmedeiros May 13 2013, 10:13 AM
So I stripped down a few pieces of tin & got the carbs ready to be pulled off. I have to degrease the tin that covers the spark plugs and get that down to bare metal. Have found a few areas with surface rust that I'll be treating with vinegar & water followed by a water rinse after I get the other tin ready. Having to leave town for work this week so, progress will be slowed for a week. Stay tuned!!
Posted by: Chris H. May 13 2013, 12:15 PM
Oh lookie what I found! It appears that a mouse (now deceased) had built a little nest/house under the dash in the front trunk. Had a full bucket of hay come out of there! Ran into a starter issue
that I had to get fixed & am replacing the ignition right now so I have the steering wheel pulled & am starting the teener with a screwdriver! MrHolland stopped by yesterday to see the teener and drove over his '73. Glad to have another fanatic close by! A mouse nest? Noooooo waaaayyyy
 . I don't think there's been a single car I've bought that was non-up that didn't have mouse "evidence" of some kind. They like to chew the dash and fuel sender wires BTW. Must be extra tasty. If anything electrical isn't working at all check the wires first.
 Cool find! Had one just like that in college. My favorite car of all time.
Posted by: green914 May 13 2013, 12:48 PM
Glad I looked at your thread, I just brought home a 73 that the previous owner tore down; he bagged many of the nuts and bolts, I hope that helps. Thank you Konrad for passing on the info 914 katalog, It sounds like it will be a big help.
Posted by: Jmedeiros May 22 2013, 06:18 PM
Here's a shot of the tin after a bit of wire wheeling.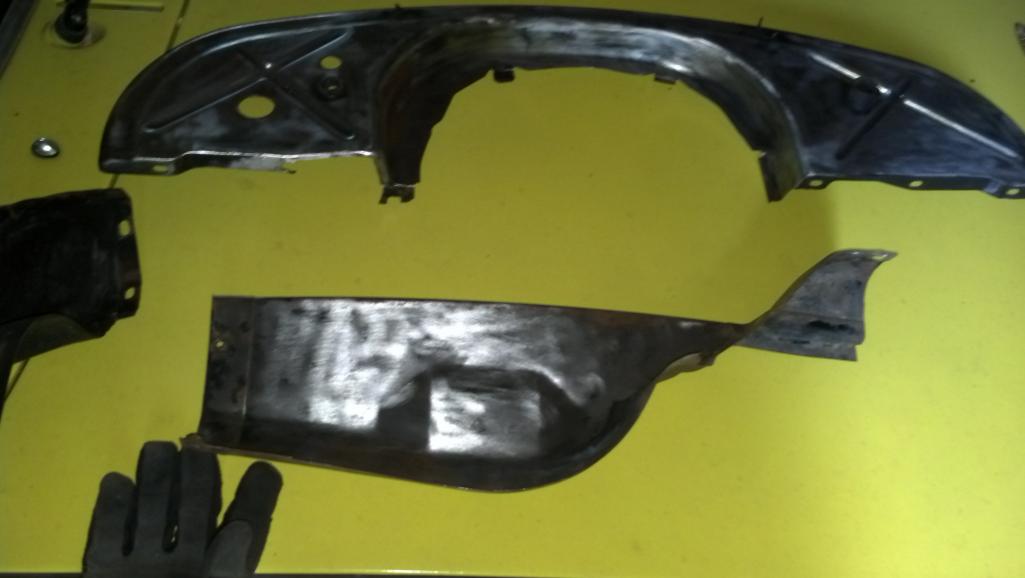
Here's one of the carbs after I cleaned it up. It was coated with dirt & oil.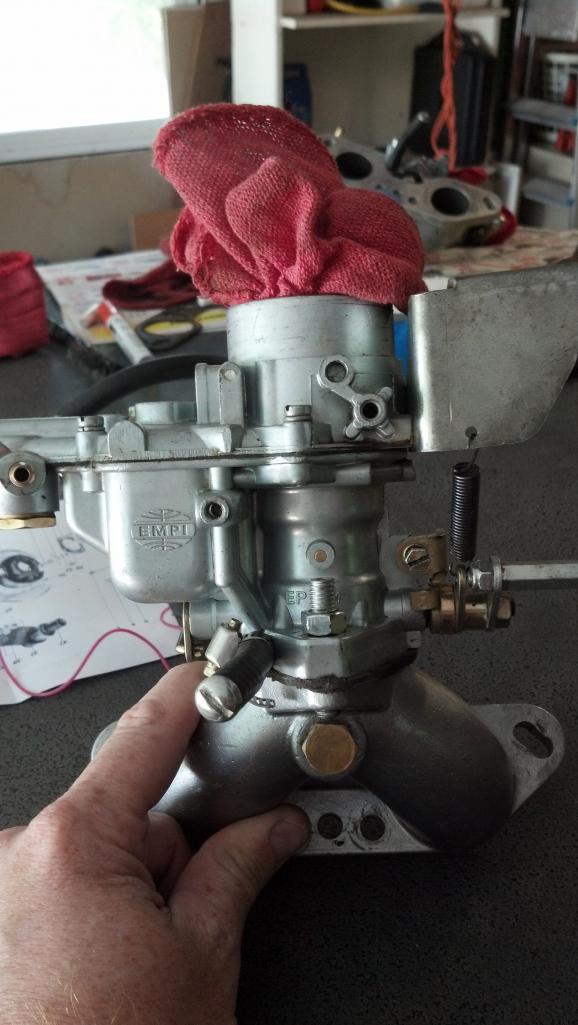
Here's another one of the tin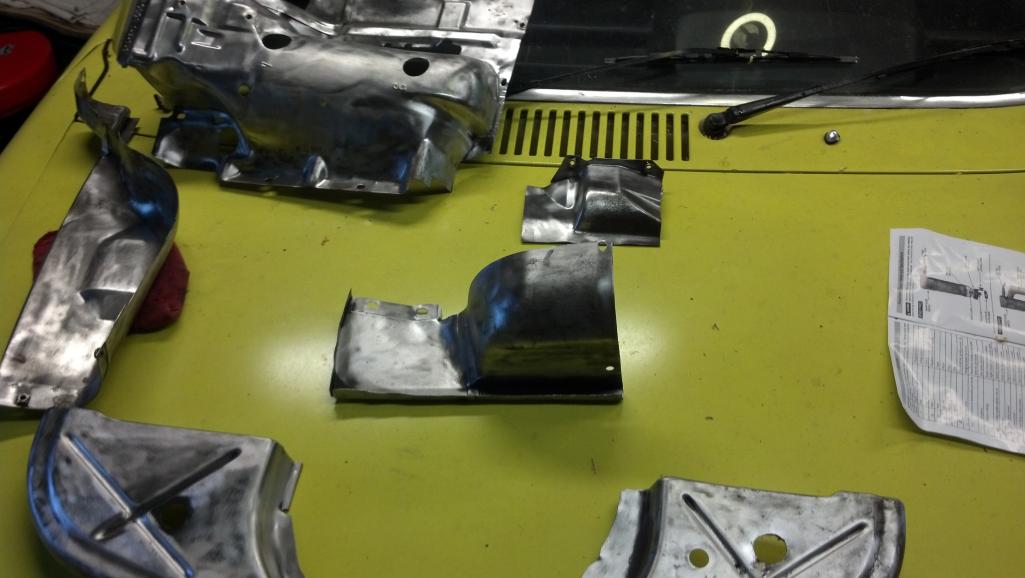
My brother John has been helping and adding some gentle advice. He's been running some test beads with the welder at his house so, hopefully when we start cutting out the bad, he can weld in some good! :-)
Here's a bit of the bad down in the 'Hell Hole'.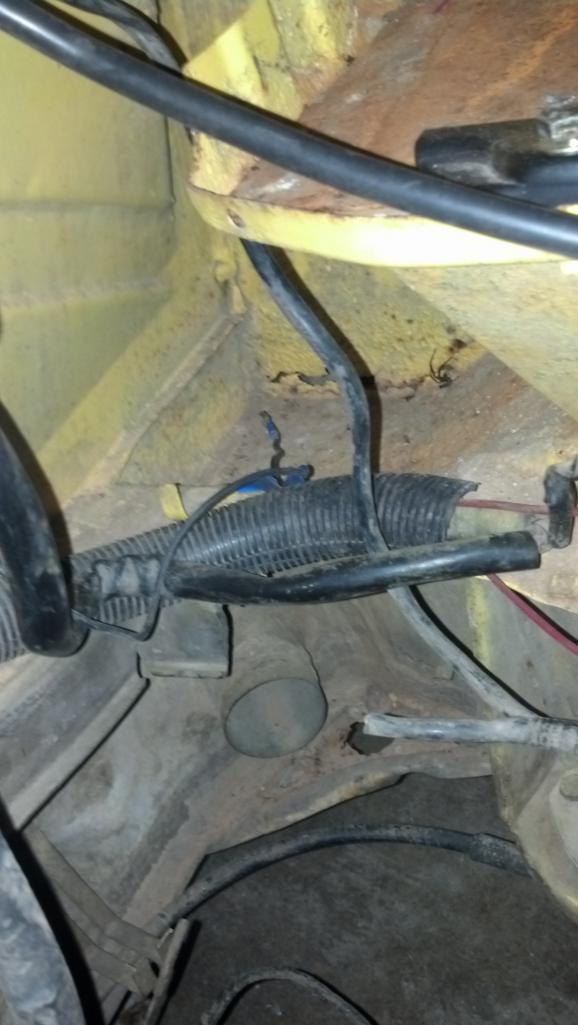
Posted by: Jmedeiros May 22 2013, 06:29 PM
I found that all the bagged nuts and bolts were for stuff that was taken off the car & thus, useless on what was left. When you say 'tore down' how far down is down??  Assuming you're having to put stuff back together, hopefully those bagged bits are labelled!!
Glad I looked at your thread, I just brought home a 73 that the previous owner tore down; he bagged many of the nuts and bolts, I hope that helps. Thank you Konrad for passing on the info 914 katalog, It sounds like it will be a big help.
Posted by: Jmedeiros Jun 2 2013, 05:27 PM
A few more pics:
Here's the side shifter tranny from Parts Heaven that's going in.
Took this so you could see the dirt packed on the cooler but it's a bit blurry. Clean up of the engine continues!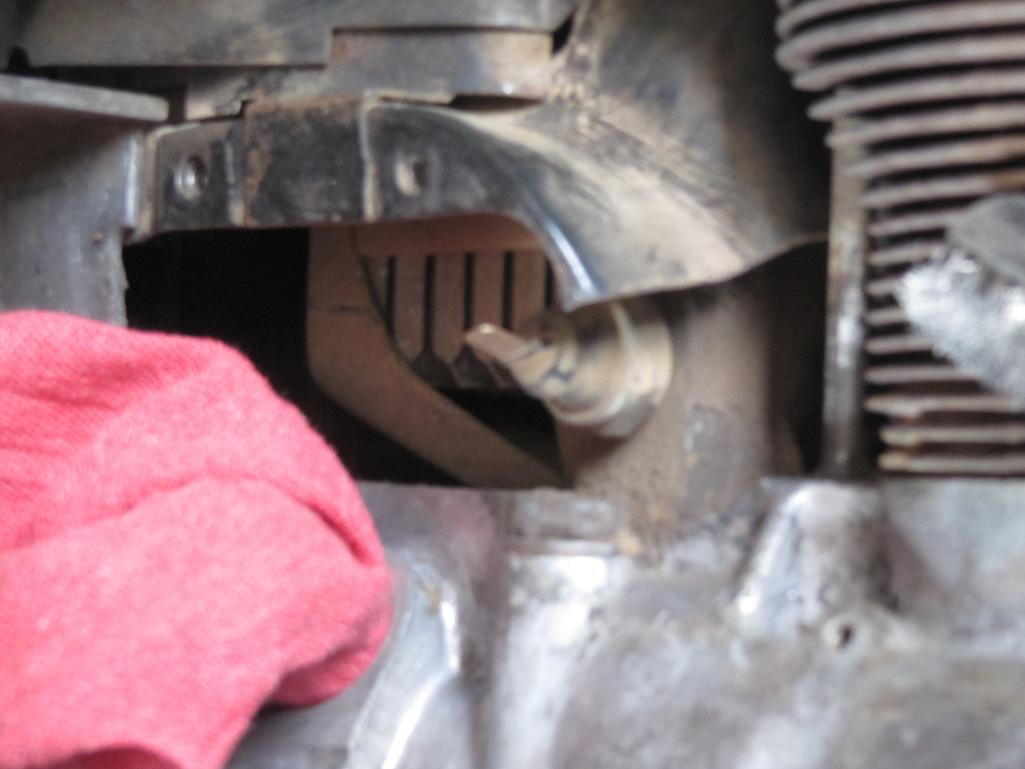
Posted by: Jmedeiros Aug 8 2015, 05:01 PM
Finally getting back to the build. I've decided to go full track car with a 3.? as a power plant with a 915 tranny. Stay tuned for more fun!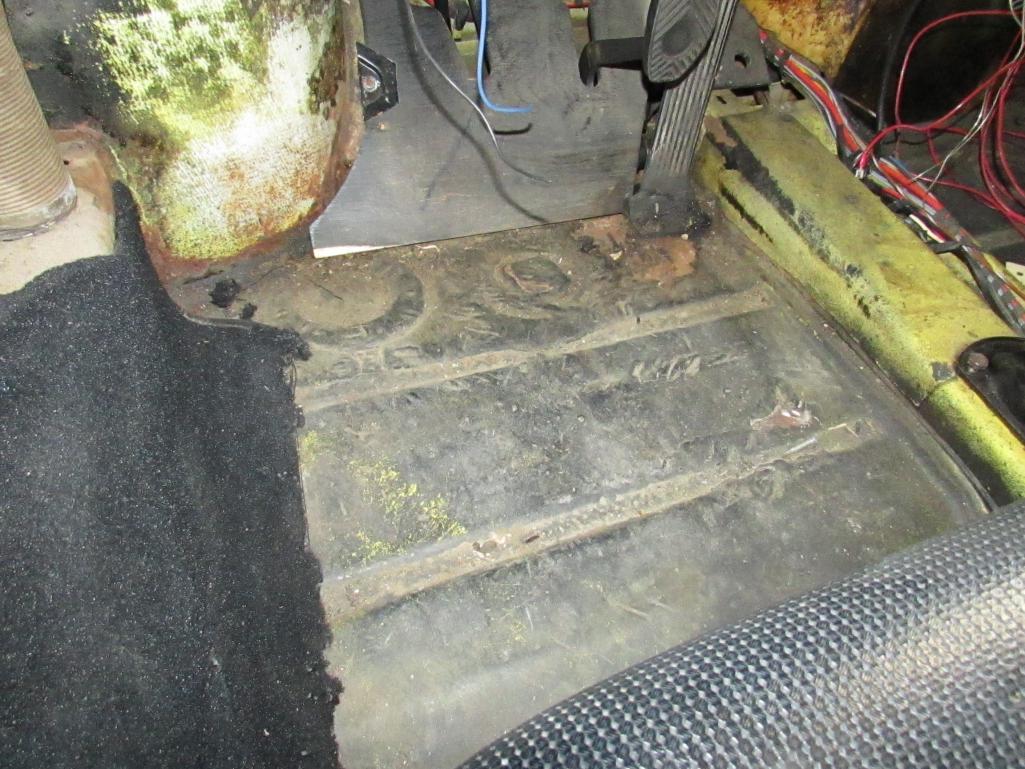
Posted by: Jmedeiros Feb 21 2016, 11:01 AM
Finally after a move from San Jose to Los Banos, I was able to start working on the car again. I decided to stop restoration & make this a track car. This allowed me to bring in some professional help & allow someone else to help get the car built. Once the car was stripped down to the tub & media blasted, we found a large amount of rust that will need to irradicated along with chassis strengthening. I'll get some pics up soon!!
Attached thumbnail(s)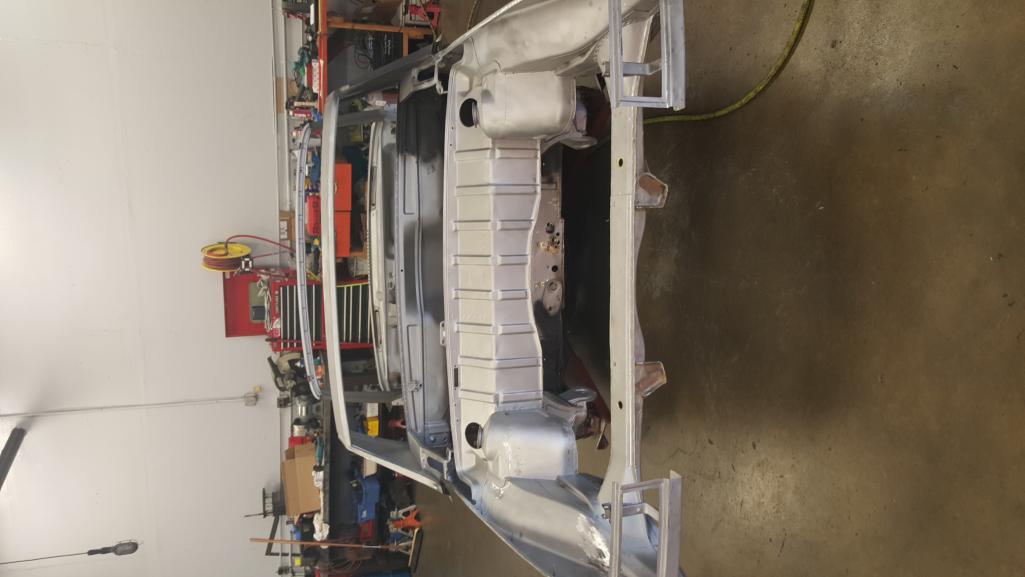
Powered by Invision Power Board (http://www.invisionboard.com)
© Invision Power Services (http://www.invisionpower.com)