Printable Version of Topic
Click here to view this topic in its original format
914World.com _ 914World Garage _ Starting rust repair
Posted by: last337 Dec 6 2013, 02:40 PM
I have been searching the forum and cant seem to find the best way to lift this thing for starting rust repair. I have access to 6x6 lumber pieces they use to crib lift houses in NOLA and have a number of 3-4 foot pieces already on hand. I was wondering what the best points were for lifting it to be able to start pulling things apart but also allow access to the engine bay (to drop the engine and access from underside). Anyone with any good pics of this would be appreciated. Also, what height would be best for being able to get engine out but also work on this thing easily. Tonight it begins!
Posted by: jimkelly Dec 6 2013, 02:46 PM
nothing beats (or comes close to beating) a rotisserie.
though for long repair you probably want to support it evenly and at as many points as possible.
Attached image(s)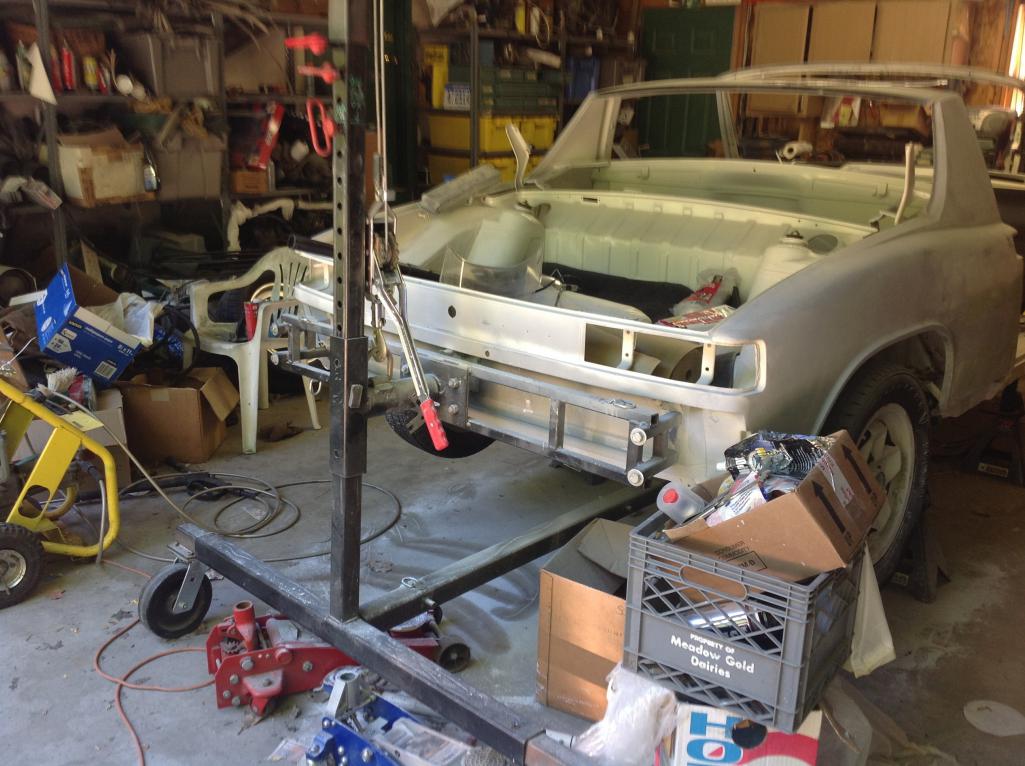
Posted by: SirAndy Dec 6 2013, 03:17 PM


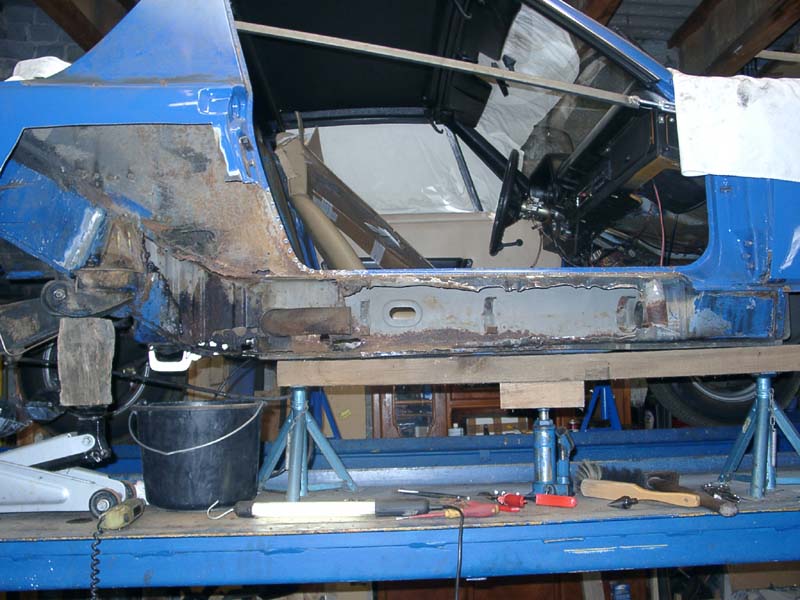
I like what they did for the blue car in the pic above. Supporting the longs that way will help prevent bending the tub as you're cutting into it.
Also note the door bracing they added ...

Posted by: obscurity Dec 6 2013, 03:21 PM
For most of the body work a rotisserie is probably the best. It will give you better (less contorted) access to most parts of the car.
to get the engine out I just jacked the car up and dropped it. Once it was out I built a wood box out of 2x4 and 3/4" plywood that hold it up well. It has given me good access to the Hell Hole but it won't work for the floors.
Posted by: ThePaintedMan Dec 6 2013, 03:25 PM
Jim always is really helpful in posting the right links and pics for people in need.
Actually, that second picture is great, and brings up a point that Rick made on the other thread. I forgot that I built my door braces to go between the door hinge and the seat belt hole, NOT the door latch striker like I had said in that thread. If you end up having to cut enough away from the rear quarter panel, like in that pic, you can see where having a brace going from the hinge to striker probably wouldn't be the best idea. Rich is right.... yet again.
Posted by: last337 Dec 6 2013, 09:32 PM
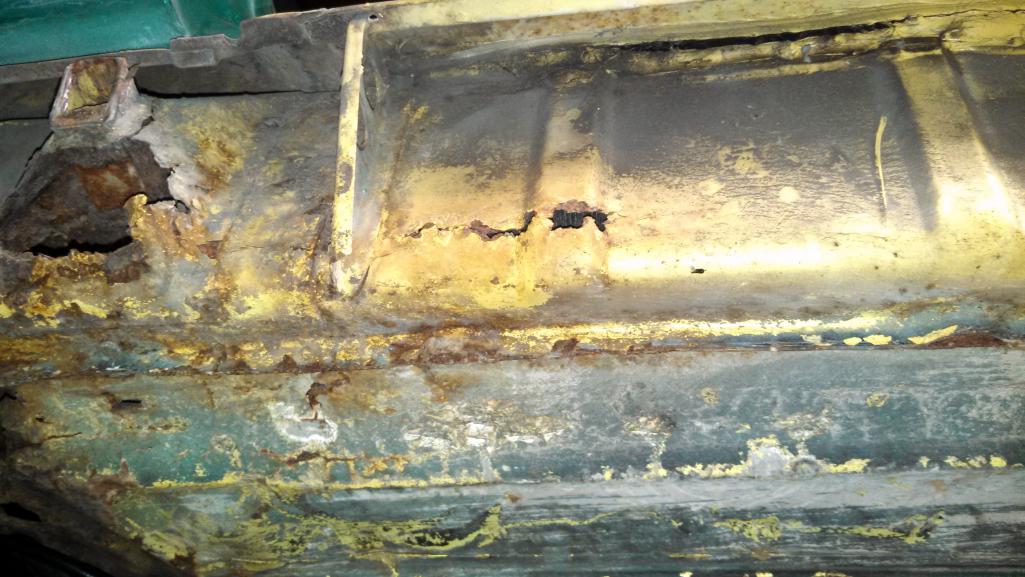
Honestly its not near as bad aspects i expected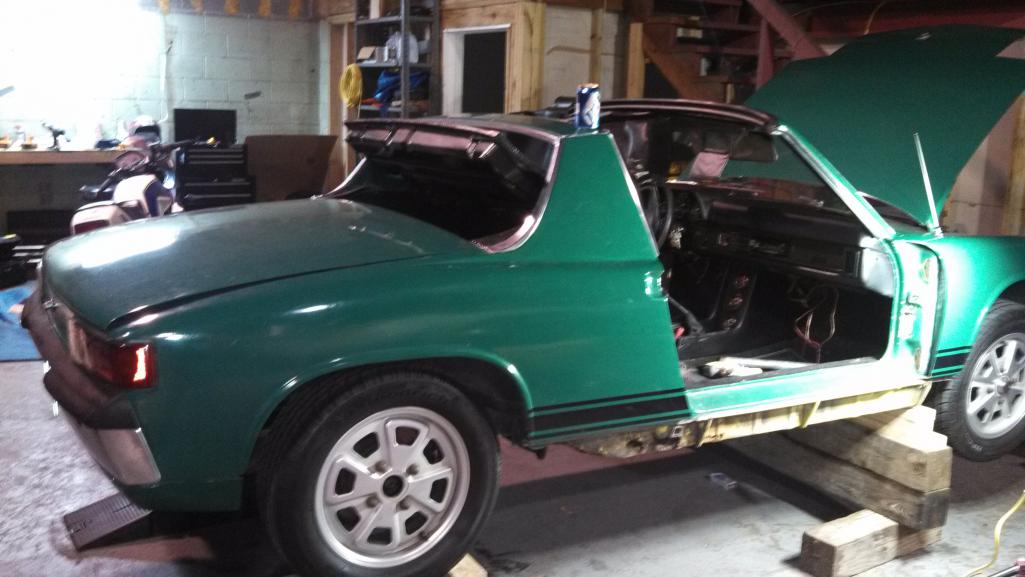
Posted by: last337 Dec 6 2013, 09:34 PM
Posted by: last337 Dec 6 2013, 09:39 PM

Posted by: last337 Dec 6 2013, 09:41 PM
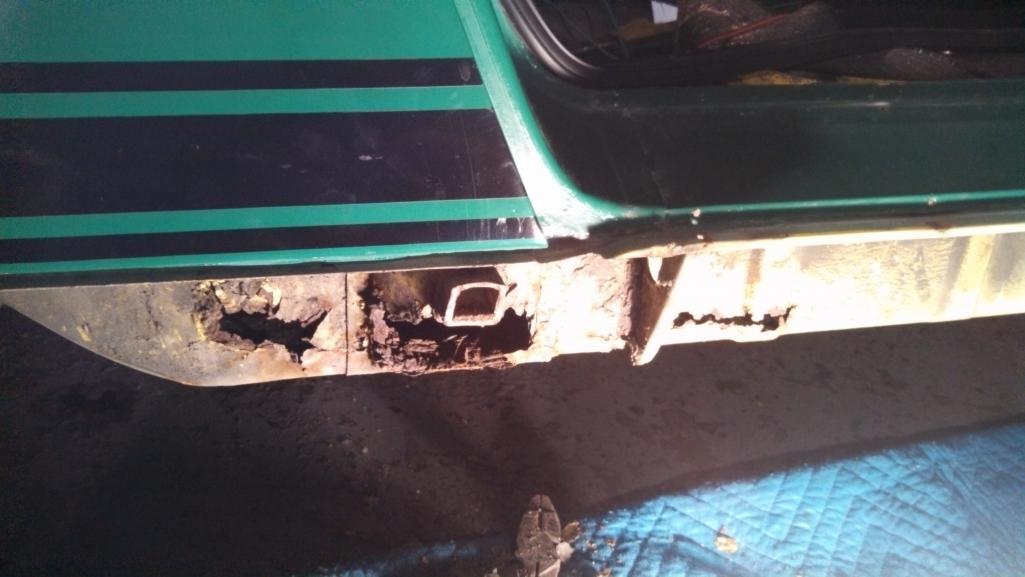
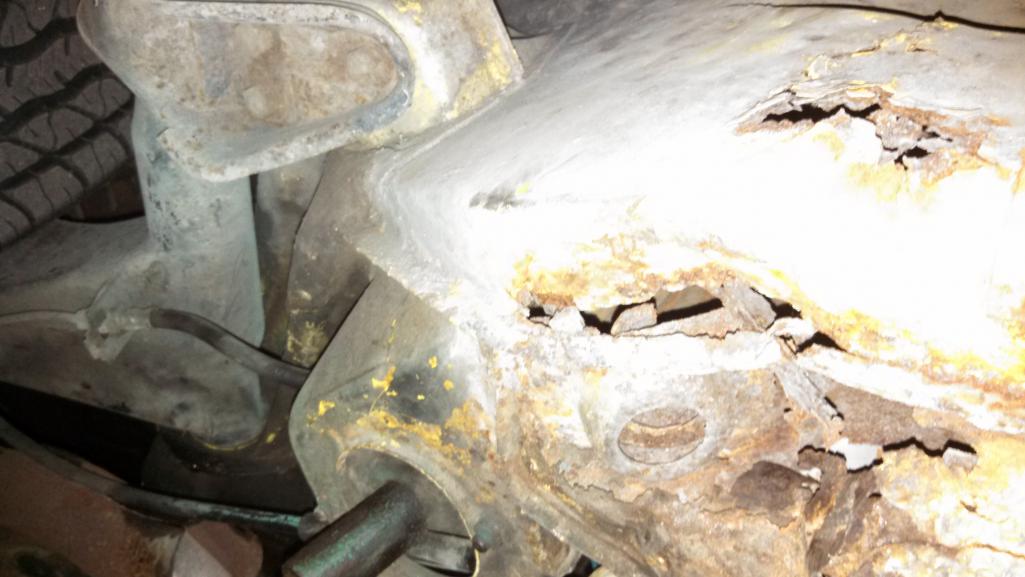
Look what they did here. Finally get to fix this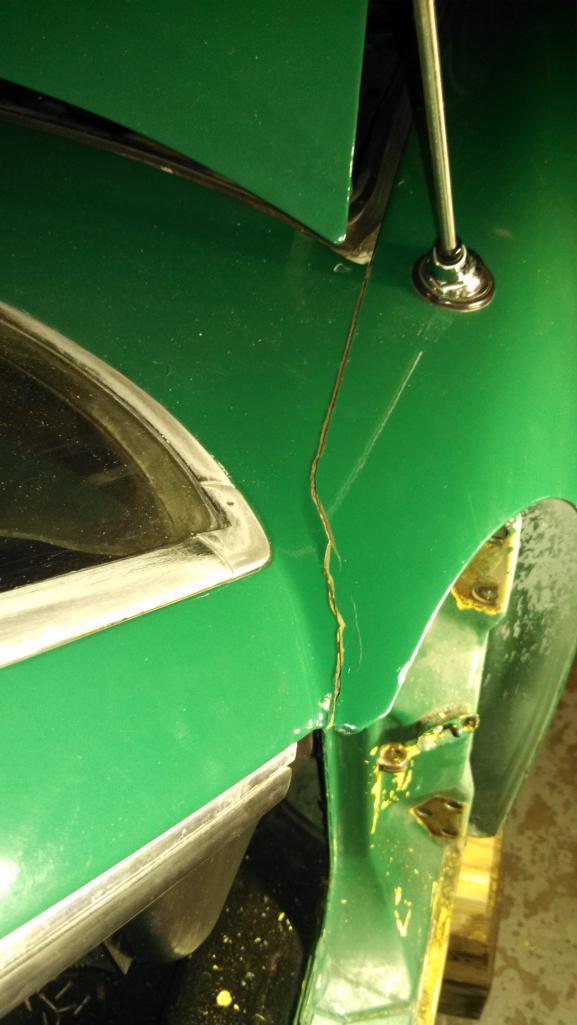
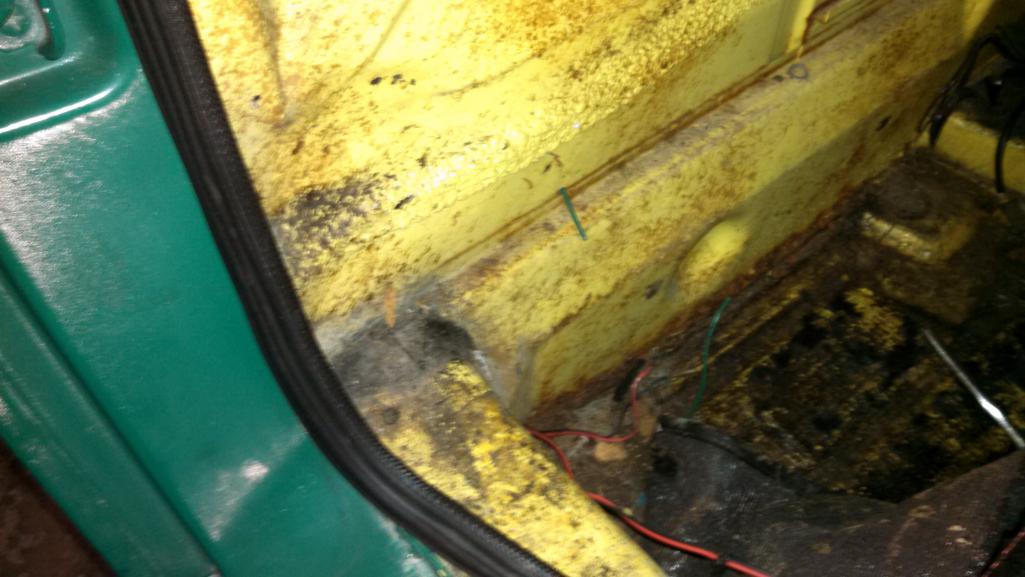
And check out the wiring to fuel pump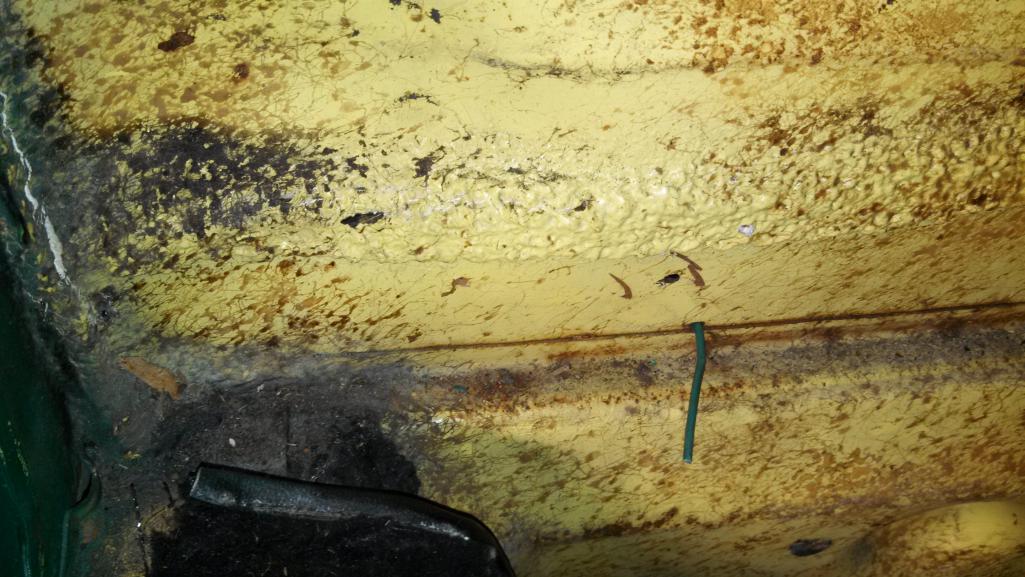
Posted by: SirAndy Dec 6 2013, 09:42 PM
That's about as bad as the blue car above. The good news is you can get all the pieces you need to fix this from RD.

Posted by: last337 Dec 6 2013, 09:44 PM
That's about as bad as the blue car above. The good news is you can get all the pieces you need to fix this from RD.
I wouldn't think I would need to cut that much off of the fender. That blue car cut a lot out. Is it easier that way? Should I just use a cutting wheel on a grinder for everything?
Posted by: SirAndy Dec 6 2013, 10:06 PM
The fender was cut to gain access to the long. It's much, much, much easier to fix that way.
Cutoff wheel

PS: And the engine has to come out!
http://www.914world.com/specs/tech_engdrop1.php
Posted by: last337 Dec 6 2013, 10:15 PM
Who thinks I should go back to yellow?
Posted by: Spoke Dec 6 2013, 10:53 PM
Hey, that's a low rust car here in the North East.
Good luck with the repairs. Measure the chassis at every point. Once it's twisted after repairs, it's hard to get it back to normal. Don't ask how I know.
BTW, yellow is the fastest color.....
Posted by: michelko Dec 7 2013, 02:03 AM
Hi that blue car is mine.
I decided to cut the quarter because of the better access.
Used a dremel with that tiny cut wheels to loose not too much material. Took. Some but they are cheap.
Michael
Posted by: last337 Dec 7 2013, 09:45 AM
The fender was cut to gain access to the long. It's much, much, much easier to fix that way.
Cutoff wheel
PS: And the engine has to come out!
http://www.914world.com/specs/tech_engdrop1.php
I am guessing it is best to drop engine before starting to cut? Is that because it makes it less likely to twist once you take that weight off?
Posted by: last337 Dec 7 2013, 09:58 AM
Hi that blue car is mine.
I decided to cut the quarter because of the better access.
Used a dremel with that tiny cut wheels to loose not too much material. Took. Some but they are cheap.
Michael
What pieces did you end up needing to order/replace from restorationdesign? I am looking at their site and I am not exactly sure what I am going to need. Dont worry, I wont order till I get it all apart just starting to price it all.
Posted by: michelko Dec 7 2013, 12:07 PM
Hi, i used the part 330 and 331 inner wheelhouse and301 inner rocker panel
Michael
Posted by: last337 Dec 9 2013, 09:44 AM
Just another pic of what is left of the interior. I found a relatively large rust area right under the driver's seat...glad that will be getting fixed as well. I had a hard time getting that center console stuff out of the interior. Does anyone have a link on how to disassemble all of that?
I am in the middle of dropping the motor at this point but having a hard time getting a few things loose. The allen key screw on the front shifter joint is pretty chewed up so that is where I stopped last night. I hope to have the engine out this week with lots more pics.
This is like pulling a thread on a sweater..
Posted by: 914werke Dec 9 2013, 12:00 PM
You were expecting MORE rust? 
Posted by: last337 May 5 2014, 08:43 AM
Rust repair is beginning again. I have been practicing my MIG welding and am feeling more comfortable moving forward now.
I realized that I didnt have enough measurement prior to taking doors off and making first couple of cuts so I put the doors back just to make sure nothing has moved yet with the few cuts I made. Good news is that the gaps all look good still so I take a number of measurements and then put my braces back in place.
Time to start cutting again! I was wondering what type/gauge steel you guys are using for fabbing up small pieces of the frame in places where I wouldnt want to buy the whole stamped out piece from restoration design? I will most likely have to buy the inner wheelhouse, inner rocker panel kit, and the rear floor pan but there are spots where I just need to fabricate small pieces to connect everything together.
I will update more pics as a starting point this week.
Posted by: saigon71 May 5 2014, 07:44 PM
Rust repair is beginning again. I have been practicing my MIG welding and am feeling more comfortable moving forward now.
I realized that I didnt have enough measurement prior to taking doors off and making first couple of cuts so I put the doors back just to make sure nothing has moved yet with the few cuts I made. Good news is that the gaps all look good still so I take a number of measurements and then put my braces back in place.
Time to start cutting again! I was wondering what type/gauge steel you guys are using for fabbing up small pieces of the frame in places where I wouldnt want to buy the whole stamped out piece from restoration design? I will most likely have to buy the inner wheelhouse, inner rocker panel kit, and the rear floor pan but there are spots where I just need to fabricate small pieces to connect everything together.
I will update more pics as a starting point this week.
I used 18GA sheet metal for patching the longs. Good luck with your project and keep us posted.
Powered by Invision Power Board (http://www.invisionboard.com)
© Invision Power Services (http://www.invisionpower.com)