Printable Version of Topic
Click here to view this topic in its original format
914World.com _ 914World Garage _ What is state of the art in Radiator venting?
Posted by: aircooledboy Feb 15 2014, 03:42 PM
Hey guys,
As I mentioned in my http://www.914world.com/bbs2/index.php?showtopic=205053&hl=, the PO of my V8 car made the vent cutouts in the wheel wells WAY to big, resulting in dangerous cracking. My body guy has just filled the holes back in, so we can start from scratch.
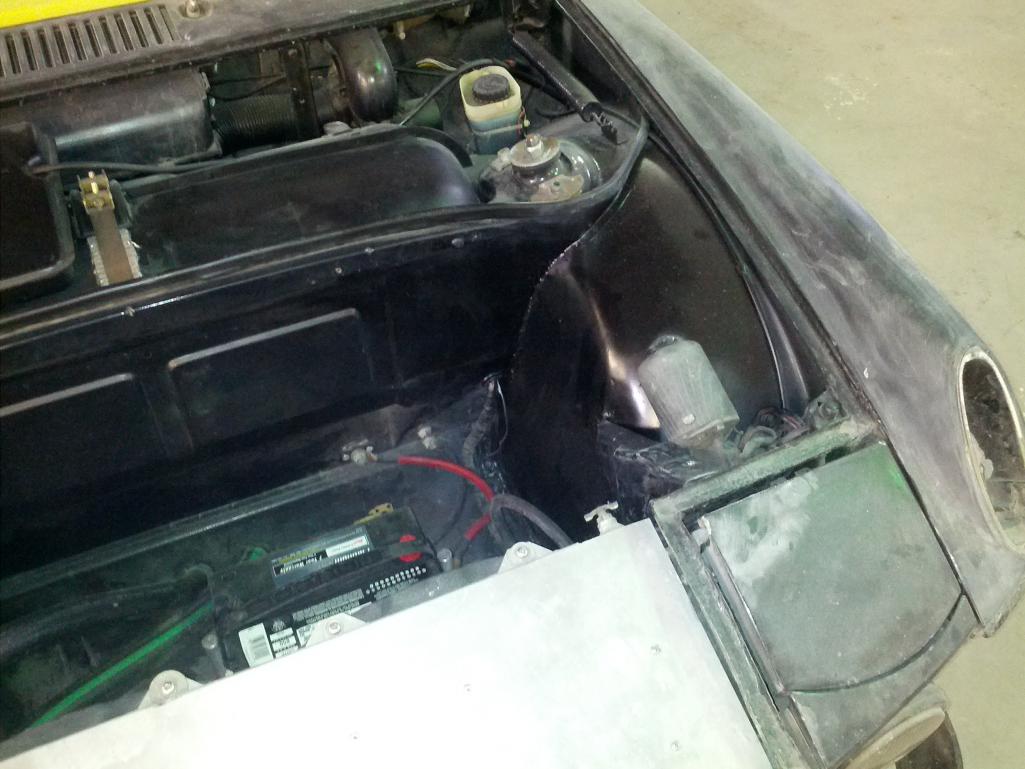
Several of you had mentioned the the current wisdom on these holes is that they can be much smaller and still get the job done. I did a search, but the huge number of possible search terms makes finding much of anything tricky. Soo. . . . if any of you could post some pics of what you have had success with, I would be grateful. I'll update my other thread, but he is nearing completion, and I am so excited, I can't stand it. I want to get the cutouts right, and get some paint on this beotch. 
Of course the part presumes that the freakin' snow will ever be gone, which seems iffy at this point. This is the view of my driveway this minute, and we are due to get a couple more inches tonight.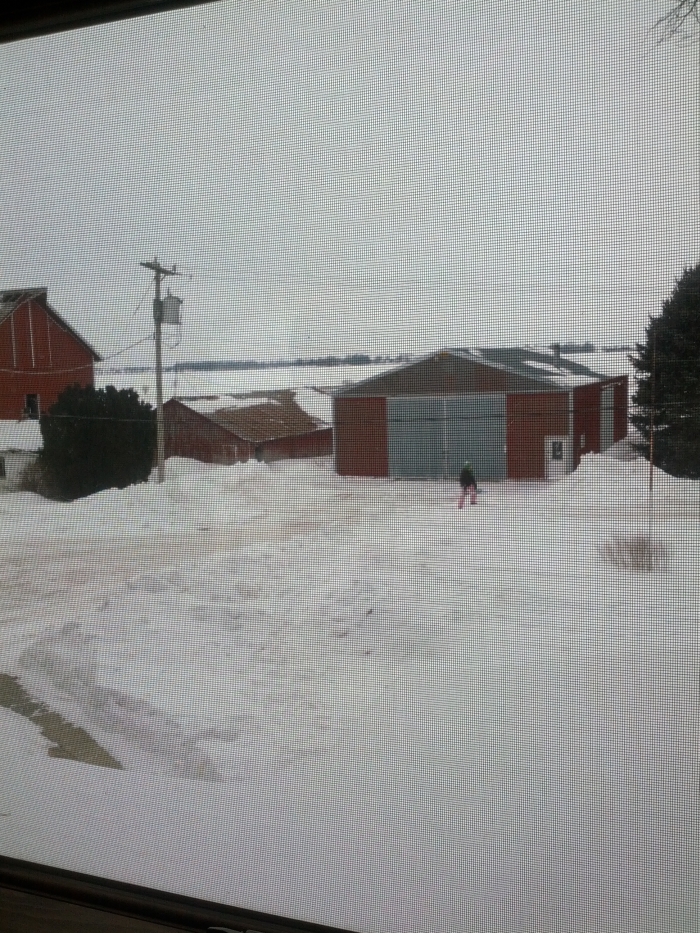
That's my 11 year old snowboarding on the 12 foot high snow banks in my drive
Posted by: nukepipe Feb 15 2014, 09:39 PM
Do you want to vent trough your wheel-wells or trough the hood? I seen venting trough the wheel-wells routing the air with a shroud. This will eliminate air re-circulation in the trunk. I will vent trough the hood with a shroud.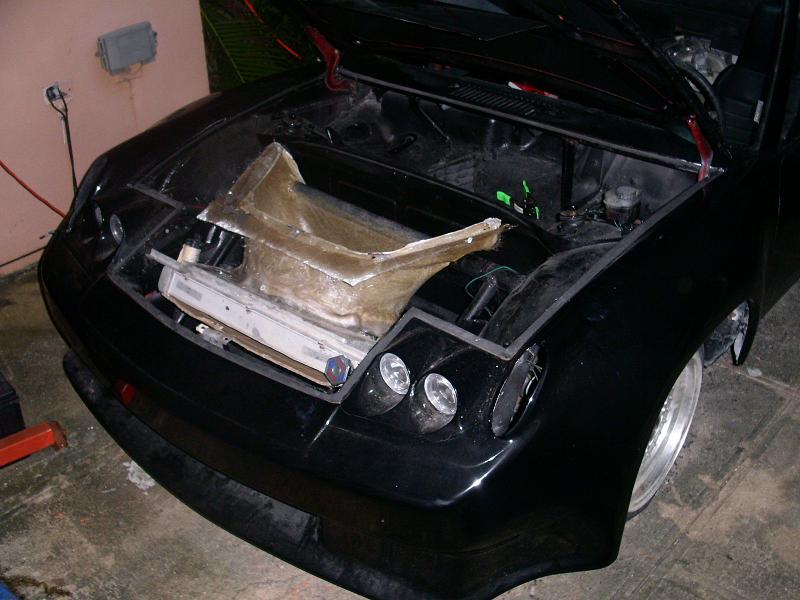
Also check Wigberto's thread....
Posted by: Mike Bellis Feb 15 2014, 09:49 PM
For "state of the art" you should mimic the 911 or Boxster system. This would leave a front trunk mostly empty.
Posted by: stownsen914 Feb 15 2014, 10:26 PM

For "state of the art" you should mimic the 911 or Boxster system. This would leave a front trunk mostly empty.
Keep in mind that the shape/aero of a 914 is nothing like that of the newer Porsches, so what works for them may not be the best option for a 914. I would think hood and wheel wells are the best options. I've seen it done out the floor too, but don't know how well that works.
Scott
Posted by: aircooledboy Feb 16 2014, 11:02 AM
It seems to me, others have found that exit venting though the hood will only work if you also build a lip to change the air flow, or you end up with a low pressure area due to the normal flow in that spot. Low pressure = low velocity = not great cooling. I've seen at least one really nicely executed example with the lip (Andys), but I prefer the stock sleeper look. The other issue I've always wondered about with a hood vent is whether it doesn't drop hot air right into the cockpit with the top off (think "major low pressure area" with the top off).
I'd love to vent it out the bottom, but I don't think anyone has made this work well. Even going out the wheel wells, with the top on in the fall, if I roll the windows down part way, I suck the hot air exiting into the cabin some. I discovered this a few years back driving to the MWC with the wife. I cracked the window at highway speed to get a little cool air, and the cabin temp actually went up. 
I'm just hoping to see what the minimum size is that guys have used successfully.
Posted by: Mike Bellis Feb 16 2014, 11:16 AM
On my first conversion I had the air exit through the bottom. I had a Ford van radiator modified by a shop to lay flat with a long filler neck added to the front of the top tank. This neck was vertical when the rad was flat. The radiator installed low with a fan under it. I fabricated a shelf above that acted like a shroud to send air from the bumper through the rad. The shelf acted like a trunk floor, So I had a shallow front trunk.
It worked great except on dirt roads when the fan came on. A dust cloud would spiral out from under the car right into the cabin when the windows were down. If the top was off, I would be covered in dirt.
If I were to do it again, I would design a shroud under the car to direct the air to the sides, not straight down.
There is also the added air under the car which is never good.
My next one will be fabricated with Boxster radiators under the headlight buckets and into the inner fender. One of the goals of my next conversion is to have a front trunk...
Posted by: ringerdc Mar 3 2014, 11:17 PM
here is an old picture of mine.... multiple 1.5" holes with chamfered edges.
Looks much better than chopping out a gaping hole in the wheel well IMHO.[attachmentid=440365] [attachmentid=440365]
Posted by: mittelmotor Mar 4 2014, 05:32 PM
Make sure to use generous radii on the corners of the openings, to avoid cracking, aka the Dehavilland Comet Syndrome for all you aviation buffs out there.
I used a 4" diameter cardboard disc as a template. Will try to post some pics when I get home.
Posted by: 76-914 Mar 4 2014, 06:47 PM
I think that depends on the individual's cooling requirements. Suby's require < cooling so you might only entertain ideas from those cooling engines similar to yours. 
Powered by Invision Power Board (http://www.invisionboard.com)
© Invision Power Services (http://www.invisionpower.com)