Printable Version of Topic
Click here to view this topic in its original format
914World.com _ 914World Garage _ Front Sway Bar Bushing Install
Posted by: 76-914 Mar 13 2014, 02:11 PM
I was tentative about doing this after reading others comments about what a bitch this can be. I've also read the opposite but no one offered up their method. One even said they used a bar clamp which I couldn't figure out how without a hole in the fender.  First, I should mention that mine is a stock 15mm so all the fittings used are for this size only. You guy's think I do all this by myself but the truth is I have 2 helpers.
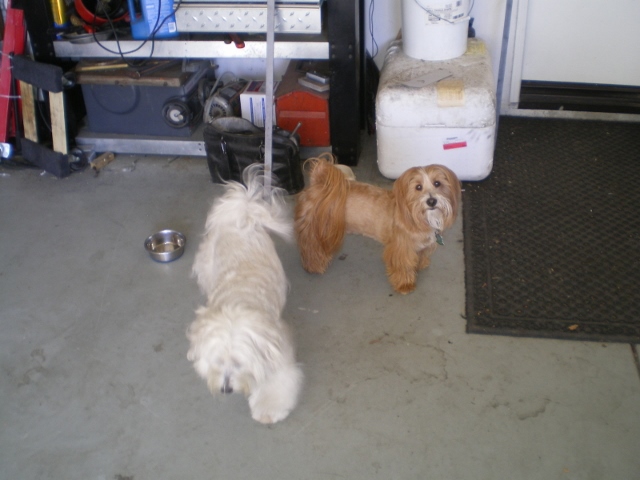
First order is the pot of boiling water which will soften the bushing somewhat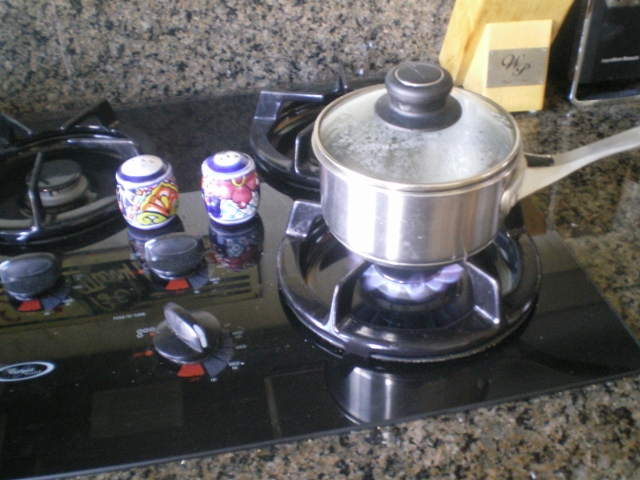
Then a piece of 1.5" pipe. Plastic (ABS, PVC or steel, all have the same ID)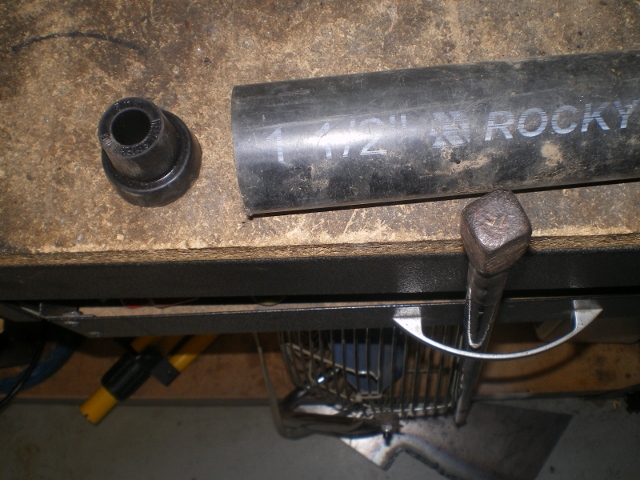
The pipe is used to steady and center the bushing.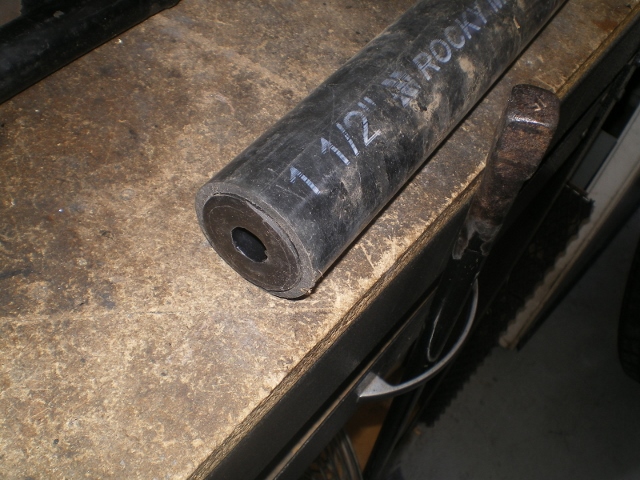
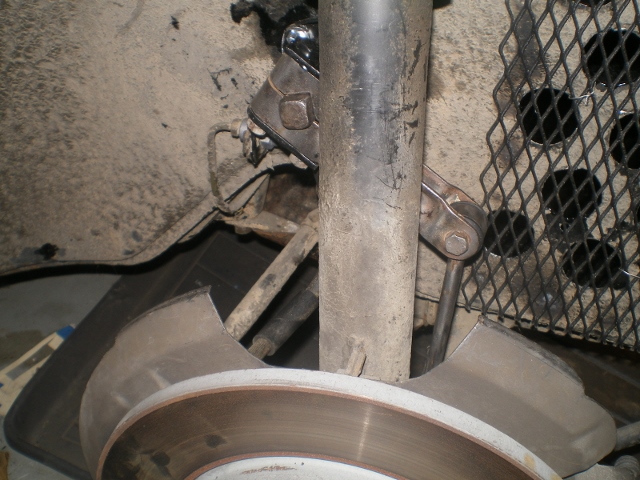
Next, the pipe is stood on end. The piece of plate steel beneath it is to protect the epoxy finish on the floor. Then the bar is stood upon the bushing. I used the drawer handle to hold the upper portion in place. This was necessary as my helper have no hands. 
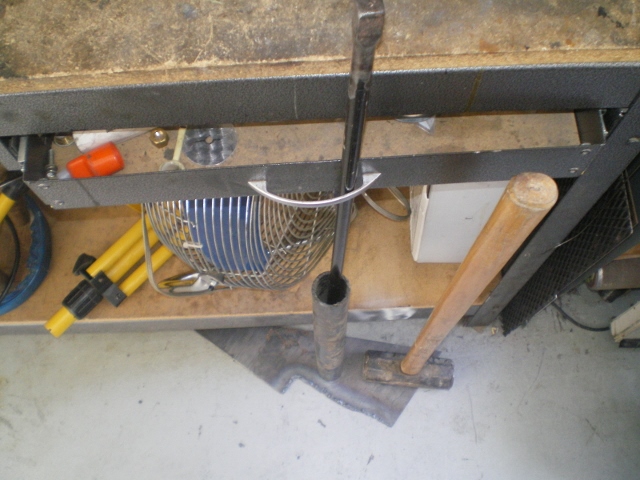
Then a quick tap on the bar with the 10lb sledge hammer ( a 3lb also works as you'll see) and presto, the first end is done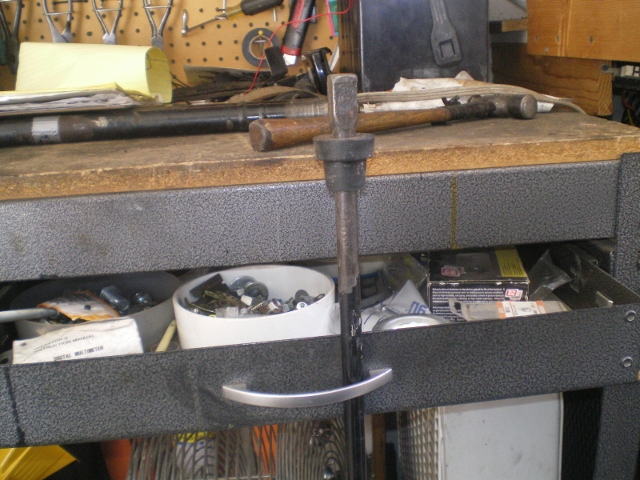
Then push the bar thru the L wheel well, slide it thru the 2 interior re-inforcement plates and back out thru the R wheel well. Next, I made a tool to install the other bushing. For the 15mm bushing I used: 1- 1/2"x18" steel pipe, 1- 3/4"x1/2" reducer, 1-3/4"x6" nipple, 1-1.25"x3/4" reducer. If your bushing is larger you will need to adjust sizes accordingly. The 1/2" pipe would not change but the reducers will. The larger reducer is used to "seat" the bushing and your sway bar must be able to pass thru the other side of the reducer. For example, if the OD of the "square" end is 1.25" the small end of the reducer should be 1.25" as well as the 6" nipple that will screw into that end. Looks like I get paid by the word but that's as short as I could make it.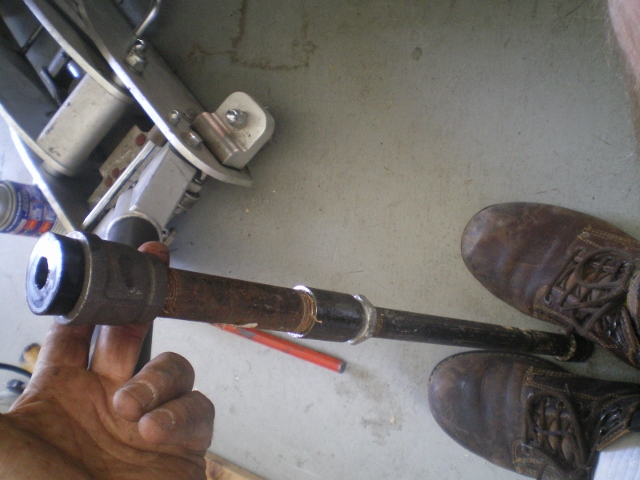
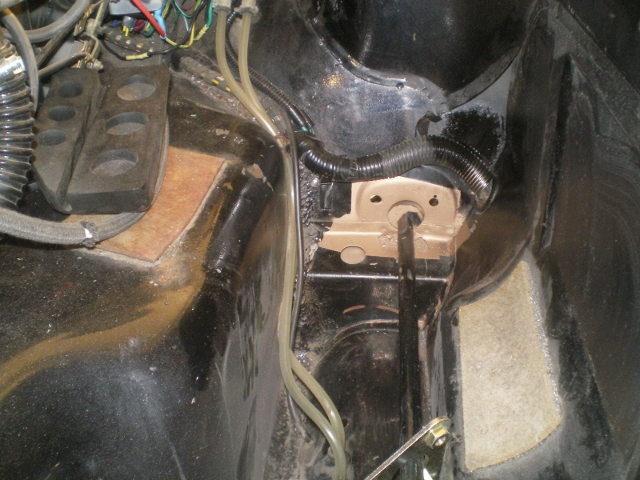
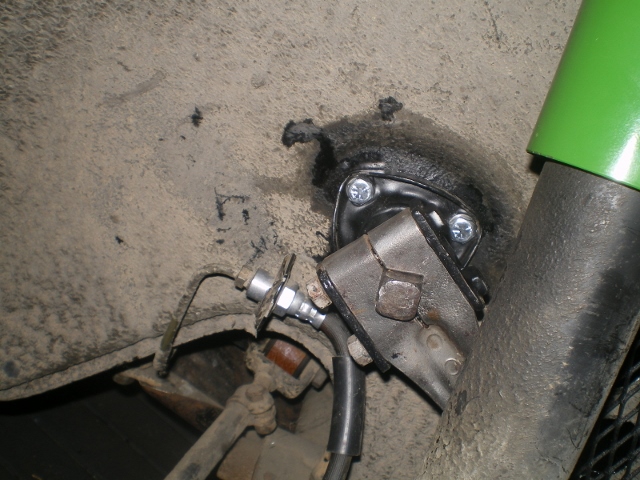
Since I would be driving the busing onto the bar this time I placed a pair of vice grips on the bar against the raised boss for a "back-up".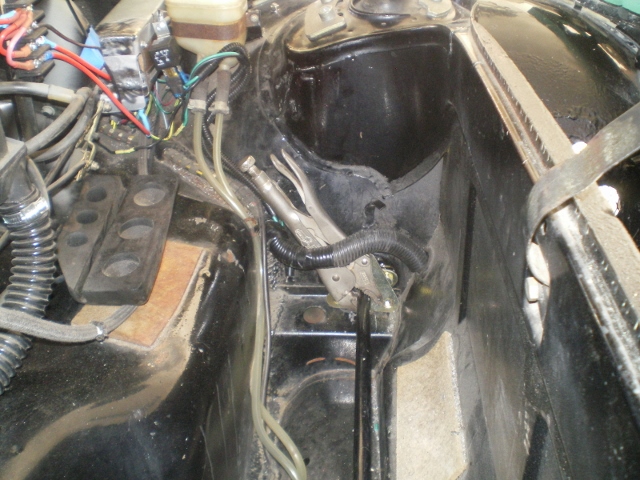
One solid whack with a 3lb hand sledge and it slid right on.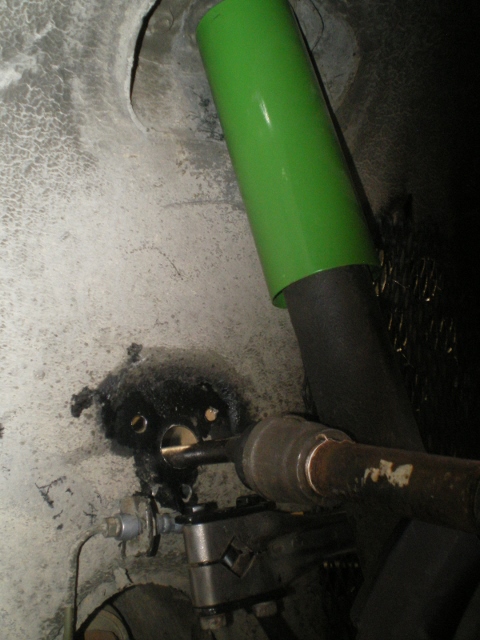
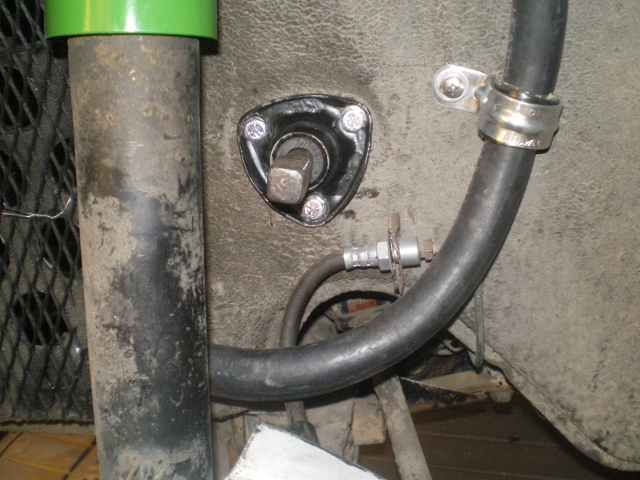
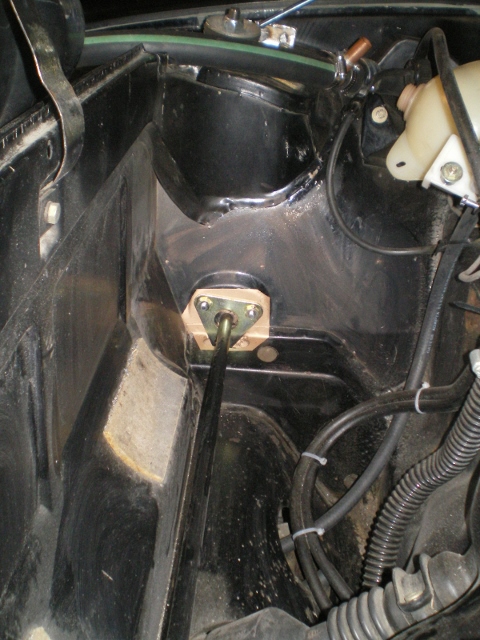
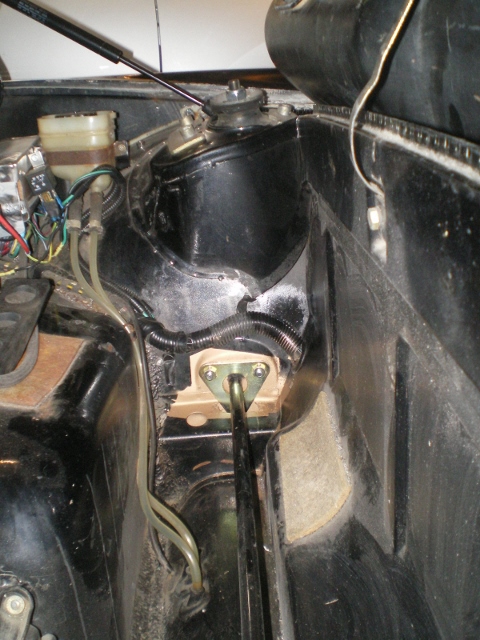
Then bolt her up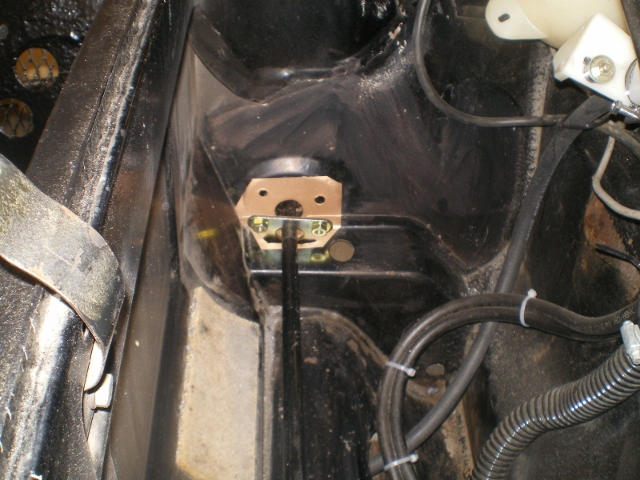
Attached image(s)
Posted by: sbsix Mar 13 2014, 02:18 PM
good garage help is hard to find
Posted by: bulitt Mar 13 2014, 03:54 PM
Cool! I just slit mine with a razor blade.
Posted by: luskesq Mar 13 2014, 04:45 PM
Your tips and photo are very informative as well as timely, I'm getting ready to do mine soon. Much appreciated.
Keith
Powered by Invision Power Board (http://www.invisionboard.com)
© Invision Power Services (http://www.invisionpower.com)