Printable Version of Topic
Click here to view this topic in its original format
914World.com _ 914World Garage _ 914-6 Restoration
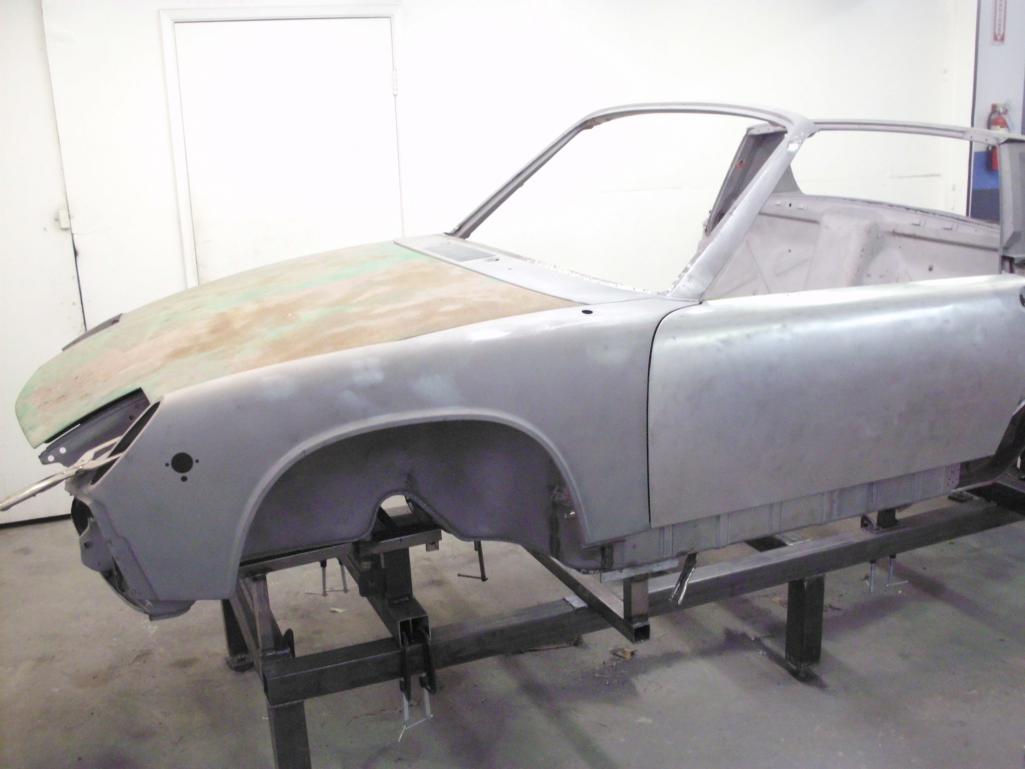
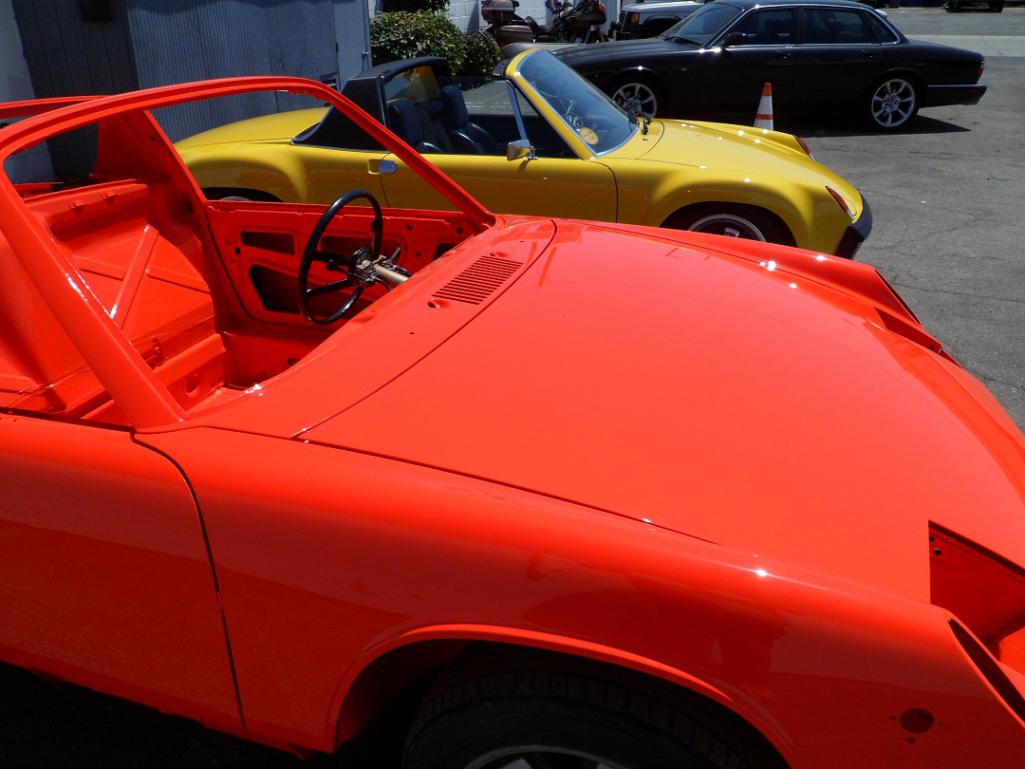
Posted by: 914350 Oct 24 2014, 12:25 PM
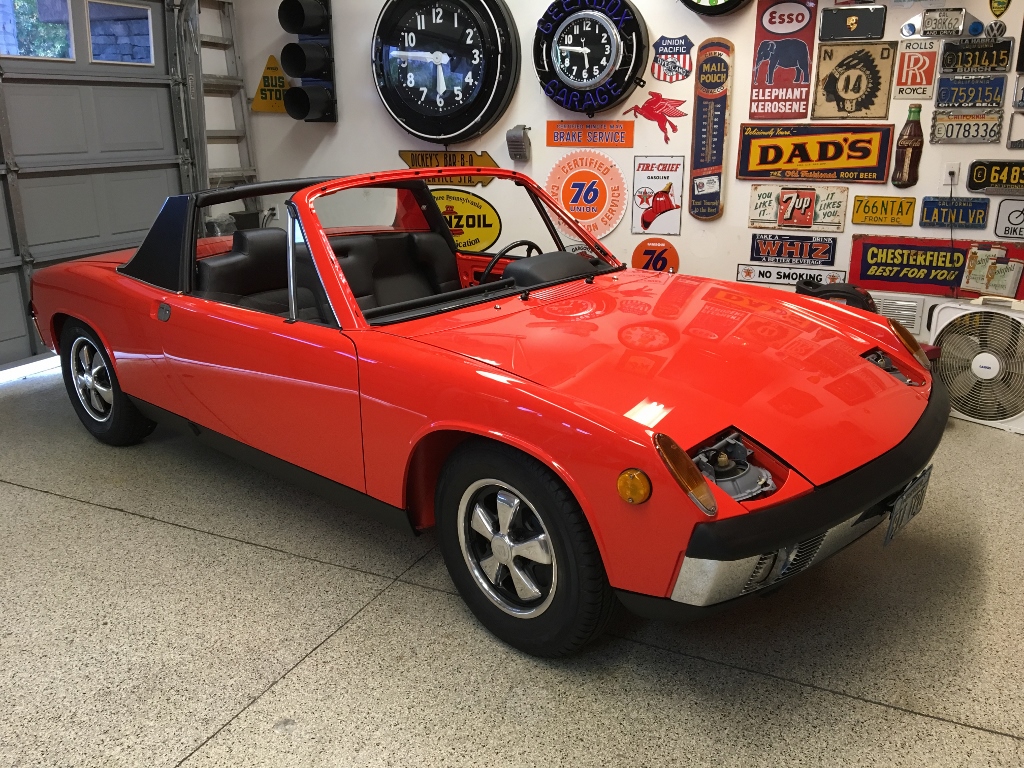
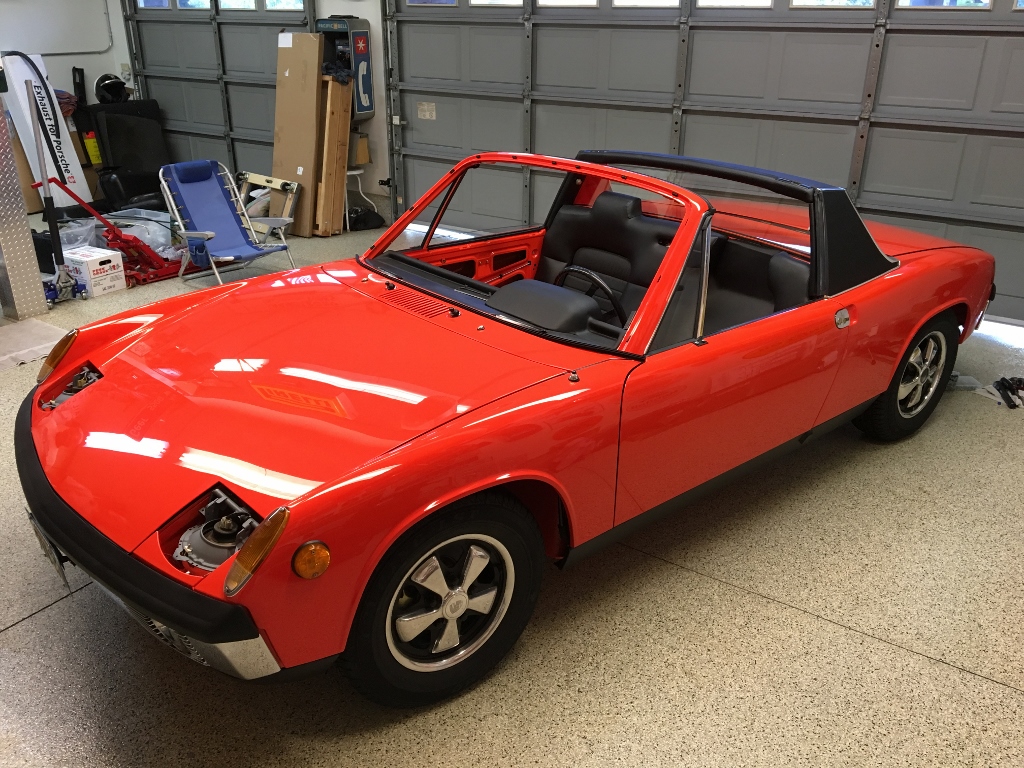
Hi all, I’m still a newbie here on world, I’ve made a few posts but have not yet formally introduced myself. My name is Kent and I have been restoring cars for over 20 years now. I did the reconstruction, body and paint on Andy’s (socalandy) 914-6. I immediately became hooked on 914,s and bought and built a 914 V8 conversion. I am starting a new restoration on another 914-6 so I will be posting pics of the progress as I go. The owner of this cars name is Jim and he has done a nice job of rounding up and restoring many of the parts thus far so this will no doubt be a nice car in the end. Andy (socalandy) posted a thread on this car a few months back and now it is in my shop and I’m ready to begin.
Attached thumbnail(s)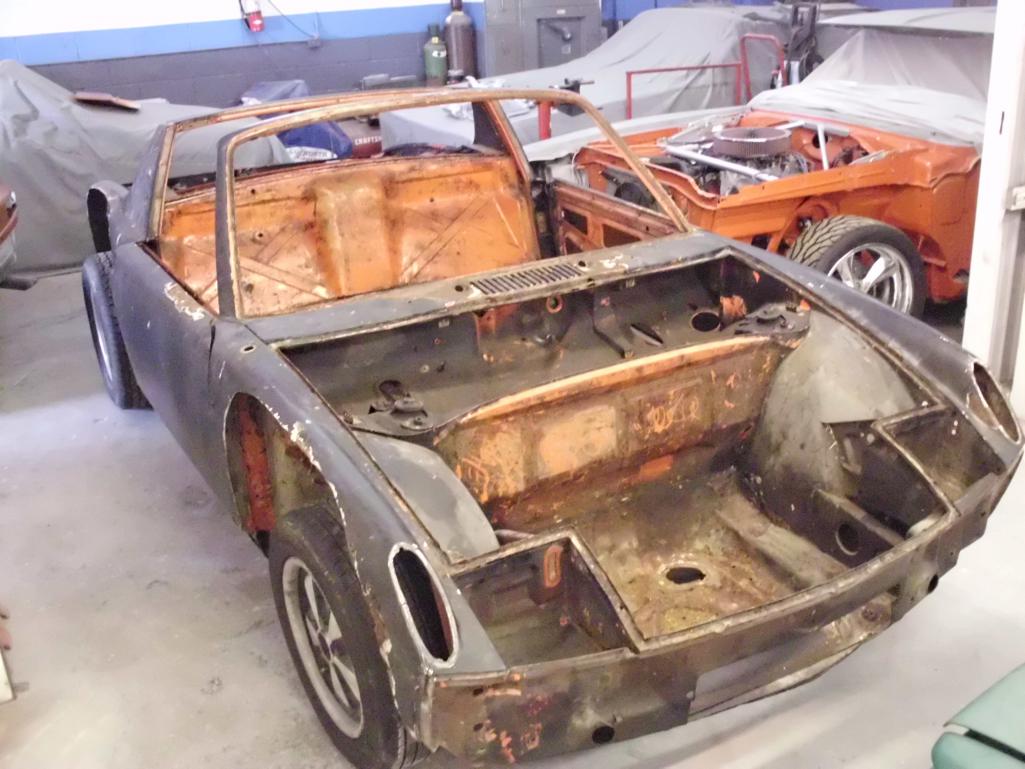
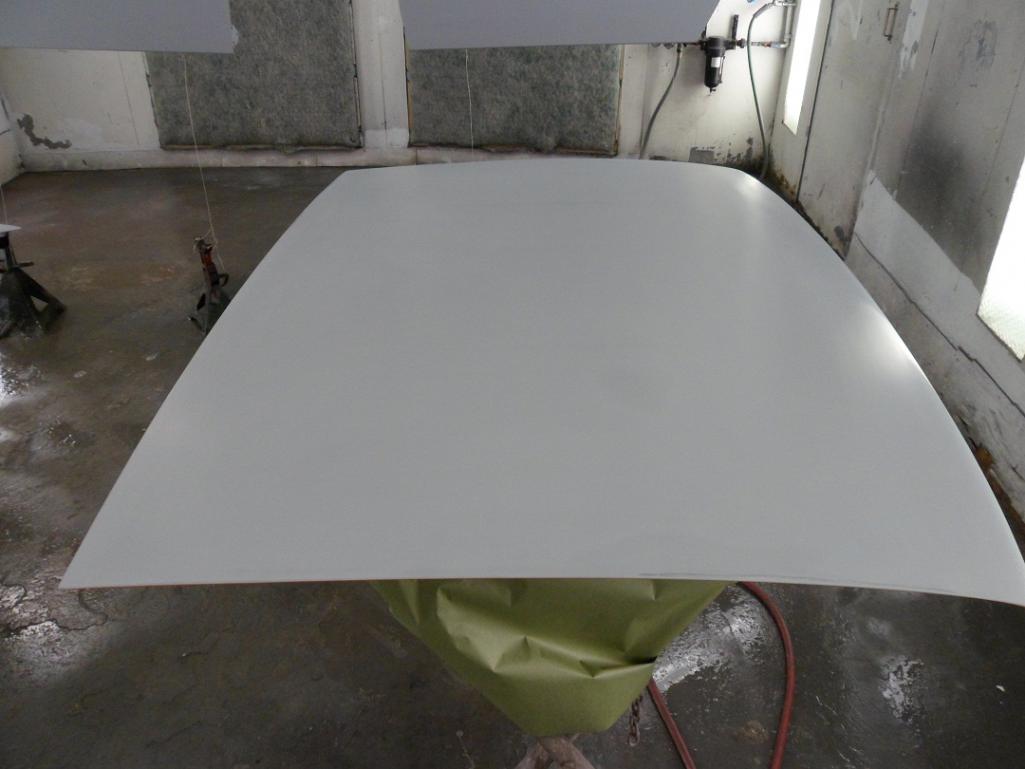
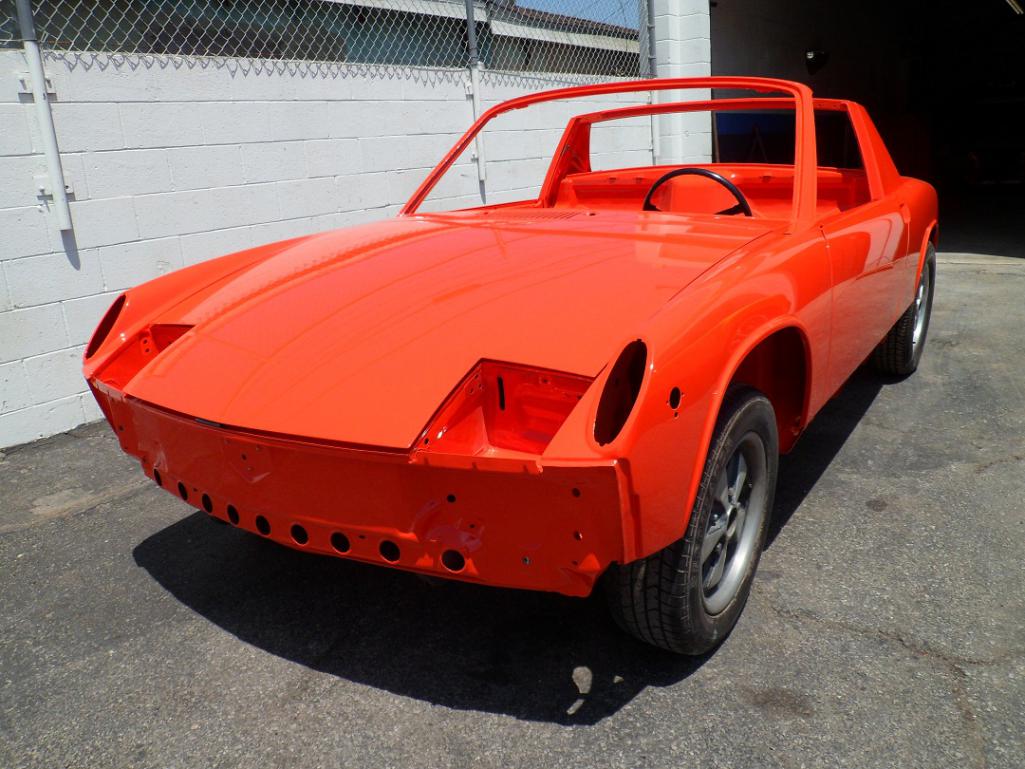
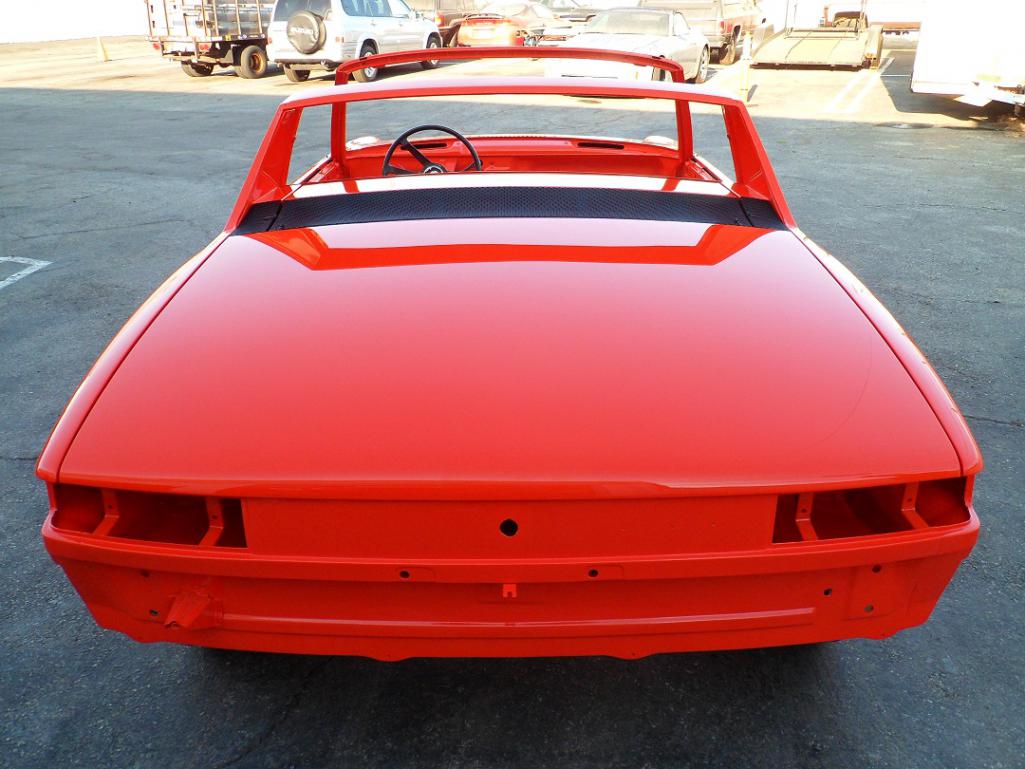
Posted by: 914350 Oct 24 2014, 12:31 PM
More pics
Attached thumbnail(s)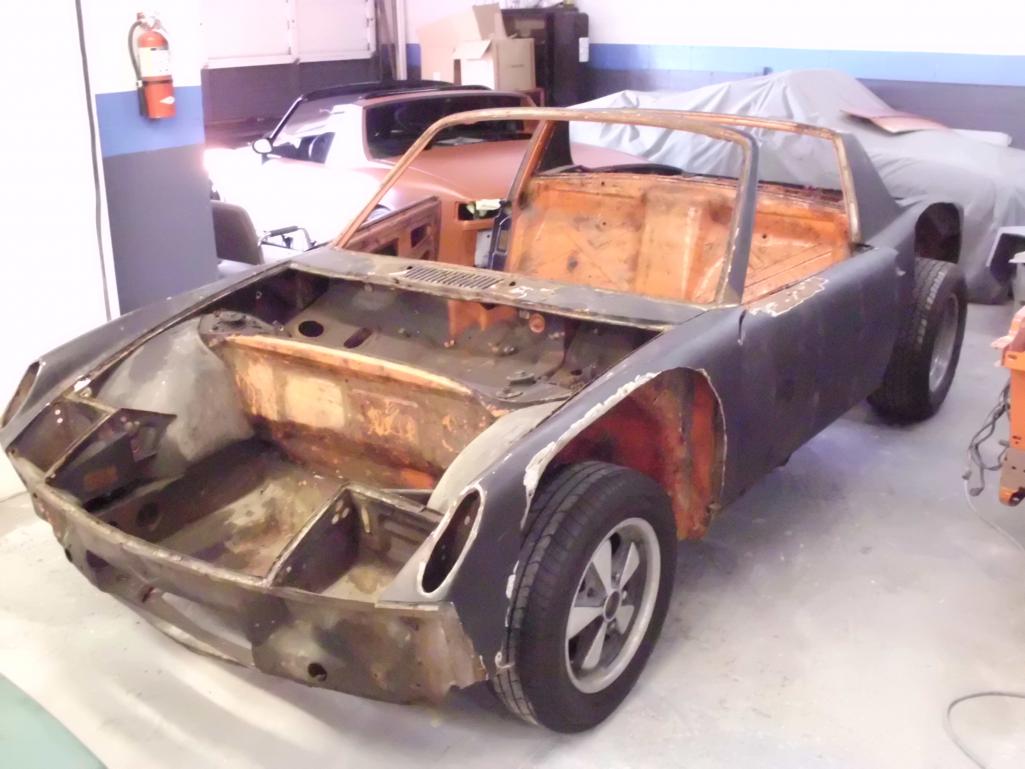
Posted by: sbsix Oct 24 2014, 12:32 PM
Kent, I can't wait to follow your progress on this six. Going through Andy's build was a real treat. Good luck and please take plenty of pictures.
Posted by: 914350 Oct 24 2014, 12:37 PM

Kent, I can't wait to follow your progress on this six. Going through Andy's build was a real treat. Good luck and please take plenty of pictures.
Thanks, will do.
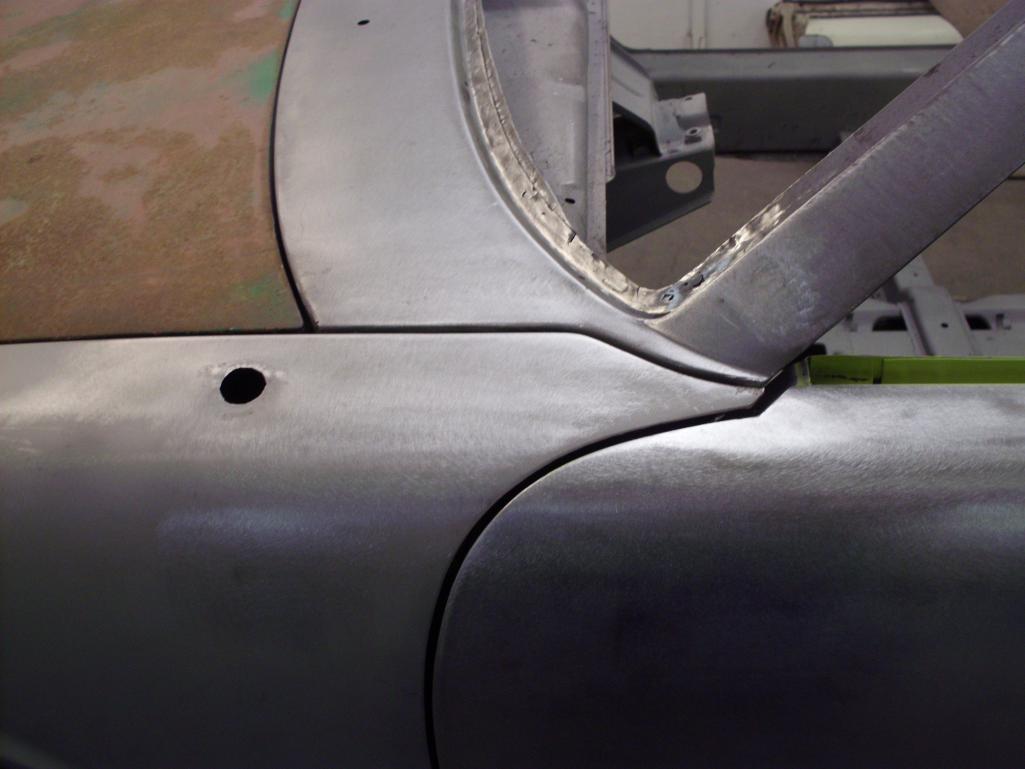
Posted by: 914350 Oct 24 2014, 12:40 PM
More pics.
Attached thumbnail(s)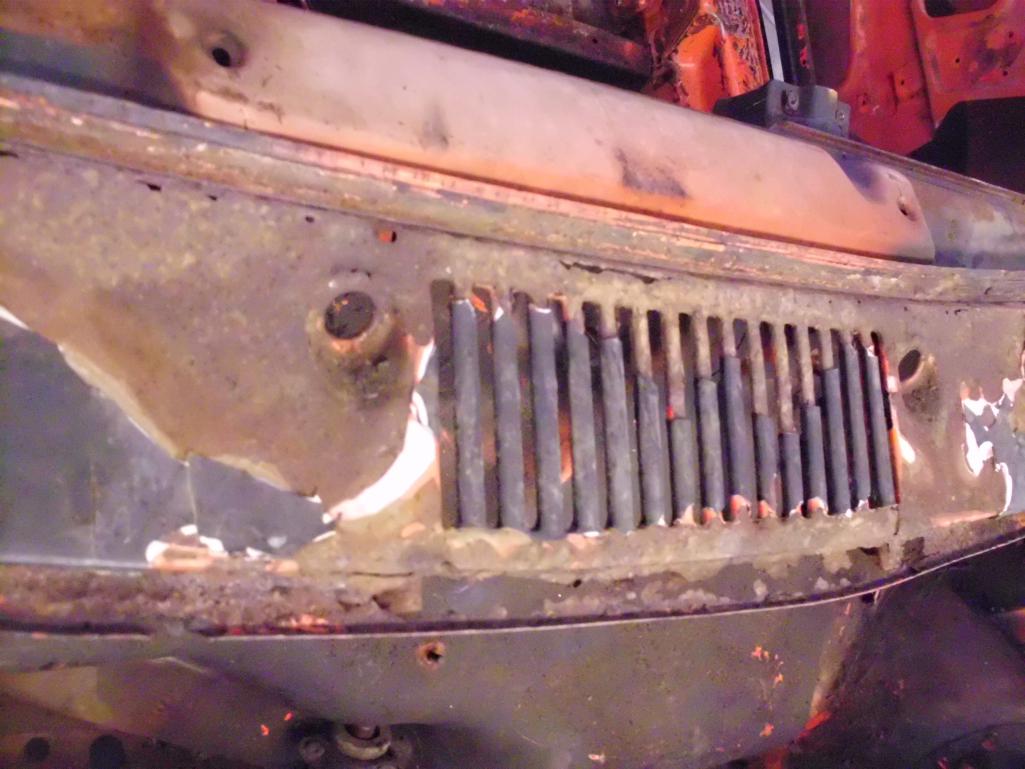

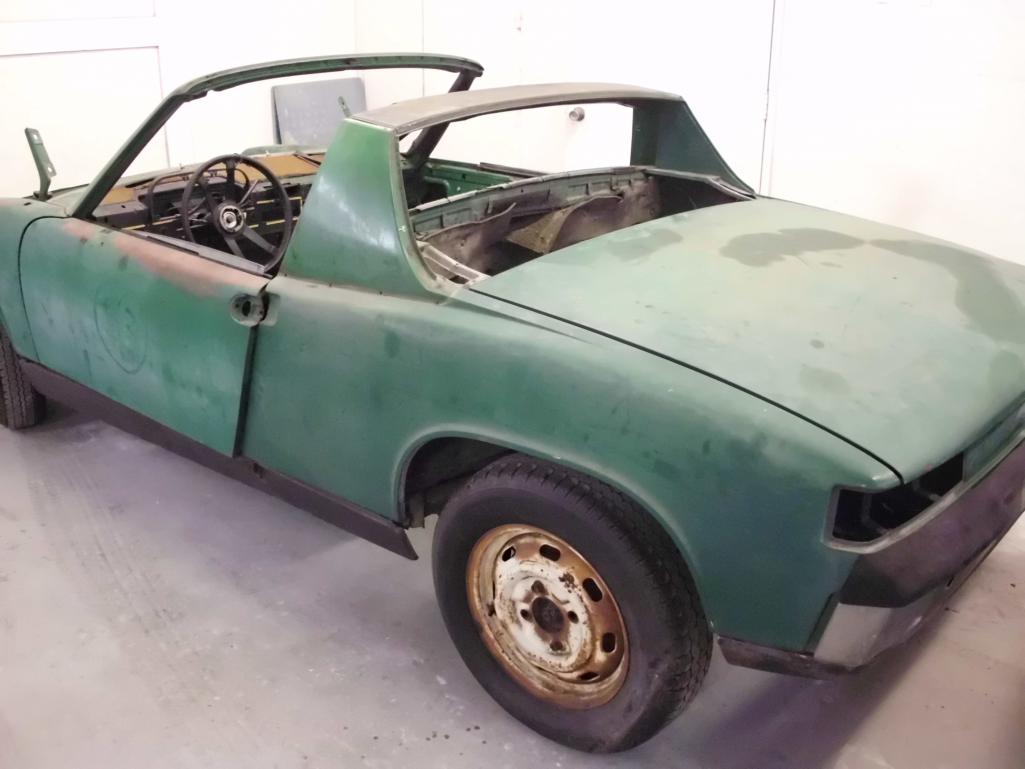
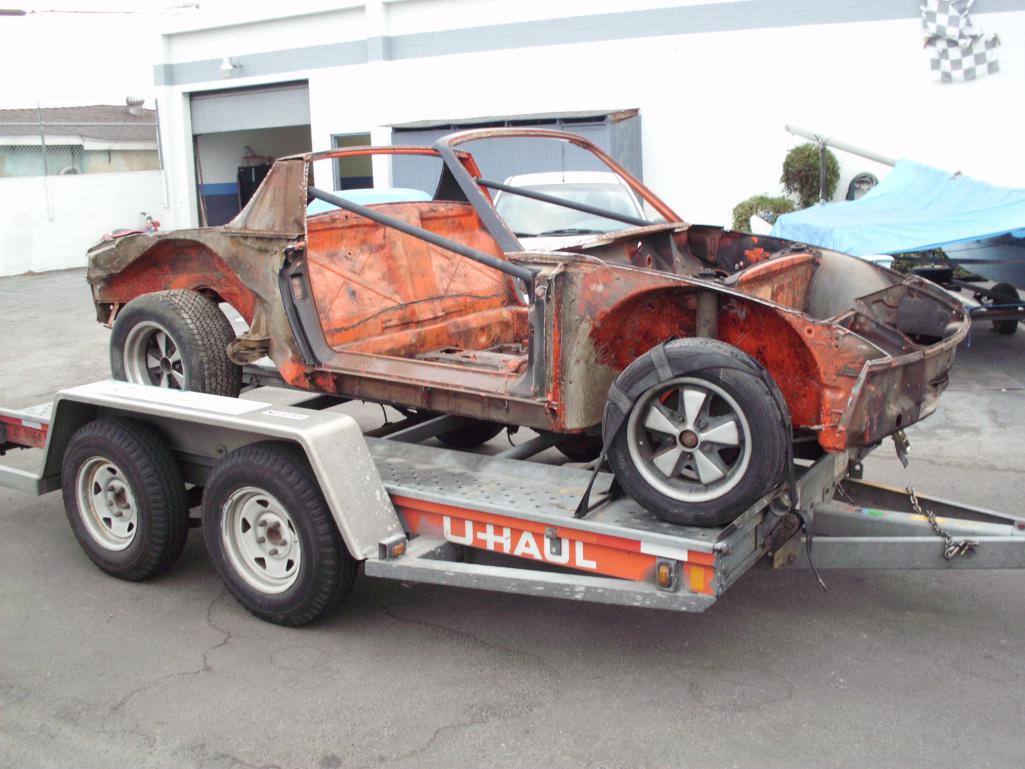
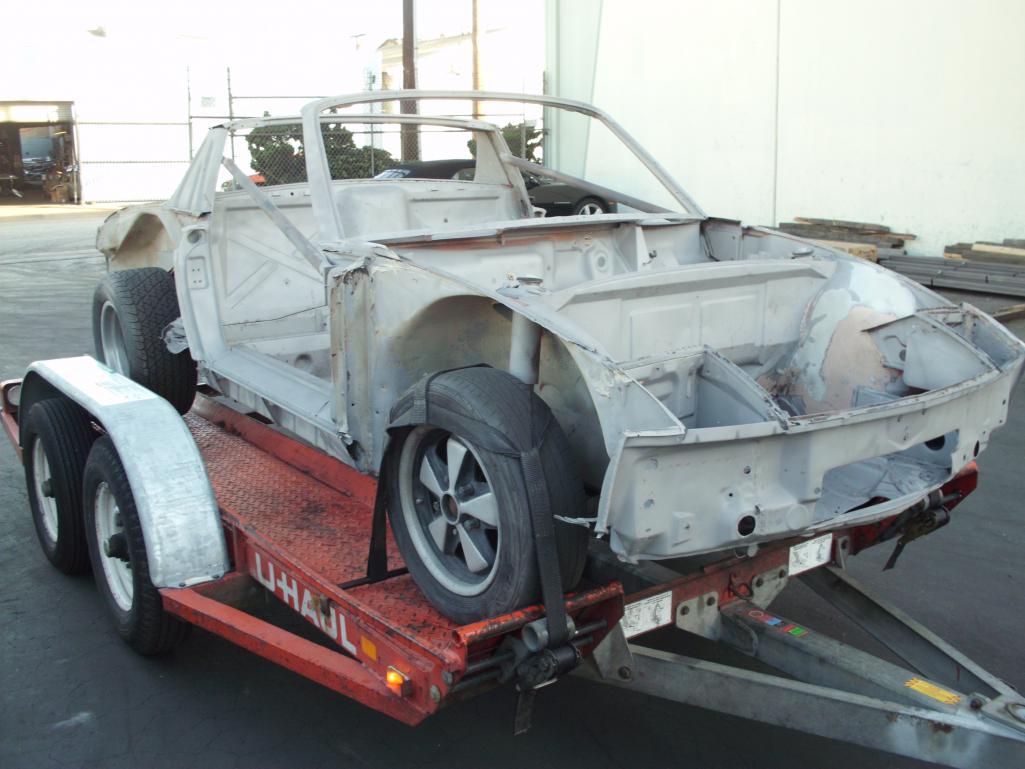
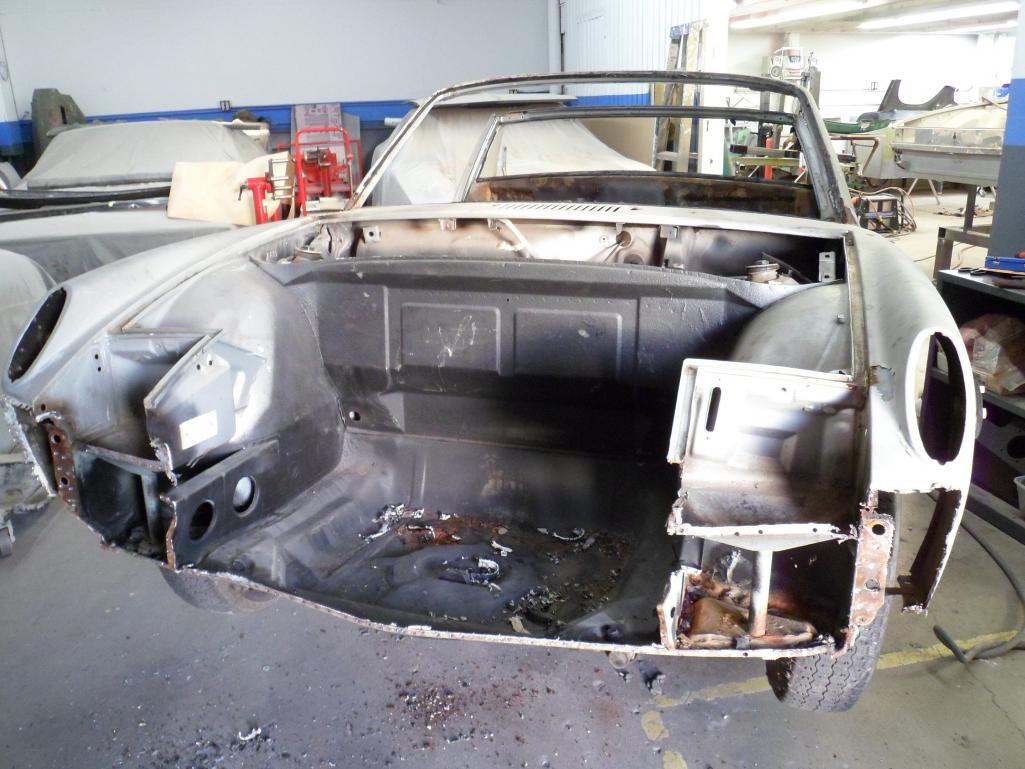
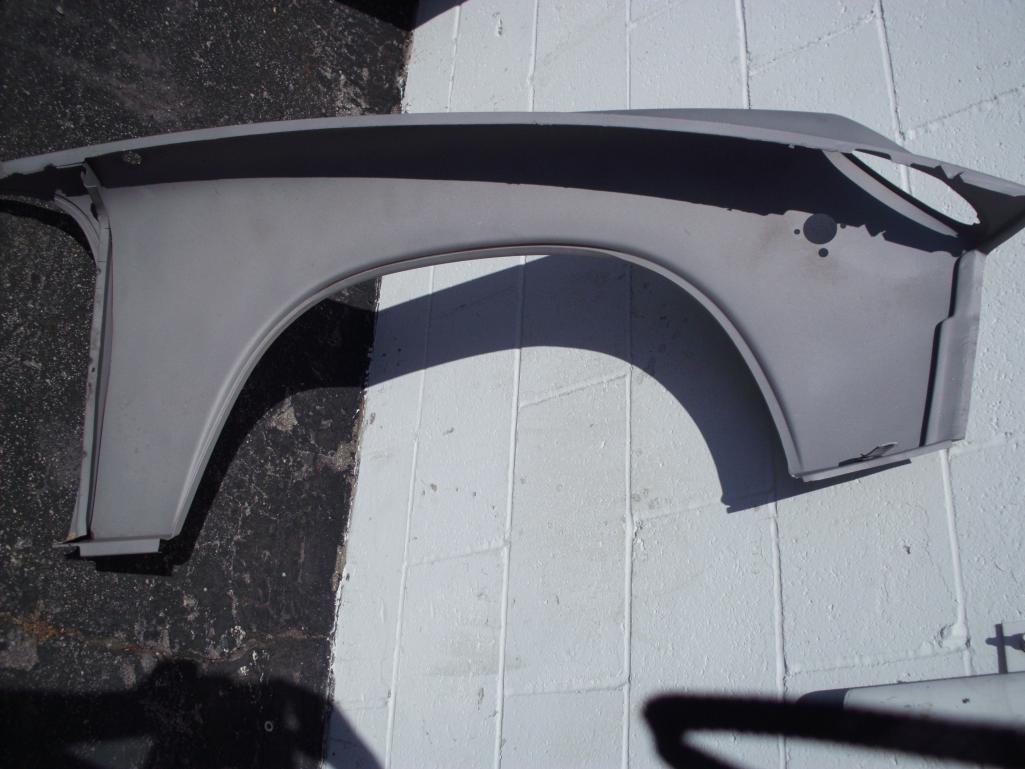
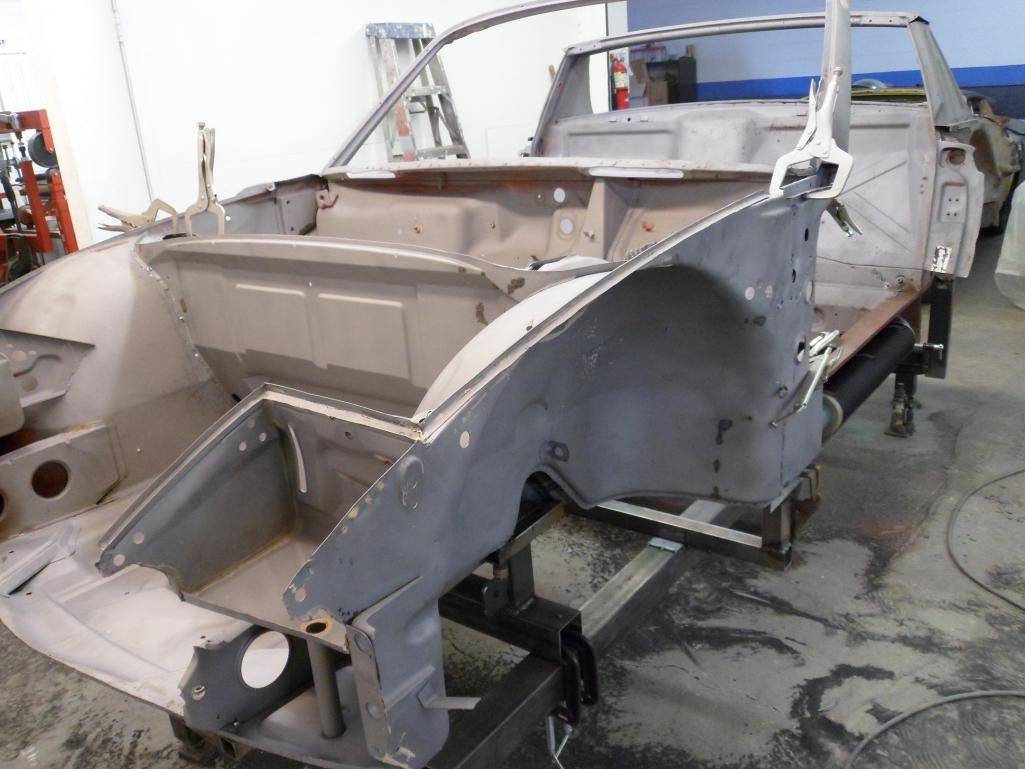
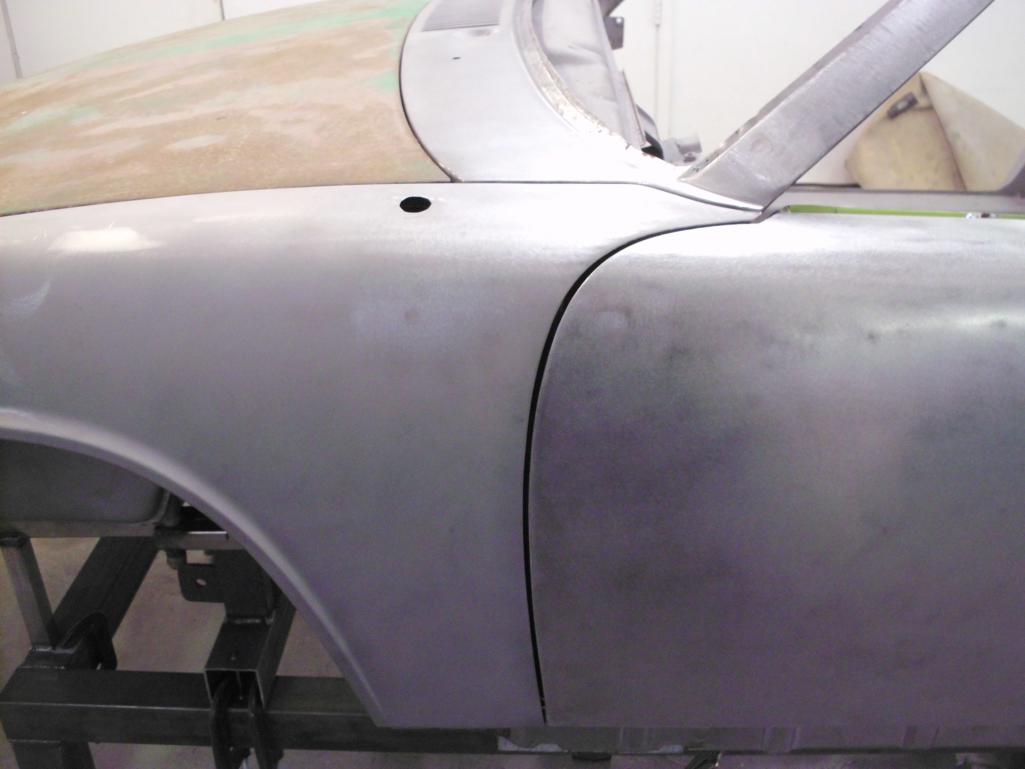
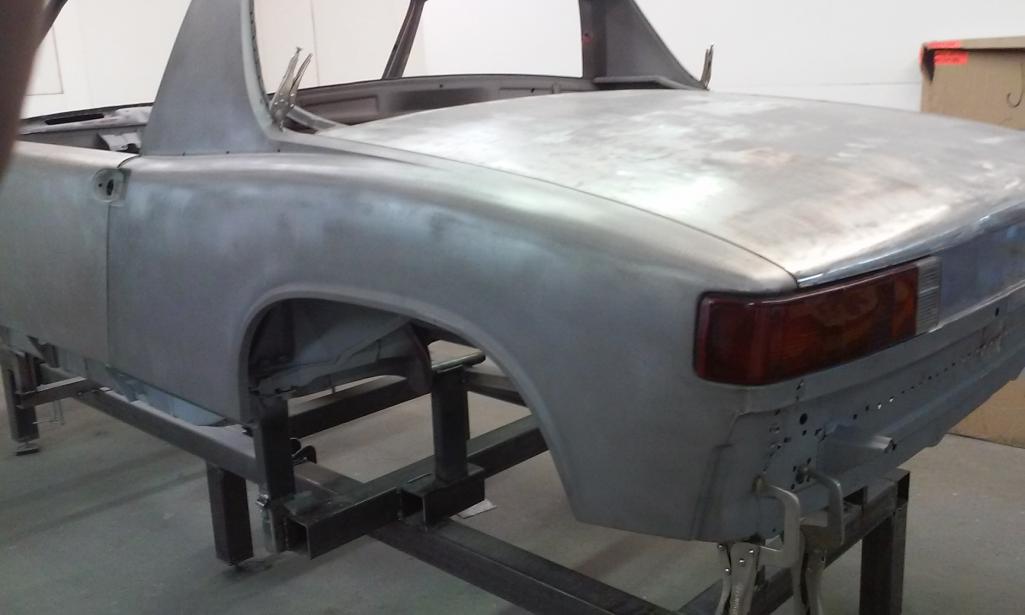
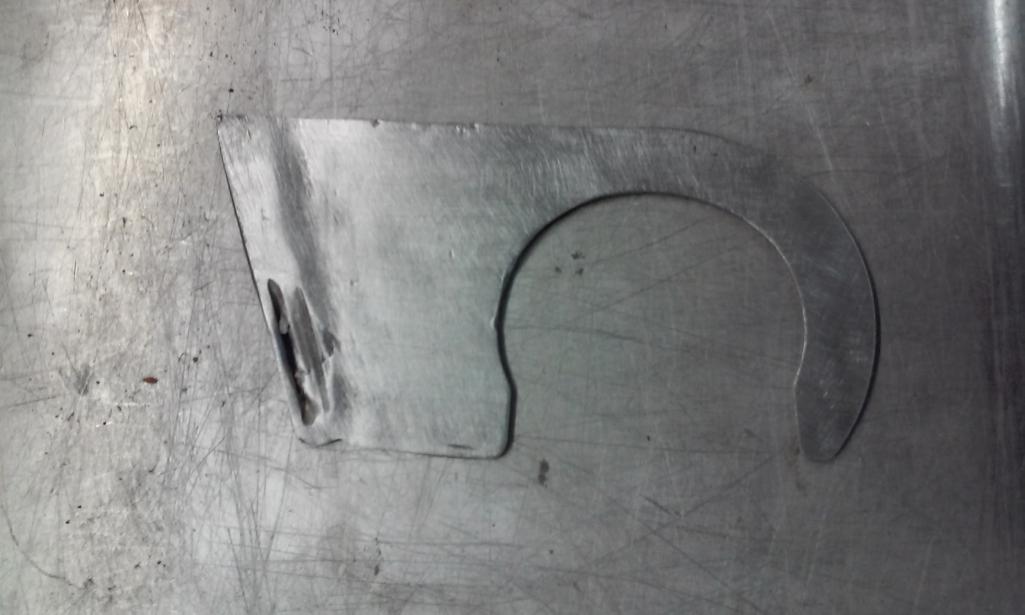
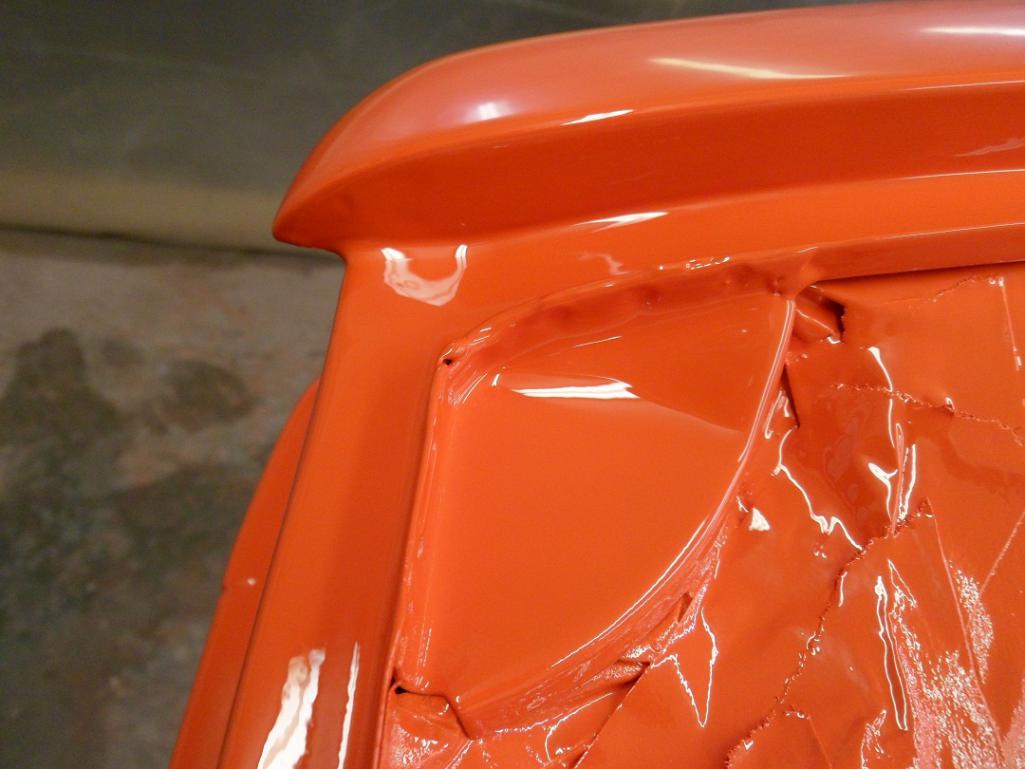
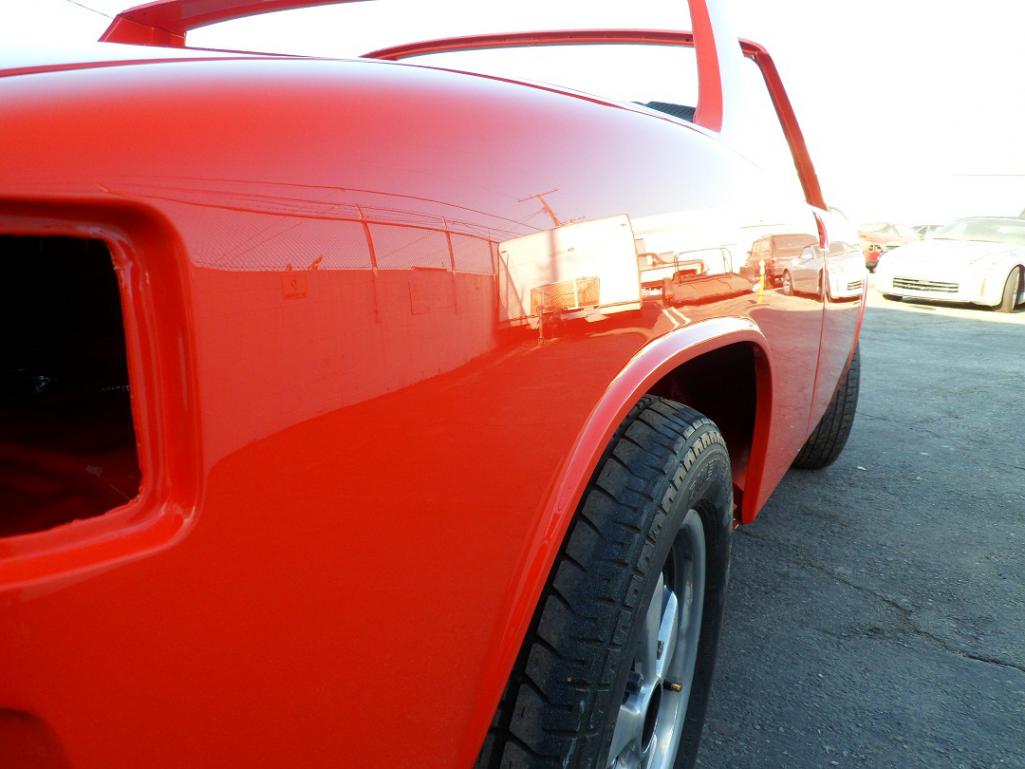
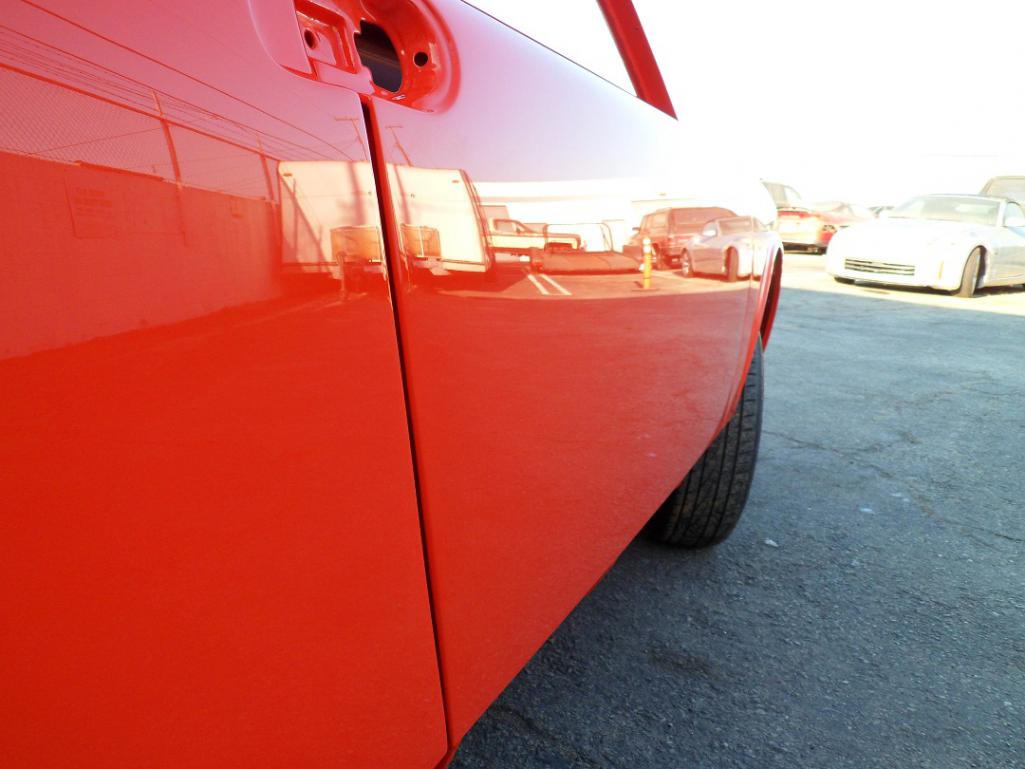
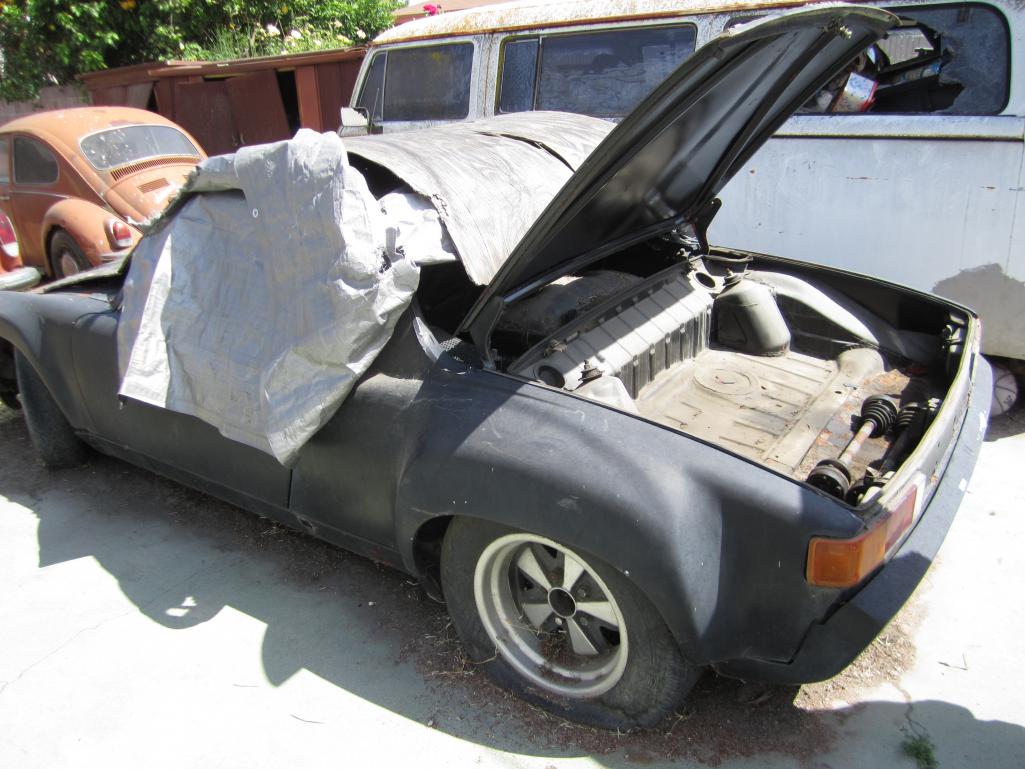
Posted by: 914350 Oct 24 2014, 12:44 PM
The Donor Car. R.I.P. I will be using the fenders and Quarter Panels from this car as well as some other areas/sections.
Attached thumbnail(s)
Posted by: PanelBilly Oct 24 2014, 12:48 PM
If it wasn't for the vin # on the /6, I'd say rebuild the doner with the parts off the red car (or is that rust colored). Nice project for a commercial builder!
Posted by: rick 918-S Oct 24 2014, 01:00 PM
Nice build on Andy's car. I saw it both before (in Joe's yard) and after the work (RRC14). No doubt the next car will be equally as nice.
Posted by: SirAndy Oct 24 2014, 02:49 PM
Funny how that works

Posted by: sb914 Oct 24 2014, 03:03 PM
Hi all, I’m still a newbie here on world, I’ve made a few posts but have not yet formally introduced myself. My name is Kent and I have been restoring cars for over 20 years now. I did the reconstruction, body and paint on Andy’s (socalandy) 914-6 that is currently the Car of the Month on 914world. I immediately became hooked on 914,s and bought and built a 914 V8 conversion. I am starting a new restoration on another 914-6 so I will be posting pics of the progress as I go. The owner of this cars name is Jim and he has done a nice job of rounding up and restoring many of the parts thus far so this will no doubt be a nice car in the end. Andy (socalandy) posted a thread on this car a few months back and now it is in my shop and I’m ready to begin.
Incredible job on Andy's car
 I just sent my v8 conversion off to paint . I wish I known of you before
  nice job, can't wait to see how this one turns out.
Posted by: SixerJ Oct 24 2014, 03:28 PM
Subscribed!
Posted by: Socalandy Oct 24 2014, 03:28 PM
I already got my hands dirty on this one and Kent will hammer it into another GEM 
Posted by: Cairo94507 Oct 24 2014, 03:36 PM
Excellent!  We can always use another skilled expert who loves these cars and knows how to really fix them. I loved Andy's build and really look forward to following this one along. Like already mentioned, please keep us hooked with tons of progress pictures. Thanks in advance and my hat is tipped to you for the outstanding work on Andy's beautiful car.
Posted by: 914350 Oct 25 2014, 07:33 PM
Excellent!
We can always use another skilled expert who loves these cars and knows how to really fix them. I loved Andy's build and really look forward to following this one along. Like already mentioned, please keep us hooked with tons of progress pictures. Thanks in advance and my hat is tipped to you for the outstanding work on Andy's beautiful car.Well thank you very much.
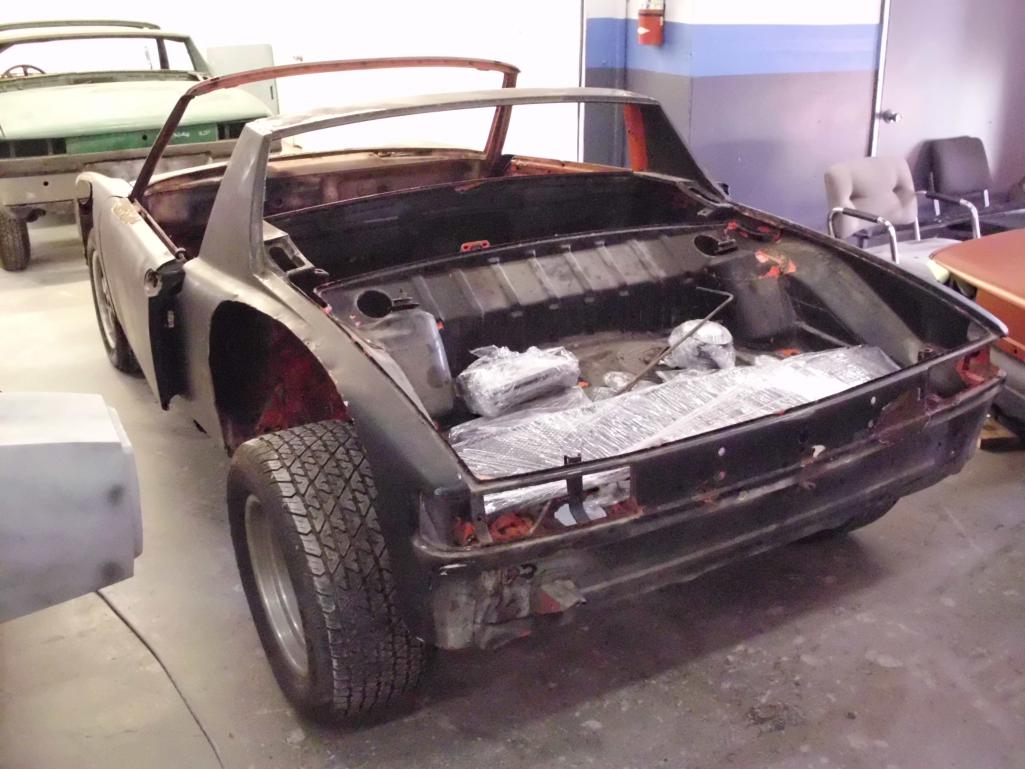
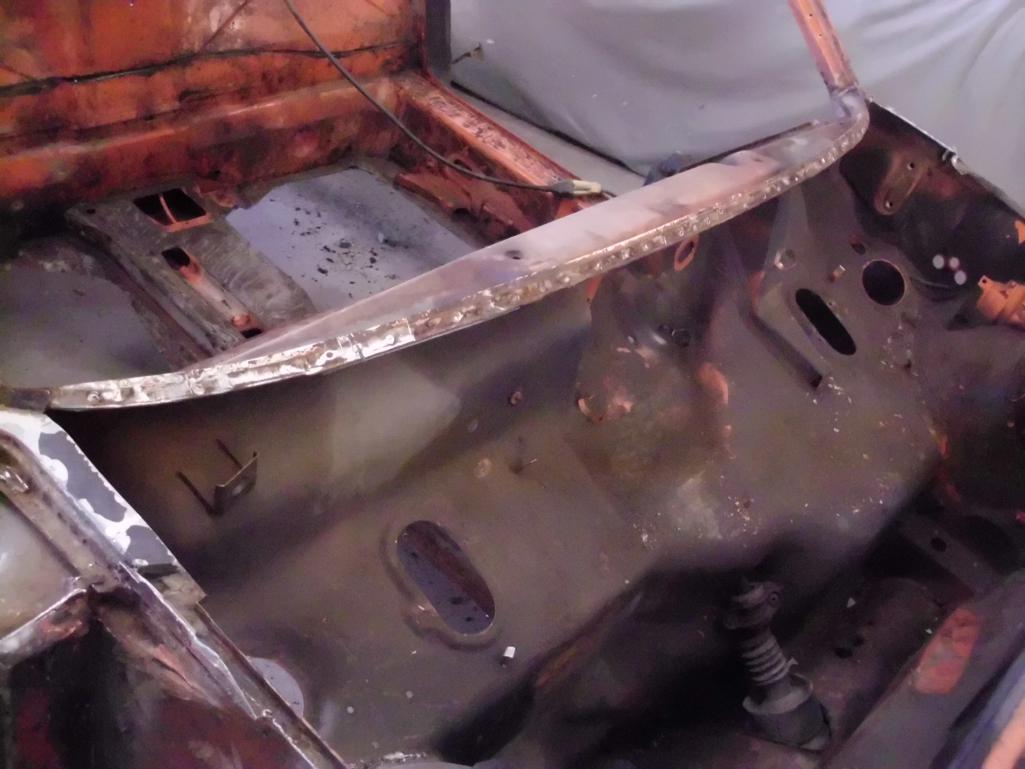
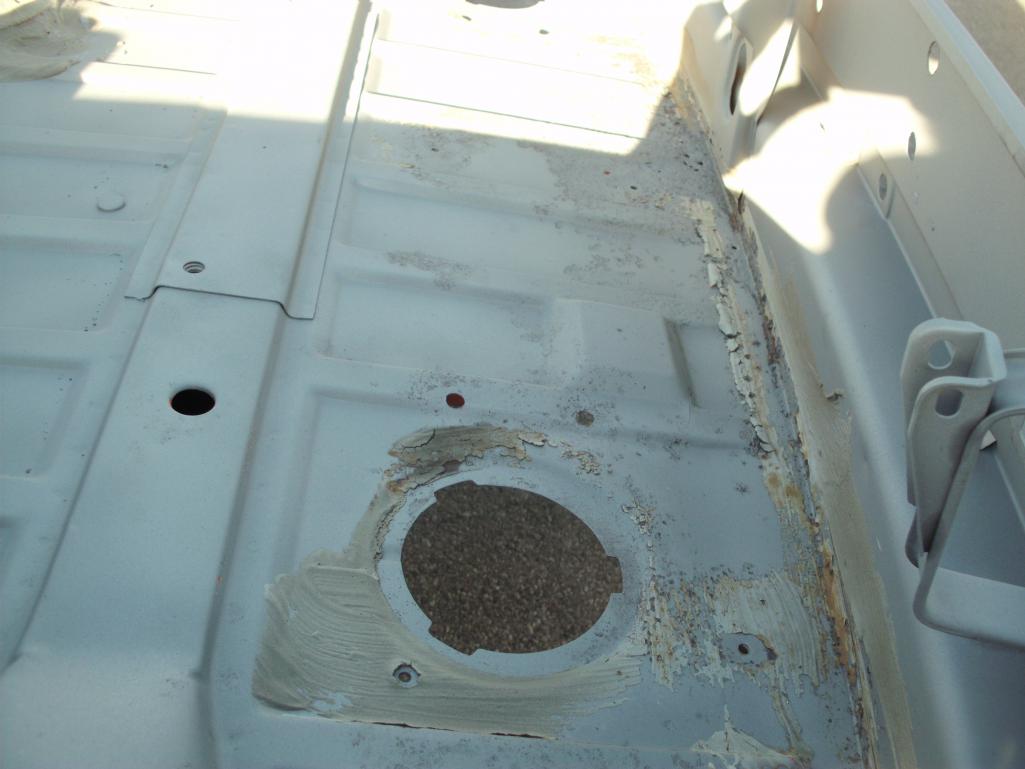
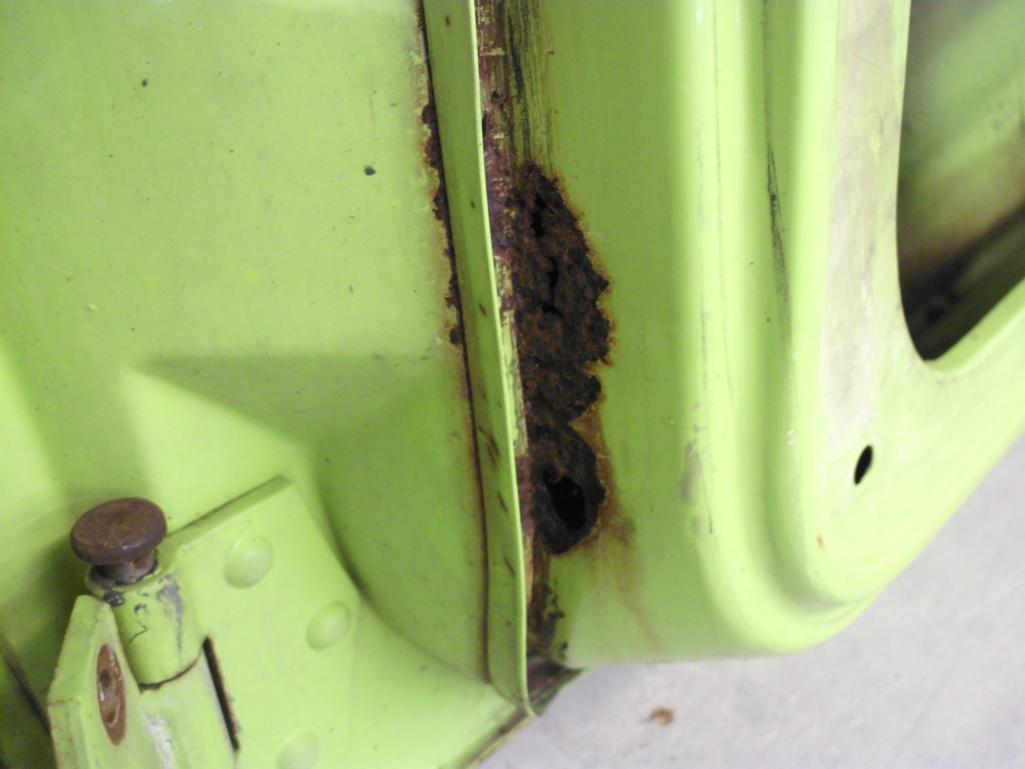
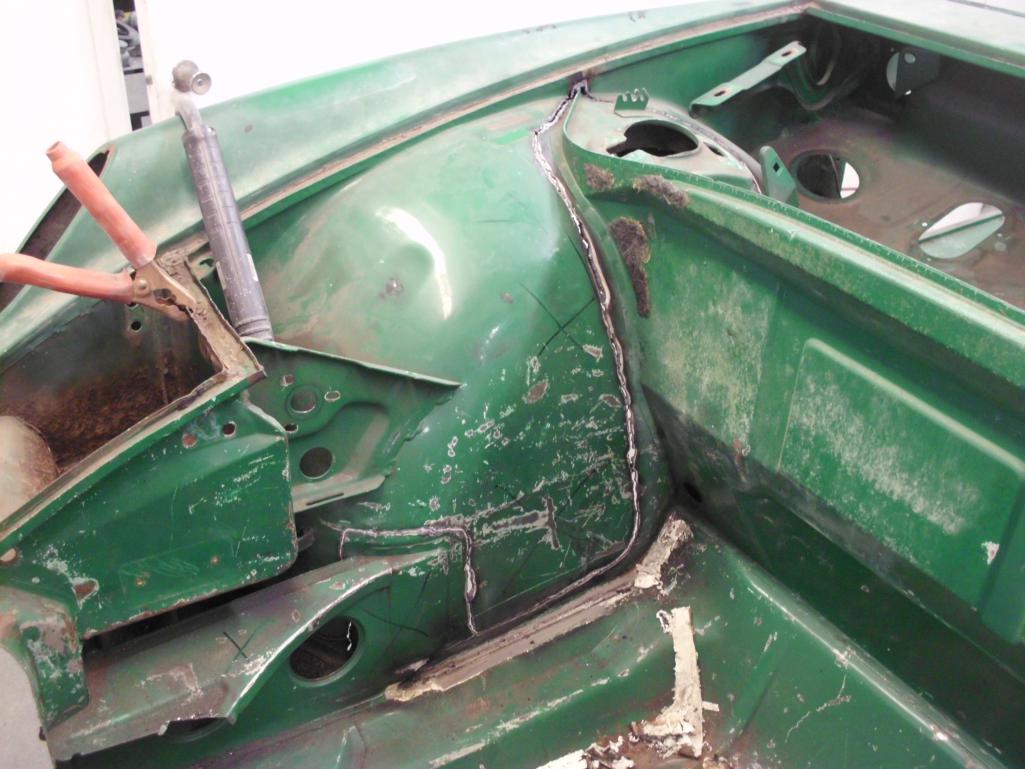
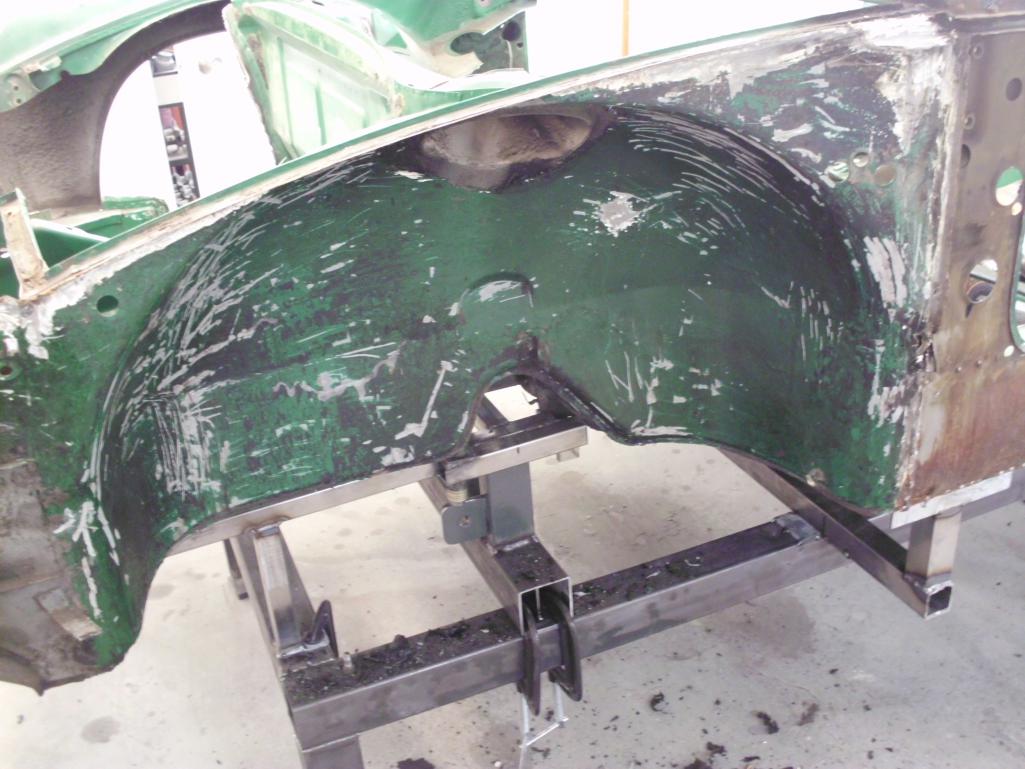
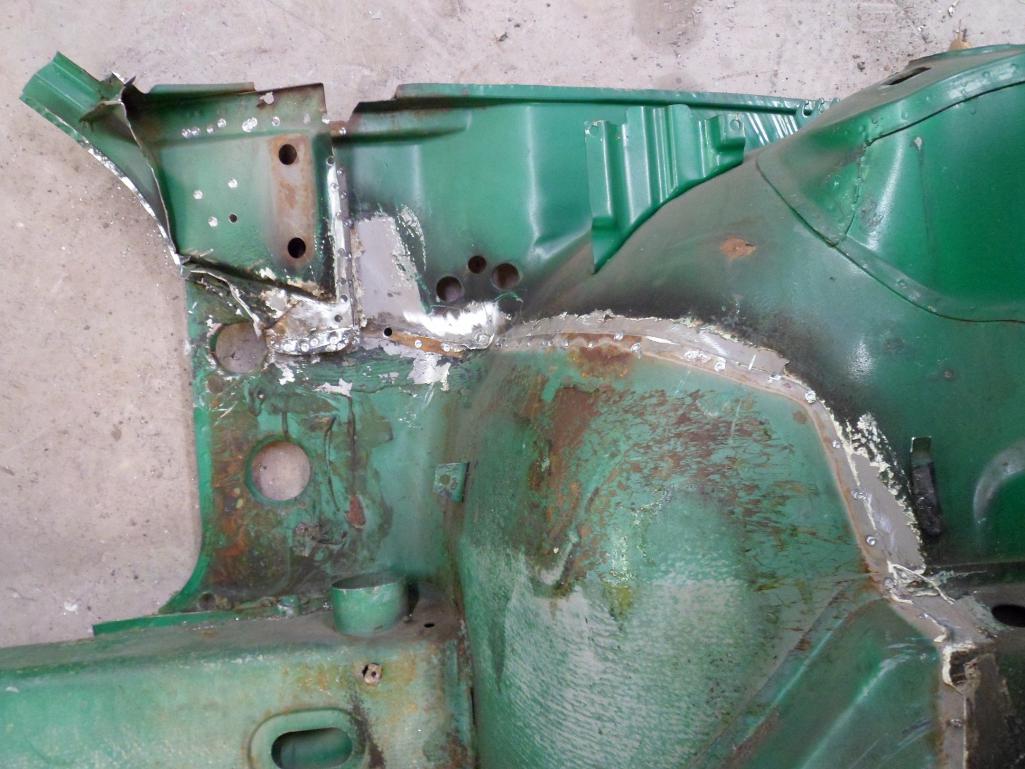
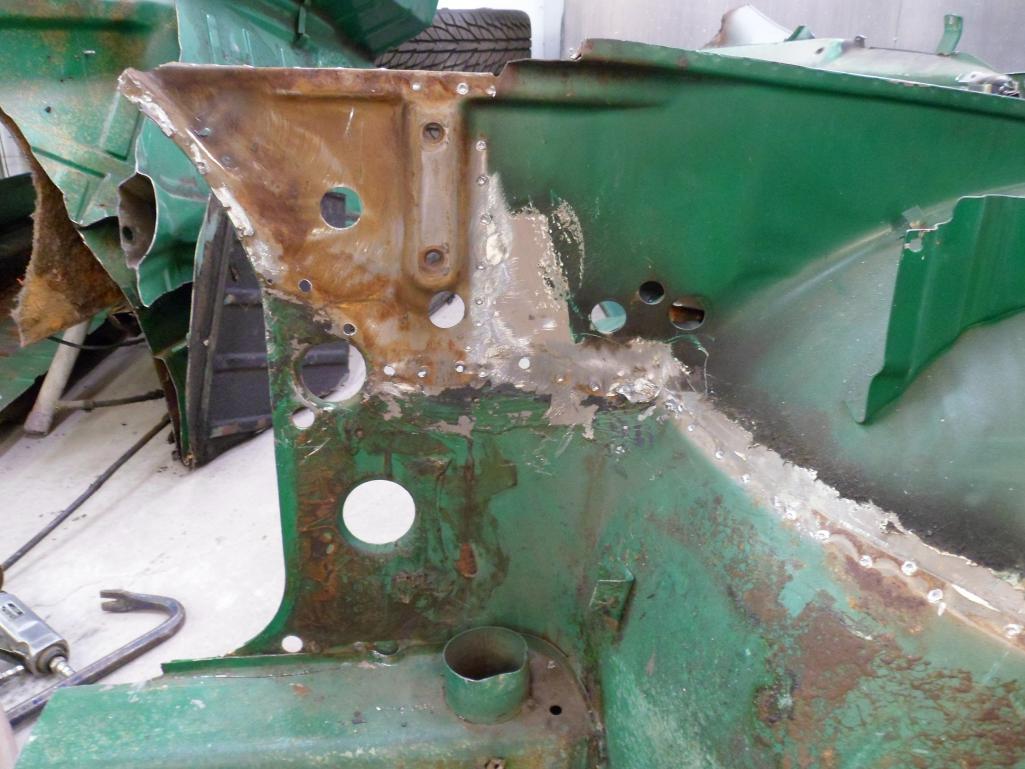
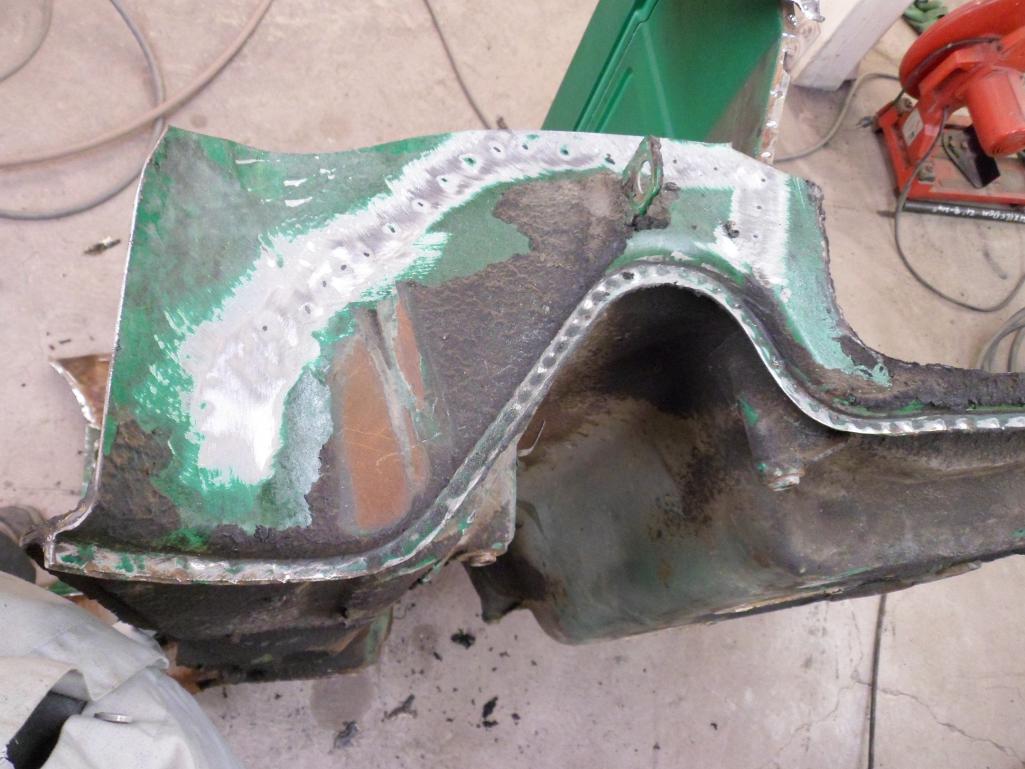
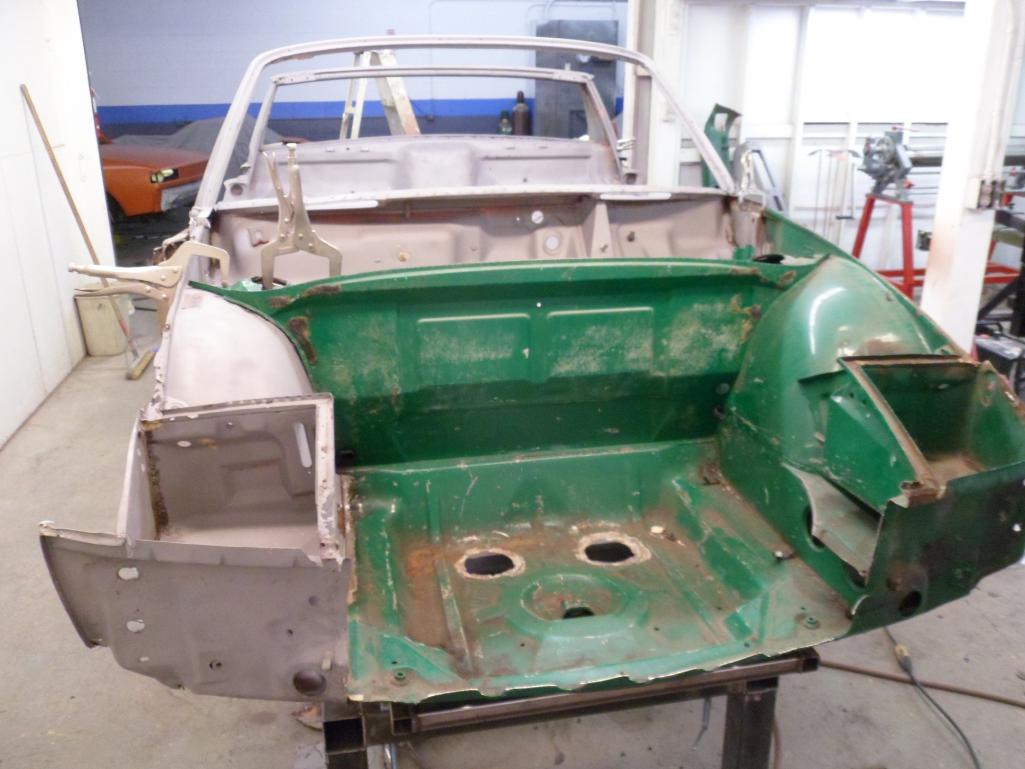
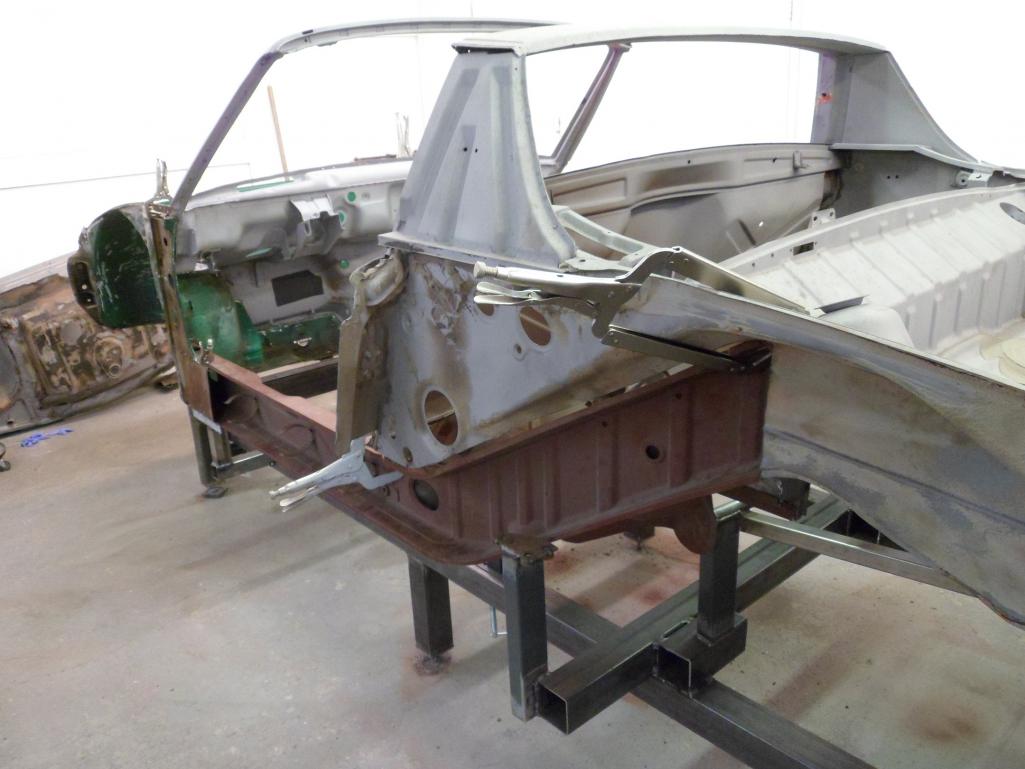
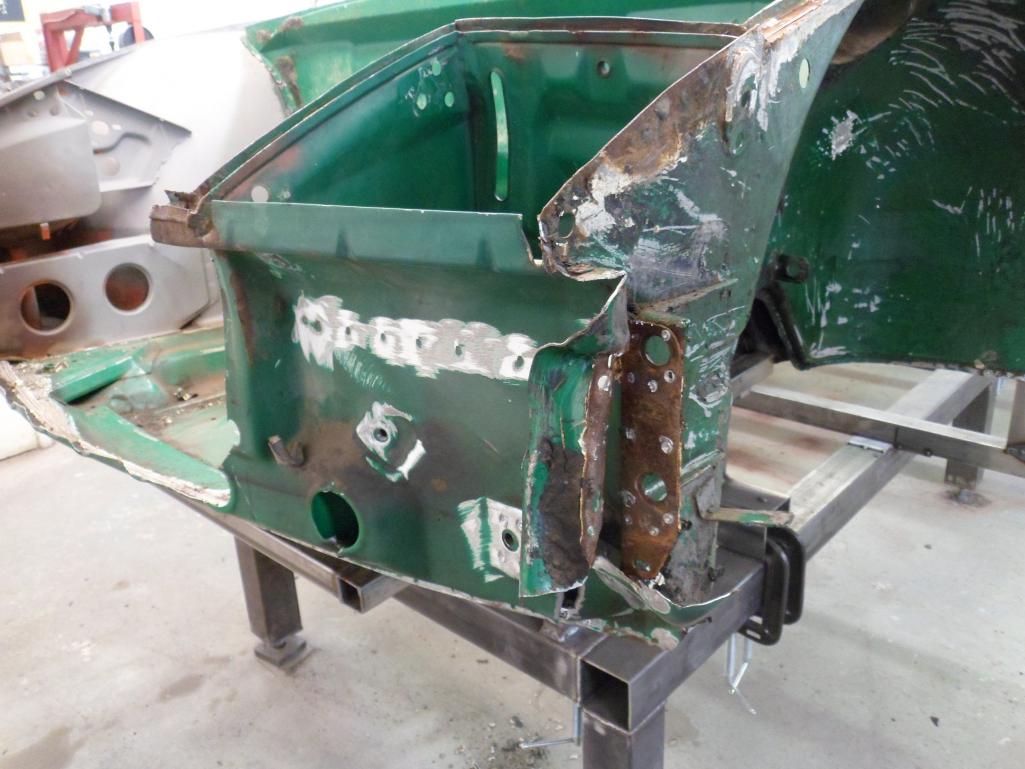
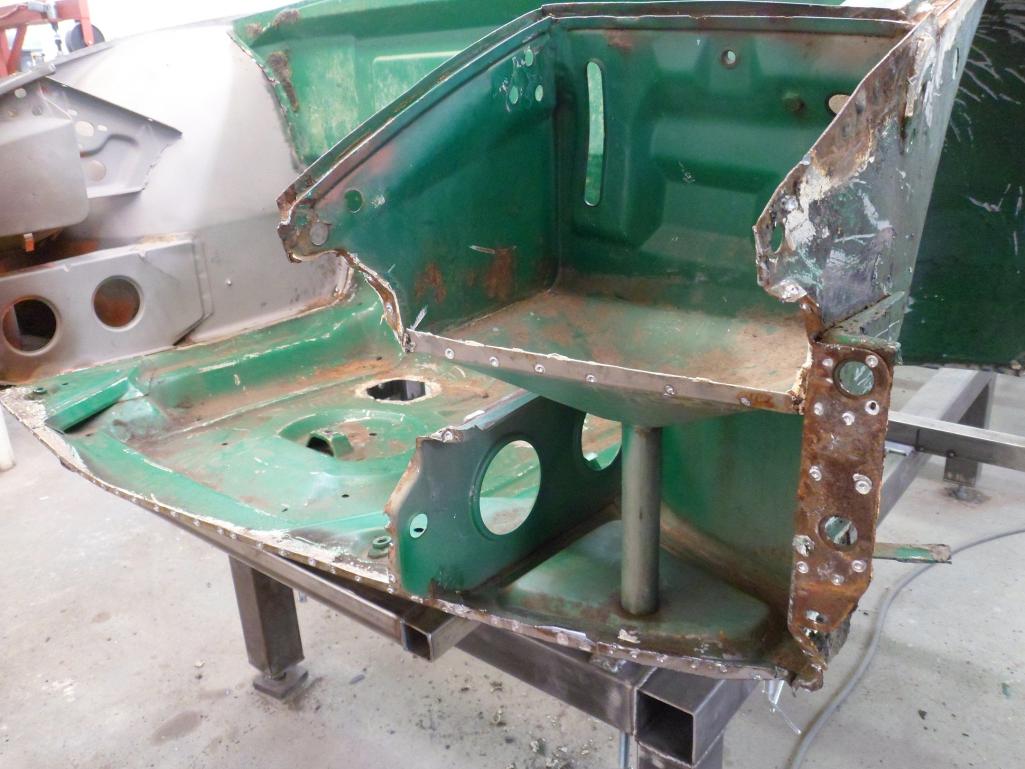
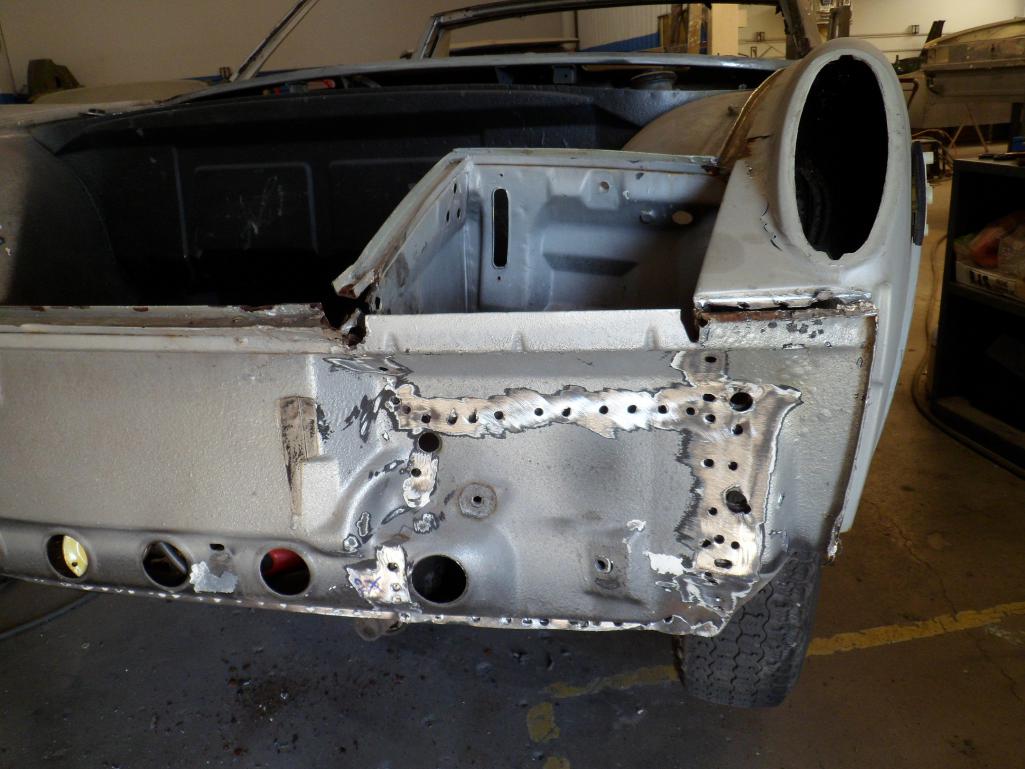
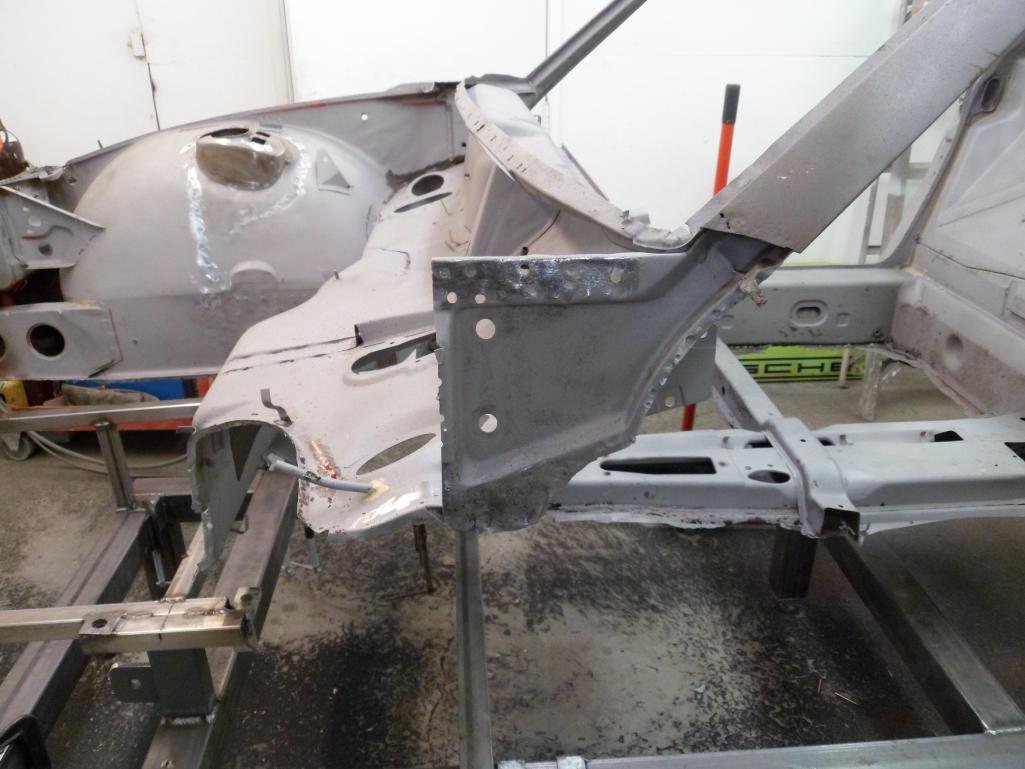
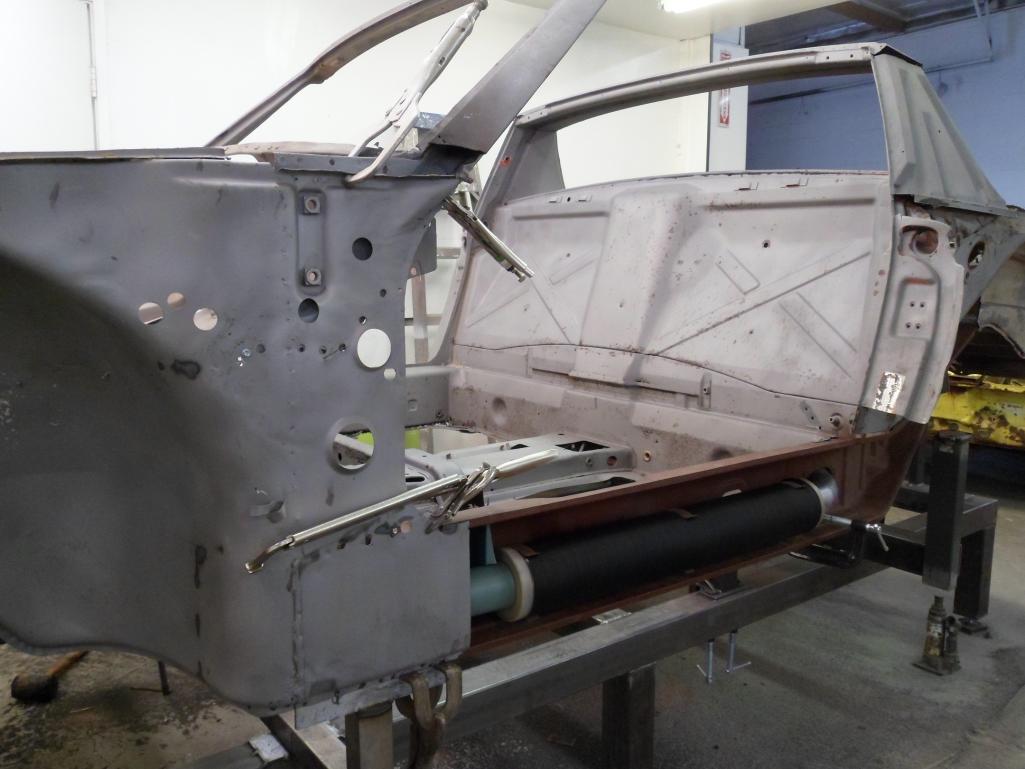
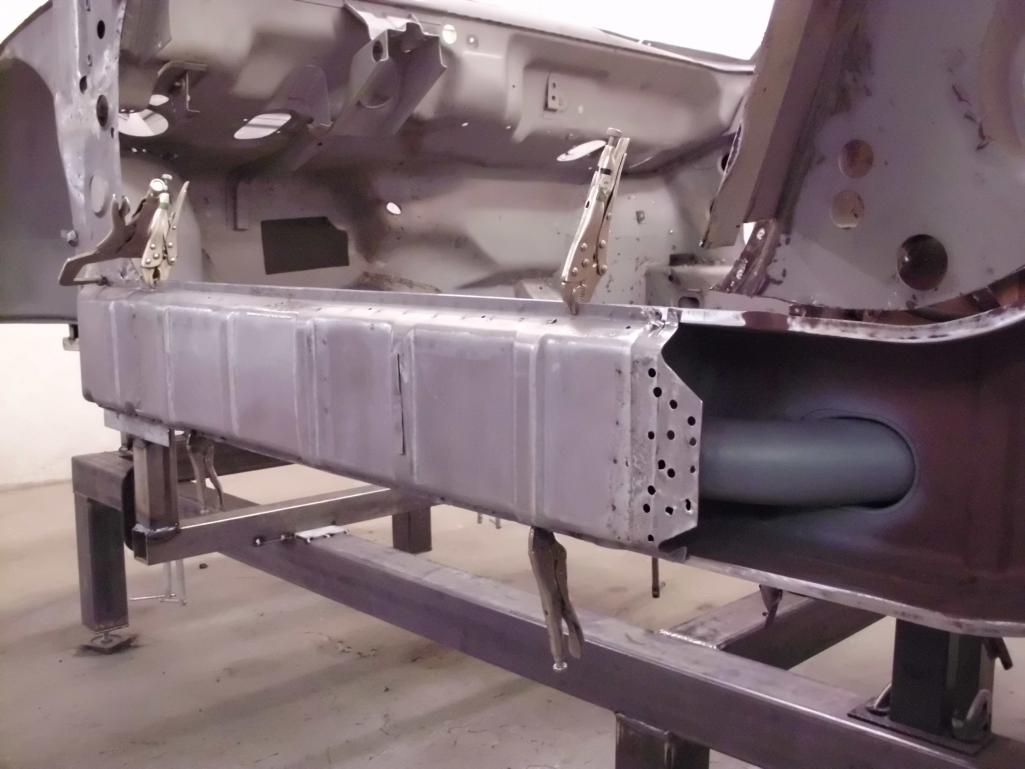
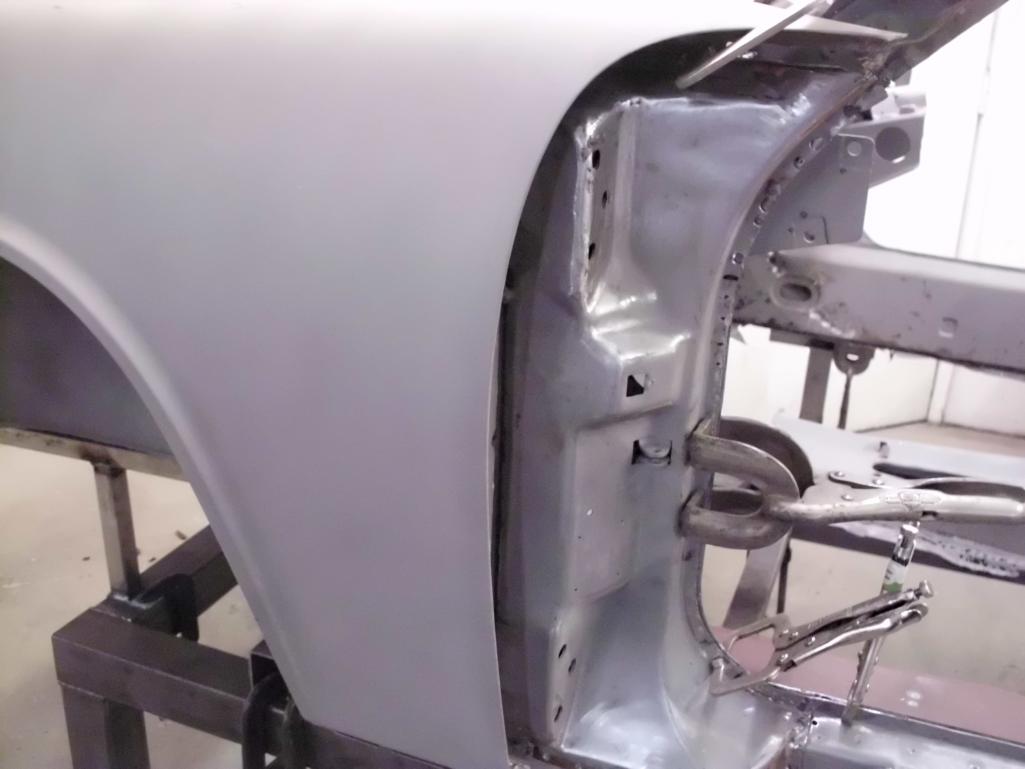
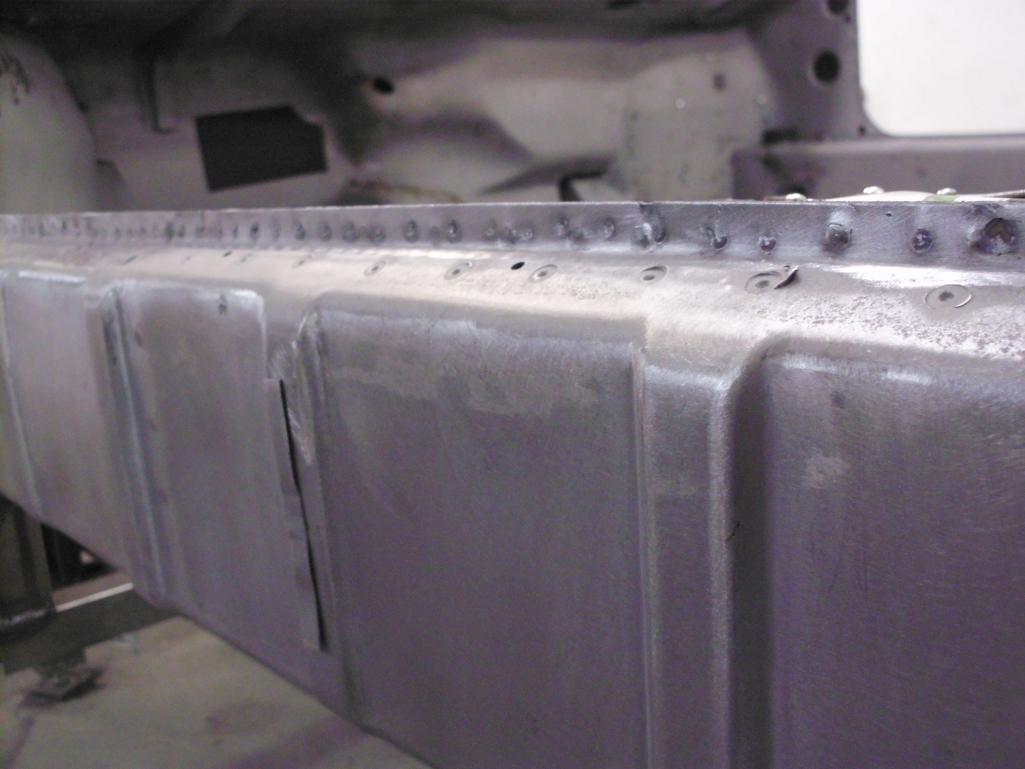
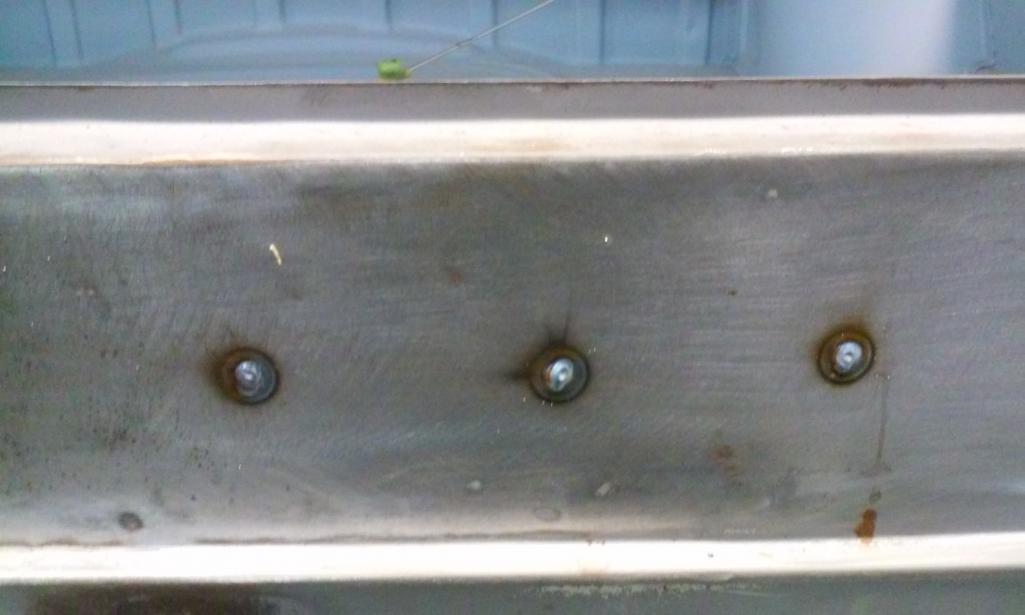
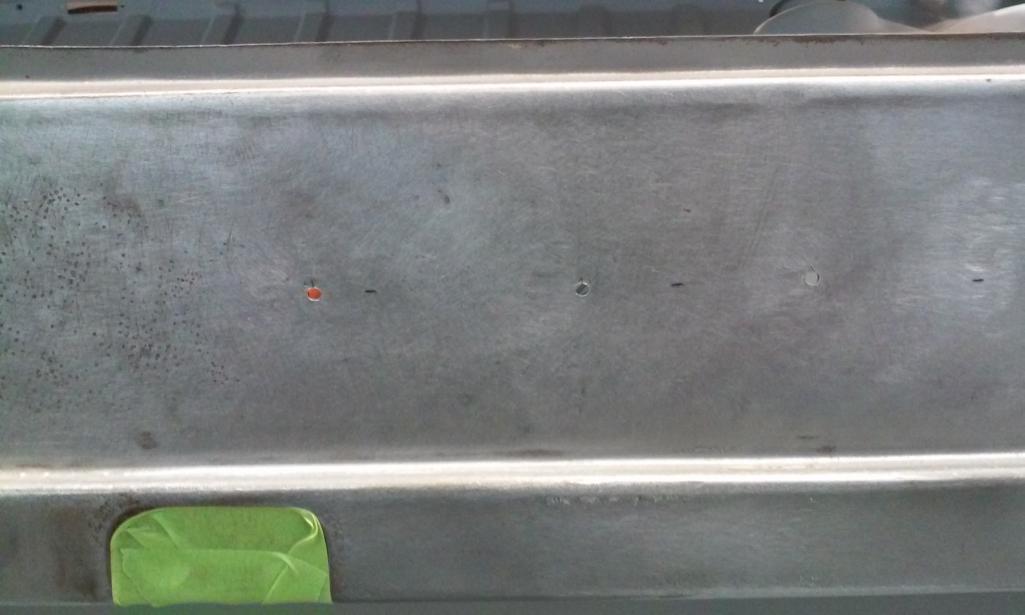
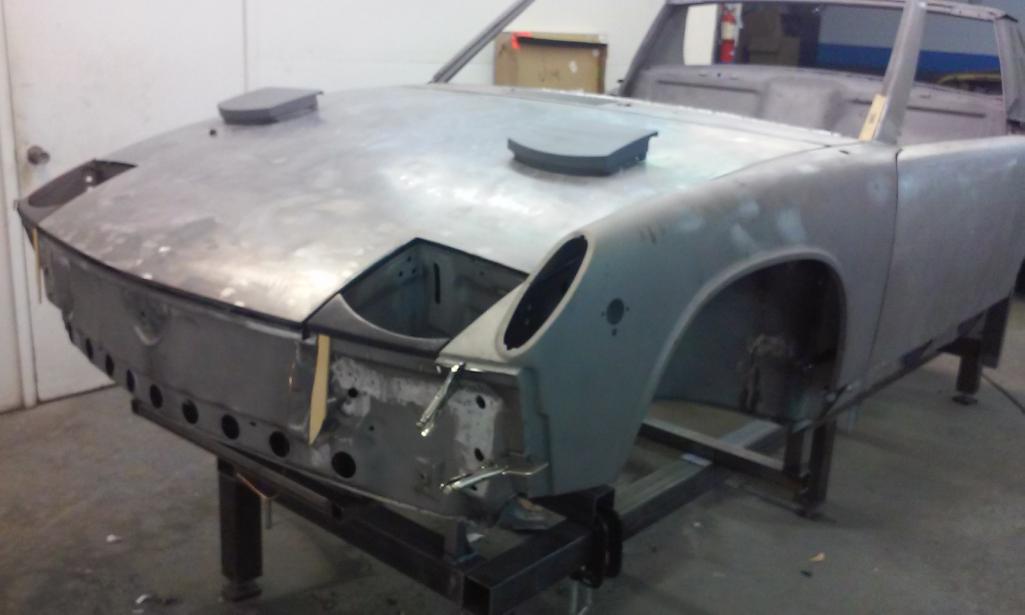
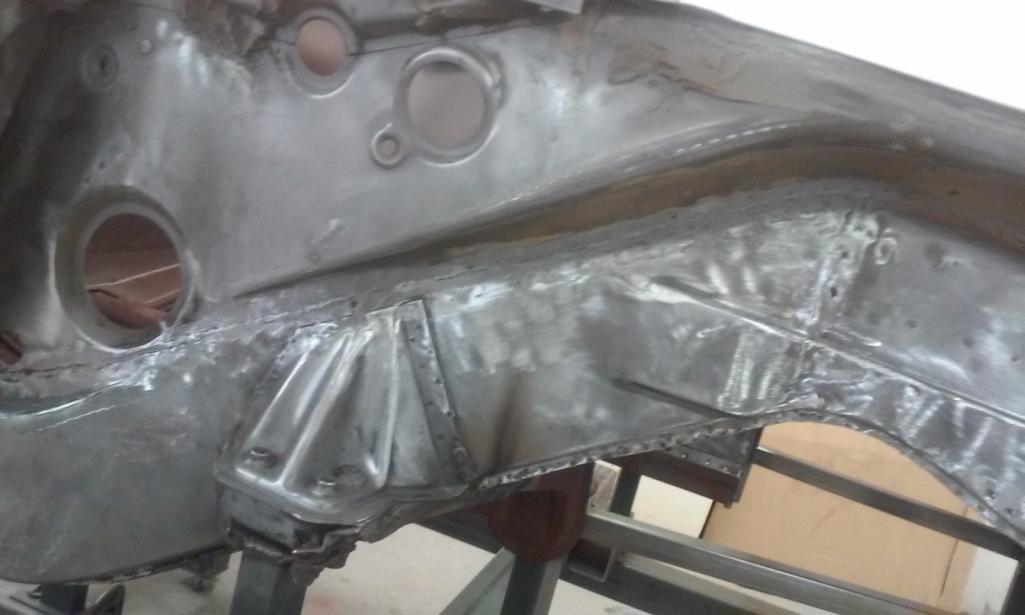
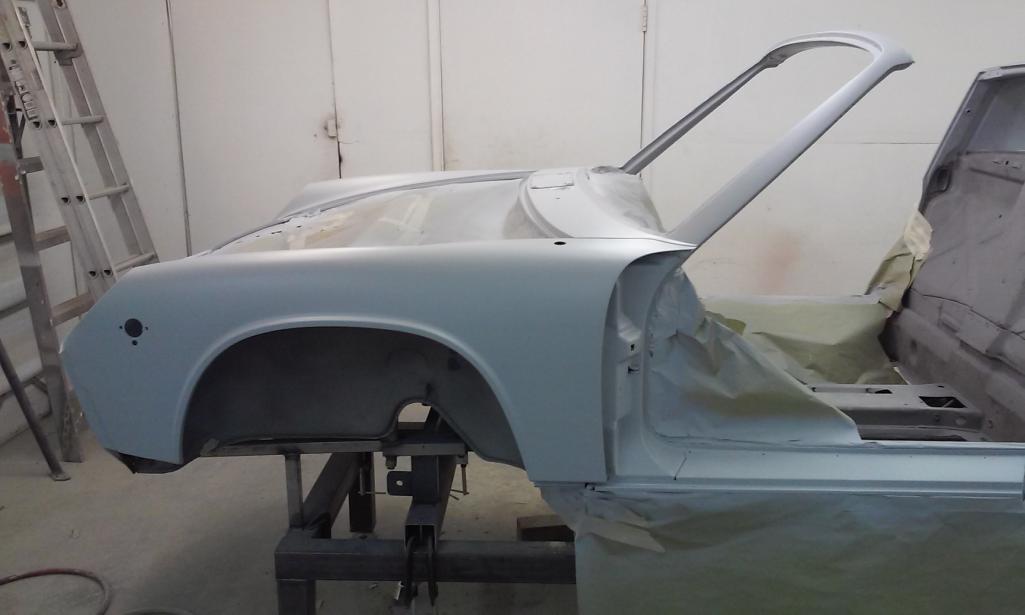
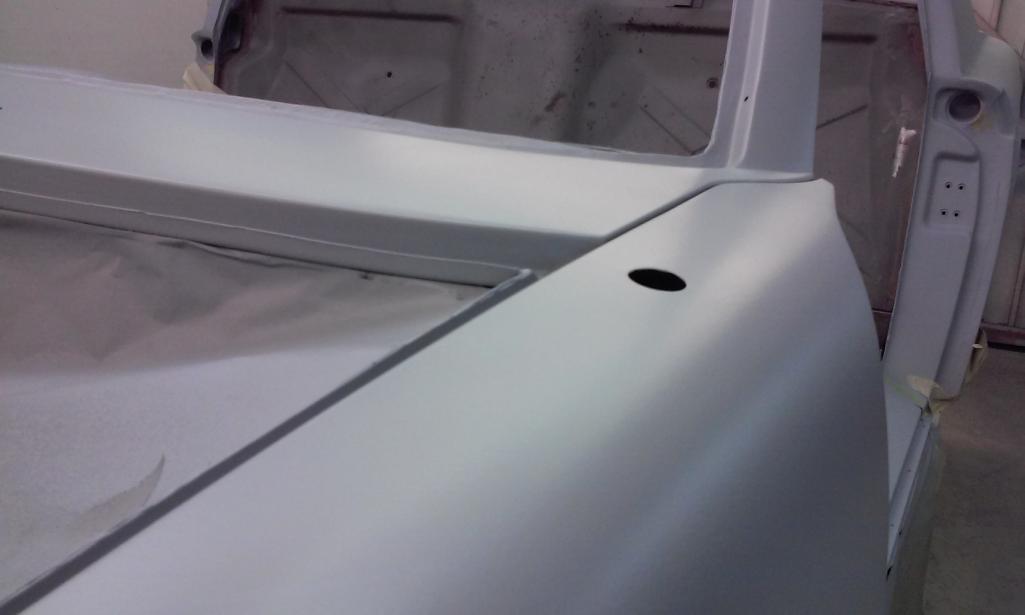
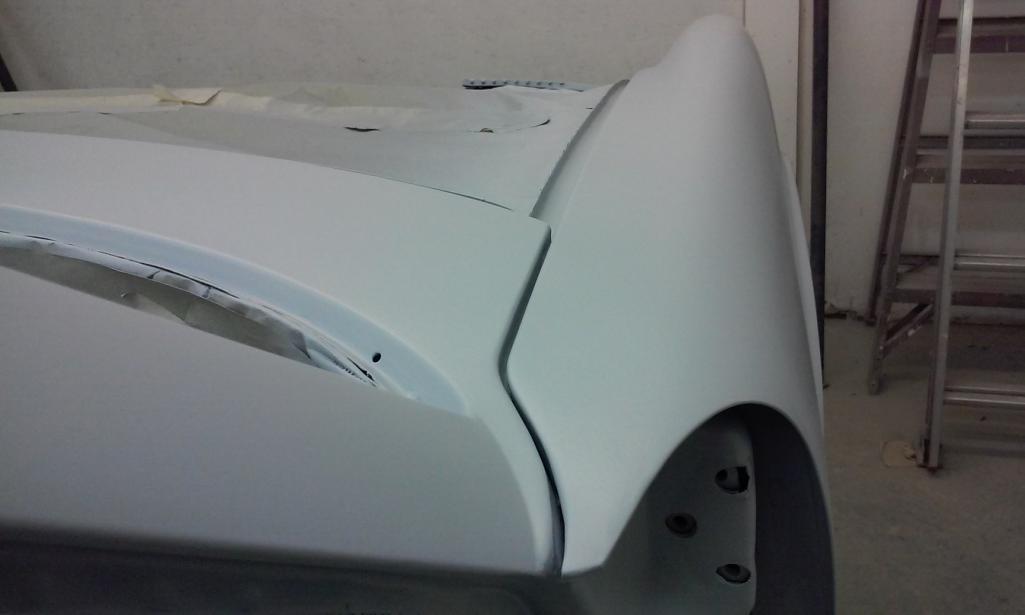
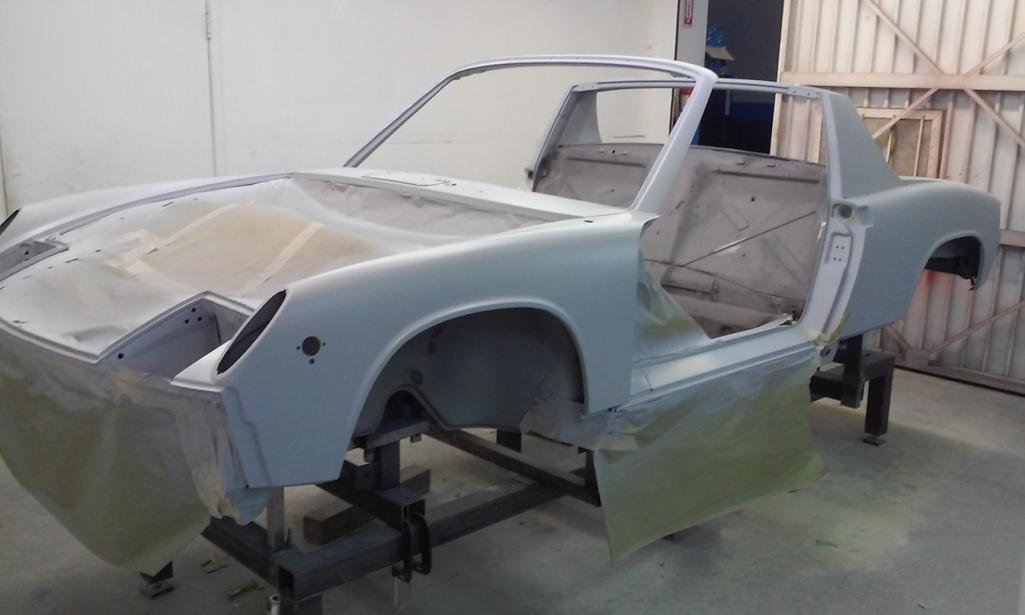
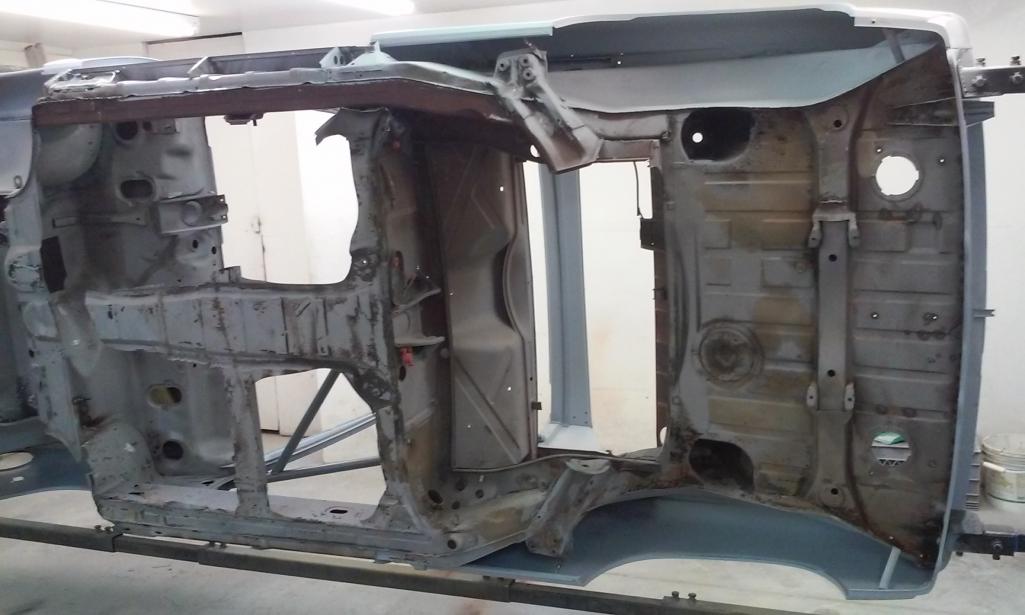
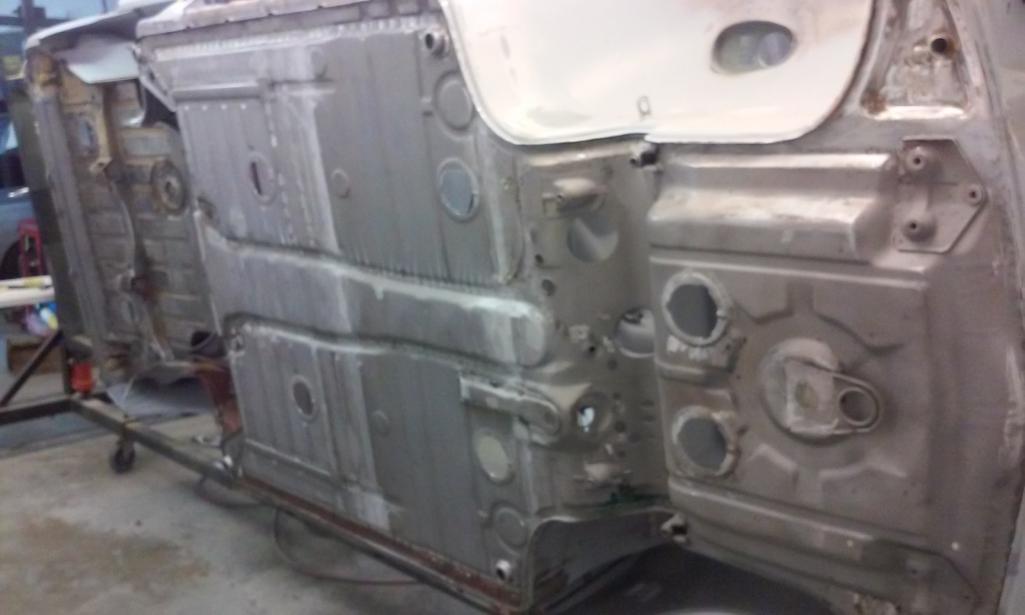
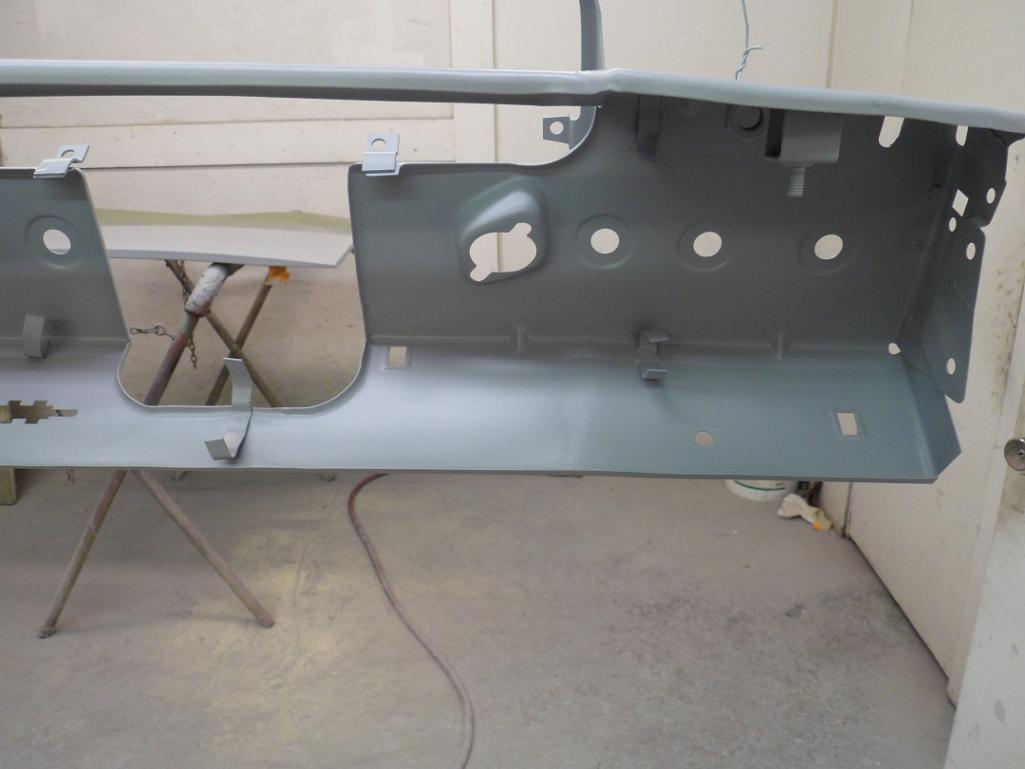
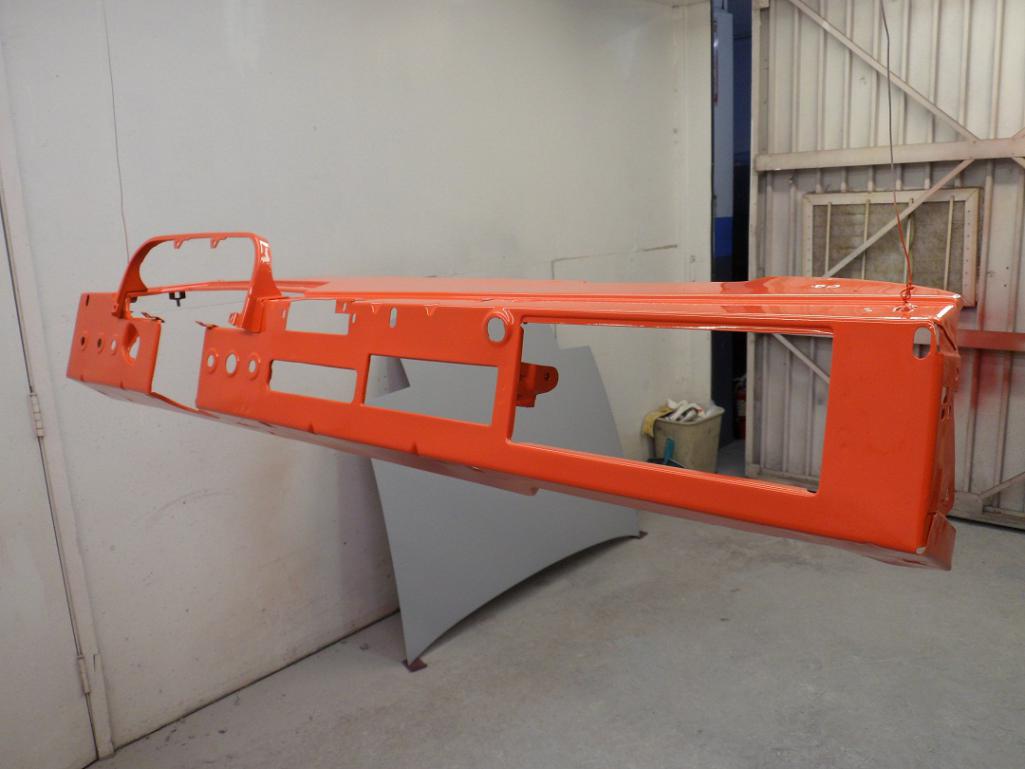
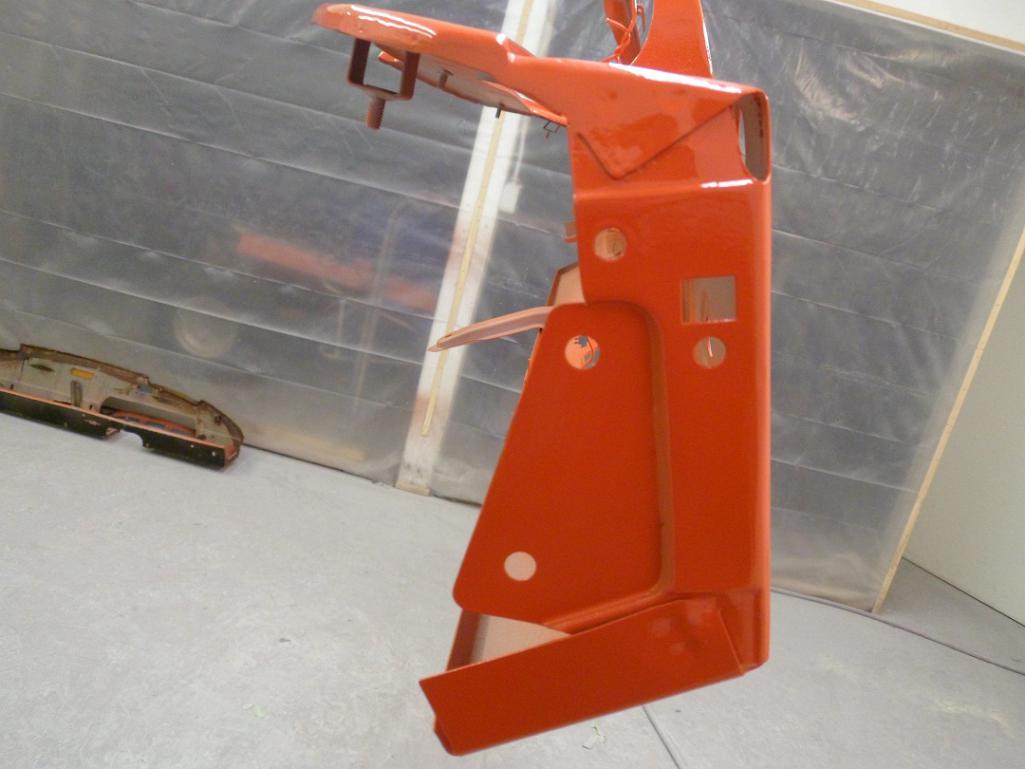
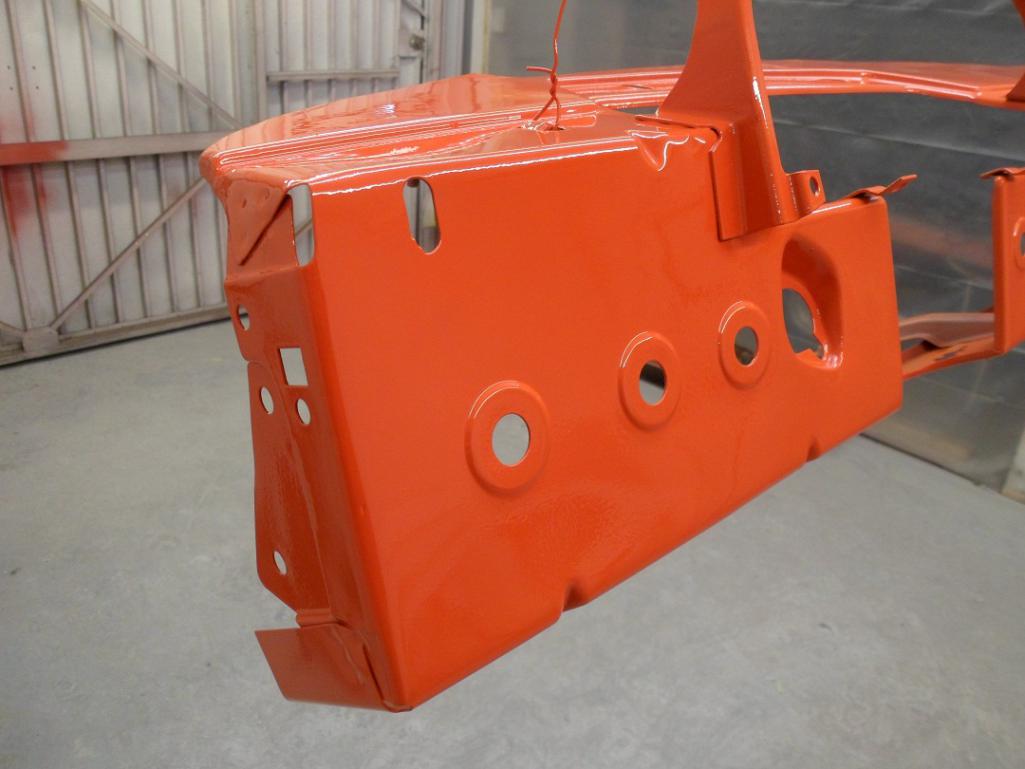
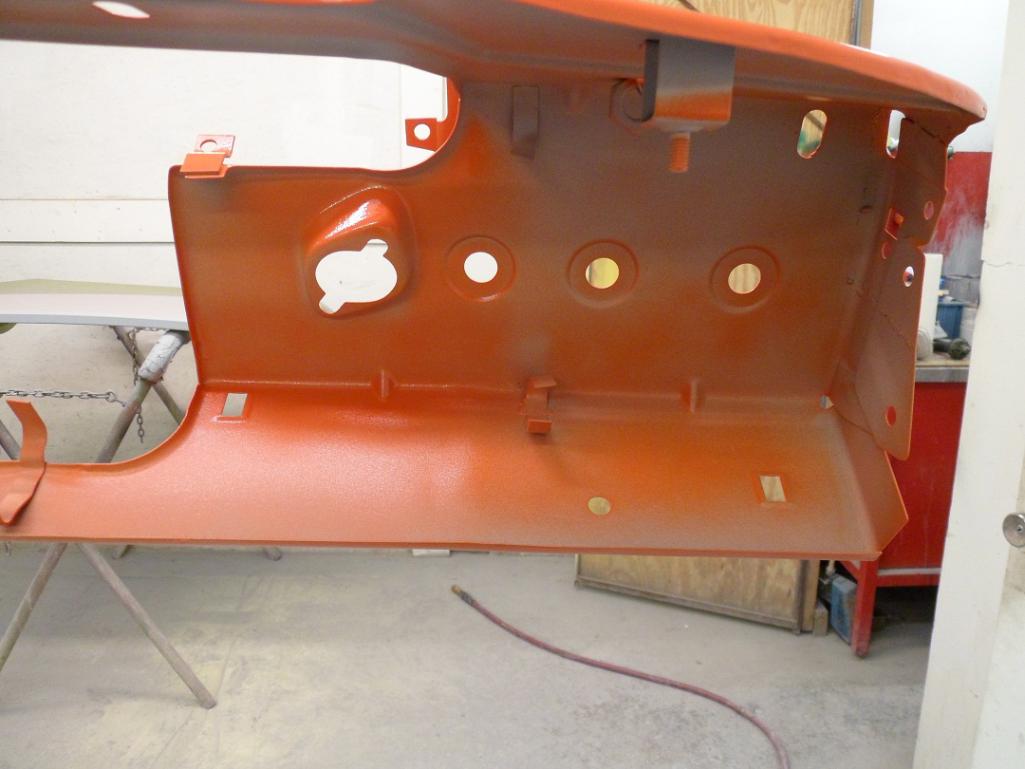
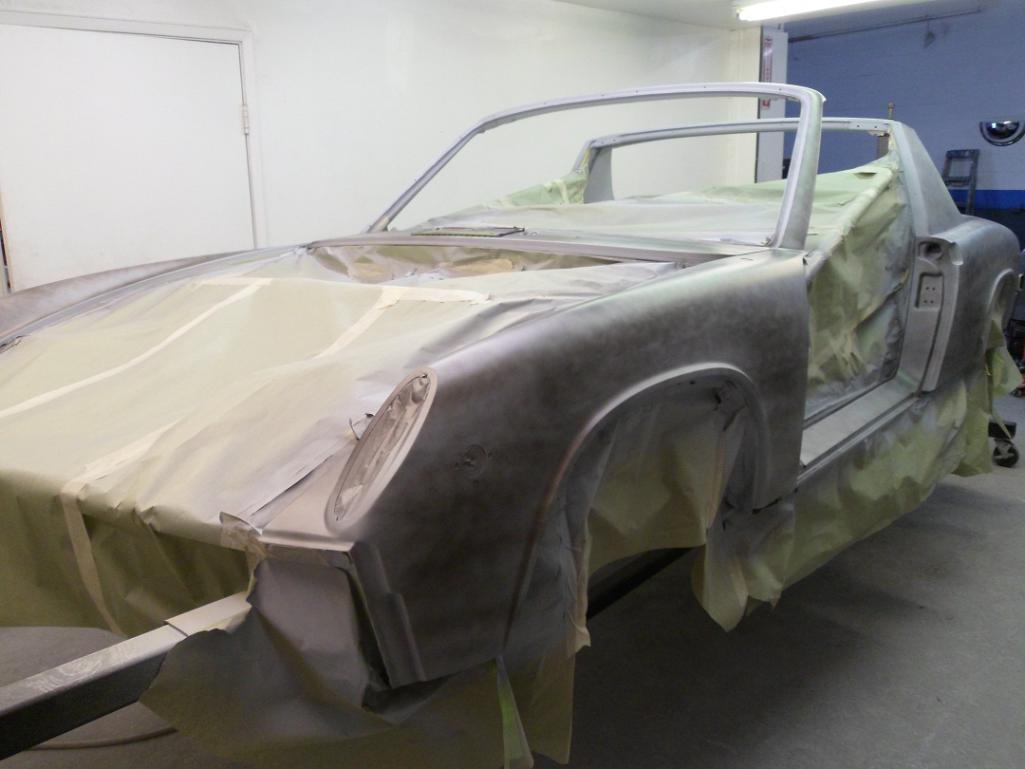
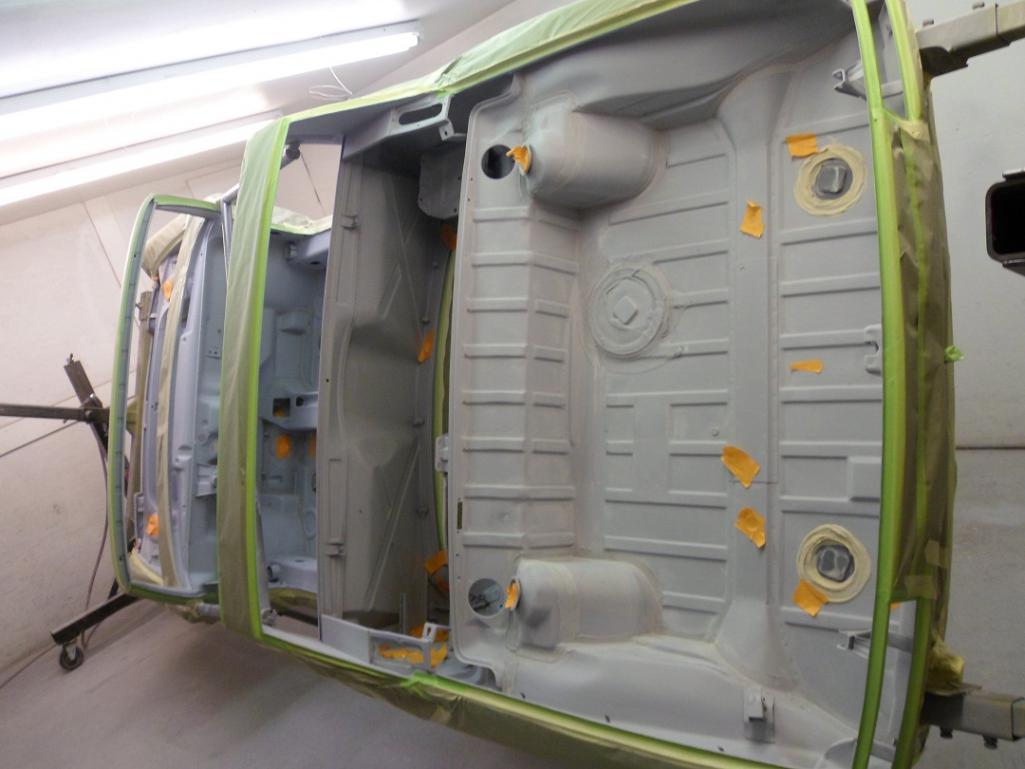
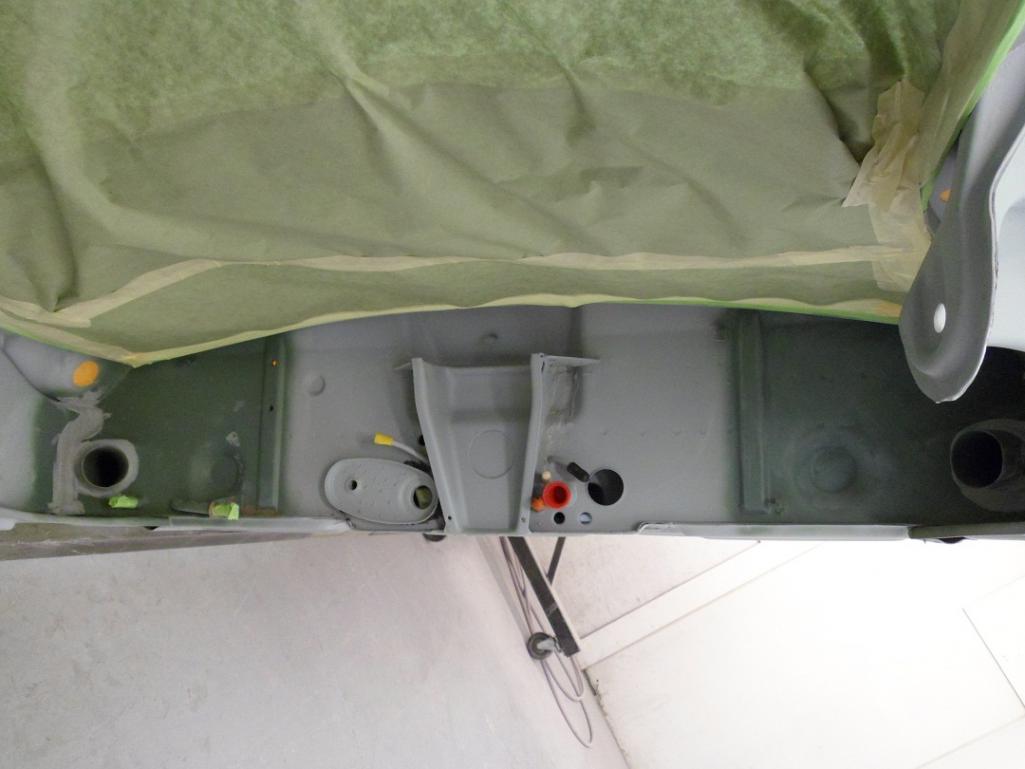
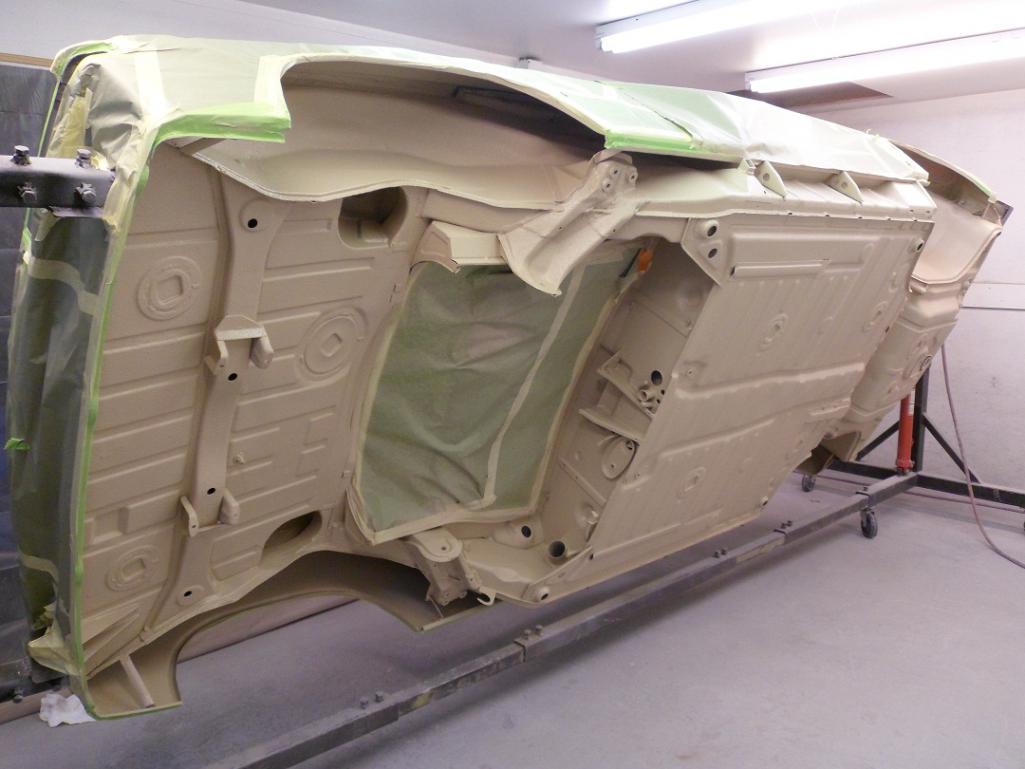
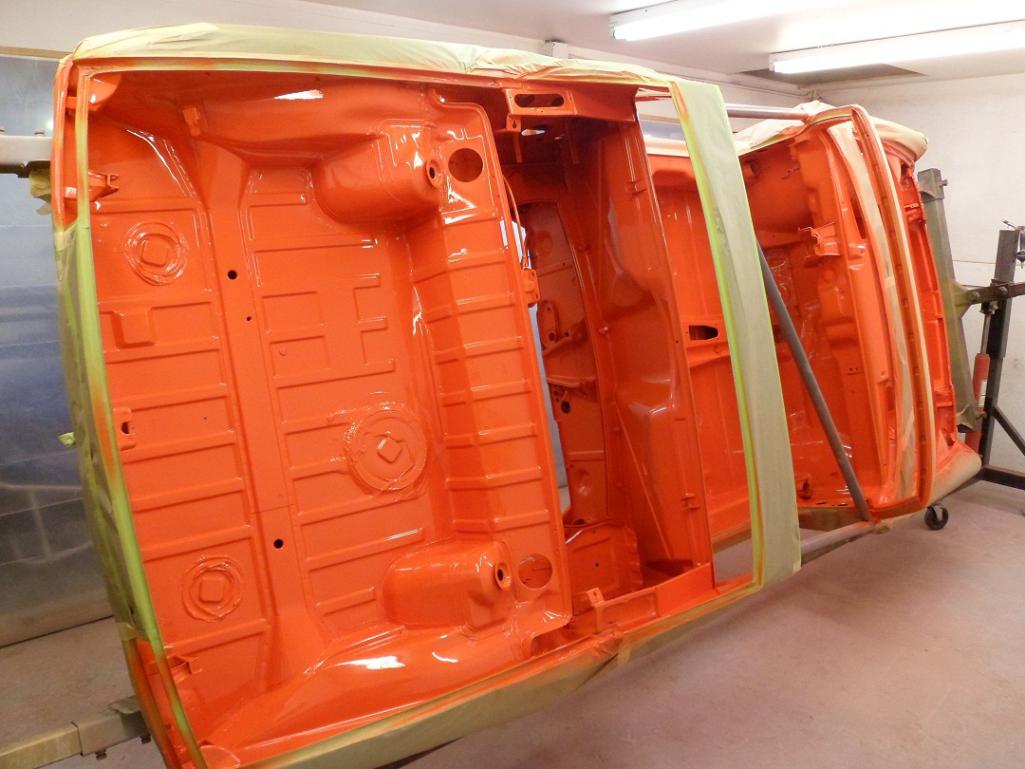
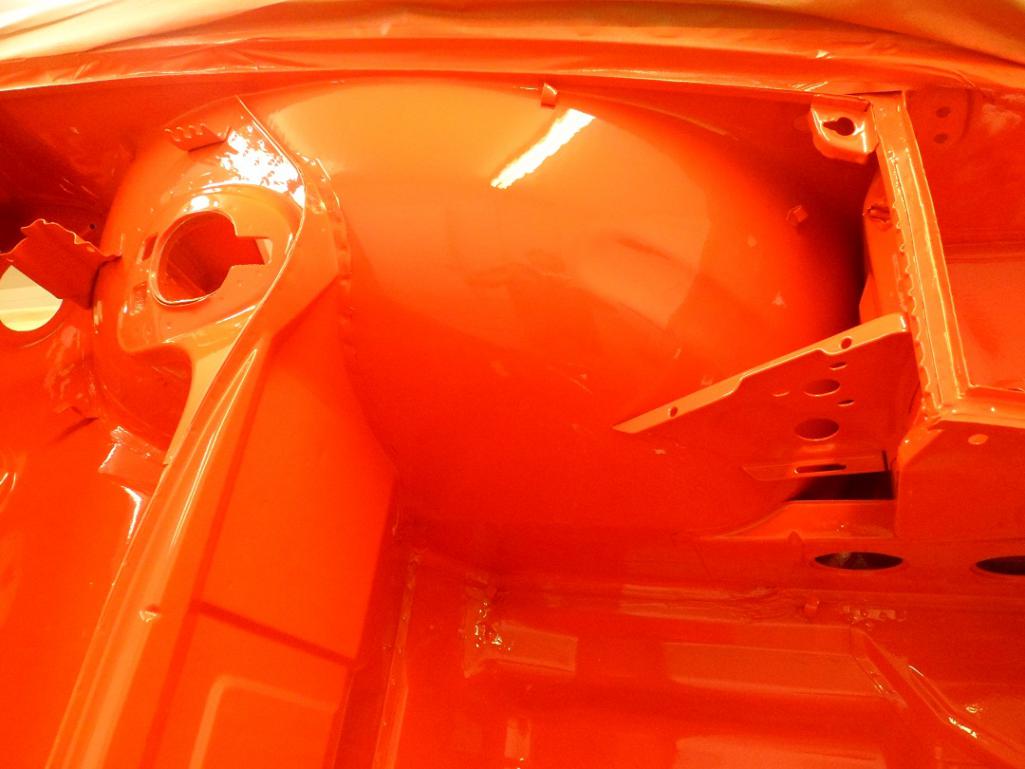
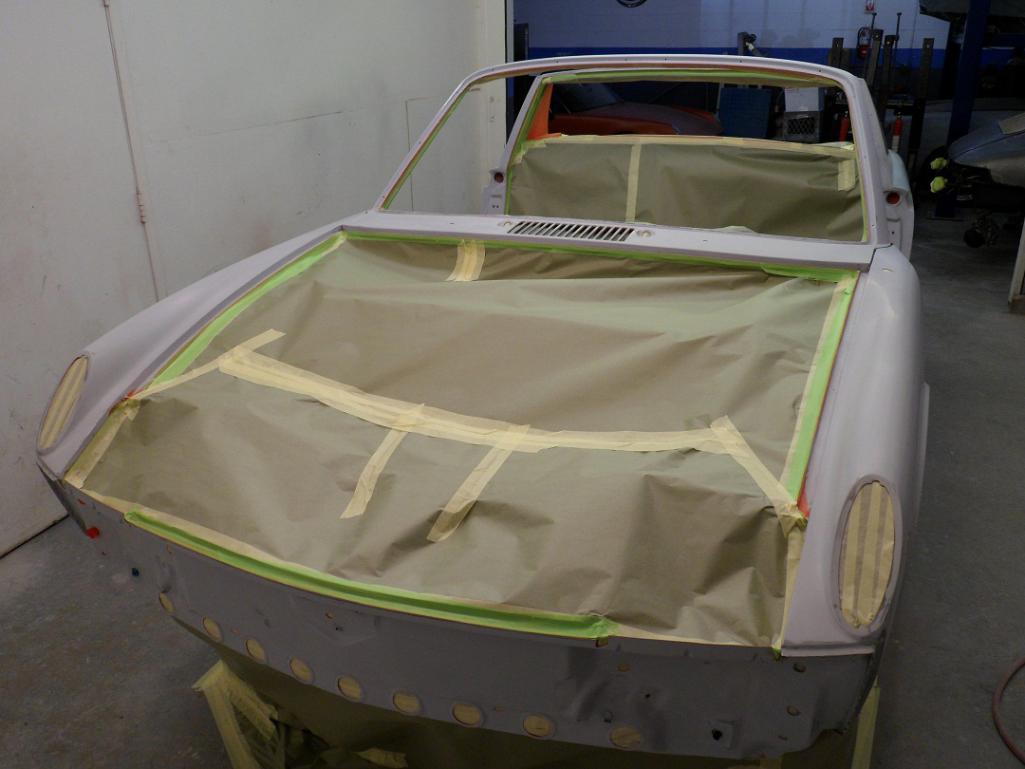
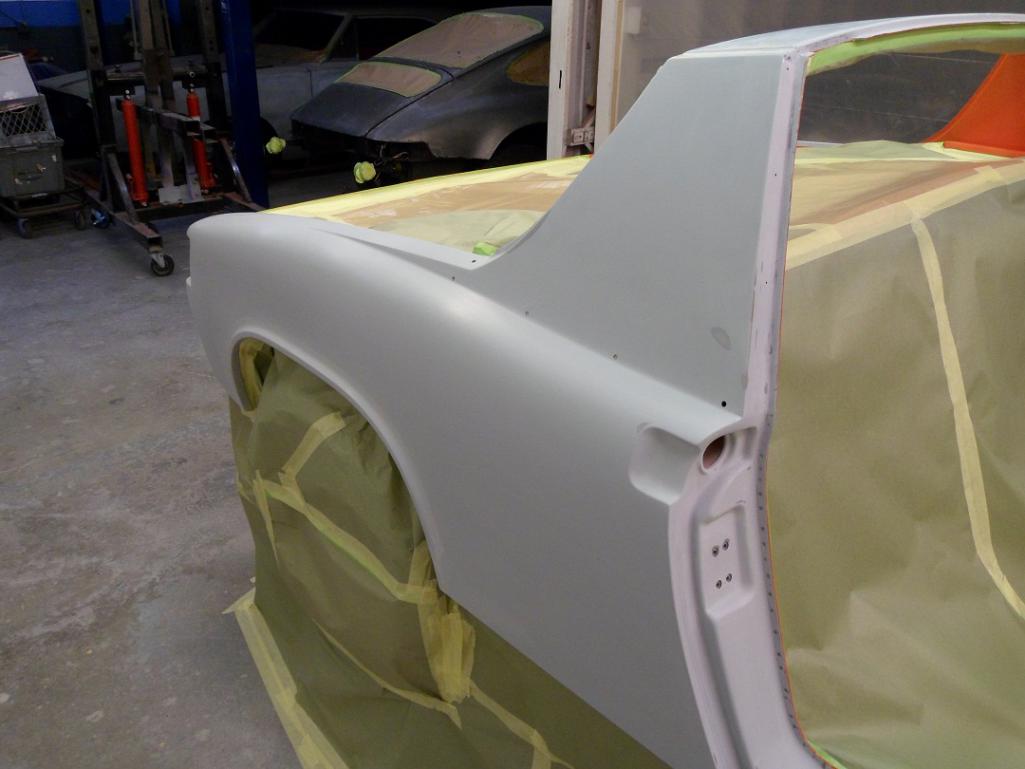
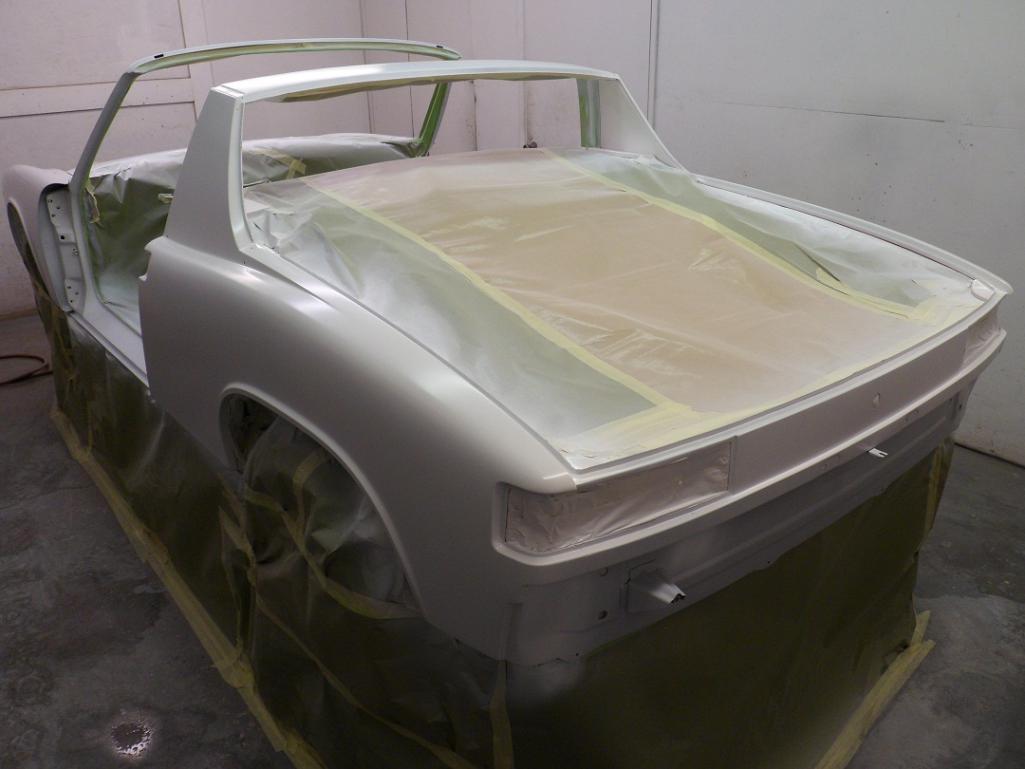
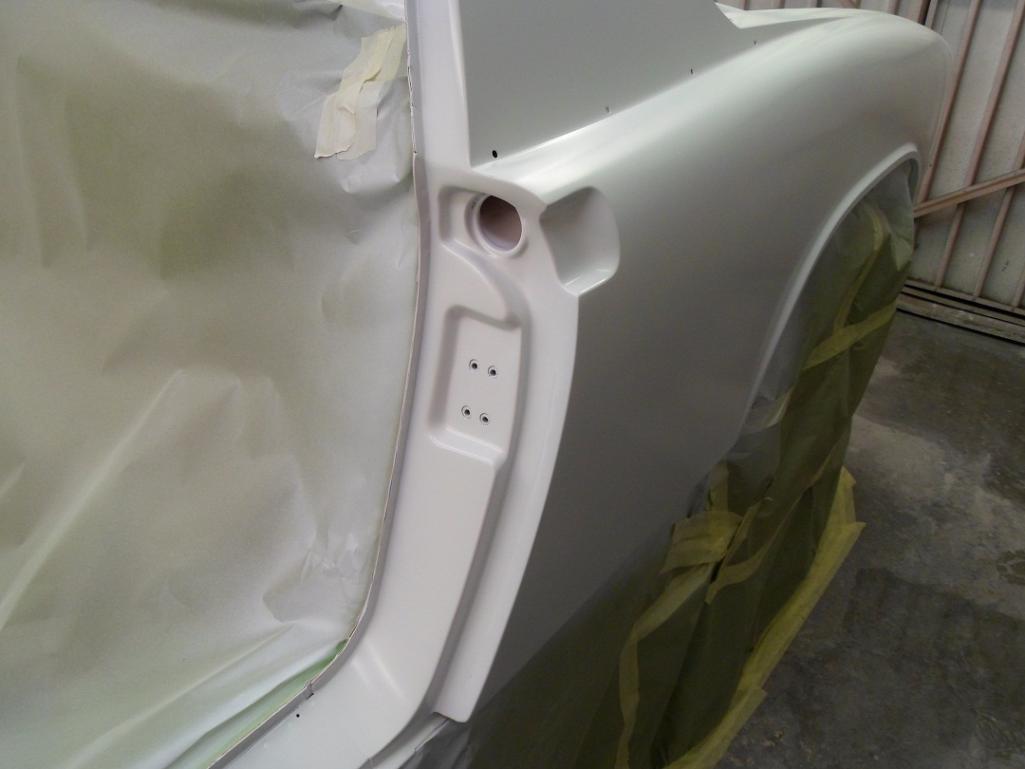
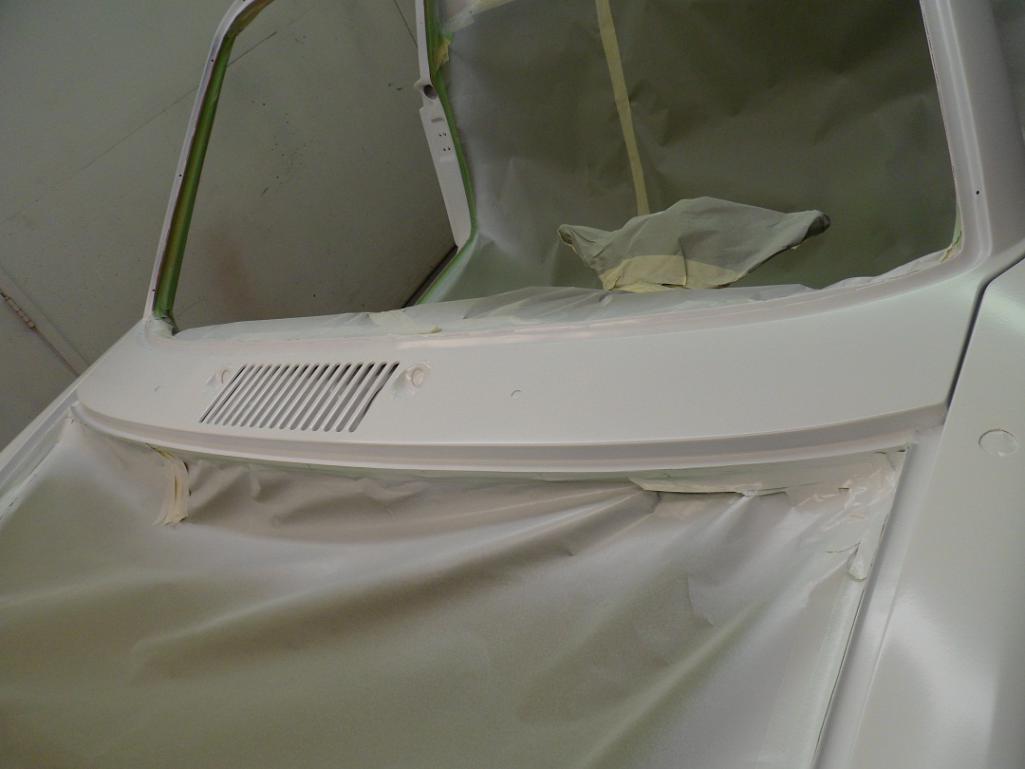
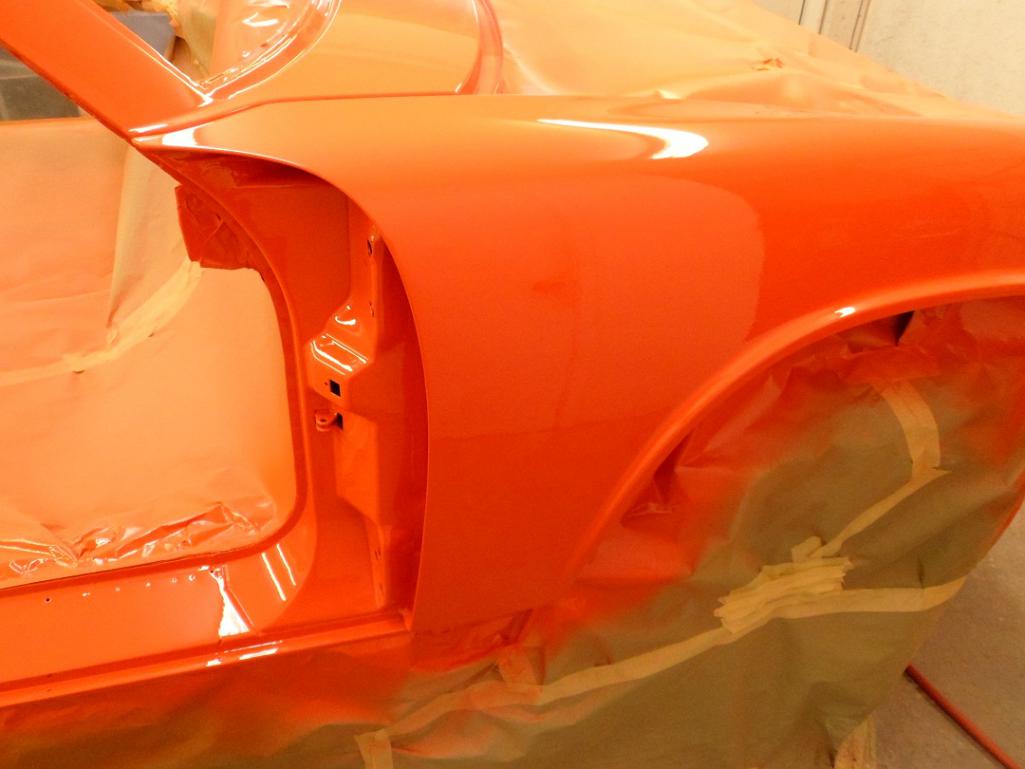
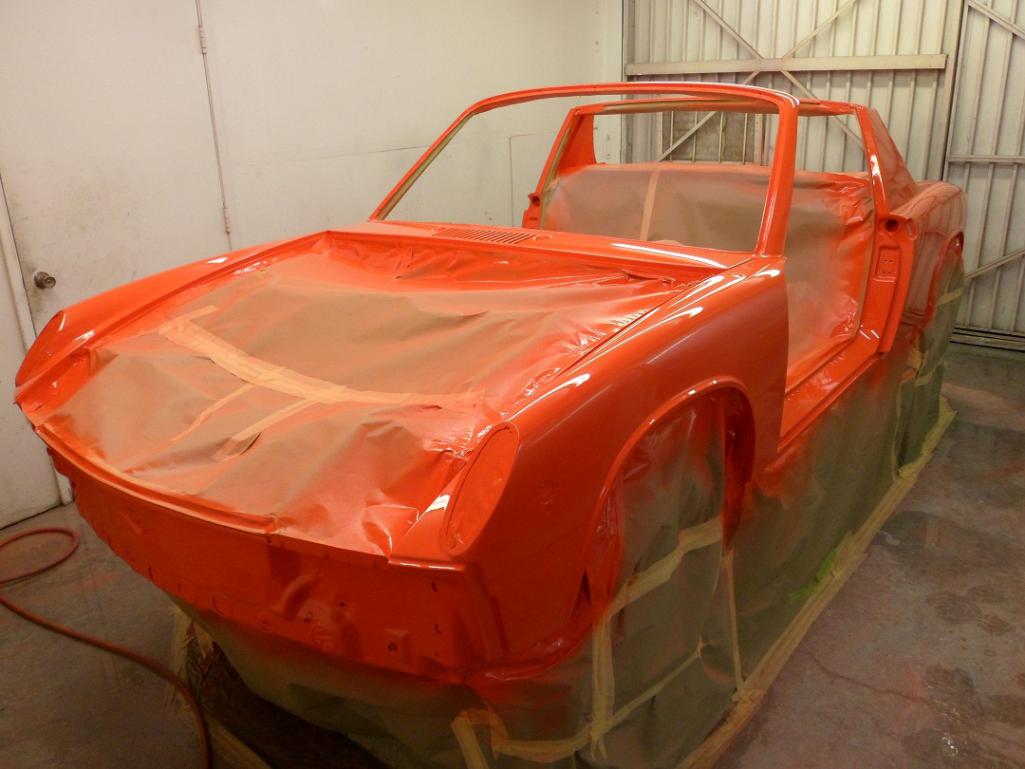
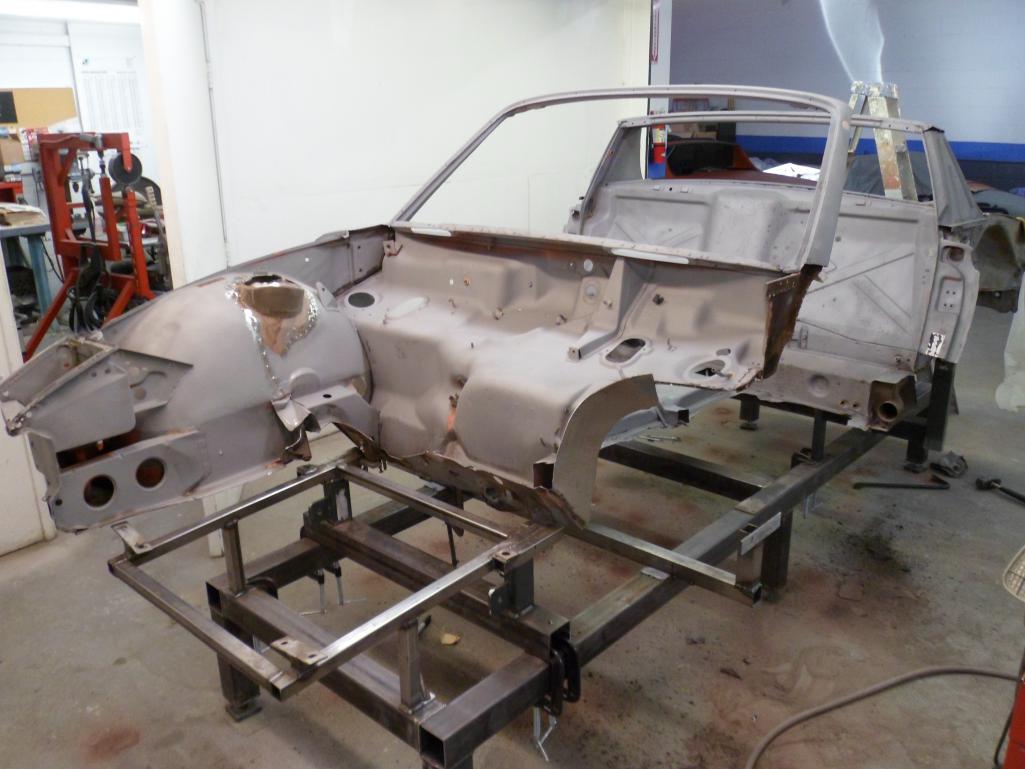
Posted by: 914350 Oct 25 2014, 07:35 PM
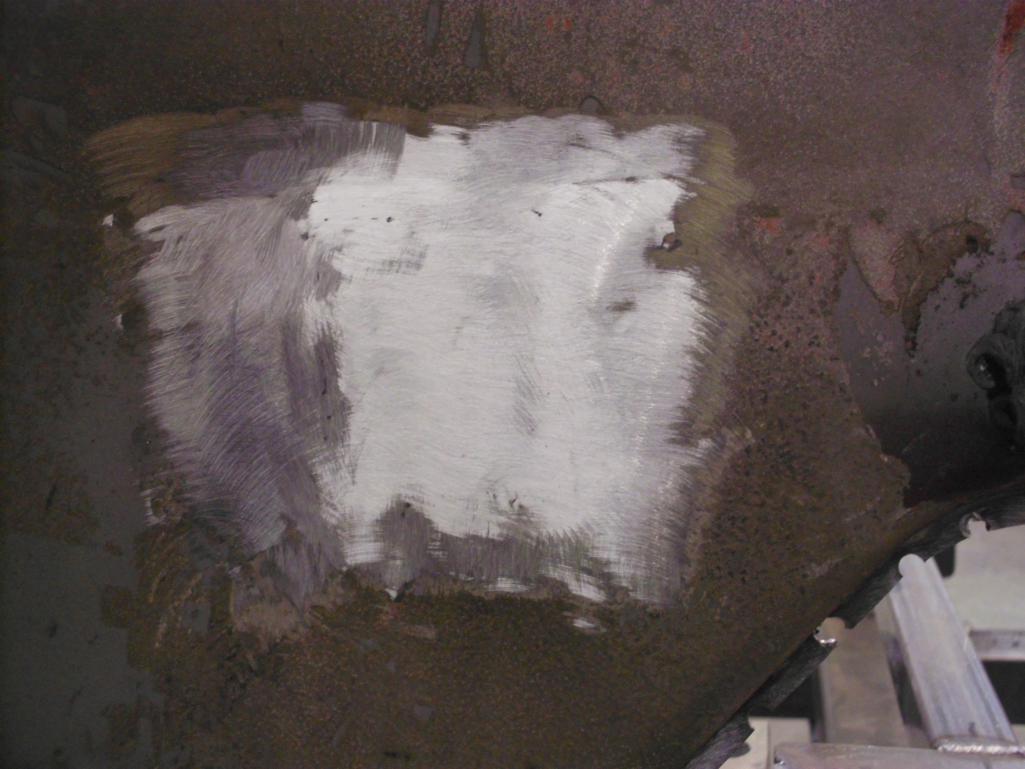
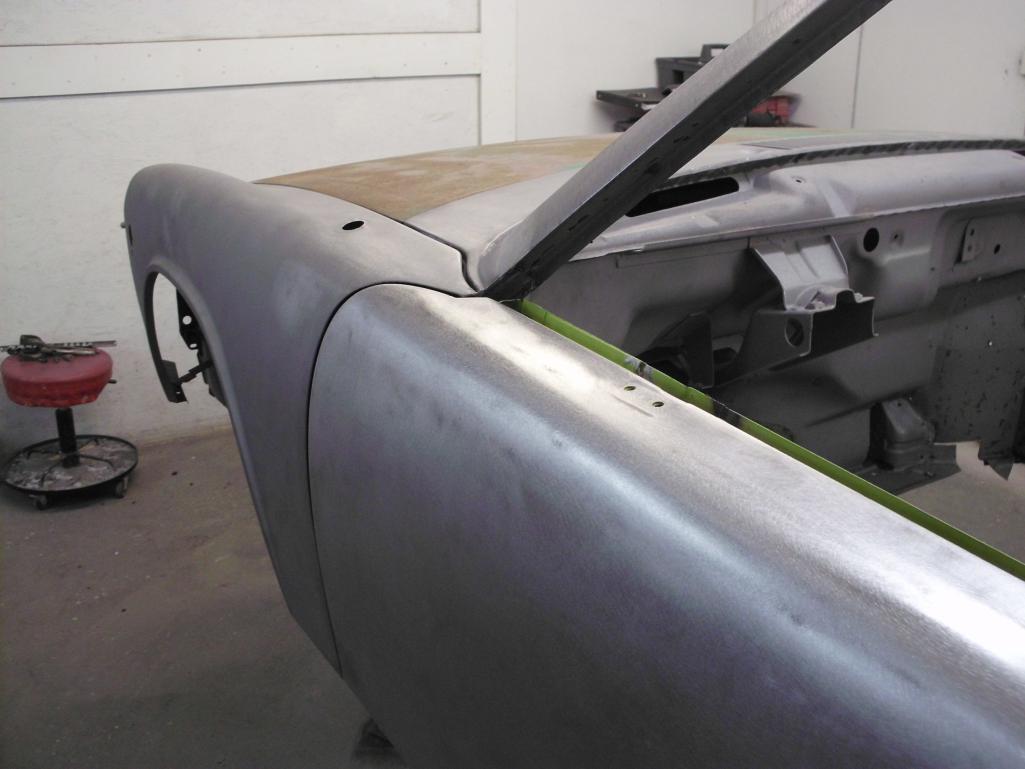
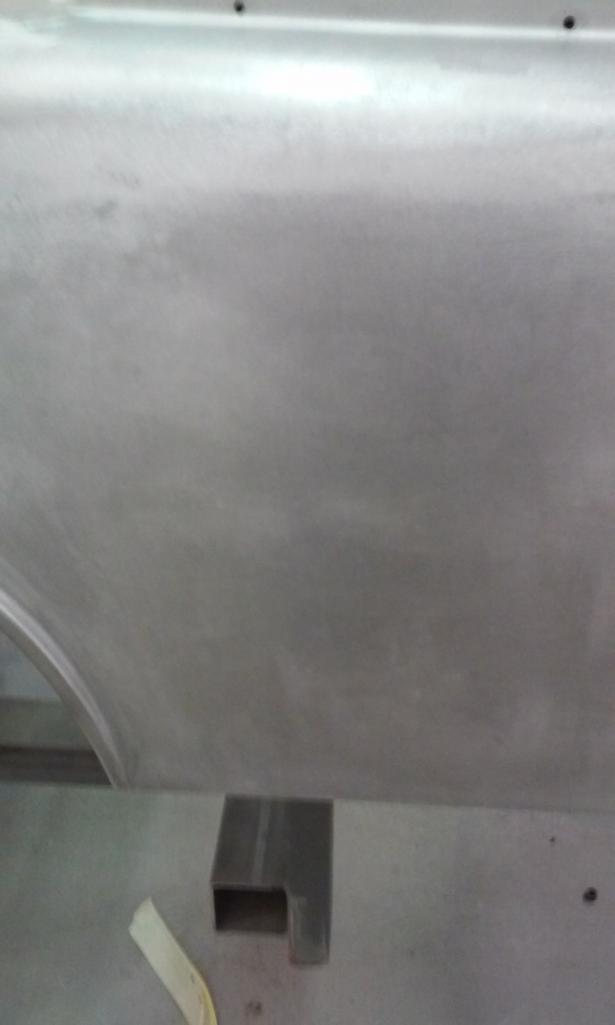
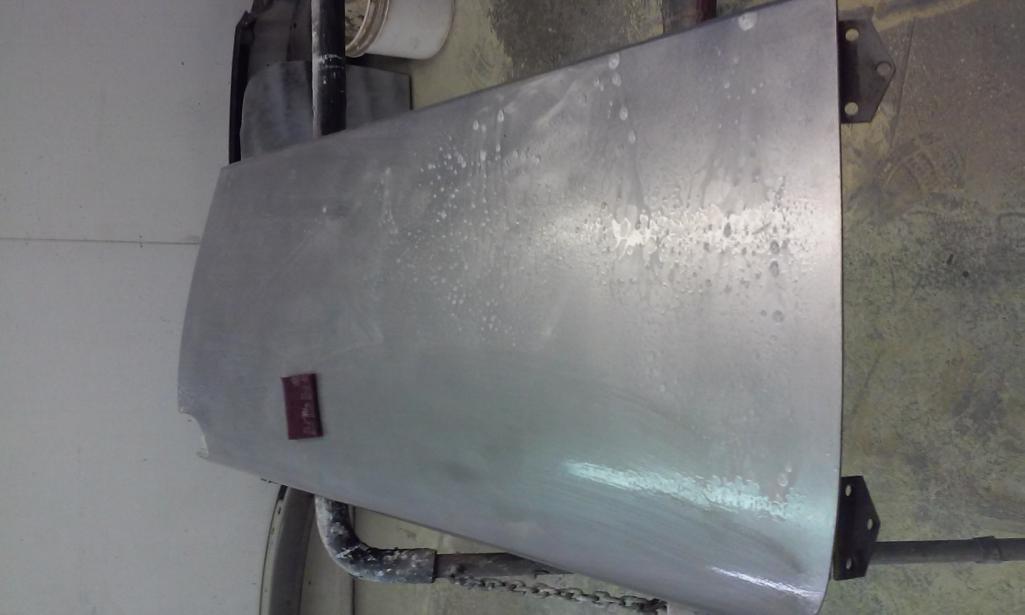
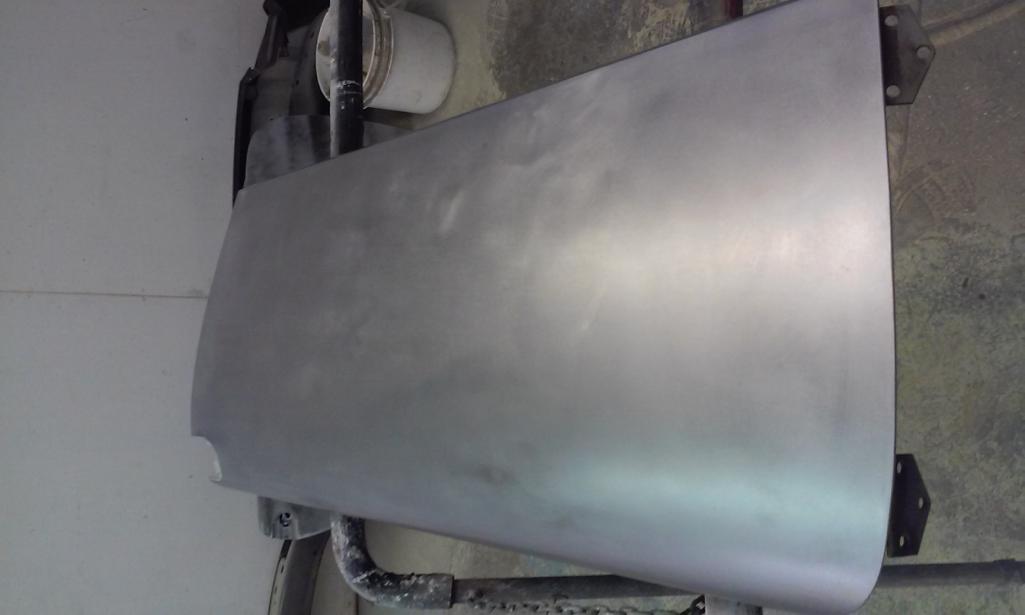
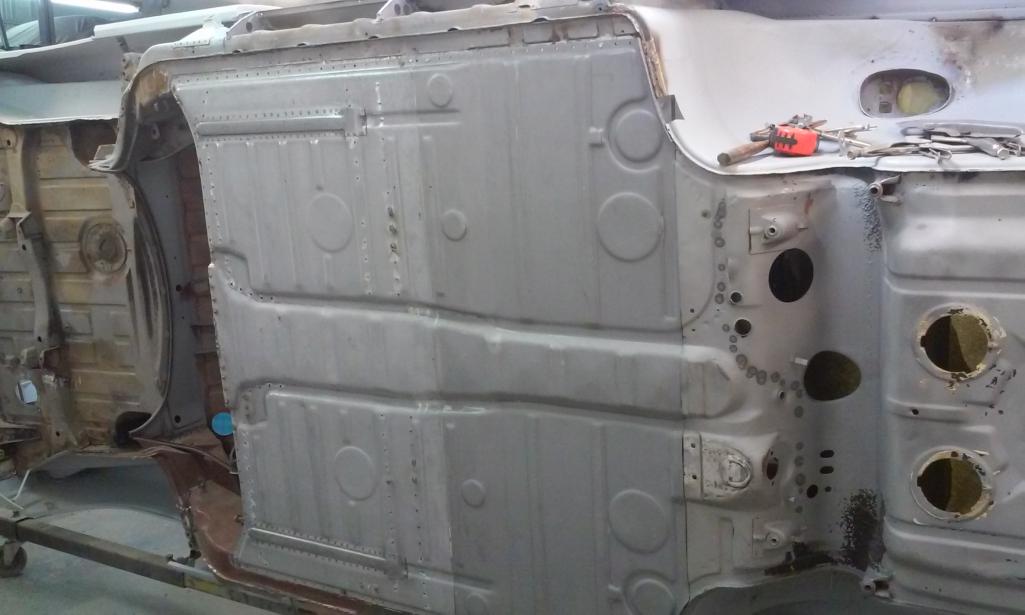
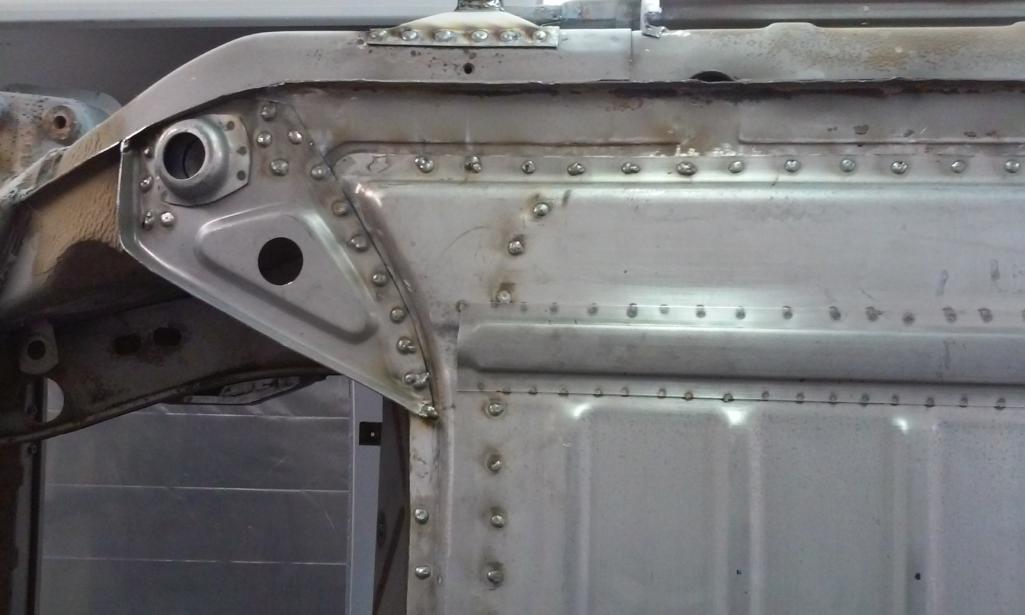
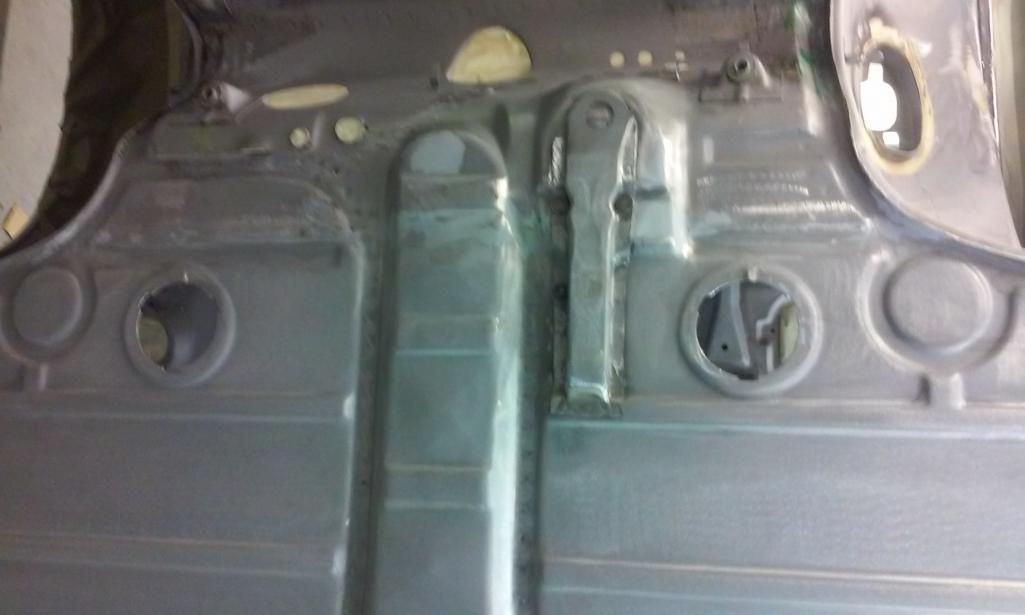
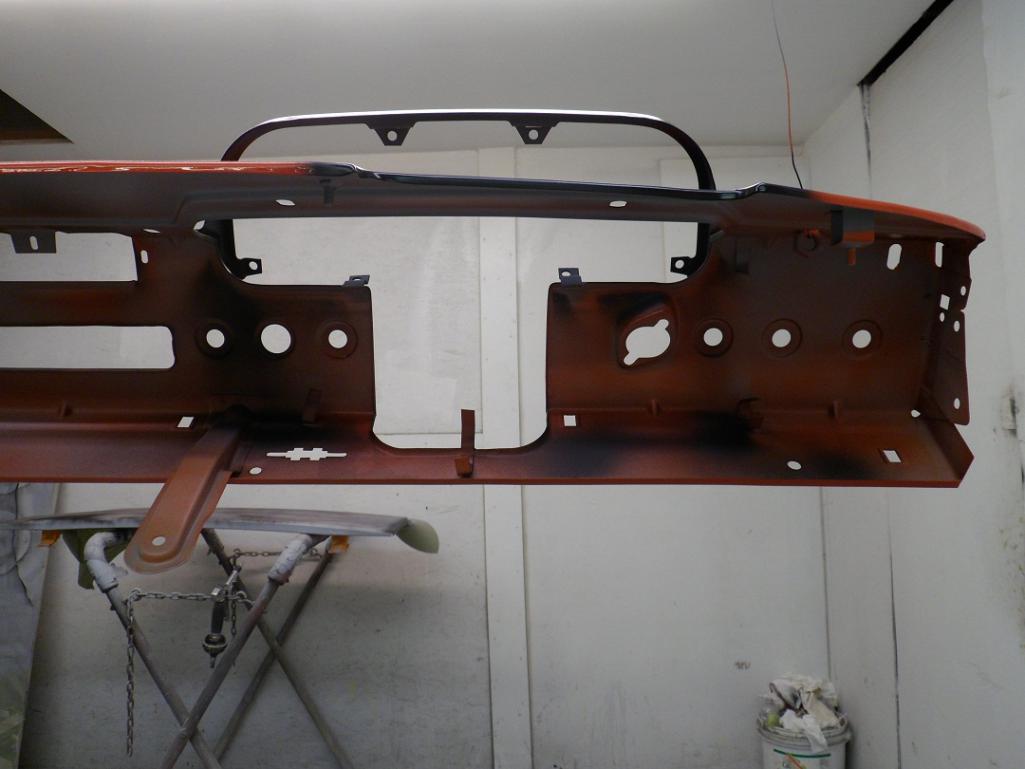
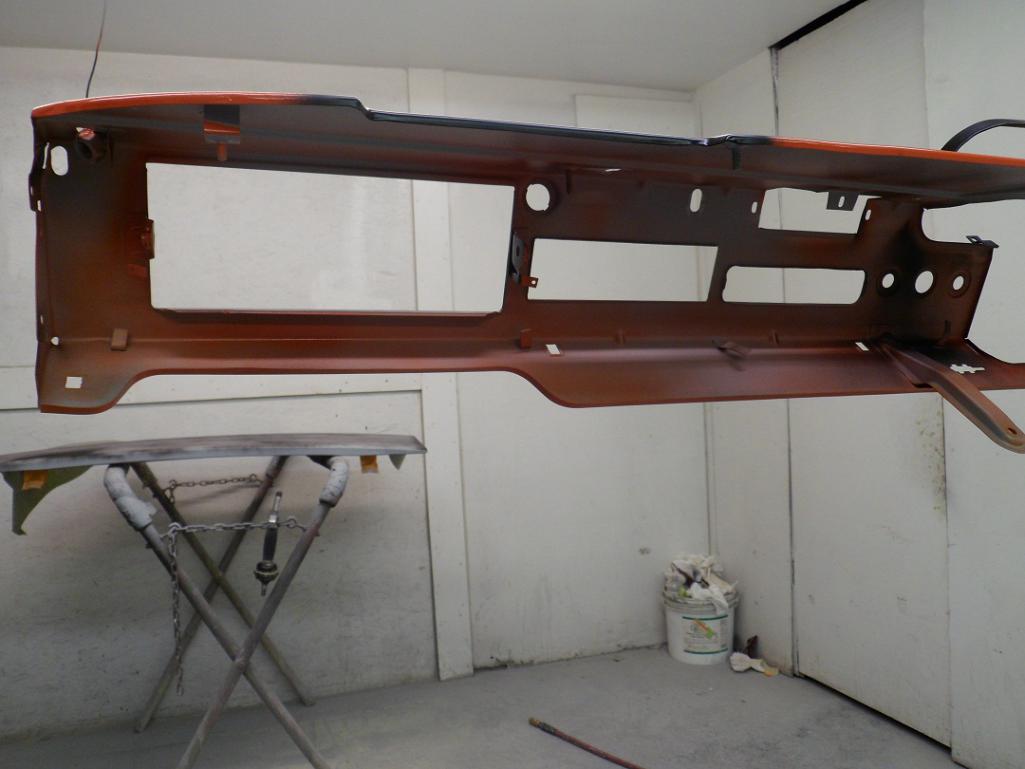
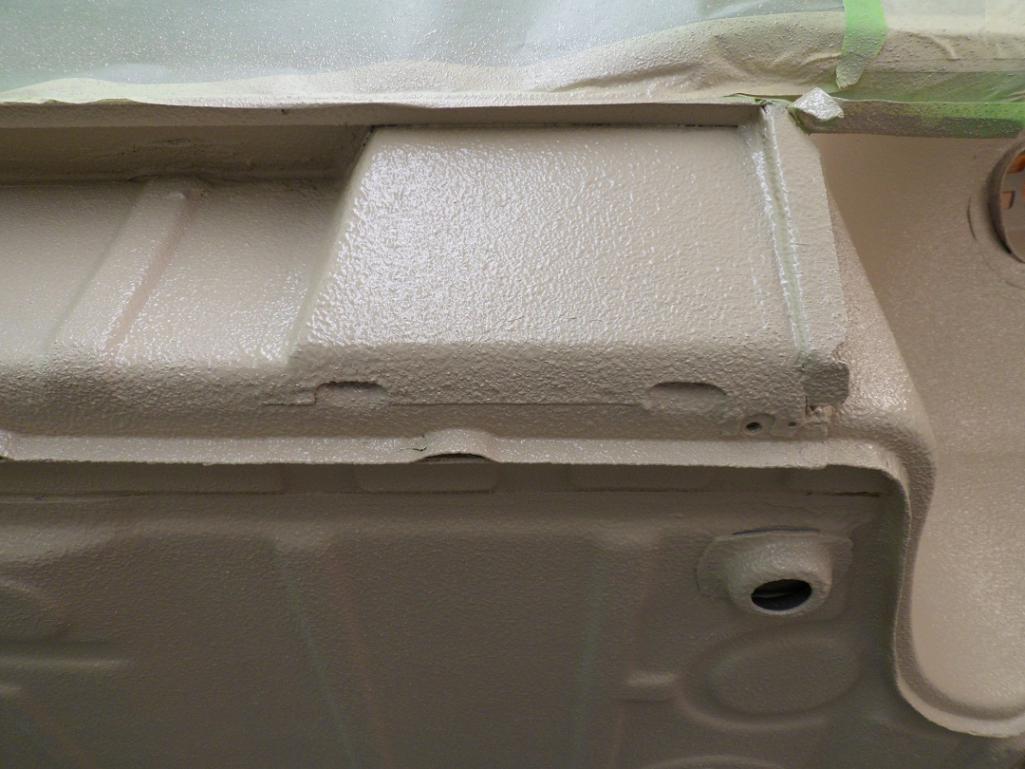
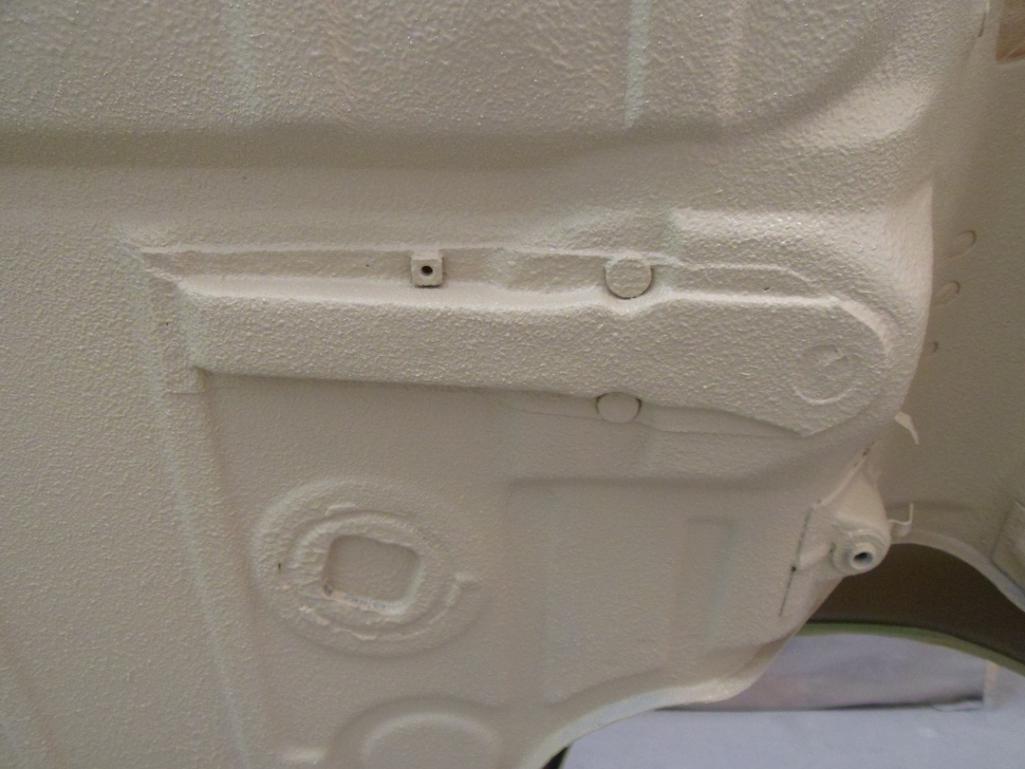
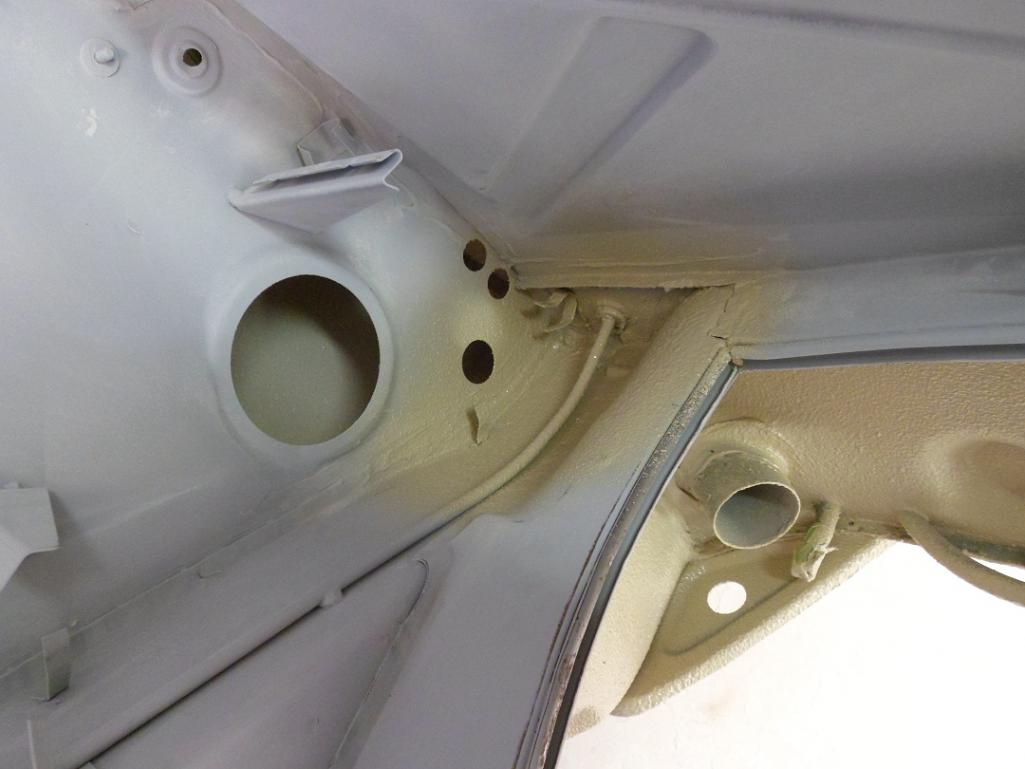
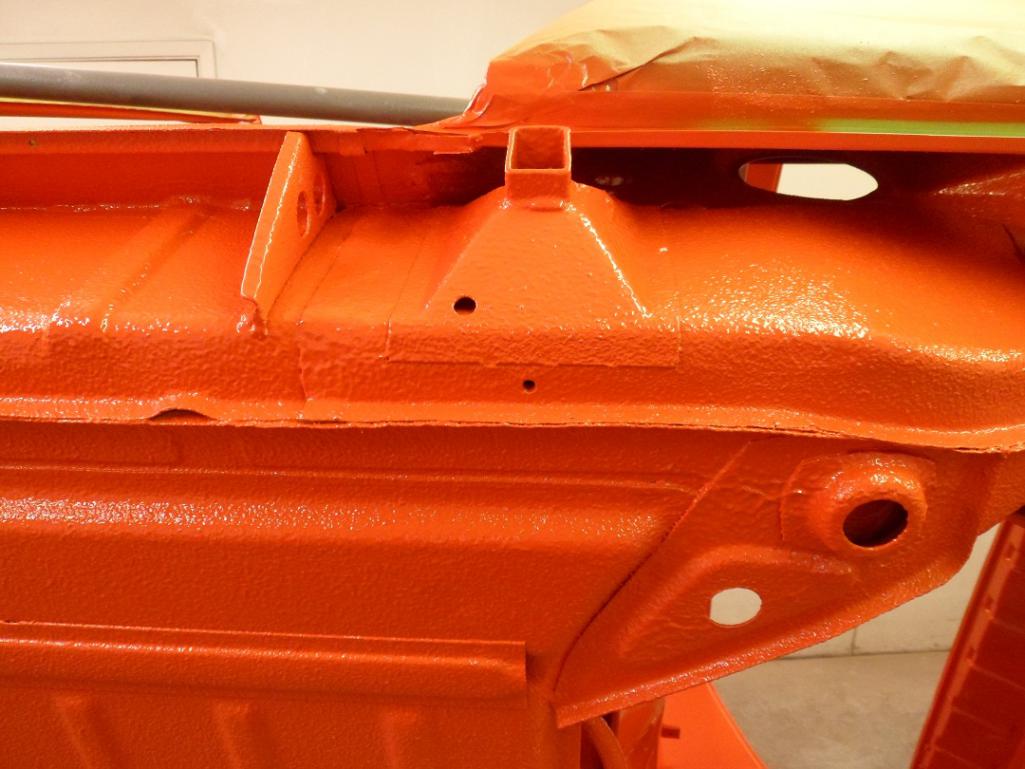
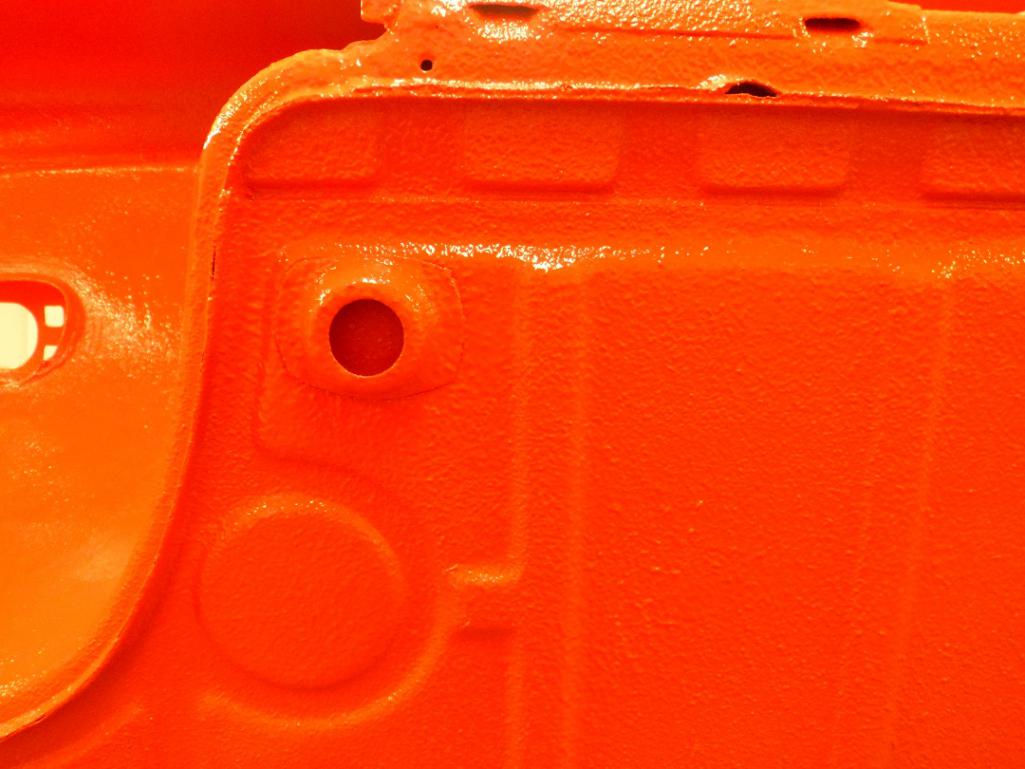
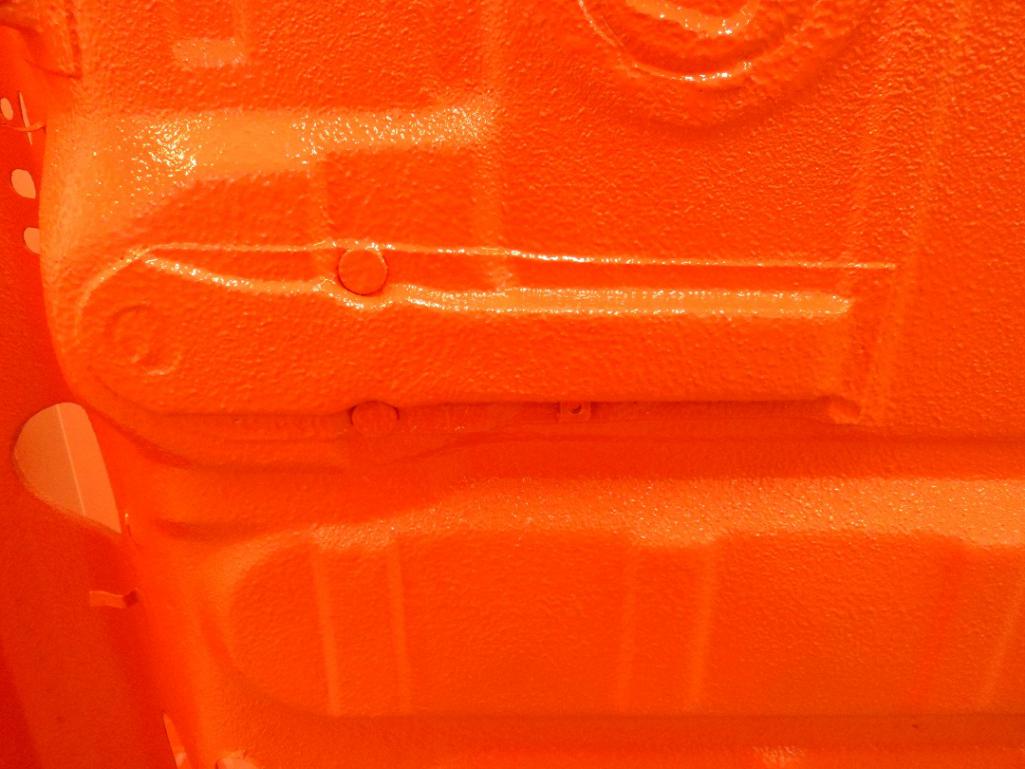
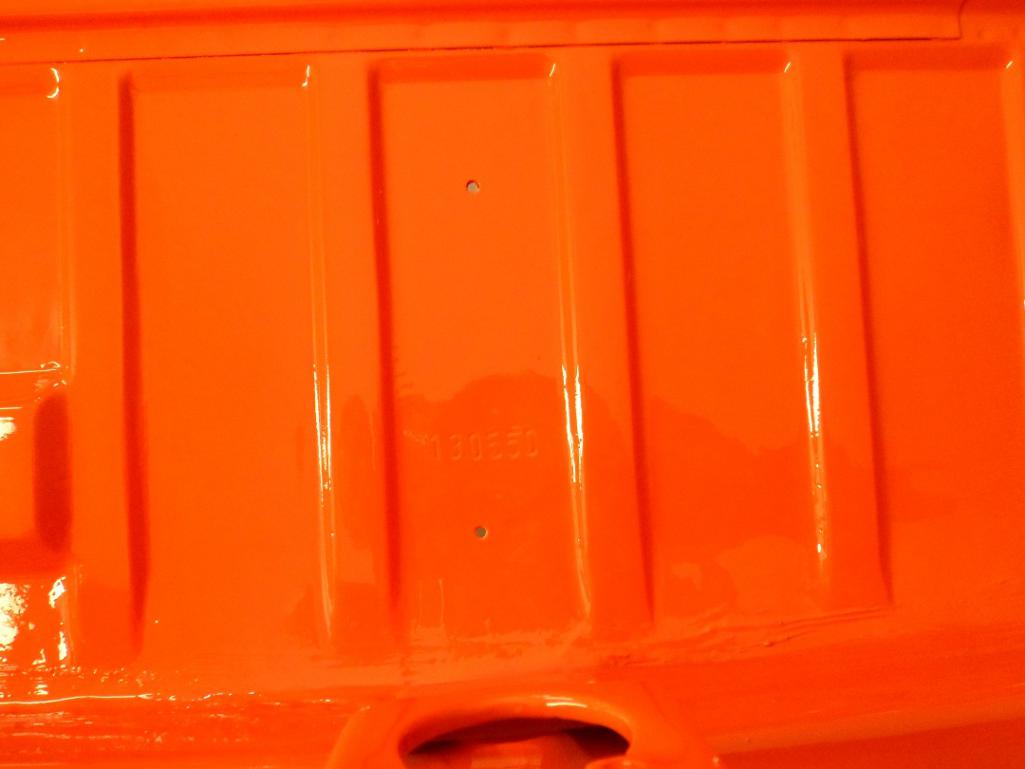
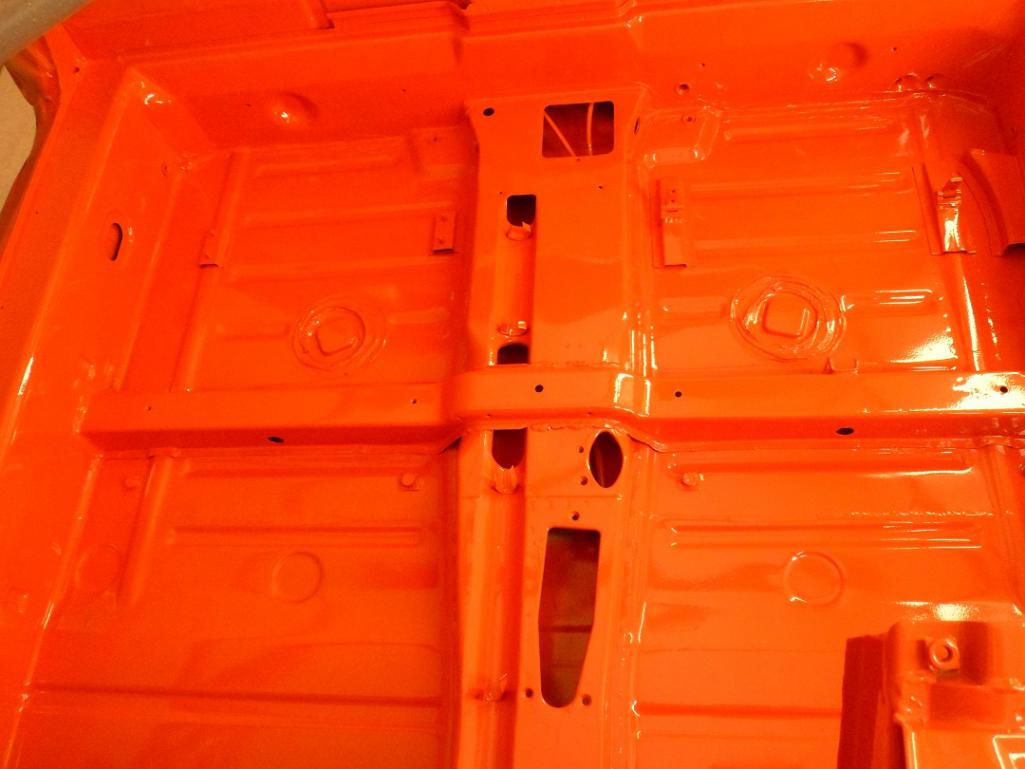
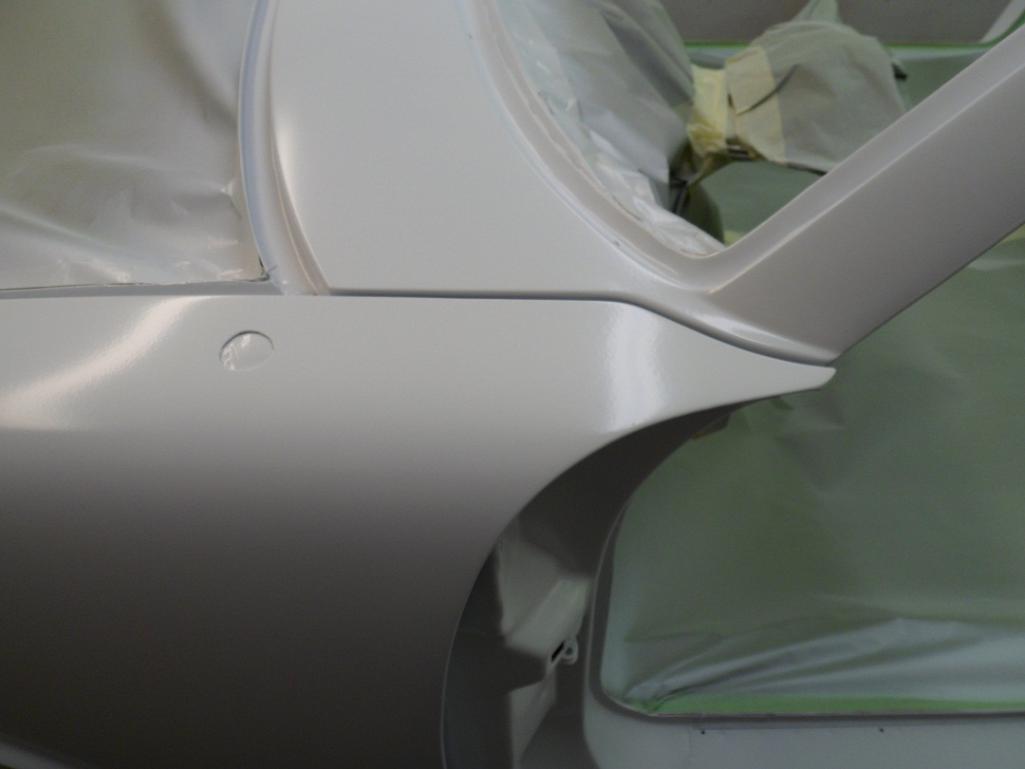
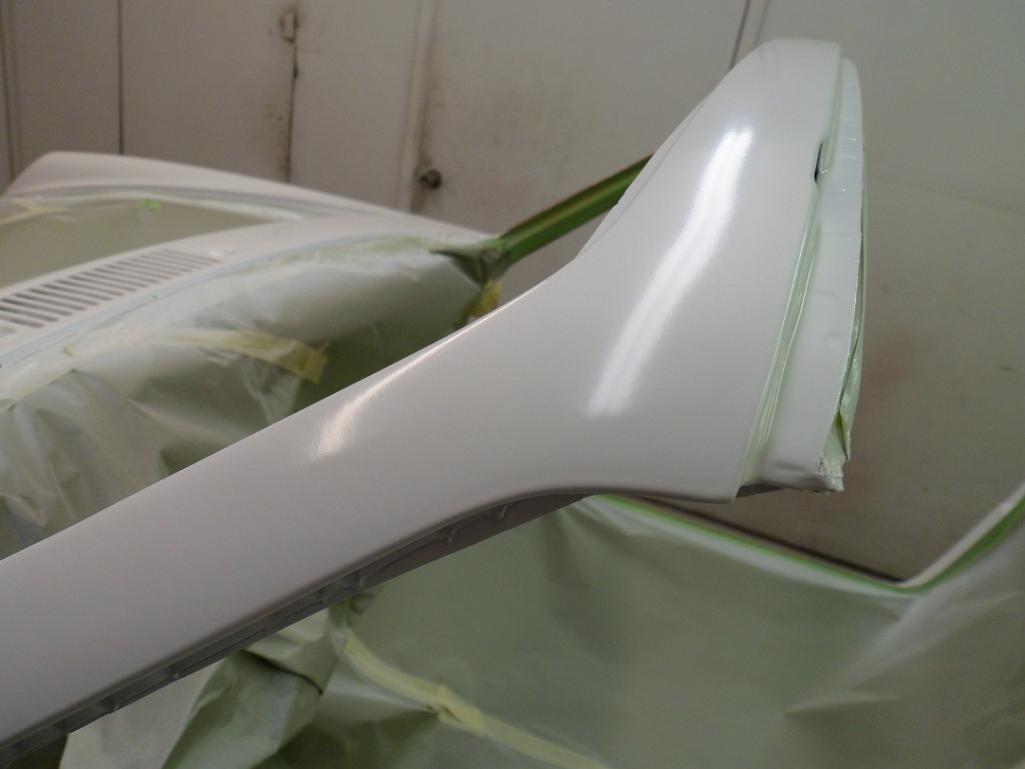
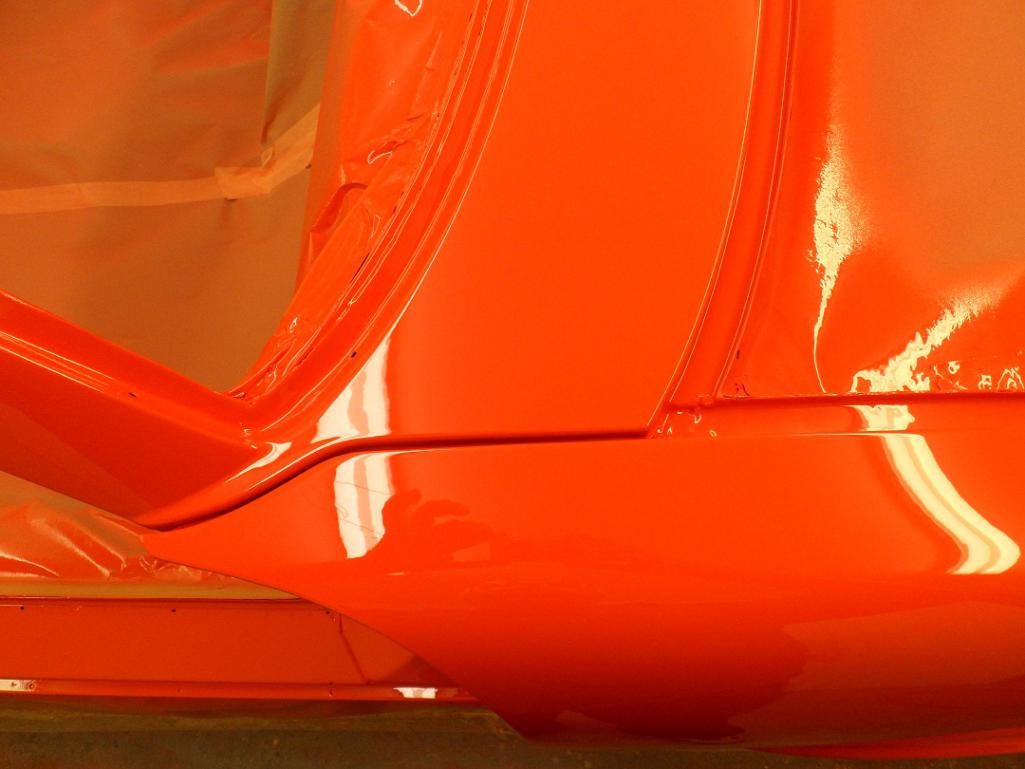
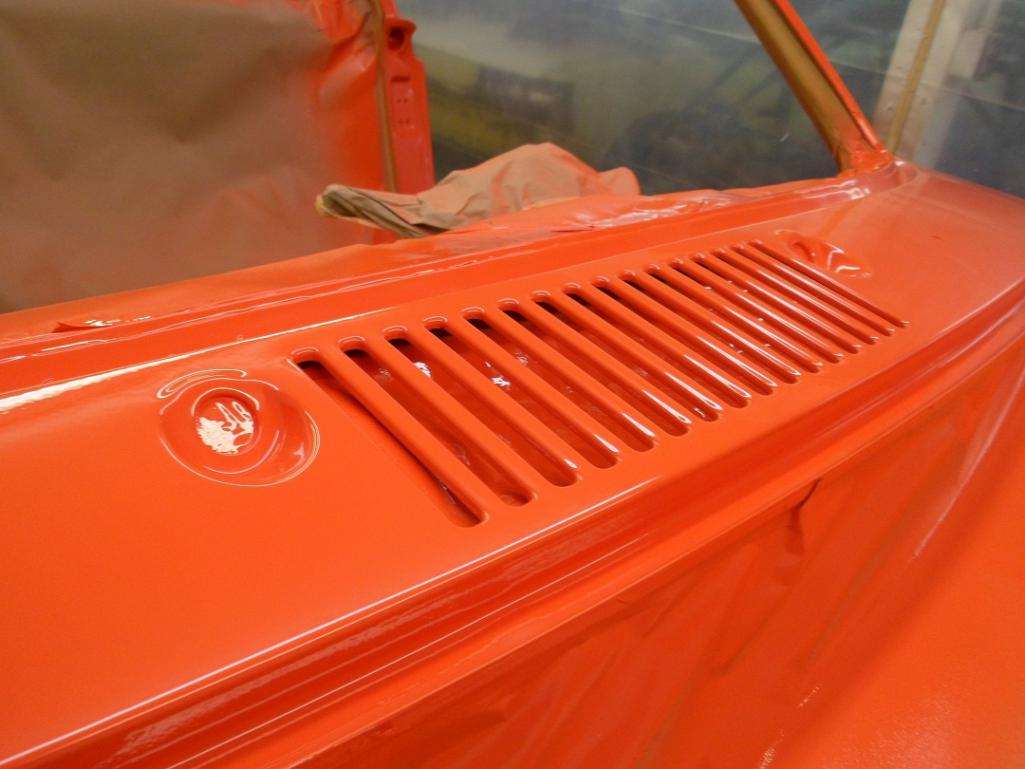
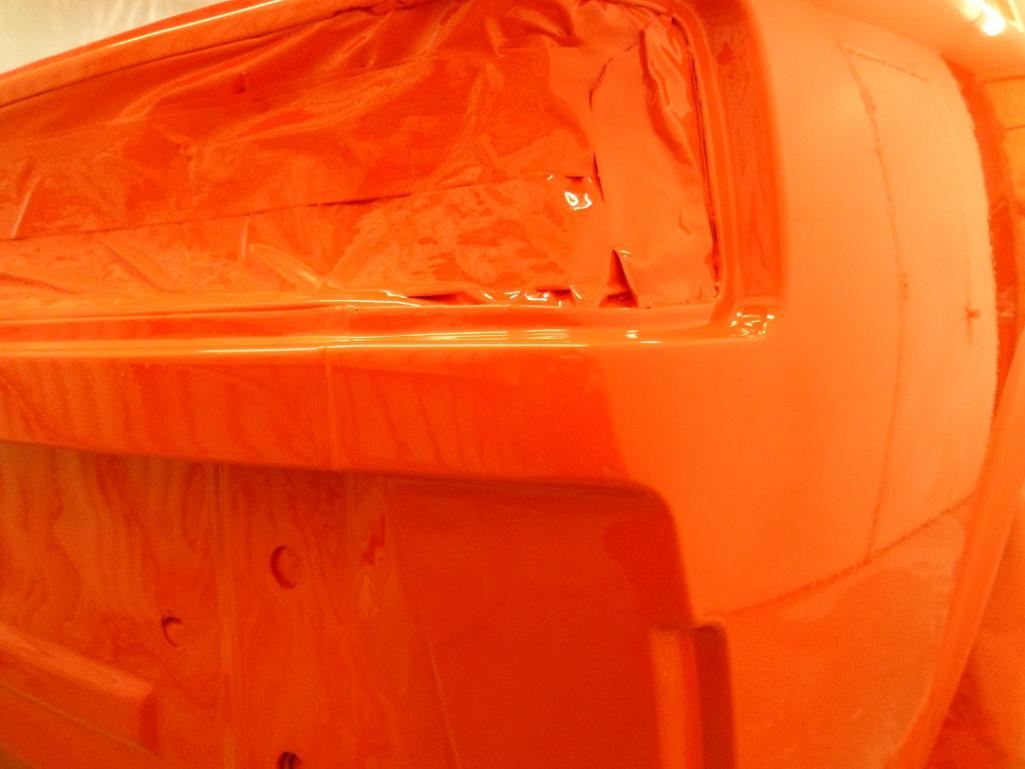
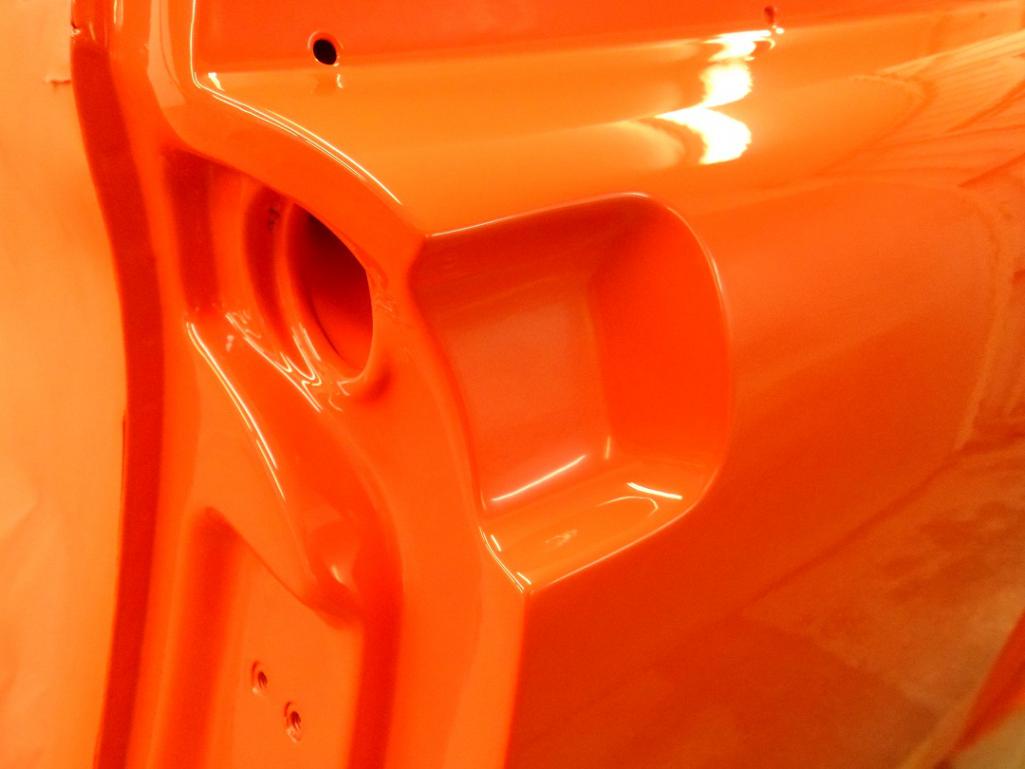
Spent today trimming the panels off of the car and getting it ready for media blasting.
Attached thumbnail(s)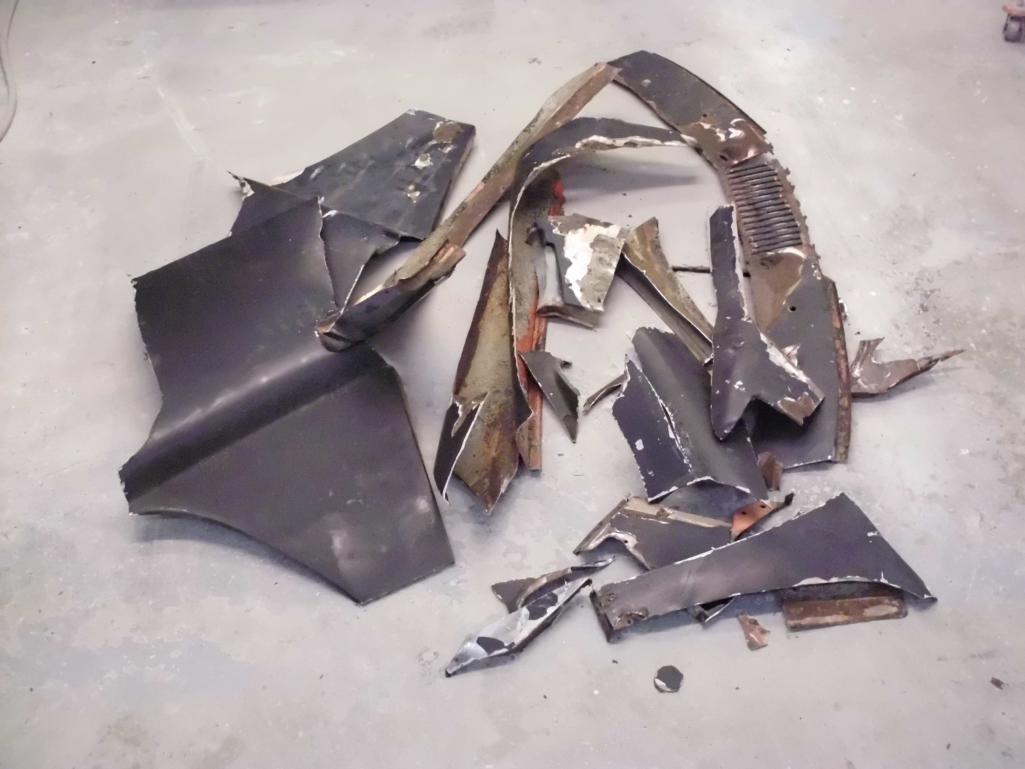
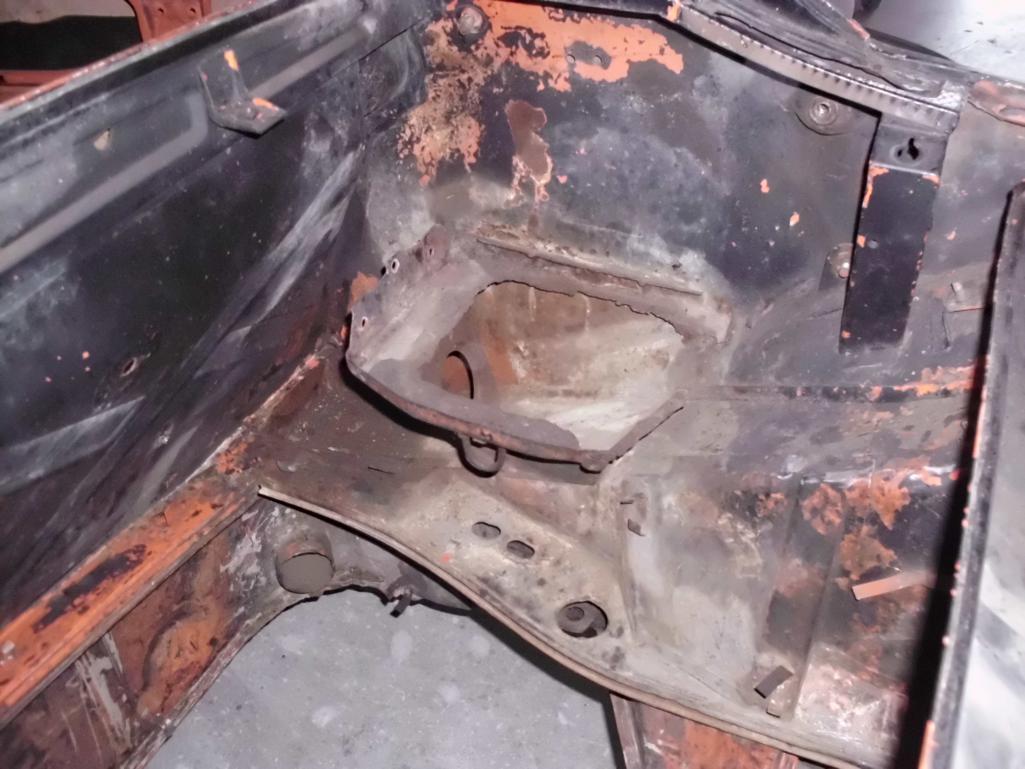
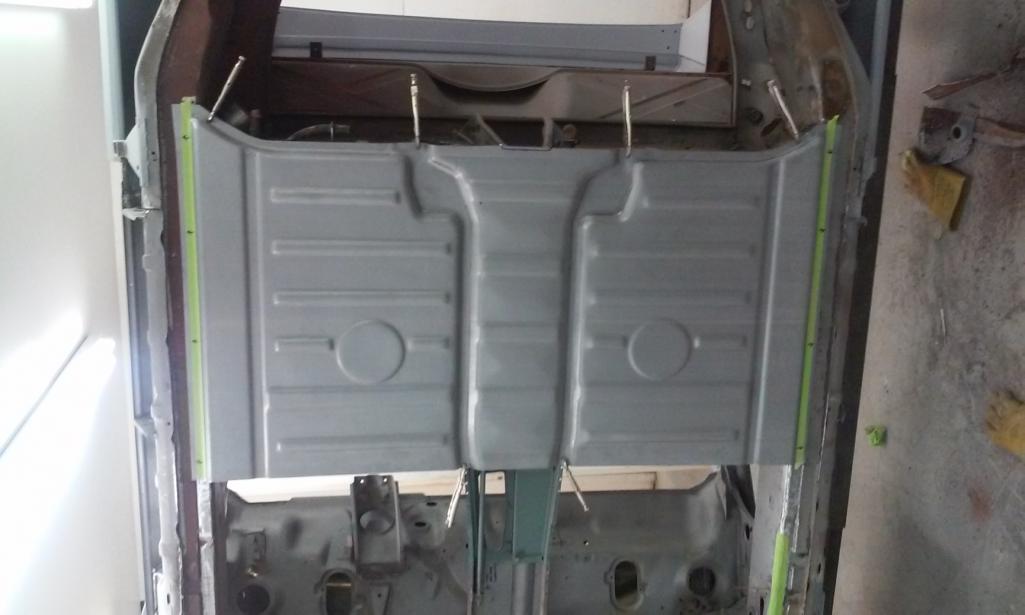
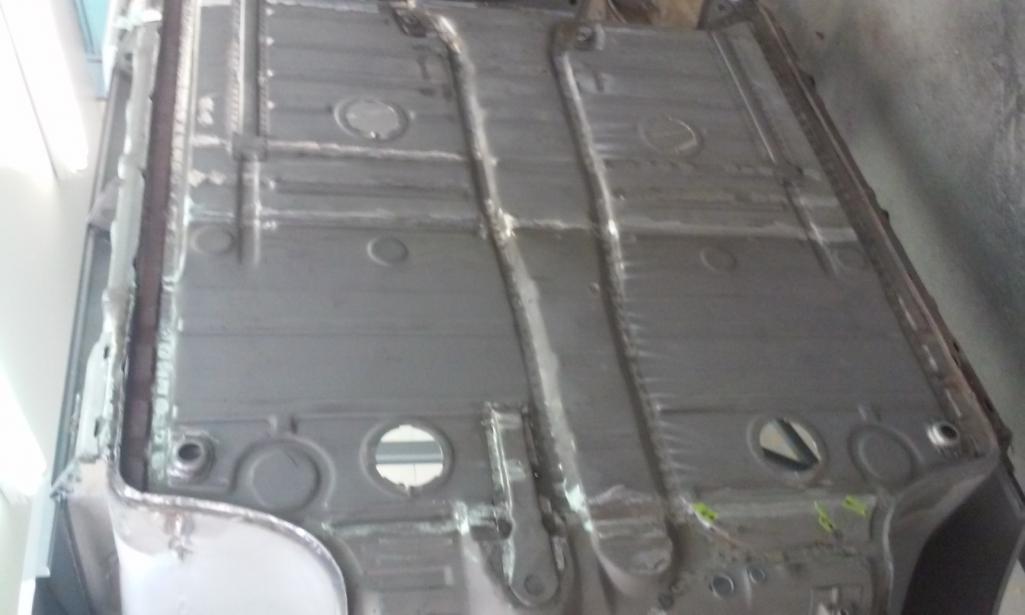
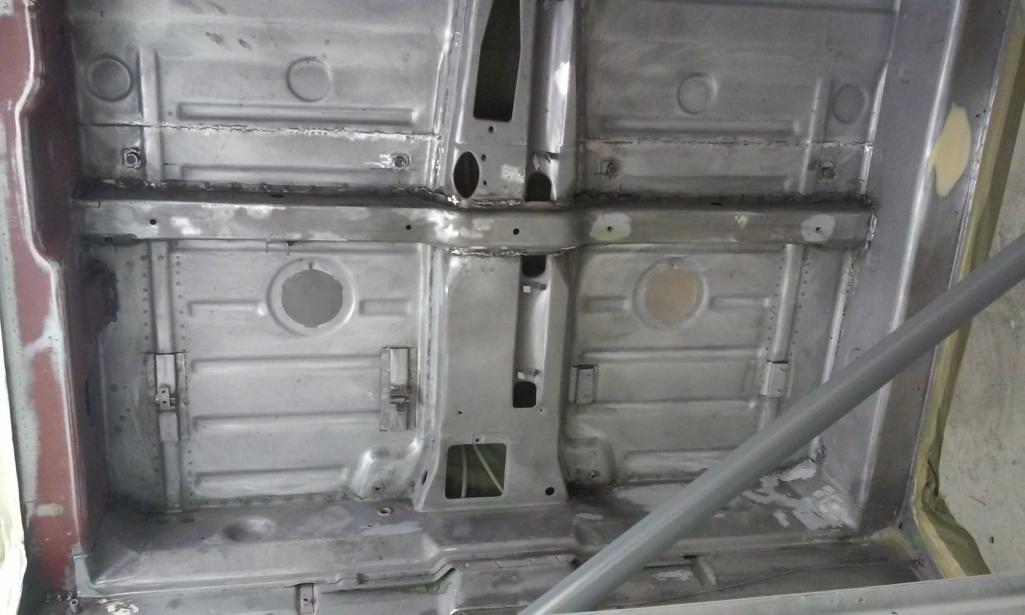
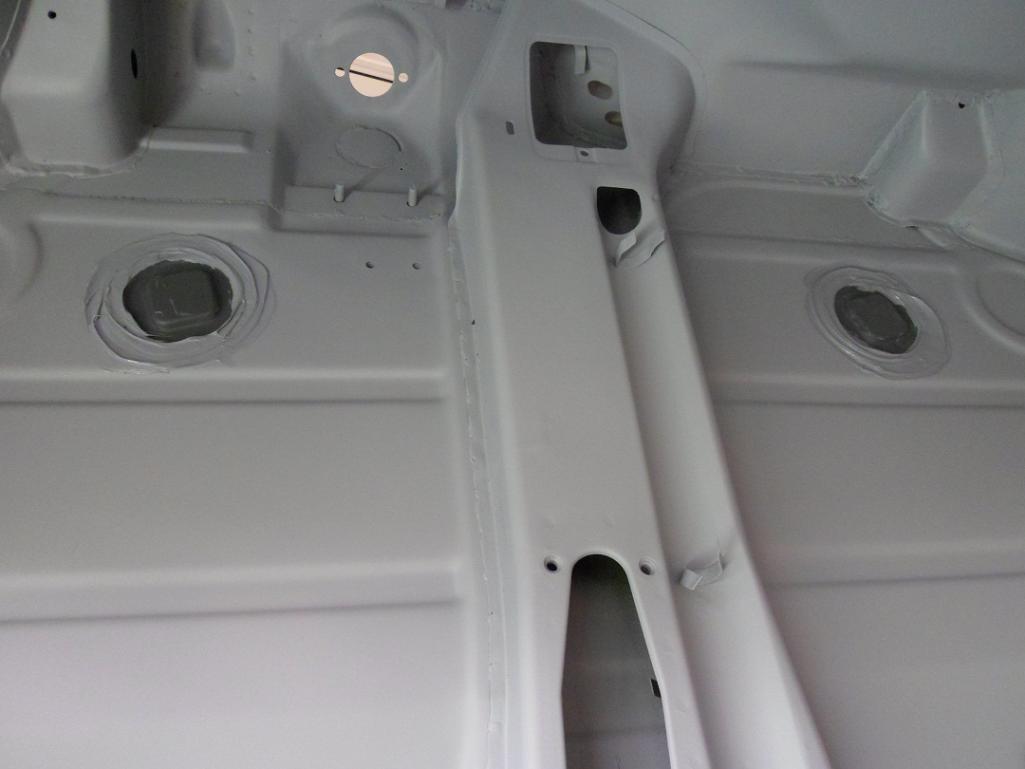
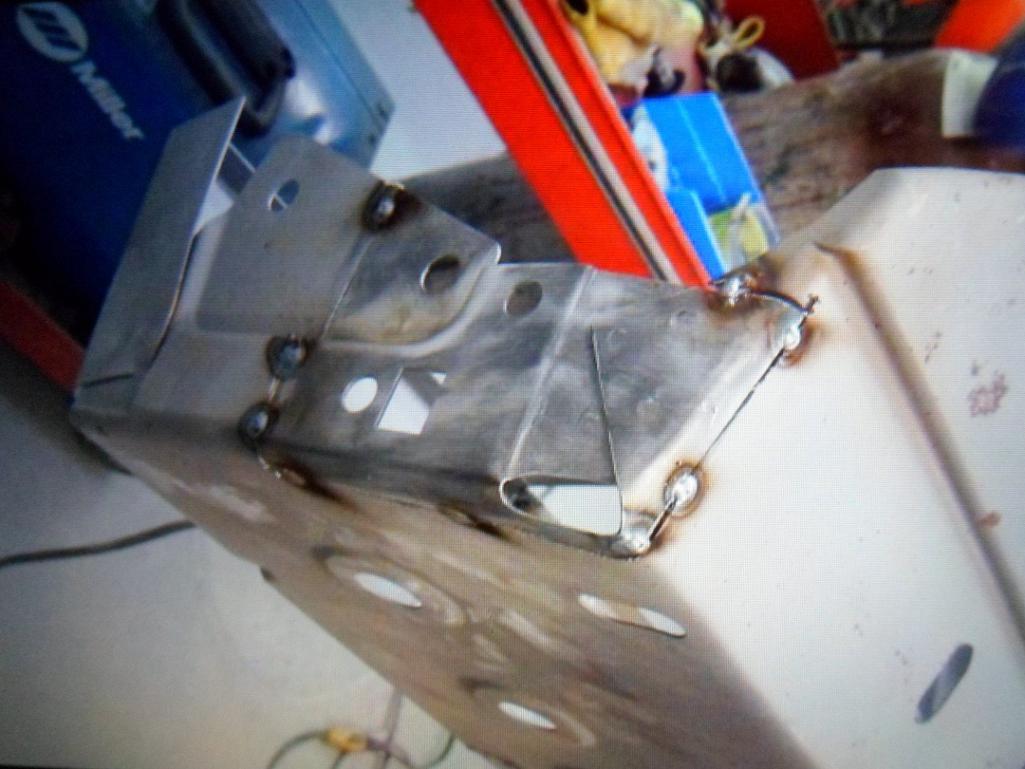
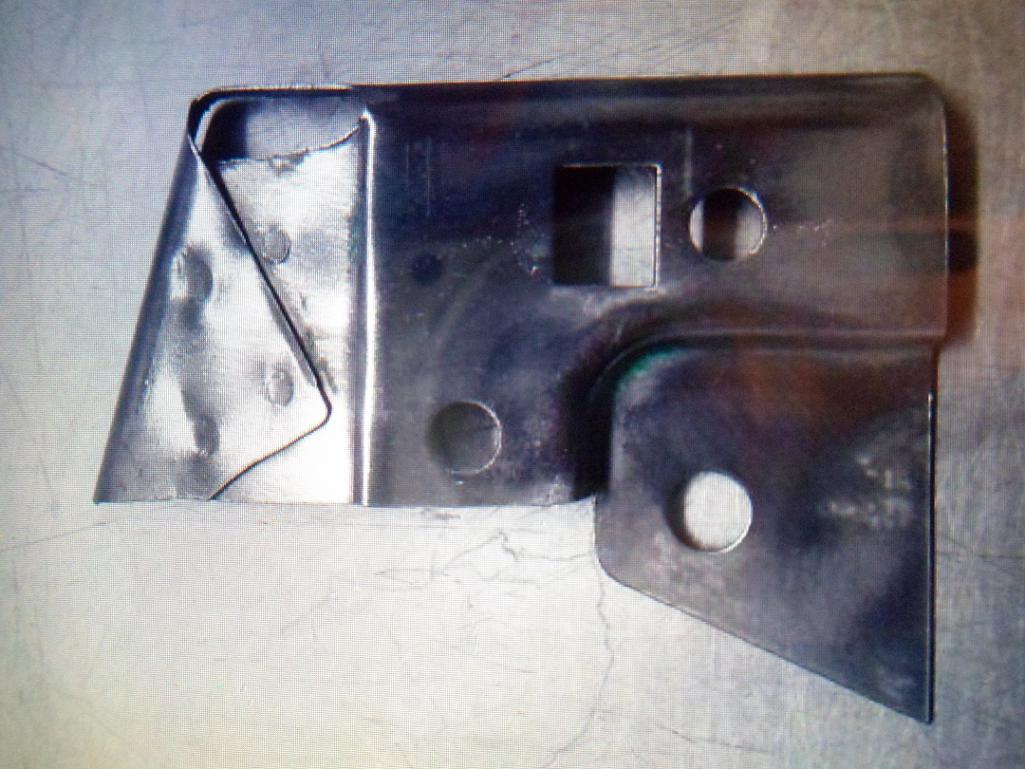
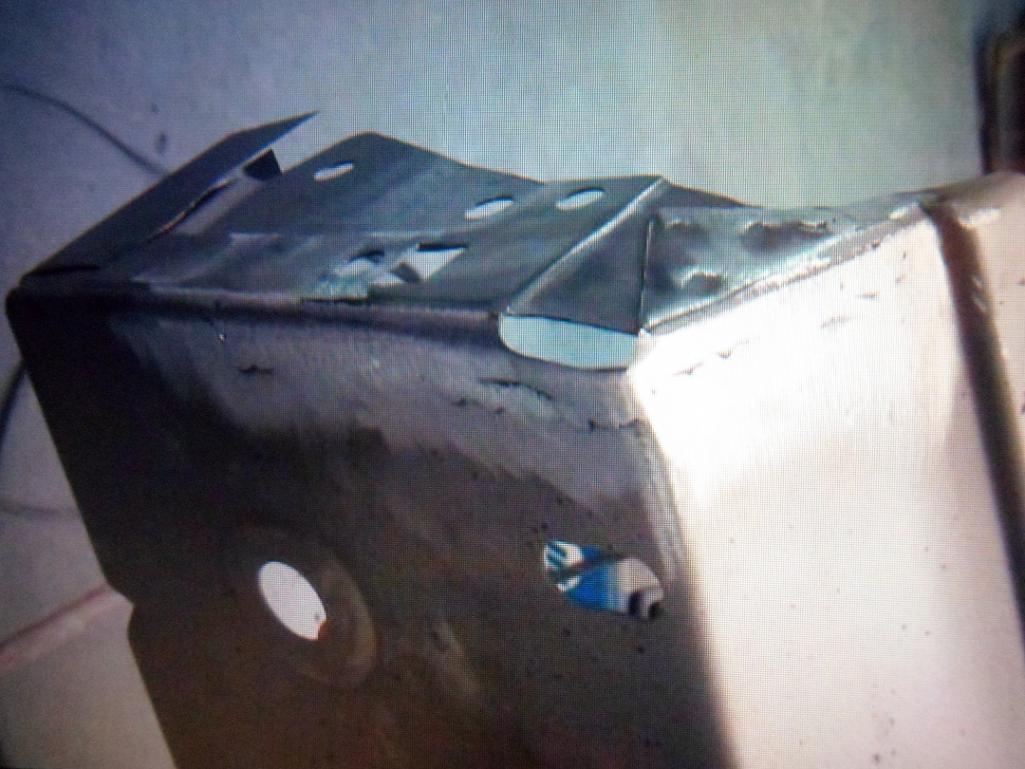
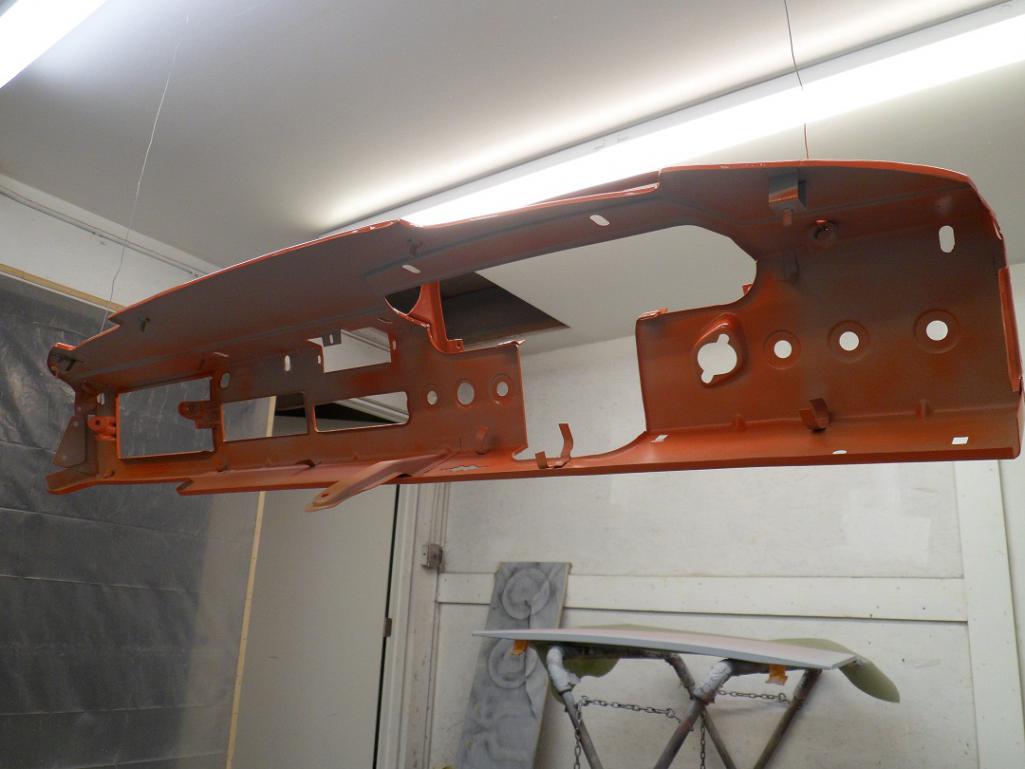
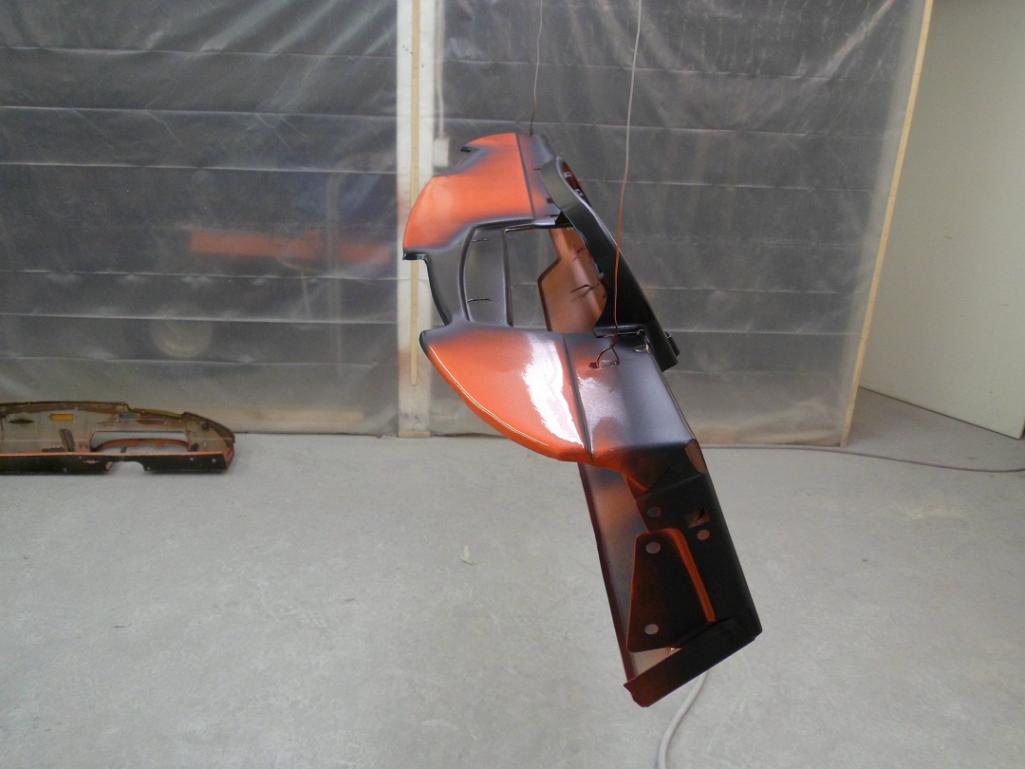
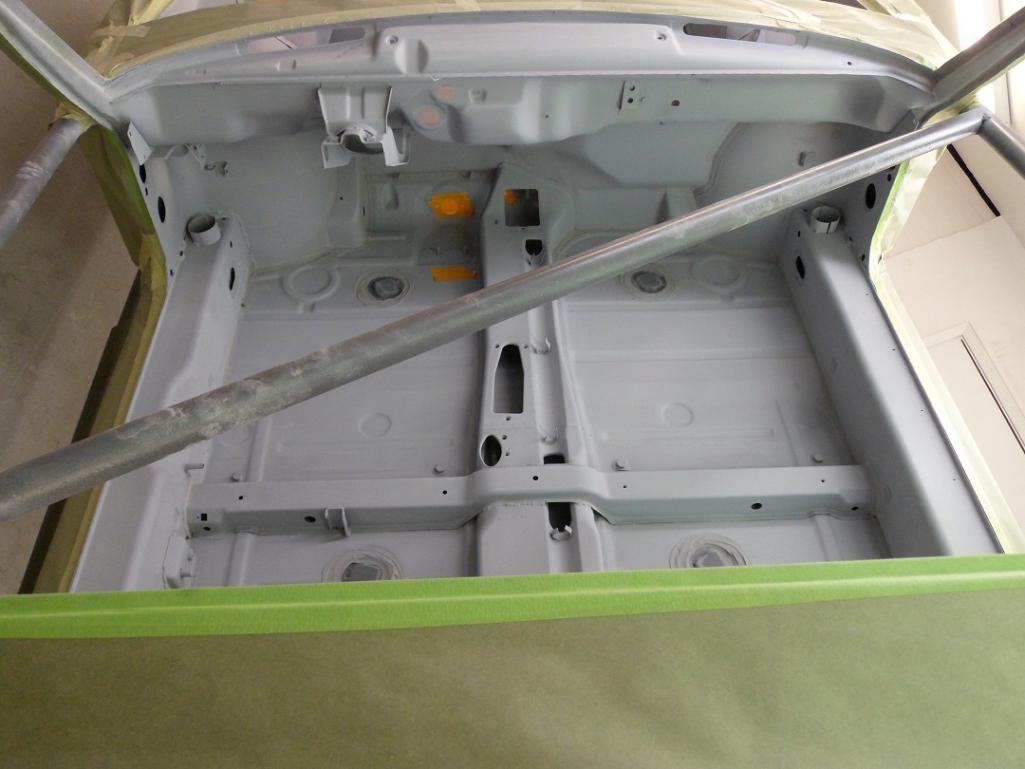
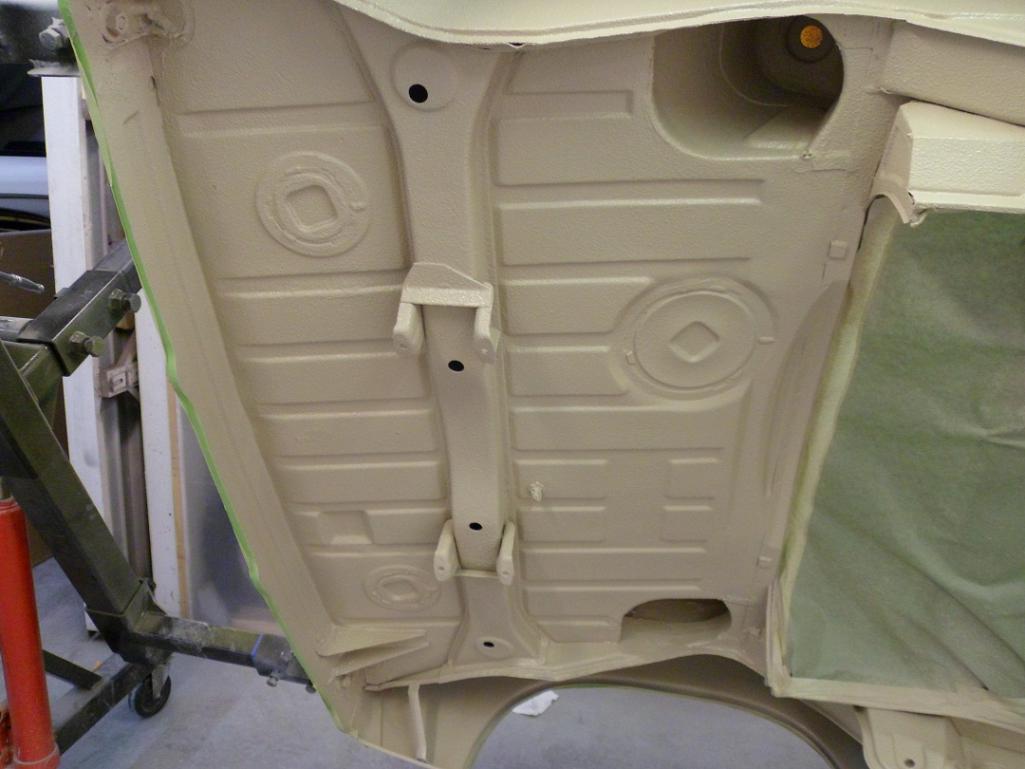
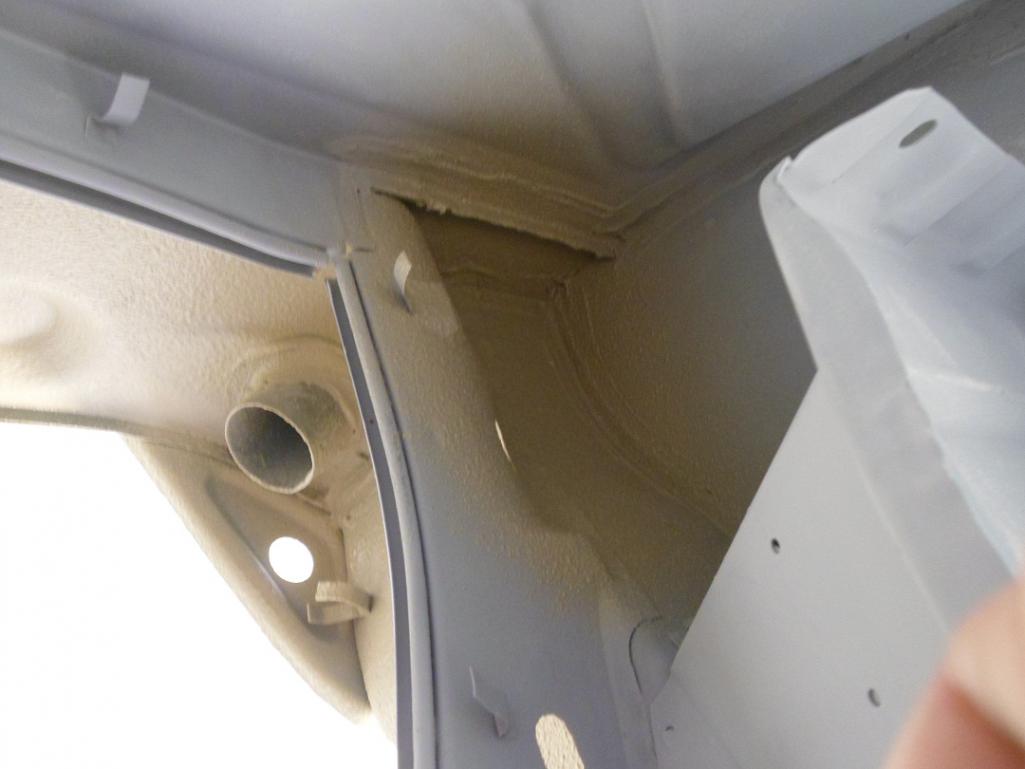
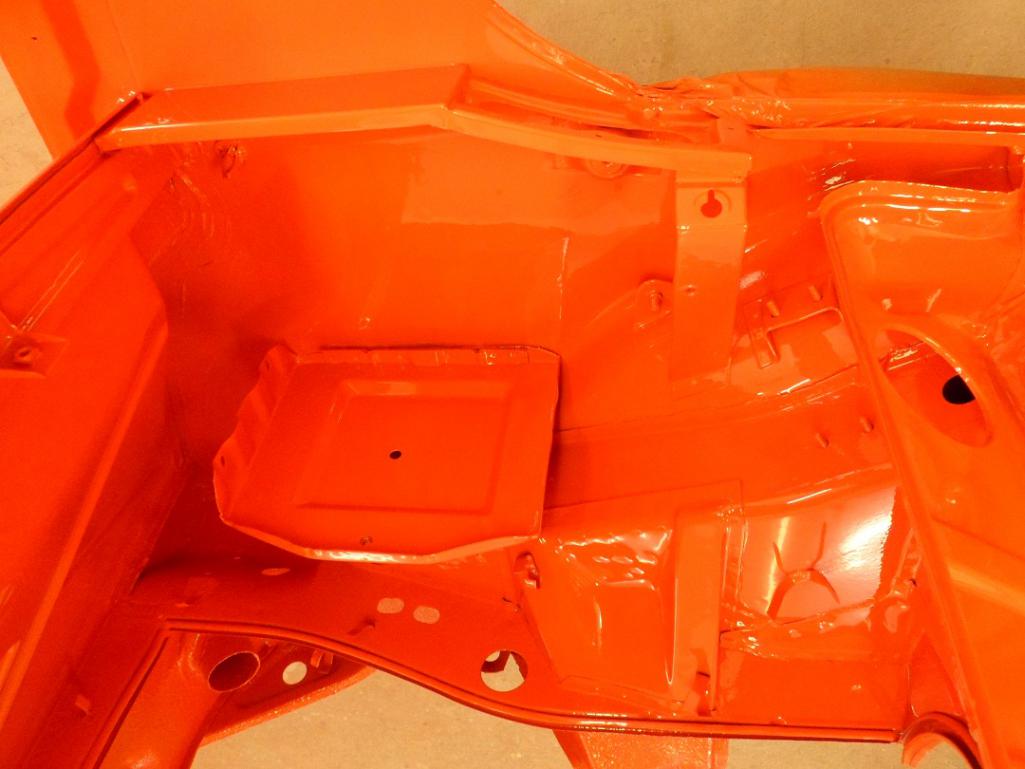
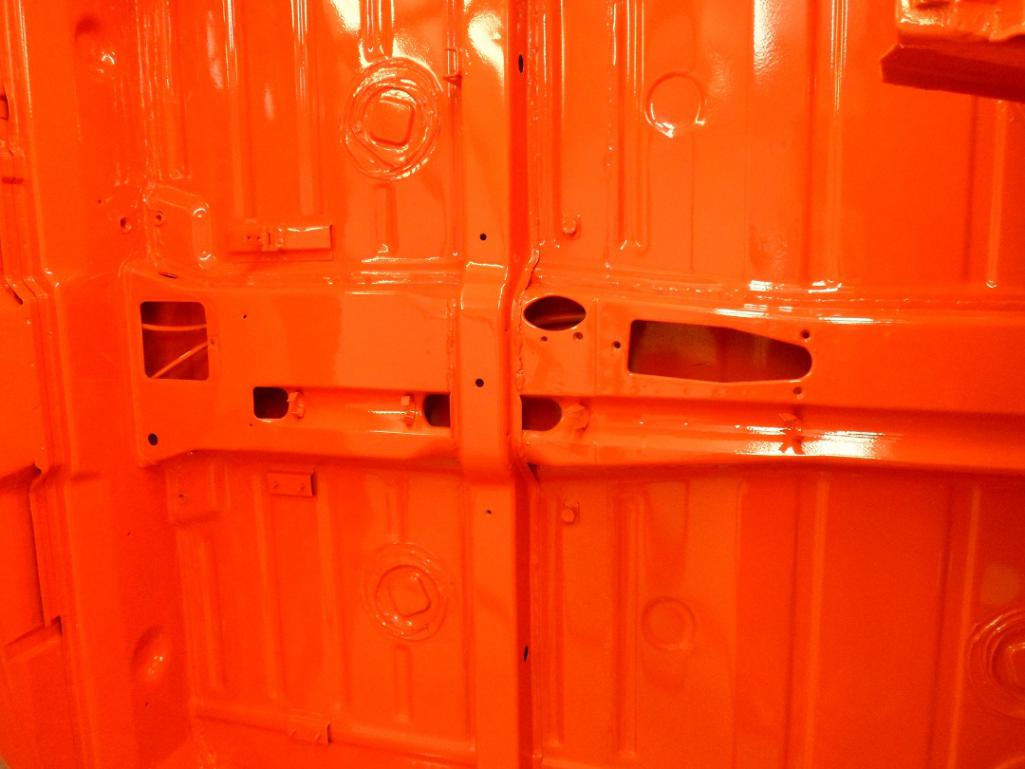
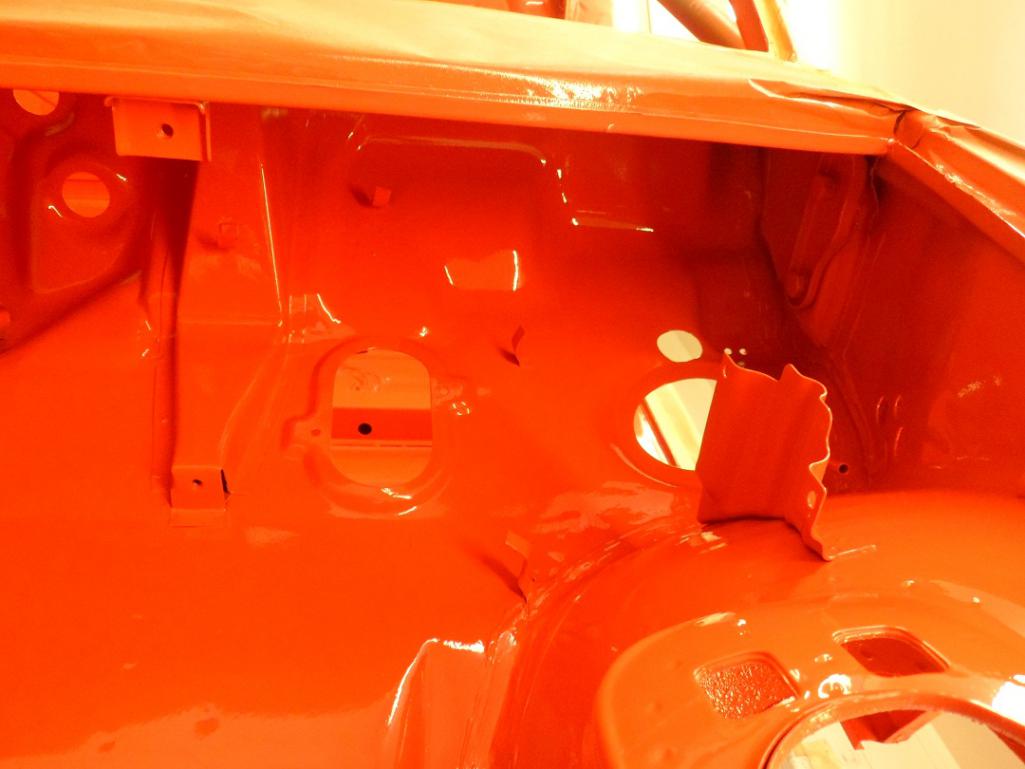
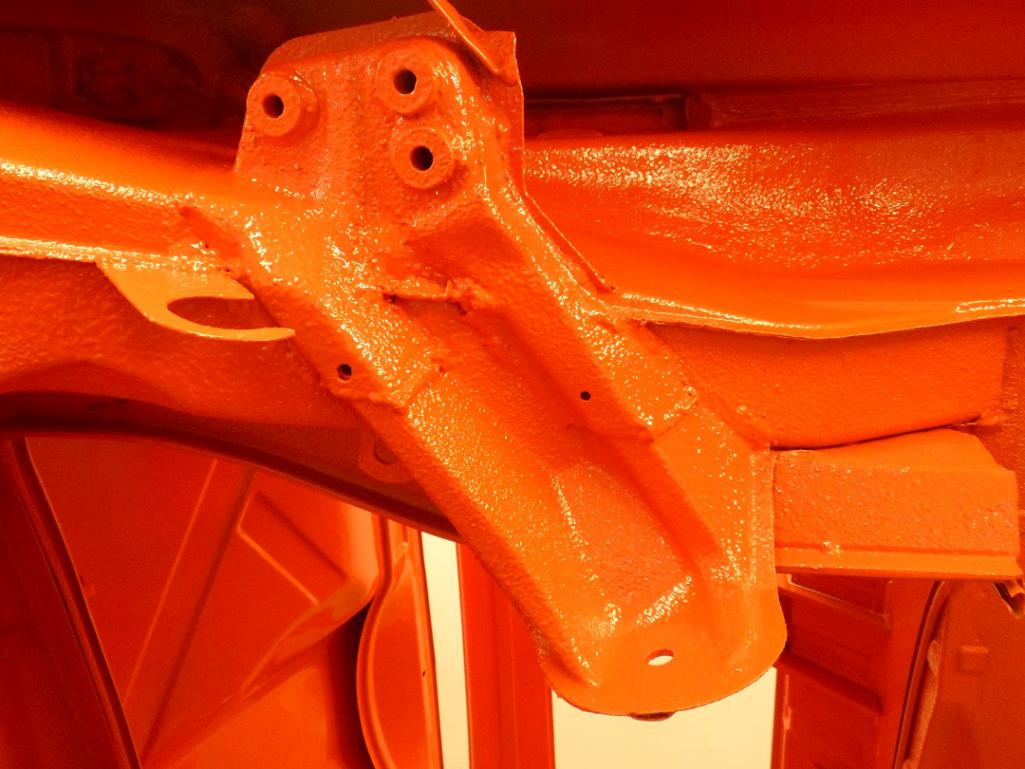
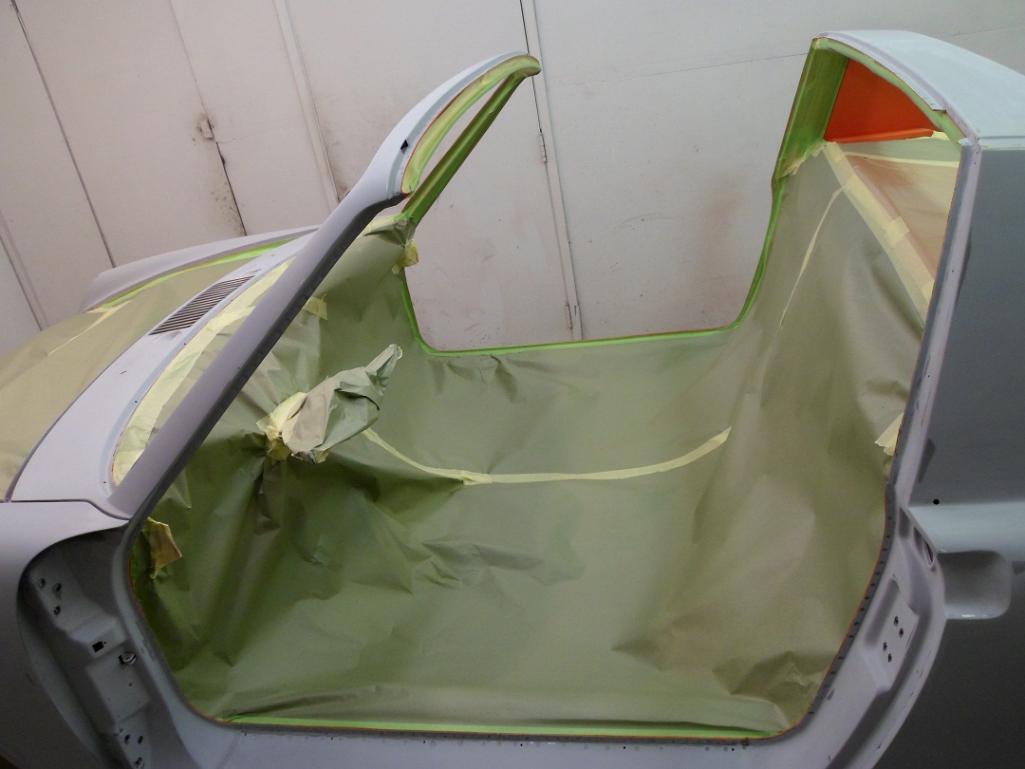
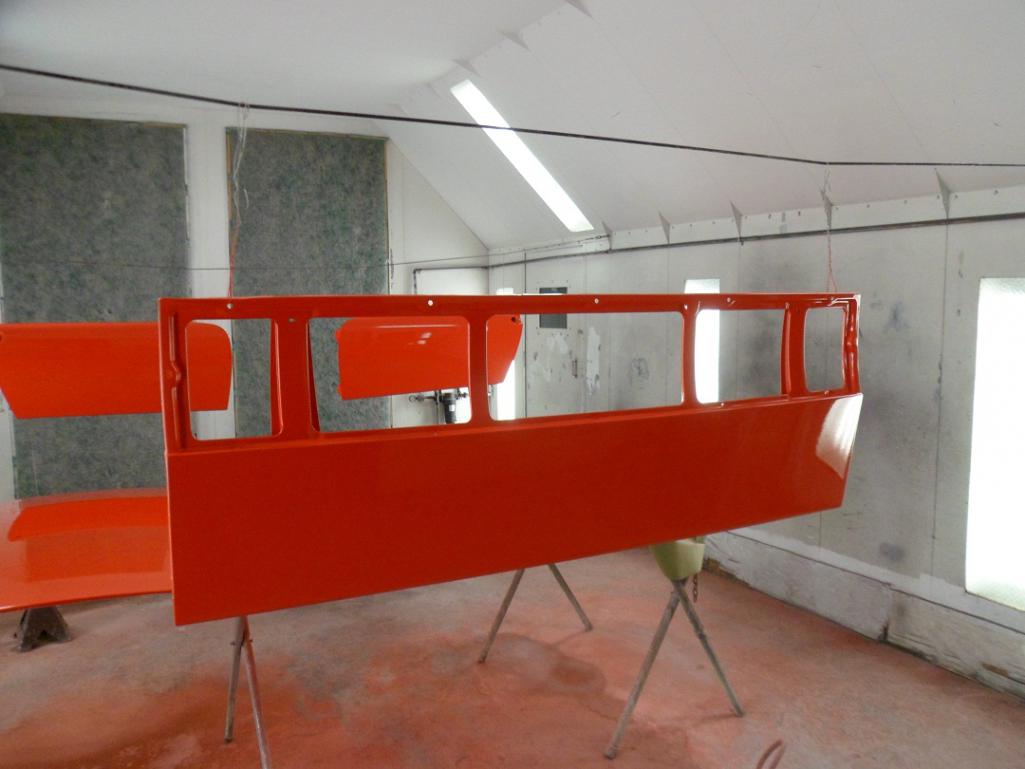
Posted by: 914350 Oct 25 2014, 07:38 PM
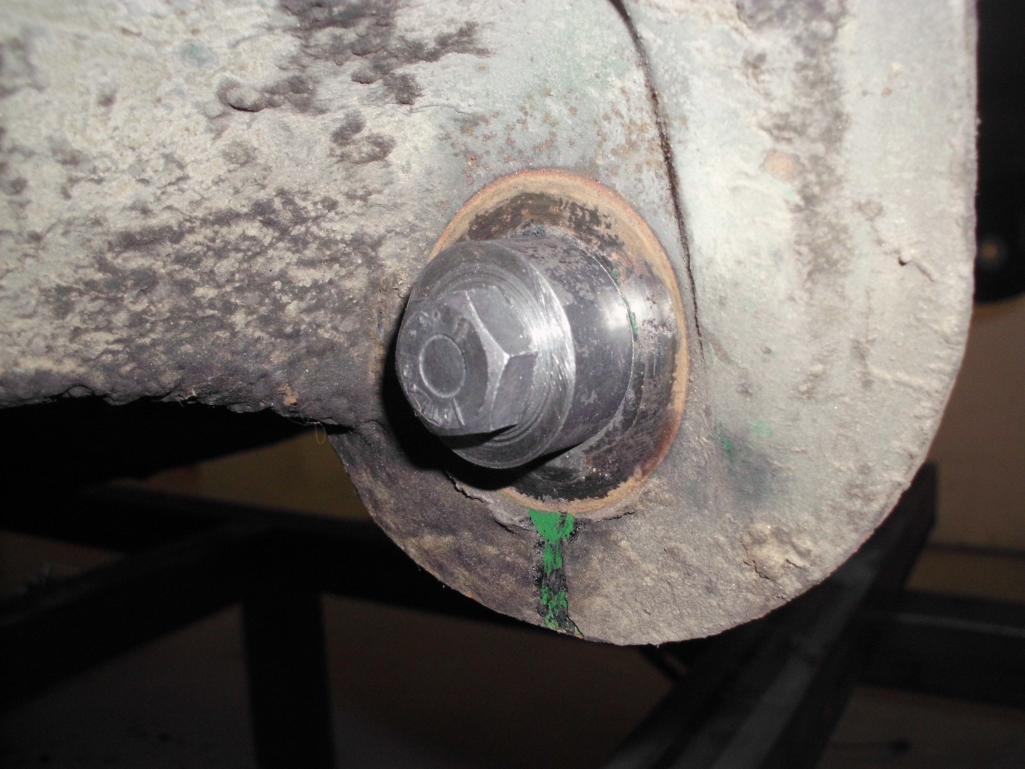
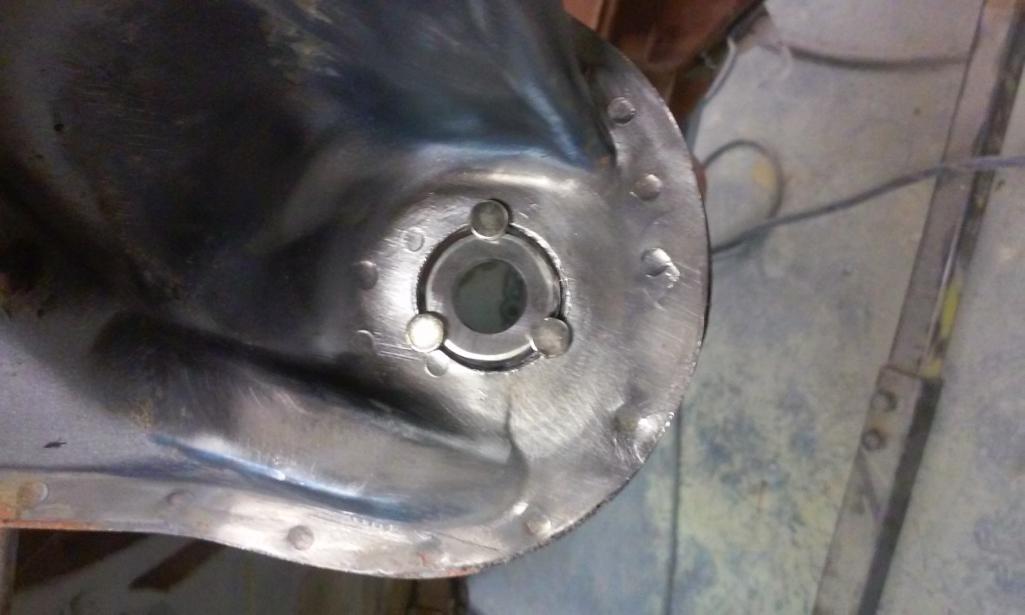
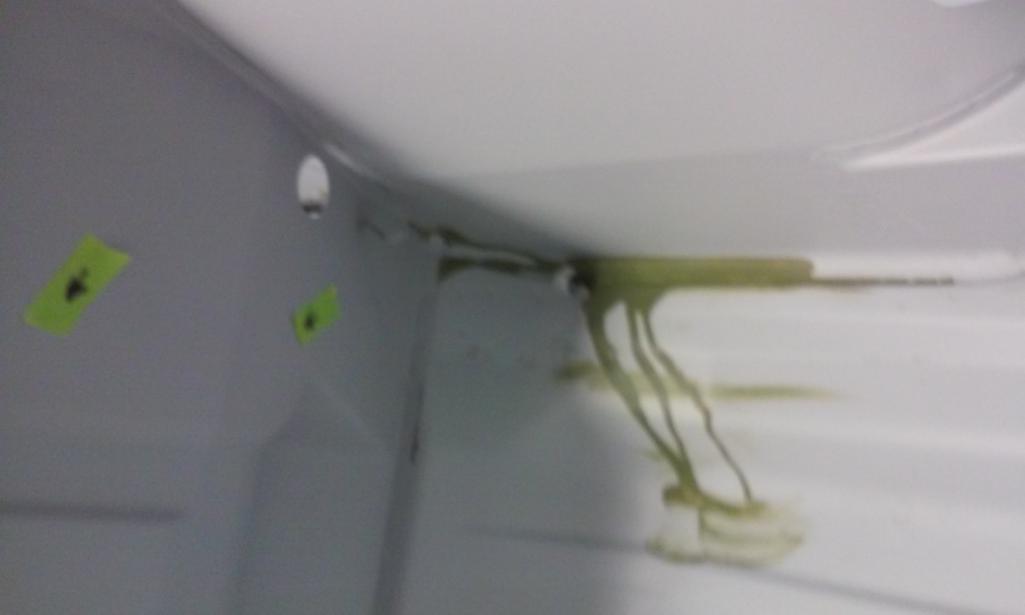
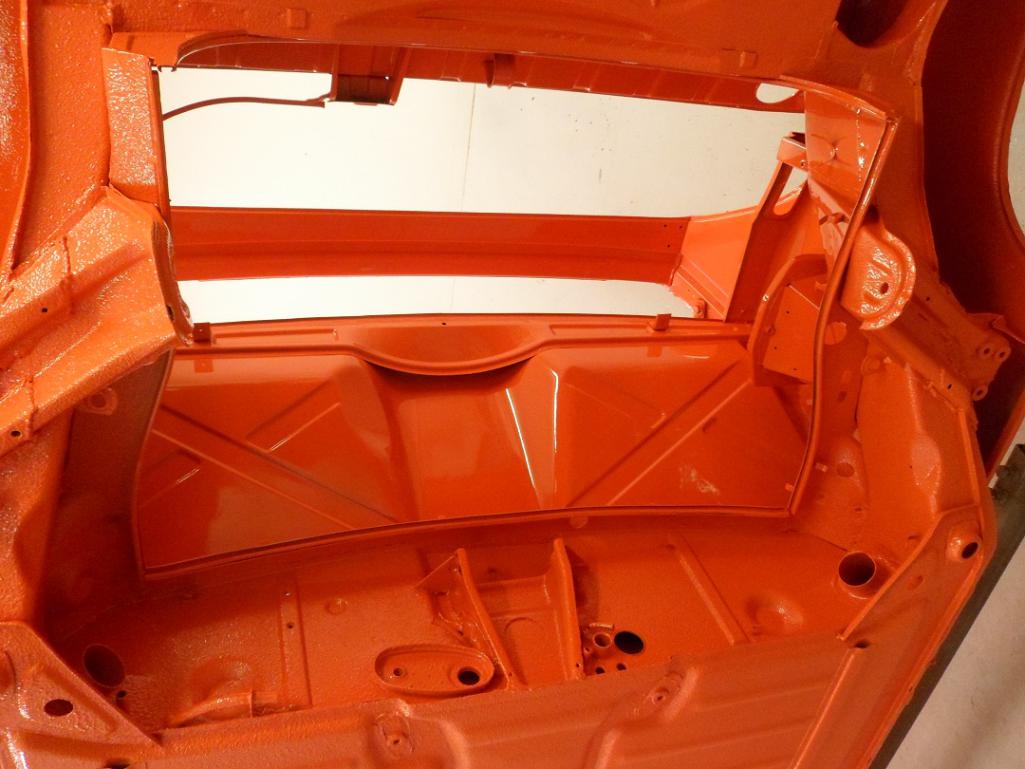
The inner Roll Bar structure is in great condition. Not rotted out on the lower area like they can be.
Attached thumbnail(s)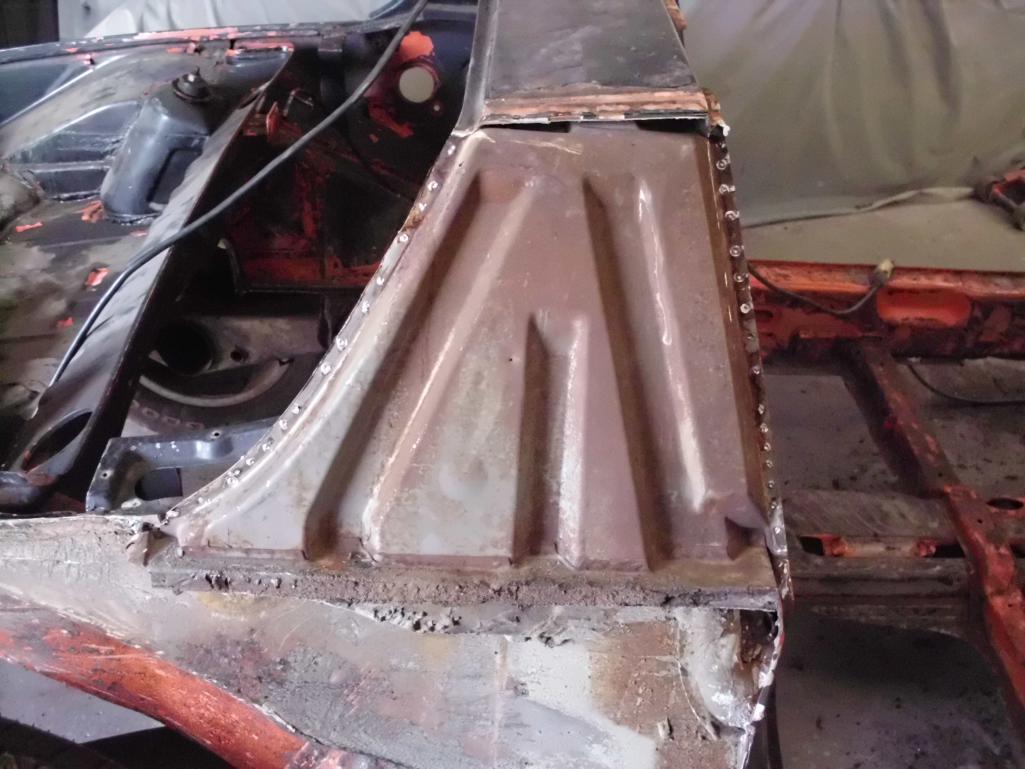
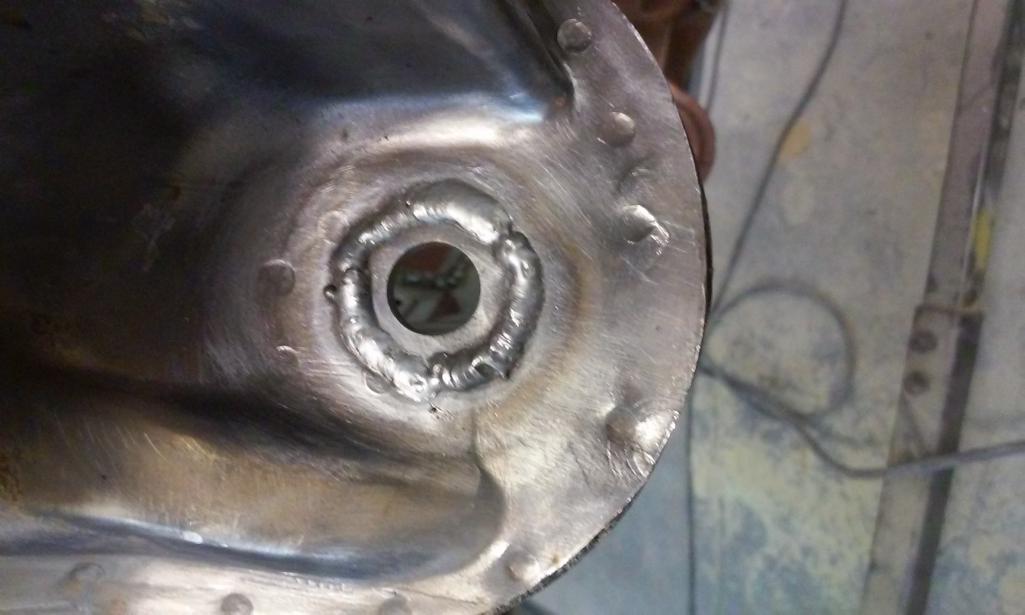
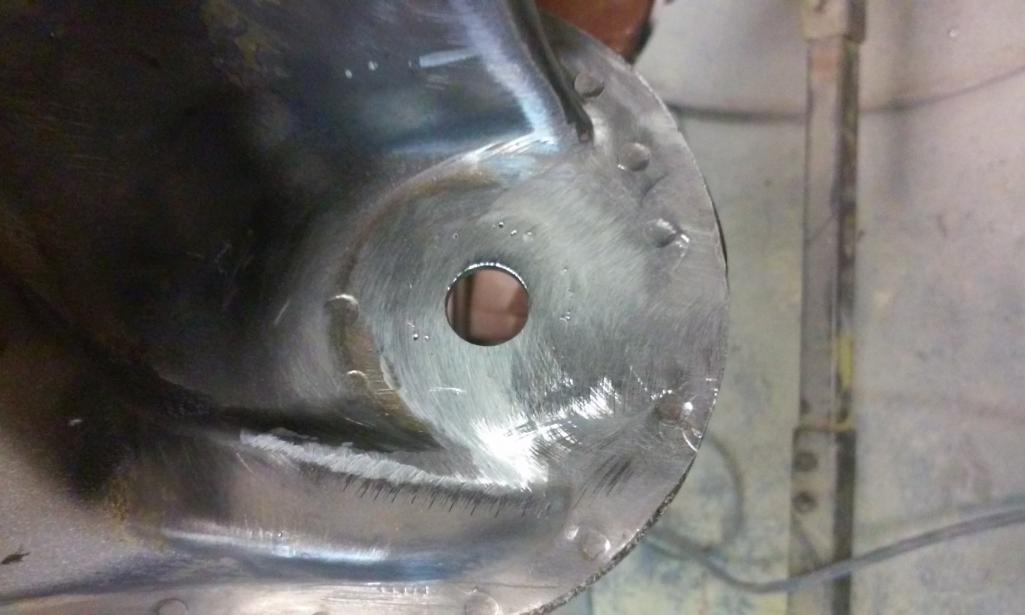
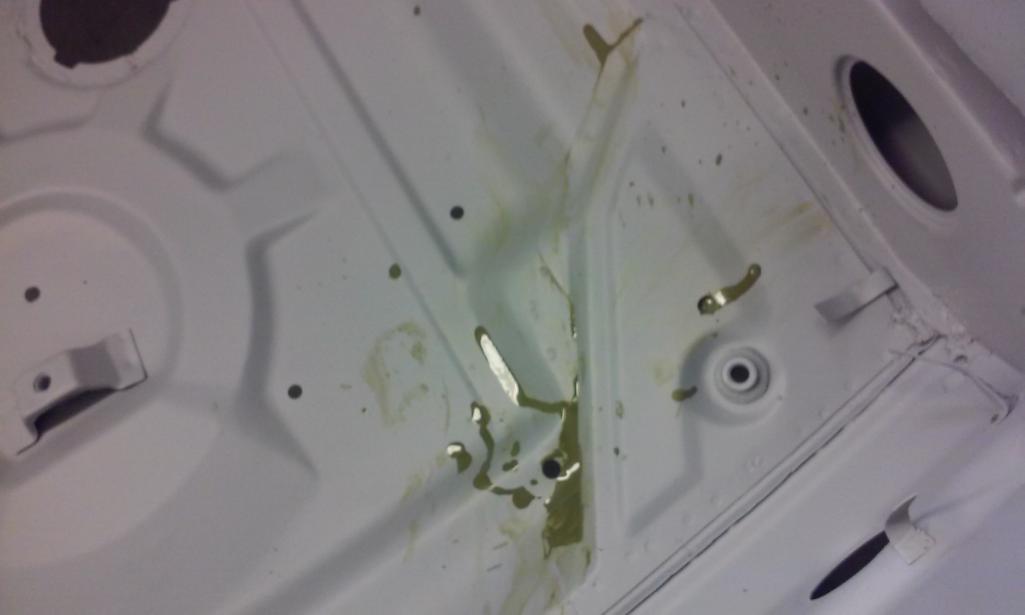
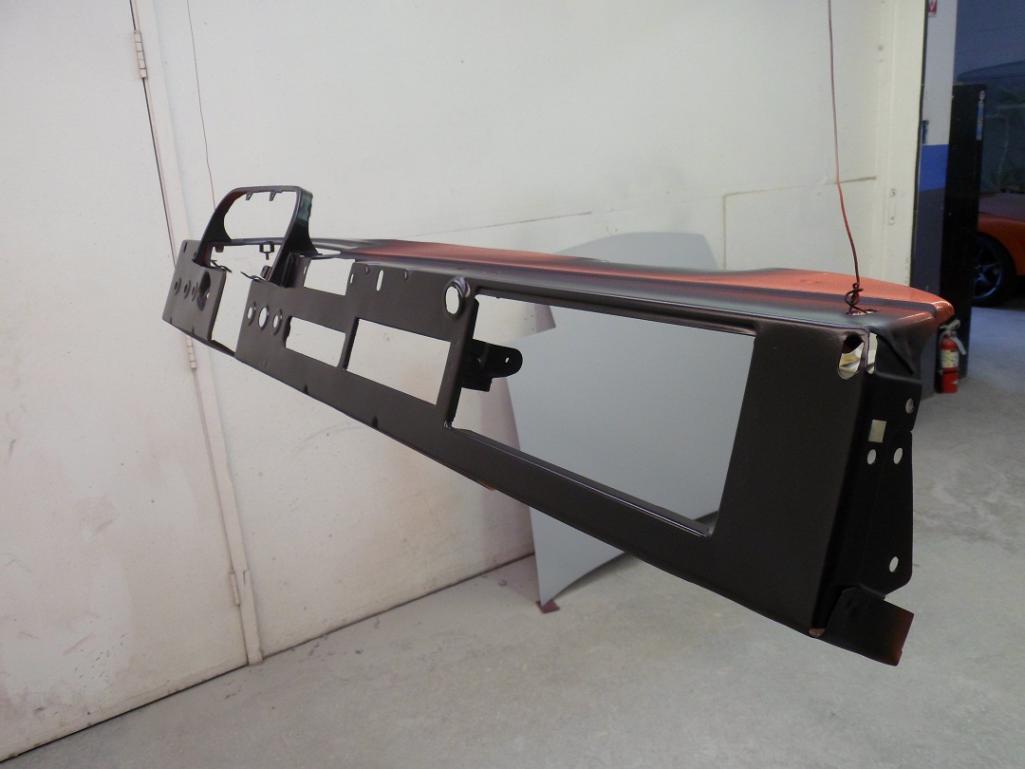
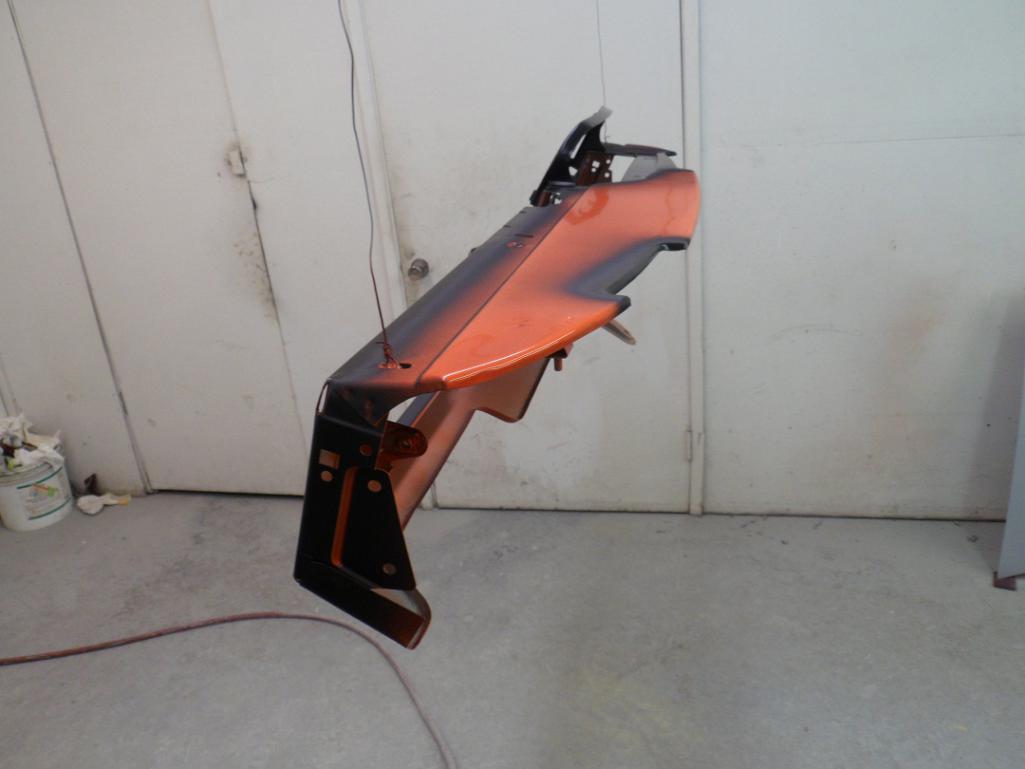
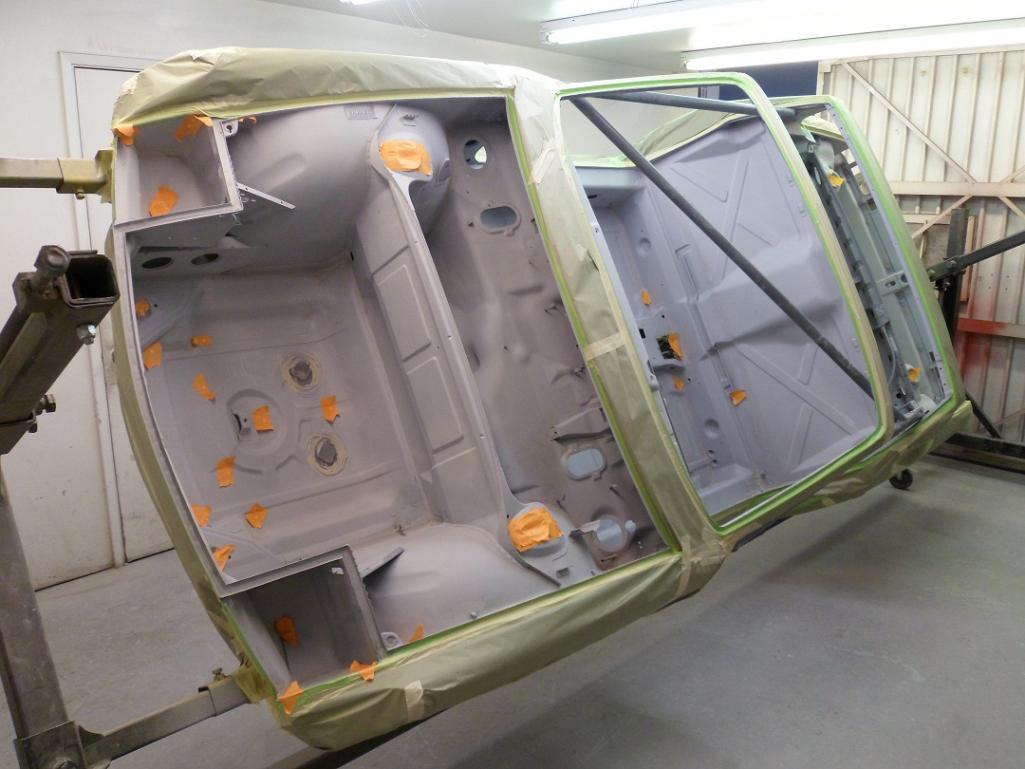
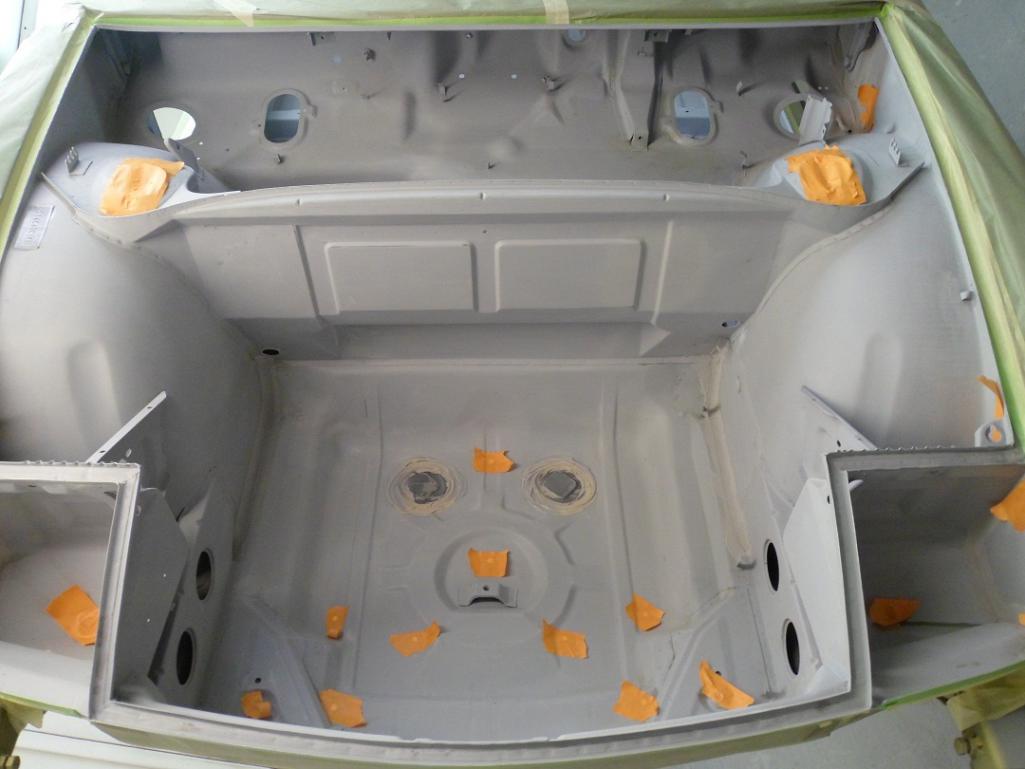
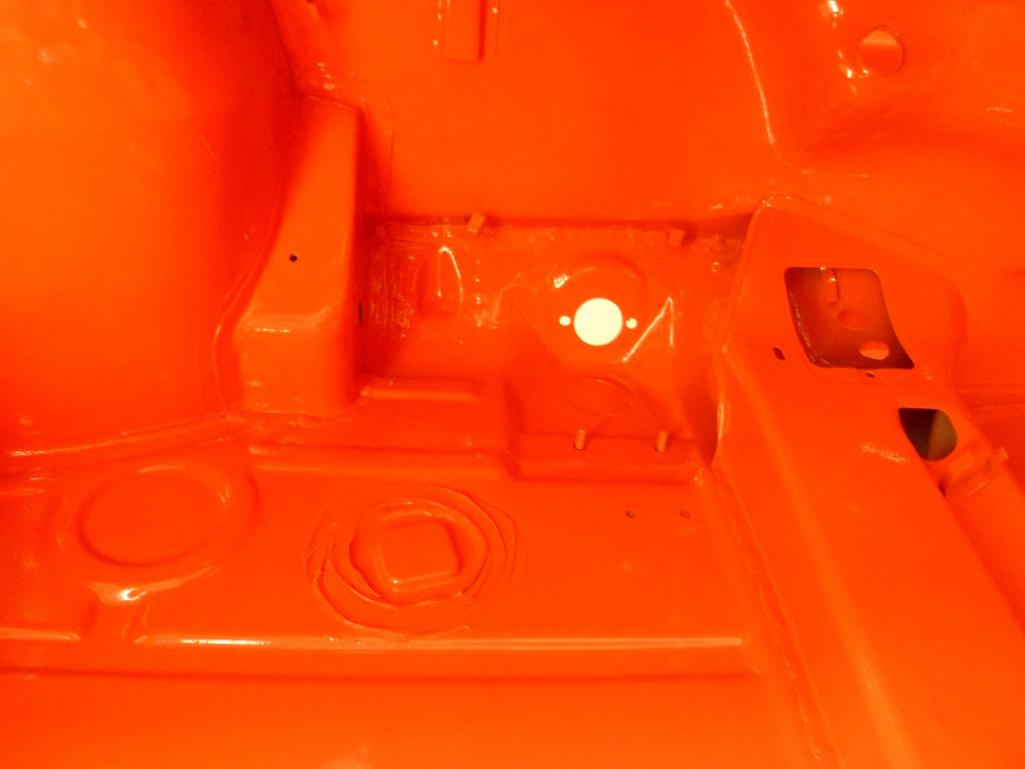
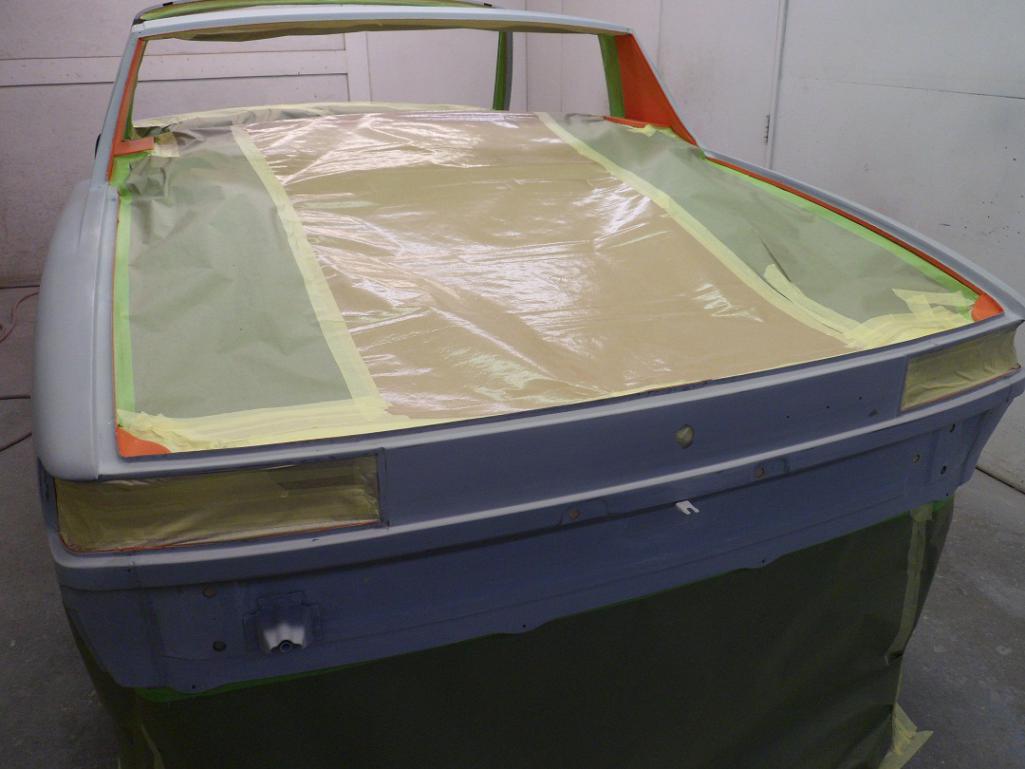
Posted by: 914350 Oct 25 2014, 07:44 PM
More pics.
Attached thumbnail(s)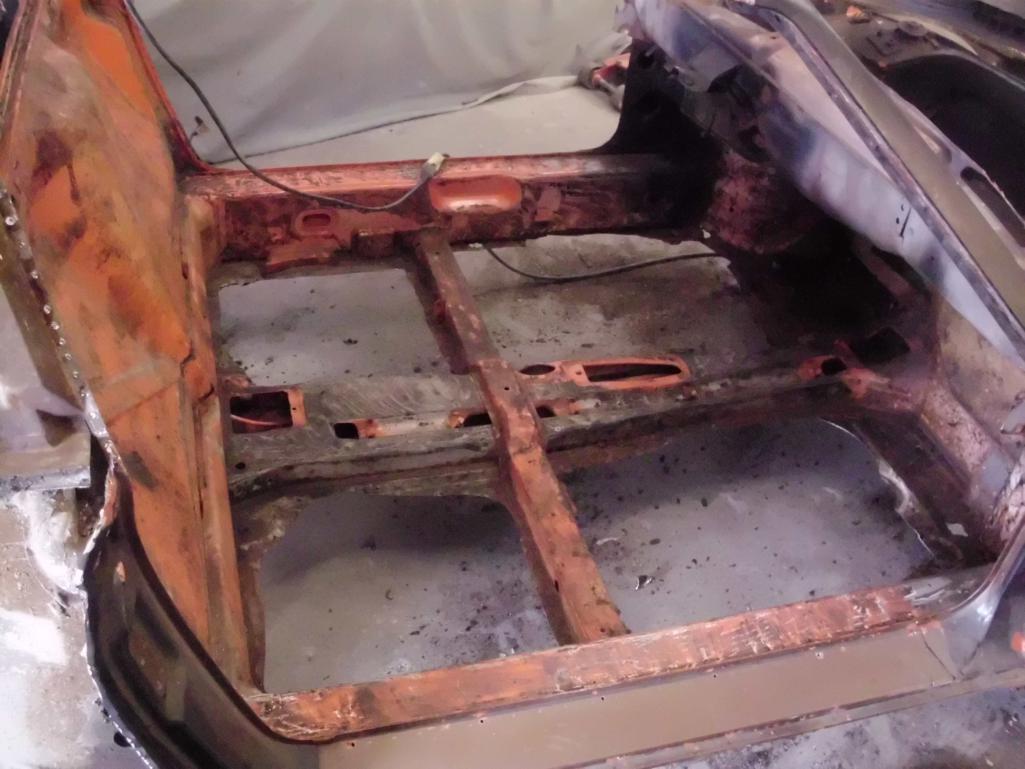
Posted by: Socalandy Oct 25 2014, 11:31 PM
Nice thrash session 
Posted by: trojanhorsepower Oct 26 2014, 06:09 AM
What did you use to remove the panels? What ever it was it seemed to go well.
Posted by: 914350 Oct 29 2014, 08:09 PM
What did you use to remove the panels? What ever it was it seemed to go well.
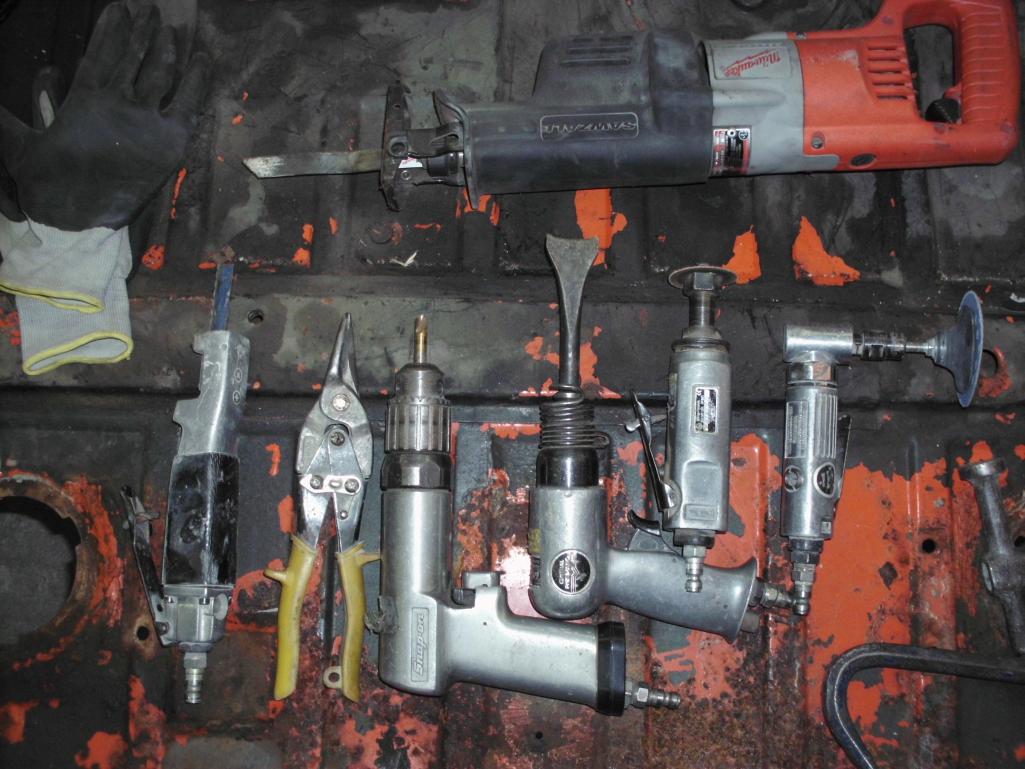
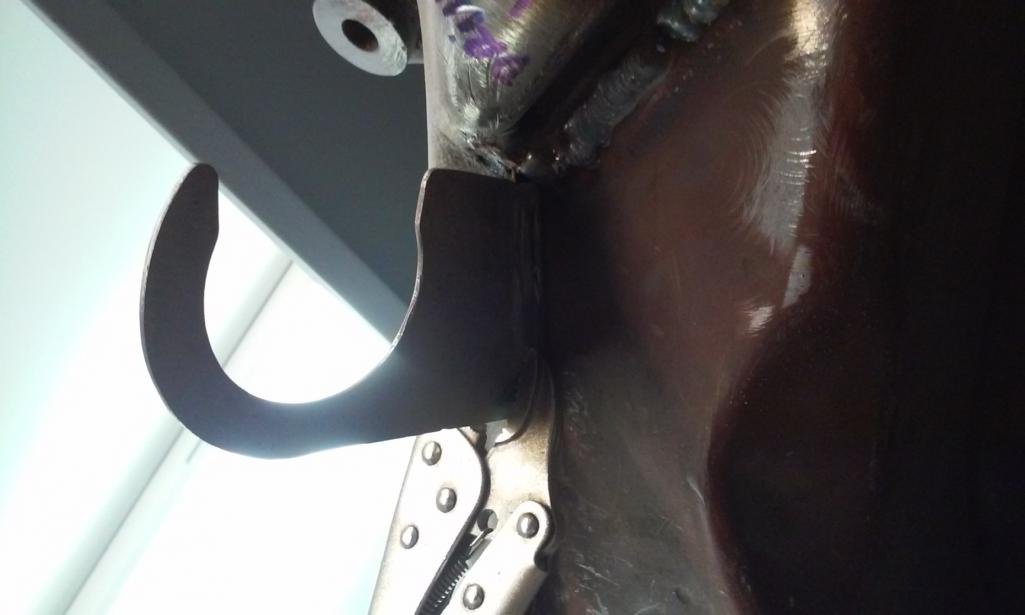
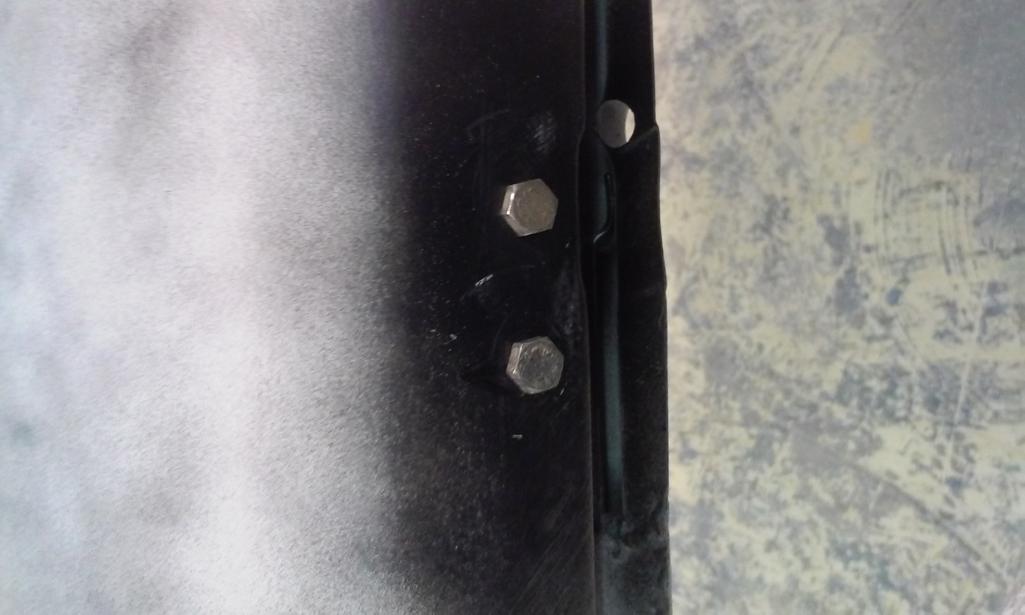
There's many different tools that are used, I use a sawzall/Reciprocating saw (large and small) and a cut off wheel to cut the panel back to the edges then a spot weld drill bit to help with separating the spot welds and even a air chisel at some points but being carful not to damage the lip/edge that the new panel will attach to. there's lots of different ways to go about it, sometimes the welds just snap loose as you twist the metal away.
Attached thumbnail(s)
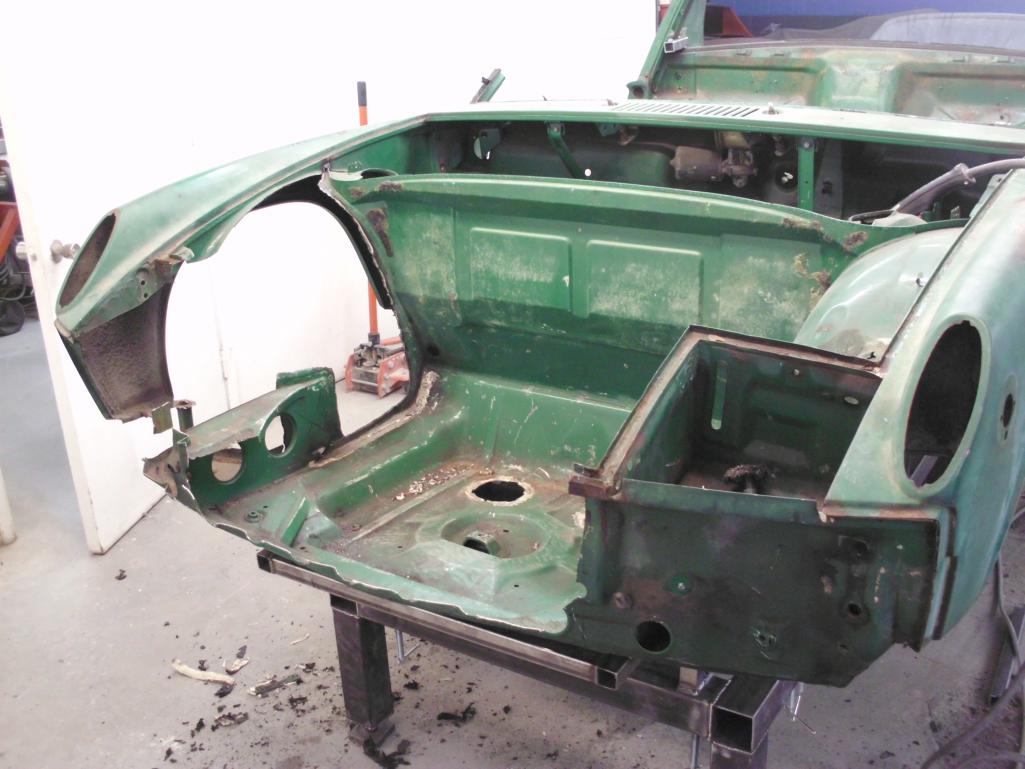
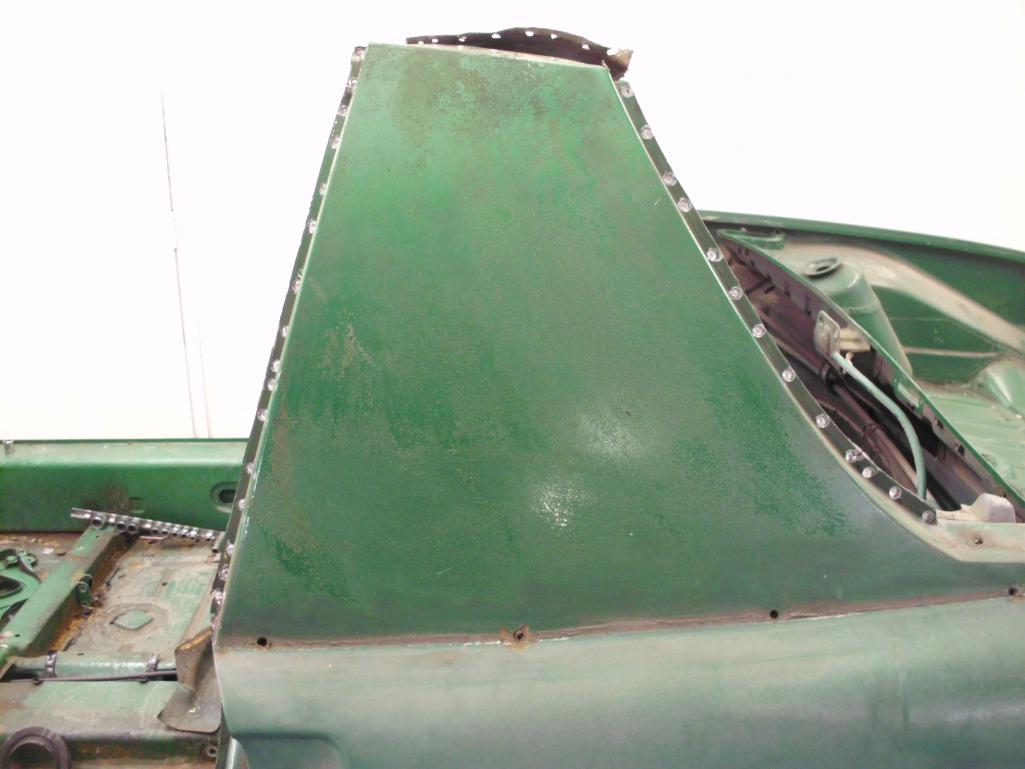
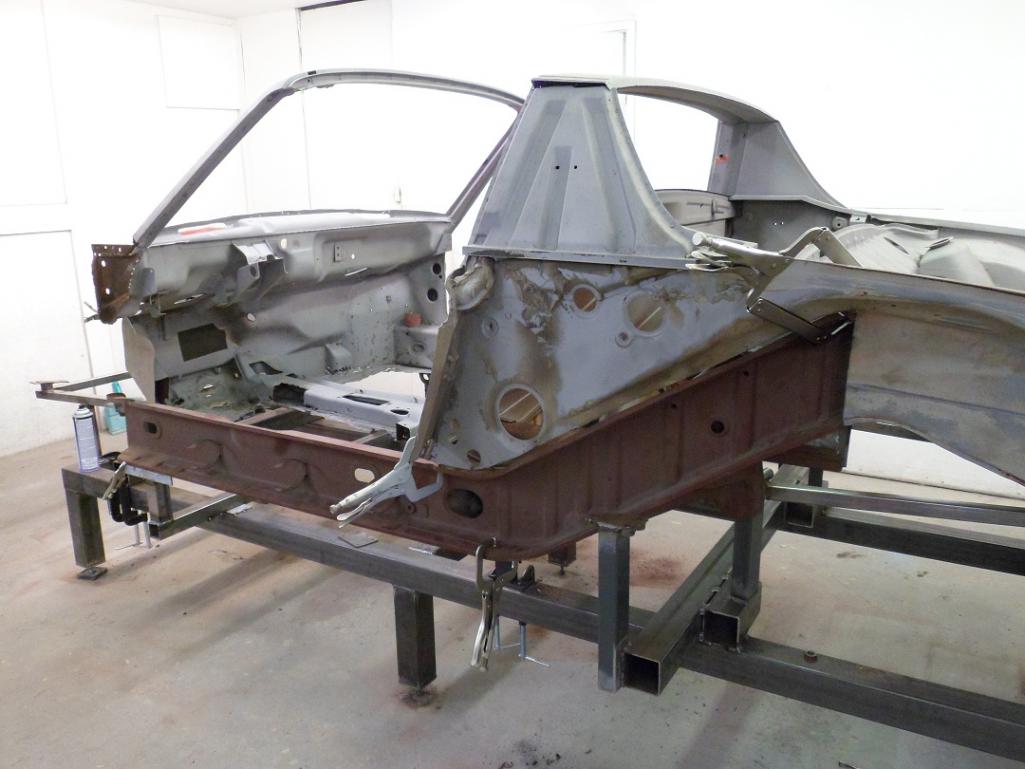
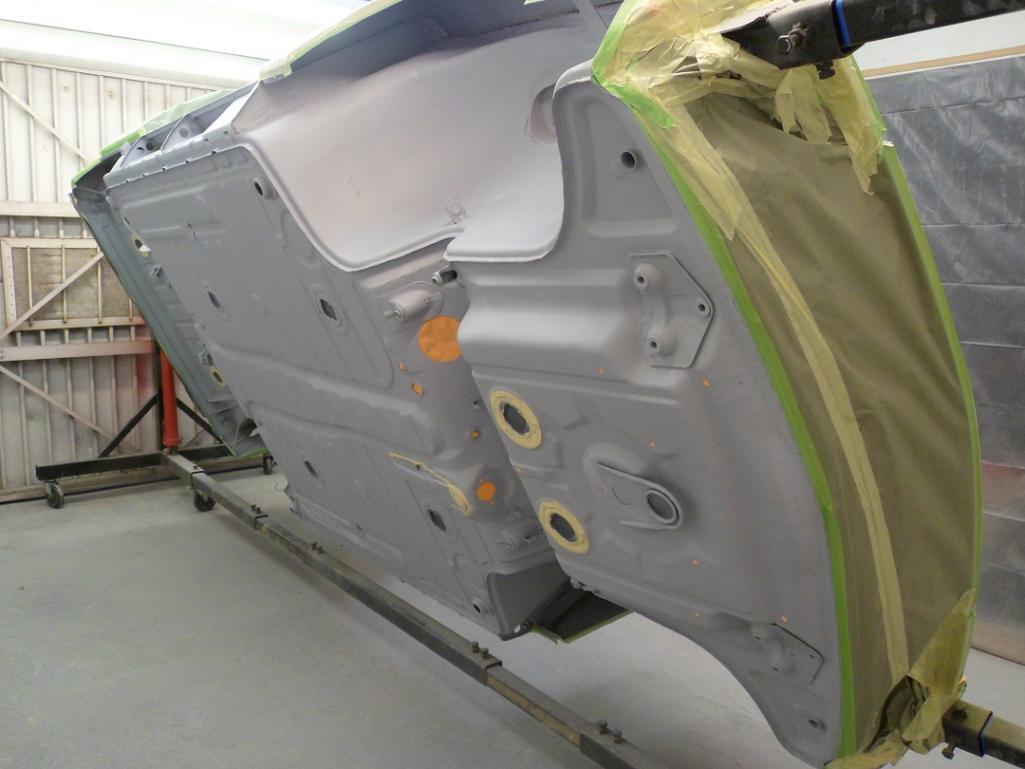
Posted by: 914350 Oct 29 2014, 08:14 PM
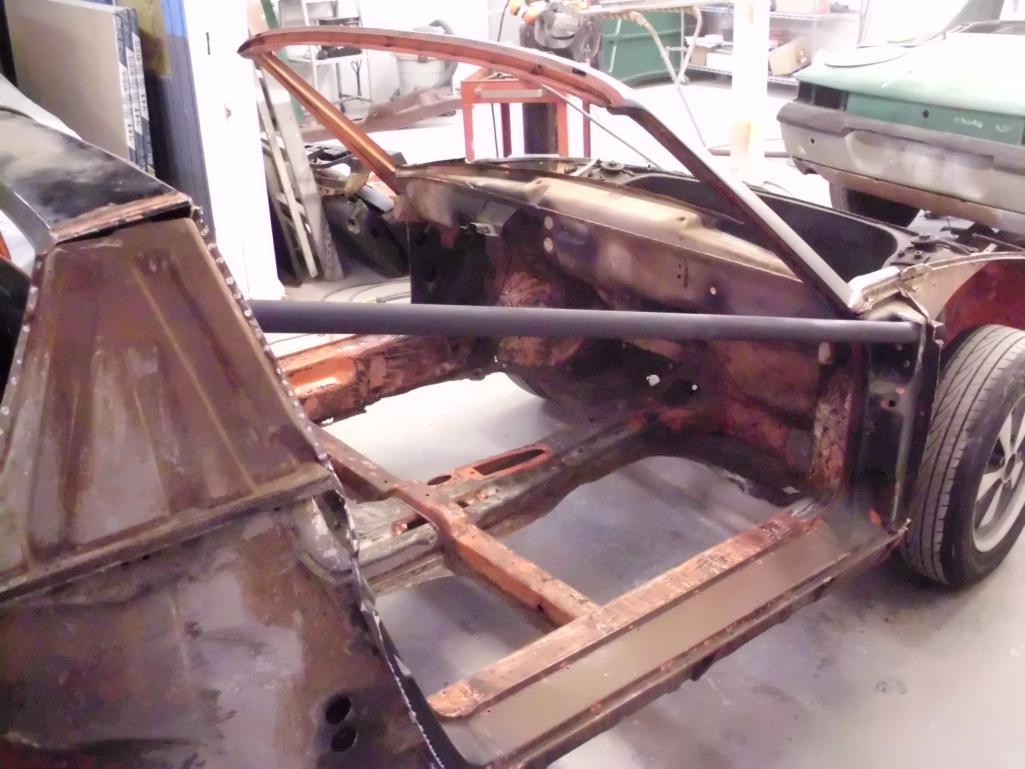
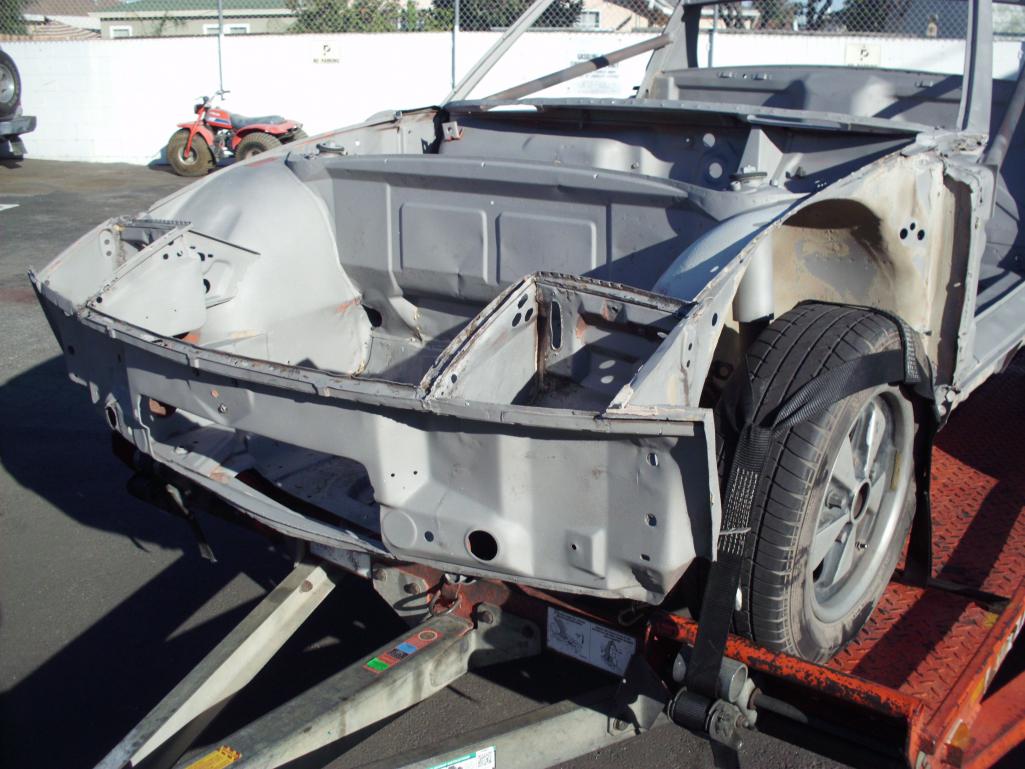
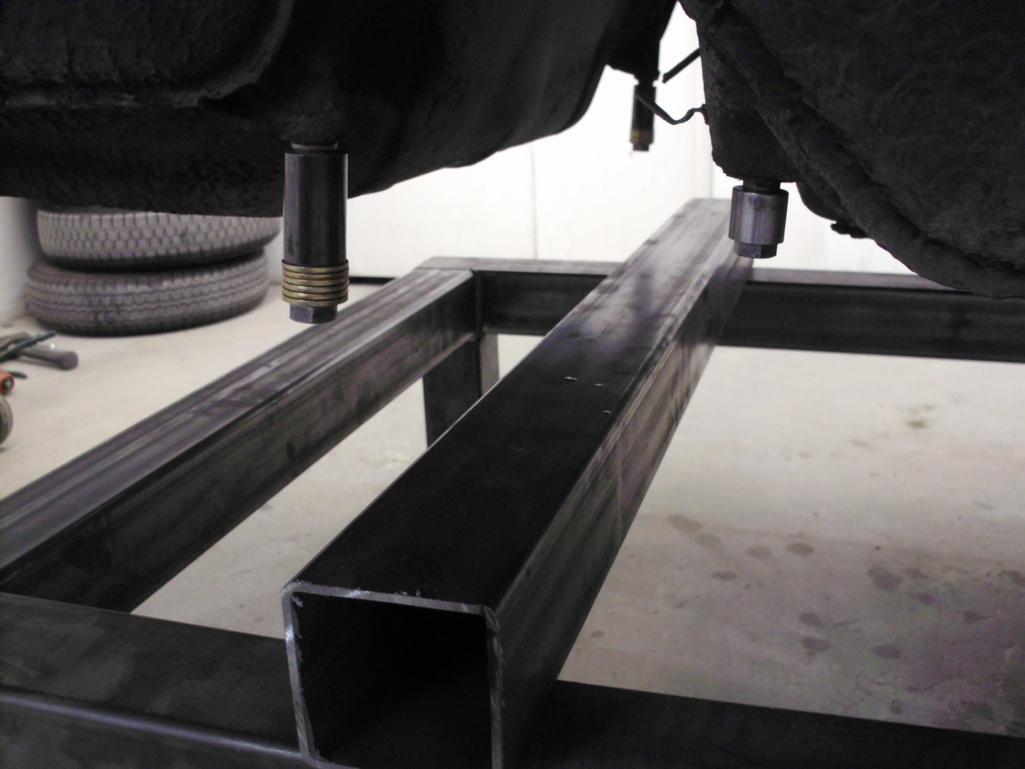
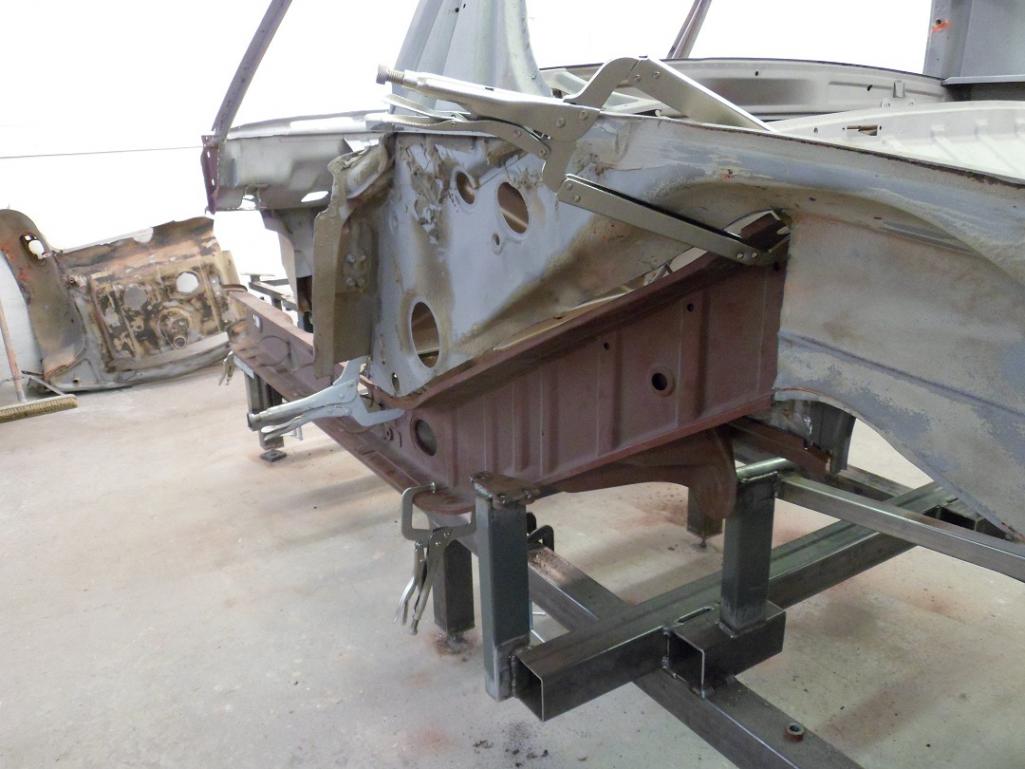
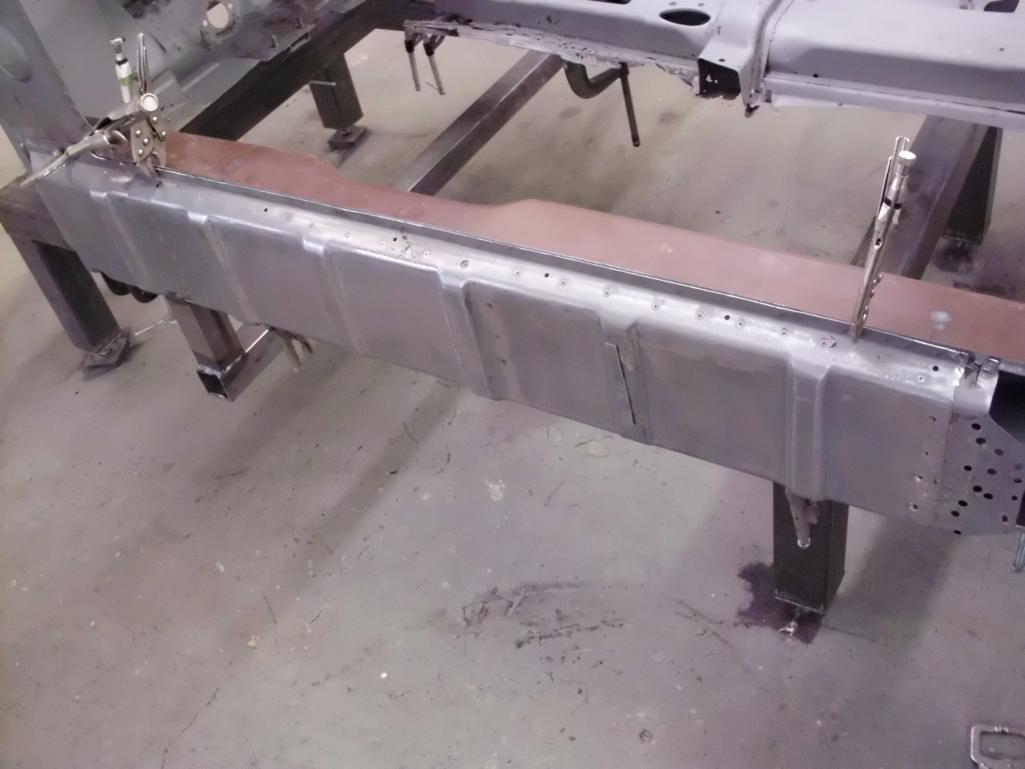
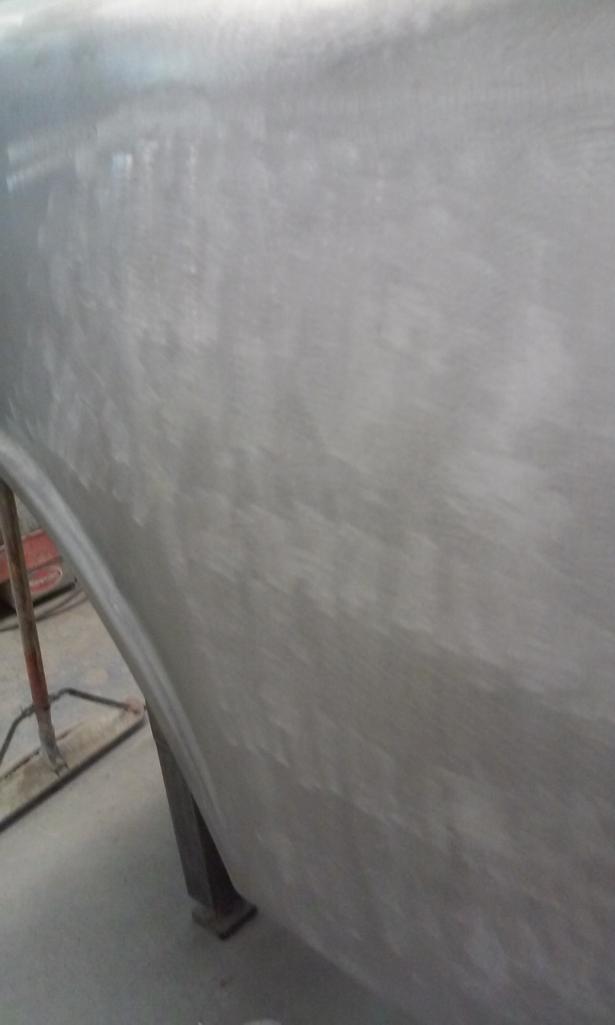
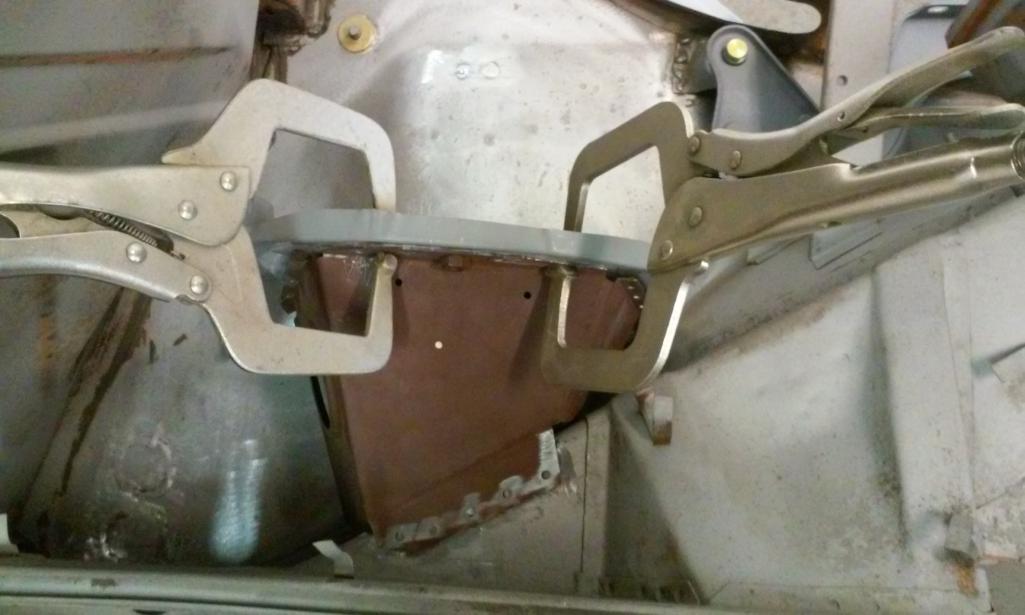
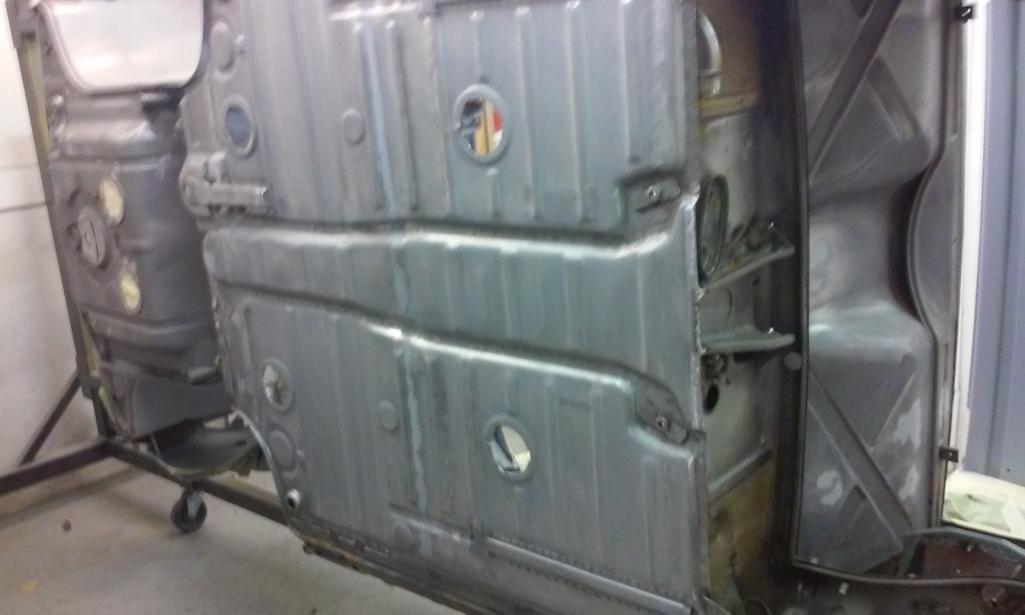
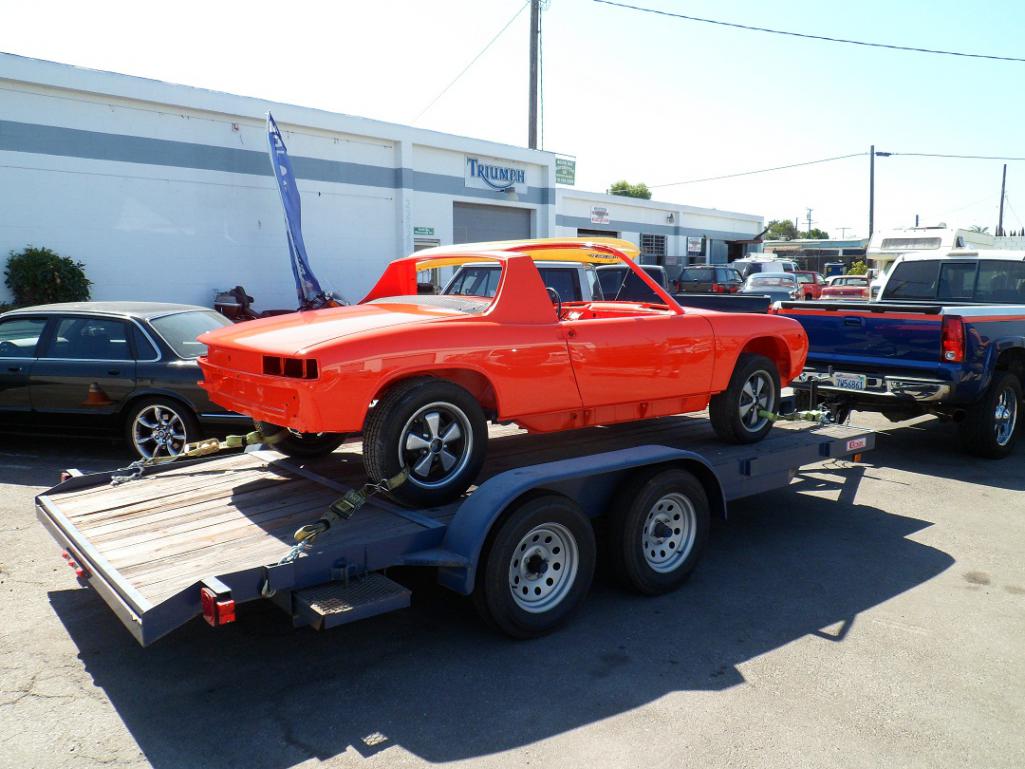
The car is headed to Media blasting this Friday, support bars installed so the body doesn't flex.
Attached thumbnail(s)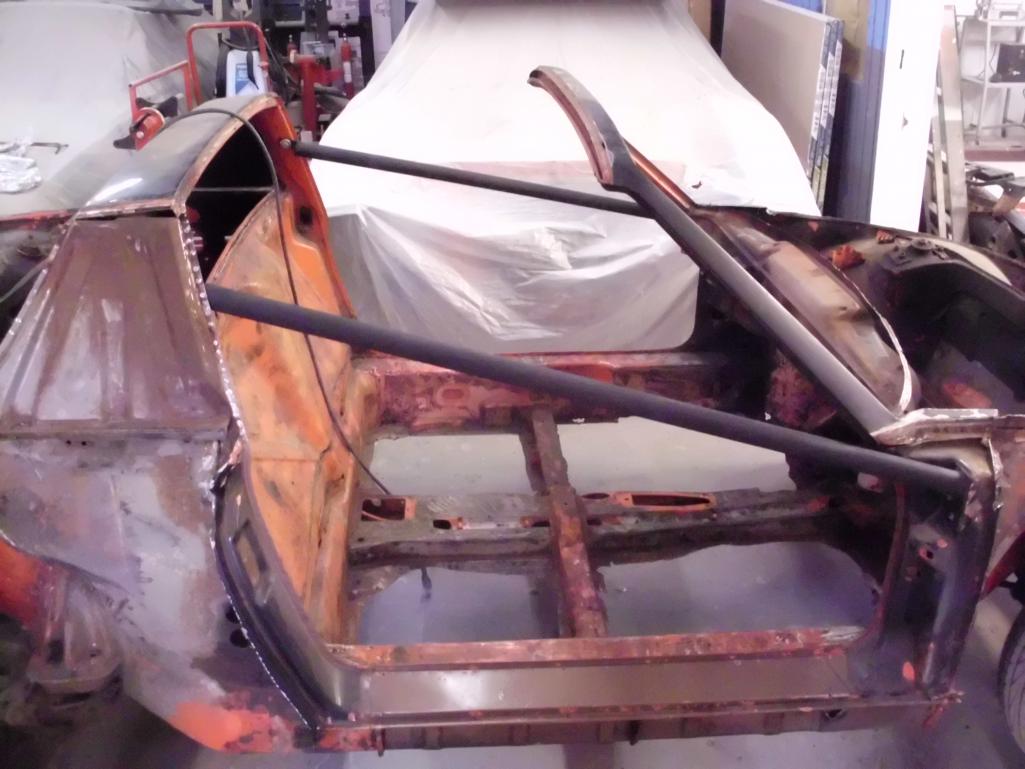
Posted by: 914350 Oct 29 2014, 08:20 PM
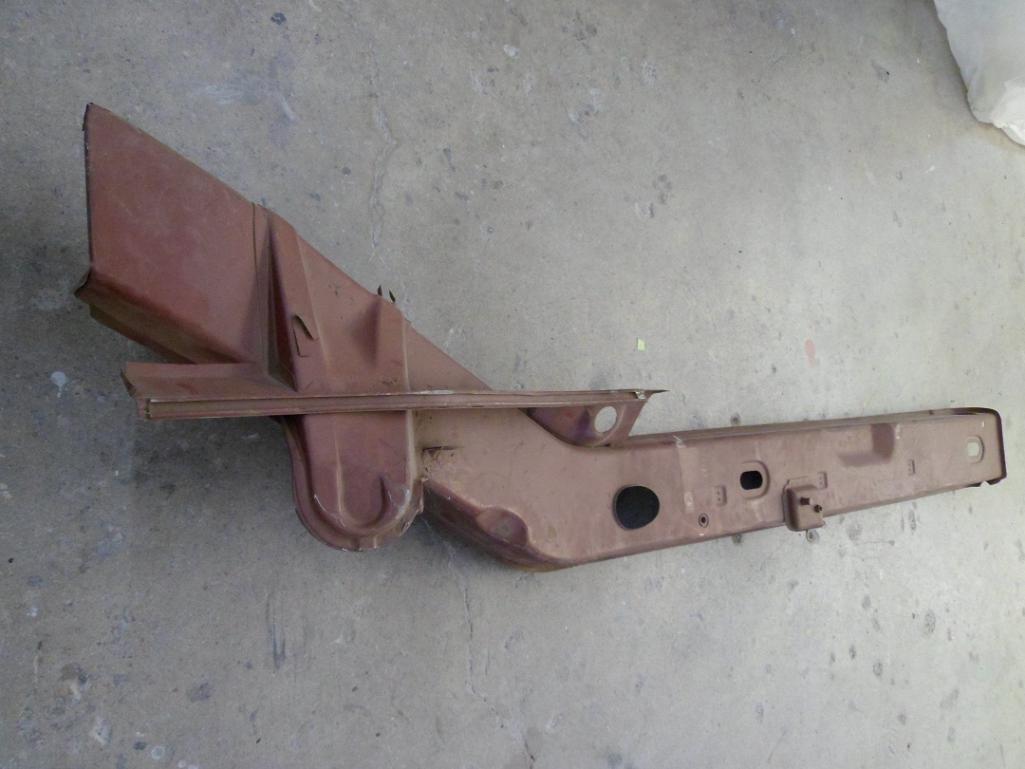
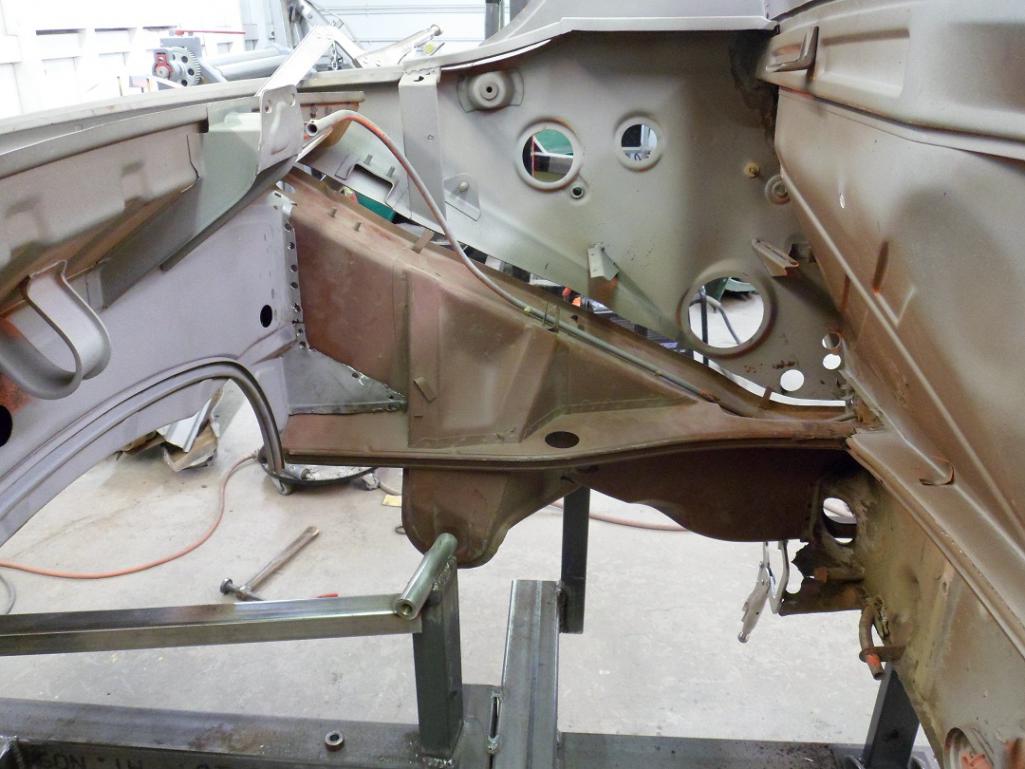
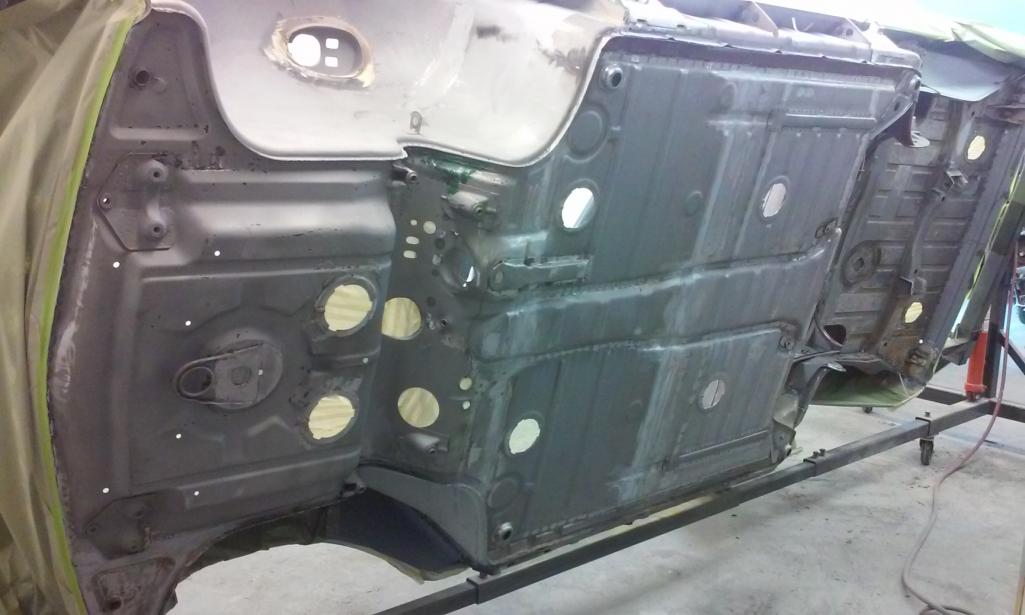
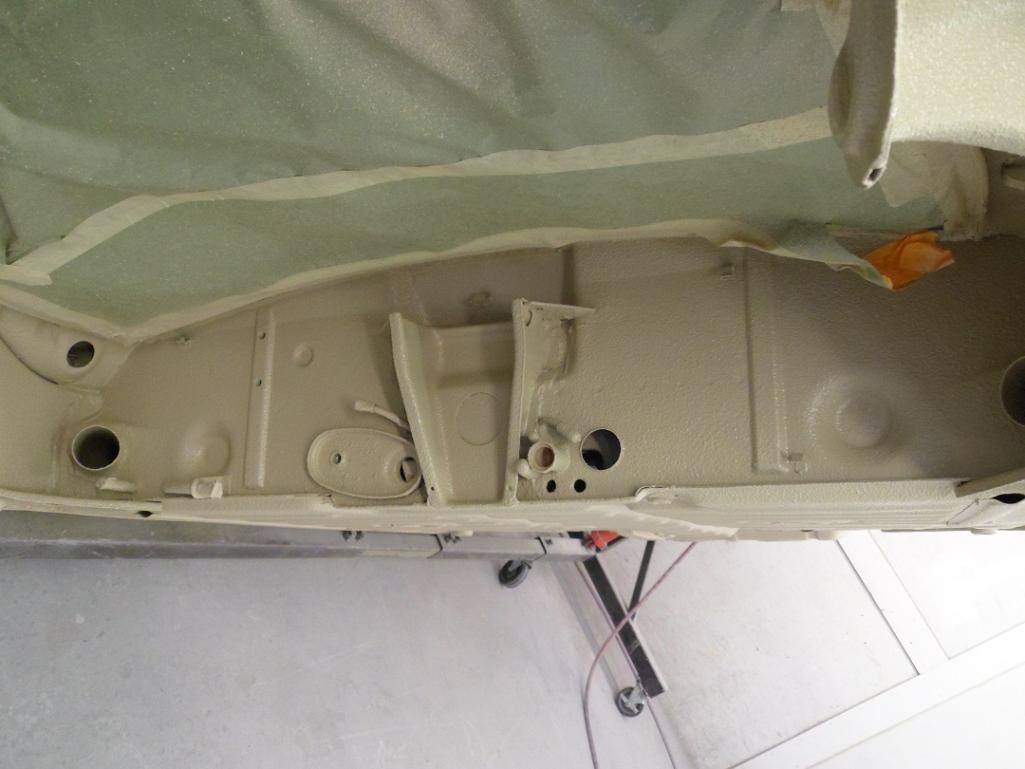
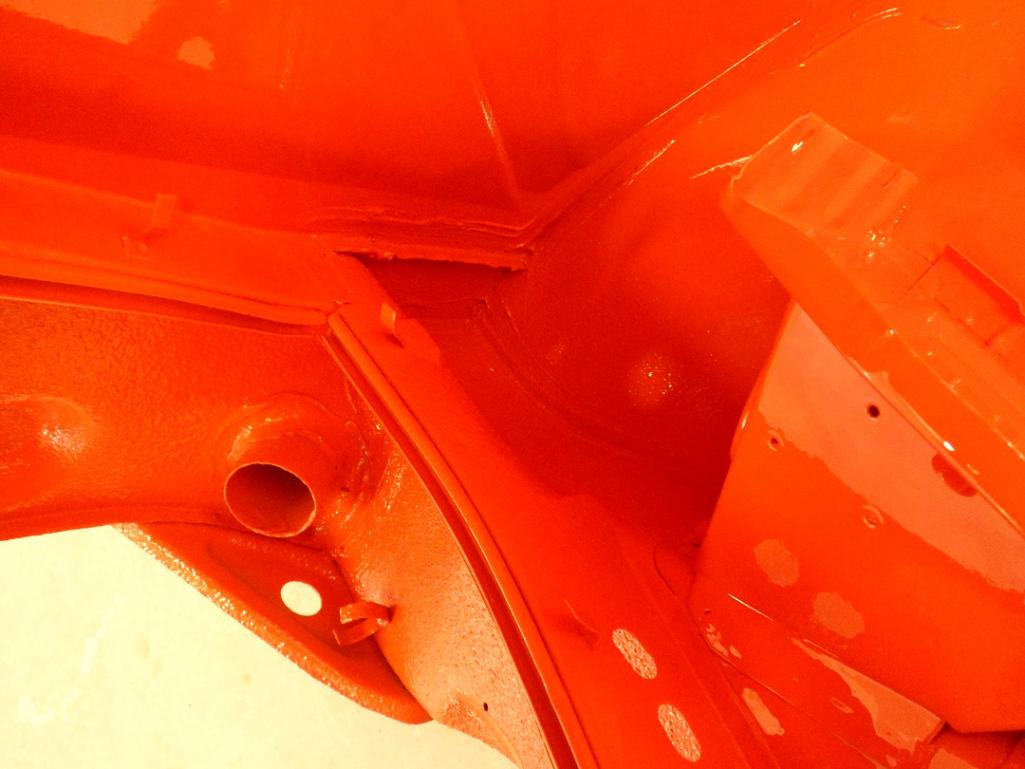
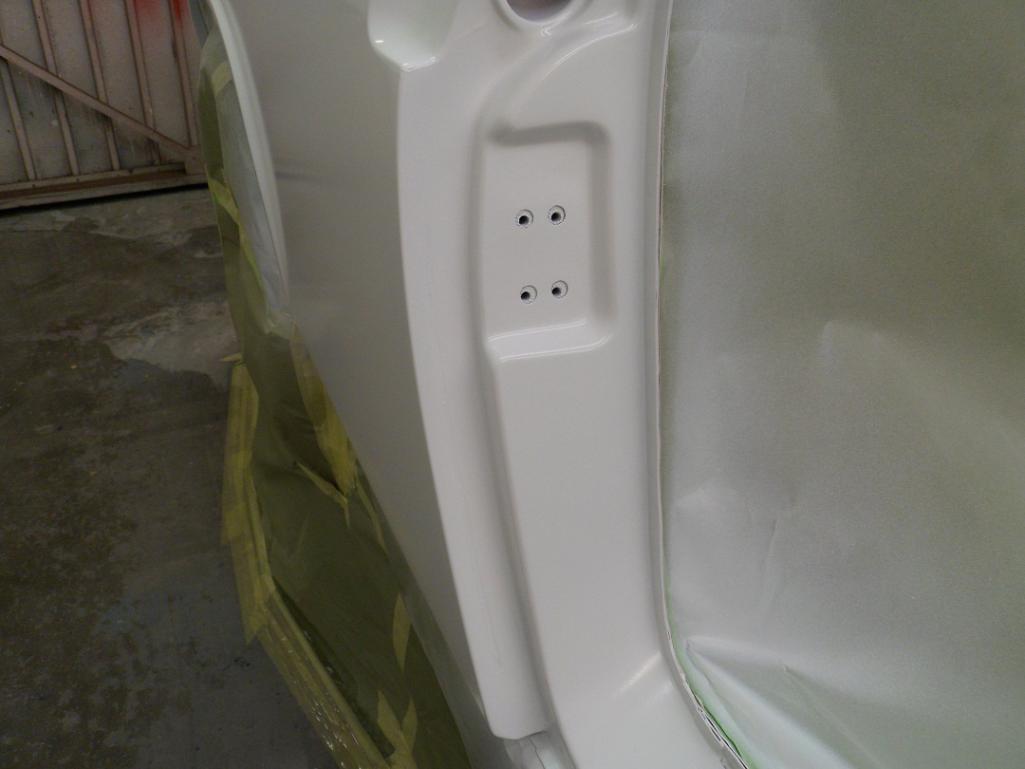
More pics of the car.
Attached thumbnail(s)
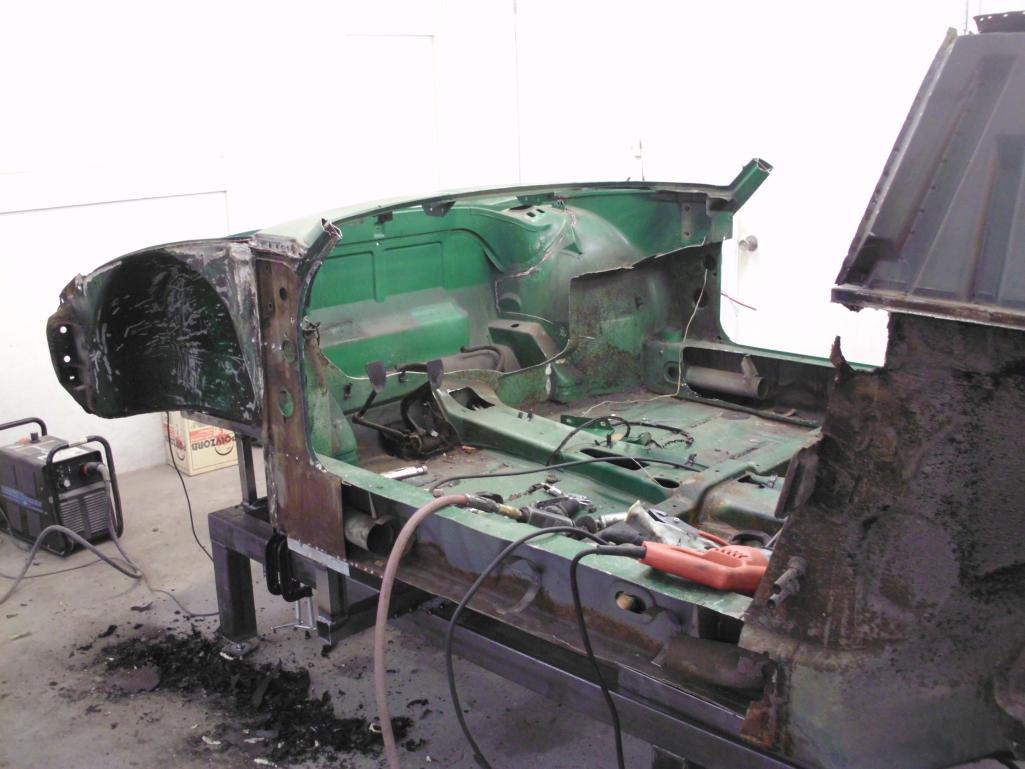
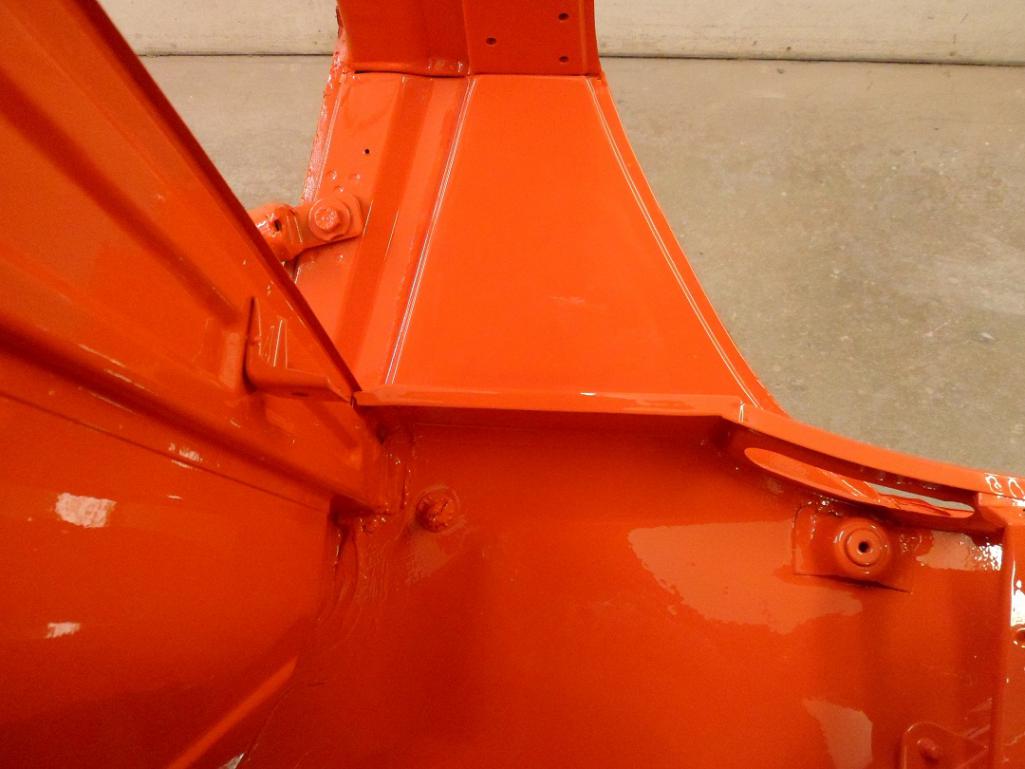
Posted by: 914350 Oct 29 2014, 08:27 PM
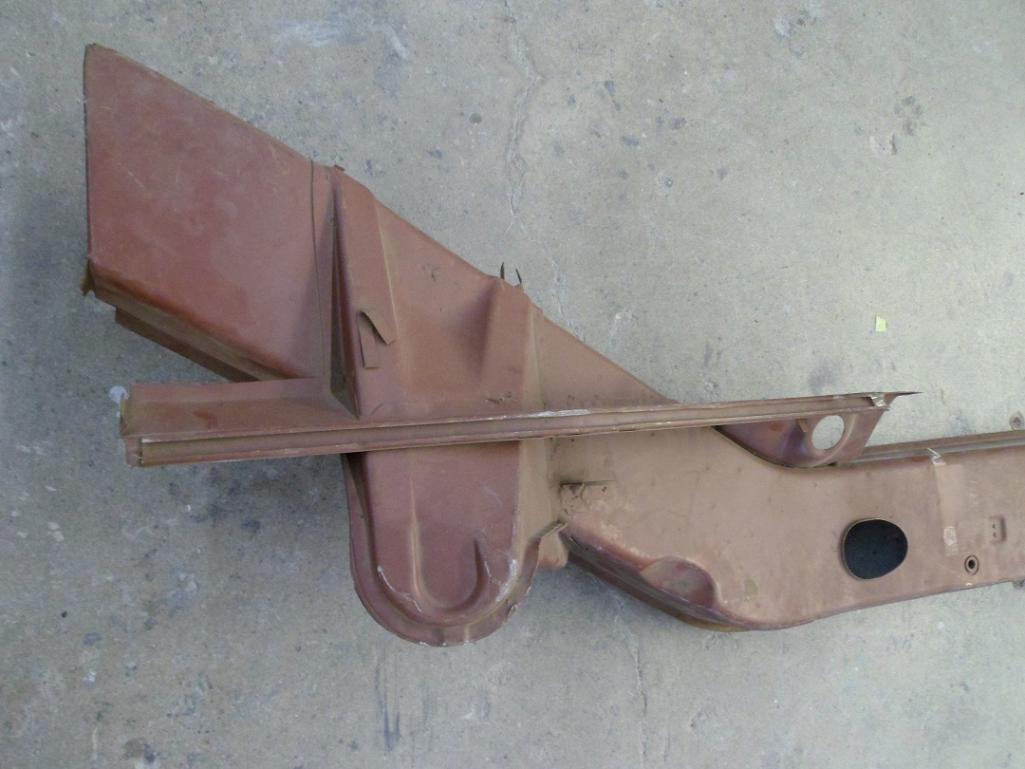
More pics.
Attached thumbnail(s)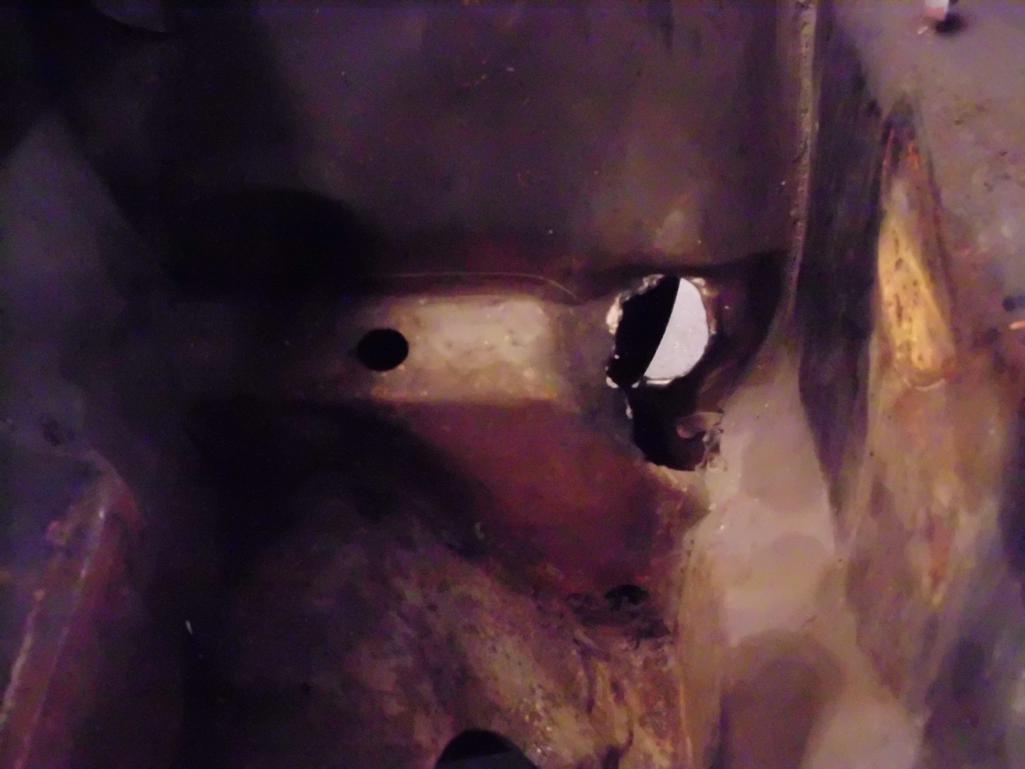
Posted by: 396 Oct 30 2014, 03:54 AM
Subscribed!

Posted by: CptTripps Oct 30 2014, 11:28 AM
Here we go!
I'm looking forward to watching this one.
Posted by: sbsix Oct 30 2014, 11:49 AM
I just realized one of my favorite activities is watching 914 restorations on the World. Thanks to rust.
Posted by: 914350 Nov 1 2014, 12:12 AM
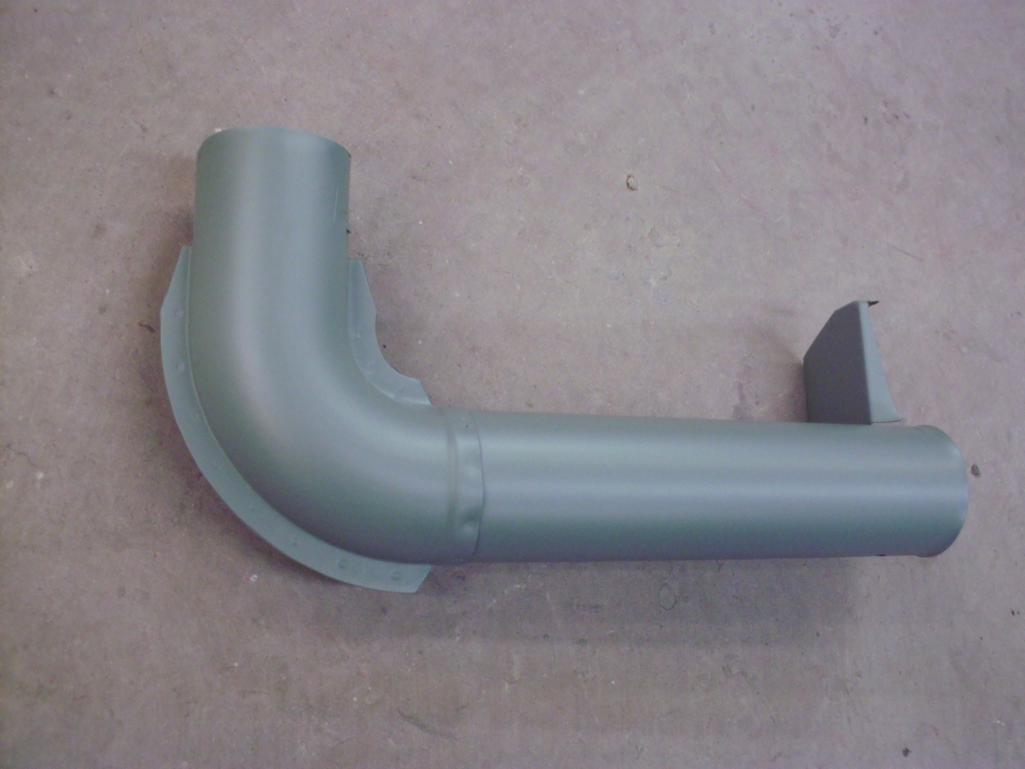
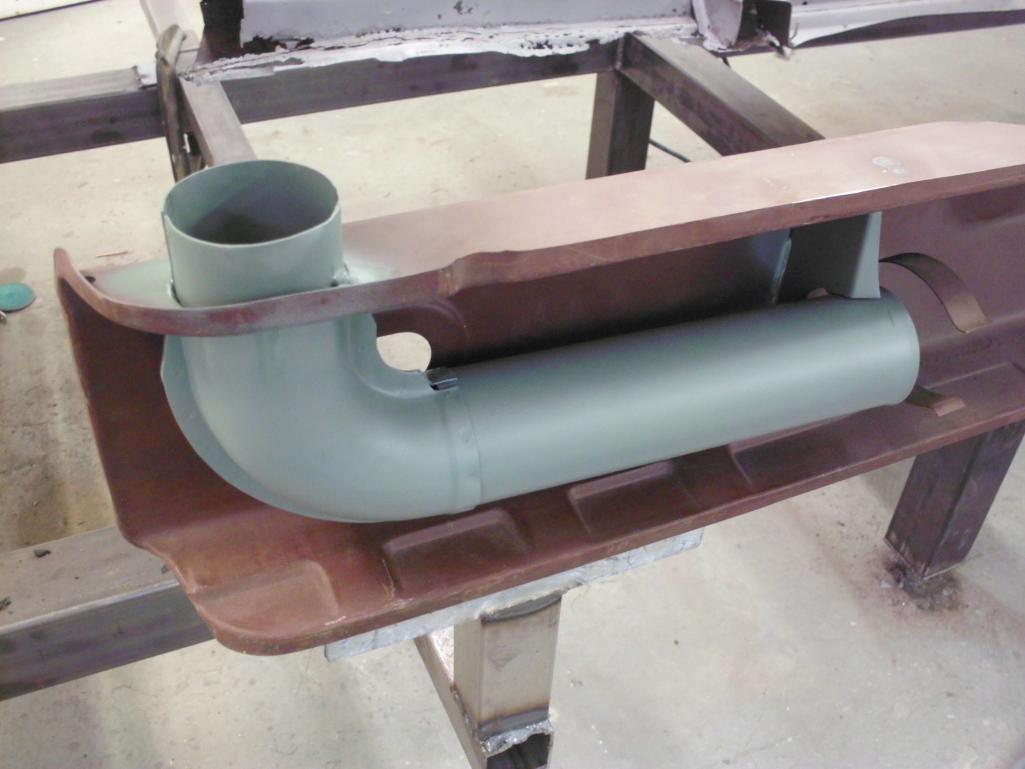
Headed to media blasting. Used Cap lugs to keep media out of the tubes.
Attached thumbnail(s)
Posted by: 914350 Nov 1 2014, 12:18 AM
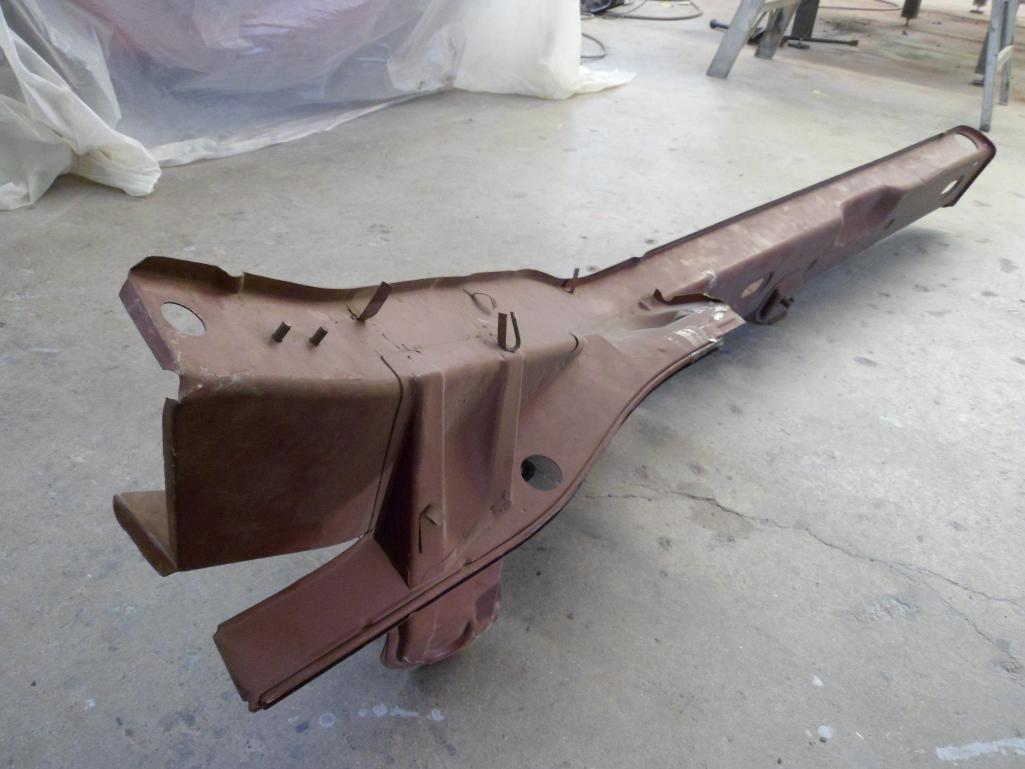
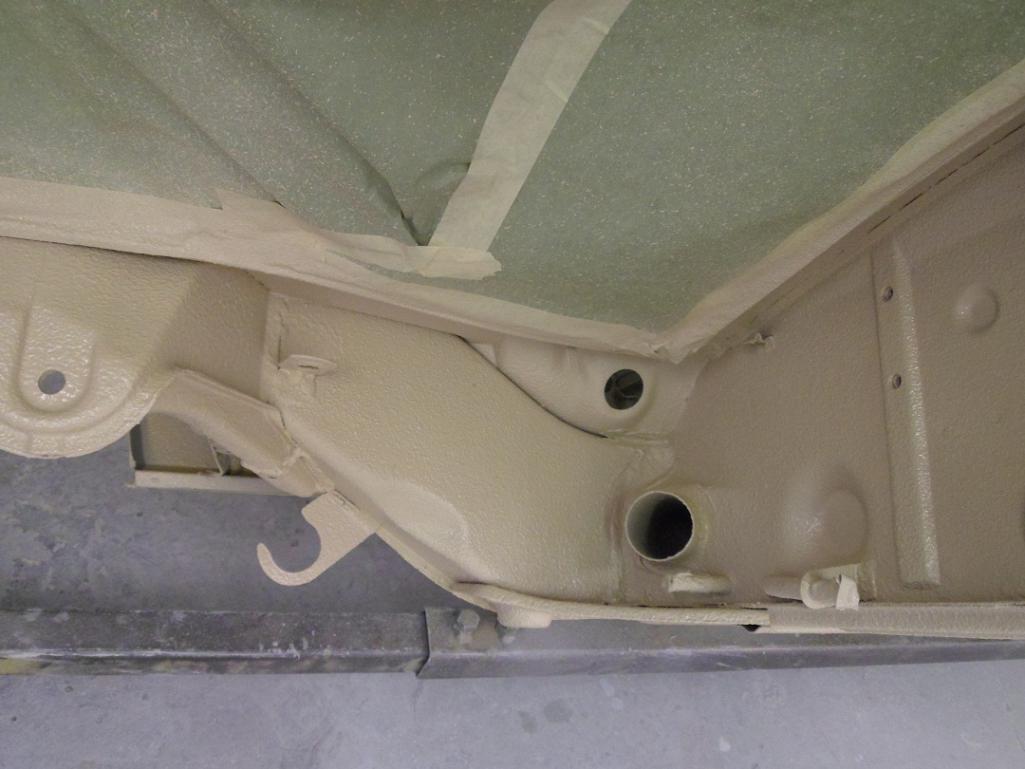
More pics.
Attached thumbnail(s)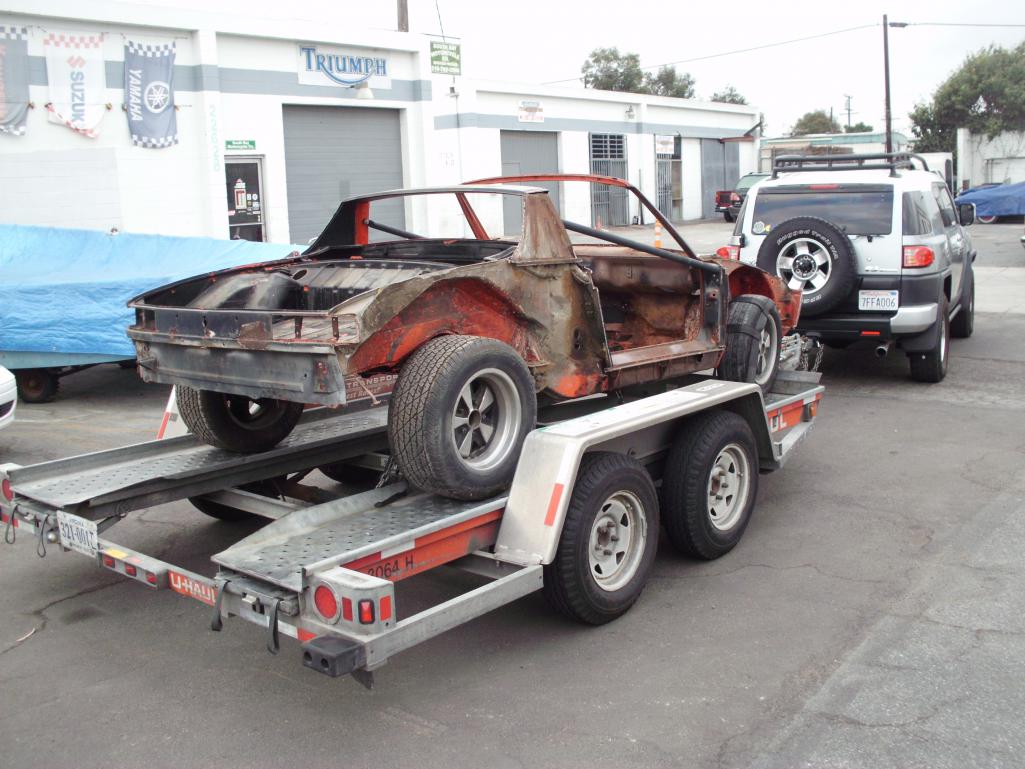
Posted by: 914350 Nov 1 2014, 12:20 AM
...at BD&G Blasting Co.
Attached thumbnail(s)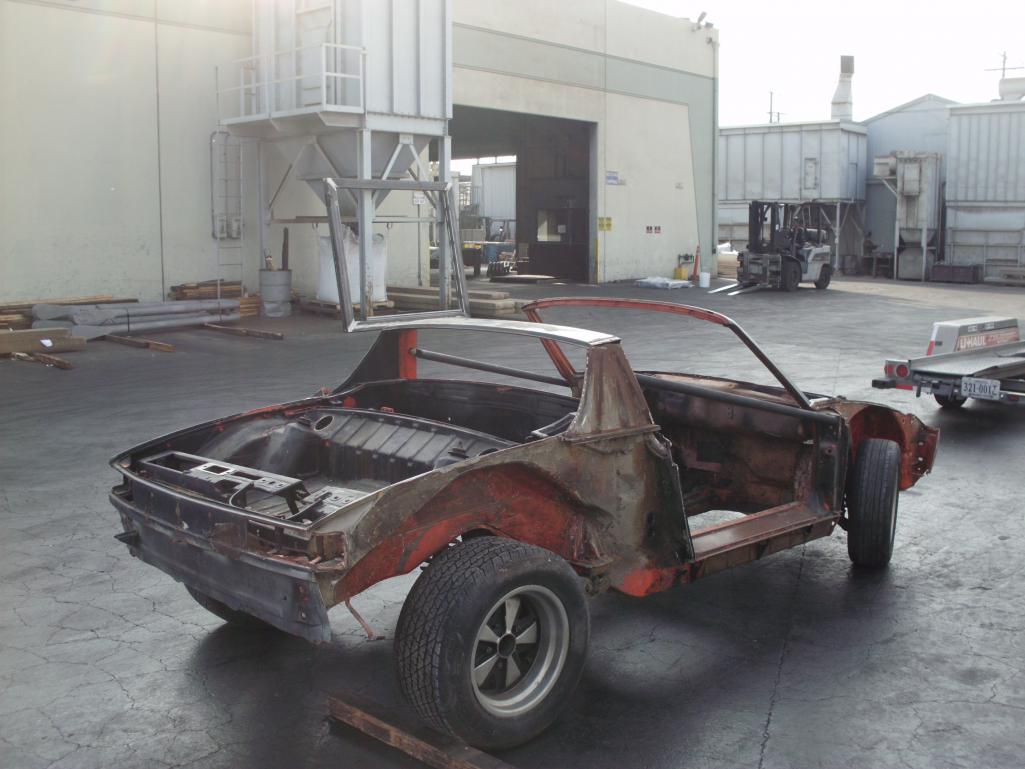
Posted by: 914350 Nov 1 2014, 12:26 AM
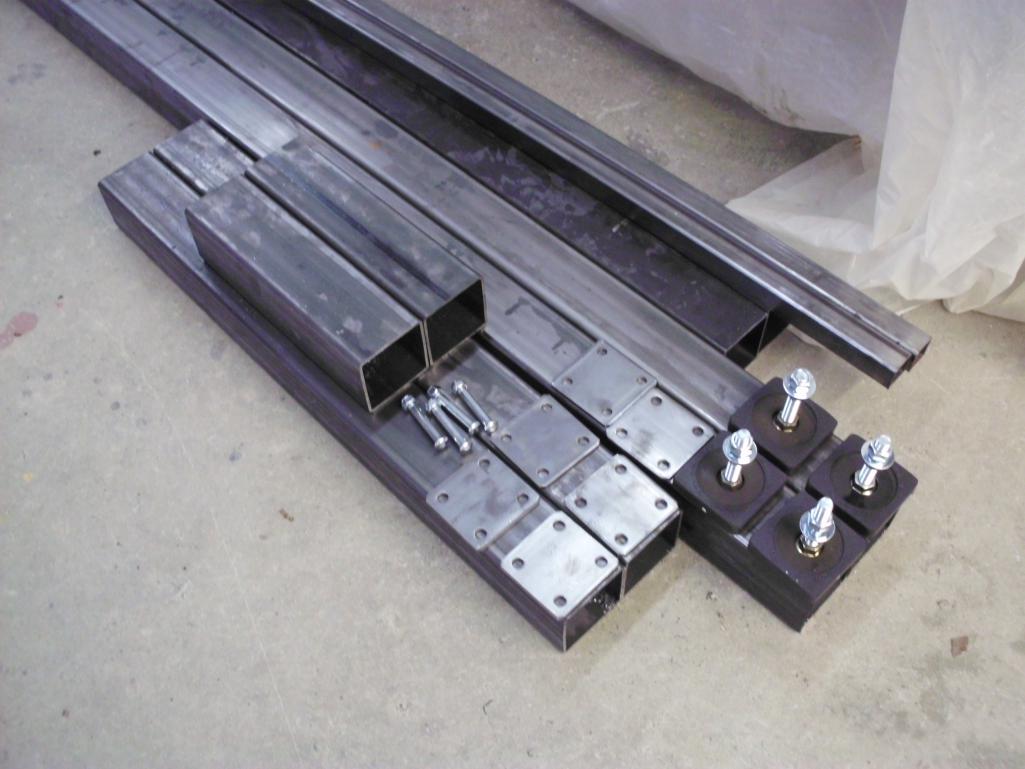
Picked up metal to build Frame Fixture.
Attached thumbnail(s)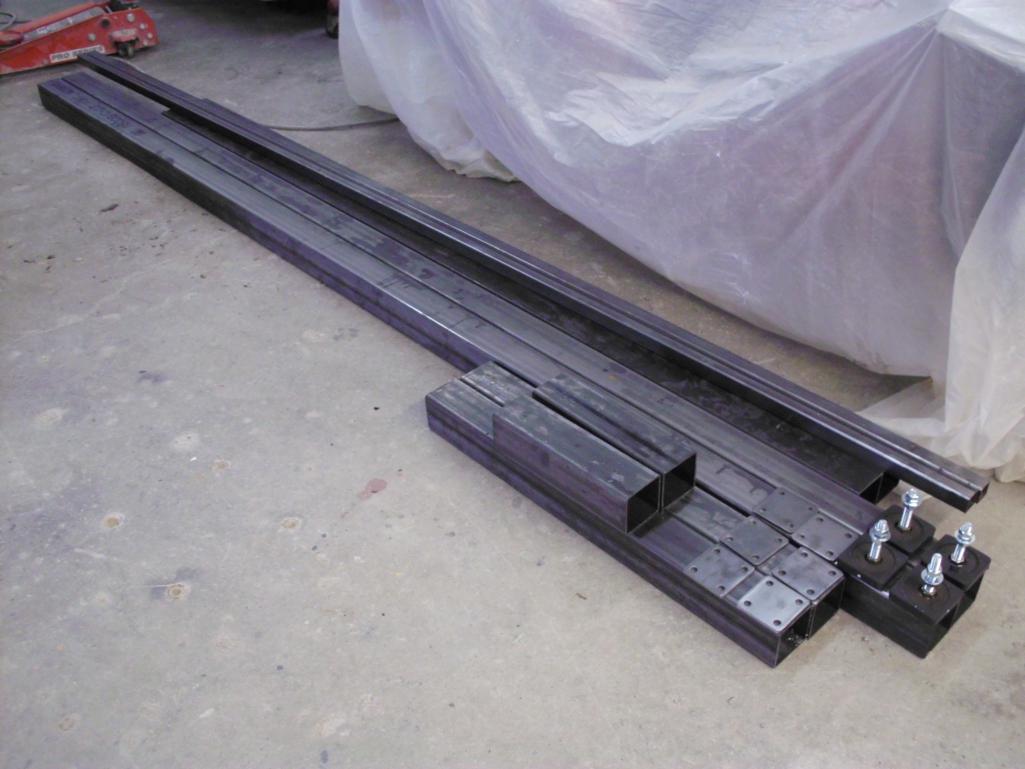
Posted by: 914350 Nov 1 2014, 12:30 AM
Andy came out and helped. We used his FJ to tow the car to blasting and to pick up the metal on the way back. Thanks Andy!
Posted by: El Vikingo Tropical Nov 1 2014, 01:18 AM
I will follow this this tread ![popcorn[1].gif](style_emoticons/default/popcorn[1].gif)
Realy nice!
Posted by: Socalandy Nov 23 2014, 04:44 PM
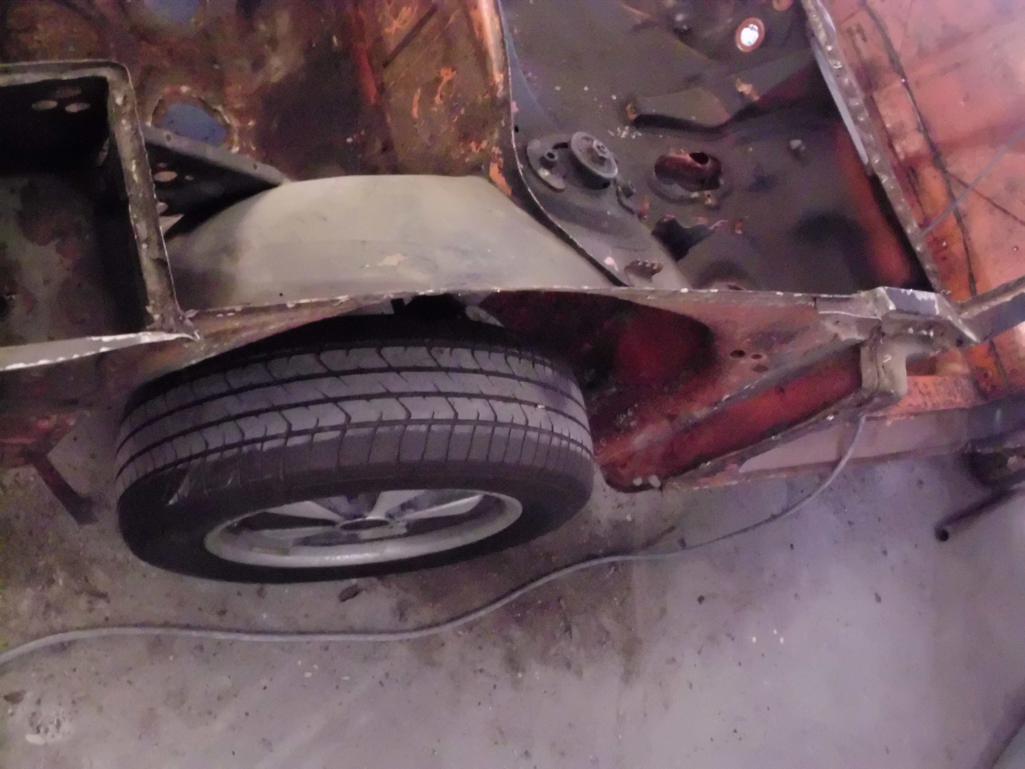
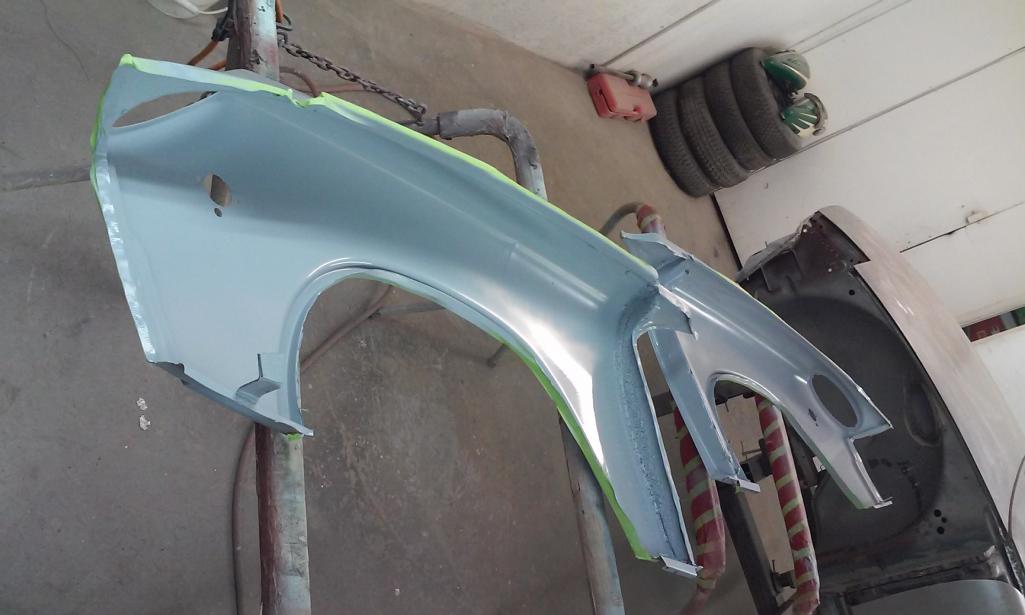
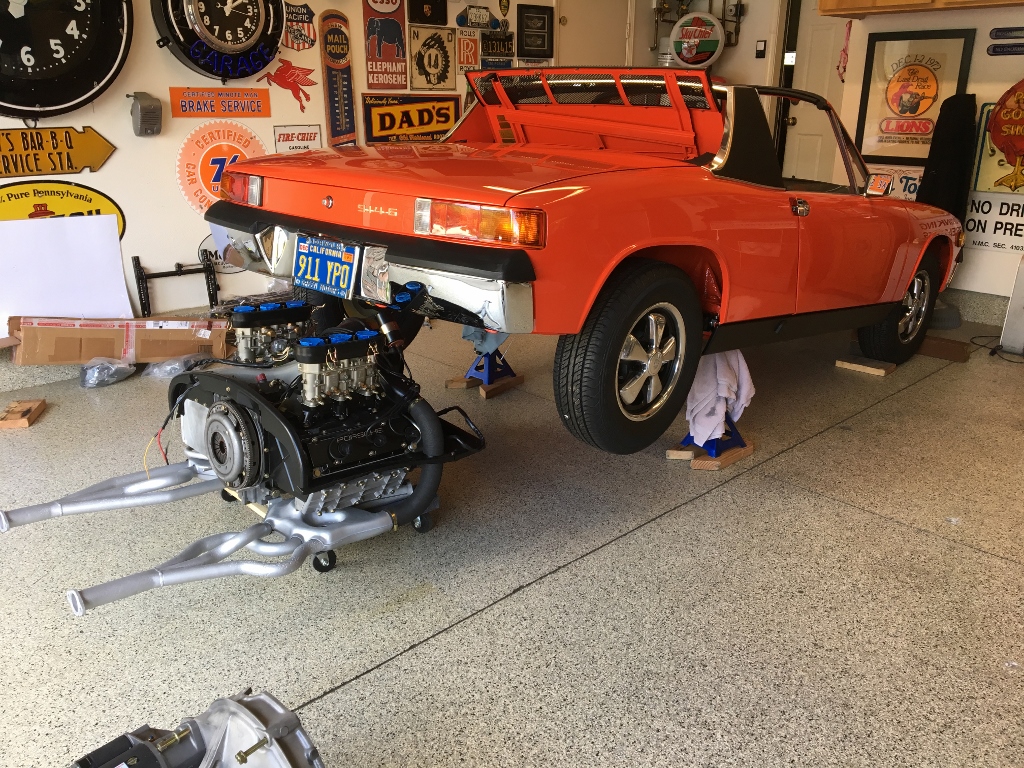
Time to start taking the fenders off this one.
Attached thumbnail(s)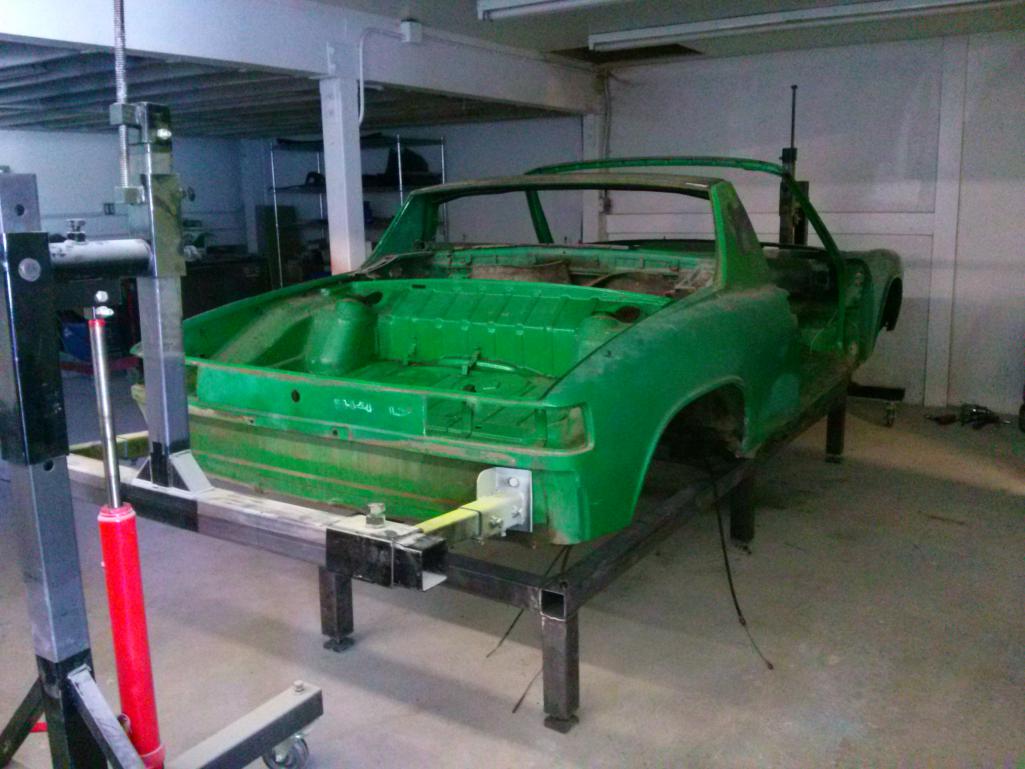
Posted by: Socalandy Nov 24 2014, 10:41 PM
This will be fun getting this harness sorted out but since the cars not even close to paint I have some time to work on it 
Attached thumbnail(s)
Posted by: 396 Nov 25 2014, 12:46 AM
Looking pretty good .
Posted by: CptTripps Nov 25 2014, 08:36 AM
This will be fun getting this harness sorted out but since the cars not even close to paint I have some time to work on it
It happens WAY faster than you think. From my experience, no matter how close you have it, you're not done when you go to put it in the car.
Great thread. I'm watching intently.
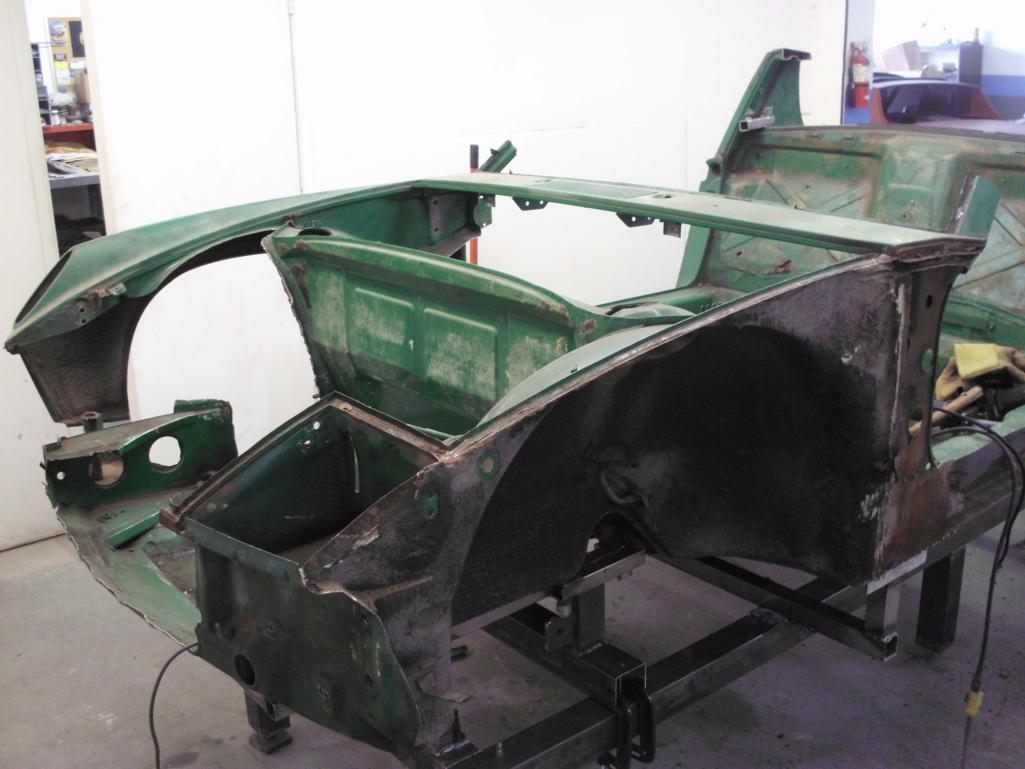
Posted by: 914350 Nov 25 2014, 10:35 AM
The Donor car measured out great so I will use it to build a fixture for the 6.
Attached thumbnail(s)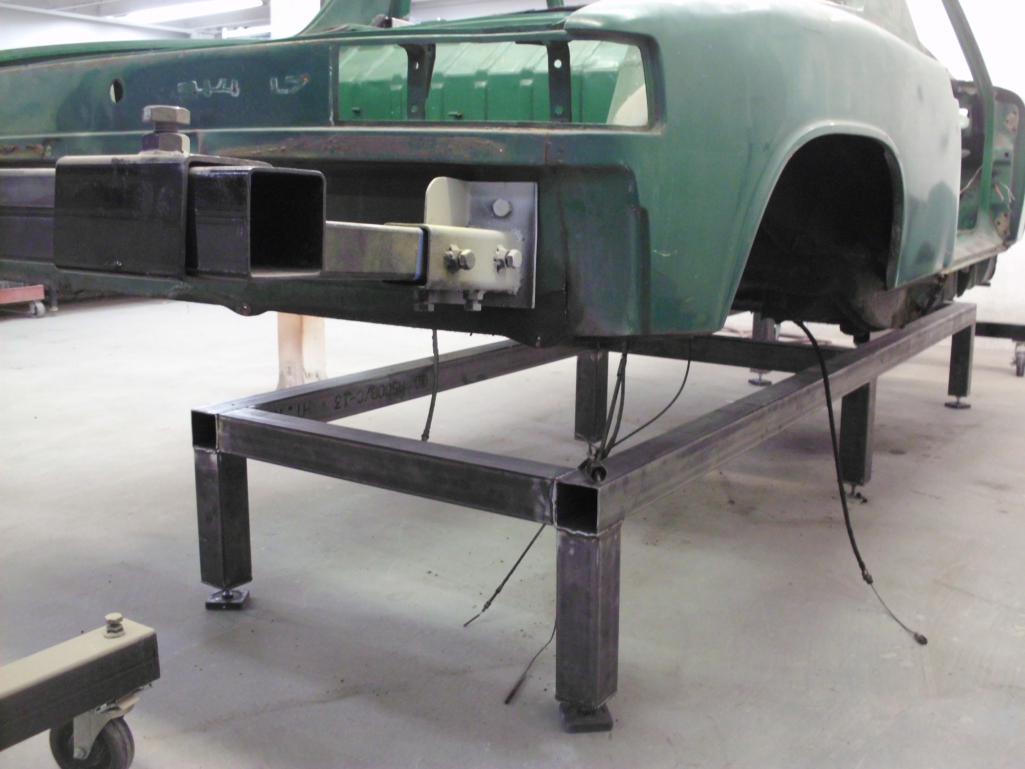

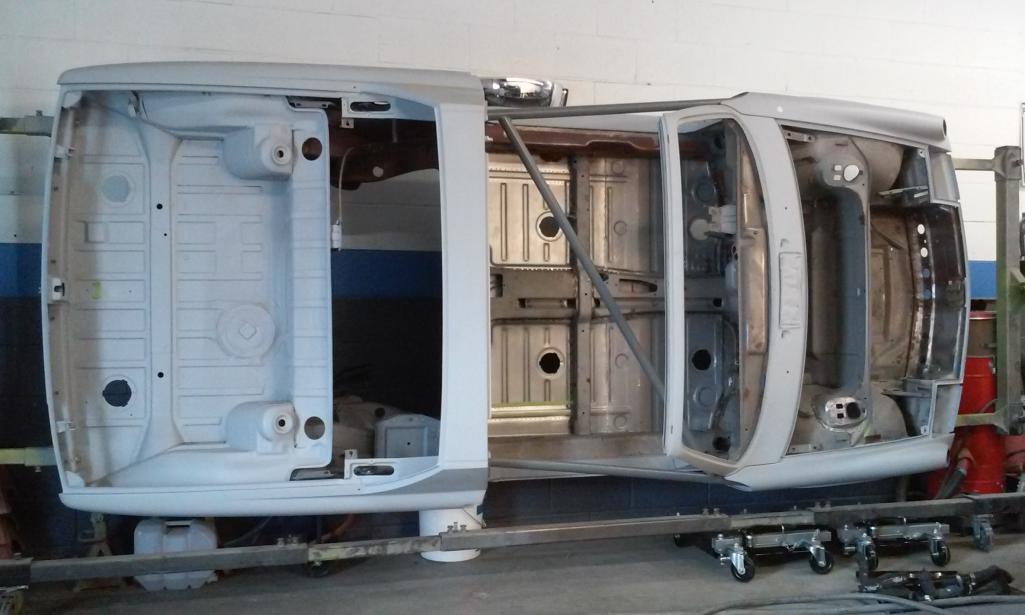
Posted by: 914350 Nov 25 2014, 10:36 AM
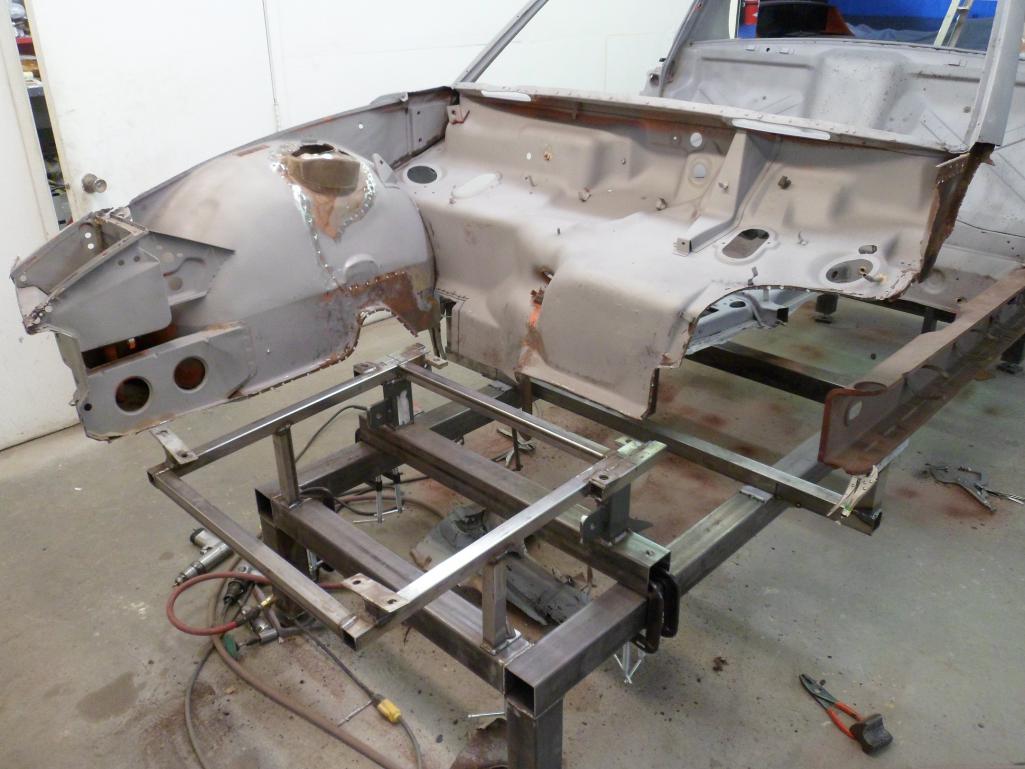
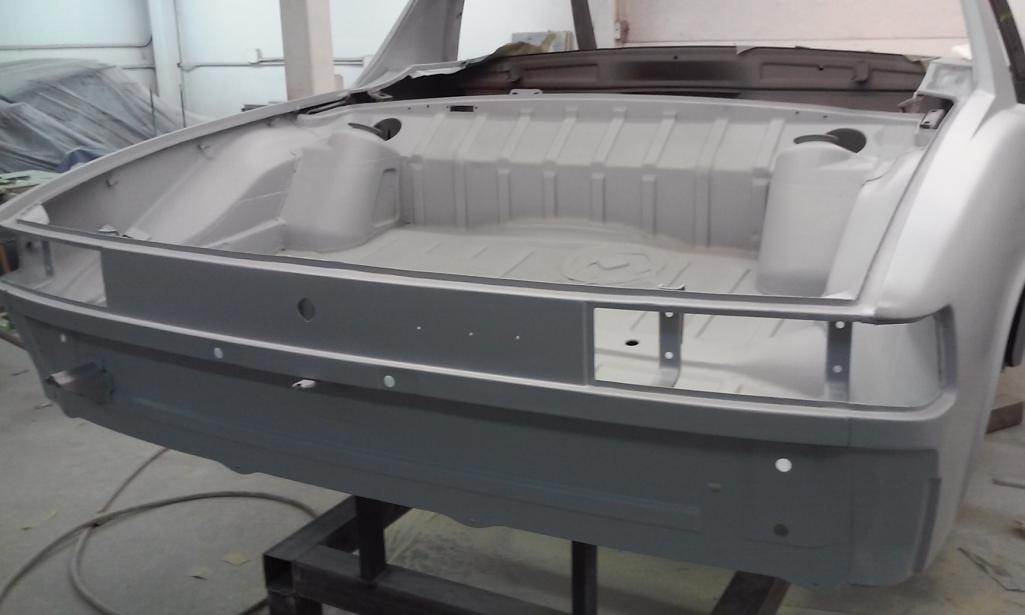
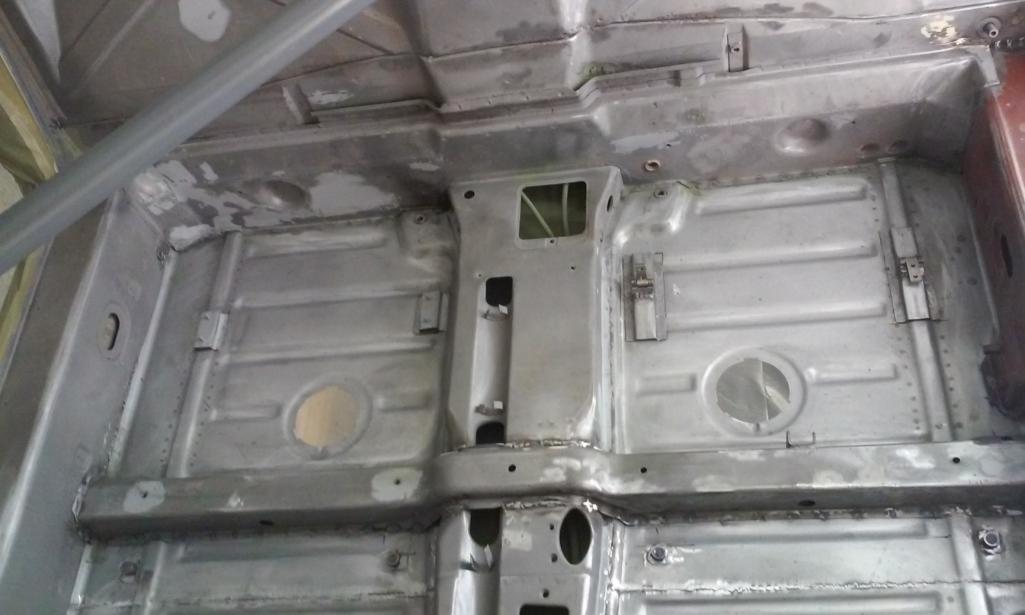
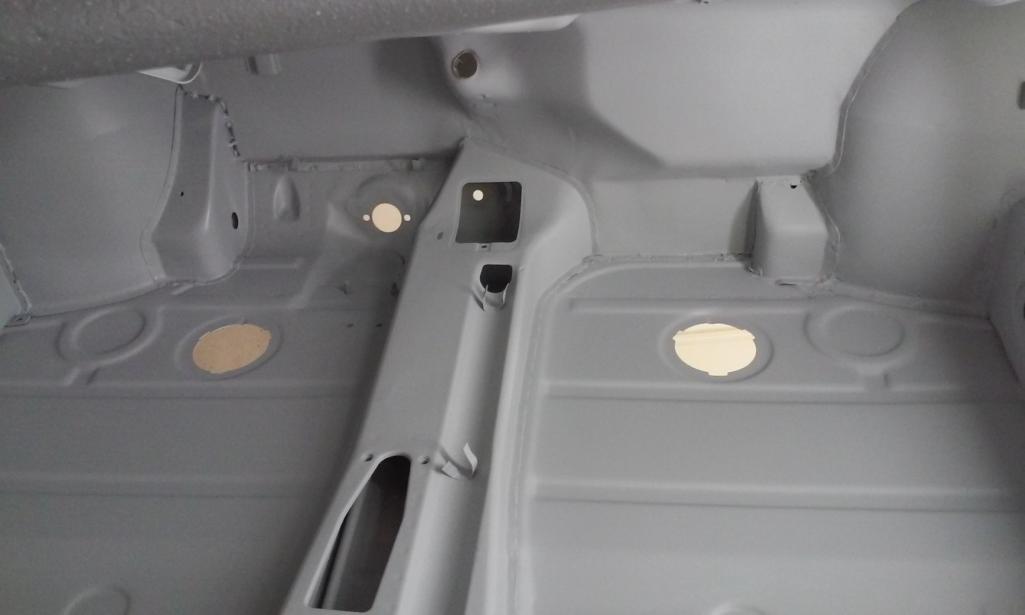
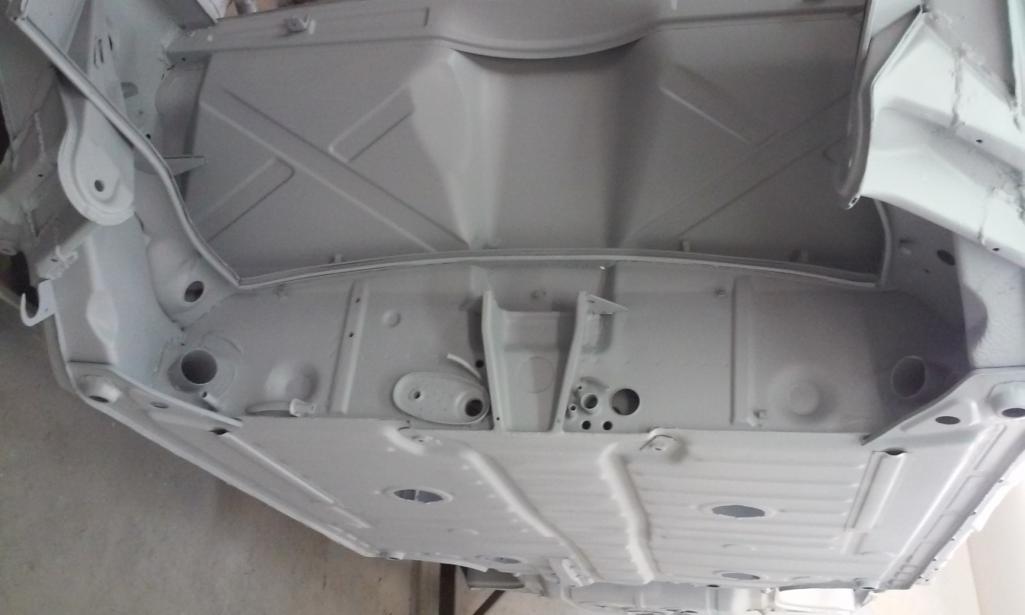
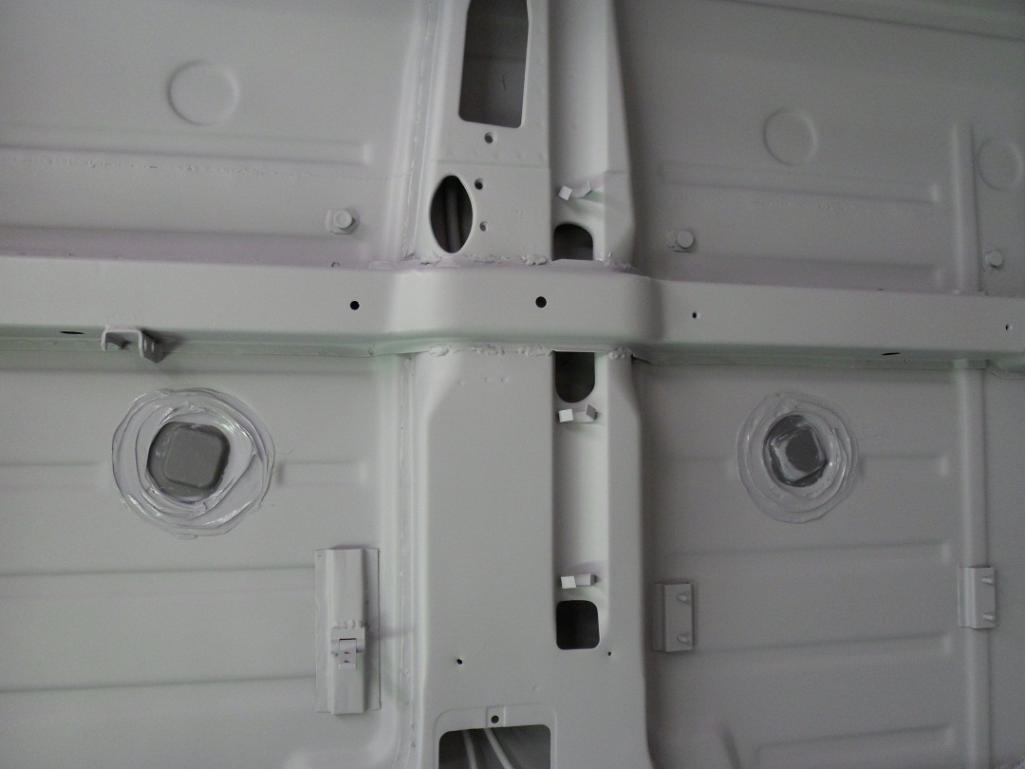
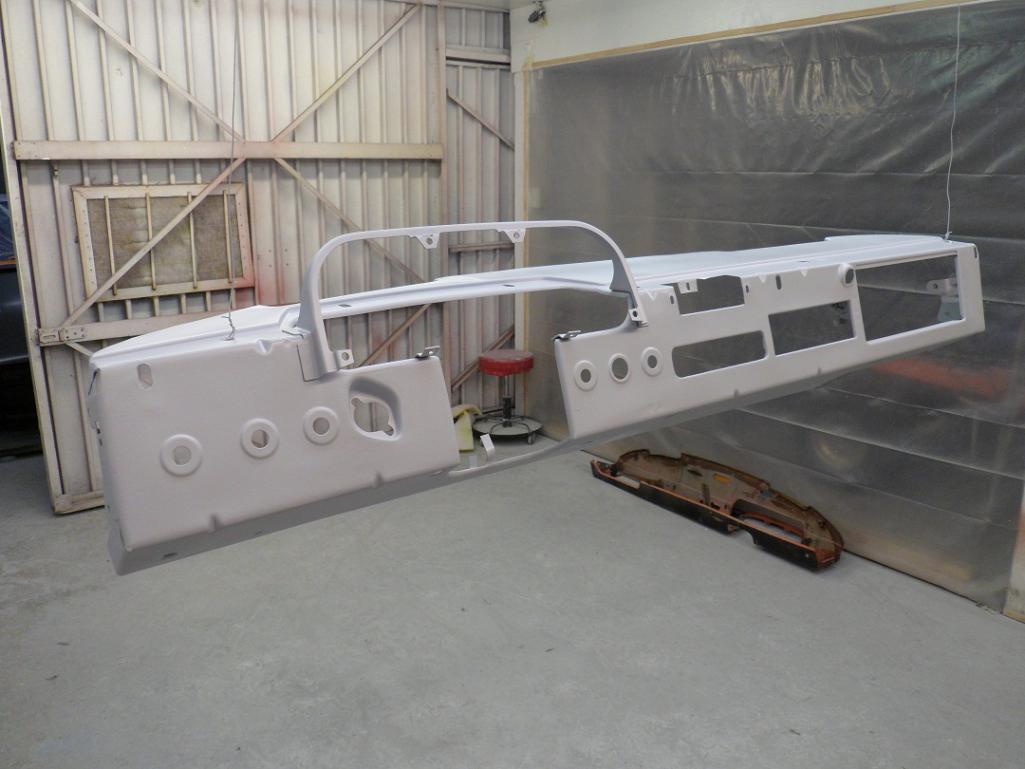
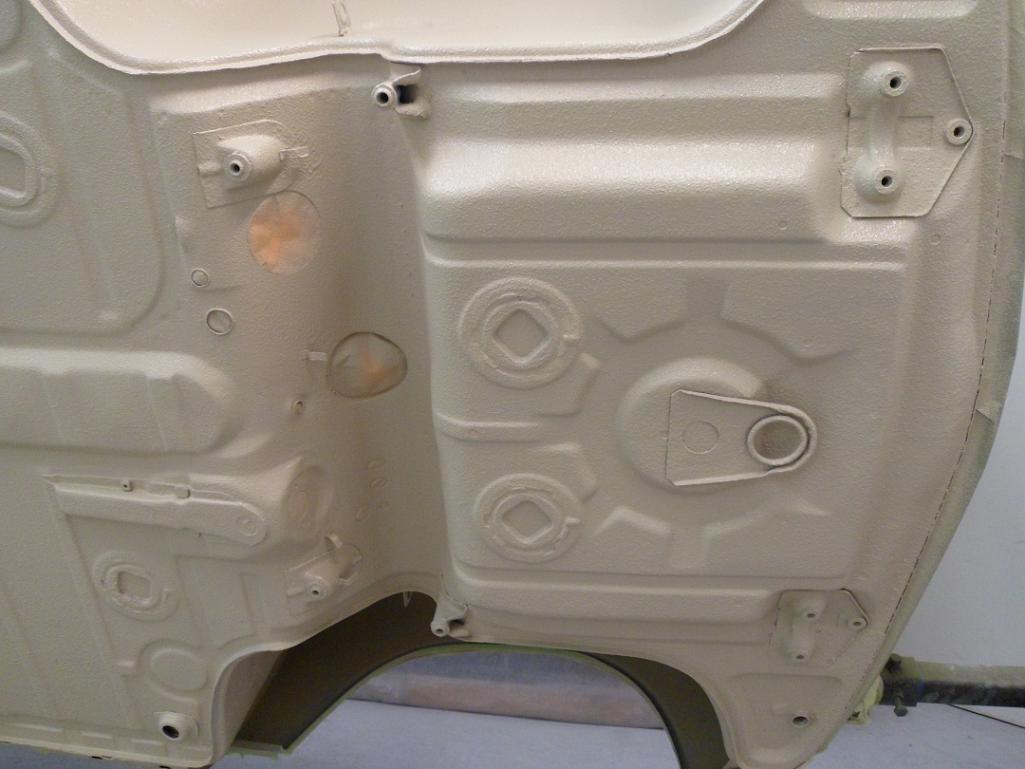
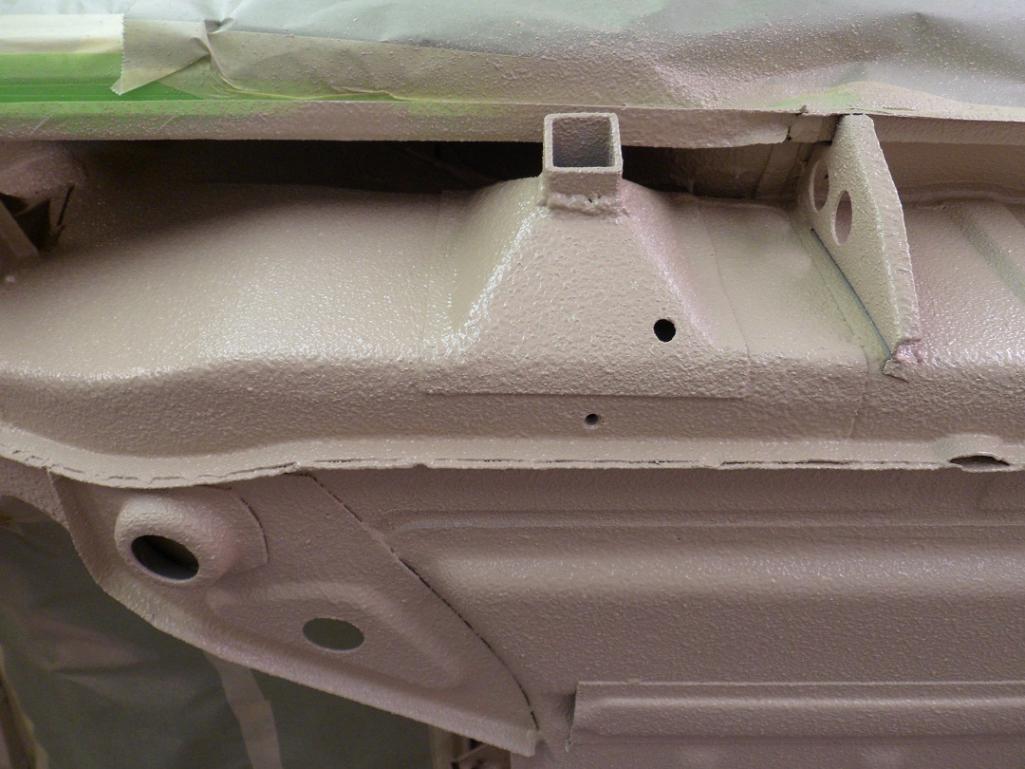
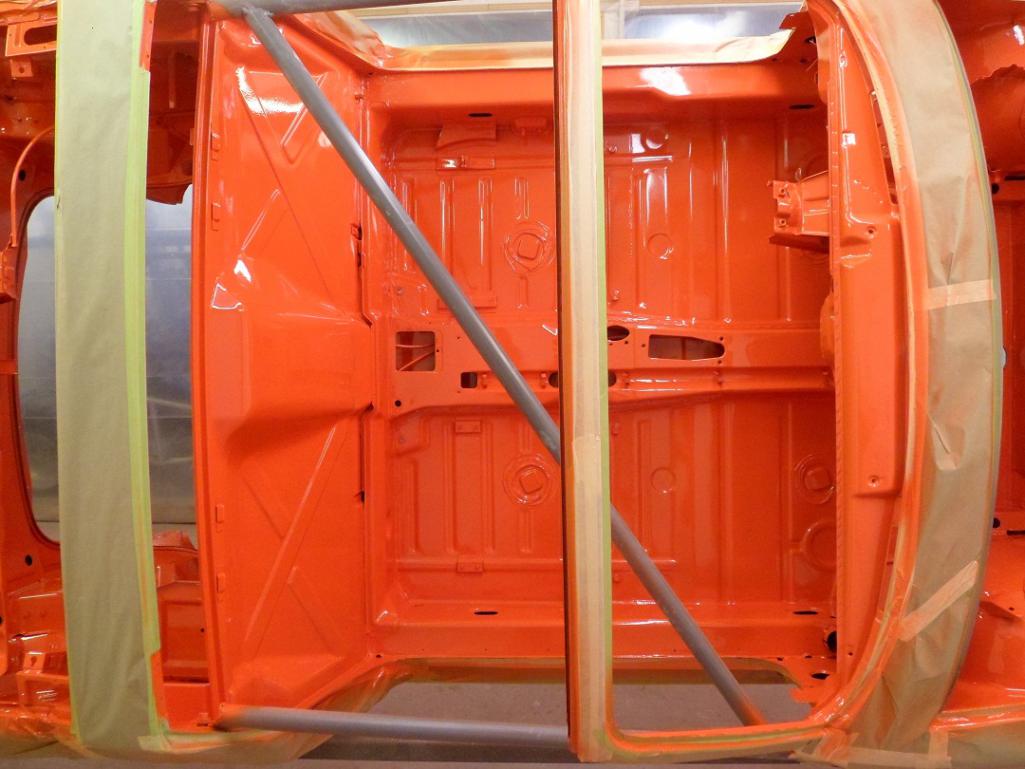
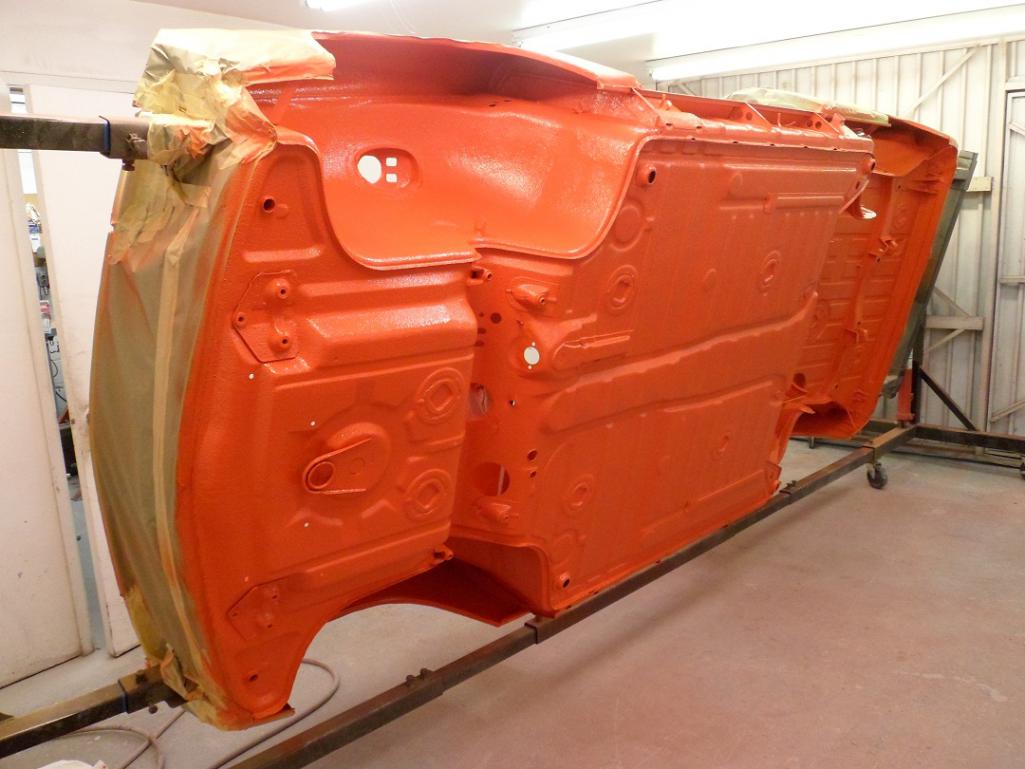
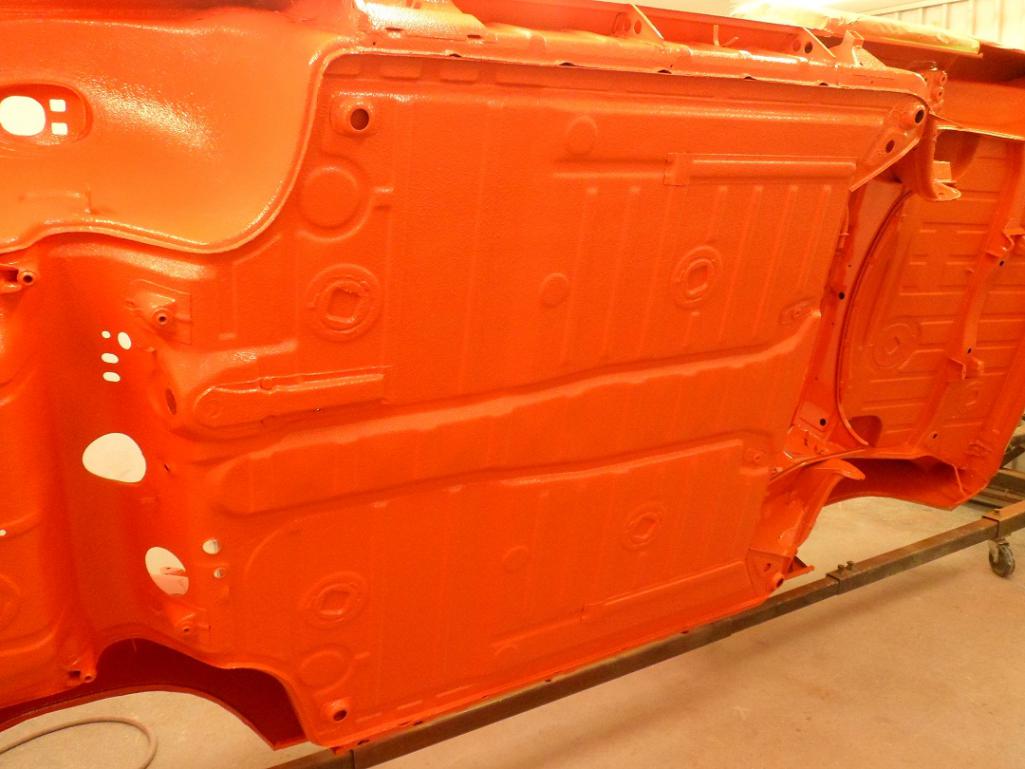
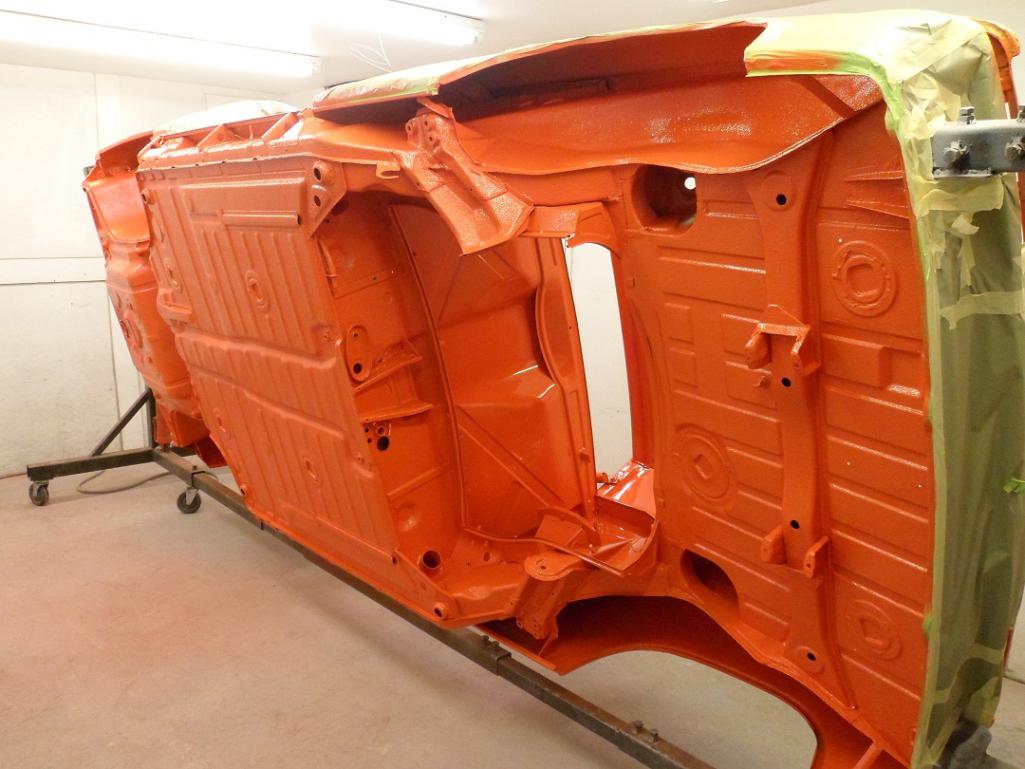
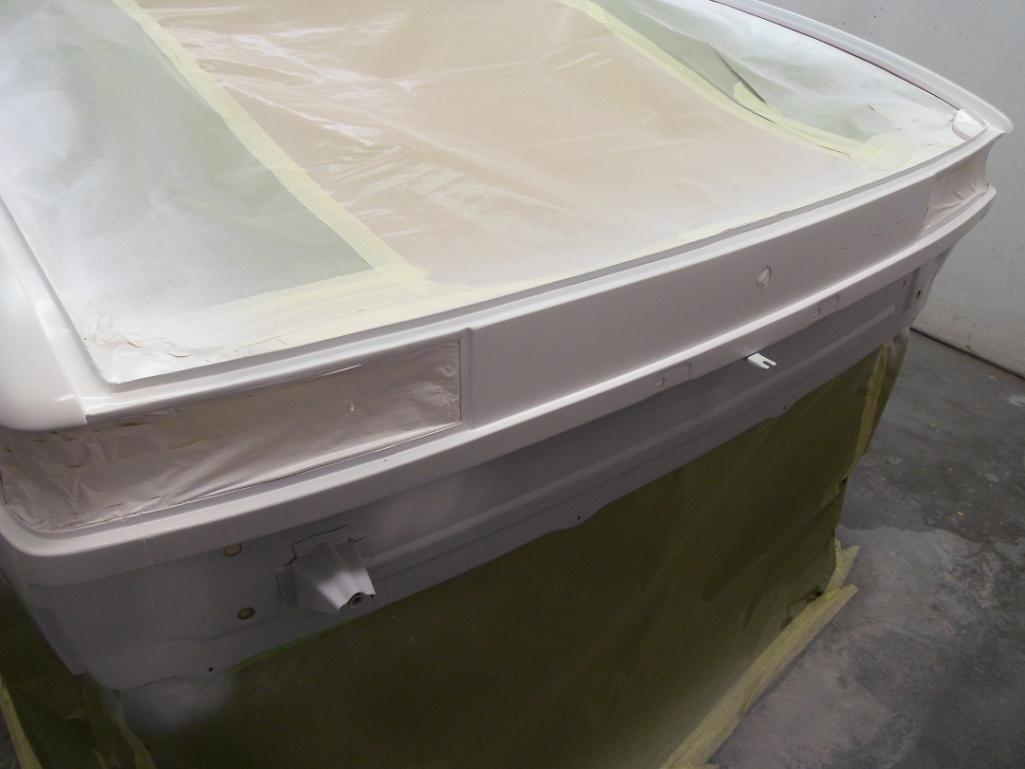
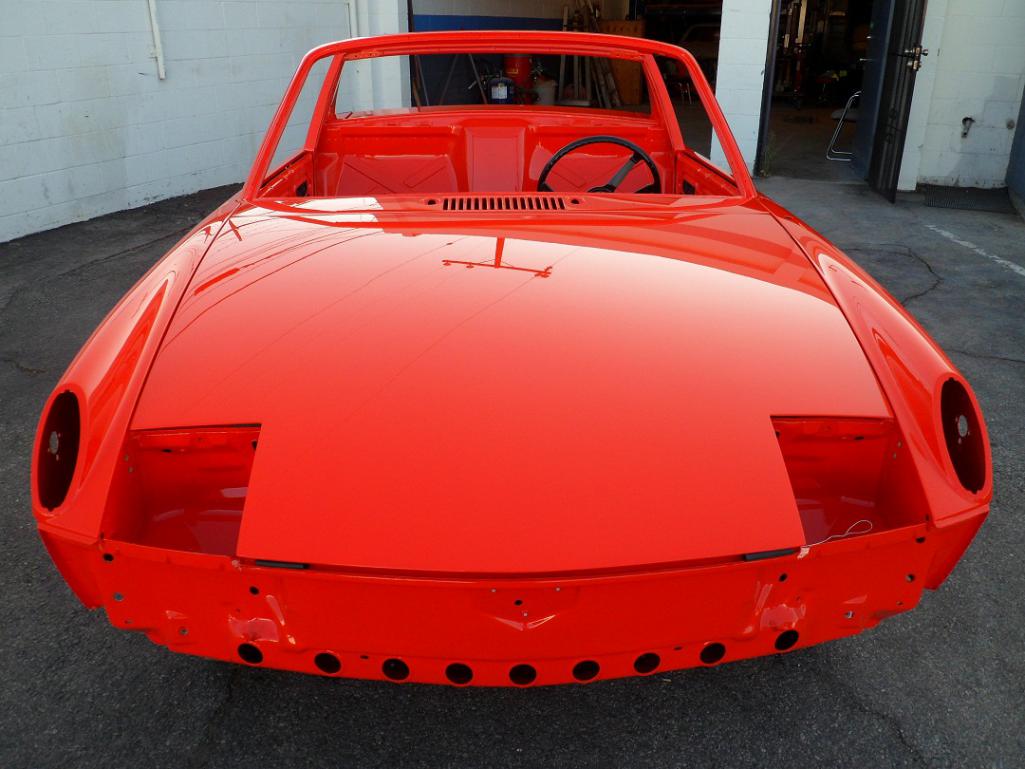
Got the car back from media blasting.
Attached thumbnail(s)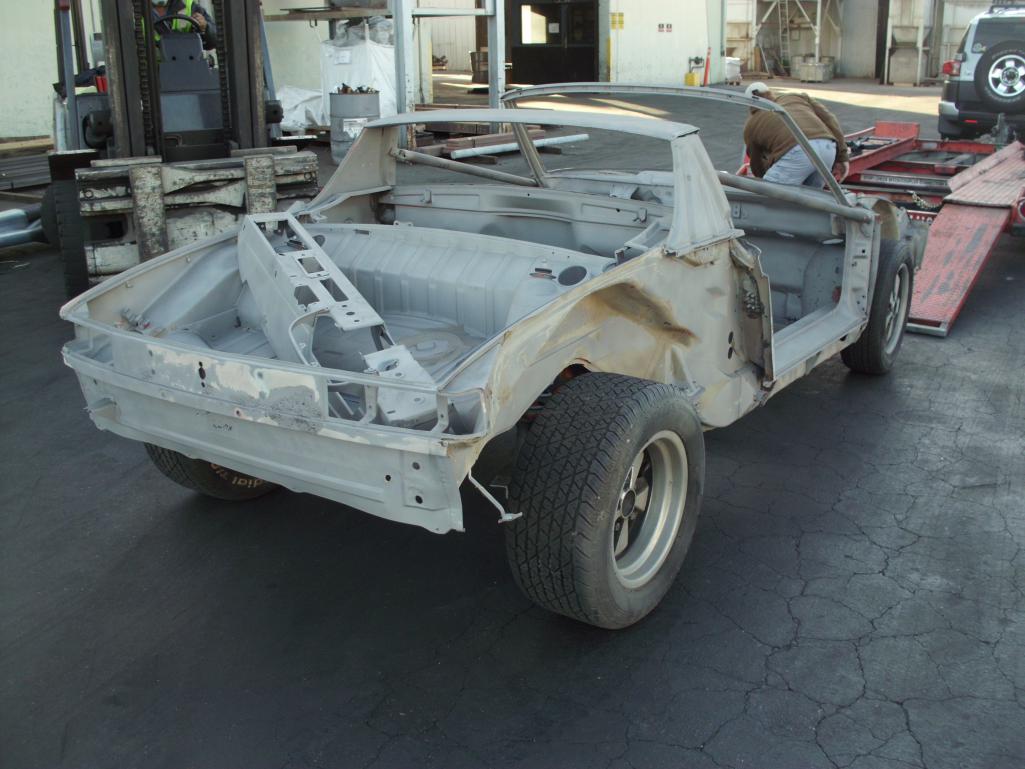
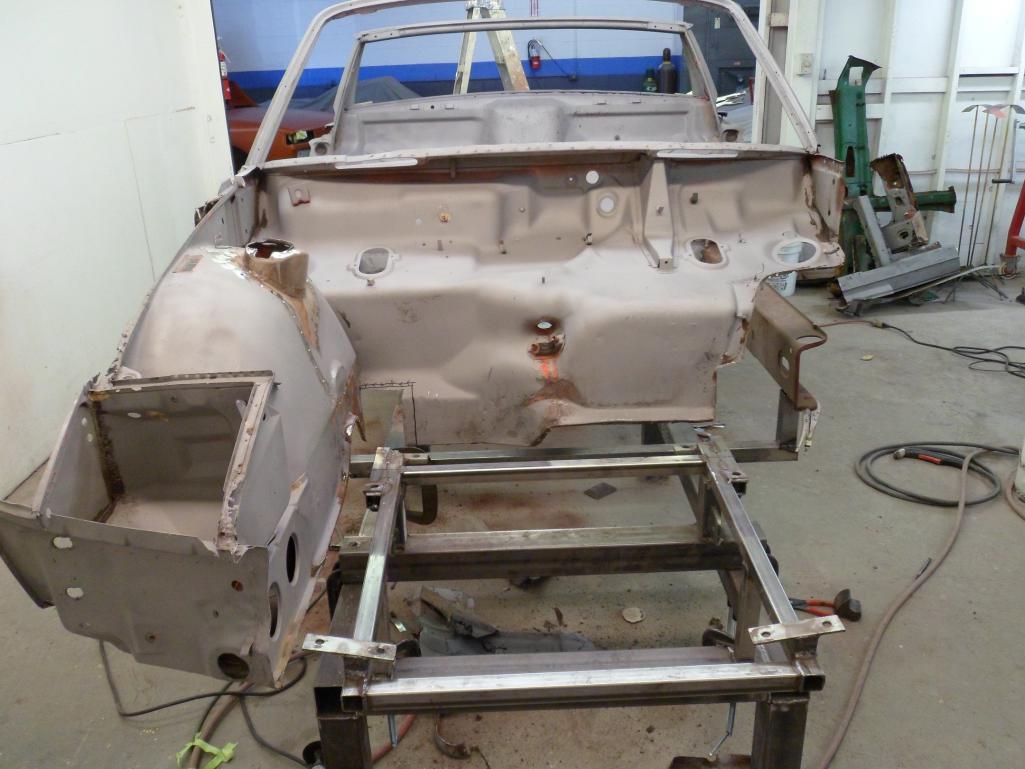
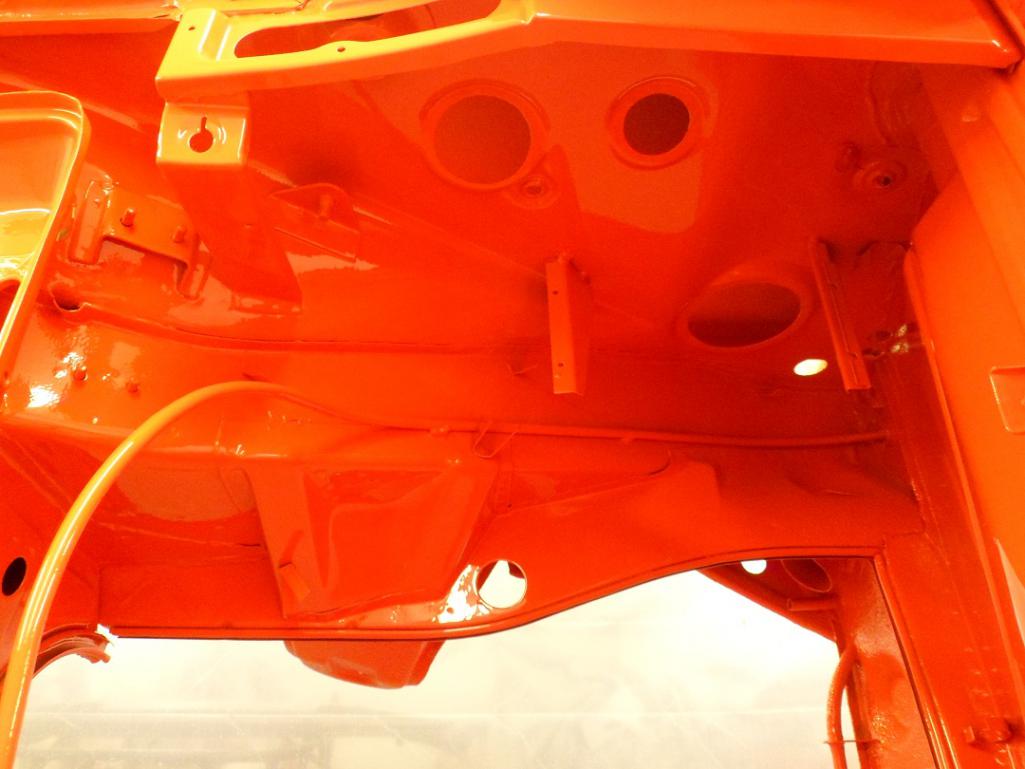
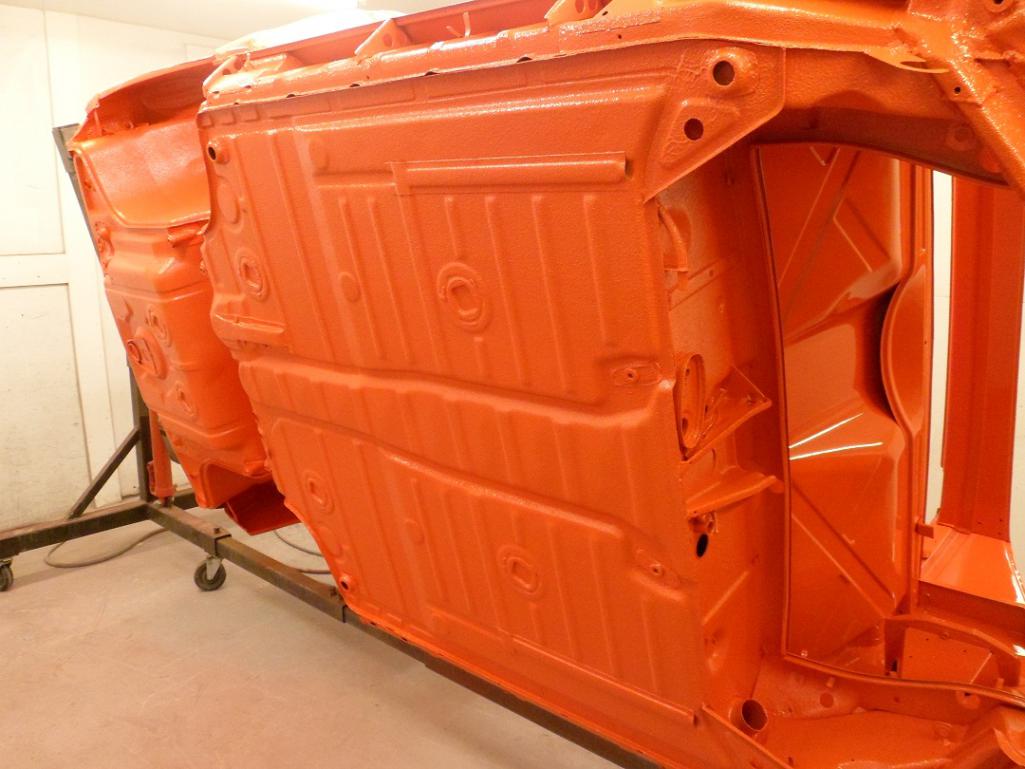
Posted by: 914350 Nov 25 2014, 10:38 AM
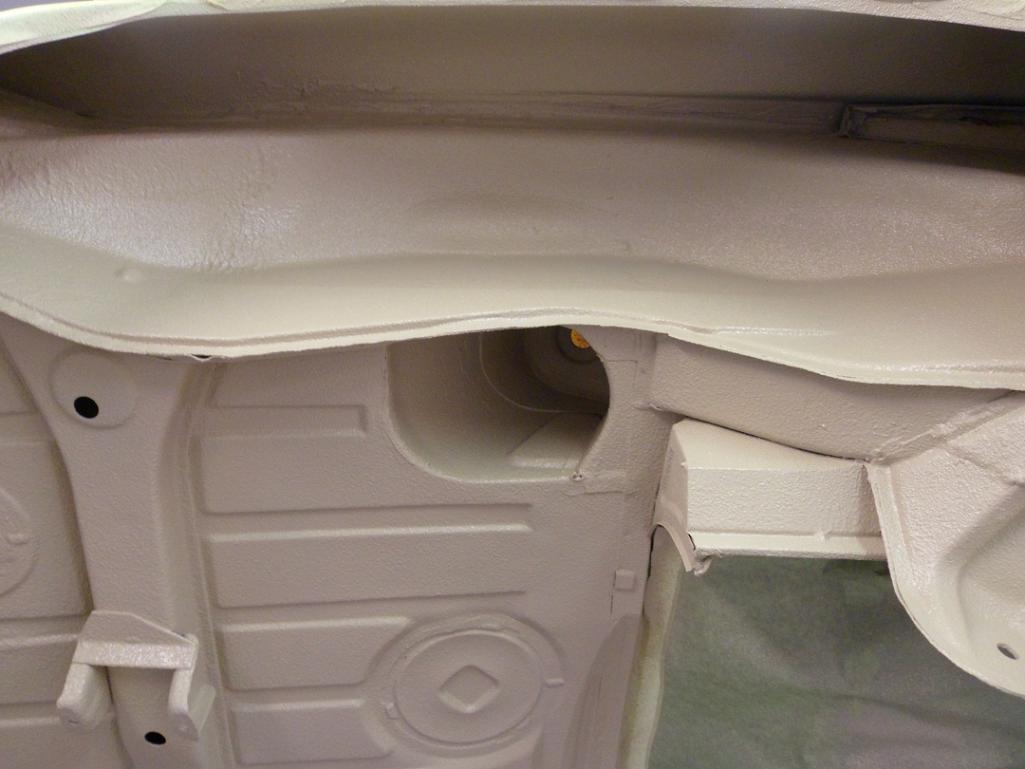
More pics.
Attached thumbnail(s)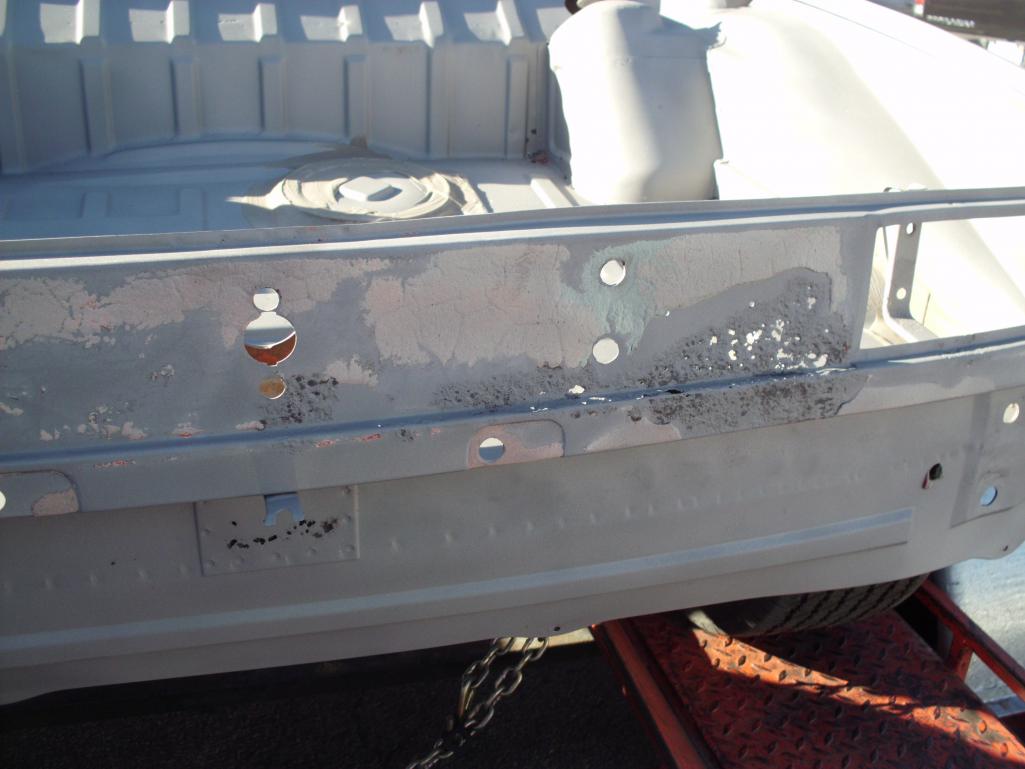
Posted by: 914350 Nov 25 2014, 10:39 AM
More pics.
Attached thumbnail(s)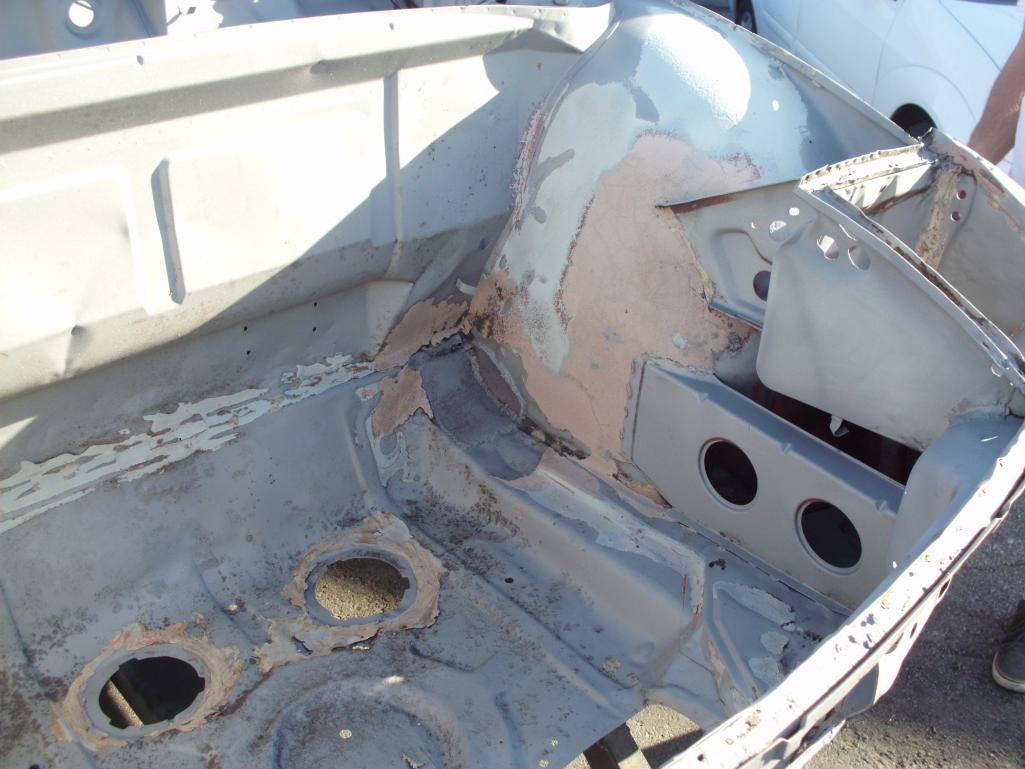
Posted by: johnhora Nov 25 2014, 01:22 PM
watching....this is great!
Posted by: doug_b_928 Nov 25 2014, 02:05 PM
The Donor car measured out great so I will use it to build a fixture for the 6.
Great thread! Is your 6's chassis bent? Based on what you've said above, I'm wondering if you're going to make fixtures for your bench based on the donor and then will be straightening the 6 chassis to fit those jigs..... If so, I'll be very interested in how you do this.
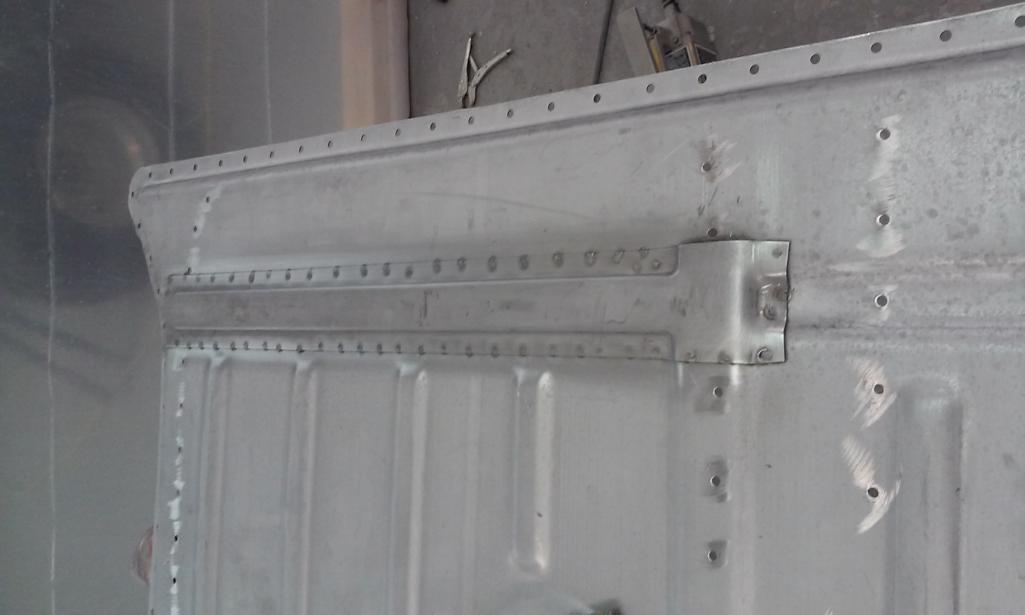
Posted by: 914350 Nov 28 2014, 10:29 PM
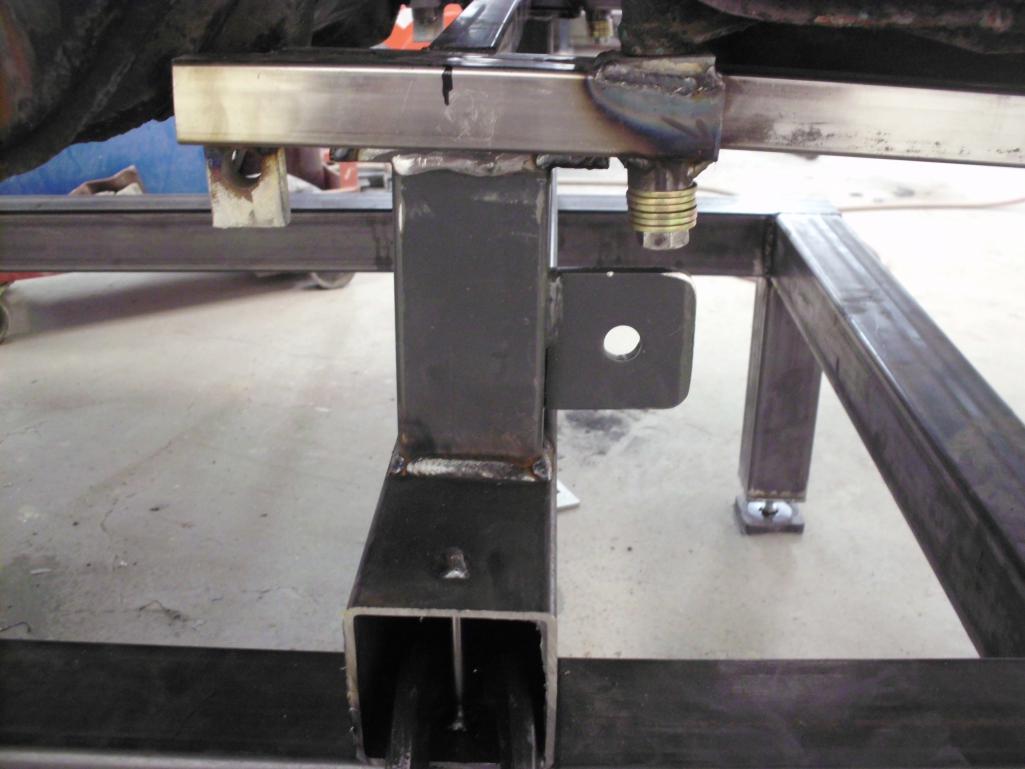
Progress on the fixture.
Attached thumbnail(s)
Posted by: 914350 Nov 28 2014, 10:32 PM
More pics.
Attached thumbnail(s)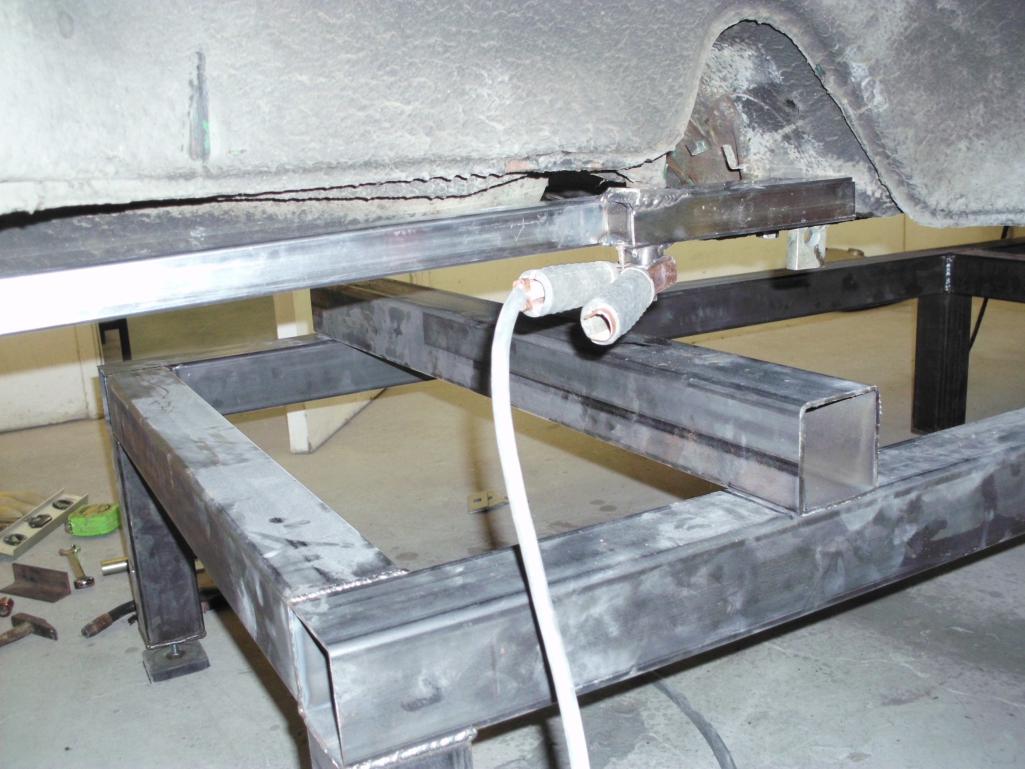
Posted by: 914350 Nov 28 2014, 10:36 PM
More pics.
Attached thumbnail(s)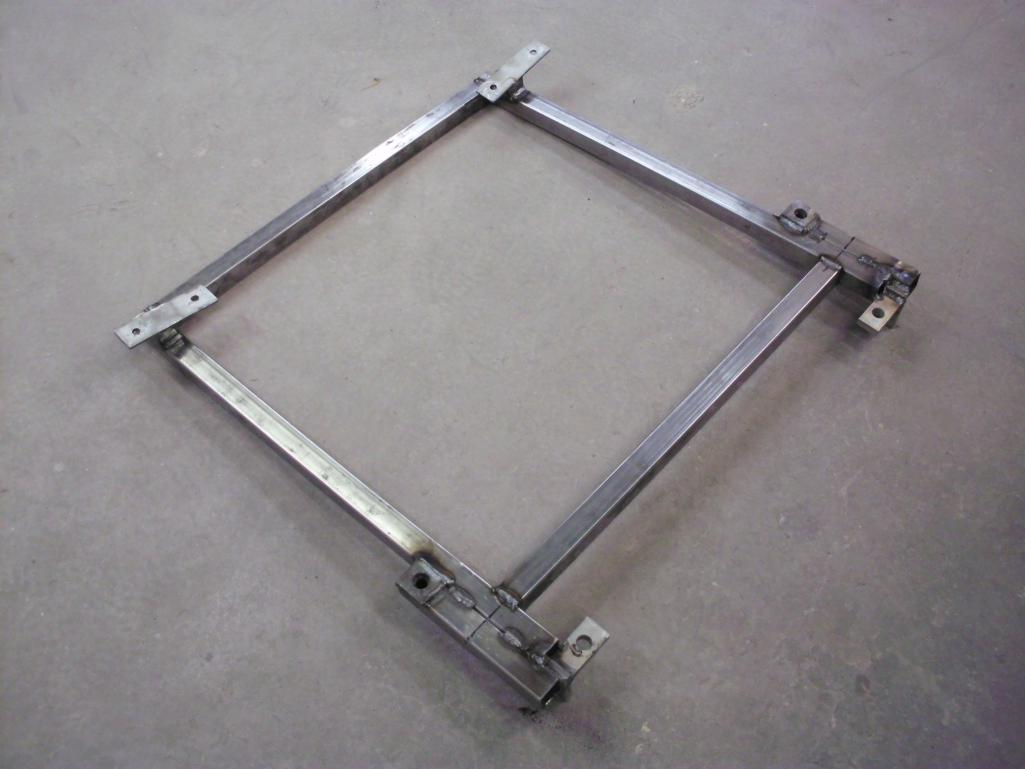
Posted by: 914350 Nov 28 2014, 10:46 PM
This fixture will be removable from the table so that it can be used on the front of the car once the car is on the rotisserie. Since I will be replacing the front tub, it will help get the torsion perches back in place.
Attached thumbnail(s)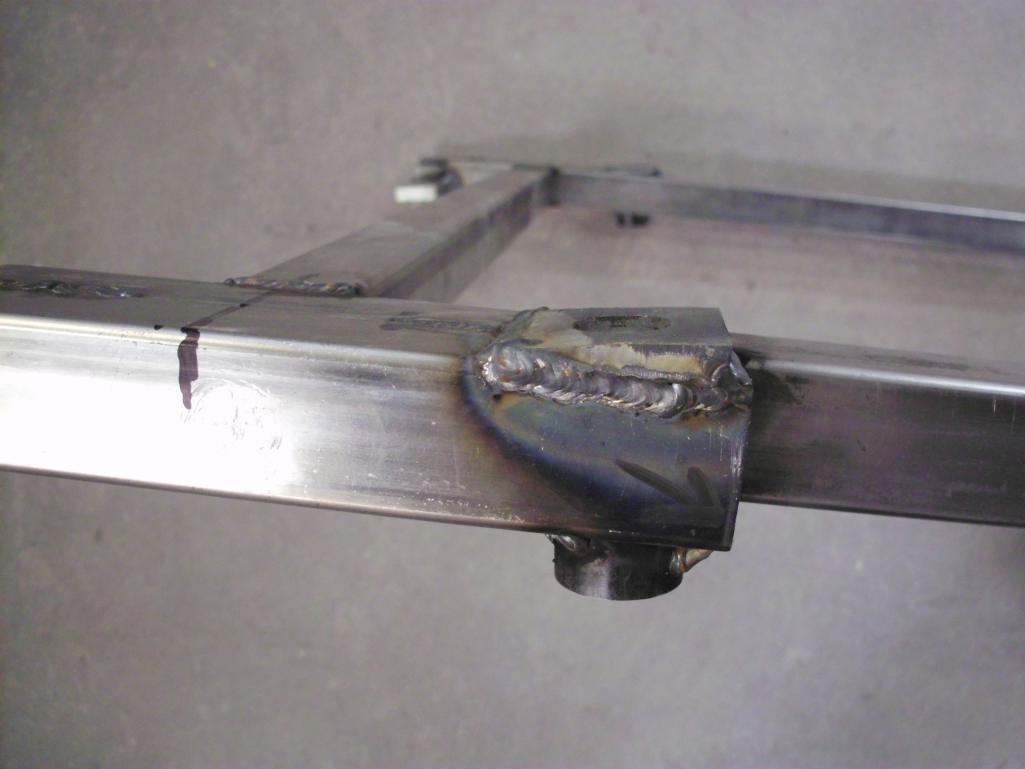
Posted by: 914350 Nov 28 2014, 10:57 PM
The Donor car measured out great so I will use it to build a fixture for the 6.
Great thread! Is your 6's chassis bent? Based on what you've said above, I'm wondering if you're going to make fixtures for your bench based on the donor and then will be straightening the 6 chassis to fit those jigs..... If so, I'll be very interested in how you do this.
Yes, the car was hit pretty hard in the past and not properly fixed. I will use the fixture to true the 6. I'll be removing a large portion of the fornt of the car and the long on the drivers side due to the long being bent.
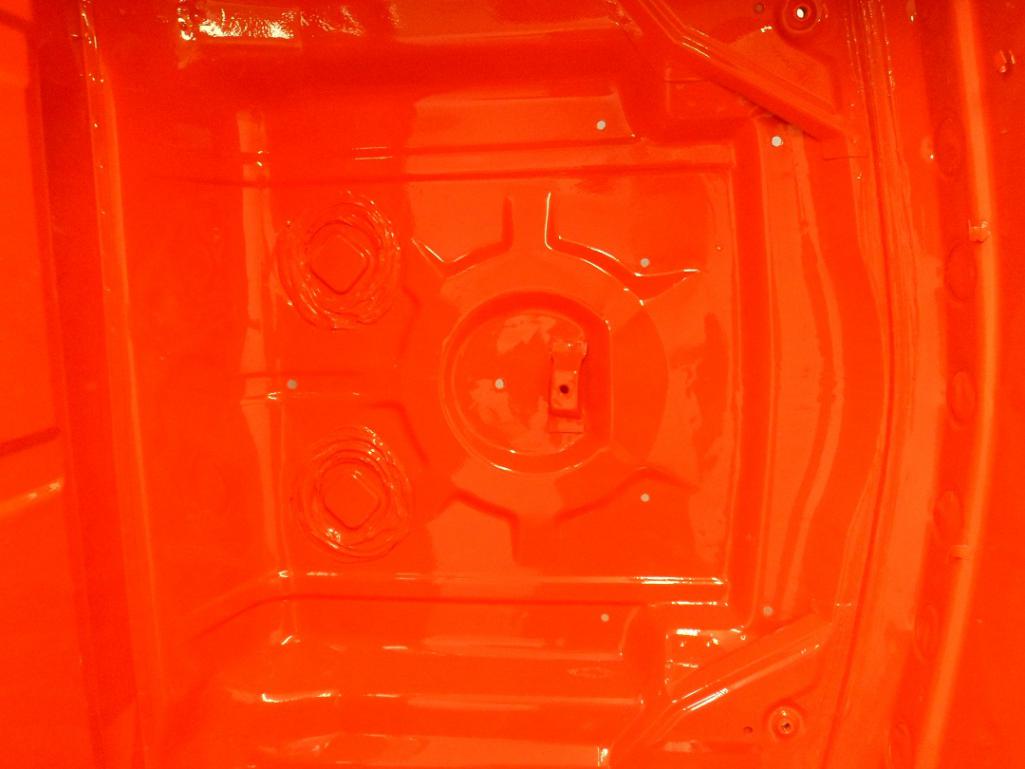
Posted by: 914350 Nov 30 2014, 08:04 AM
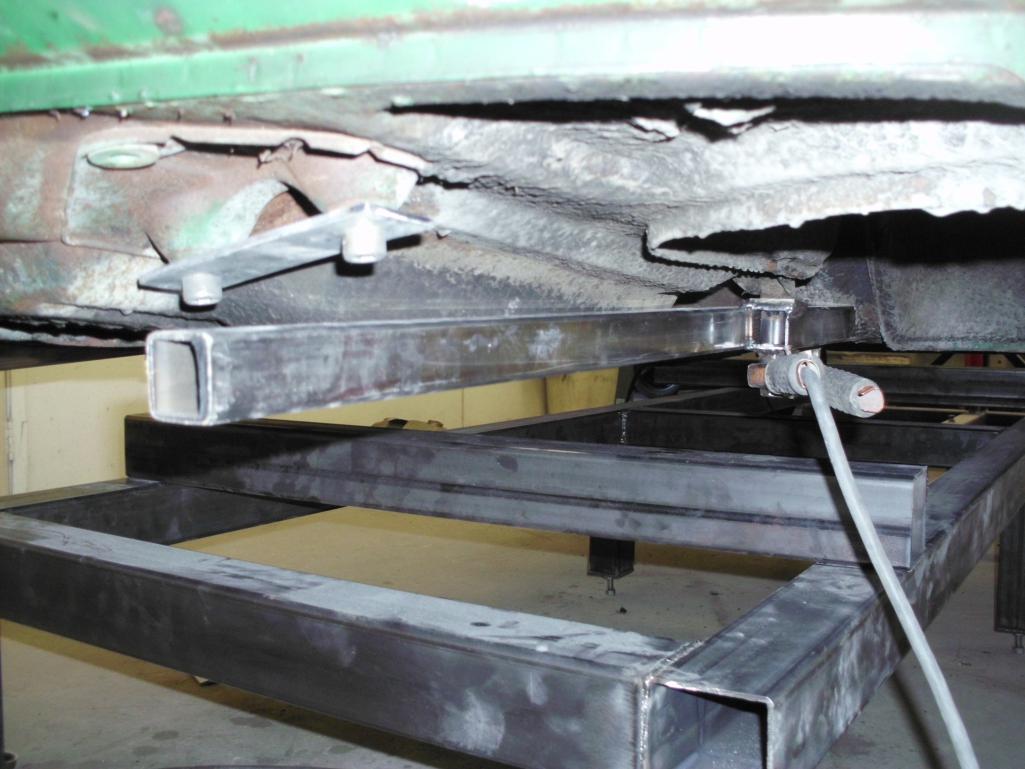
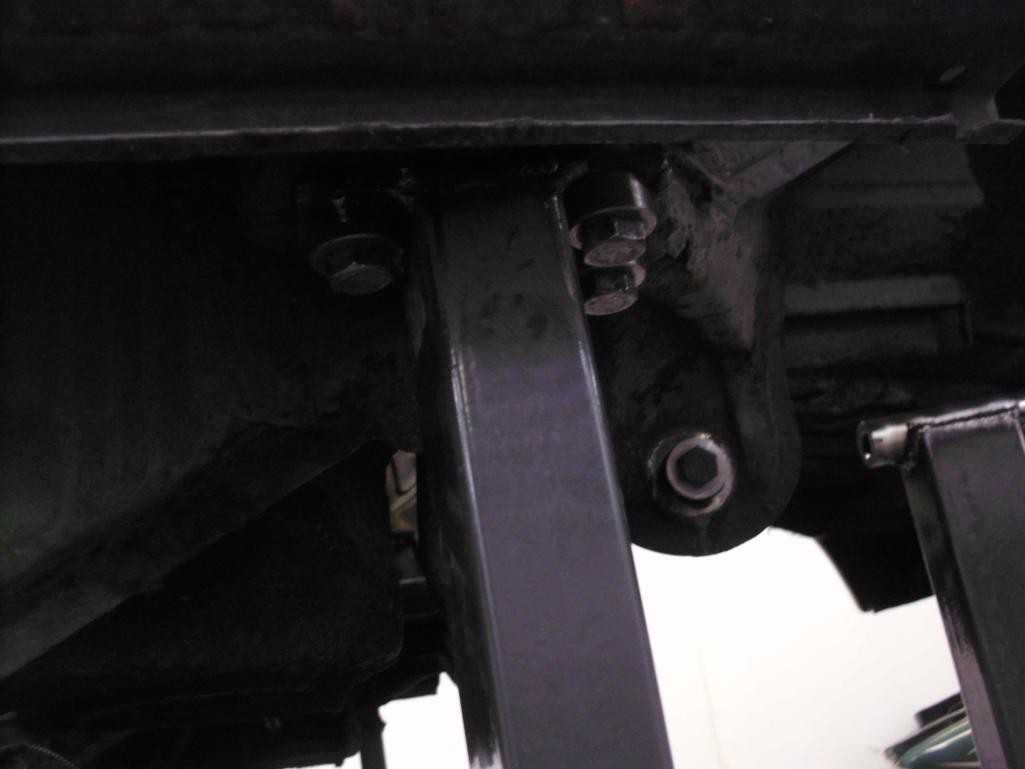
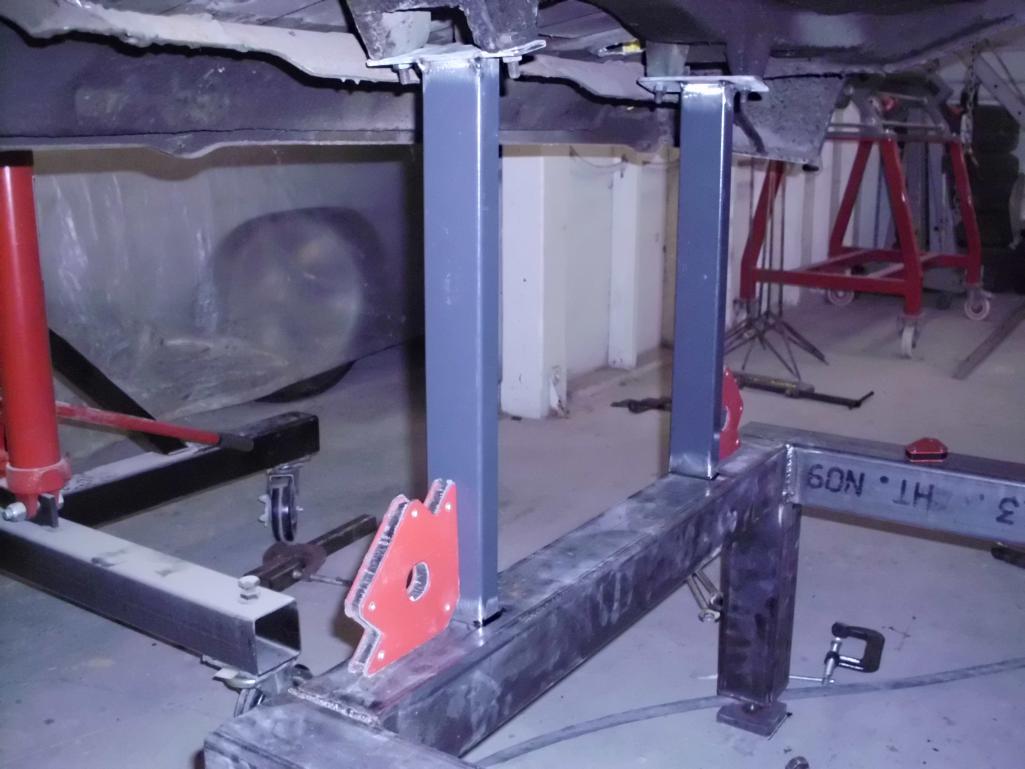
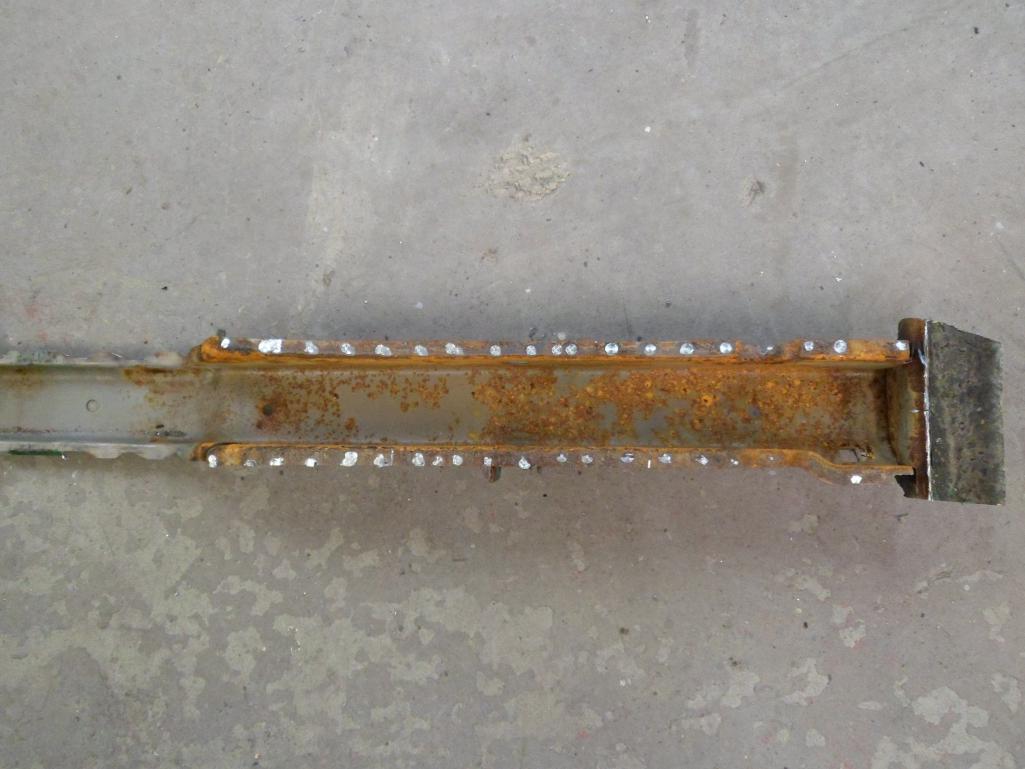
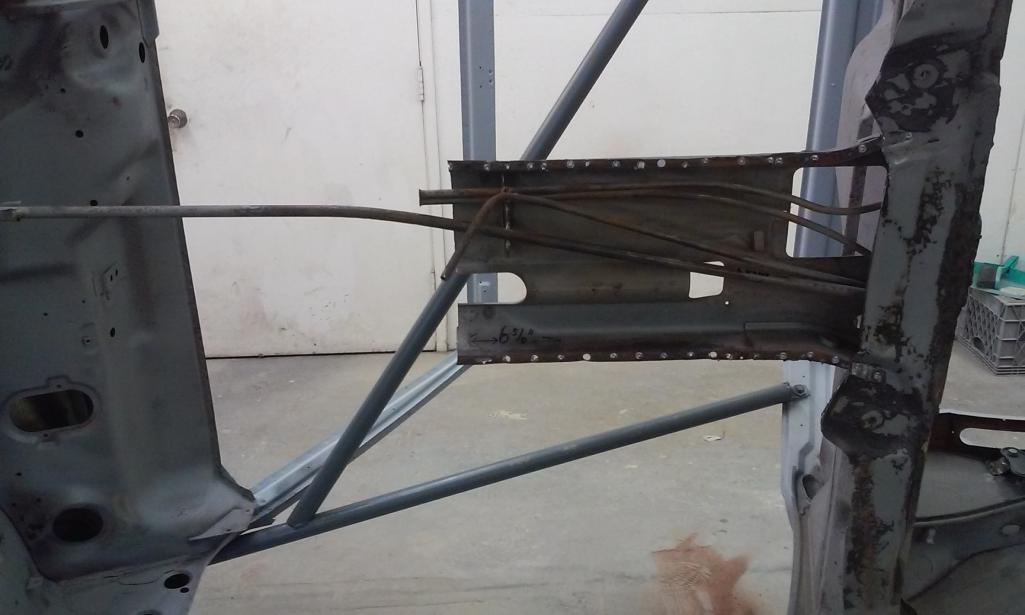
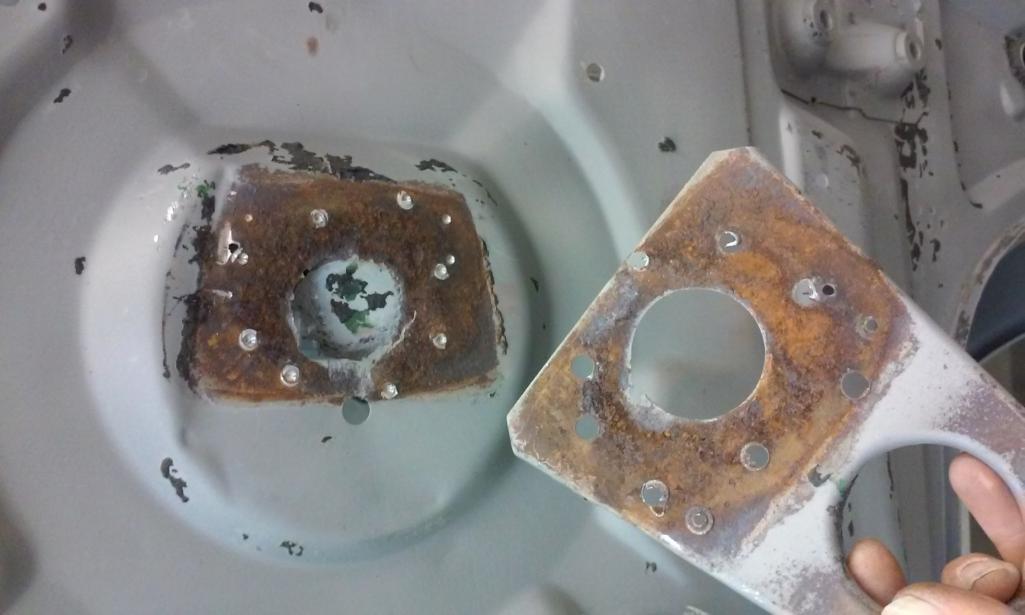
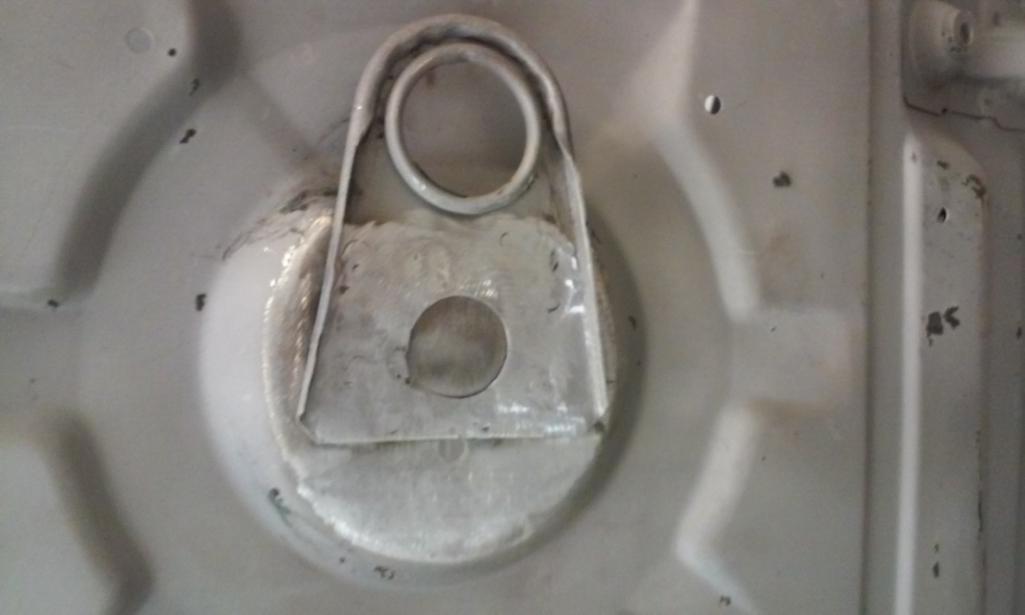
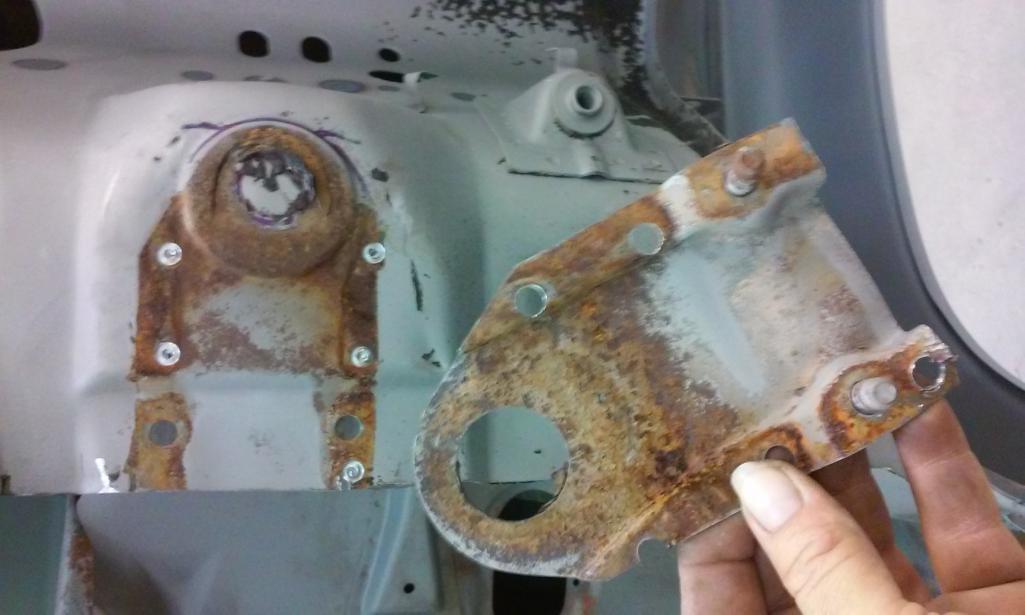
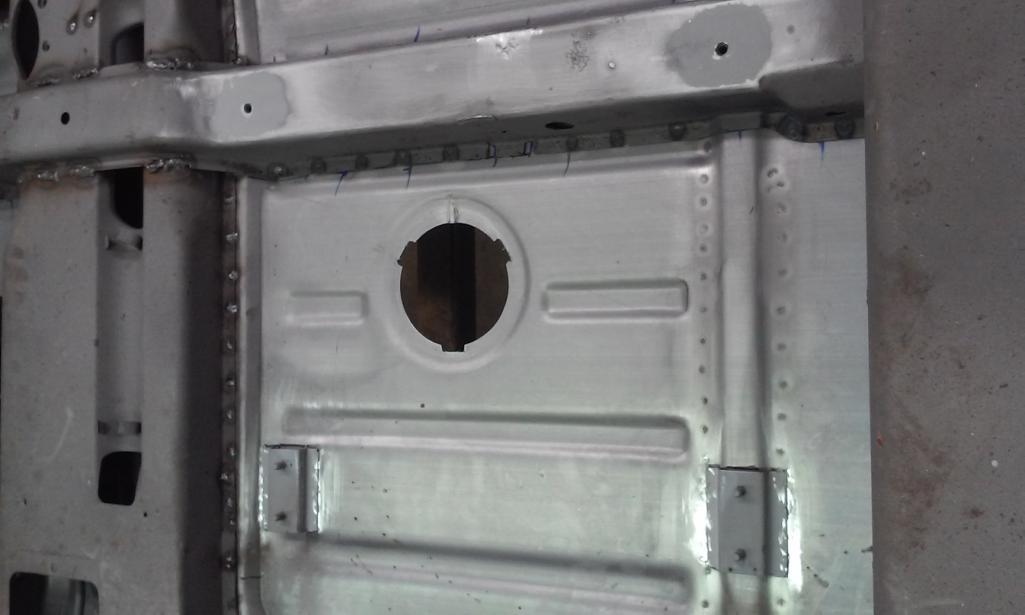
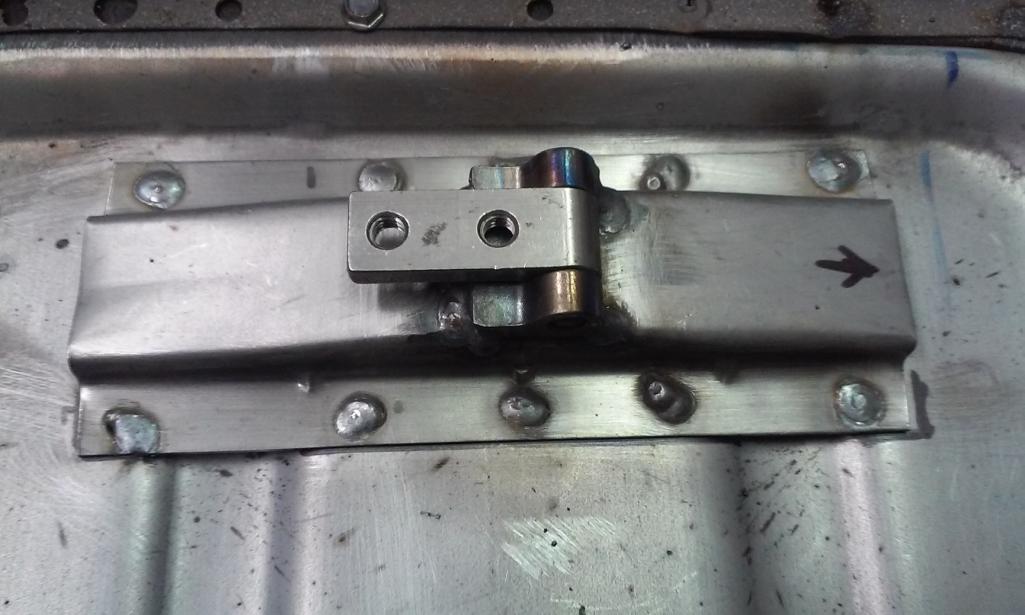
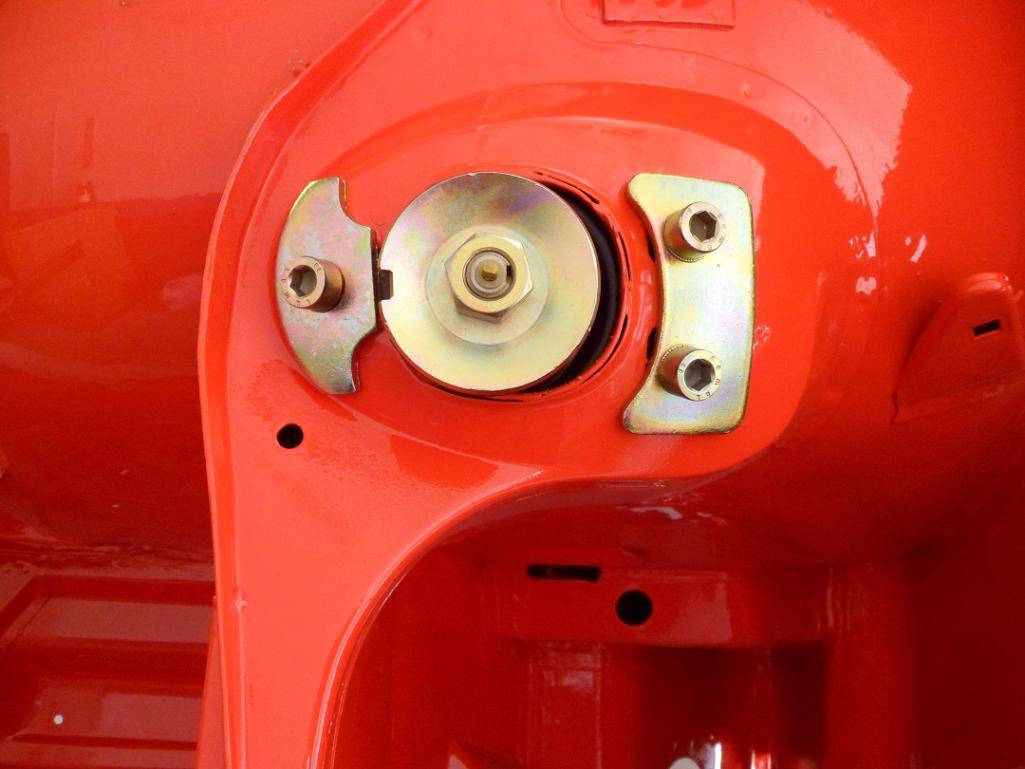
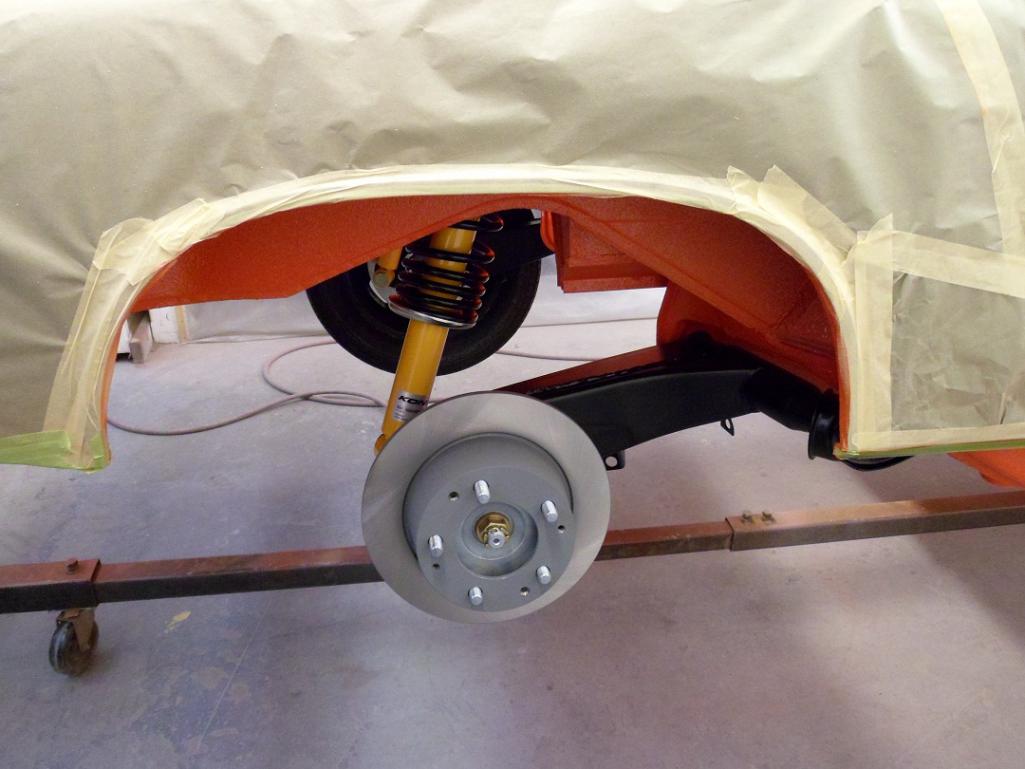
Rear mounting points.
Attached thumbnail(s)
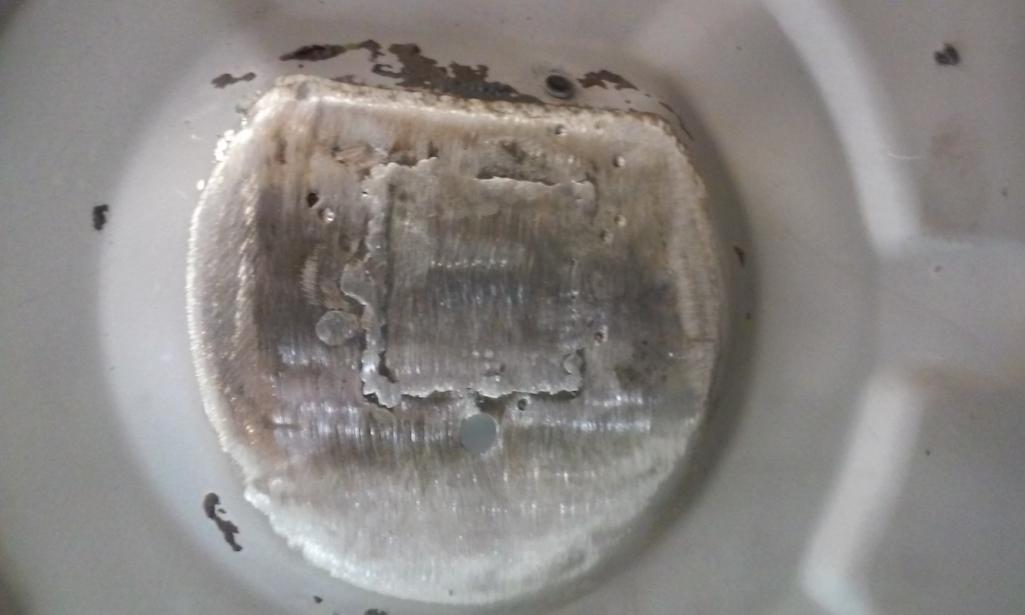
Posted by: 914350 Nov 30 2014, 08:06 AM
More pics.
Attached thumbnail(s)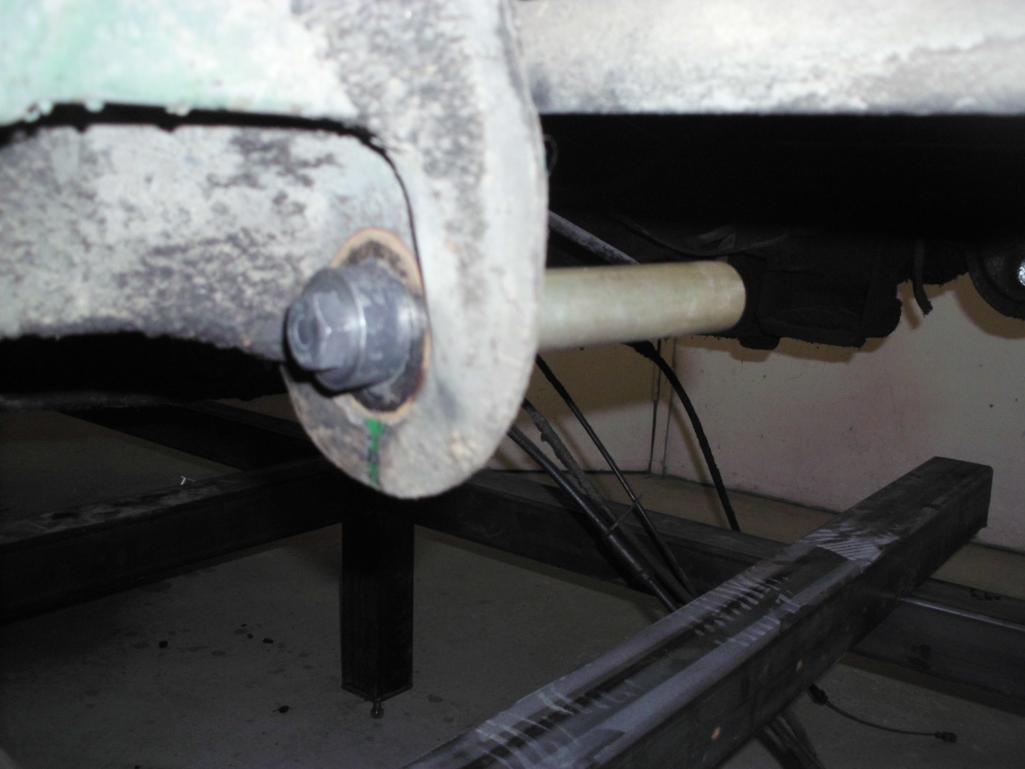
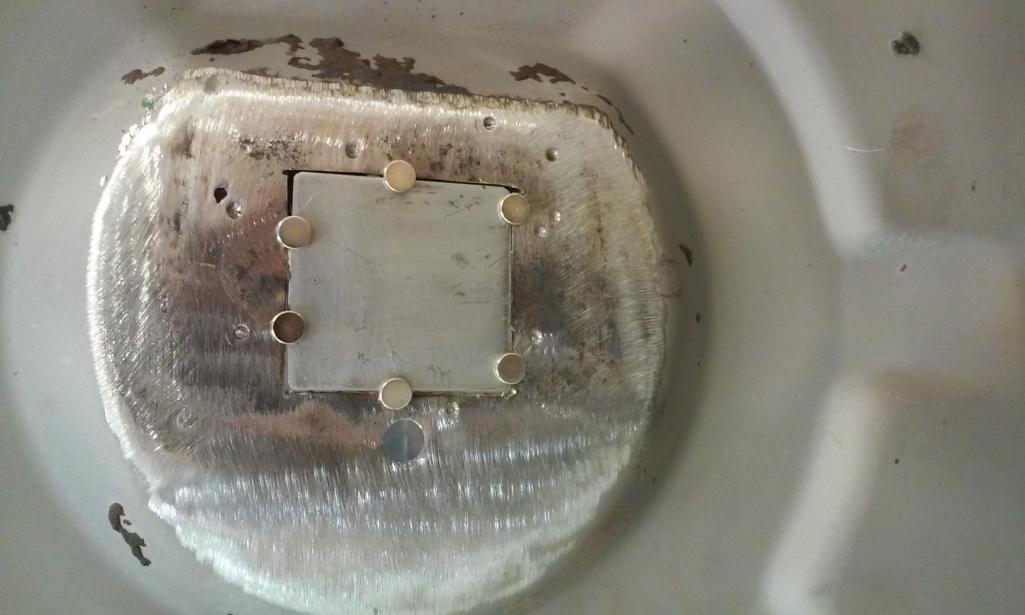
Posted by: 914350 Nov 30 2014, 08:12 AM
I intalled an alignment dowl to relocate the front of the fixture when removed.
Attached thumbnail(s)
Posted by: doug_b_928 Nov 30 2014, 08:33 AM
Very nice work!
Posted by: Socalandy Nov 30 2014, 02:21 PM
My Dad's Lathe hard at work  getting closer to taking the rear quarters and fenders off the donor car.
Attached image(s)
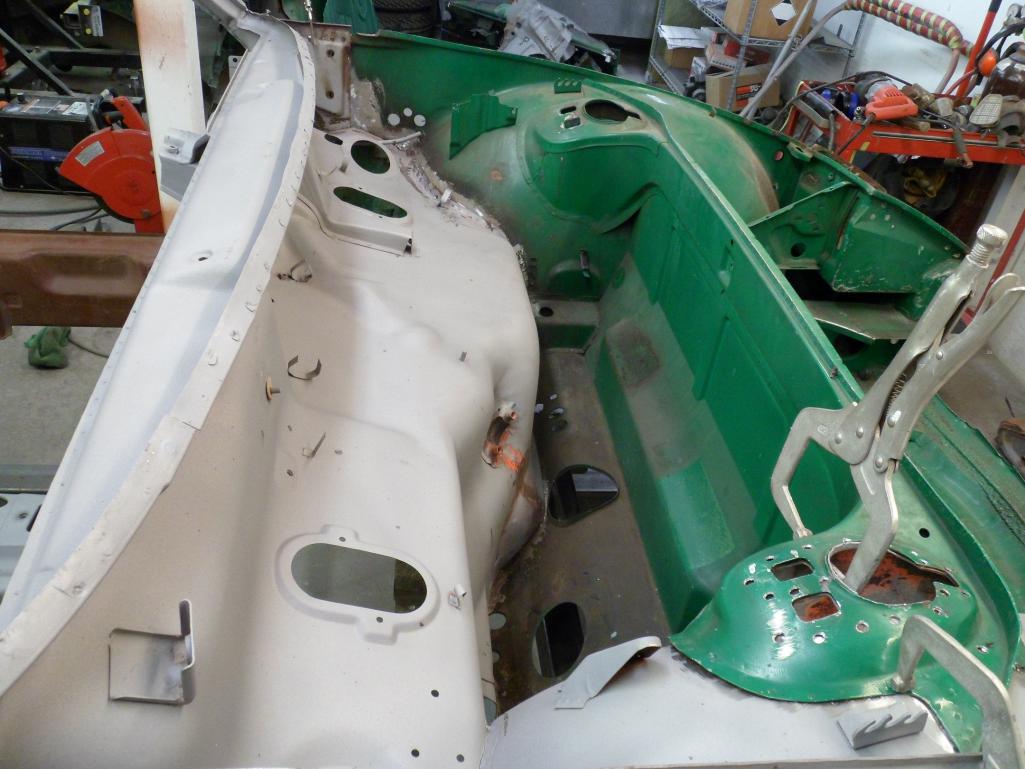
Posted by: 914350 Dec 1 2014, 09:52 AM
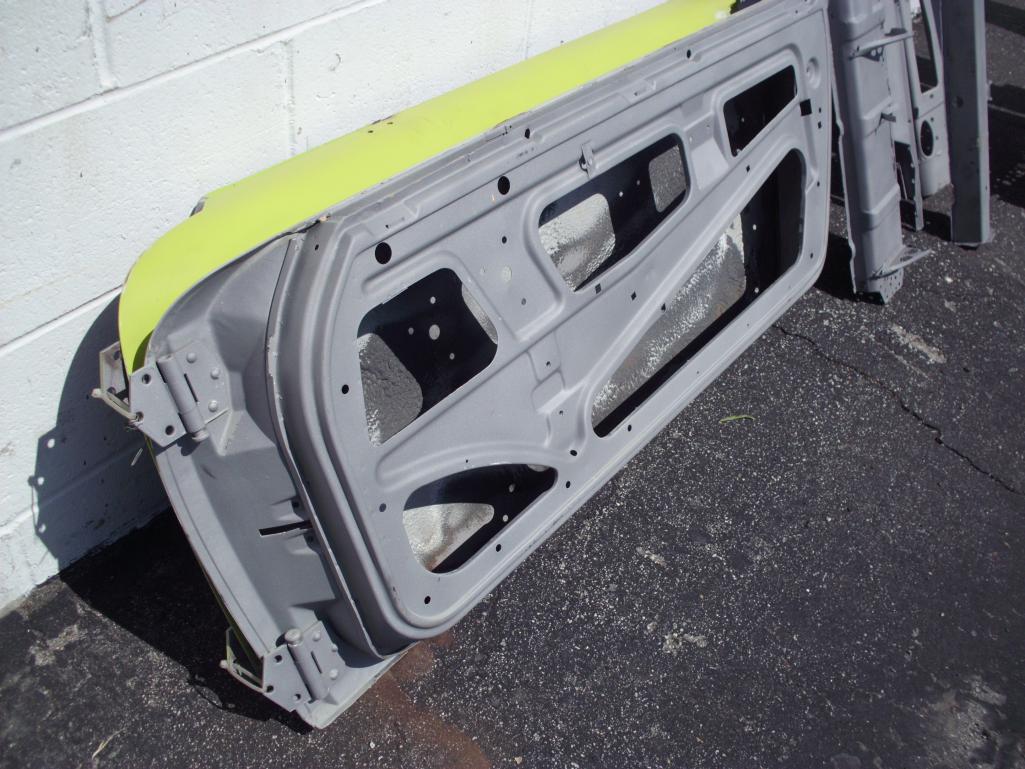
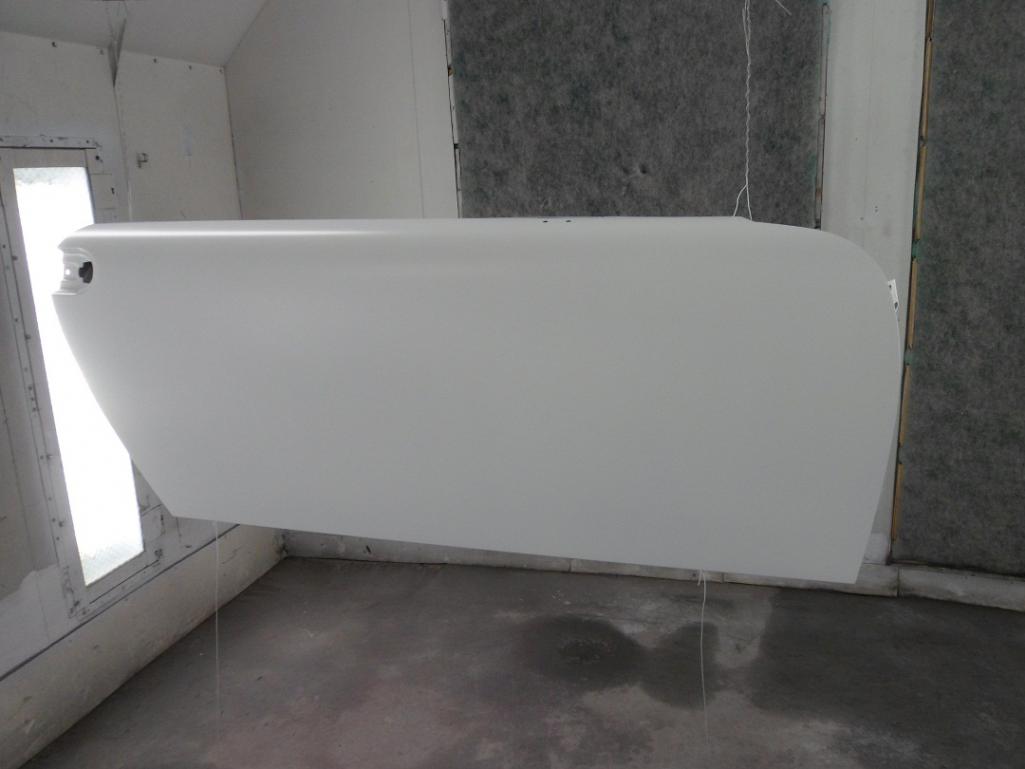
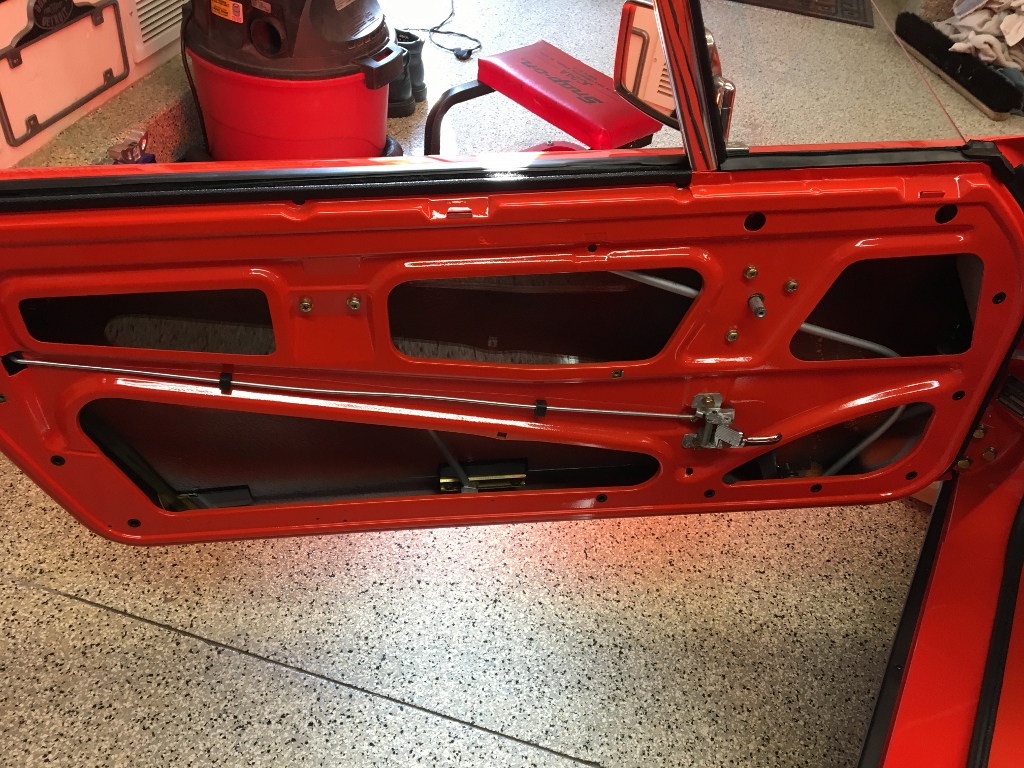
Jim brought by a realy nice set of doors for the car, a little rott from the seal in one but great over all.
Attached thumbnail(s)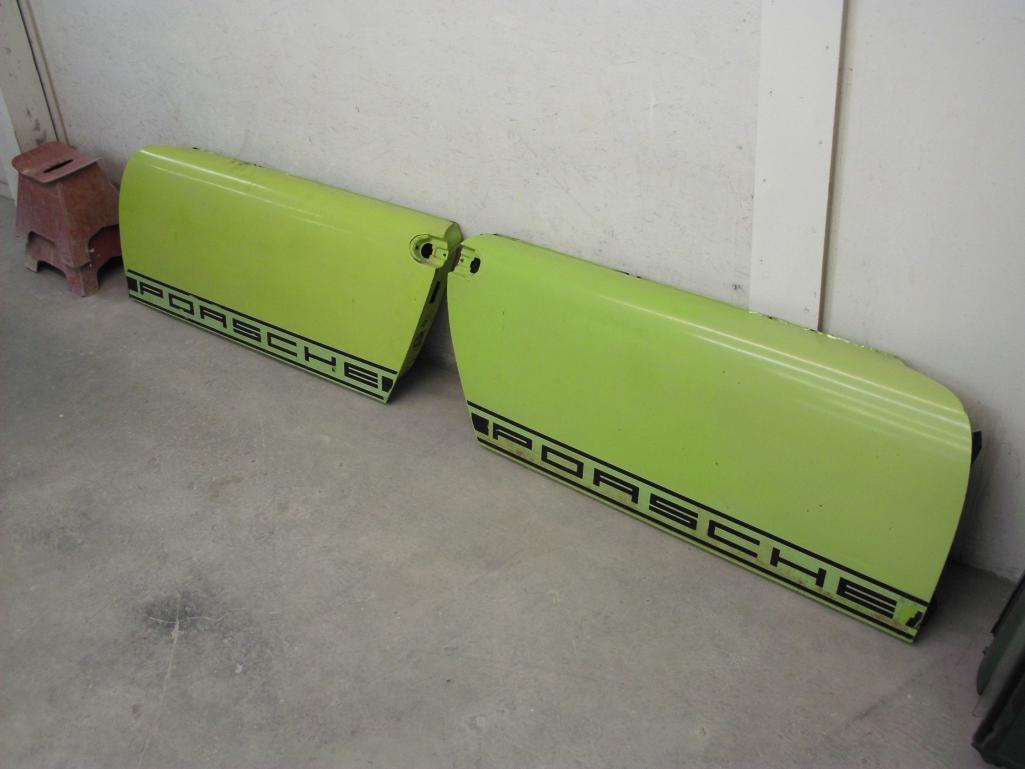
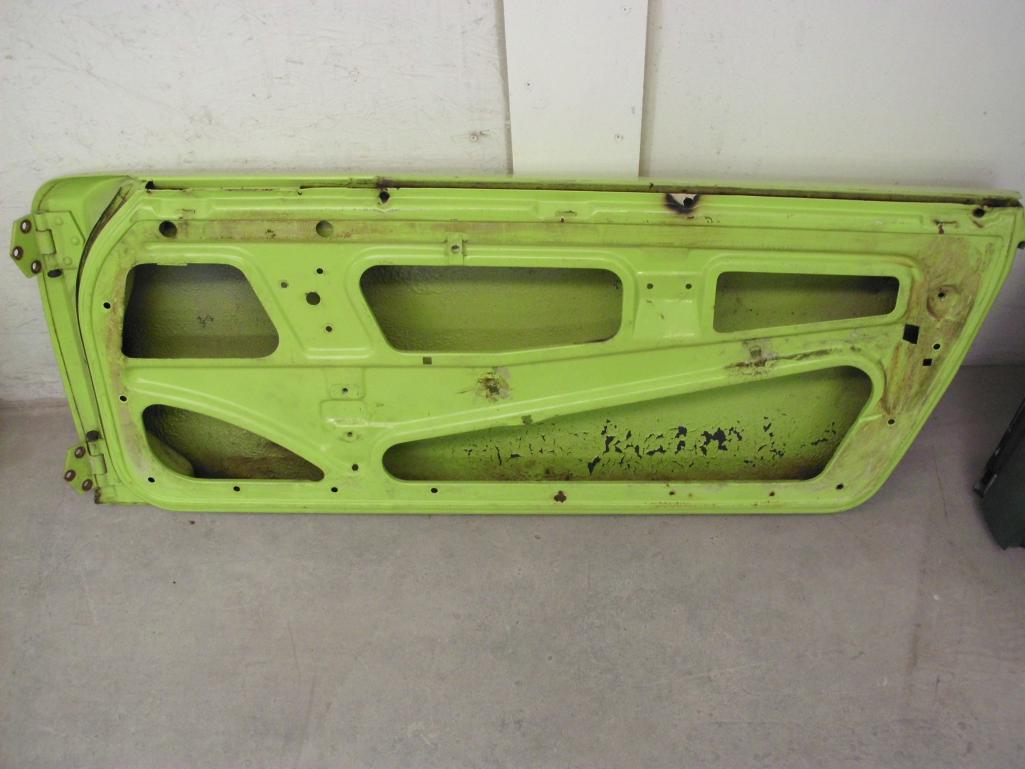
Posted by: 914350 Dec 1 2014, 09:53 AM
He got this set of early doors for $70.00...Wow! Great deal.
Attached thumbnail(s)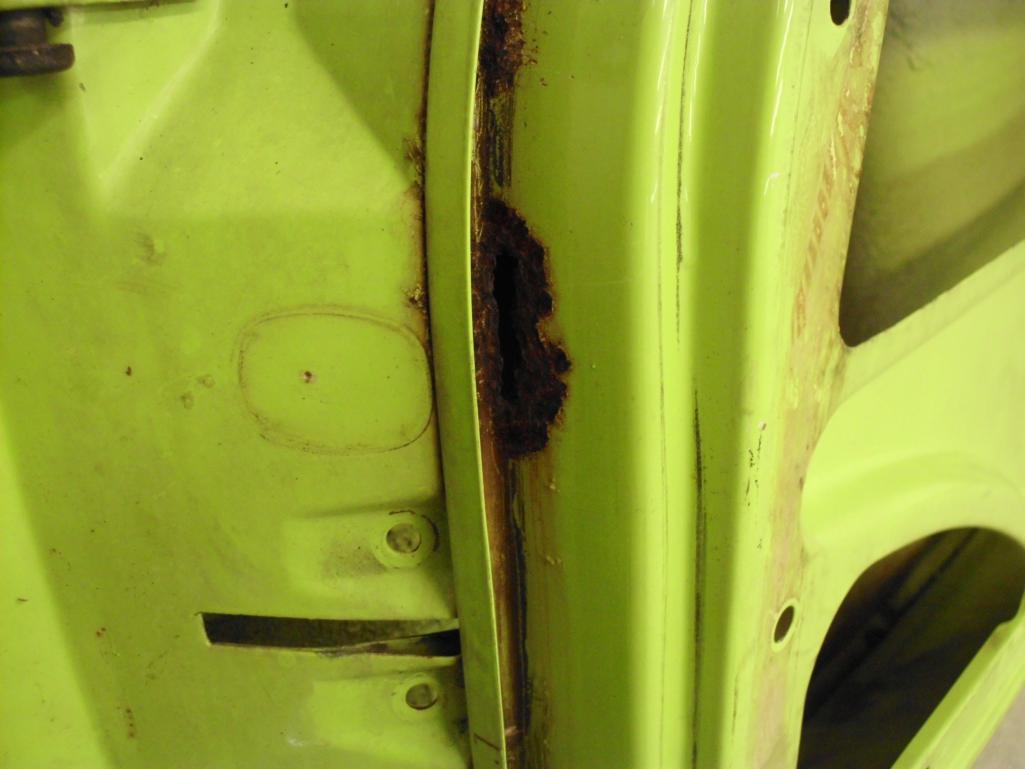
Posted by: 914350 Dec 7 2014, 05:37 PM
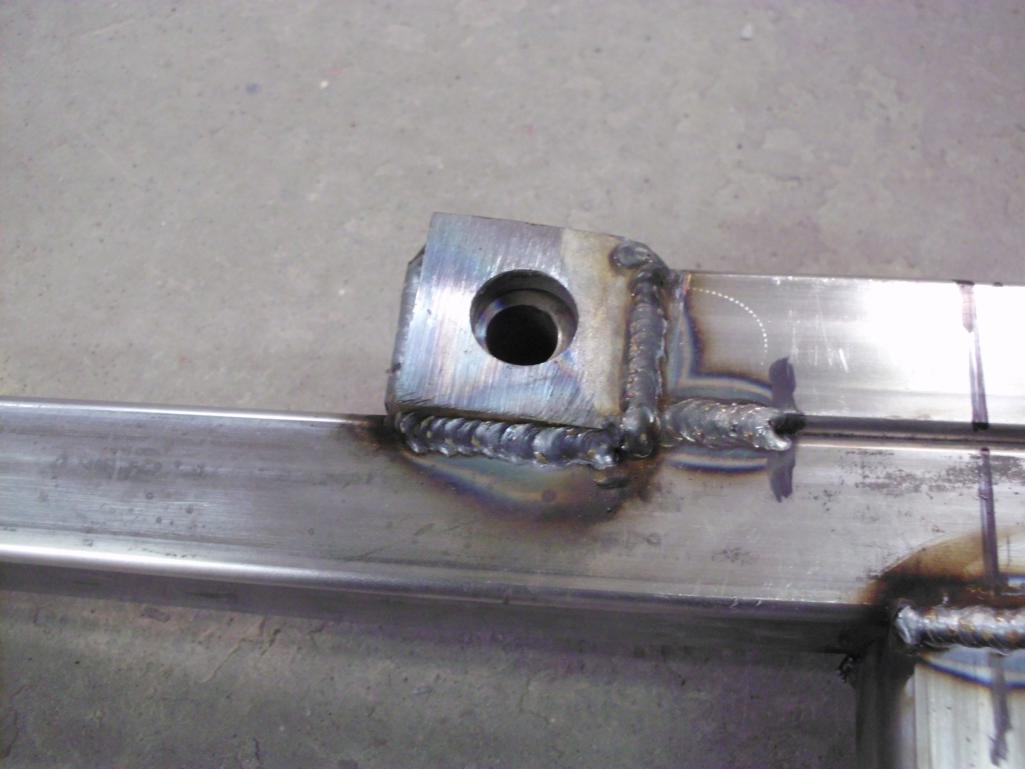
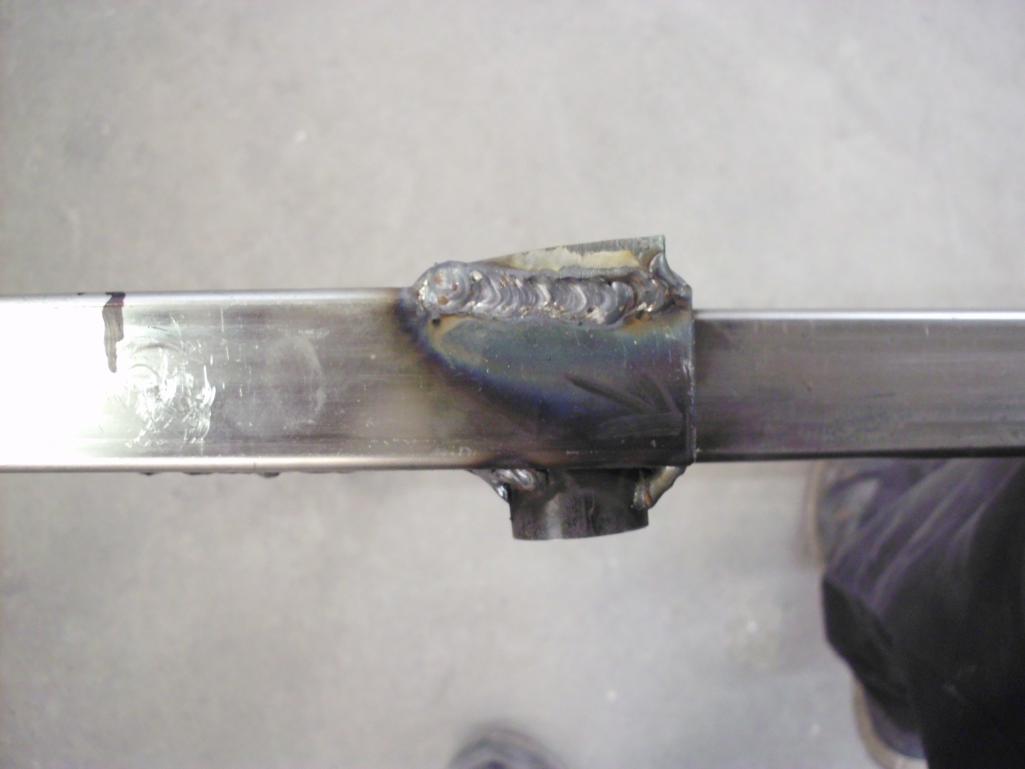
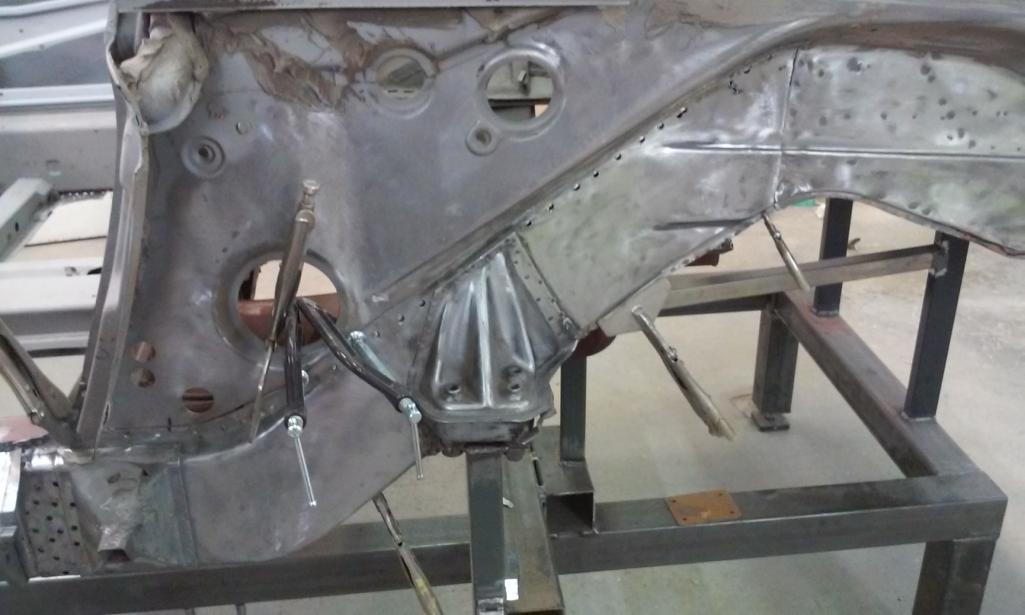
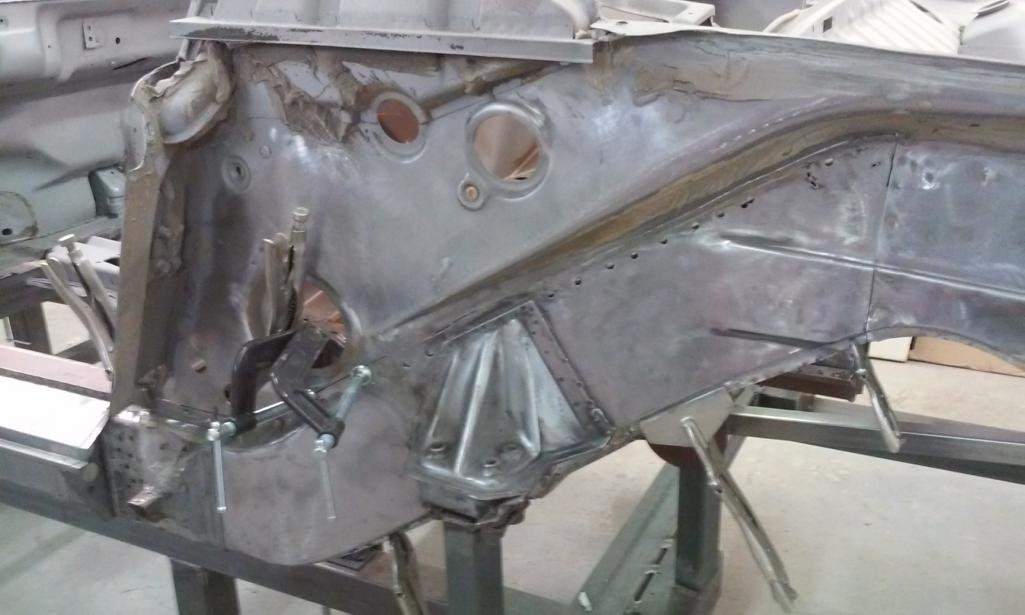
I got some more done on the fixture today. the fronts pretty much done and the rear is started. The front mounts at the four seporate rack mount points and centers on the OD of the mount points as the rack/suspension mount does and picks up the front torsion perches for properly locating them. I added brackets so I can do a soft pull if needed from the fixture to get the damaged car back into place. This would be done only after much of the metal is removed and taking care not to put any stress on the fixture. It looks like the 6 will need to be moved a bit in front.
Attached thumbnail(s)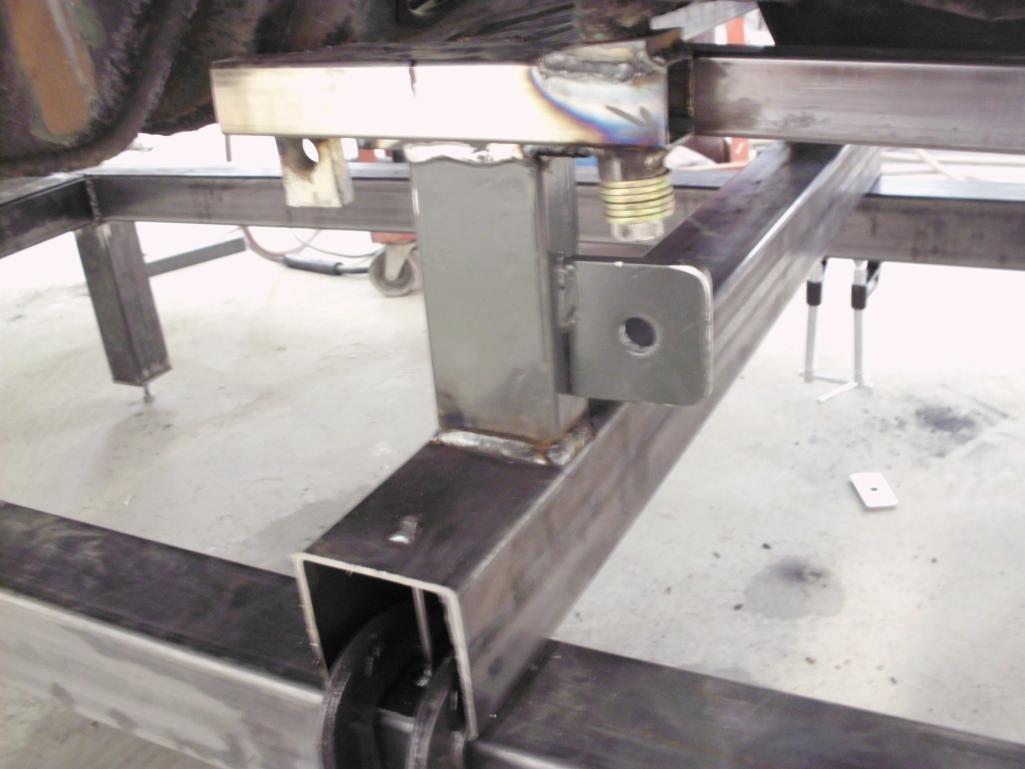
Posted by: 914350 Dec 7 2014, 05:49 PM
The rear of the fixture is almost done and I hope to have the 6 mounted on it by the end of the next weekend. Can't wait to cut into the 6.
Attached thumbnail(s)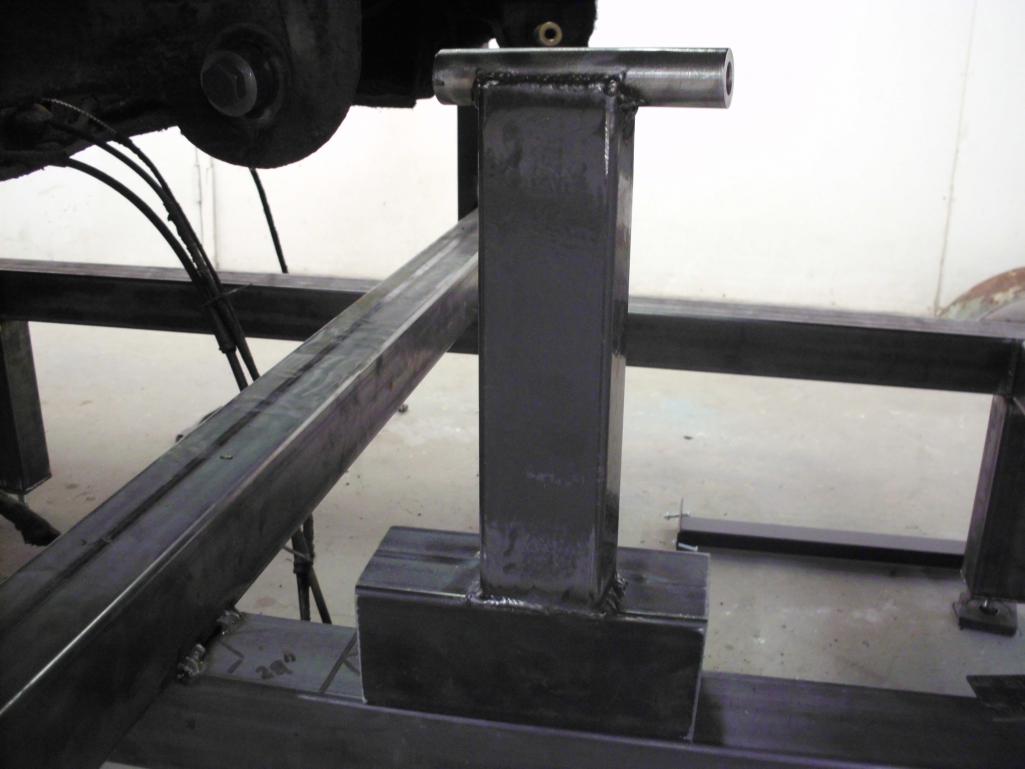
Posted by: 914350 Dec 7 2014, 05:51 PM
More pics.
Attached thumbnail(s)
Posted by: 914350 Dec 7 2014, 05:53 PM
More pics.
Attached thumbnail(s)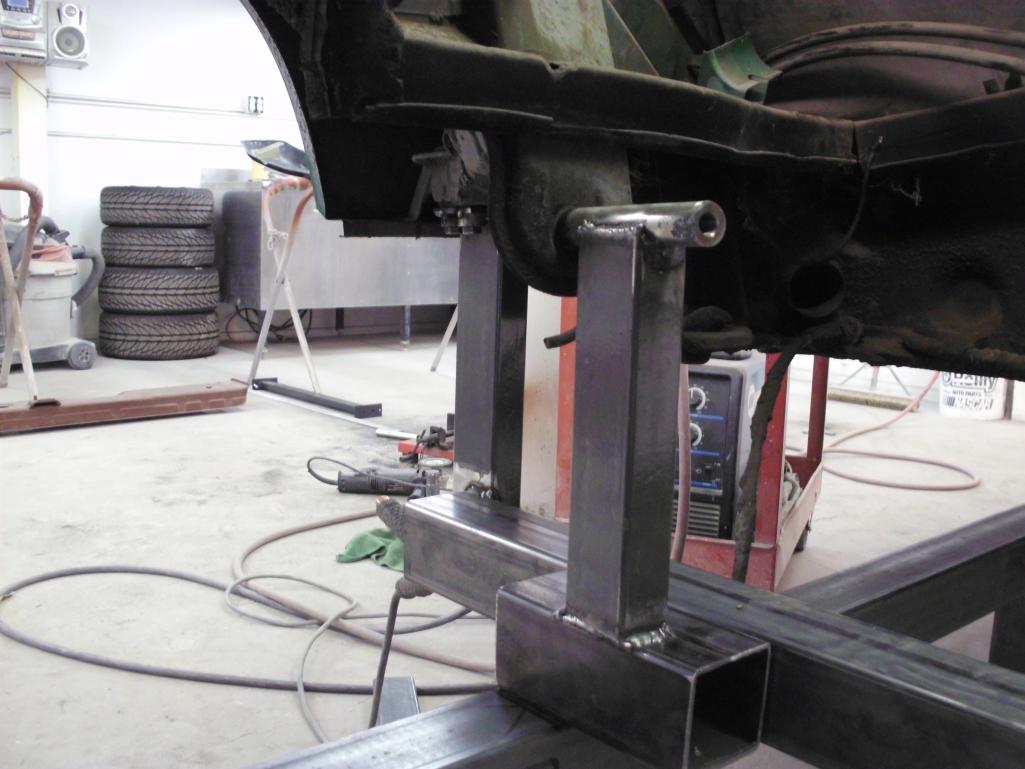

Posted by: banananose914 Dec 7 2014, 11:07 PM
Bad, bad ass!
Posted by: 914350 Dec 14 2014, 12:30 AM
Finished the fixture today and started cutting apart the Donor Car.
Attached thumbnail(s)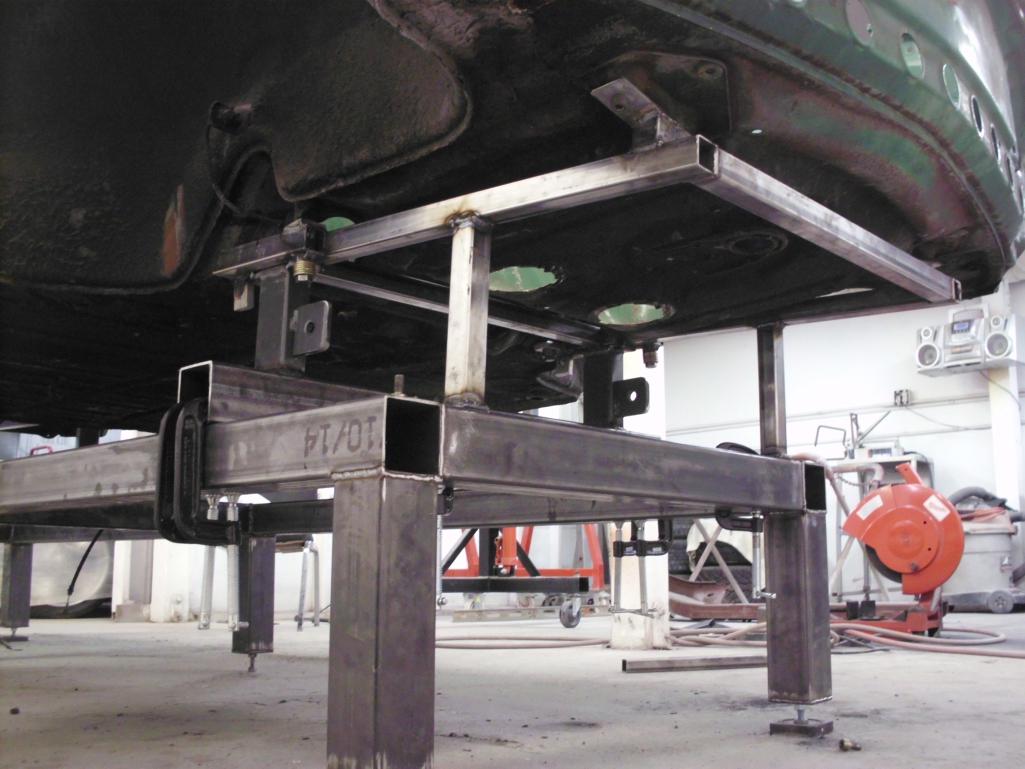
Posted by: 914350 Dec 14 2014, 12:33 AM
More pics.
Attached thumbnail(s)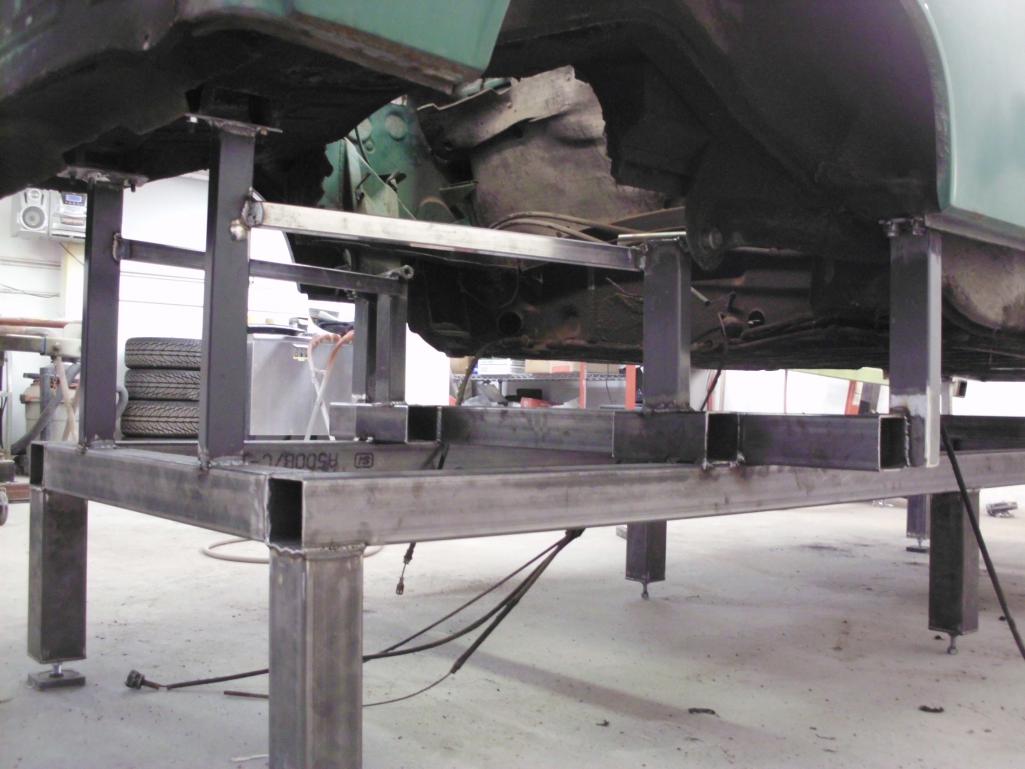
Posted by: 914350 Dec 14 2014, 12:37 AM
More Pics.
Attached thumbnail(s)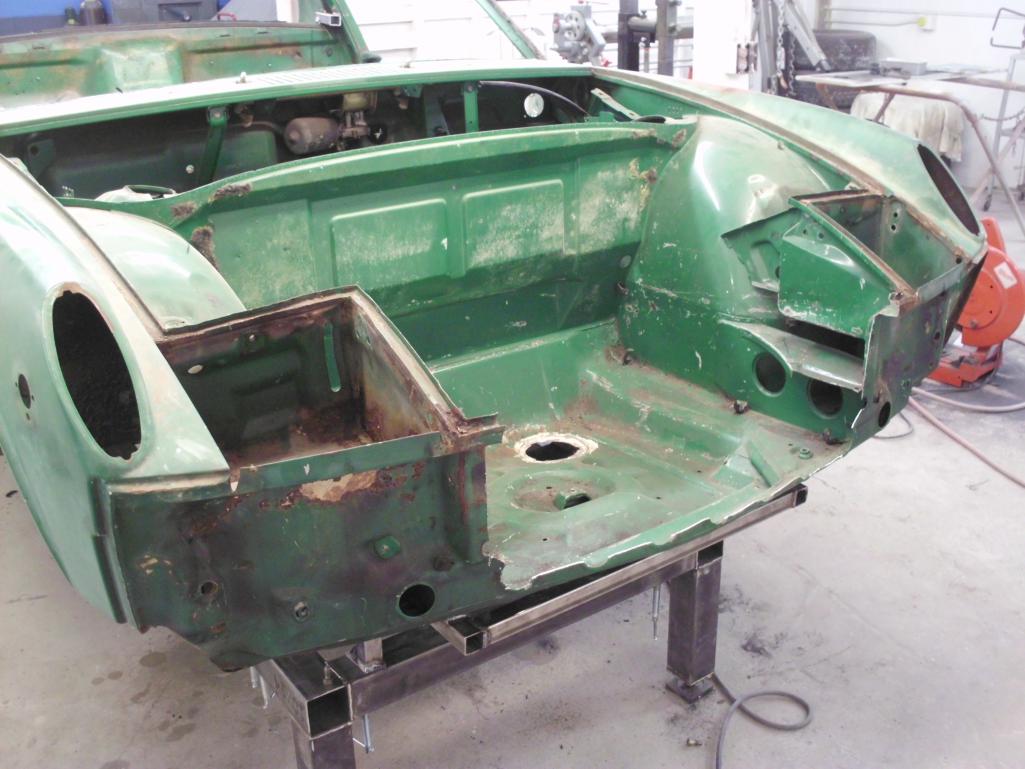
Posted by: 914350 Dec 14 2014, 12:39 AM
More pics.
Attached thumbnail(s)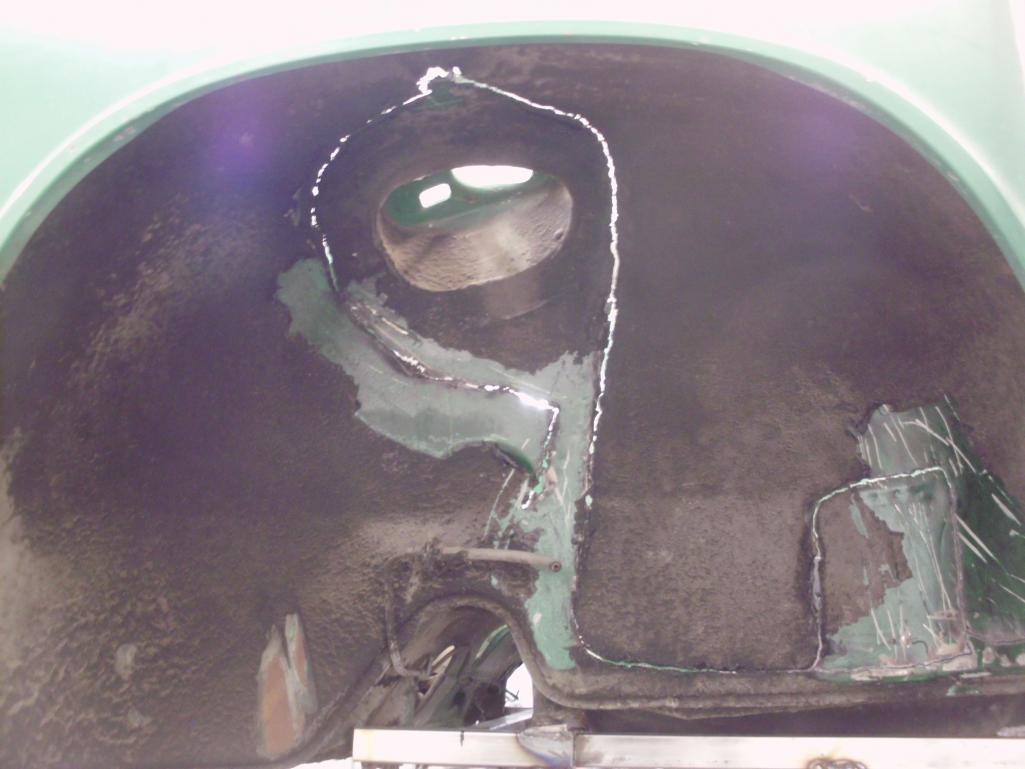
Posted by: 914350 Dec 14 2014, 12:40 AM
More pics.
Attached thumbnail(s)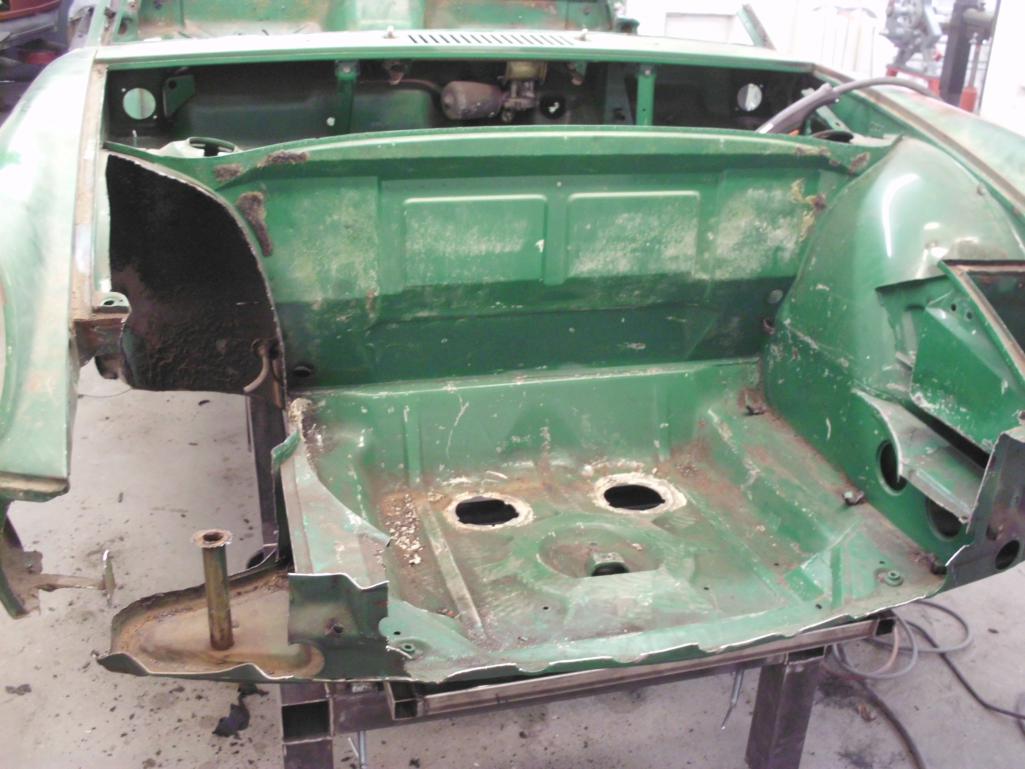
Posted by: Socalandy Dec 14 2014, 01:22 AM
Sweet, Amazing work as usual
Posted by: rick 918-S Dec 14 2014, 09:36 AM
Nice jig! That is going to work nicely.
Posted by: 914350 Dec 22 2014, 10:14 PM
Nice jig! That is going to work nicely.
Thanks Rick. Congrats on making COTM...beautiful car.
Posted by: 914350 Dec 22 2014, 10:18 PM
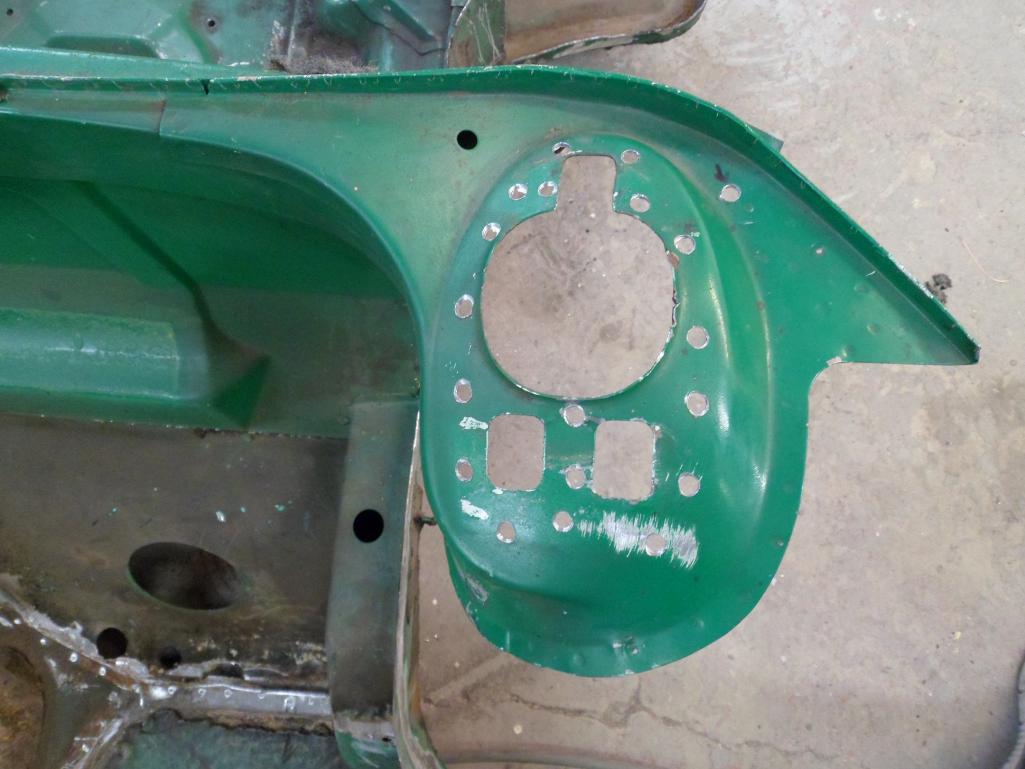
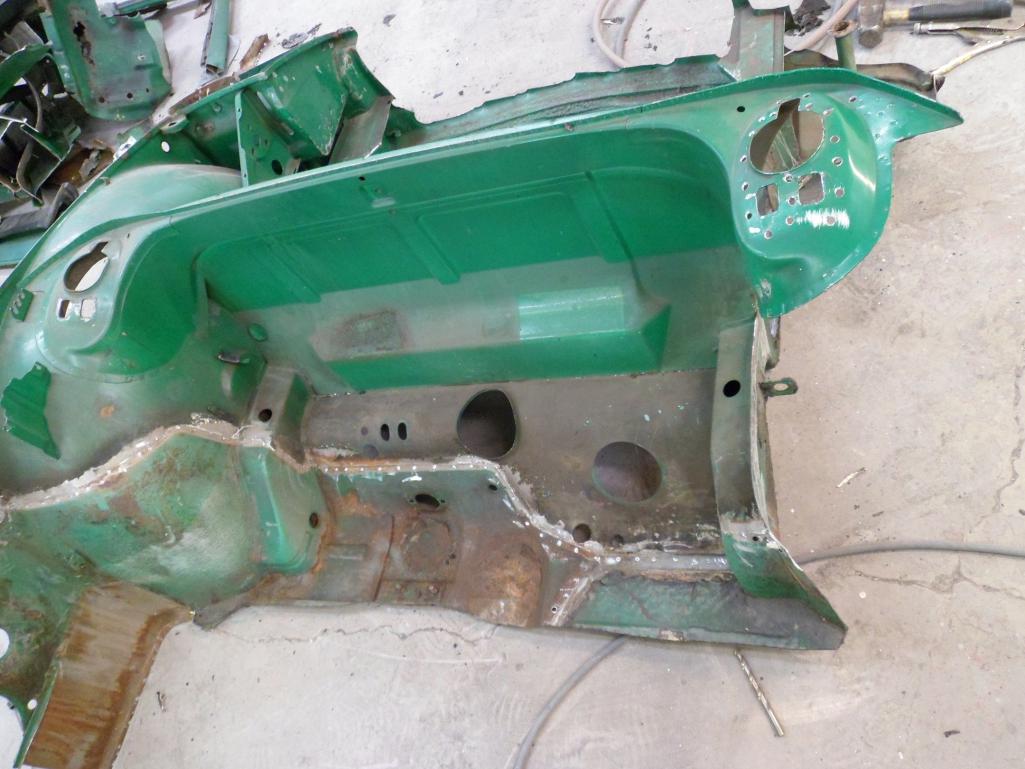
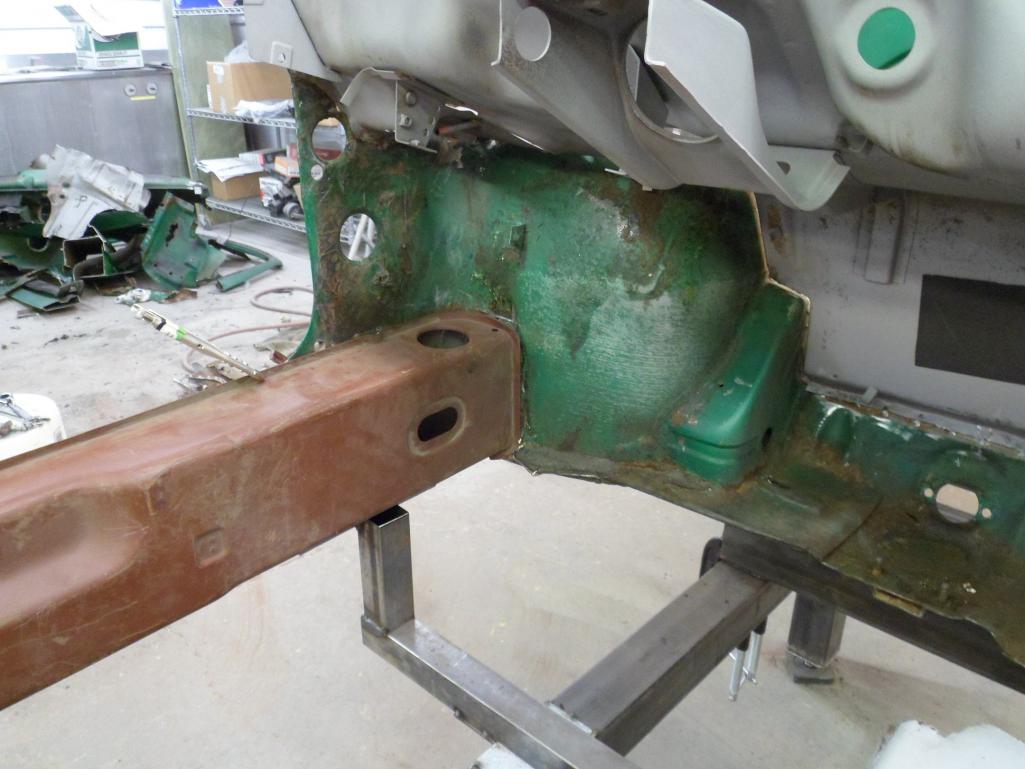
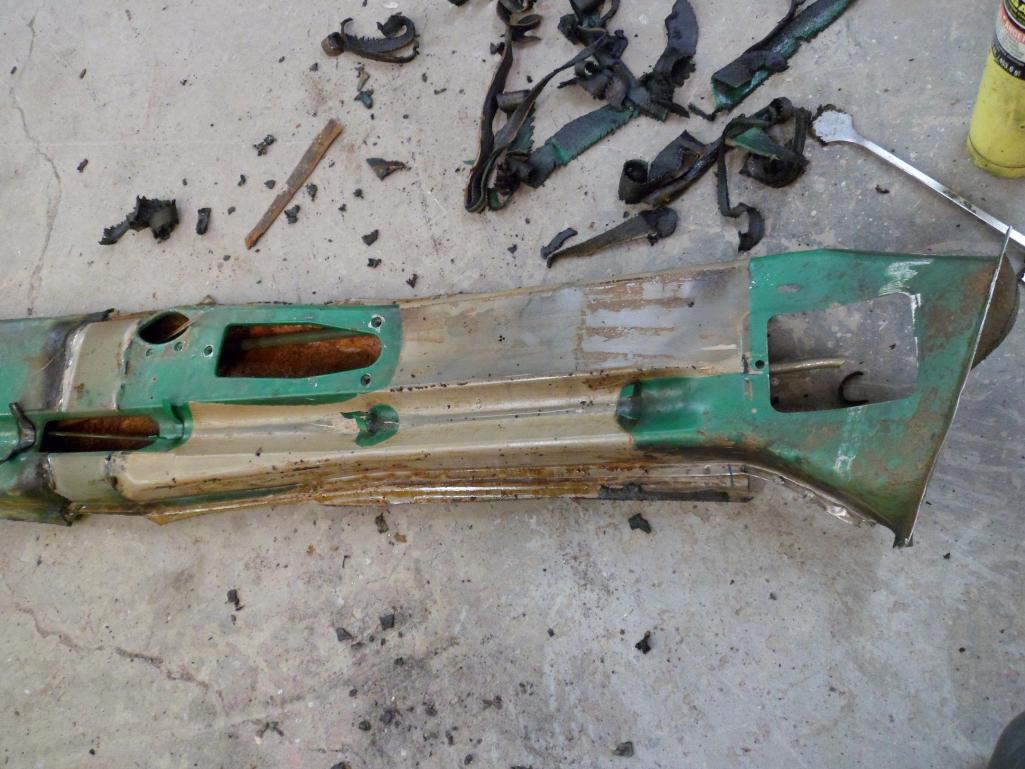
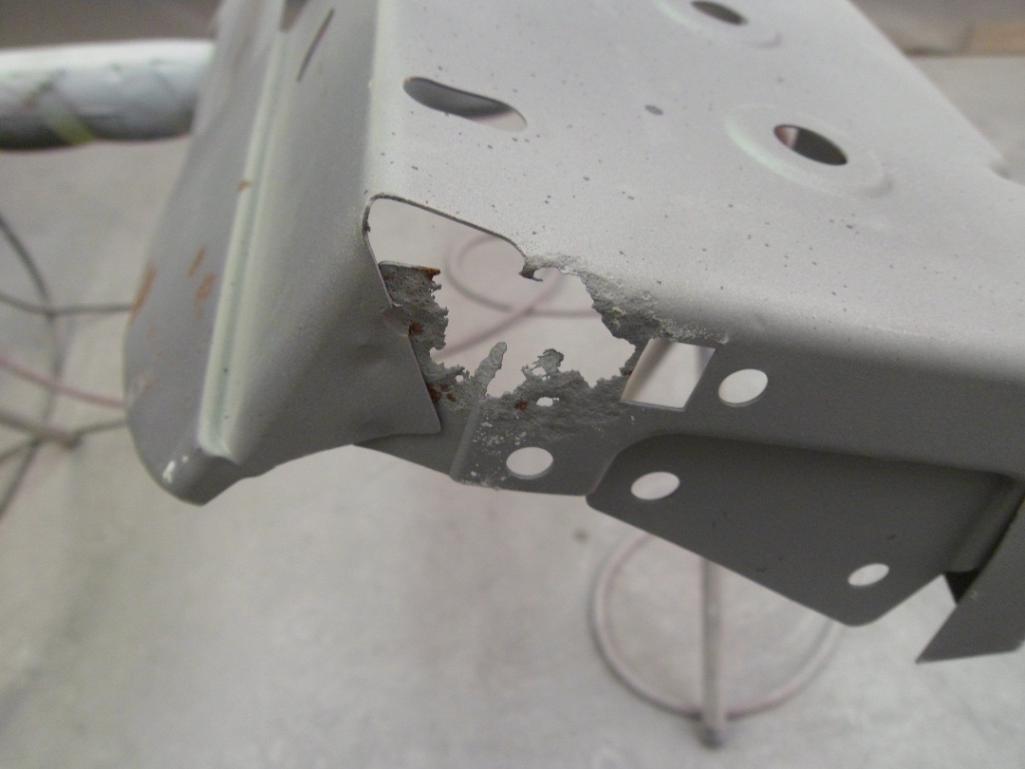
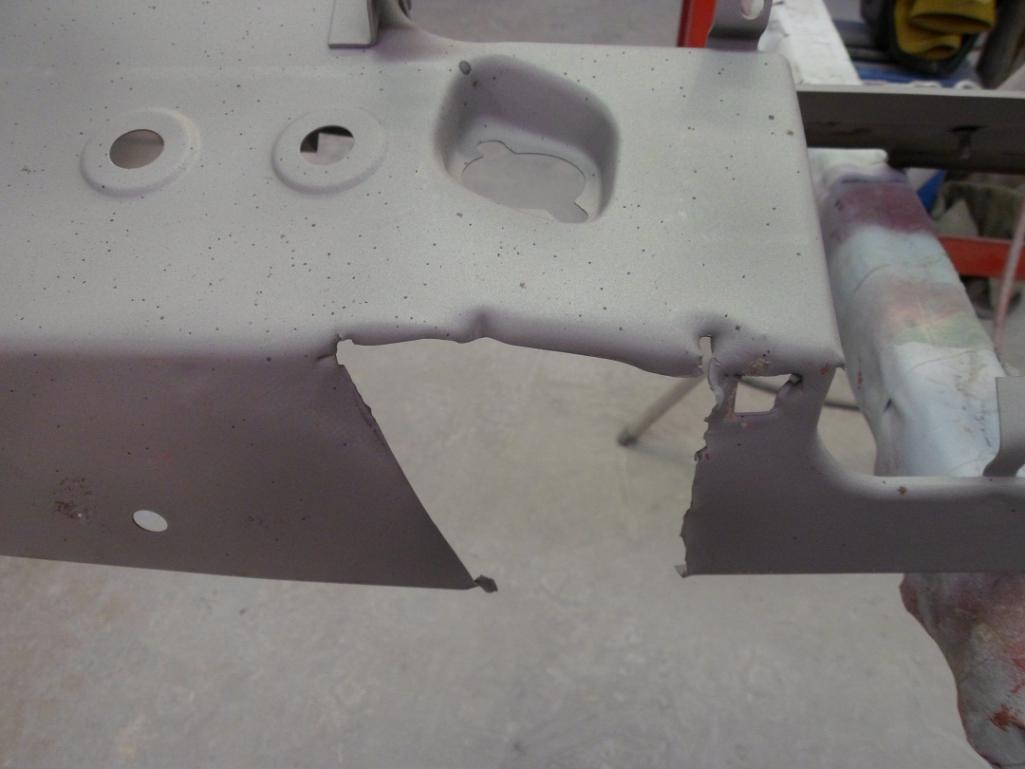
More cutting, drilling, scraping on the donor car.
Attached thumbnail(s)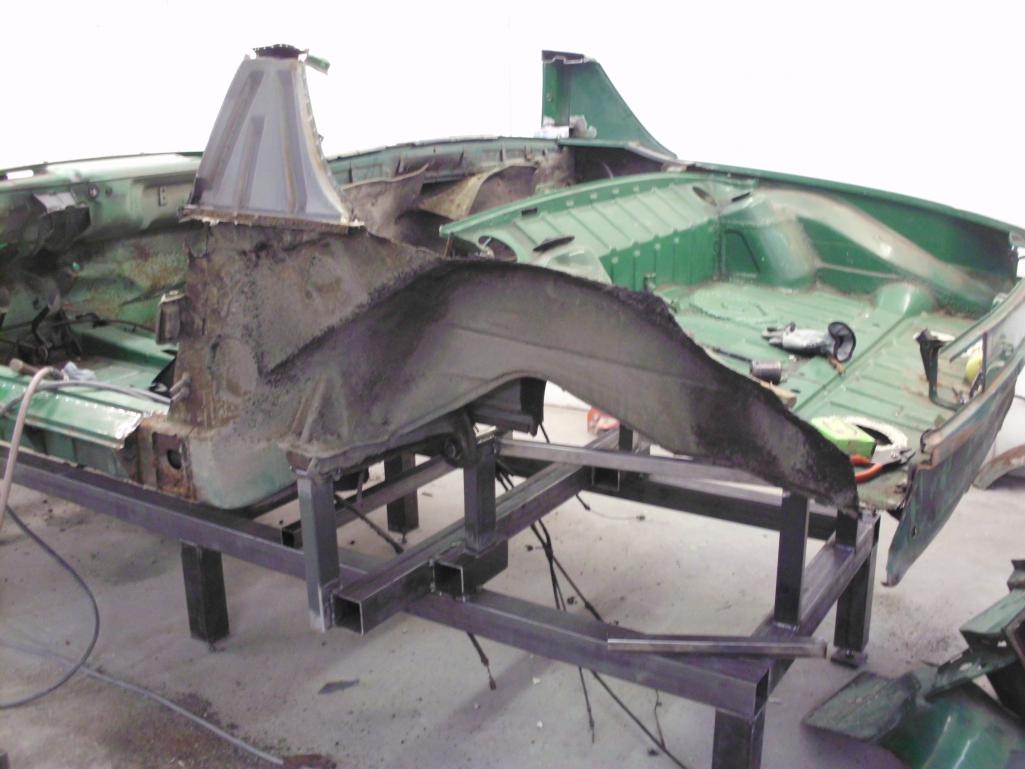
Posted by: 914350 Dec 22 2014, 10:21 PM
More pics.
Attached thumbnail(s)
Posted by: 914350 Dec 22 2014, 10:22 PM
More pics.
Attached thumbnail(s)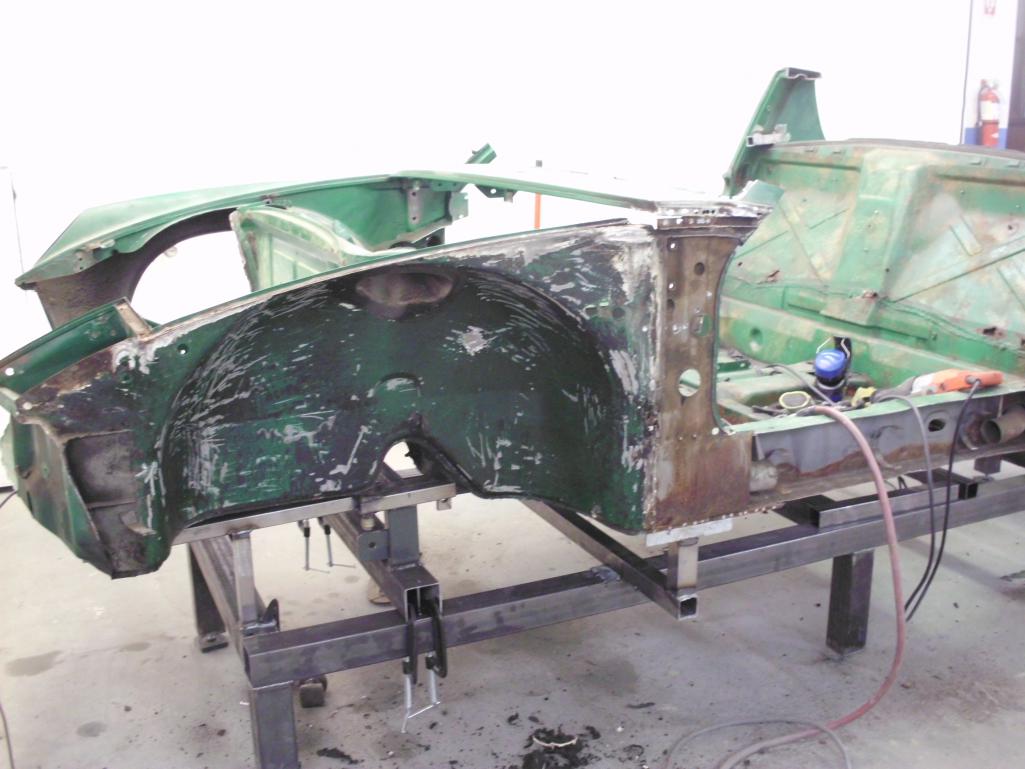
Posted by: rick 918-S Dec 22 2014, 10:48 PM
I happen to know how much work you have into dissecting that shell. That is a bunch of work! 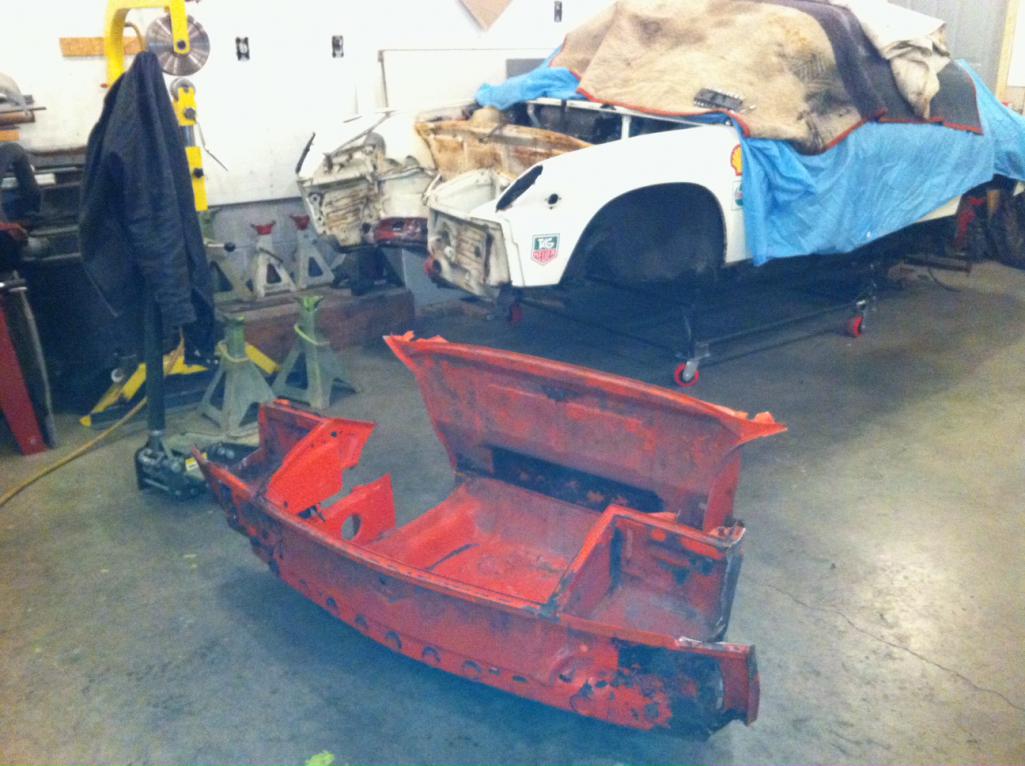
Posted by: 914350 Dec 22 2014, 11:14 PM
I happen to know how much work you have into dissecting that shell. That is a bunch of work!
Oh yeah. I have seen that you dig in deep on these. It's a lot of work to get it them apart and still have something usable. It would be a lot easier if I had two to cut up. It's dificult to preserve both the fender and the cowl. It would be much quicker/easier to distroy the fender to get to the cowl and vice versa. I was able to get my plasma cutter in up under the fender near the cowl and knock the welds loose to get the fender off and didn't distroy the cowl and that's only after scraping out gobbs of seam sealer.
Whew!
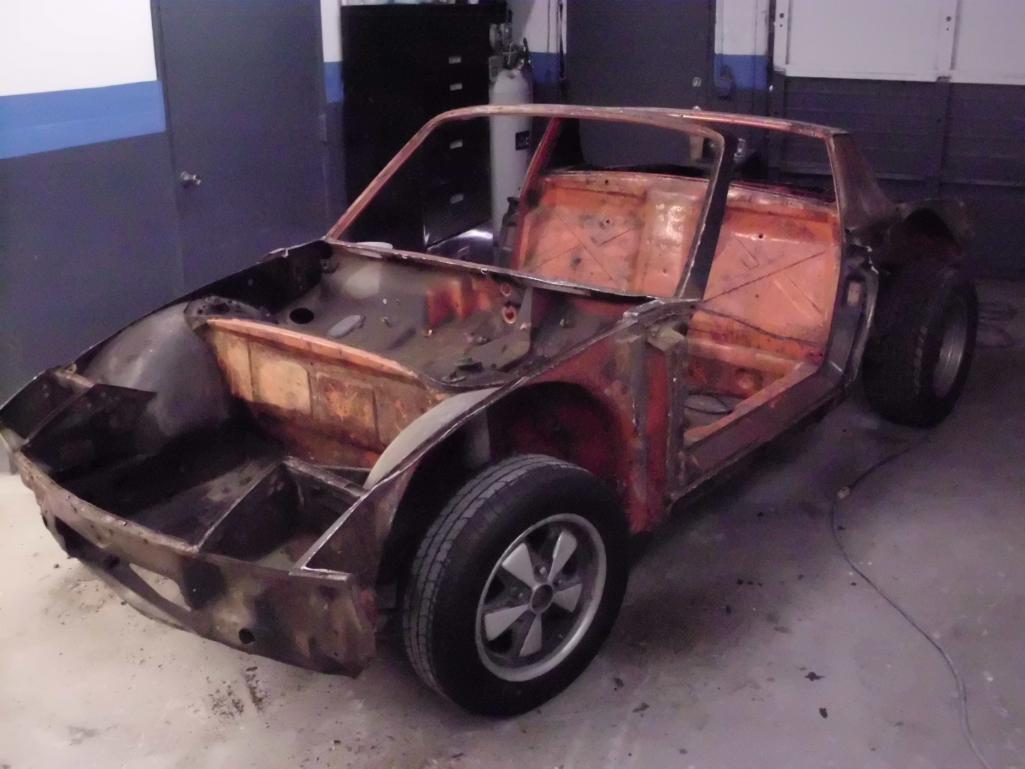
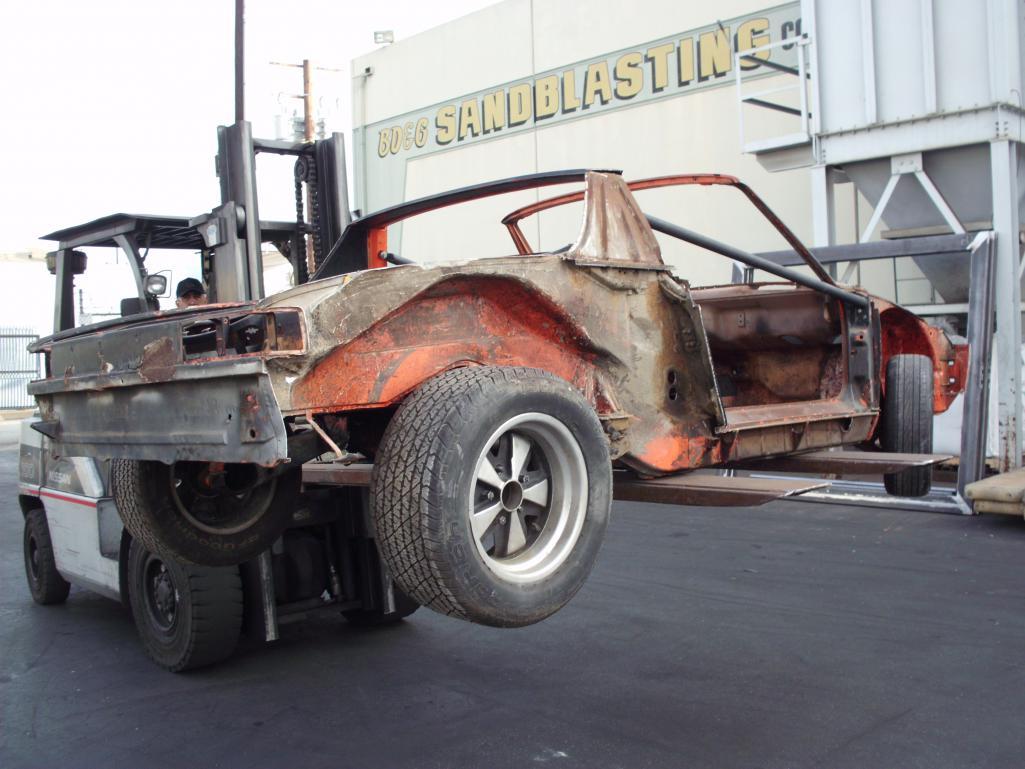
Posted by: 914350 Jan 2 2015, 10:14 PM
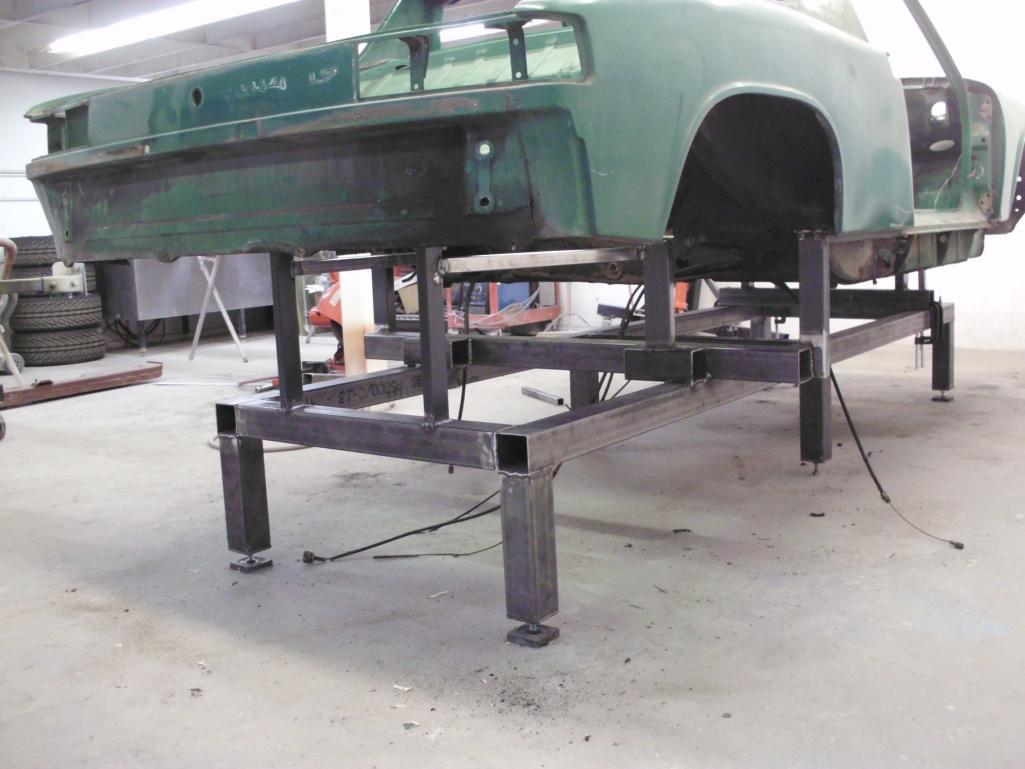
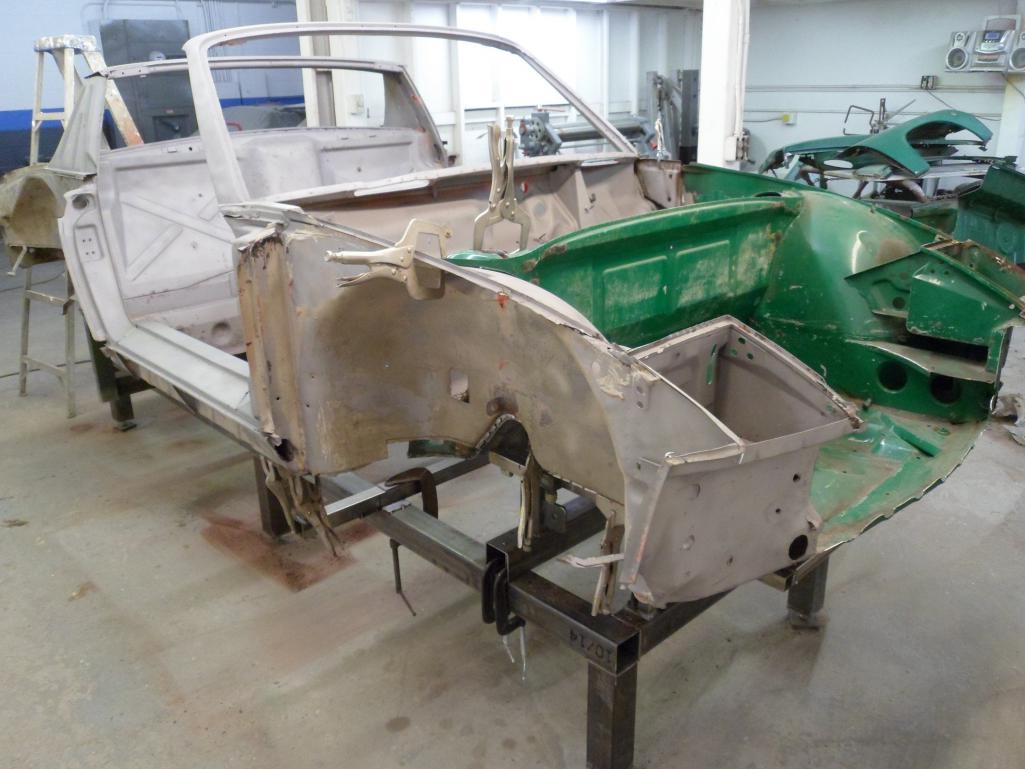
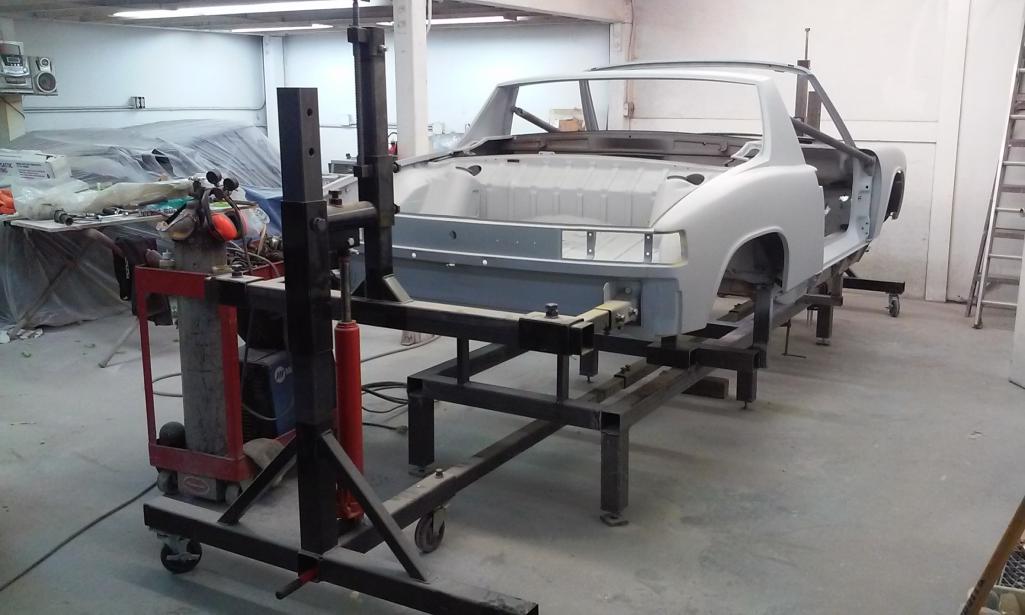
Got the Donor car all cut up and off the fixture, now the 6 is on.
Attached thumbnail(s)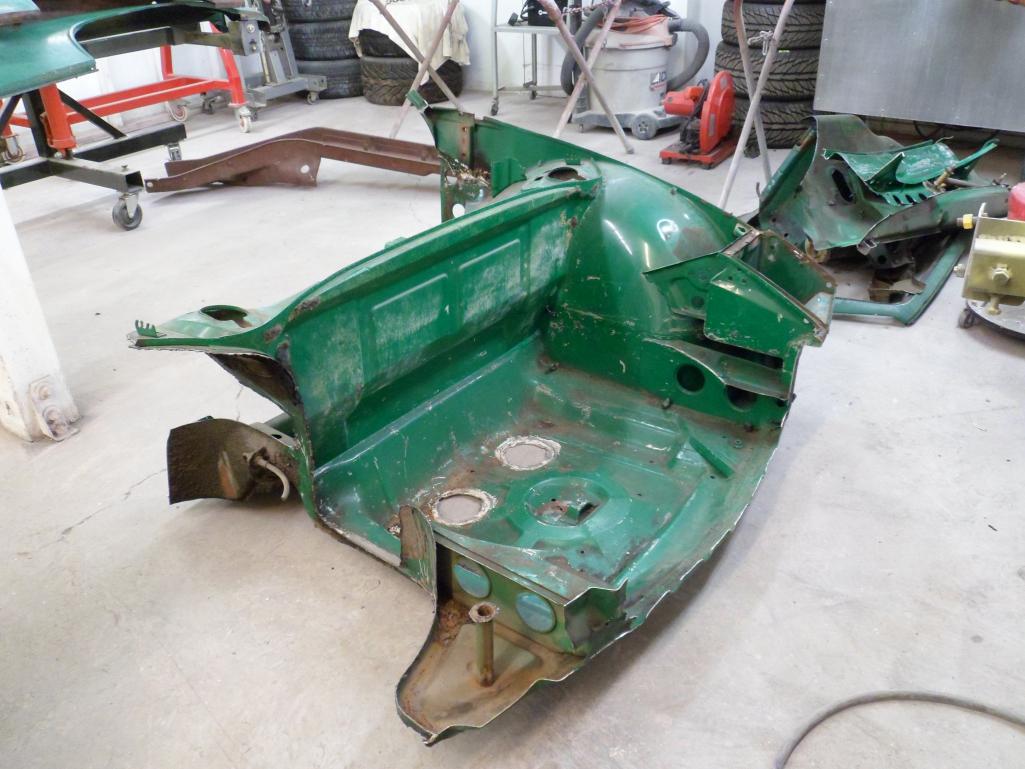
Posted by: 914350 Jan 2 2015, 10:15 PM
More.
Attached thumbnail(s)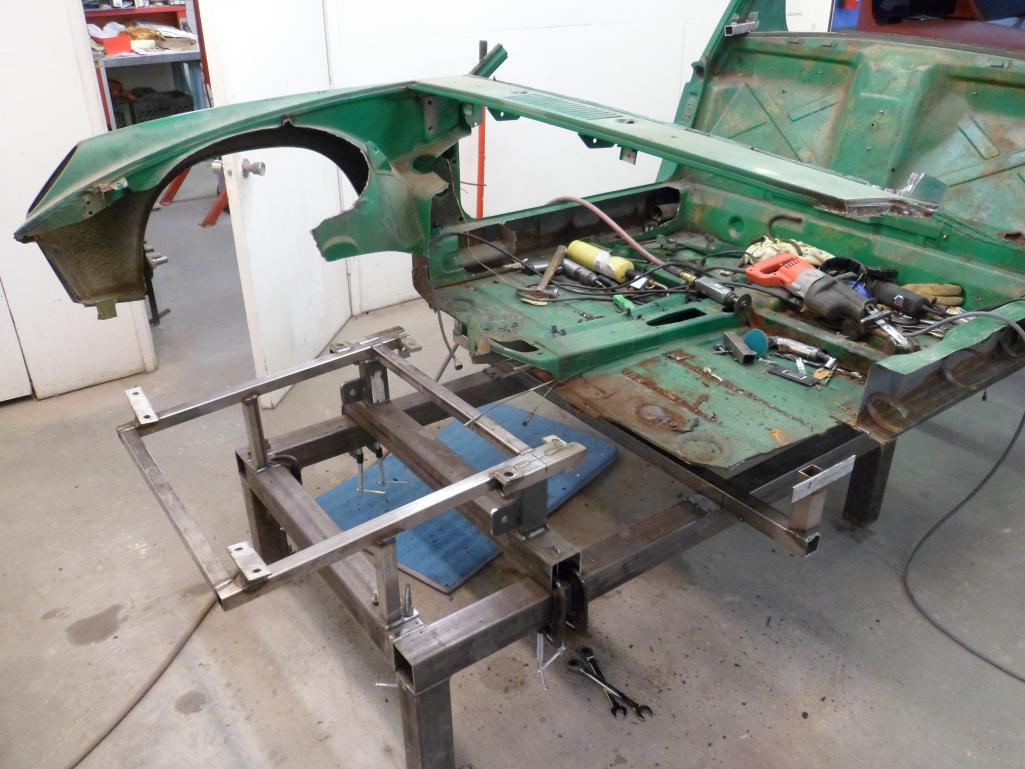
Posted by: 914350 Jan 2 2015, 10:17 PM
More.
Attached thumbnail(s)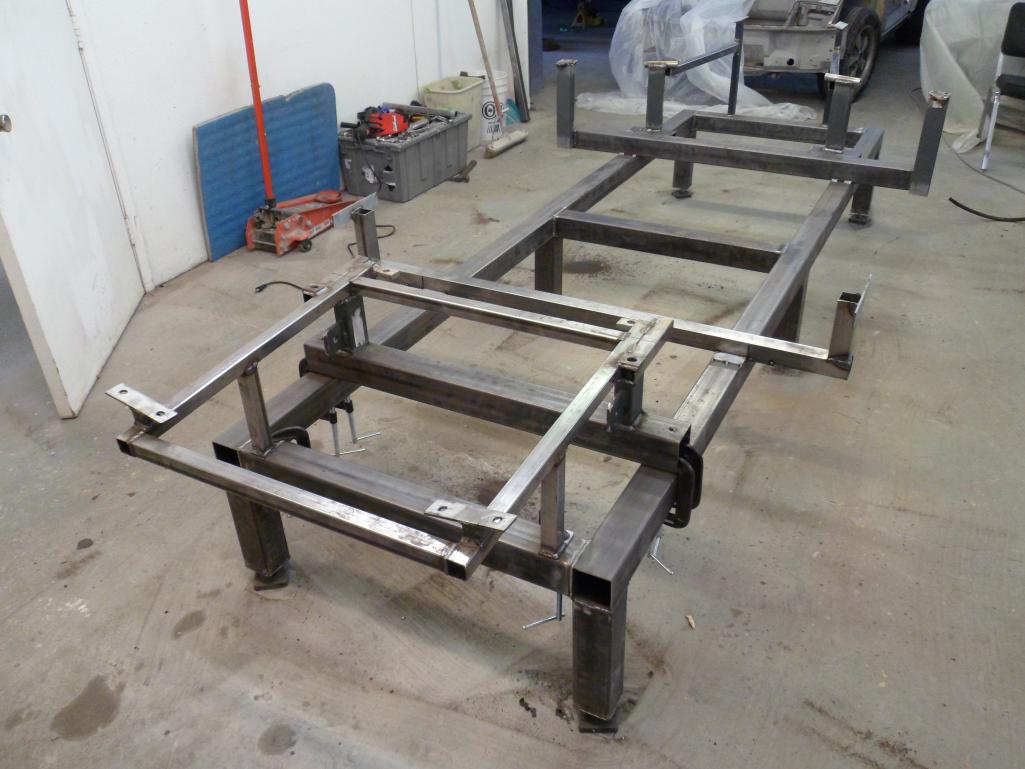
Posted by: 914350 Jan 2 2015, 10:23 PM
I used the rotissorie to lift the car onto the fixture. BTW Andy came by today and helped out...Thanks Man!
Attached thumbnail(s)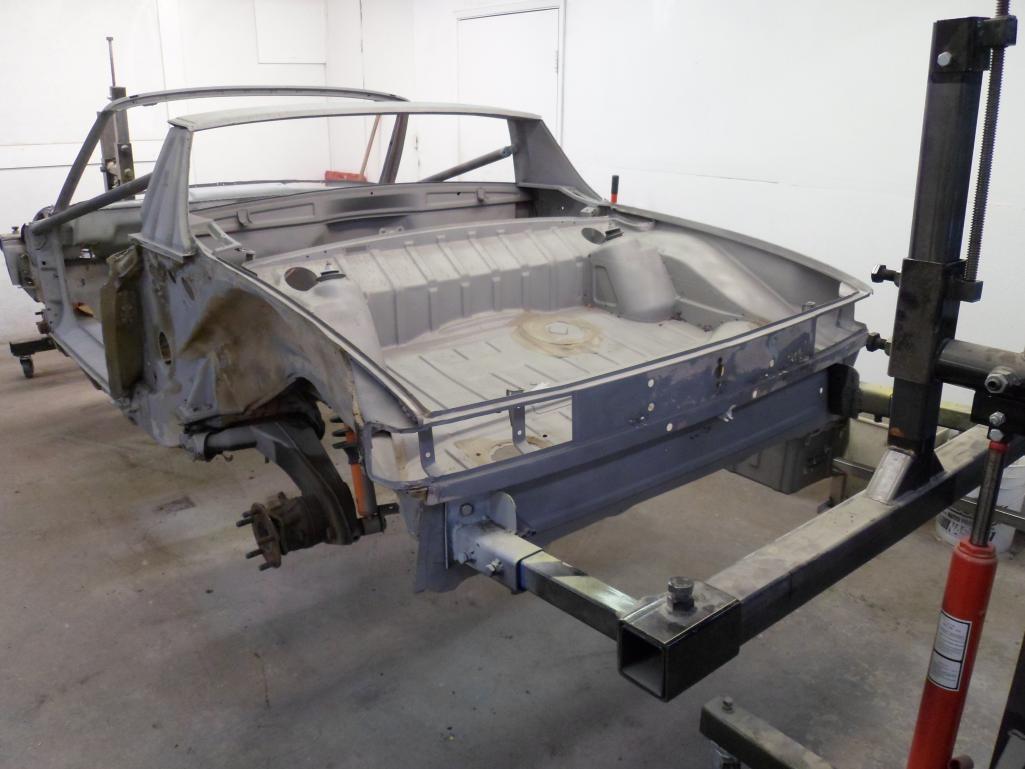
Posted by: 914350 Jan 2 2015, 10:25 PM
More.
Attached thumbnail(s)
Posted by: 914350 Jan 2 2015, 10:27 PM
more.
Attached thumbnail(s)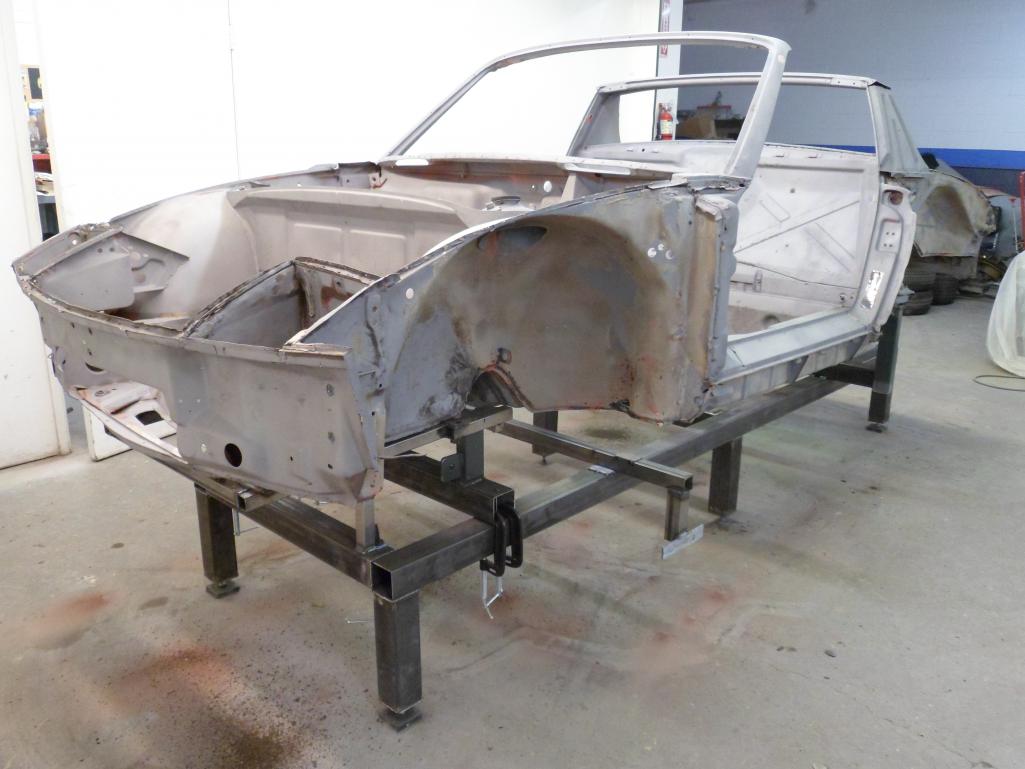
Posted by: 914350 Jan 2 2015, 10:27 PM
More.
Attached thumbnail(s)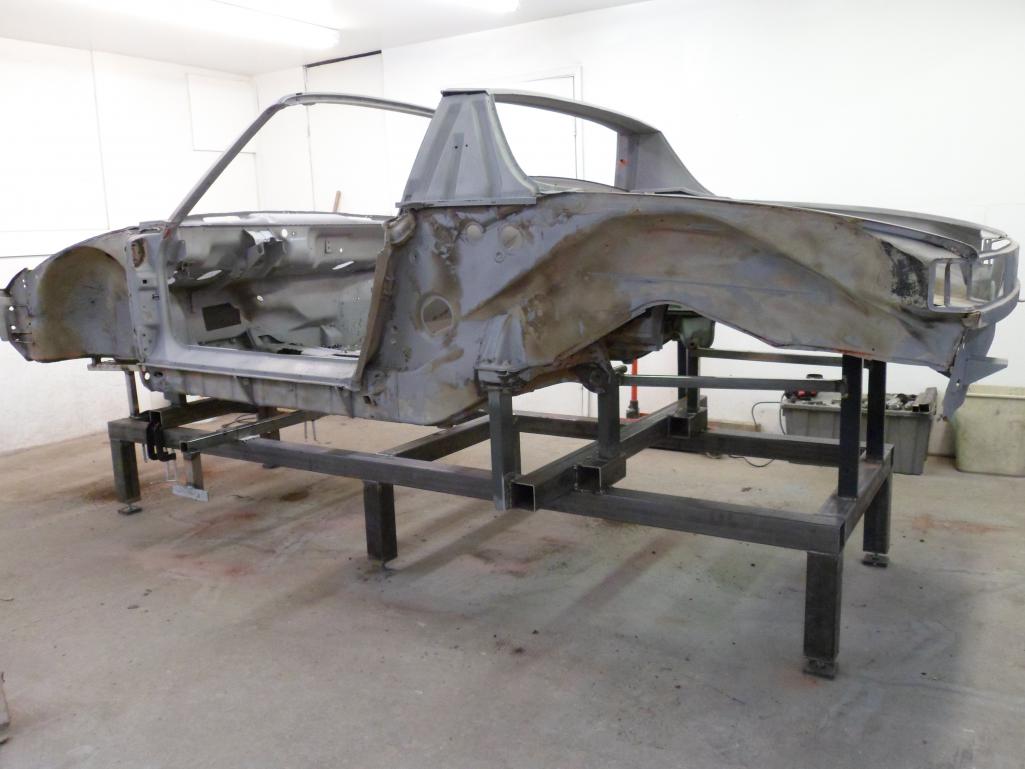
Posted by: 914350 Jan 2 2015, 10:38 PM
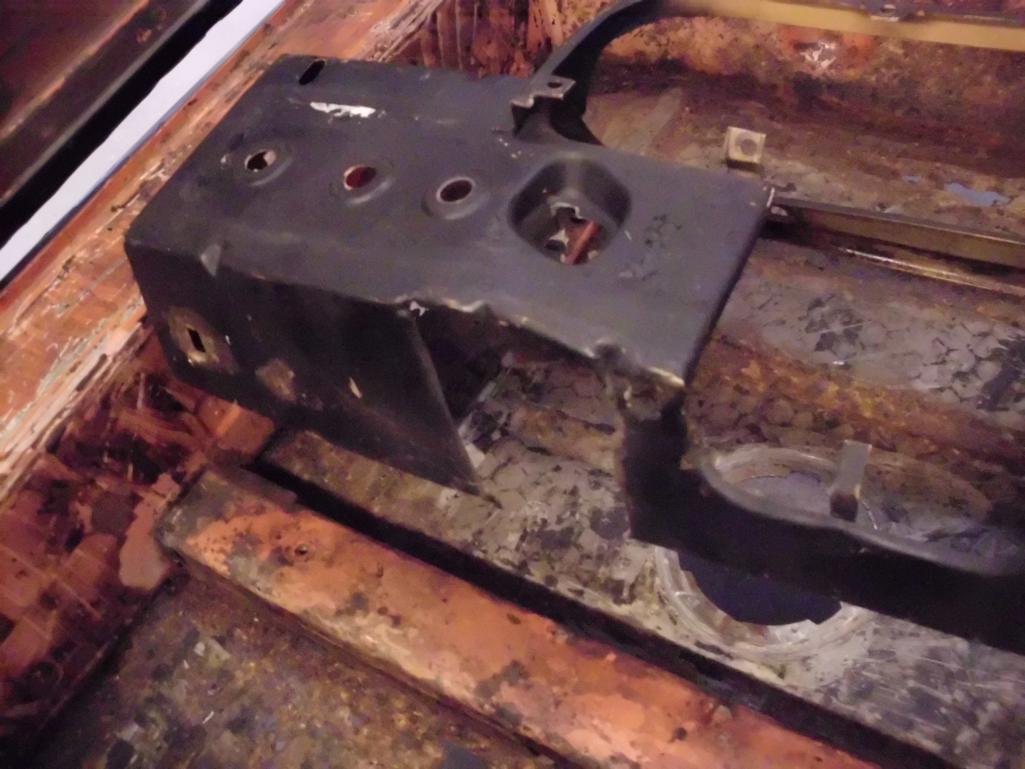
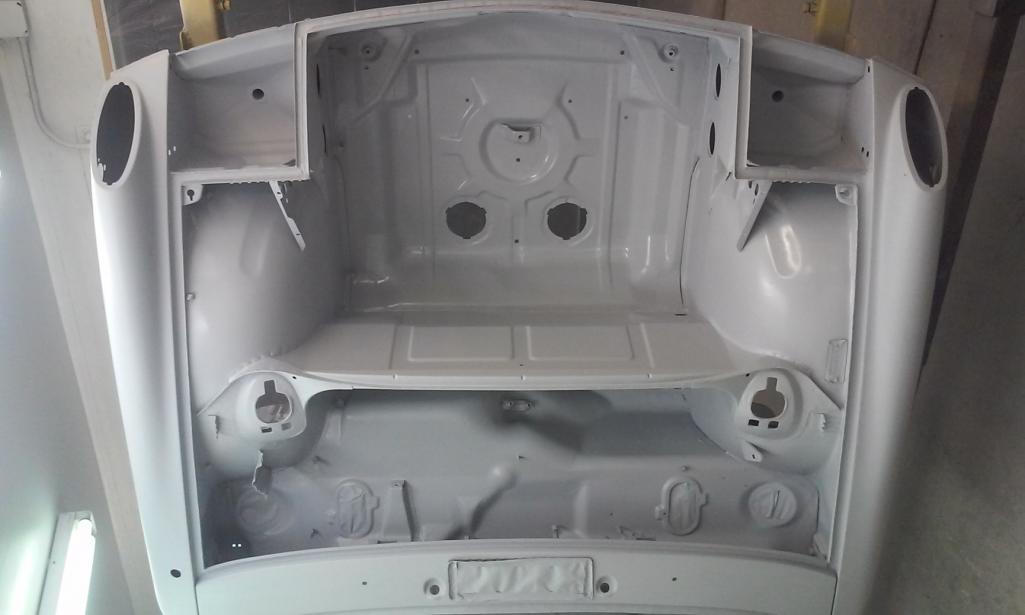
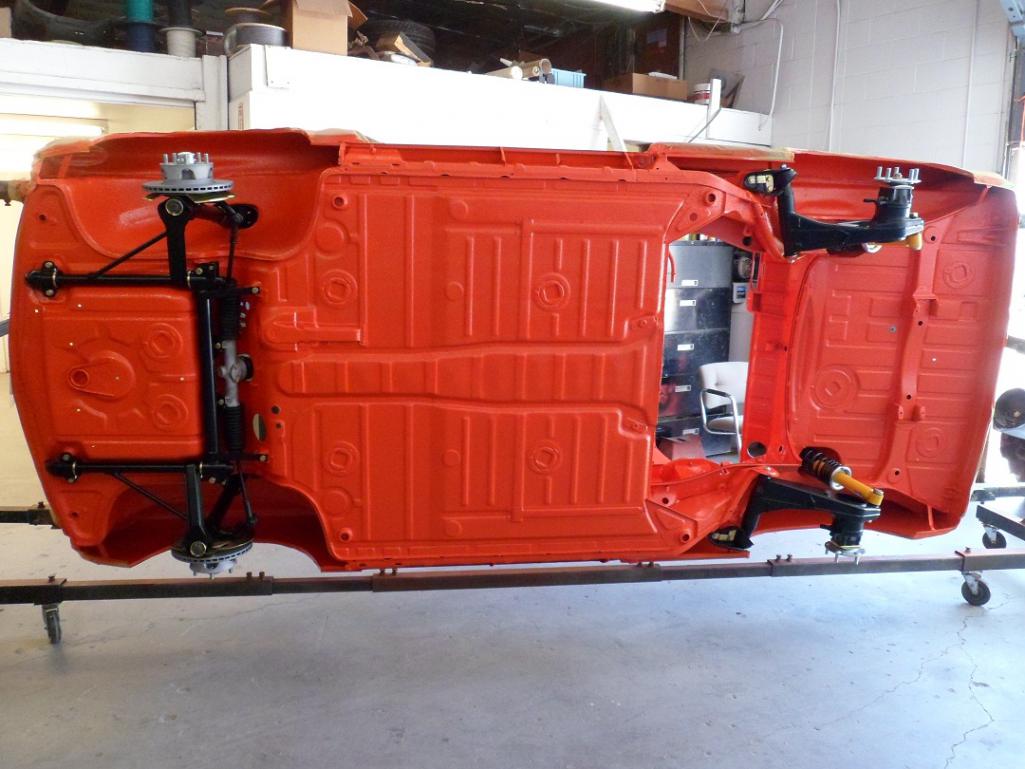
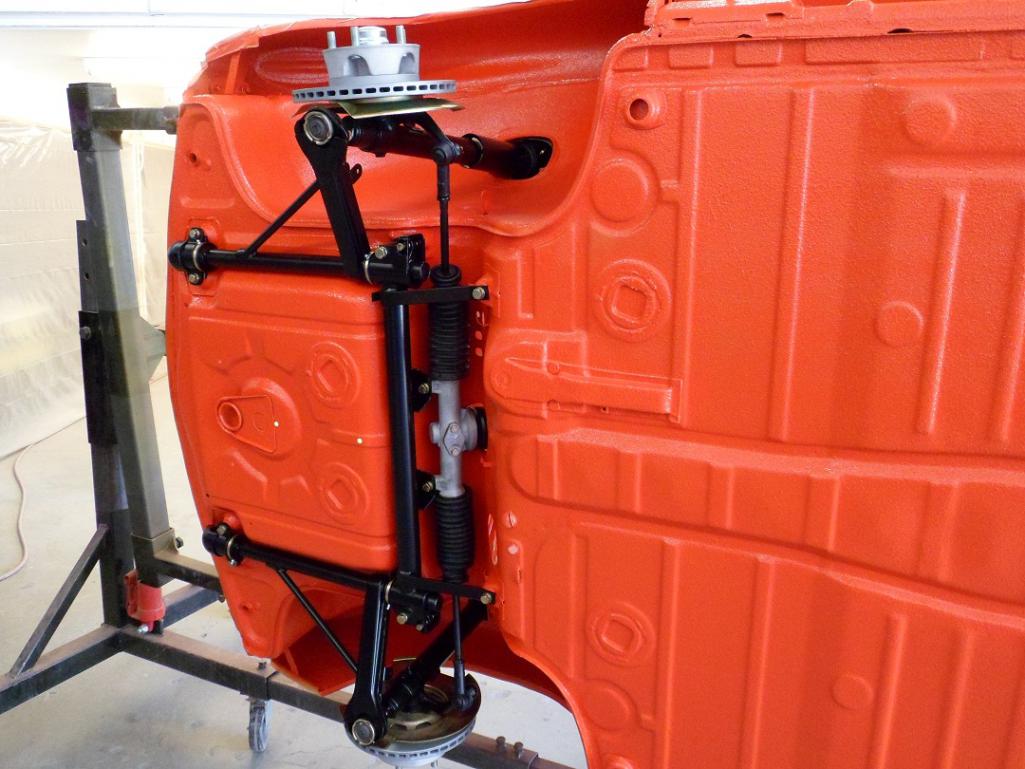
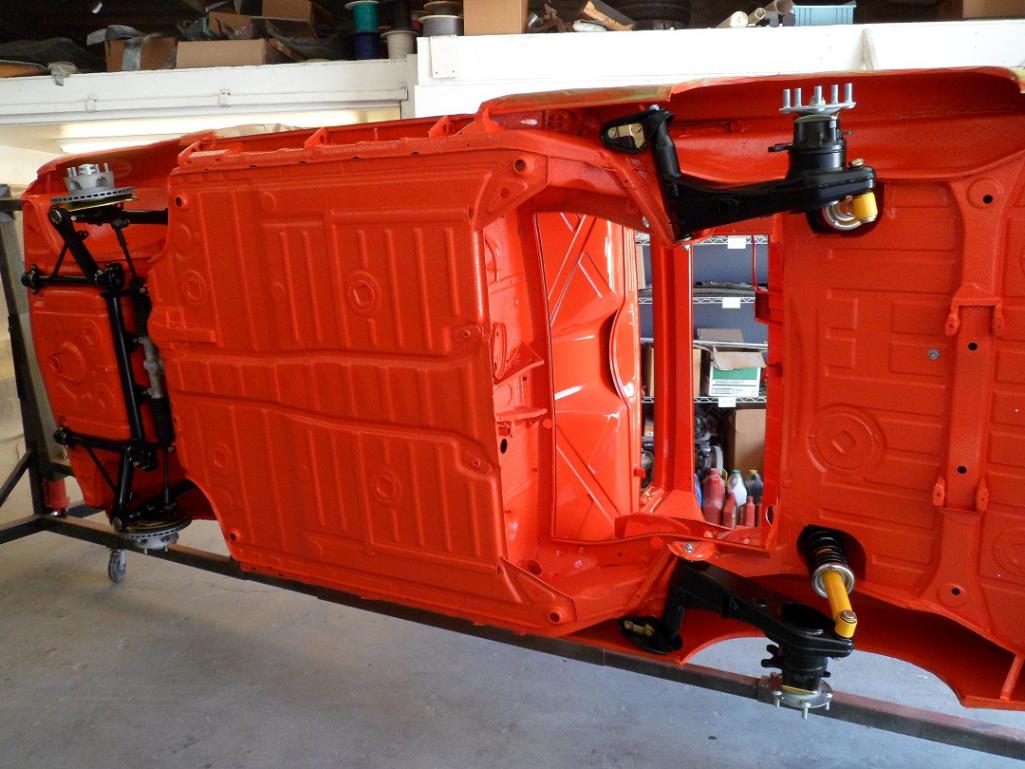
As expected, the car is bent but no worries there will be no signs of an accident when completed. It's interesting how you can see exactly how off it is once on the fixture. The front is twisted and sitting high on the drivers side and the entire front of the car is still pushed over to the right and shoved back. The car was "repaired" after the accident but not properly. this pic shows the damage to the rear suspension console.
Attached thumbnail(s)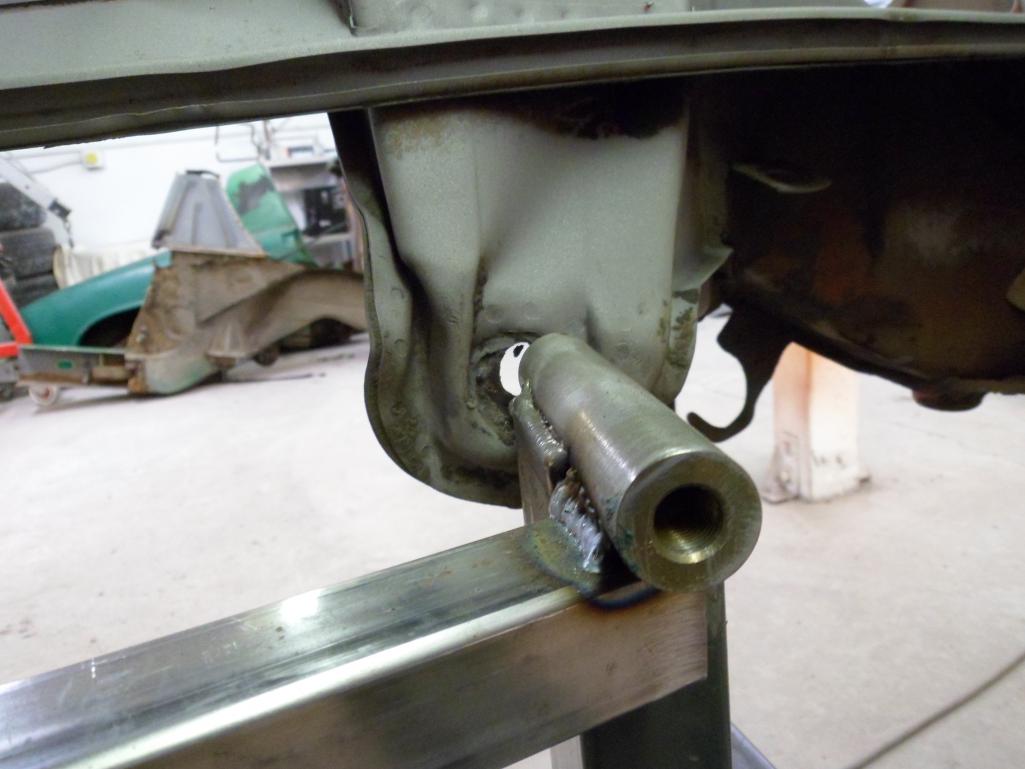
Posted by: Cairo94507 Jan 2 2015, 10:49 PM
Wow! Incredible work. Love seeing these pictures as the car is rescued and restored.
Posted by: 914350 Jan 2 2015, 10:52 PM
I cut and labled some aluminum welding rods to the exact lengths of measurment for the different openings on the car. this makes it easy to quickly measure as I work on the car.
Attached thumbnail(s)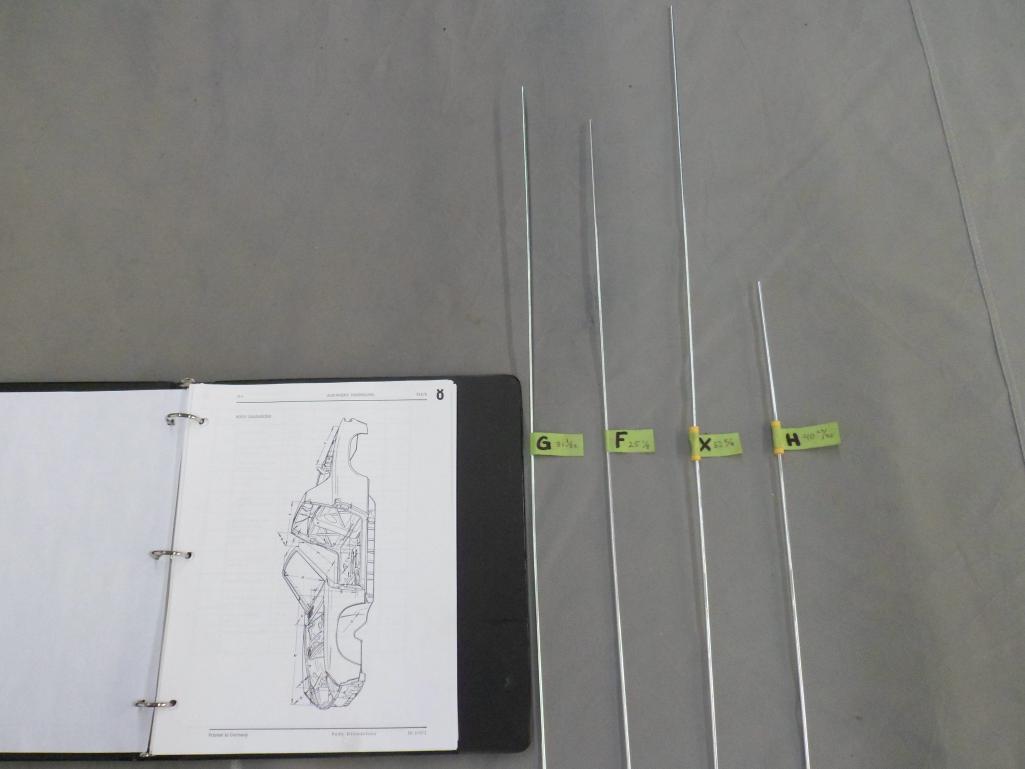
Posted by: Socalandy Jan 2 2015, 11:11 PM
We had a good day cutting up the donor and getting the -6 on the fixture. It needs a lot more attention but its in the right place to be fixed.
Got a major flash back once it was on the table
Posted by: Socalandy Jan 2 2015, 11:33 PM
you forgot this one, the last of the donor car on the fixture. 
Attached thumbnail(s)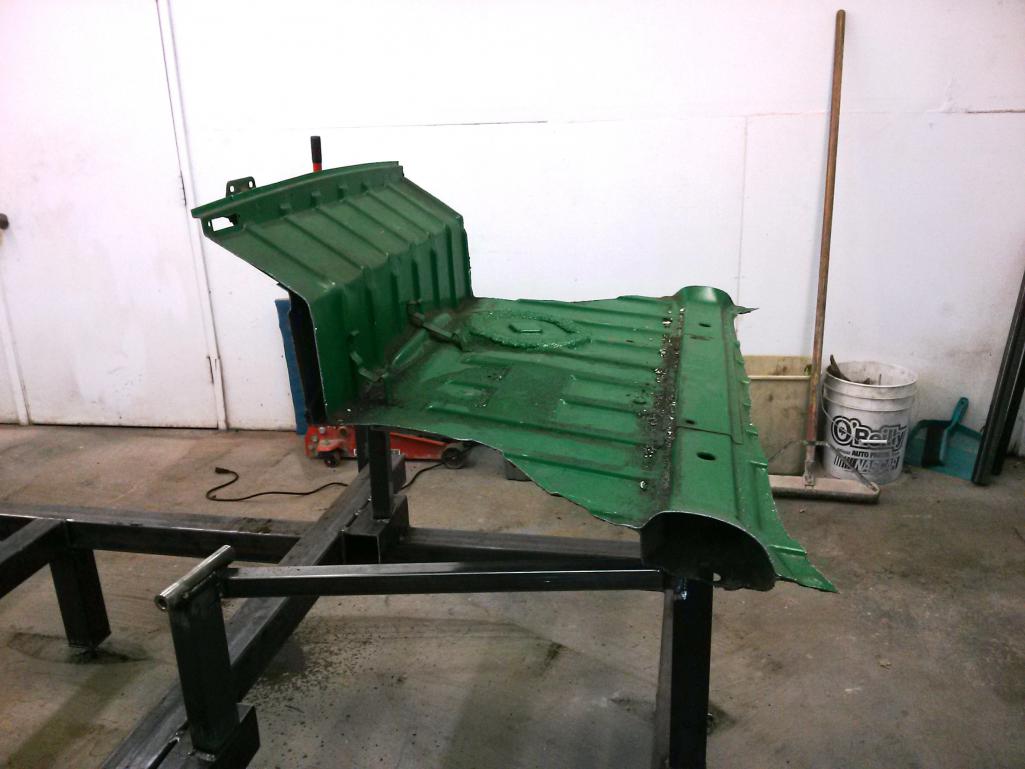
Posted by: banananose914 Jan 3 2015, 12:26 AM
You Dicks! Had I known, I would have come by to help you two Rump Rangers lift the six onto the jig.
Posted by: Larmo63 Jan 3 2015, 12:32 PM
Really interesting to see the inside guts of the 914 body. You guys have big balls and big ambition with these old sixes, love to watch this one take shape!
Posted by: Harpo Jan 3 2015, 03:32 PM
This is amazing to watch the amount of love going in to this car. I'm very impressed
David
Posted by: dw914six Jan 4 2015, 06:37 PM
Is it possible to estimate a number on the cost of bringing this one back? I know it's your business, so hope it's not in bad taste.
I just cannot imagine a project of this magnitude.
1. Is it cost effective?
a. The cost of the rusty 914-6 plus the restoration costs.
b. Would it be cheaper to buy one that is sound?
2. Can the car be as structurally sound and reliable as one which is a solid example from the start?
I know you guys on the site do magic with these cars, so I am guessing the car will be structurally fine. I would still believe one this far gone would be cost prohibitive today, given a nice 914-6 is still reasonable to buy. If you are doing the restoration work yourself, on your own car, then I know it would make sense. But to pay a professional to do all of this amazing work seems like it would add up to a very large number.
Posted by: rick 918-S Jan 4 2015, 07:12 PM
First of all, Using a mix of NOS parts, nice rust free parts and proper welding principals there is no way this car will be structurally deficient. Specially when an unrestored car has hidden rust that is creeping throughout the chassis in all the locations that this shop is repairing.
The repairs will add up to a very large number. This is not something you would do to a 4. If your thinking of doing this kind of a thing as a quick investment forget it. But with low production numbers and an increased interest in the cars, long term is an other story entirely.
Posted by: ndfrigi Jan 4 2015, 09:29 PM
Jim, owner of the 914 Kent is restoring drop bye again yesterday at my place and we did talked about several items regarding our love to 914. I've been checking this thread and I did'nt know it was Jim's car until yesterday, he told me same shop who did SoCal Andy's car. Wow I did ask him how much he might spend to restore his car to concour/original shape and he told me the amount, Well it is a large amount!!! Jim has been collecting parts and although he has the specific part, he will still buy same part(s) just to get the better one to be installed to his project.
Jim is really a nice and humble guy and hardly comment on 914world and as far as I know he has another 914-6 beside the current project and has a beautiful white 73 that He drove the 1st time he visited me.
Thanks Kent for updating the thread of the current status of the restoration. Jim and I might drive there one of this day and drive our 914 to check the car.
Posted by: banananose914 Jan 5 2015, 12:14 AM
Hey Rick, my sentiments exactly. And thank you, Noe.
Posted by: 914350 Jan 5 2015, 10:07 AM
Is it possible to estimate a number on the cost of bringing this one back? I know it's your business, so hope it's not in bad taste.
I just cannot imagine a project of this magnitude.
1. Is it cost effective?
a. The cost of the rusty 914-6 plus the restoration costs.
b. Would it be cheaper to buy one that is sound?
2. Can the car be as structurally sound and reliable as one which is a solid example from the start?
I know you guys on the site do magic with these cars, so I am guessing the car will be structurally fine. I would still believe one this far gone would be cost prohibitive today, given a nice 914-6 is still reasonable to buy. If you are doing the restoration work yourself, on your own car, then I know it would make sense. But to pay a professional to do all of this amazing work seems like it would add up to a very large number.
Not in bad taste at all, very good questions. I think Rick's answer is dead on. As far as prices go, it is hard to give a quote on a project this big but I did give Jim (the customer) an idea of what I thought it would be at the end. The final cost will be based on time and materials, so shop rate plus cost of materials.
It is a real 6 and also numbers matching so It has to be restored.
Posted by: 914350 Jan 5 2015, 10:07 AM
First of all, Using a mix of NOS parts, nice rust free parts and proper welding principals there is no way this car will be structurally deficient. Specially when an unrestored car has hidden rust that is creeping throughout the chassis in all the locations that this shop is repairing.
The repairs will add up to a very large number. This is not something you would do to a 4. If your thinking of doing this kind of a thing as a quick investment forget it. But with low production numbers and an increased interest in the cars, long term is an other story entirely.
Perfectly put.
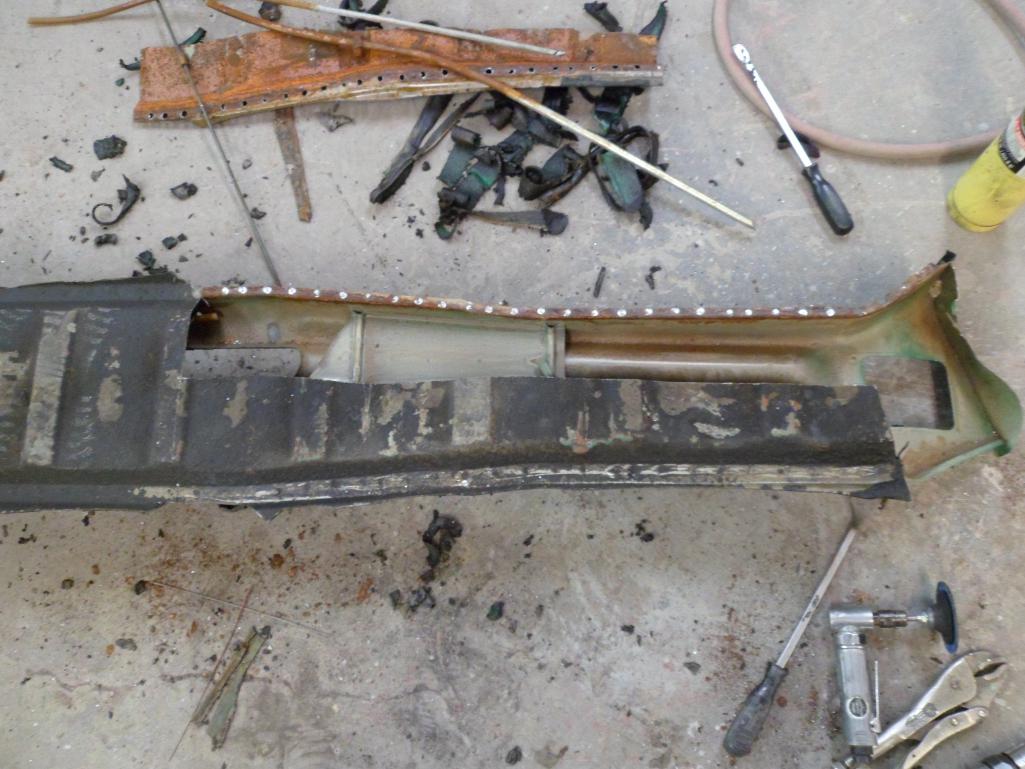
Posted by: 914350 Jan 12 2015, 11:41 AM
More work this week.
Attached thumbnail(s)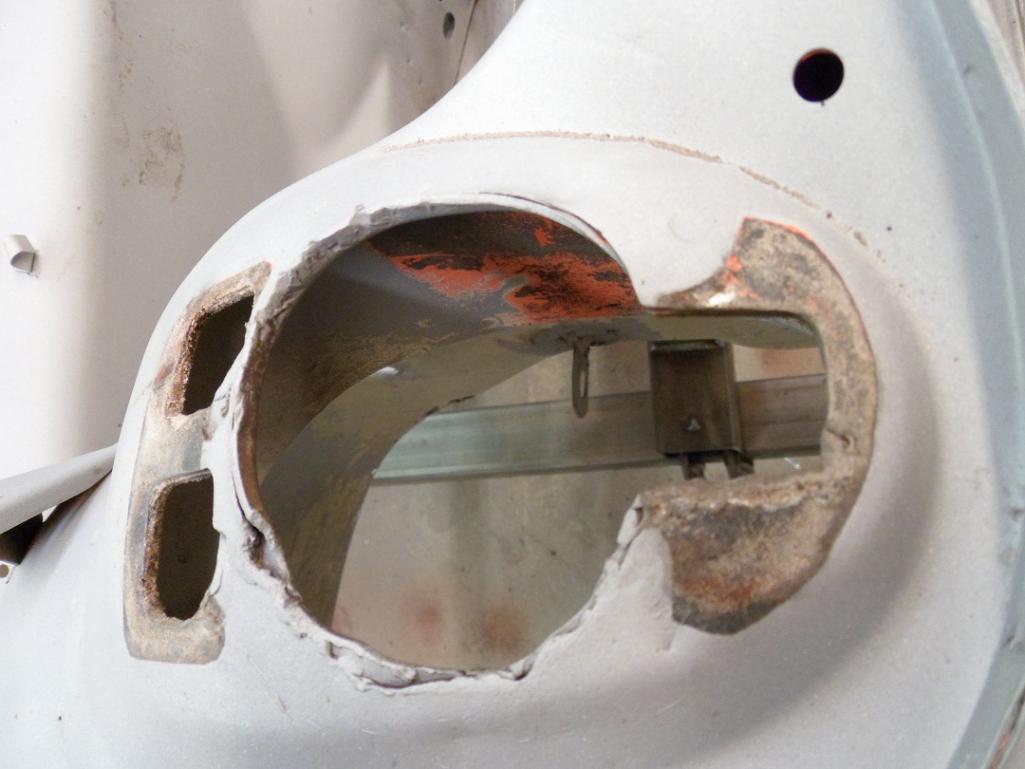
Posted by: 914350 Jan 12 2015, 11:44 AM
Trimming edges.
Attached thumbnail(s)
Posted by: 914350 Jan 12 2015, 11:48 AM
Jim, I promise I will stop cutting before there is no car left.
Attached thumbnail(s)
Posted by: 914350 Jan 12 2015, 11:51 AM
Yikes!
Attached thumbnail(s)
Posted by: 914350 Jan 12 2015, 12:01 PM
Andy and Jim located a NOS drivers side long.
Attached thumbnail(s)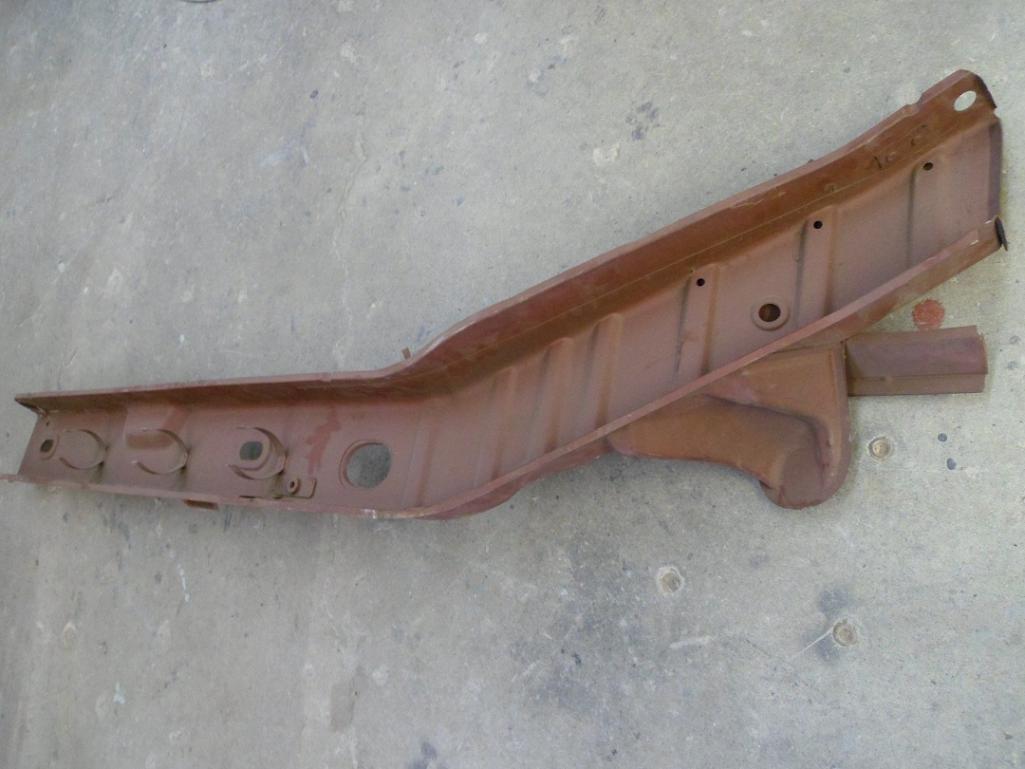
Posted by: SirAndy Jan 12 2015, 12:04 PM
Andy and Jim located a NOS drivers side long.
 Very nice ...
Posted by: altitude411 Jan 12 2015, 12:20 PM
NOS drivers long? Andy & Jim must be connected....  Do you guy's have key's to the Porsche factory?
Posted by: 914350 Jan 12 2015, 12:41 PM
Andy and Jim located a NOS drivers side long.
Very nice ...Yes, good find for sure.
Posted by: 914350 Jan 12 2015, 12:59 PM
Removing the long.
Attached thumbnail(s)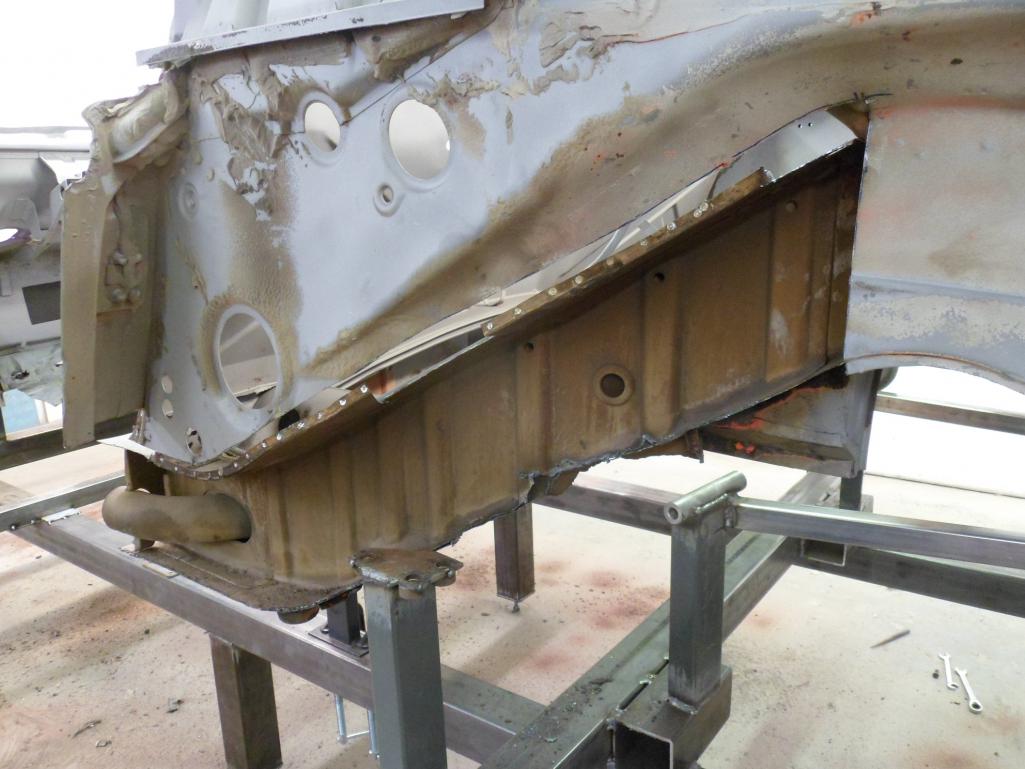
Posted by: banananose914 Jan 12 2015, 11:16 PM
Kent you are kicking some major ass! I'm always excited to see any new work/pictures. We (you), will be color sanding in no time. Thanks for your attention to detail, and your motivation for this project. You're my boy! Andy too.
Posted by: banananose914 Jan 12 2015, 11:25 PM
914/6 long was from Bruce Stone's stash. He has been a good source for us. Thanks Mr. Bruce
Posted by: CptTripps Jan 13 2015, 12:03 PM
That's a damn sexy build...
Posted by: 914350 Jan 26 2015, 10:20 AM
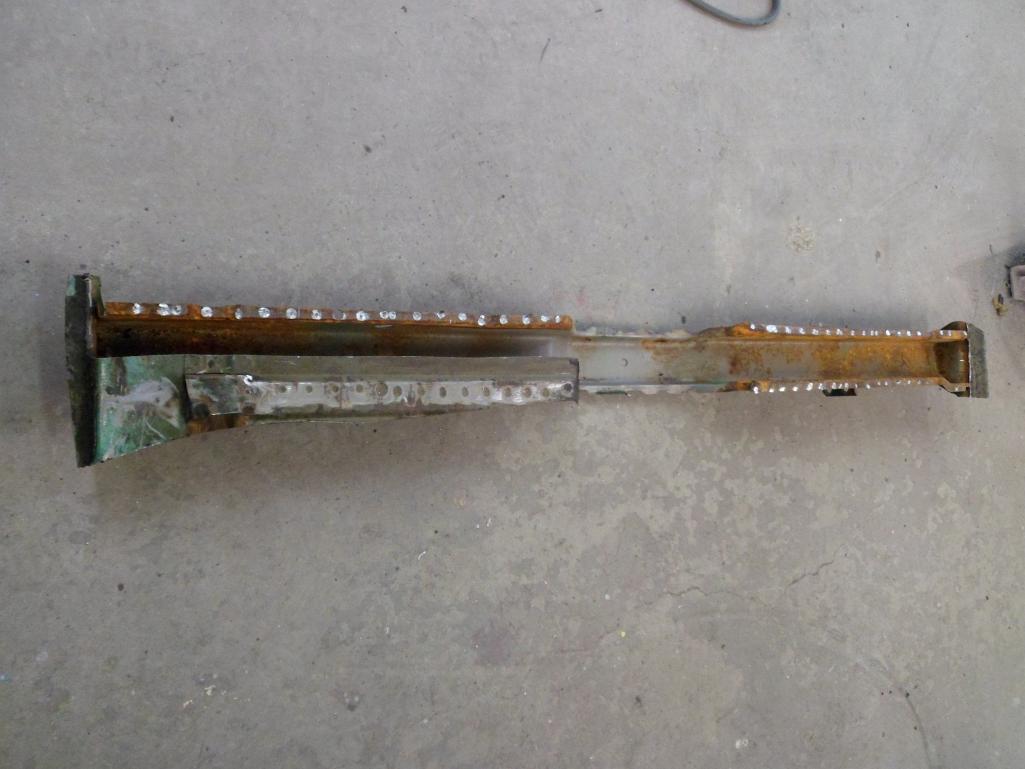
More progress pics. Drivers inner long set in place.
Attached thumbnail(s)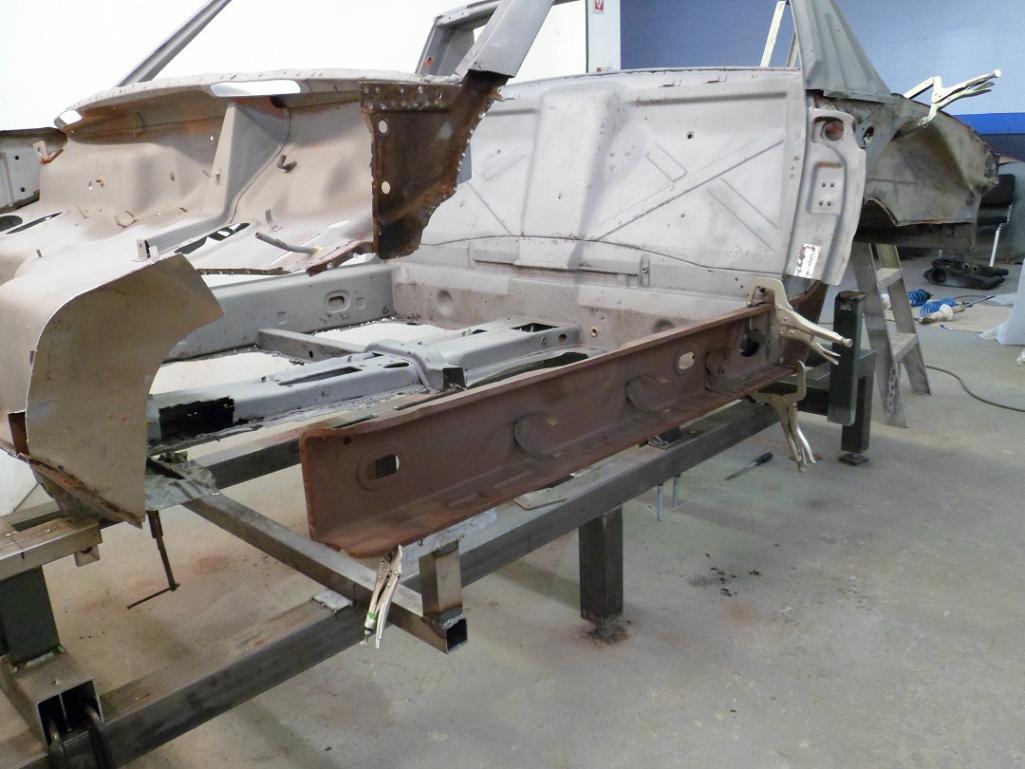
Posted by: 914350 Jan 26 2015, 10:26 AM
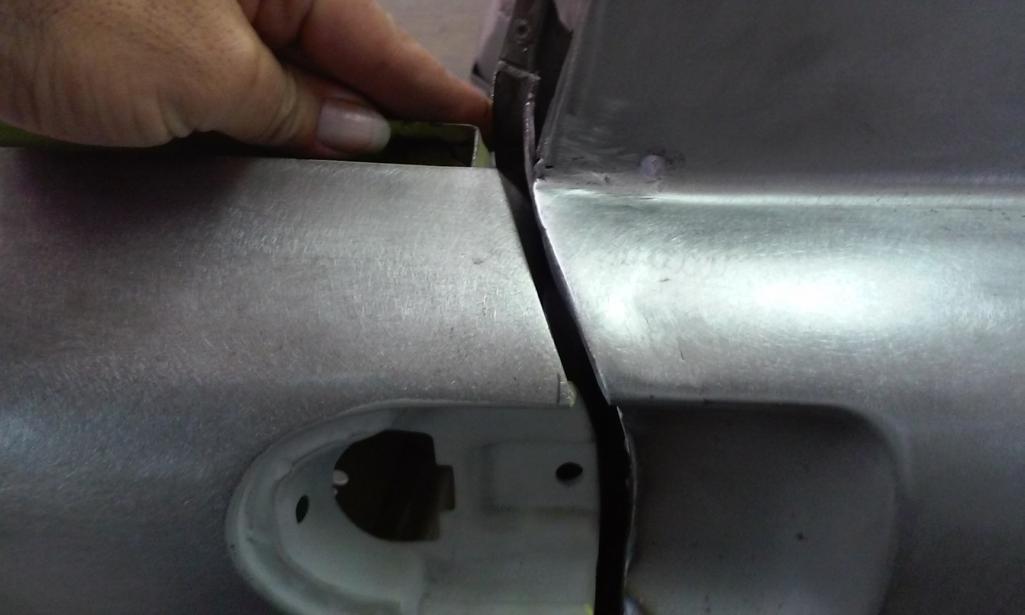
Been trimming the edges on the car and the front corner clip, I'll be setting it in place soon.
Attached thumbnail(s)
Posted by: 914350 Jan 26 2015, 10:29 AM
Front corner section.
Attached thumbnail(s)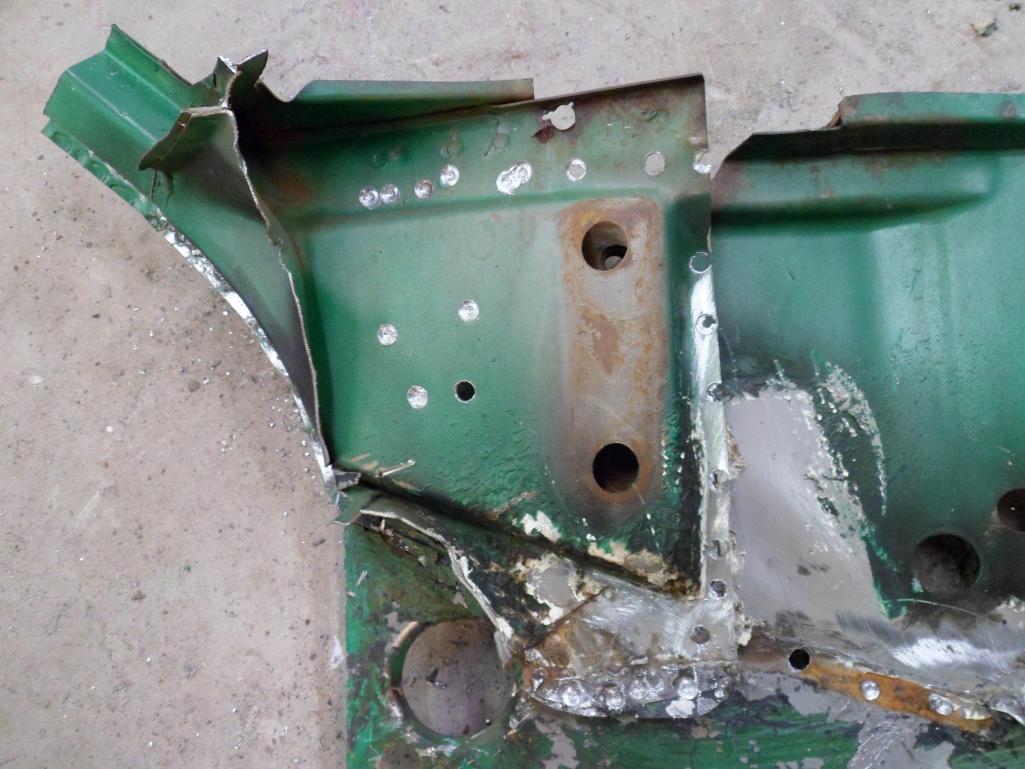
Posted by: 914350 Jan 26 2015, 10:33 AM
Scrap pile.
Attached thumbnail(s)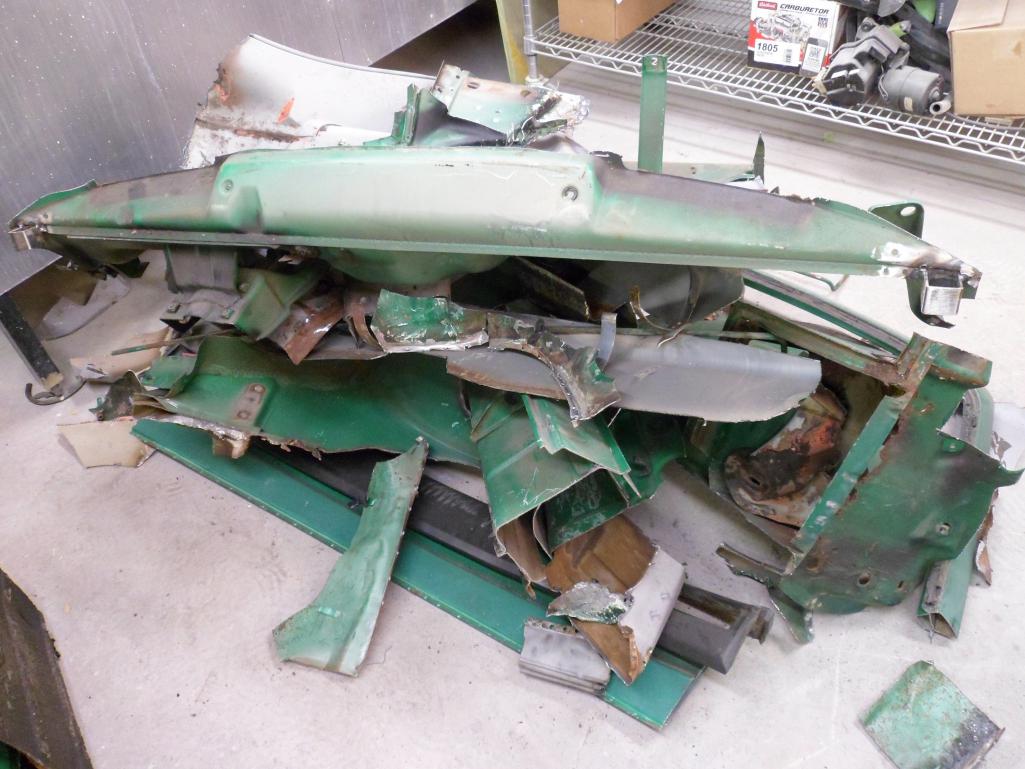
Posted by: 914350 Jan 26 2015, 10:33 AM
That's a damn sexy build...
Thanks Cpt.
Posted by: 914350 Jan 26 2015, 10:36 AM
Jim bought another parts car this weekend so we'll get the nose panel and rear tail panel that we needed. It also gives him the early suspention parts and other things that will be used.
Posted by: Cairo94507 Jan 26 2015, 10:38 AM
I love seeing the work that goes into these cars to bring them back. Nice pictures.
Posted by: gms Jan 26 2015, 10:43 AM
Nice work!
remember the http://www.914world.com/bbs2/index.php?showtopic=198600&hl= changed over the production of the 914, I posted a thread with pictures.
Posted by: 914350 Jan 26 2015, 11:02 AM
Nice work!
remember the http://www.914world.com/bbs2/index.php?showtopic=198600&hl= changed over the production of the 914, I posted a thread with pictures.
The last thing I want to do is put a part on that has a small (or large) variation, so any info. helps, Thanks. We were just texting pics back and forth yesterday as Jim was looking at the parts car that he was considering buying and trying to make sure that the nose was correct (it's a 71 and looks to be original). I had Andy send me a pic of his and it seems to be correct but I'll know for sure once I inspect it. The nose on the 6 had been changed by a PO so I can't exactly trust what's there. It's interesting what differences I find on the donor car and the 6 as well as my 72. I've removed the inner support at the base of the windshield surround on the donor which is a 73 and also found differences in the headlight bucket as well as where the fuel lines pass through the bulk head (though I'm not using that area) and where the wire runs through the tunnel. I don't want to miss anything. Thanks again.
Posted by: gms Jan 26 2015, 11:21 AM
The last thing I want to do is put a part on...
If you have any question about what goes on a 6 let me know, I have eight of them for reference.
Posted by: Socalandy Jan 26 2015, 11:31 AM
Kent's killing it!!
I was at the shop looking it over and Jim and I will be gutting the 70 parts car and breaking out the The drivers rear swing arm was replaced with a late arm and the rack had been welded in a few areas from it's crushing so just a few of the things on this parts car going on the -6
Posted by: 914350 Jan 26 2015, 11:47 AM
The last thing I want to do is put a part on...
If you have any question about what goes on a 6 let me know, I have eight of them for reference.
Great, thanks.
Posted by: gms Jan 26 2015, 01:40 PM
If you need a steering rack let me know I have a few laying around
Posted by: 914350 Feb 2 2015, 12:53 PM
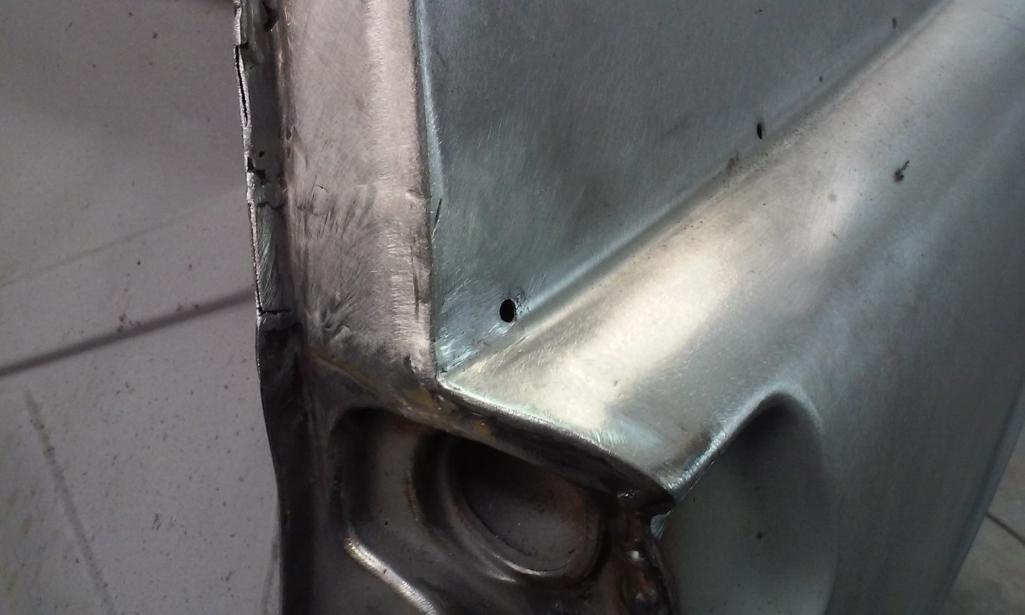
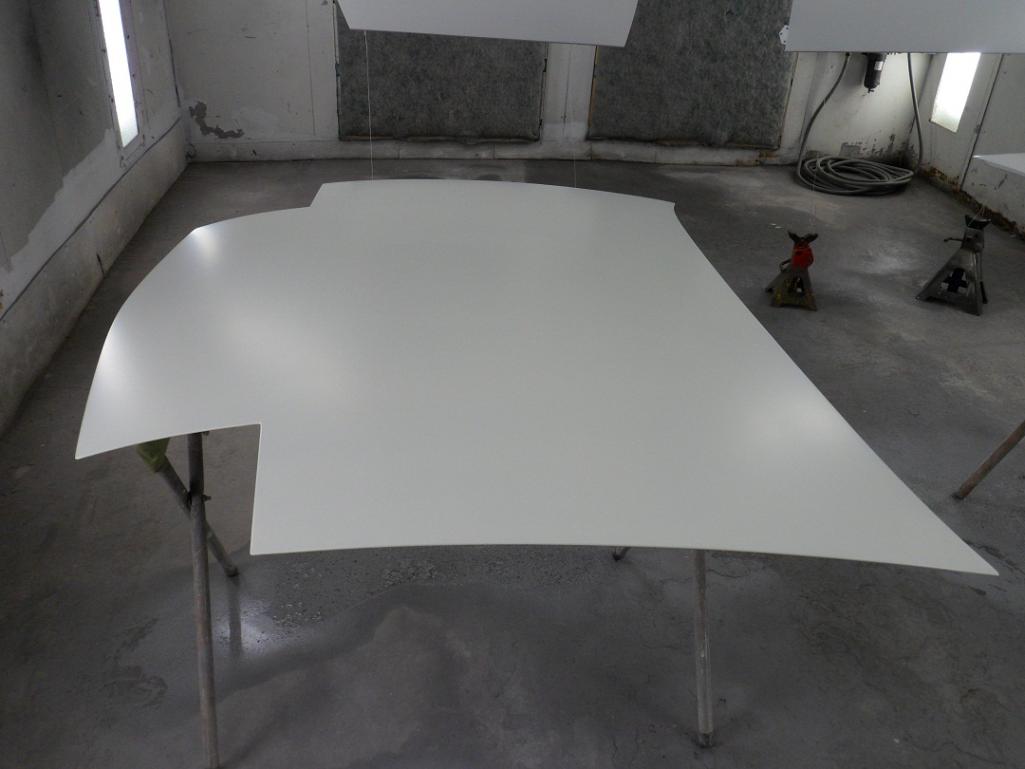
I got the front corner section in place this weekend, looks good, now I will send it out for media blasting.
Attached thumbnail(s)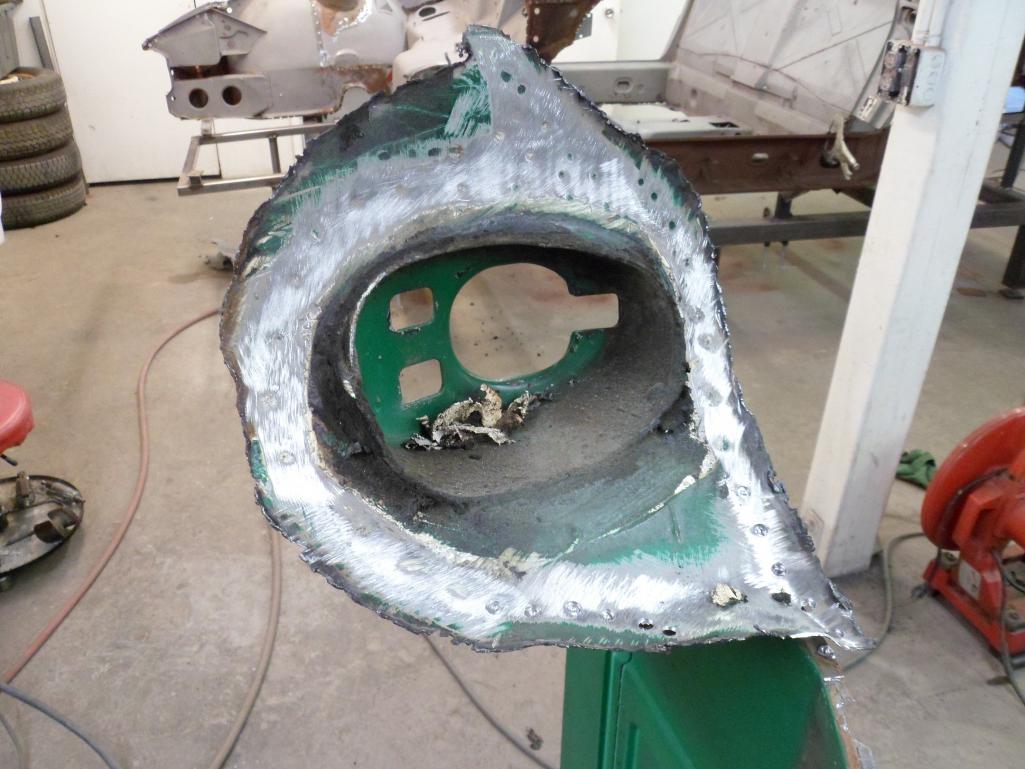
Posted by: 914350 Feb 2 2015, 12:54 PM
More pics.
Attached thumbnail(s)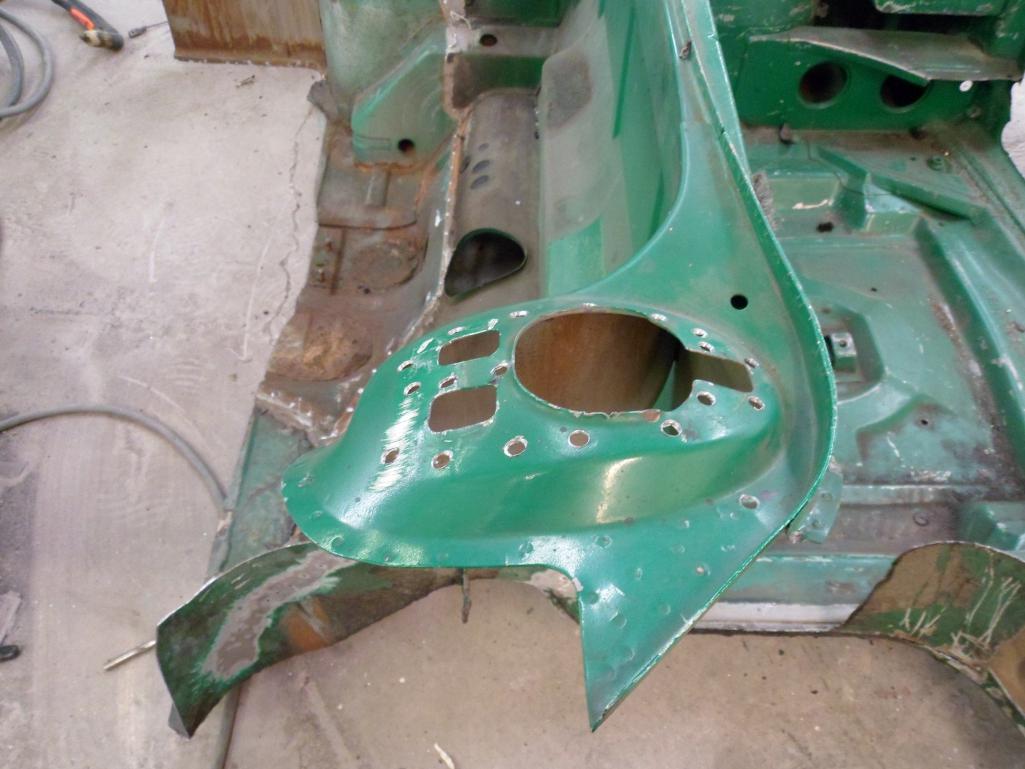
Posted by: 914350 Feb 2 2015, 12:56 PM
More pics.
Attached thumbnail(s)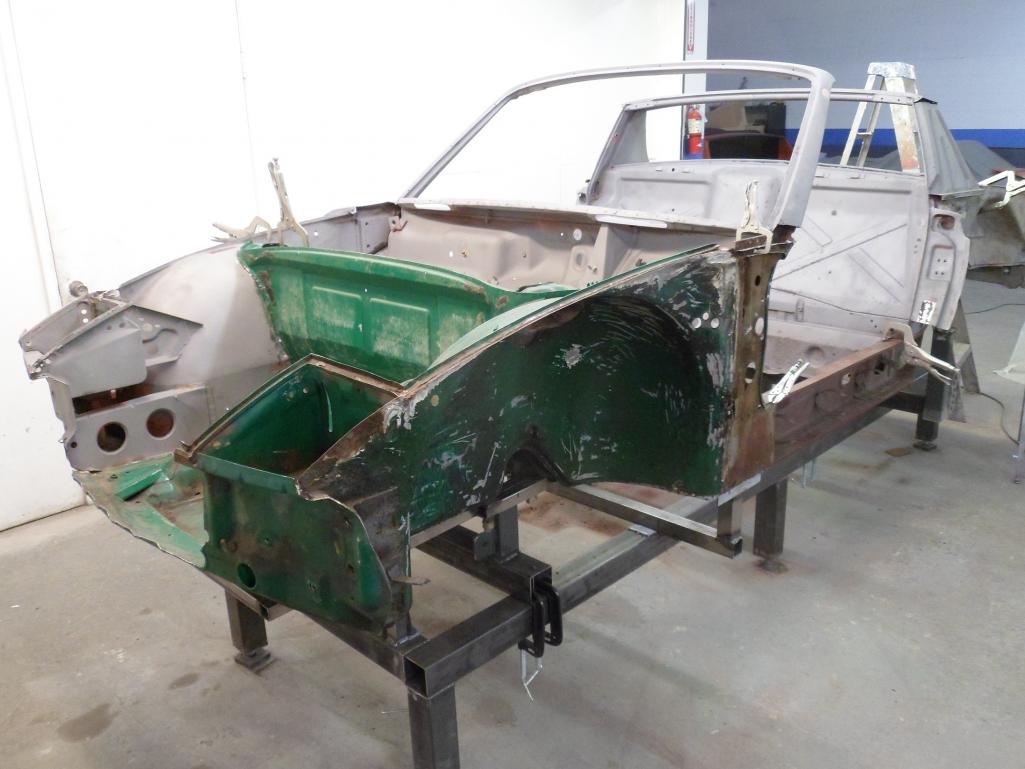
Posted by: 914350 Feb 2 2015, 12:58 PM
More pics.
Attached thumbnail(s)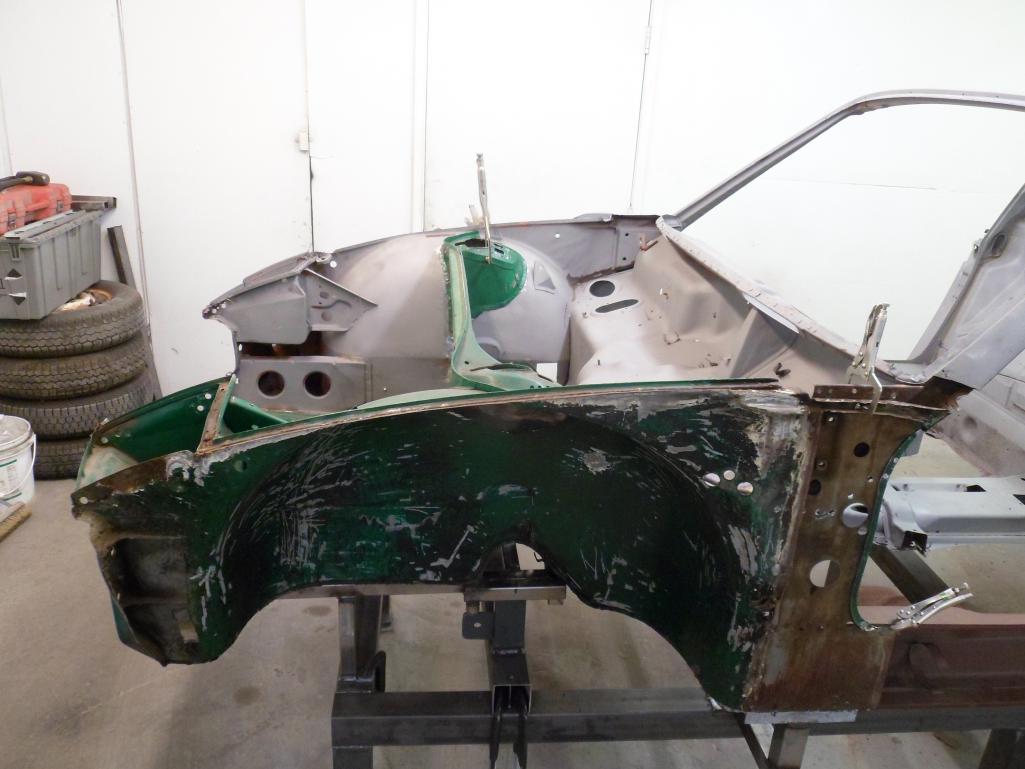
Posted by: 914350 Feb 2 2015, 01:01 PM
Jim bought another parts car last week. I went out to his place on Sunday and checked it out. Nice find, he'll get a lot of good usable parts off of this car.
Attached thumbnail(s)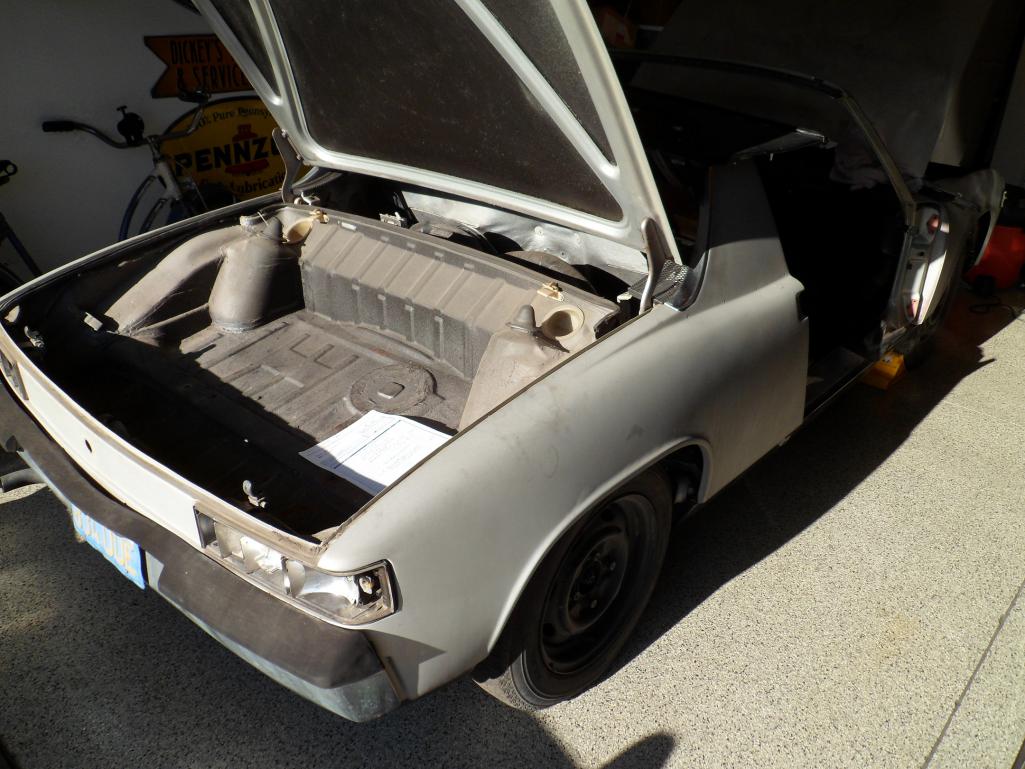
Posted by: Cairo94507 Feb 2 2015, 05:08 PM
When this much care goes into taking these cars apart and repairing any prior issues I would have no concerns about this cars value. This car will leave the shop in better shape than it left the factory. Straighter and truer for sure. Excellent job guys.
Posted by: rick 918-S Feb 3 2015, 12:22 PM
Very nice work!
Posted by: sixnotfour Feb 4 2015, 01:18 AM

drilling out all those spot welds is ...I have no words..
Posted by: G e o r g e Mar 17 2015, 10:16 PM
With Andy 1/2 way home with the next 6 you need to get back on this one.
Great Job
Posted by: Larmo63 Mar 17 2015, 10:53 PM
I'm not driving my /4 anywhere near that shop, it may never make it out alive.
Those darn /6 cars are cannibals.
Posted by: Cairo94507 Mar 18 2015, 06:47 AM
 Some must die so others may live
  .
.
Posted by: abnrdo Mar 18 2015, 08:16 AM
Amazing job!
Posted by: 76-914 Mar 18 2015, 08:42 PM
Posted by: sda4property@gmail.com Mar 18 2015, 08:54 PM
That is taking it "All the way" Stoked to see those pics.
Shows me that NO SIX is Dead...Unless we give up on them.
Looking forward to picking one up soon.
Posted by: banananose914 Mar 18 2015, 11:34 PM
So far, in regards to this restoration, some 914's gave some and two 914's gave all. As opposed to doing a VIN switch, we are in essence building a 914 around a VIN number. As such, the restoration checklist goes something like this; refinance the house, check, spend the kid's education money, check, hide large amounts of money from the wife, check and check. It appears we have a go!
Posted by: rgalla9146 Mar 19 2015, 09:04 AM
I'm surprised the new rear inner suspension pick-up is not drilled .
With all this unbelievable work you don't even get that as a given reference.
But I have no doubts.
Great work !
Posted by: 914350 Mar 20 2015, 09:27 PM
Thanks for all the cool coments, I havn't posted any pics for a while, I figured looking at pics of spotwelds being drilled out would get old...but it doesn't, so here's some pics.
Attached thumbnail(s)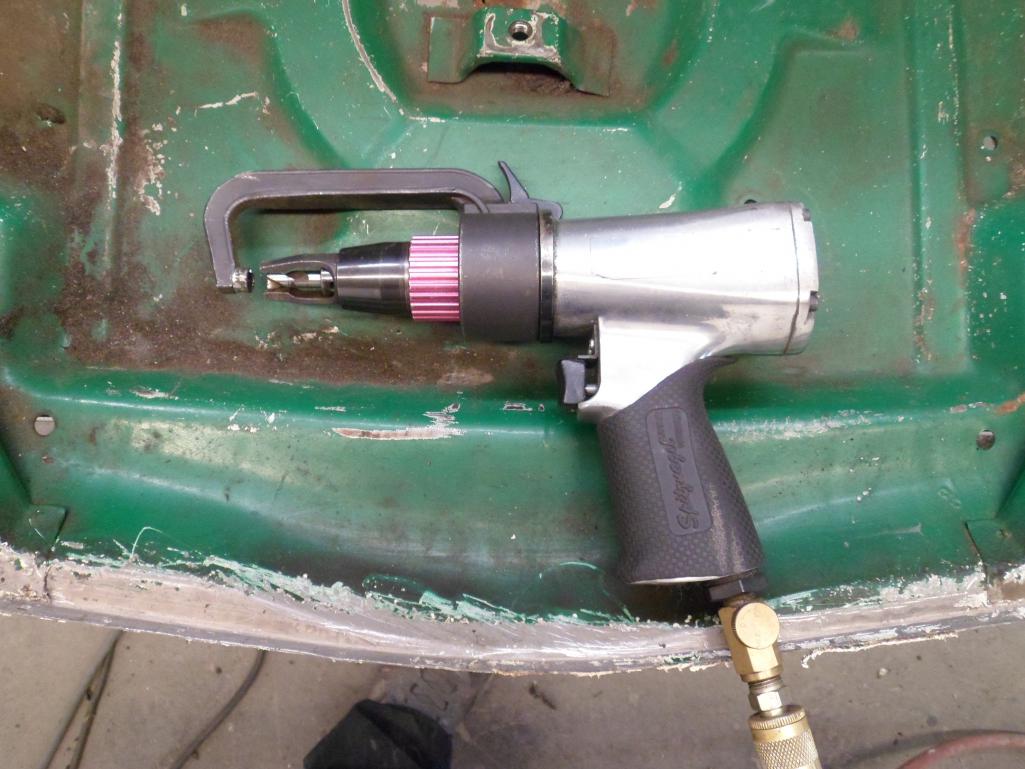
Posted by: 914350 Mar 20 2015, 09:29 PM
More pics.
Attached thumbnail(s)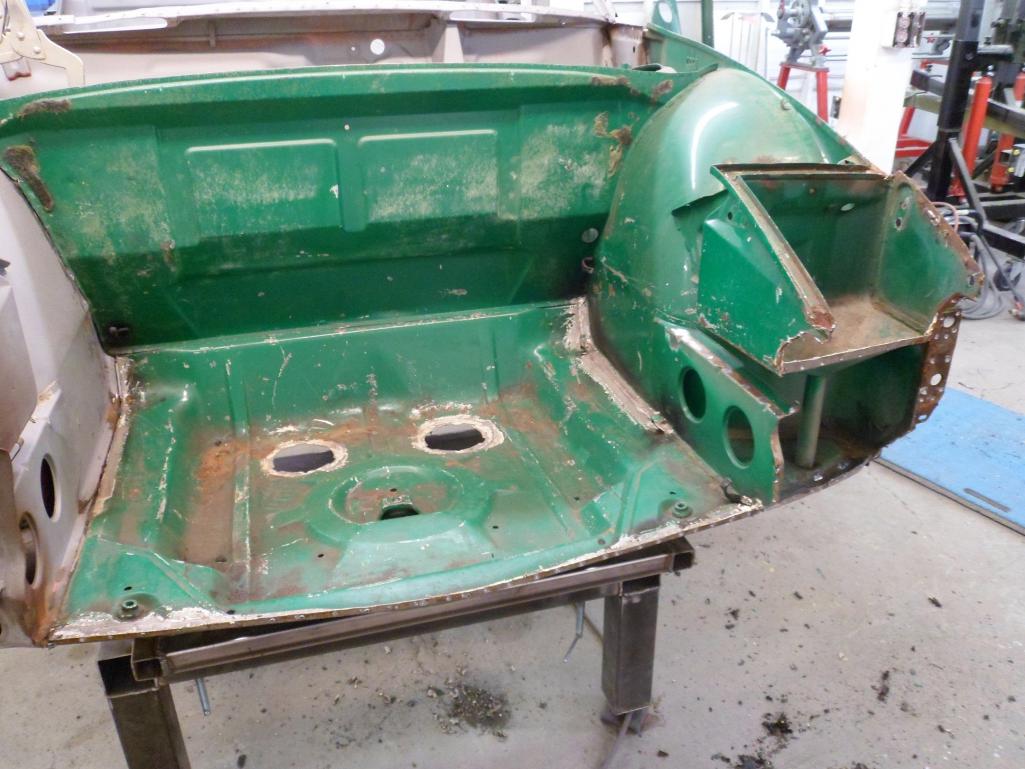
Posted by: 914350 Mar 20 2015, 09:36 PM
Removing the front panel from the doner car.
Attached thumbnail(s)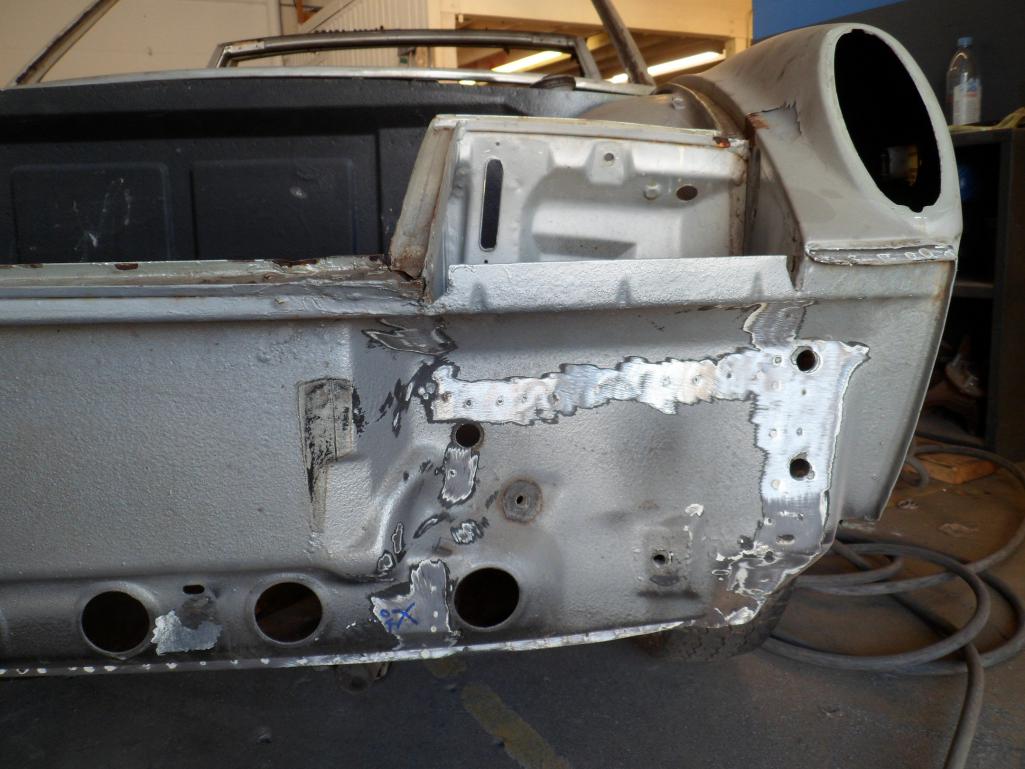
Posted by: 914350 Mar 20 2015, 09:37 PM
More.
Attached thumbnail(s)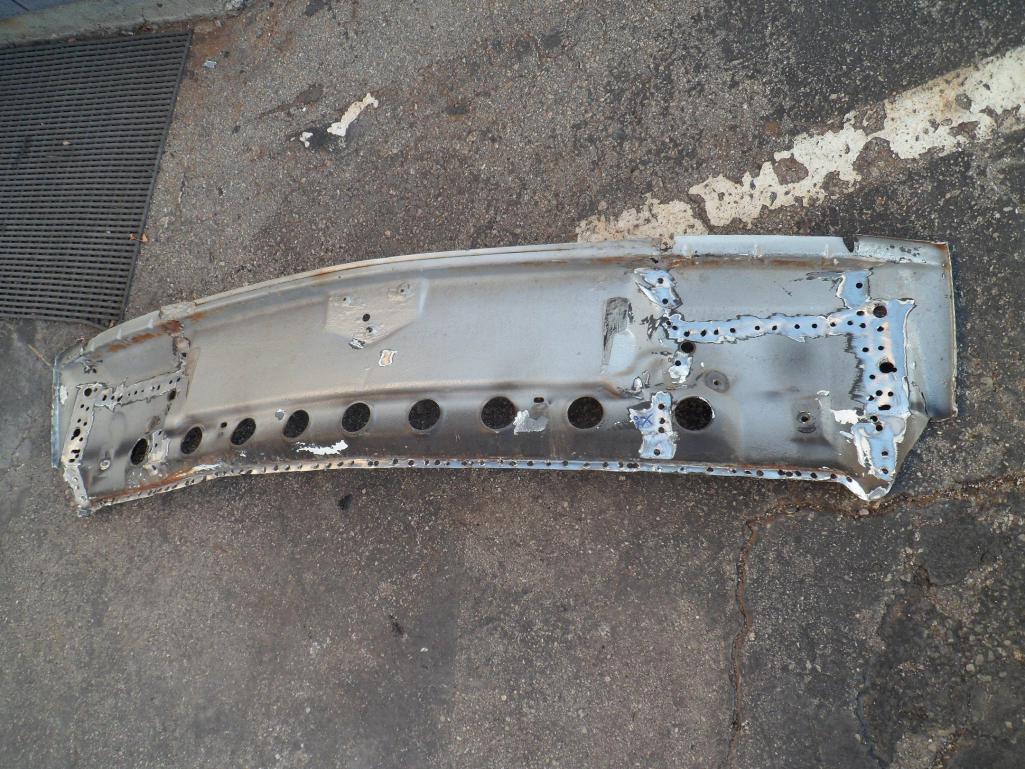
Posted by: 914350 Mar 20 2015, 09:42 PM
More pics.
Attached thumbnail(s)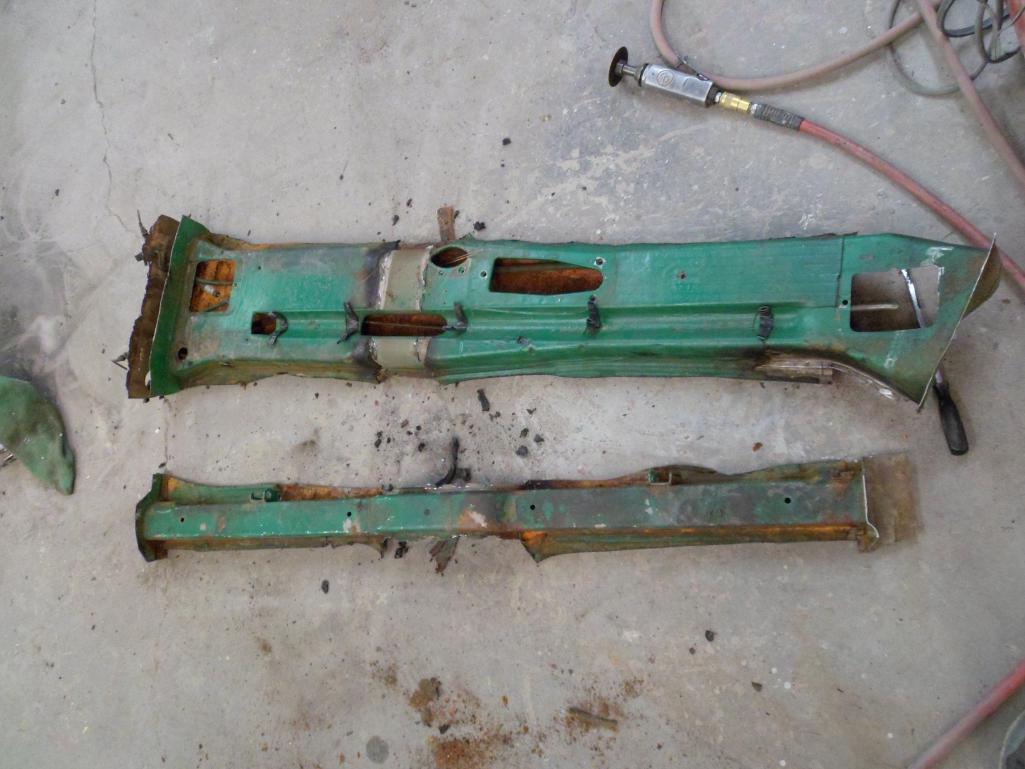
Posted by: 914350 Mar 20 2015, 09:44 PM
More pics.
Attached thumbnail(s)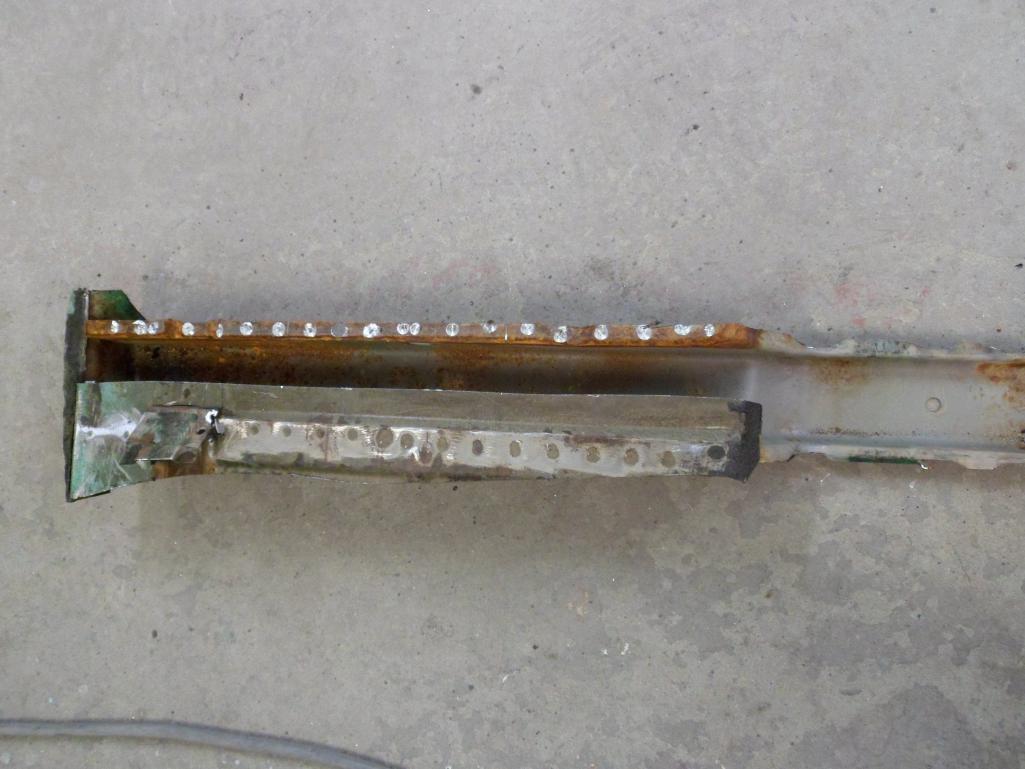
Posted by: 914350 Mar 20 2015, 09:47 PM
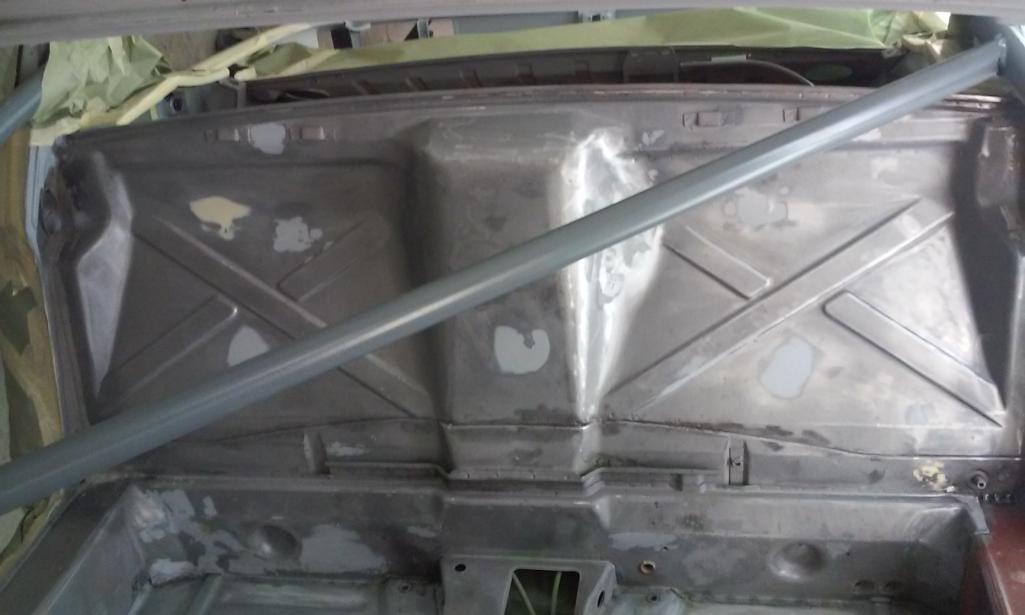
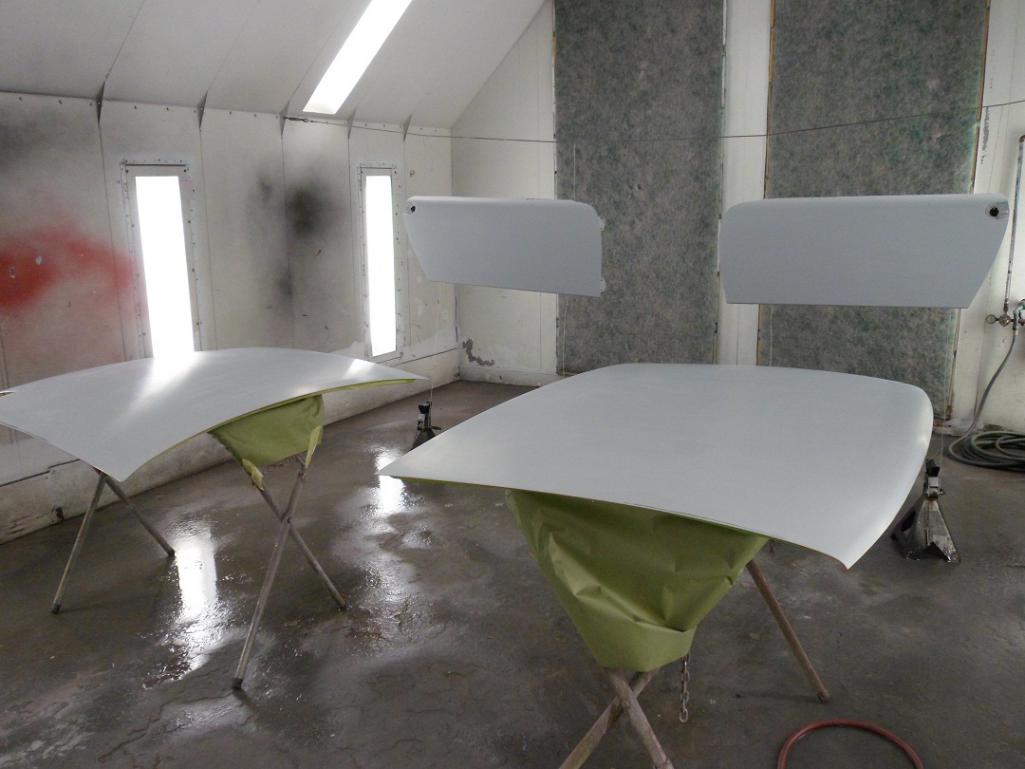
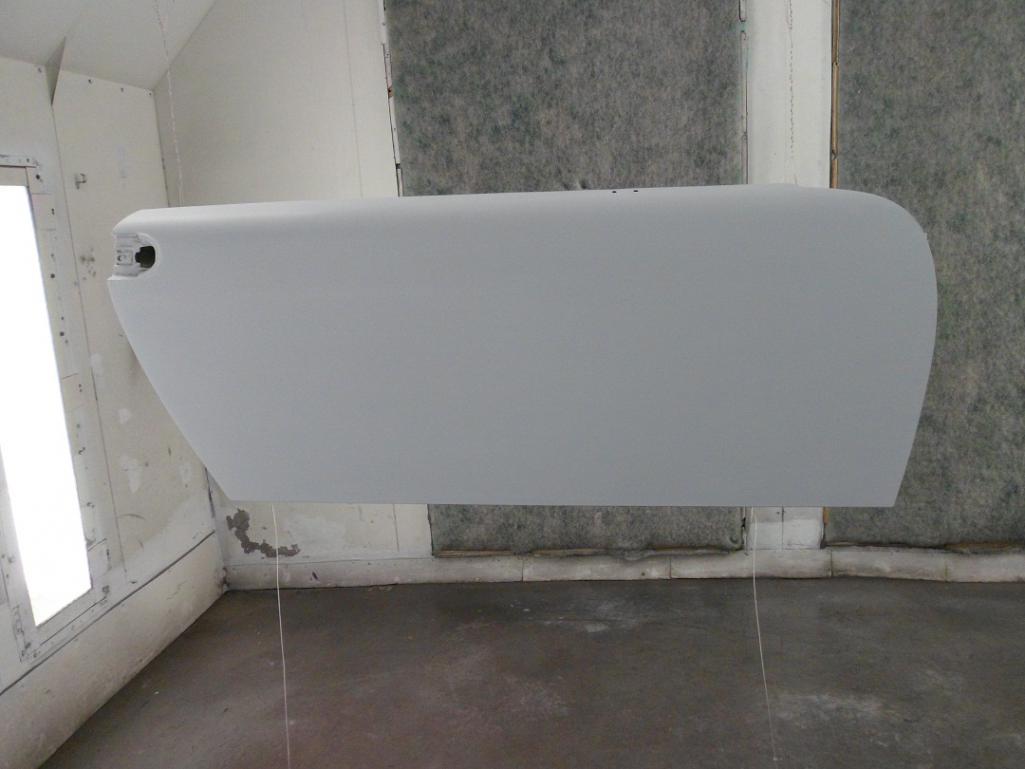
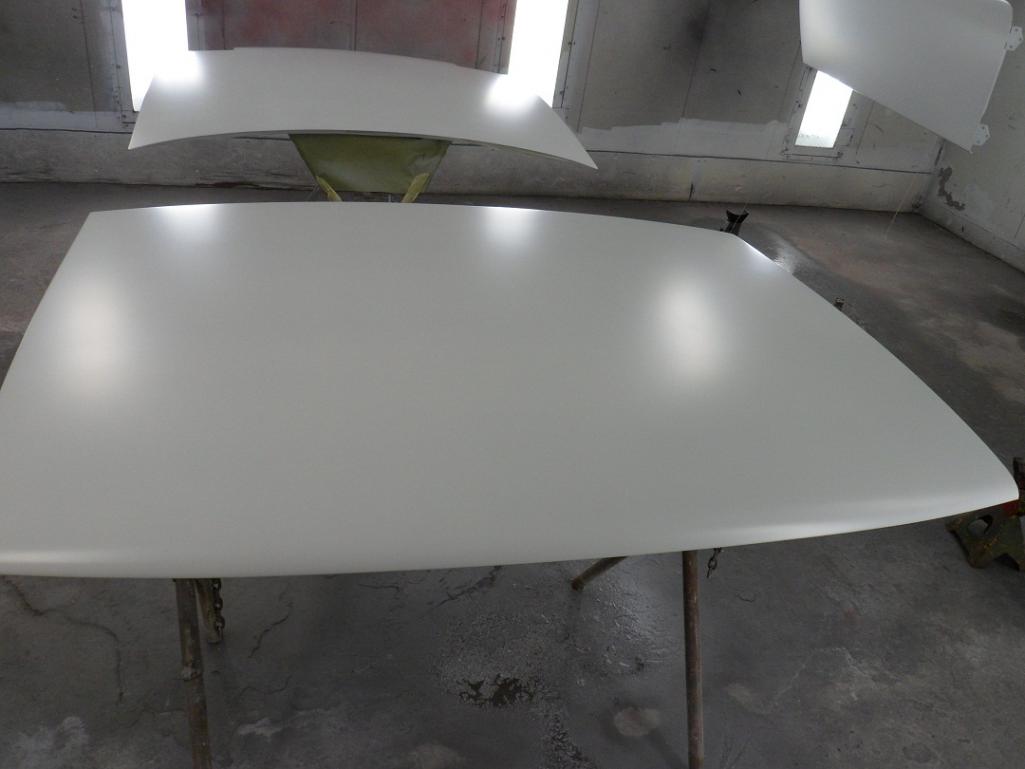
Got a load of parts back from media blasting today. Now I can start putting it back together.
Attached thumbnail(s)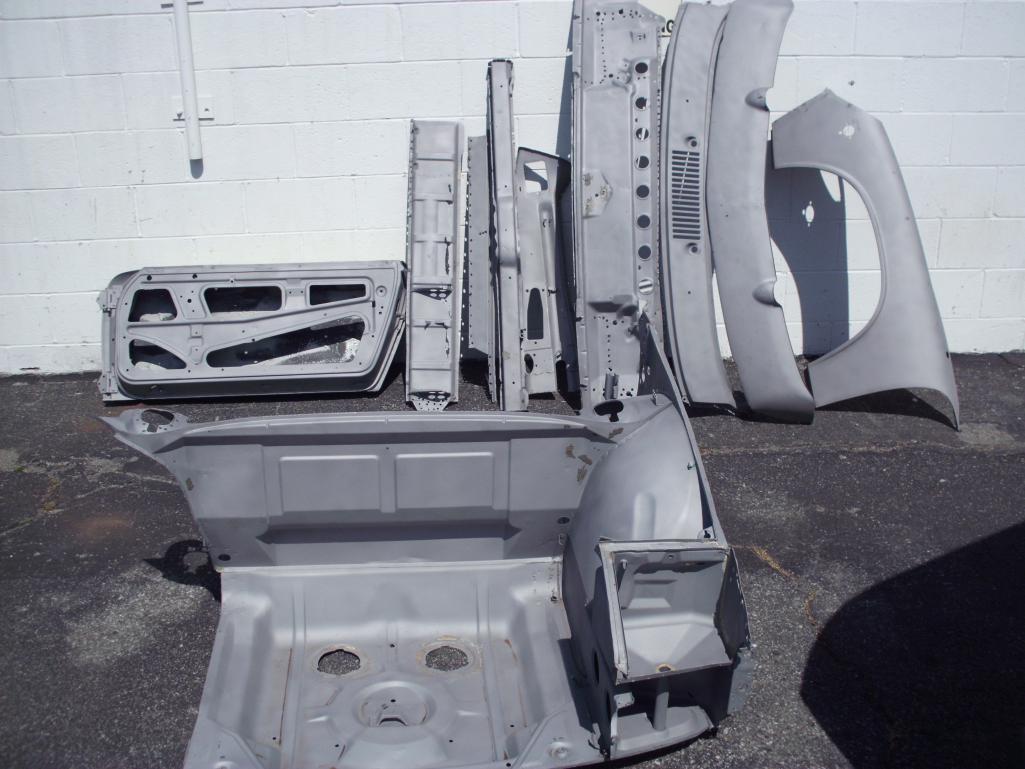
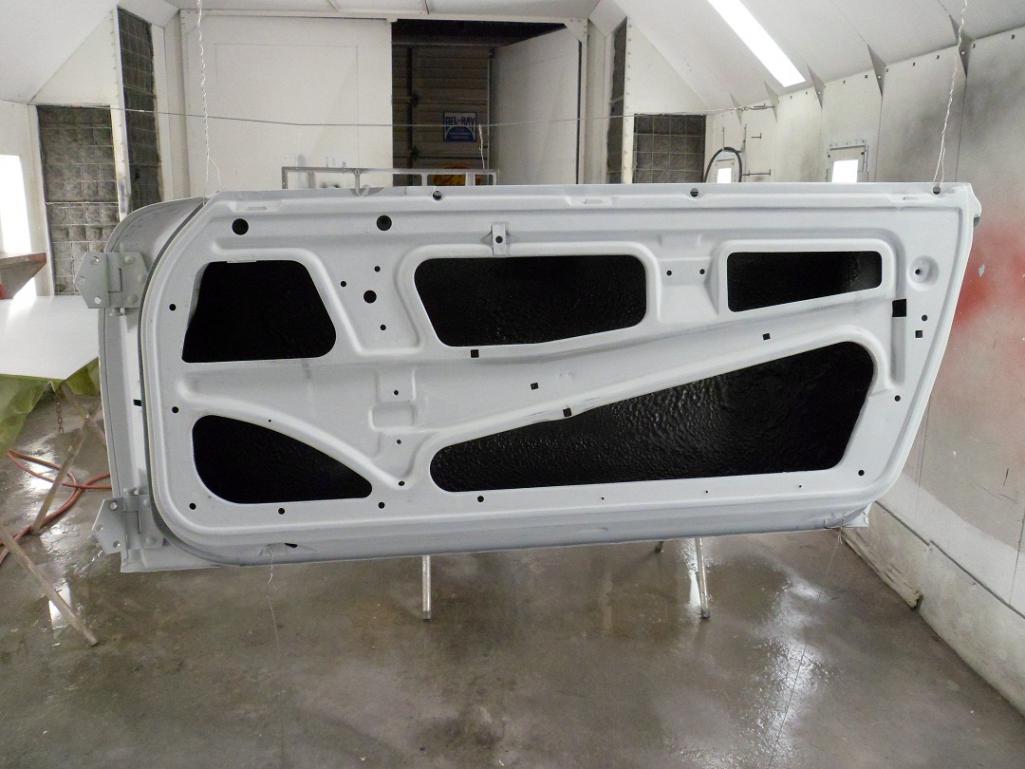
Posted by: 914350 Mar 20 2015, 09:52 PM
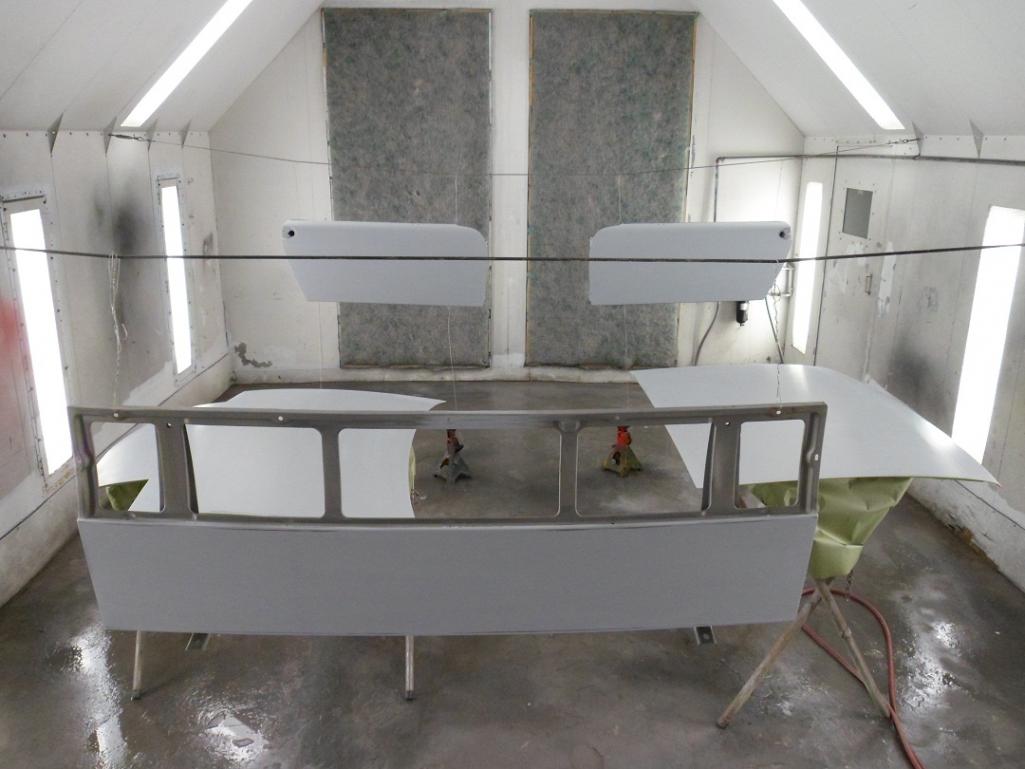
I tied the doors together so they only blast the jams and inside and don't warp the skins. I will strip the skins with Aircraft stripper.
Attached thumbnail(s)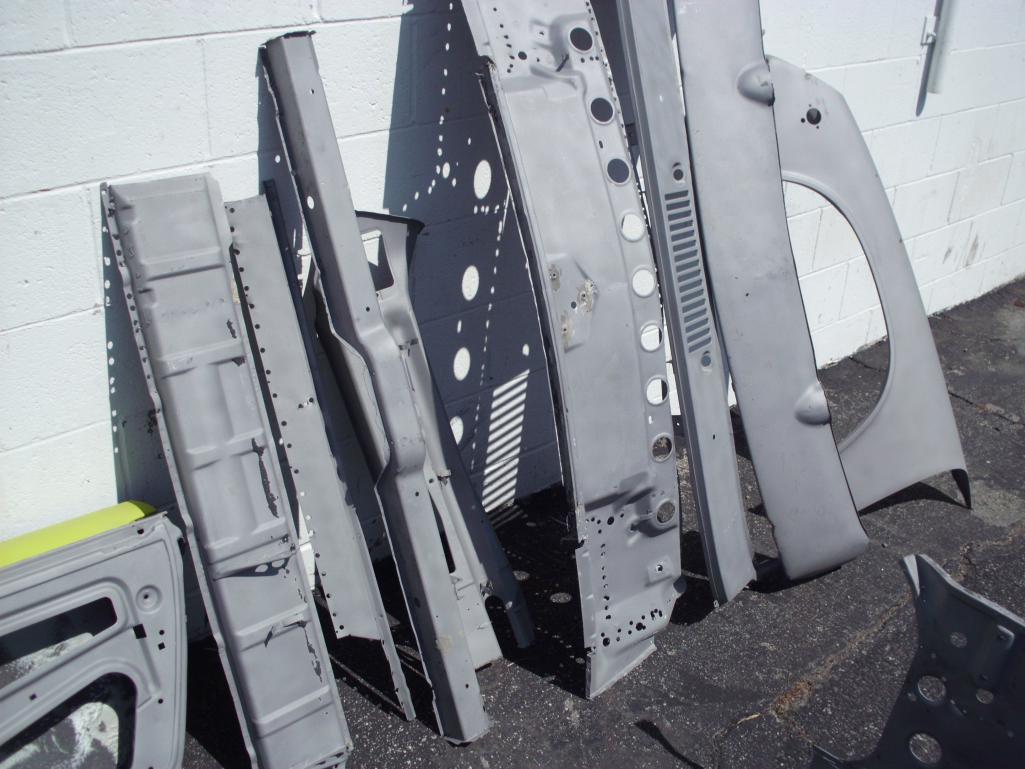
Posted by: 914350 Mar 20 2015, 09:57 PM
More pics.
Attached thumbnail(s)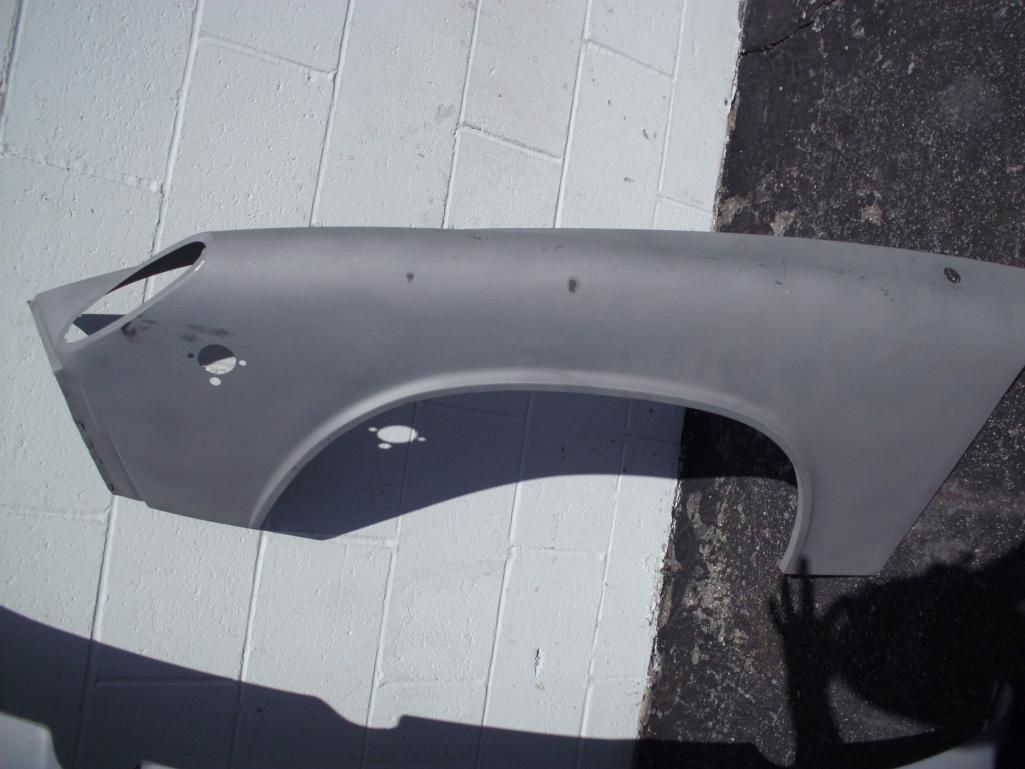
Posted by: 914350 Mar 20 2015, 10:07 PM
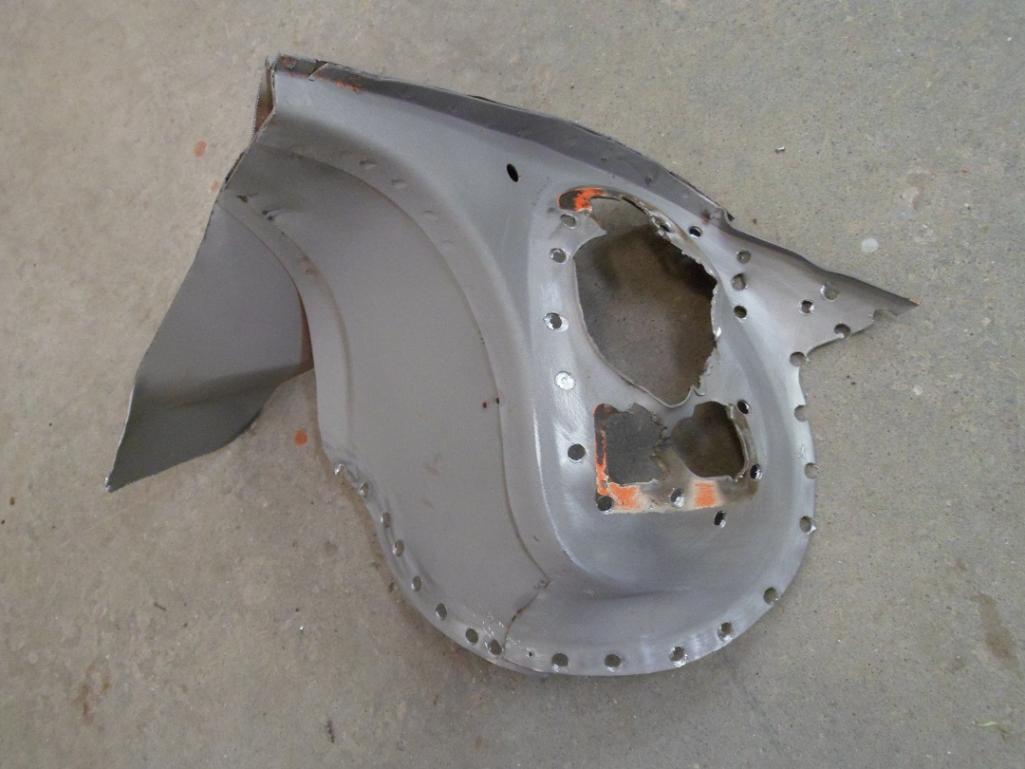
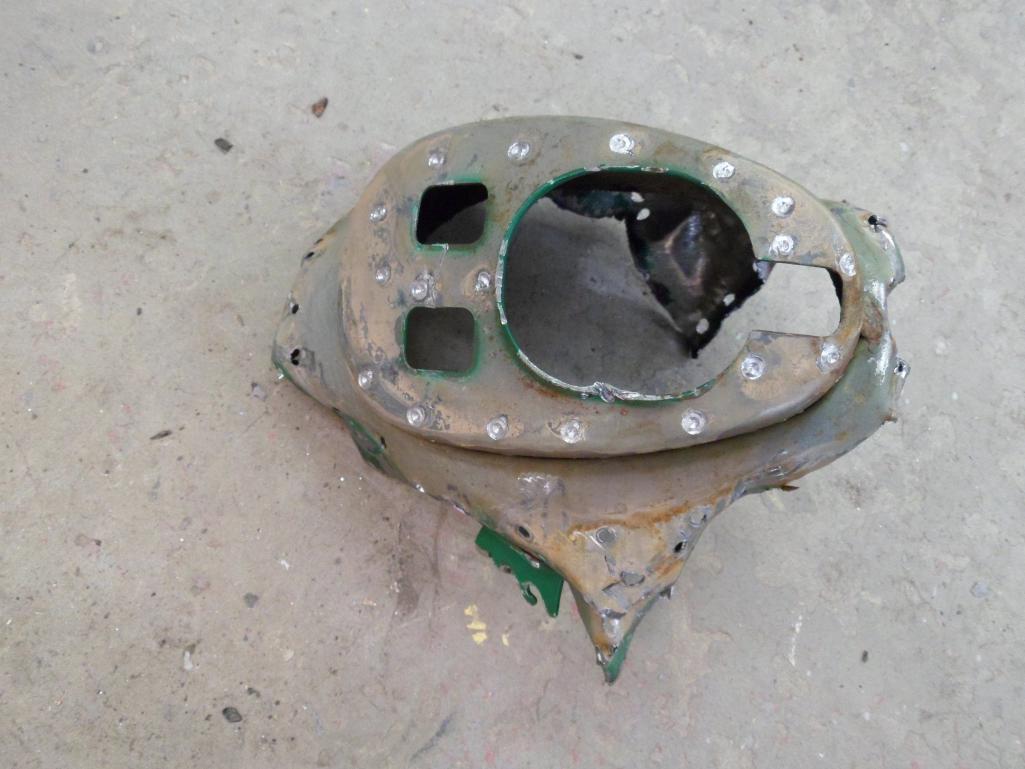
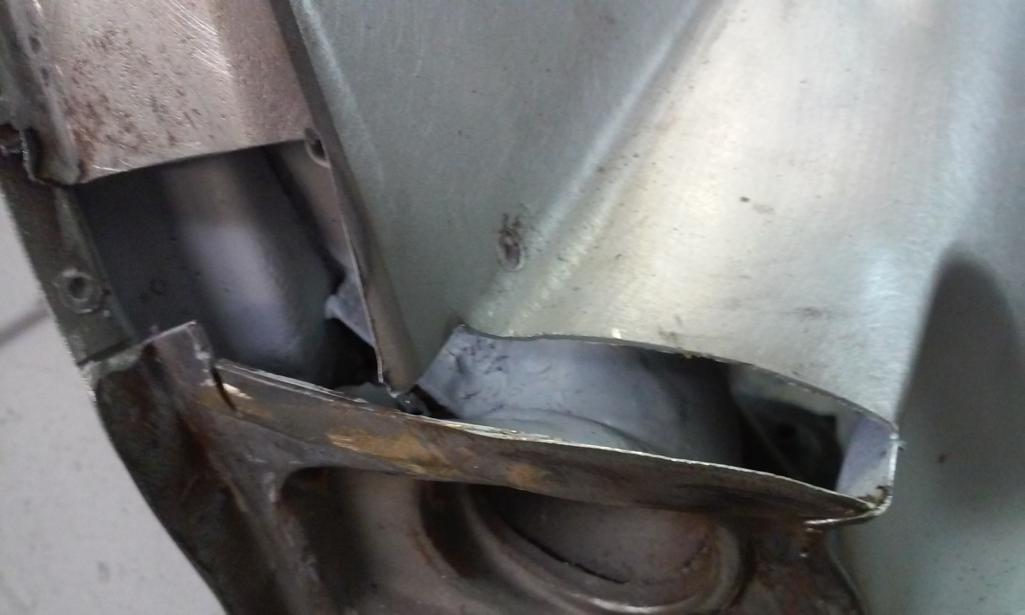
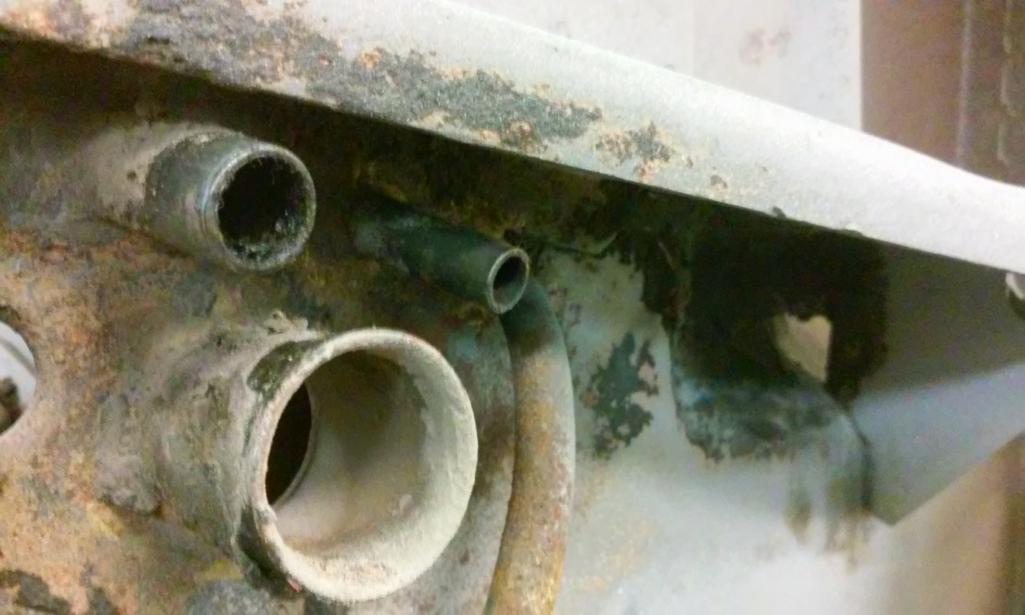
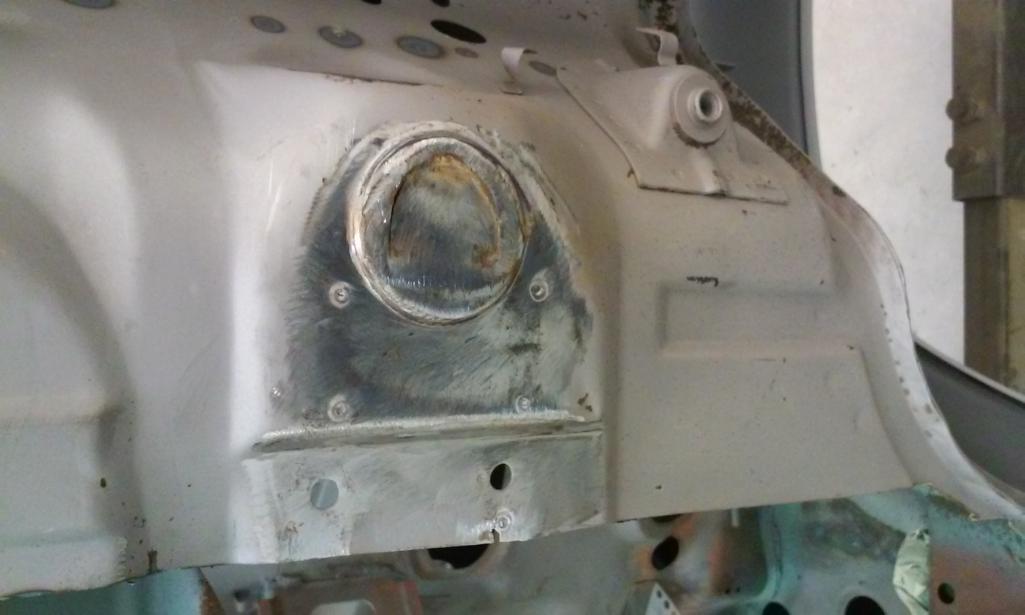
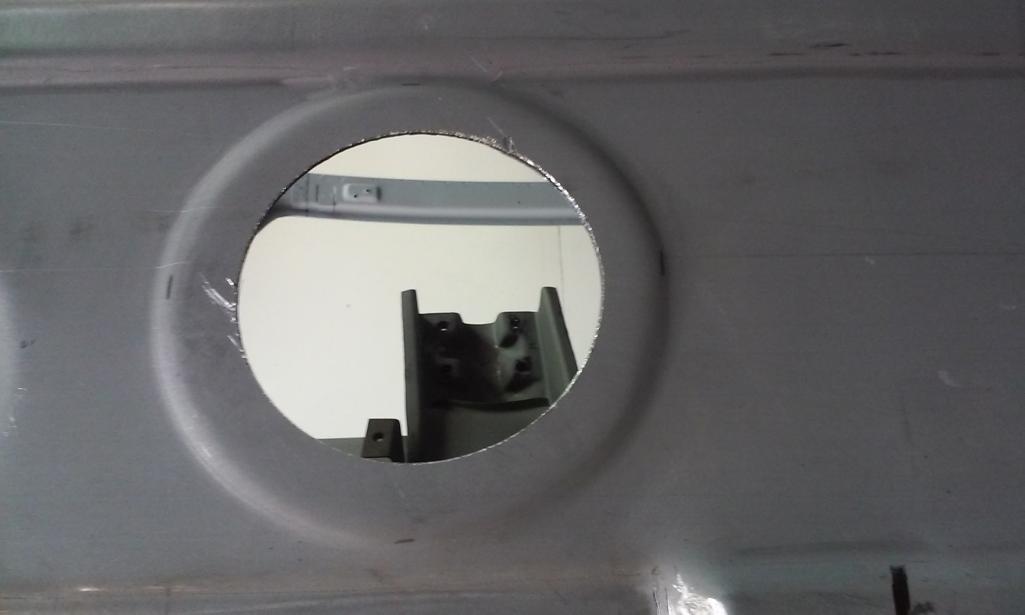
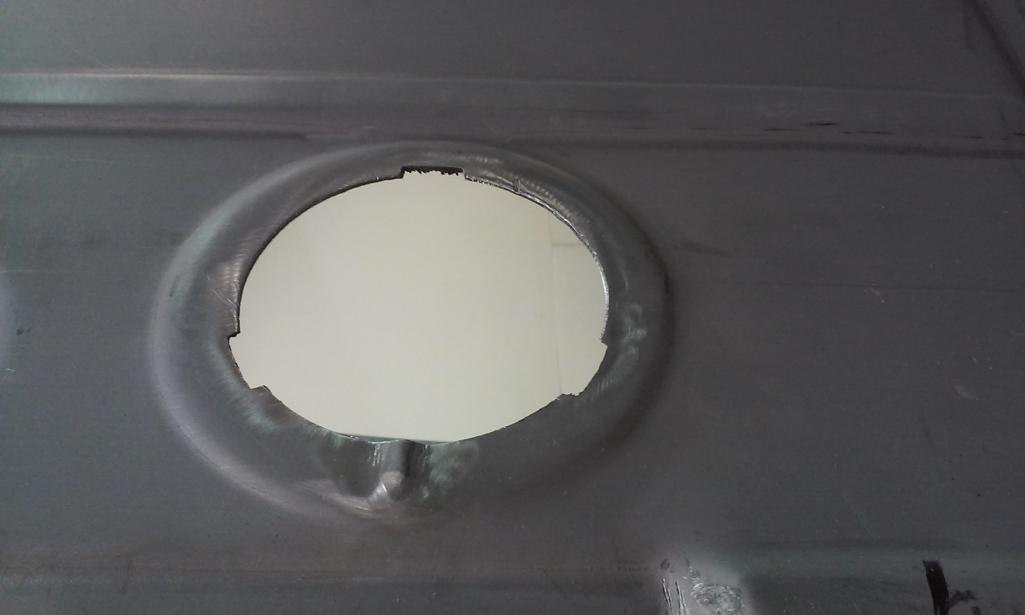
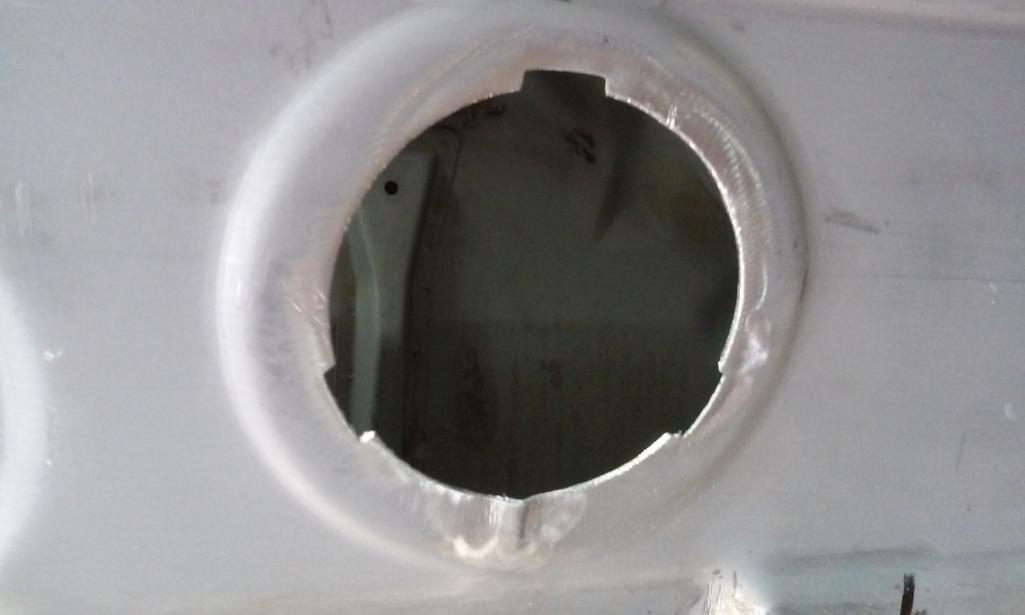
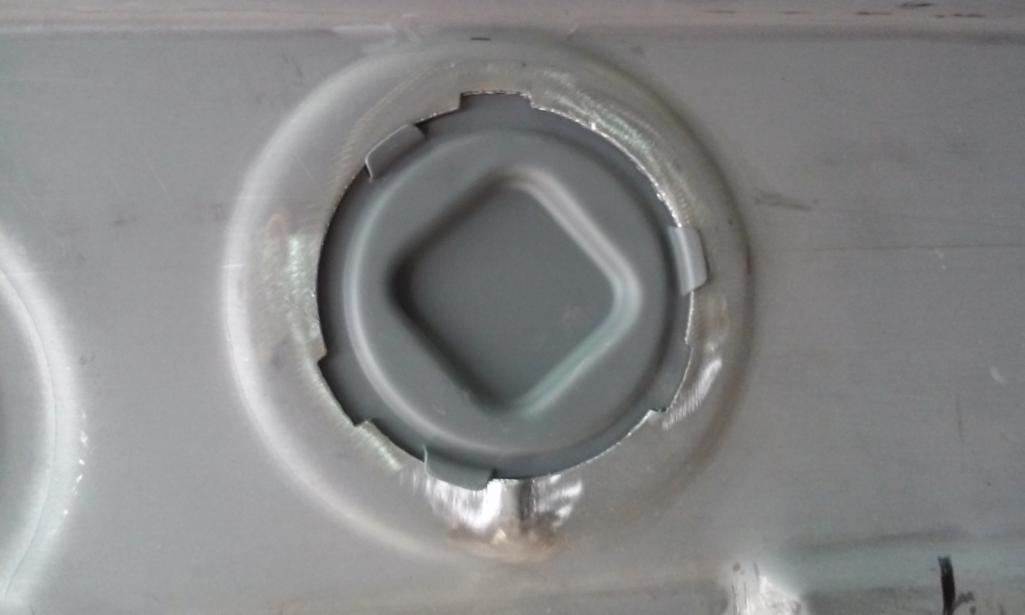
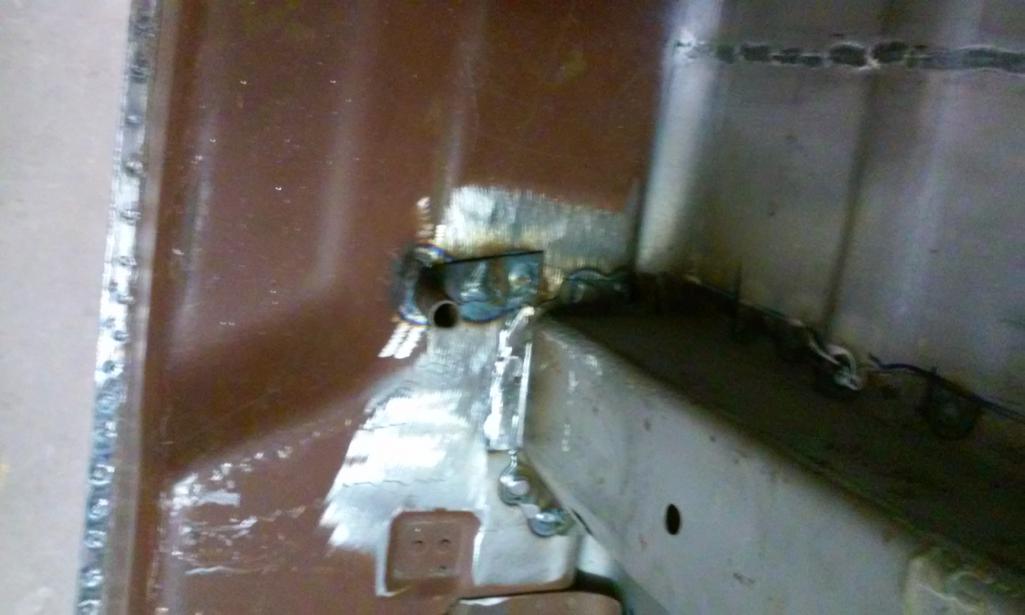
a PO had crudely punched/torn a hole in the inner fender to run lines.
Attached thumbnail(s)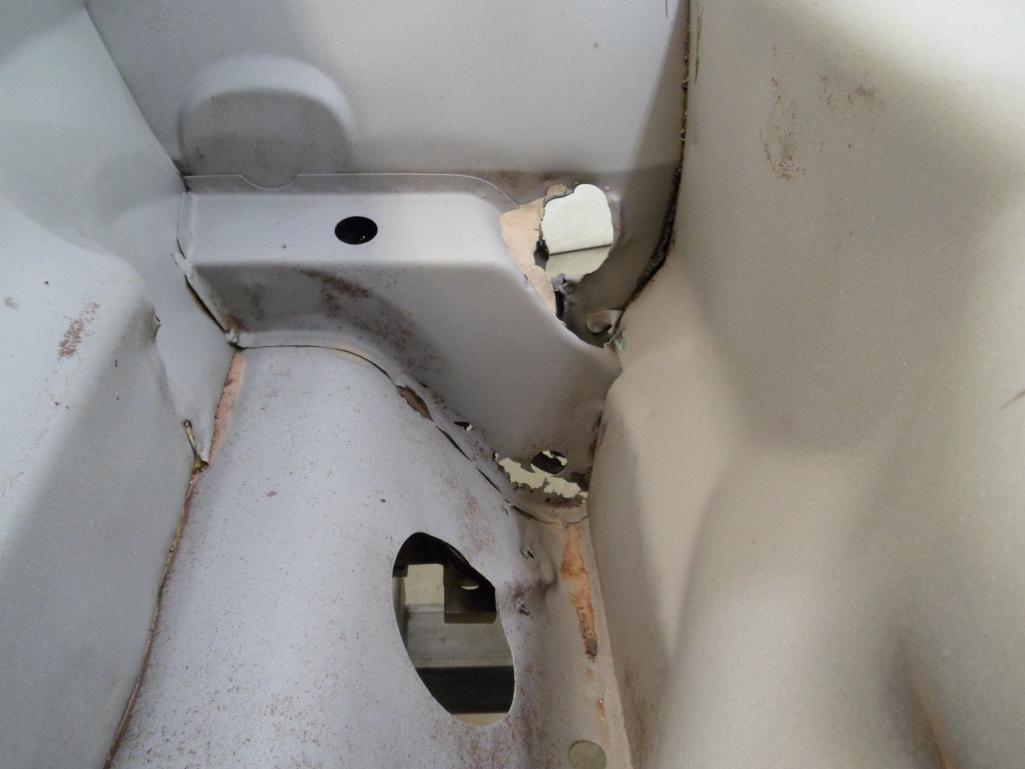
Posted by: 914350 Mar 20 2015, 10:08 PM
More pics.
Attached thumbnail(s)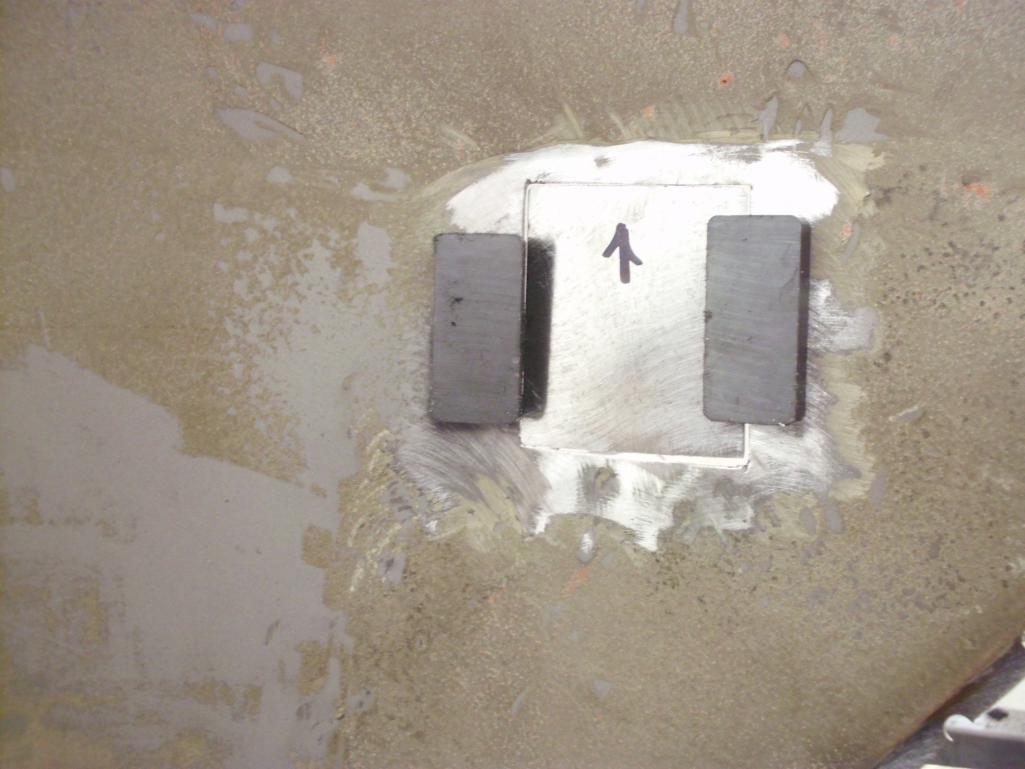

Posted by: 914350 Mar 20 2015, 10:09 PM
More pics.
Attached thumbnail(s)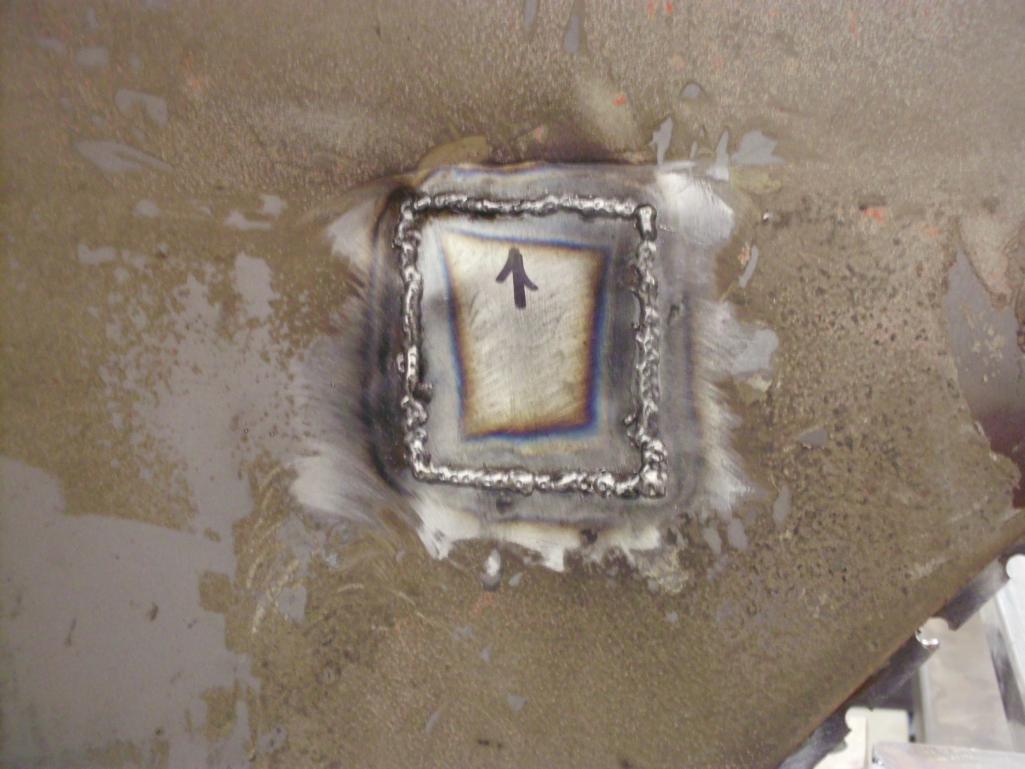
Posted by: Old Yella Mar 21 2015, 12:23 AM
I knew those two green doors would go to a good cause. Nice to see they will be on a six.
Posted by: rick 918-S Mar 21 2015, 07:50 AM
Posted by: 914350 Mar 22 2015, 03:58 PM
More progress today.
Attached thumbnail(s)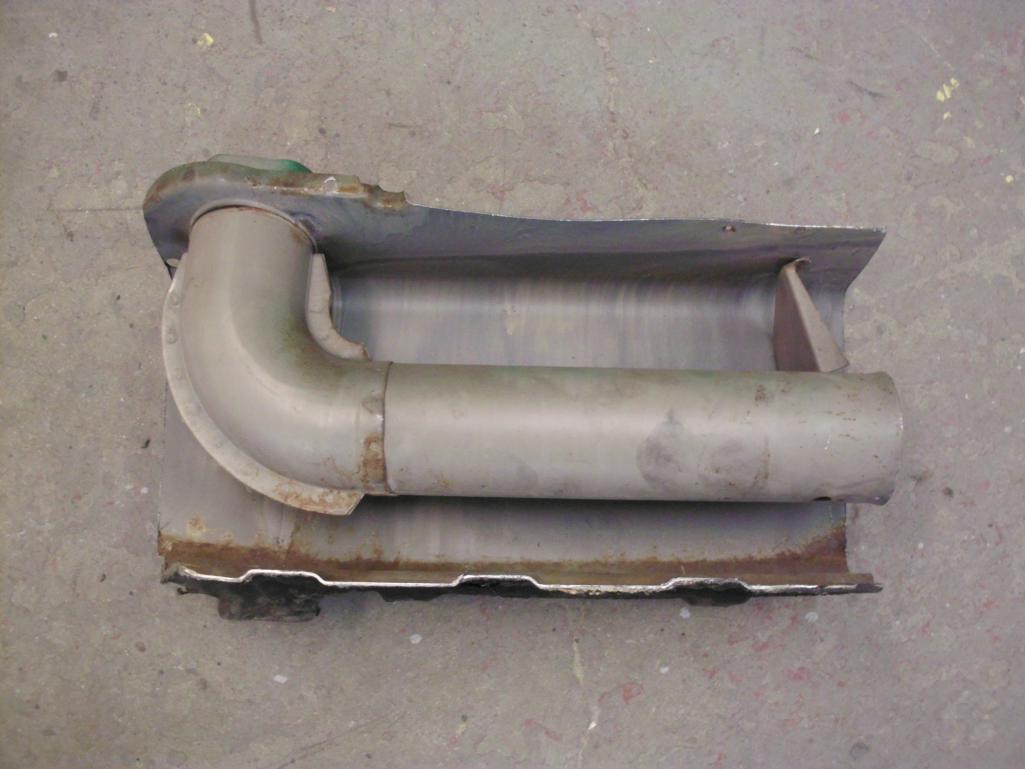
Posted by: 914350 Mar 22 2015, 03:59 PM
more pics.
Attached thumbnail(s)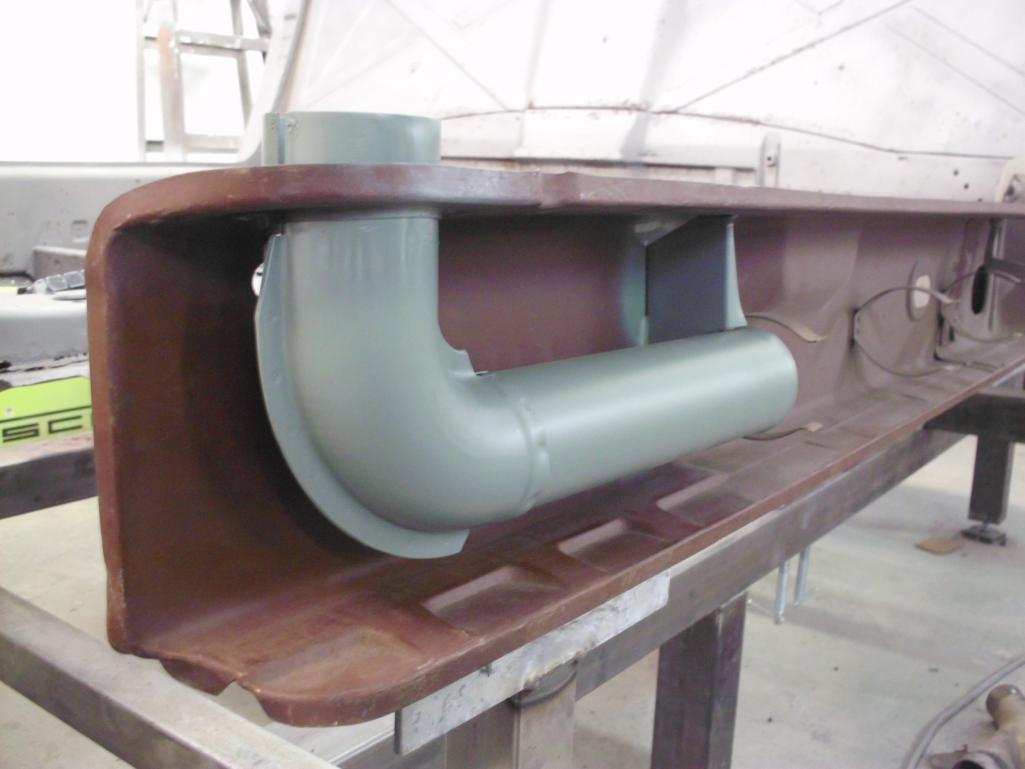
Posted by: 914350 Mar 22 2015, 04:00 PM
More.
Attached thumbnail(s)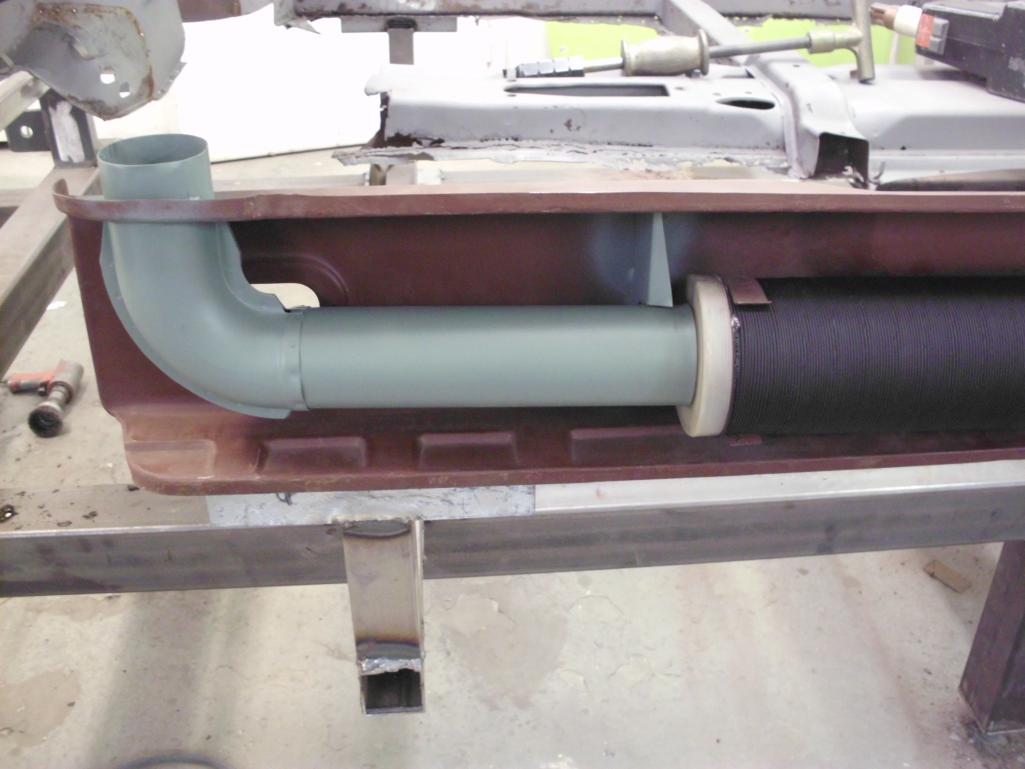
Posted by: 914350 Mar 22 2015, 04:08 PM
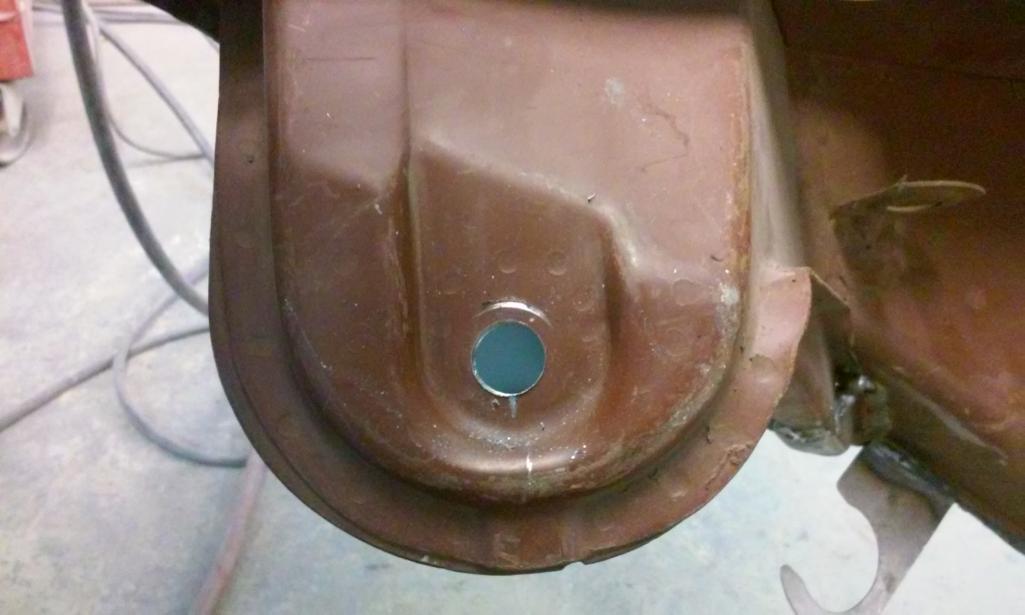
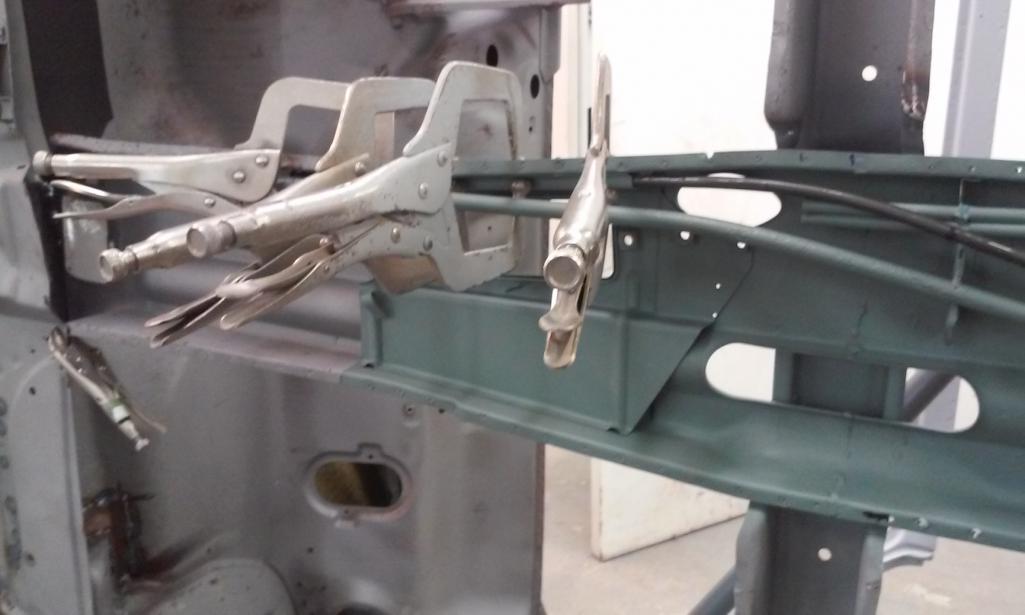
I made this punch that screws into the Jig. Once the long is welded in place, with a lite tap on the suspension consol, It will leave a dimple and I will have perfect center for boring the hole that the suspension arm mounts to. I'll drill the hole once the car is on the rotisory.
Attached thumbnail(s)

Posted by: gms Mar 22 2015, 06:48 PM
looking good!
BTW the inner rocker cover you have is incorrect for an early (70-72) car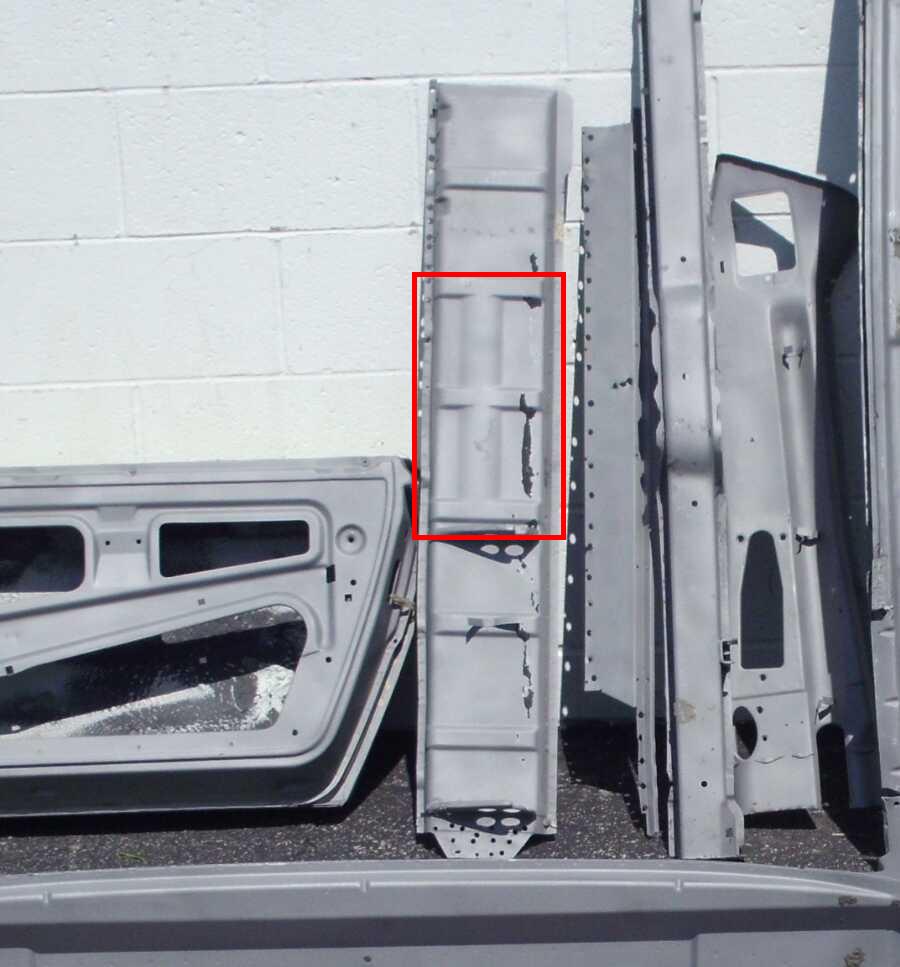
This is the correct part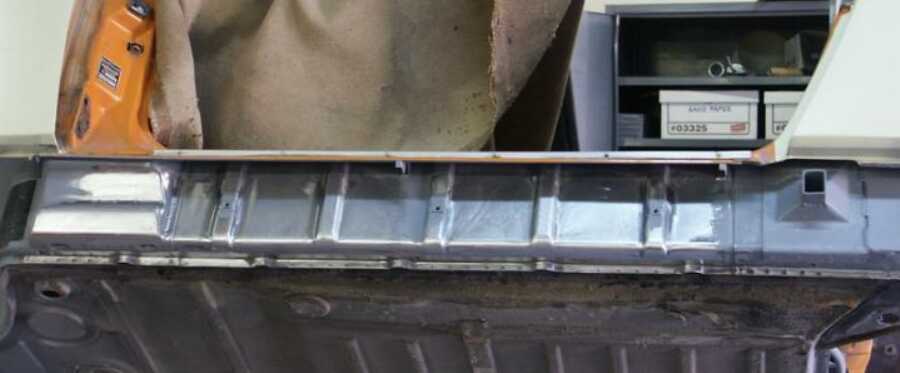
Posted by: rick 918-S Mar 22 2015, 07:30 PM
looking good!
BTW the inner rocker cover you have is incorrect for an early (70-72) car
This is the correct part
If you end up needing that outer panel I have the correct section. Just needs blasting

Posted by: 914350 Mar 22 2015, 07:56 PM
Ah Ha! I see. This part came off the 73 Donor. Thanks for catching that and letting me know. I would have probably noticed...after I welded it on.
I'll PM you about the peice/section that you have.
Thanks again.
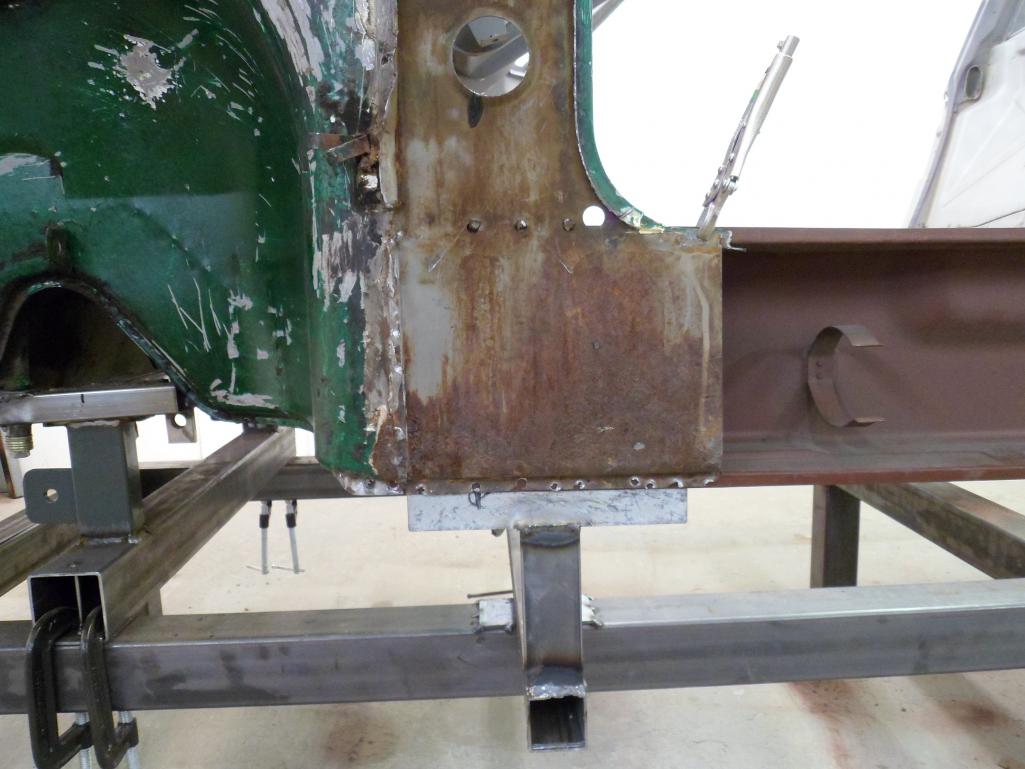
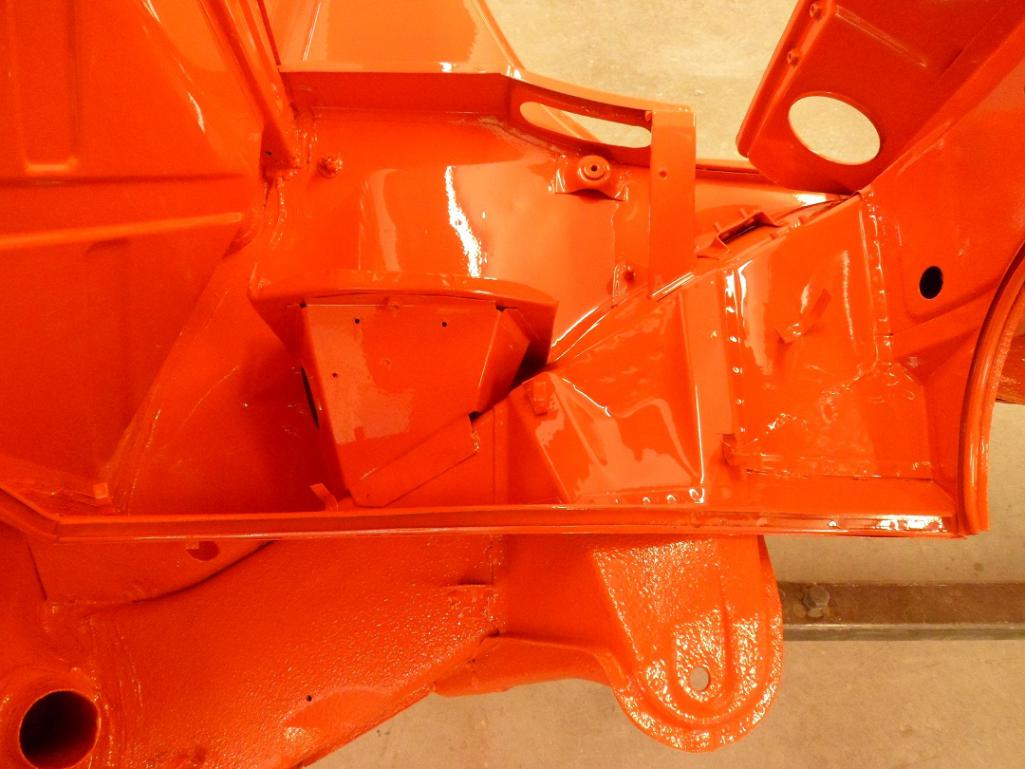
Posted by: 914350 Mar 31 2015, 08:36 AM
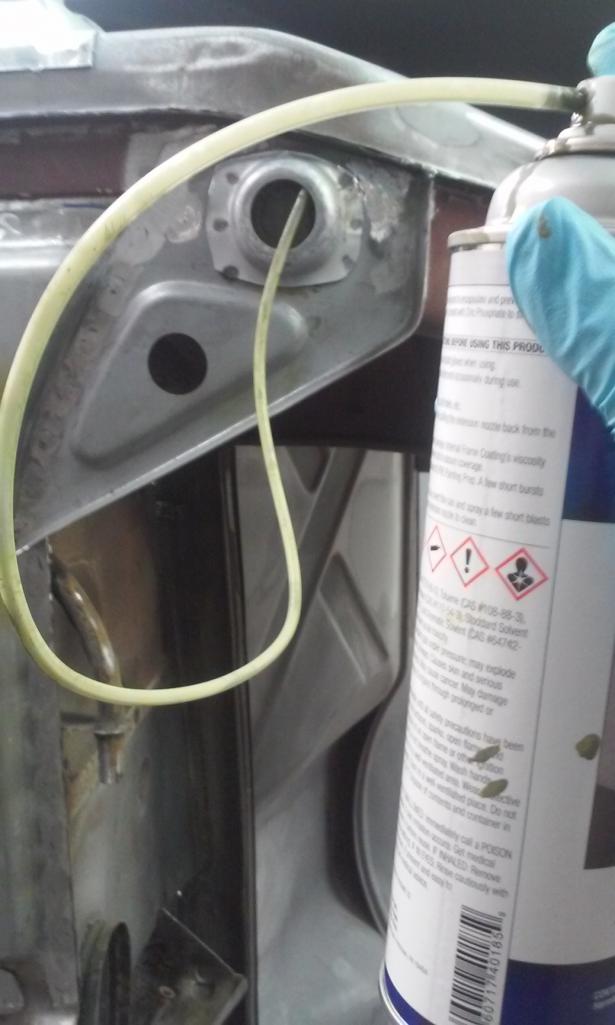
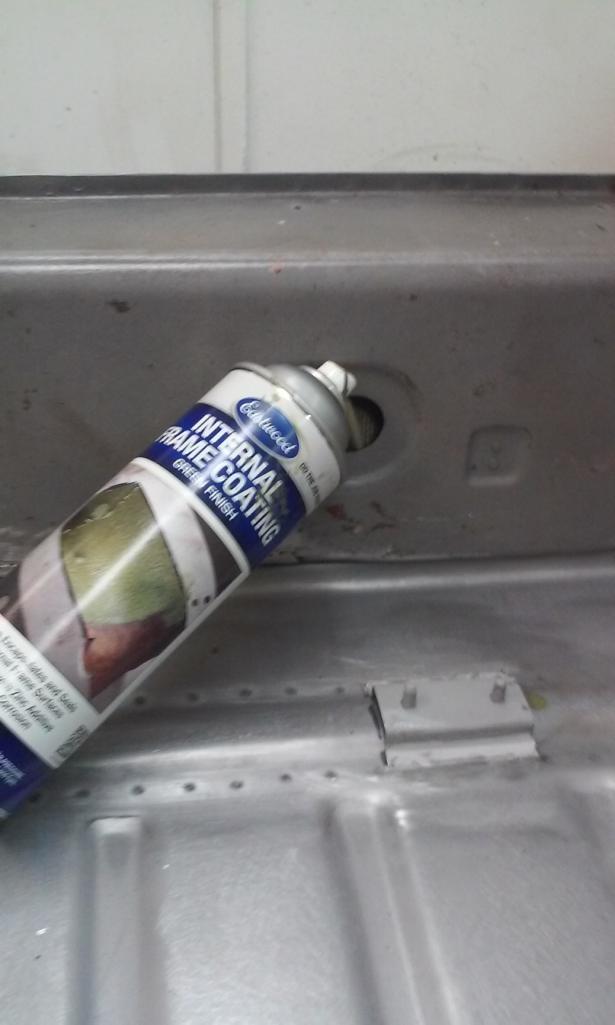
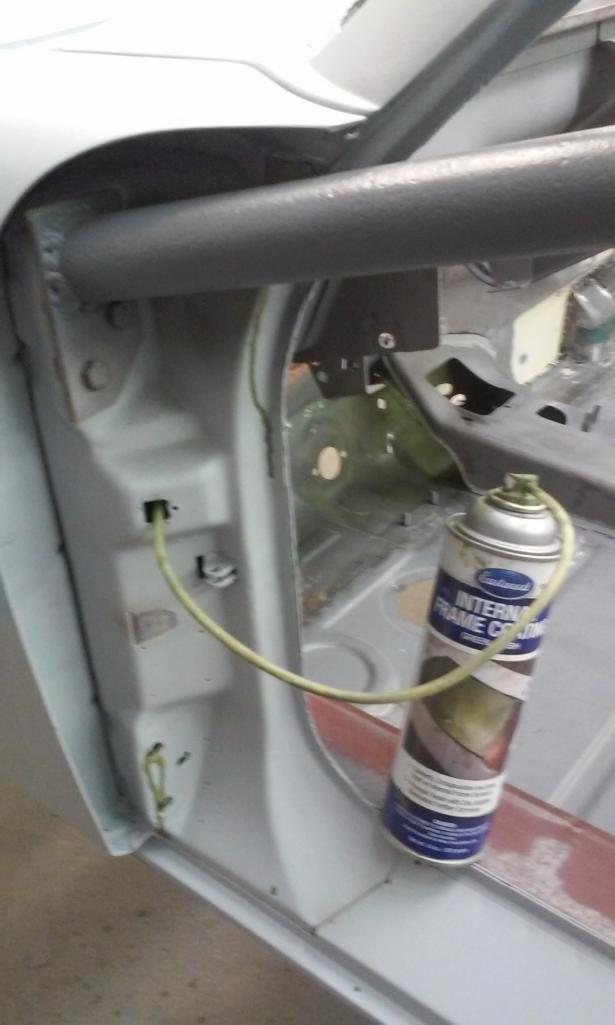
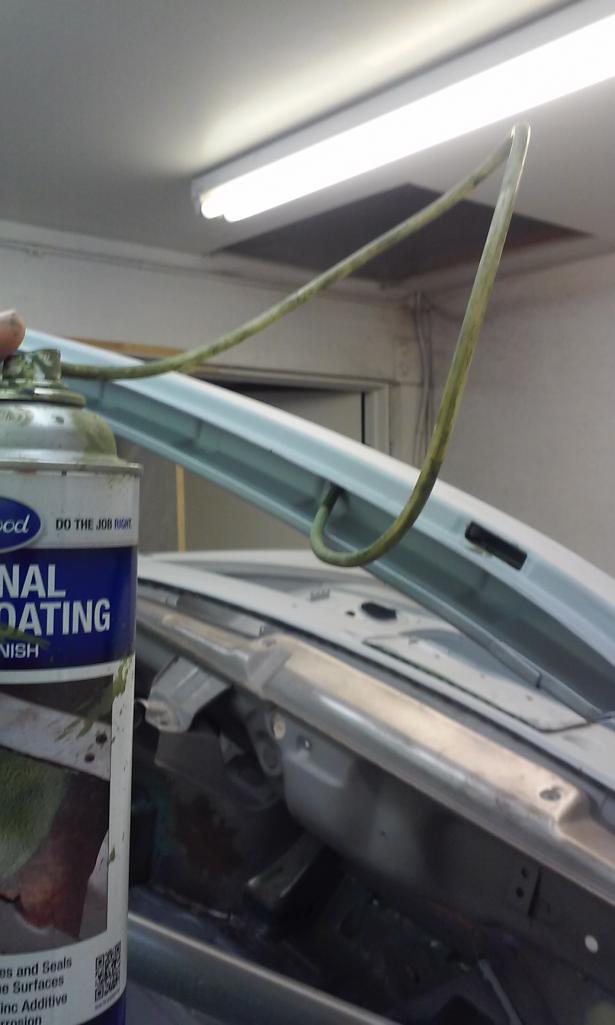
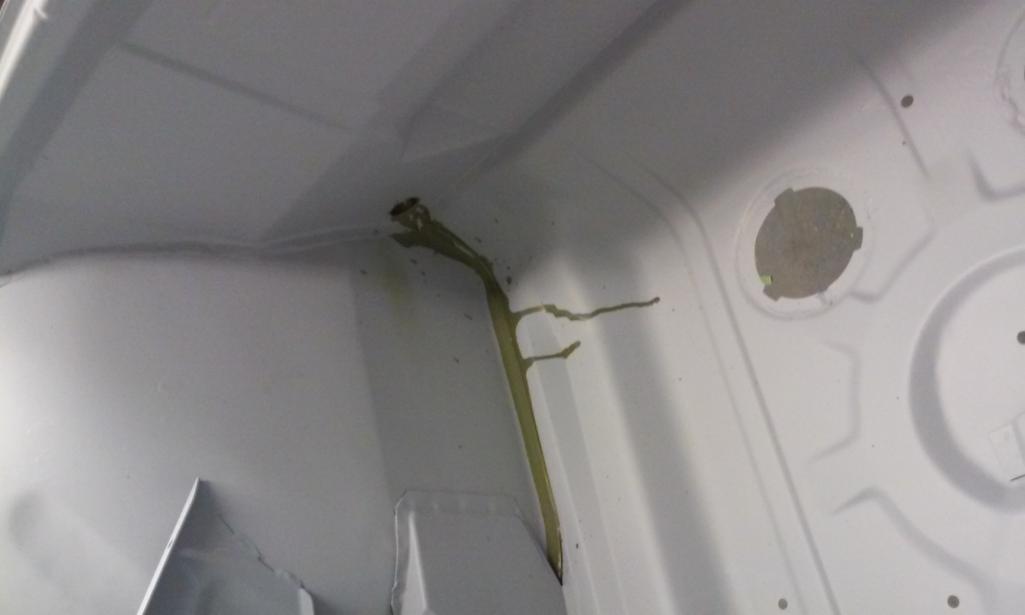
Got the front corner clip and inner long tacked in place. I blasted then coated the areas with brush on weld through primer. As it is heated when welding, it melts and coats the weld area to protect it. All these areas will also be sprayed with a primer once the car is completed using internal frame coating spray.
Attached thumbnail(s)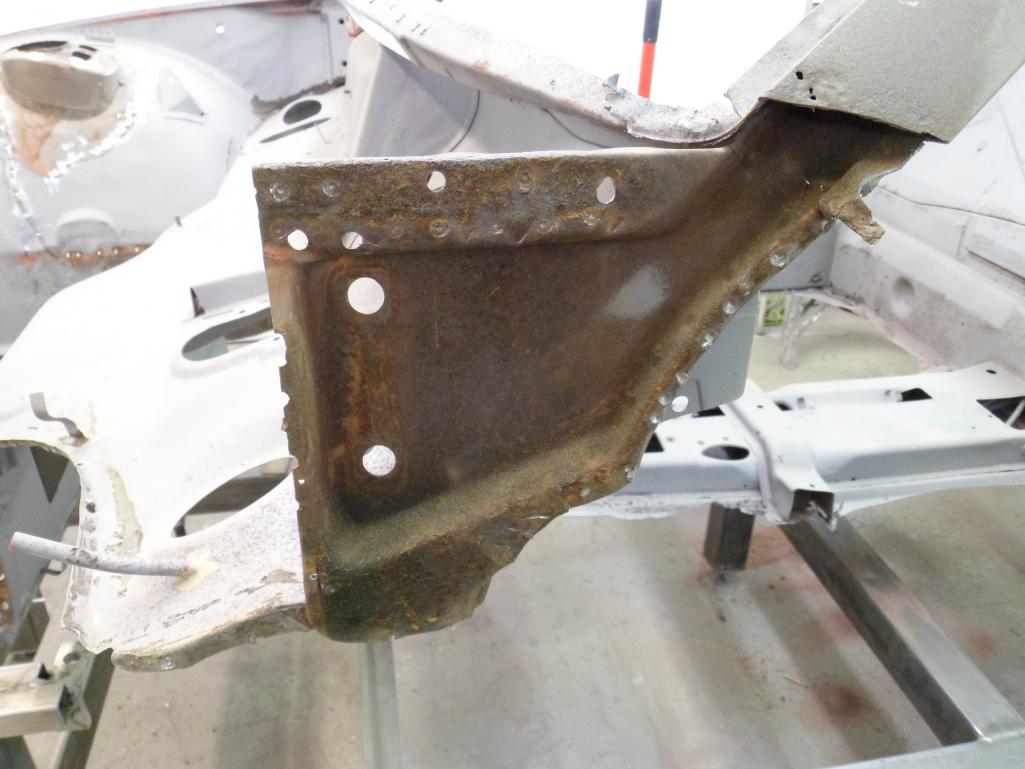
Posted by: 914350 Mar 31 2015, 08:38 AM
More pics.
Attached thumbnail(s)
Posted by: stevegm Apr 3 2015, 03:34 PM
looking good!
BTW the inner rocker cover you have is incorrect for an early (70-72) car
This is the correct part
If you end up needing that outer panel I have the correct section. Just needs blasting
So, Restoration Design only makes the inner rocker panel (left) for the late cars? Their part has the two curved bump outs:
http://www.restoration-design.com/store/product/PP301L
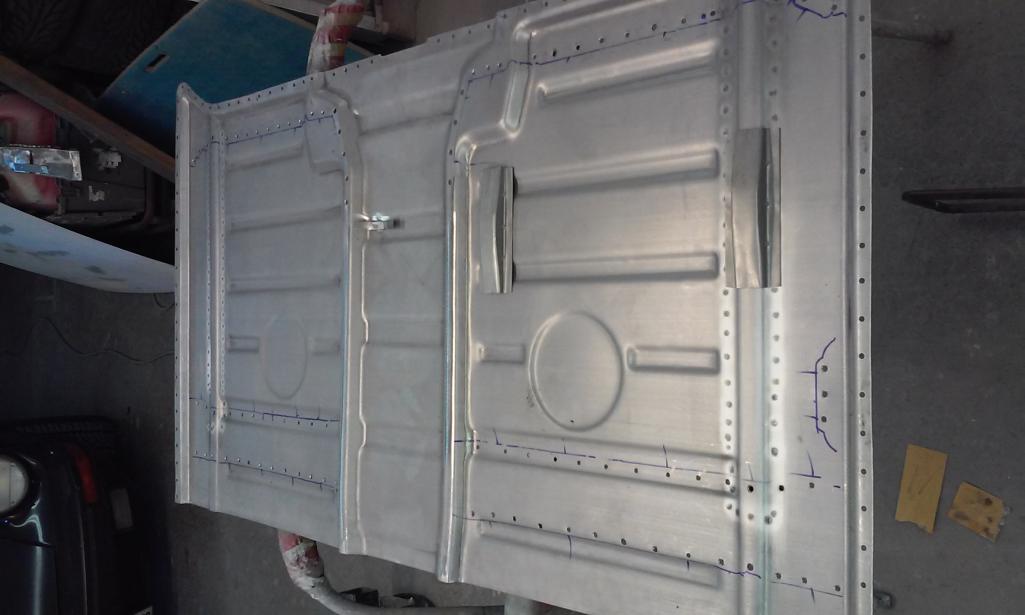
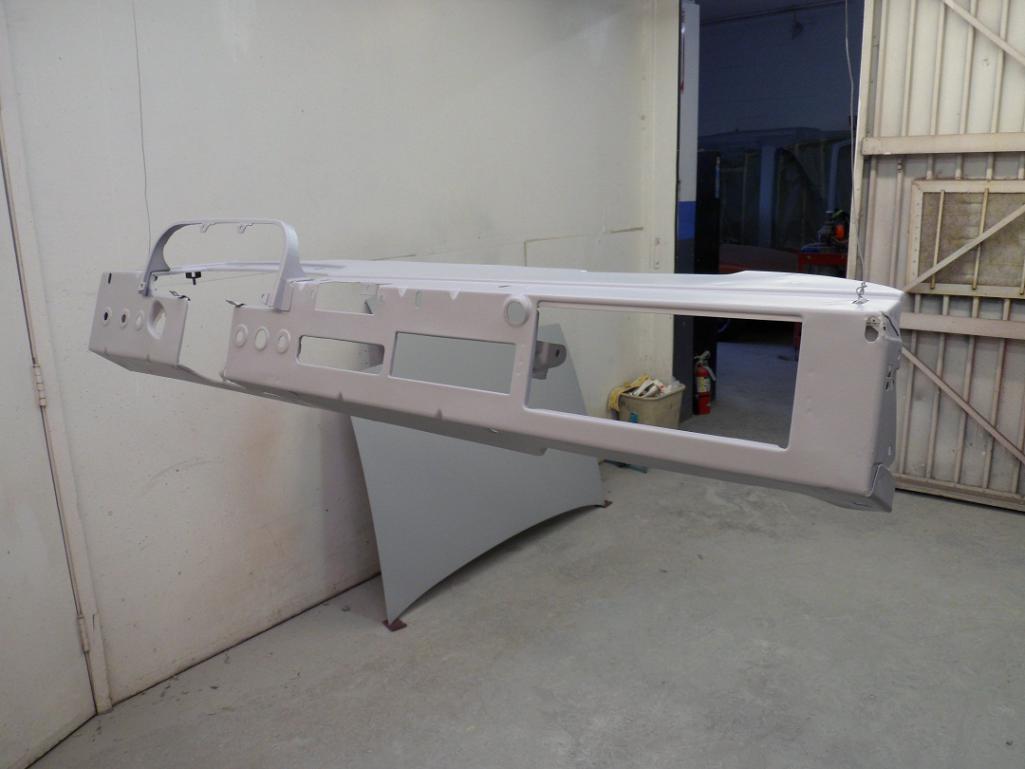
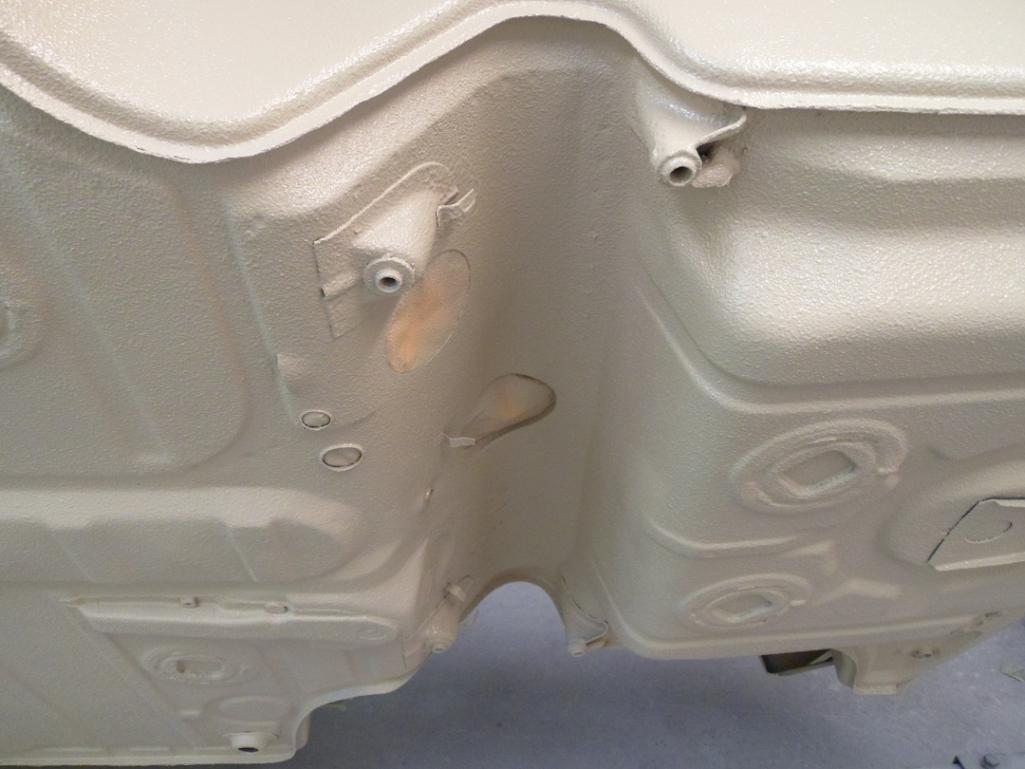
Posted by: 914350 Apr 11 2015, 10:02 PM
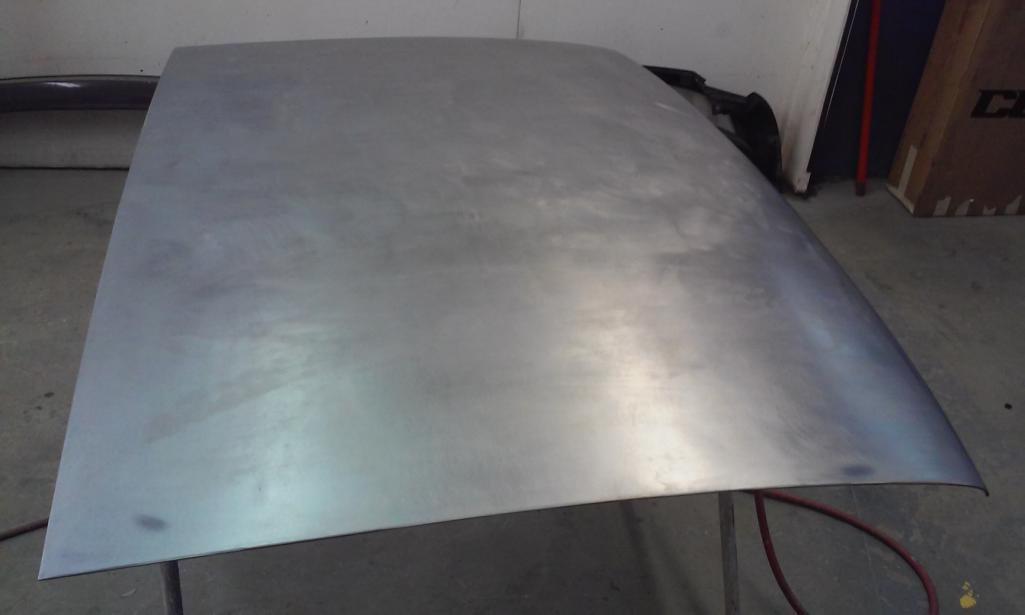
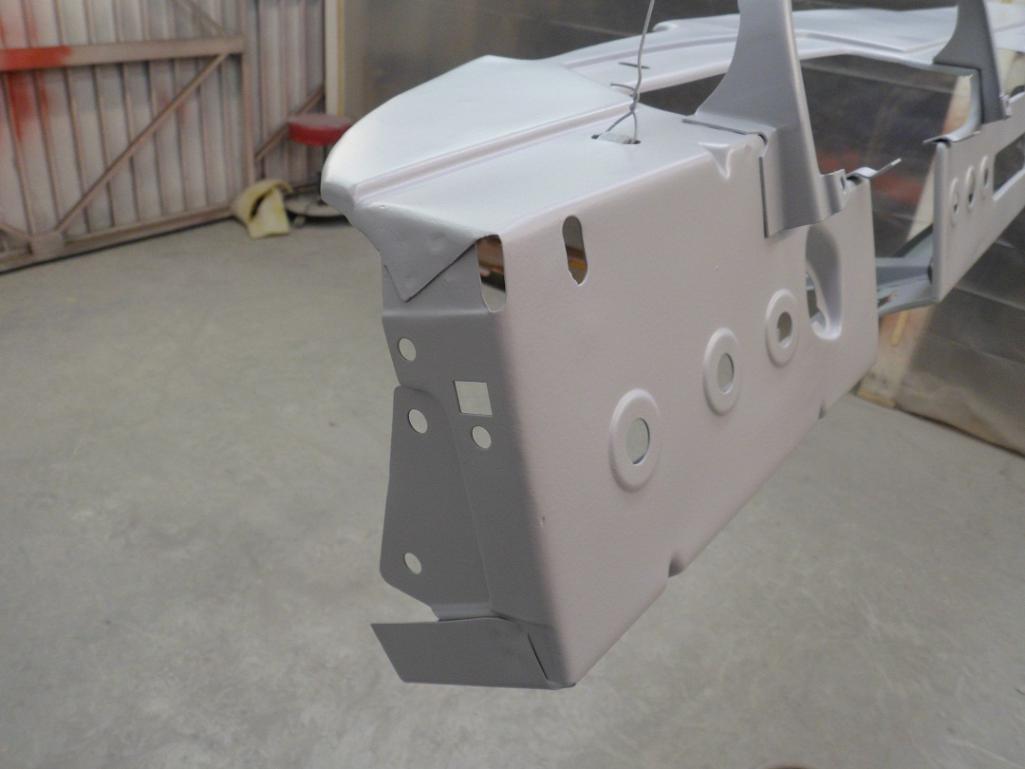
Some progress pics.
Attached thumbnail(s)
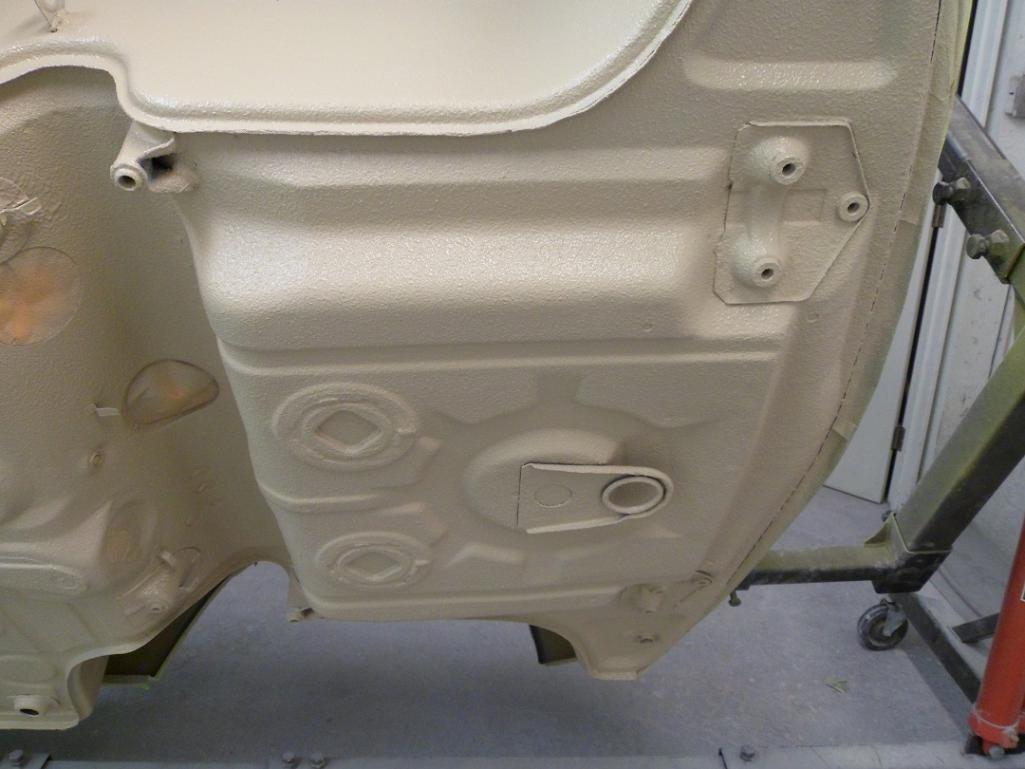
Posted by: 914350 Apr 11 2015, 10:05 PM
More pics.
Attached thumbnail(s)
Posted by: 914350 Apr 11 2015, 10:08 PM
More.
Attached thumbnail(s)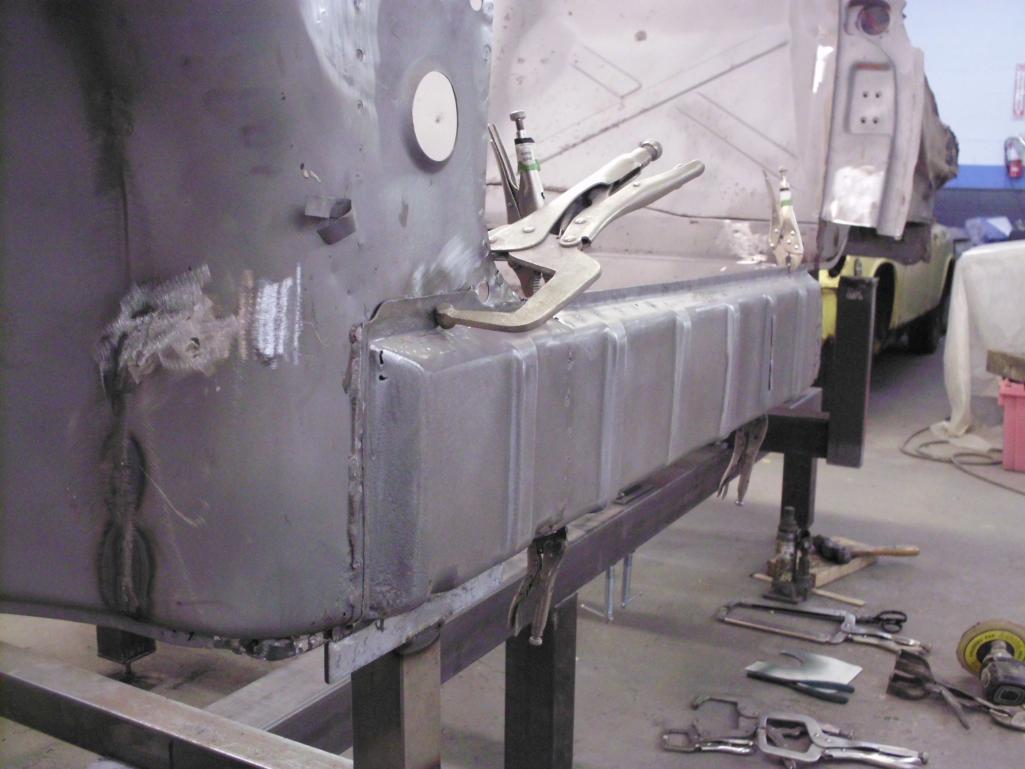
Posted by: 914350 Apr 11 2015, 10:14 PM
more.
Attached thumbnail(s)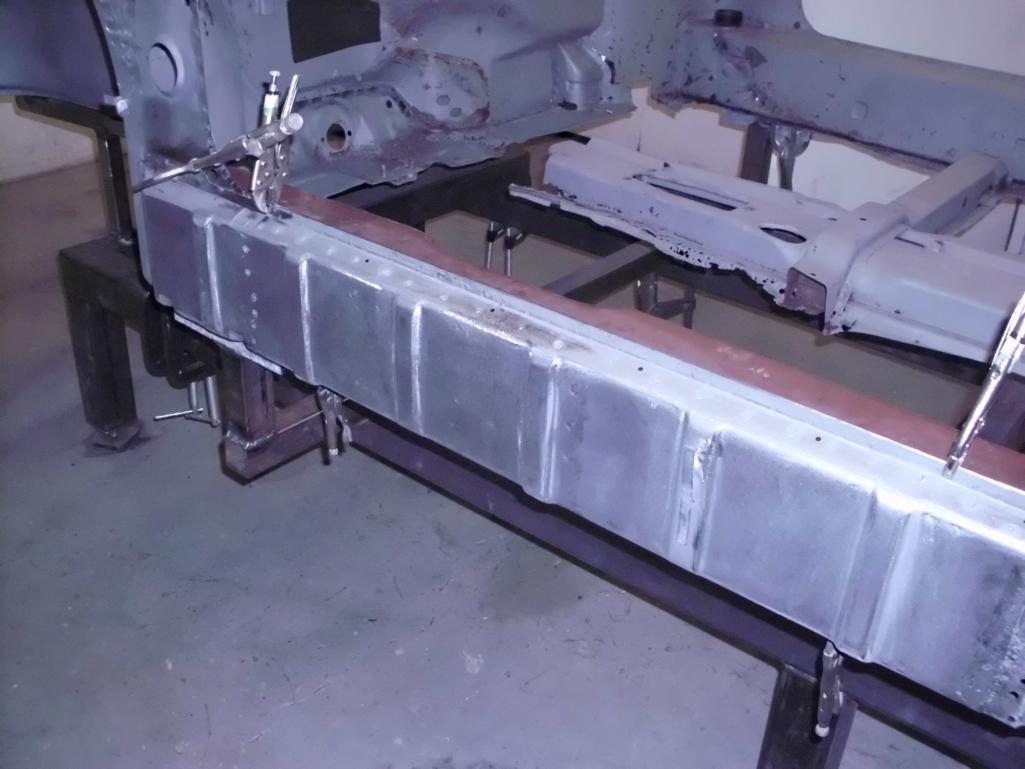
Posted by: rick 918-S Apr 11 2015, 10:40 PM
Nice! Looks like you scored the correct outer longitudinal. Andy said you guys may have had a solution. If you still need one for you car pm me.
Posted by: 914350 Apr 19 2015, 06:34 PM
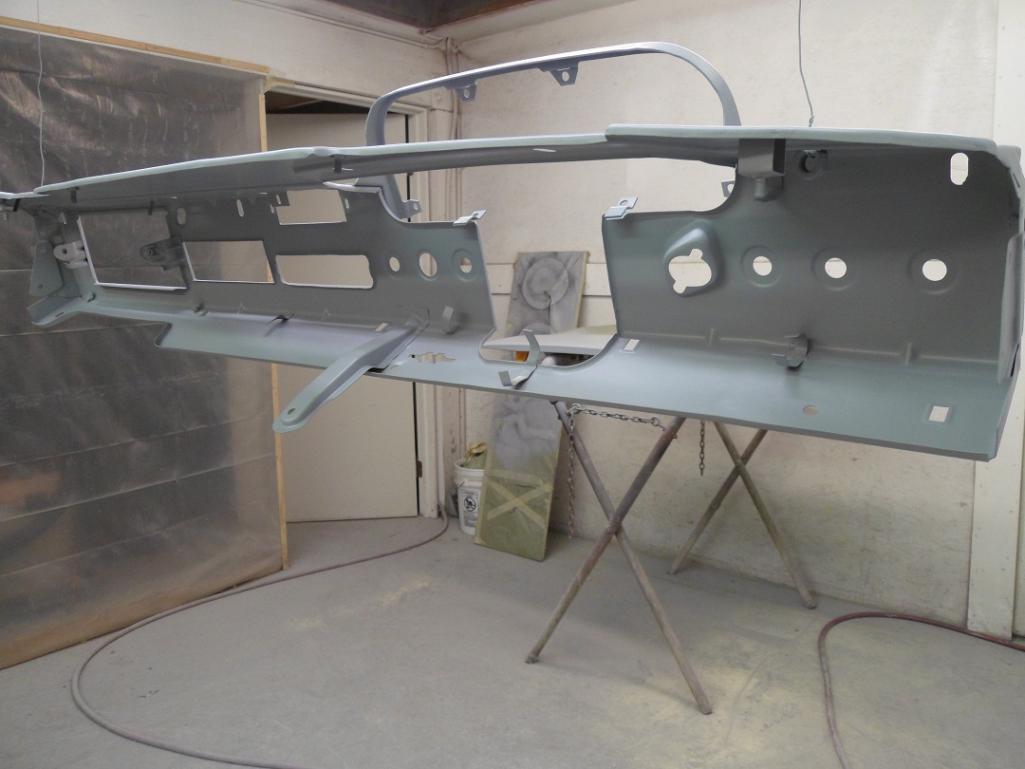
More progress pics.
Attached thumbnail(s)
Posted by: 914350 Apr 19 2015, 06:36 PM
More pics.
Attached thumbnail(s)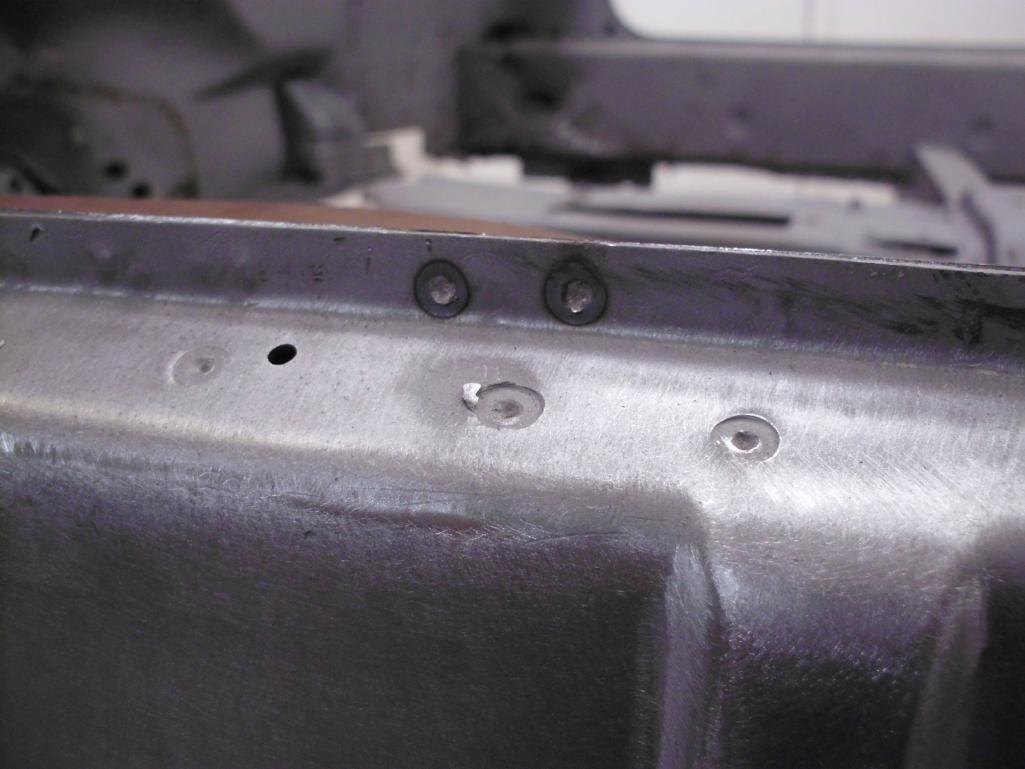
Posted by: 914350 Apr 19 2015, 06:39 PM
More pics.
Attached thumbnail(s)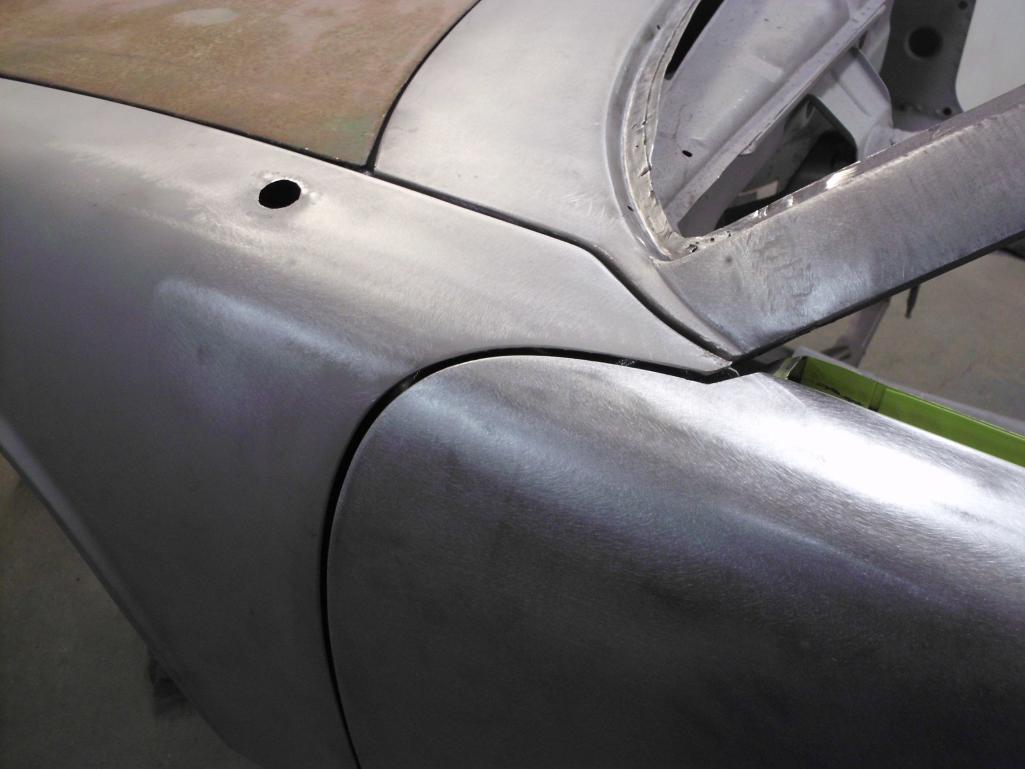
Posted by: 914350 Apr 19 2015, 06:41 PM
More pics. Starting to look like a car.
Attached thumbnail(s)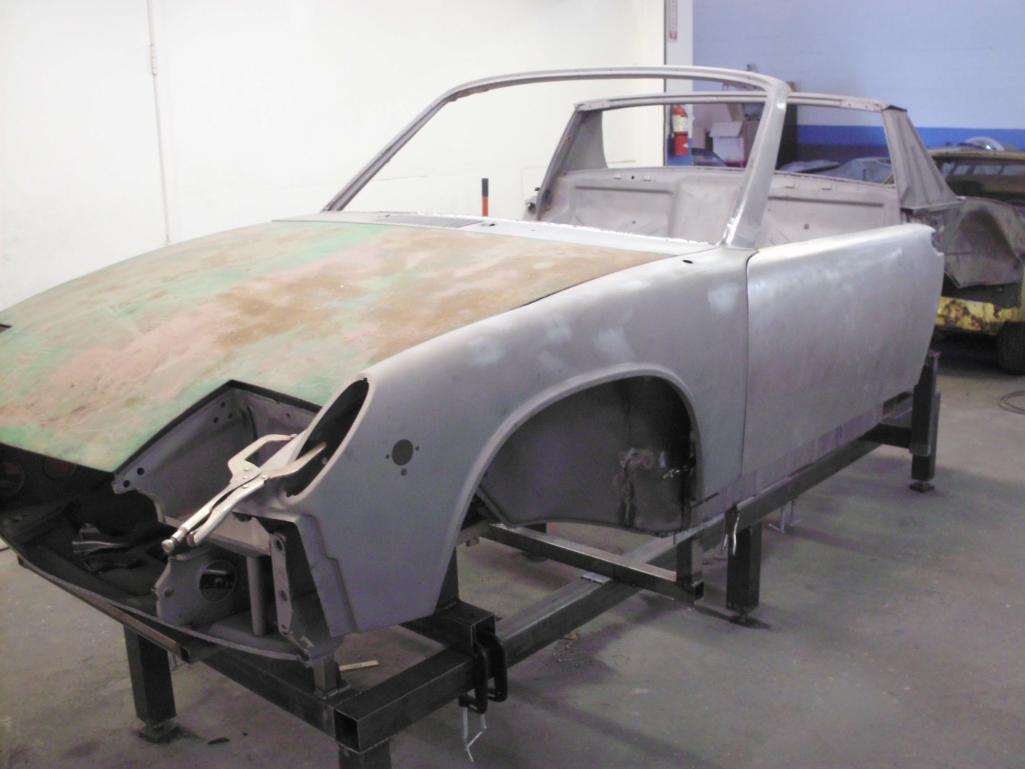
Posted by: 914350 Apr 19 2015, 06:42 PM
More pics.
Attached thumbnail(s)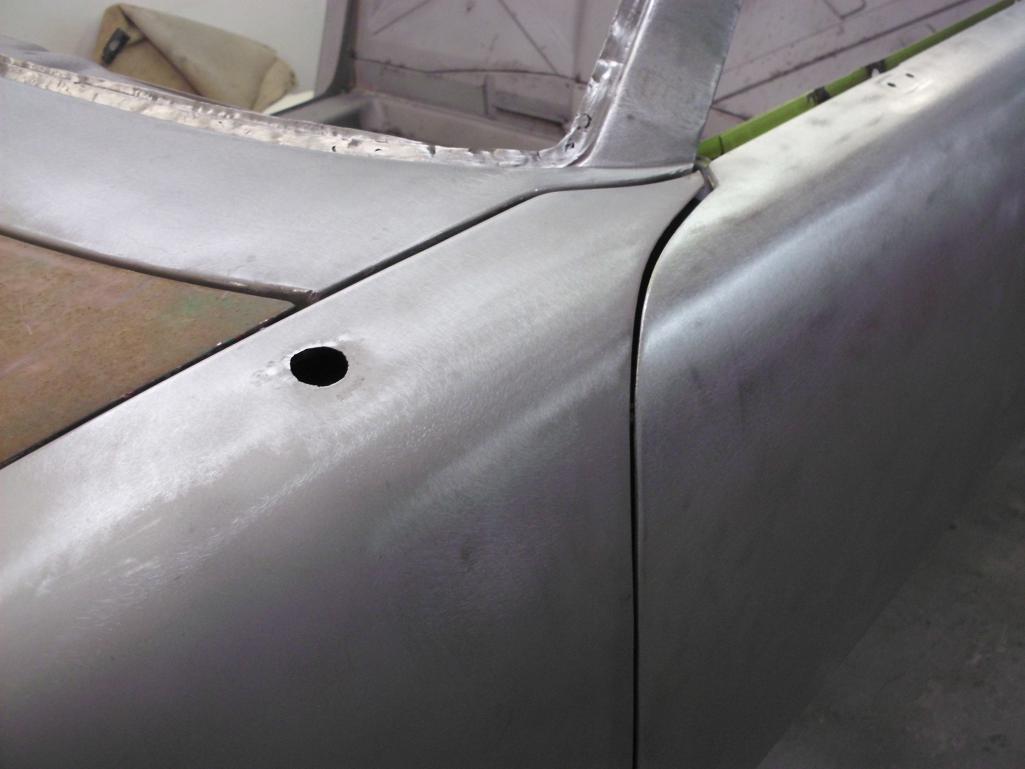
Posted by: 914350 Apr 19 2015, 06:48 PM
More.
Attached thumbnail(s)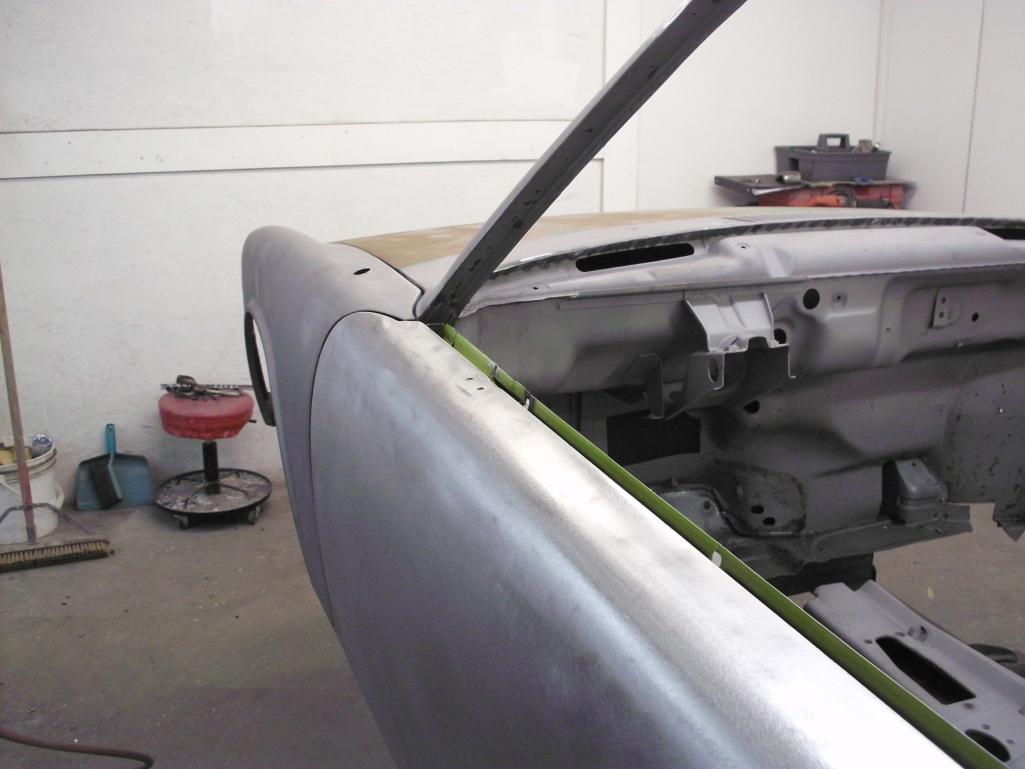
Posted by: banananose914 Apr 19 2015, 06:57 PM
More.
Posted by: banananose914 Apr 19 2015, 07:04 PM
Wow! Great, great stuff. I haven't been this happy since the day my wife left. Not really, she's still here. I can talk a big game because she's upstairs. Anyway, the gaps look bad ass. Thanks for all your attention to detail. The car has hit bottom and now she's starting to rebound. Thank you!
Posted by: banananose914 Apr 19 2015, 07:11 PM
Hey, Old Yella. Thanks for the doors.
Posted by: rick 918-S Apr 19 2015, 07:15 PM
Love spot welders
Posted by: 914350 Apr 19 2015, 07:20 PM
Love spot welders
Yes, worth the investment. I think of all the plug welds I didn't have to grind and how fast and easy the spot welder is.
Posted by: Luke M Apr 19 2015, 07:31 PM
Love spot welders
Yes, worth the investment. I think of all the plug welds I didn't have to grind and how fast and easy the spot welder is.
I need to invest in one too.. Keep up the great work.
Posted by: FourBlades Apr 19 2015, 07:44 PM
Wow, top notch work!
Spot welders... 
John
Posted by: rick 918-S Apr 19 2015, 07:49 PM
Love spot welders
Yes, worth the investment. I think of all the plug welds I didn't have to grind and how fast and easy the spot welder is.
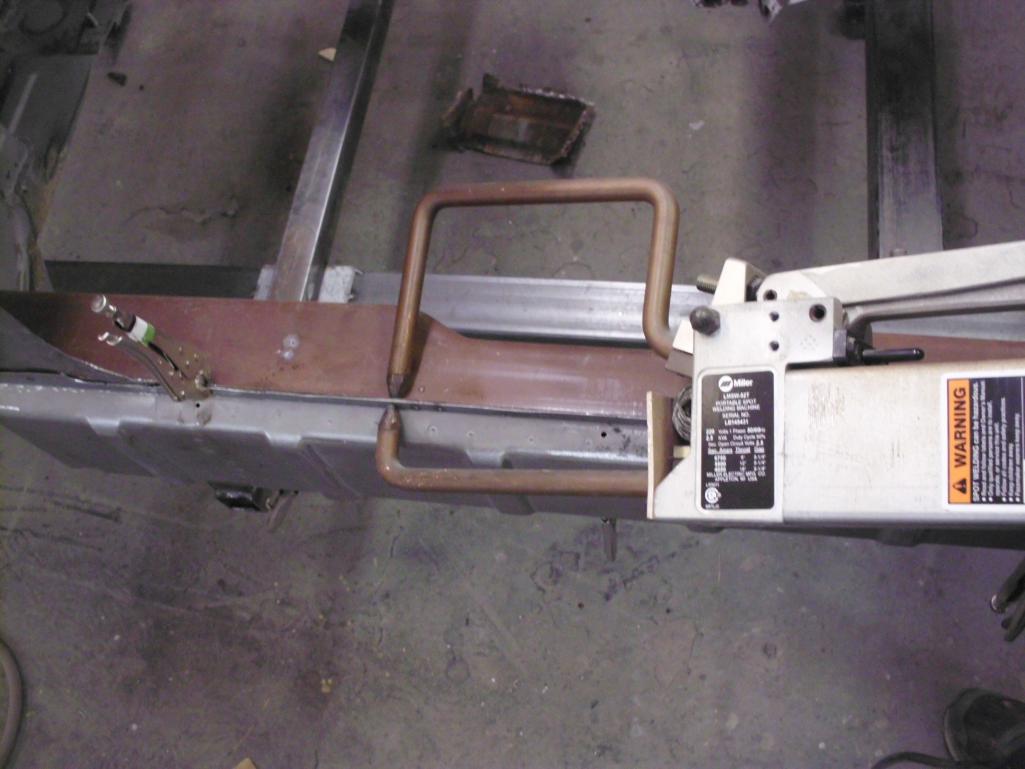
Where did you get that set of wide arms? I have the same spot welder but I have two arms like your lower arm.
Posted by: Socalandy Apr 19 2015, 08:01 PM
Awesome Brings back some memories
Posted by: Socalandy Apr 19 2015, 08:06 PM
Awesome Brings back some memories
Posted by: 914350 Apr 19 2015, 08:36 PM
Love spot welders
Yes, worth the investment. I think of all the plug welds I didn't have to grind and how fast and easy the spot welder is.
I need to invest in one too.. Keep up the great work.
Thanks Luke.
Posted by: 914350 Apr 19 2015, 08:38 PM
Love spot welders
Yes, worth the investment. I think of all the plug welds I didn't have to grind and how fast and easy the spot welder is.
Where did you get that set of wide arms? I have the same spot welder but I have two arms like your lower arm.
These arms were with it when I bought it. I've seen used ones on ebay and craigslist. I've been looking for a longer set.
Posted by: 914350 Apr 19 2015, 08:41 PM
Wow, top notch work!
Spot welders...
John
Thanks John.
Posted by: sixnotfour Apr 21 2015, 08:34 AM
Love spot welders
Yes, worth the investment. I think of all the plug welds I didn't have to grind and how fast and easy the spot welder is.
Where did you get that set of wide arms? I have the same spot welder but I have two arms like your lower arm.
These arms were with it when I bought it. I've seen used ones on ebay and craigslist. I've been looking for a longer set.
http://www.millerwelds.com/pdf/spec_sheets/SW1-0.pdf
Posted by: 914350 May 18 2015, 07:46 PM
More progress pics.
Attached thumbnail(s)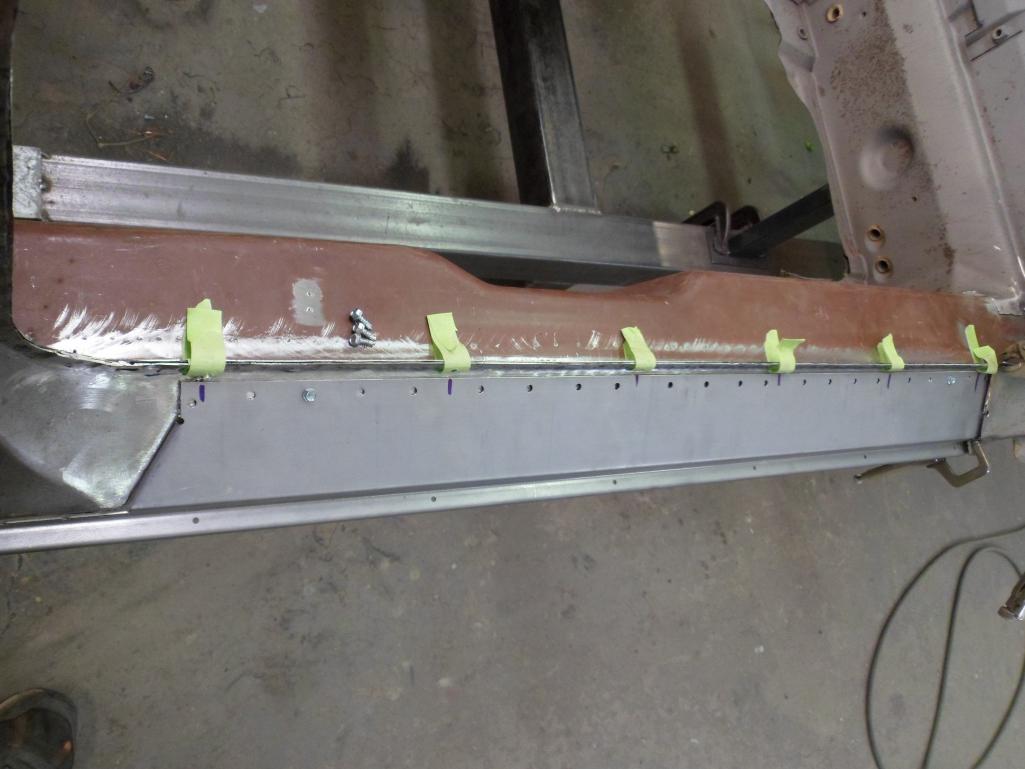

Posted by: rick 918-S May 18 2015, 09:25 PM
Love spot welders
Yes, worth the investment. I think of all the plug welds I didn't have to grind and how fast and easy the spot welder is.
Where did you get that set of wide arms? I have the same spot welder but I have two arms like your lower arm.
These arms were with it when I bought it. I've seen used ones on ebay and craigslist. I've been looking for a longer set.
http://www.millerwelds.com/pdf/spec_sheets/SW1-0.pdf
Thanks for the link! I could use a wide set of tongs!
Posted by: banananose914 May 18 2015, 09:38 PM
Hey Kent. Thanks for the great work. Hey Rick. Did you say tongs or thongs?
Posted by: Larmo63 May 18 2015, 10:24 PM
So, this is Jim's car, and then you dig into your /6? Or, are you doing them both at the same time?
Posted by: Cairo94507 May 19 2015, 06:54 AM
That looks very nice. Seeing how these cars go together is always interesting.
Posted by: 914350 May 19 2015, 07:34 AM
So, this is Jim's car, and then you dig into your /6? Or, are you doing them both at the same time?
His then mine, though I am collecting and retsoring parts for mine for now. I'm anxious to start on mine.
Posted by: 914350 May 19 2015, 07:42 AM
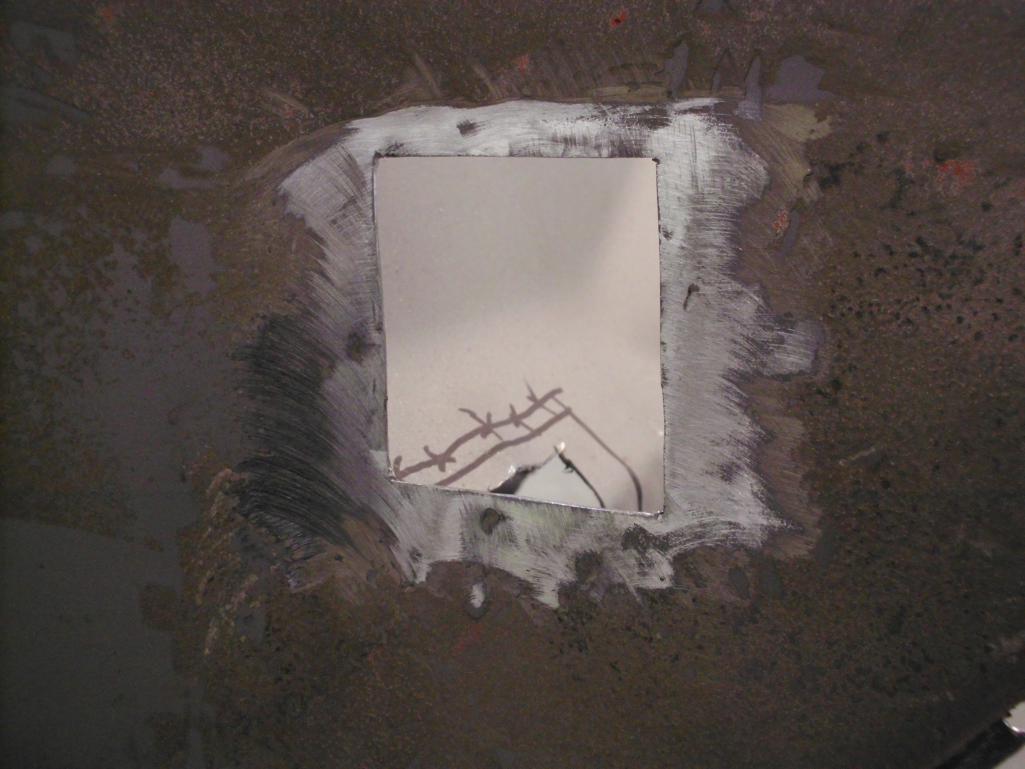
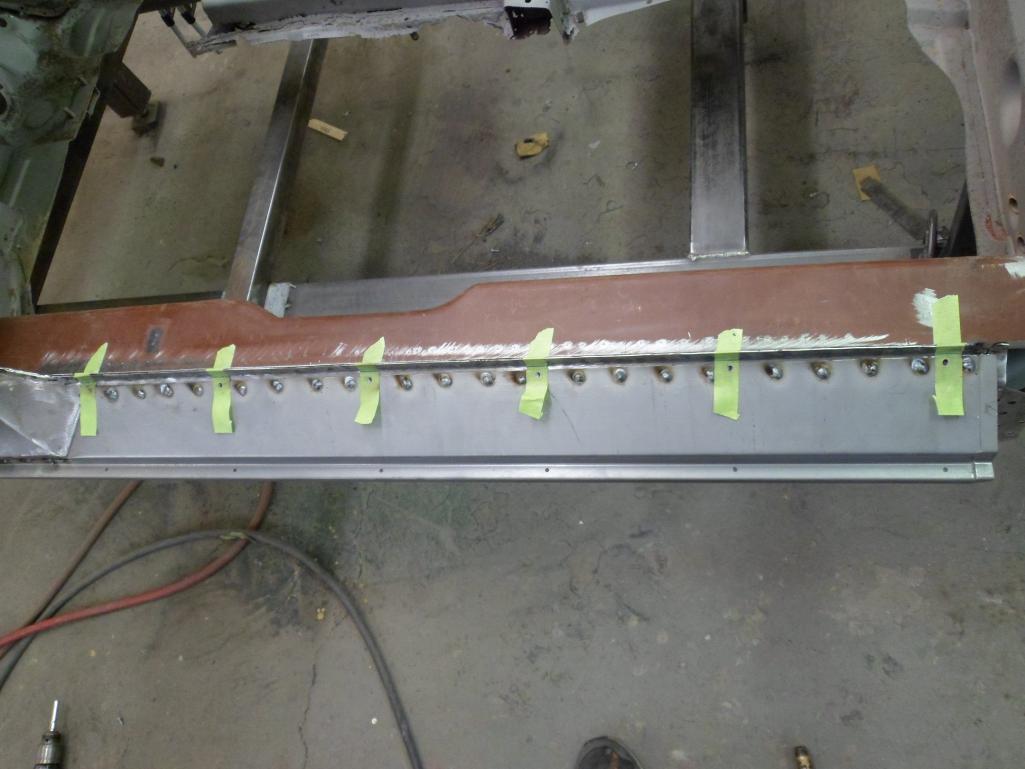
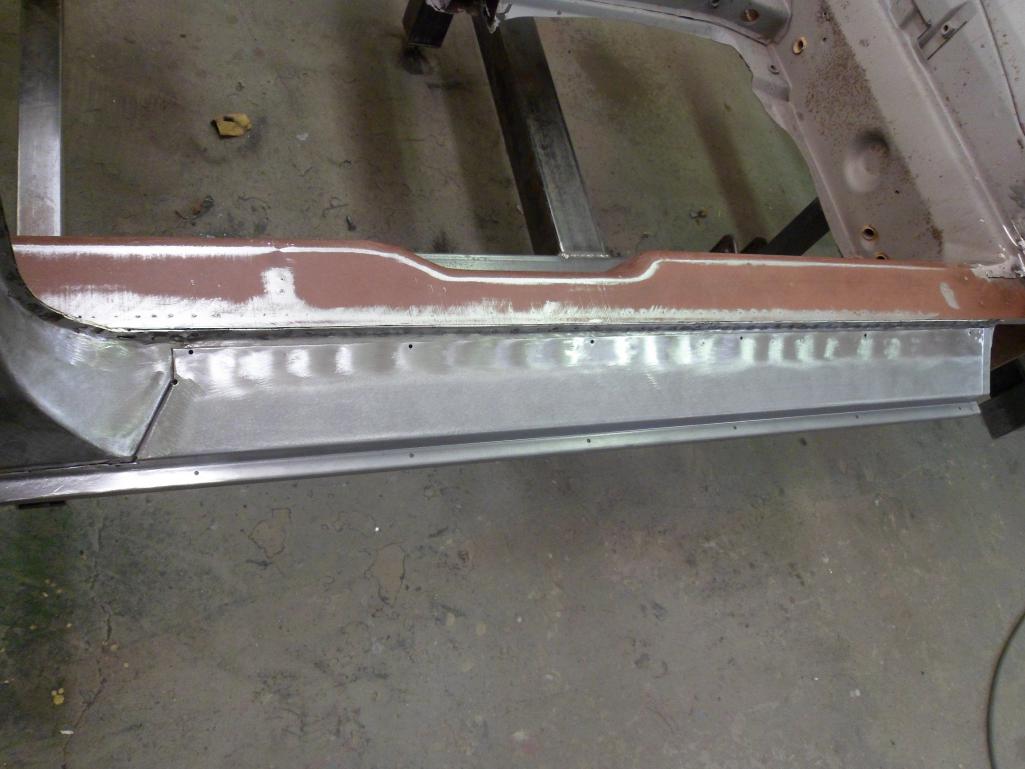
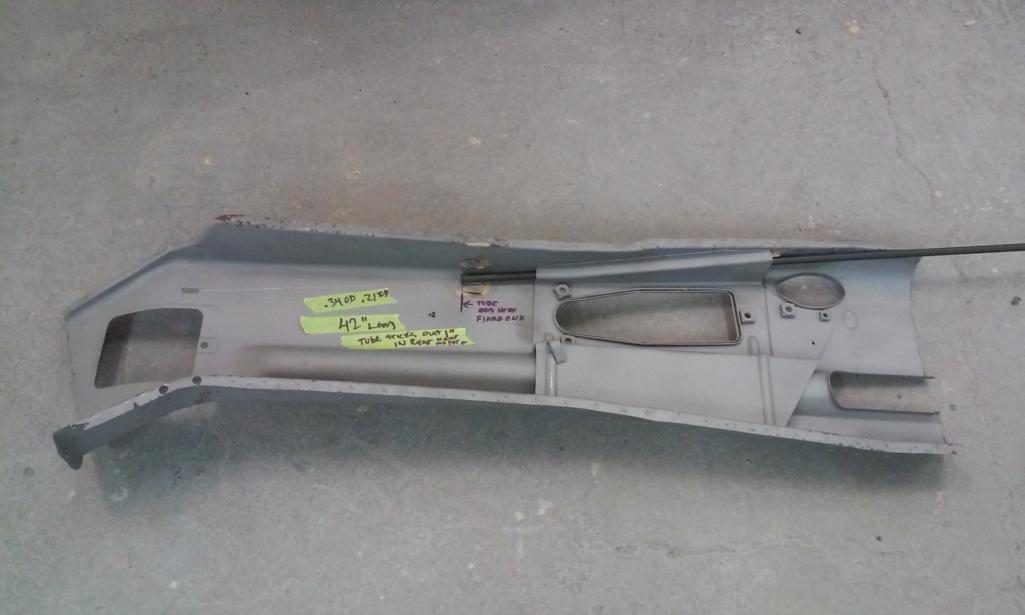
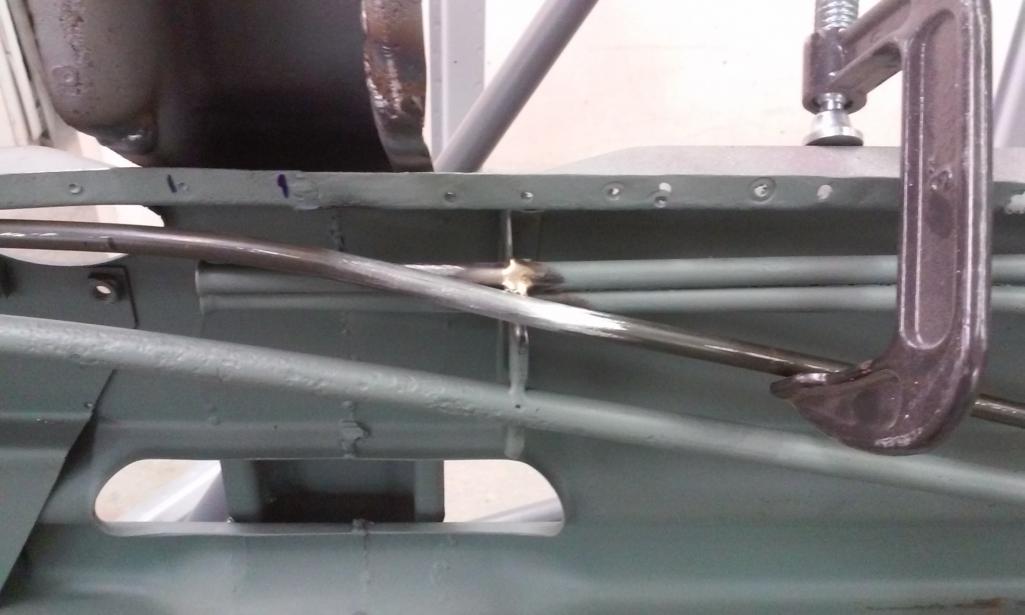
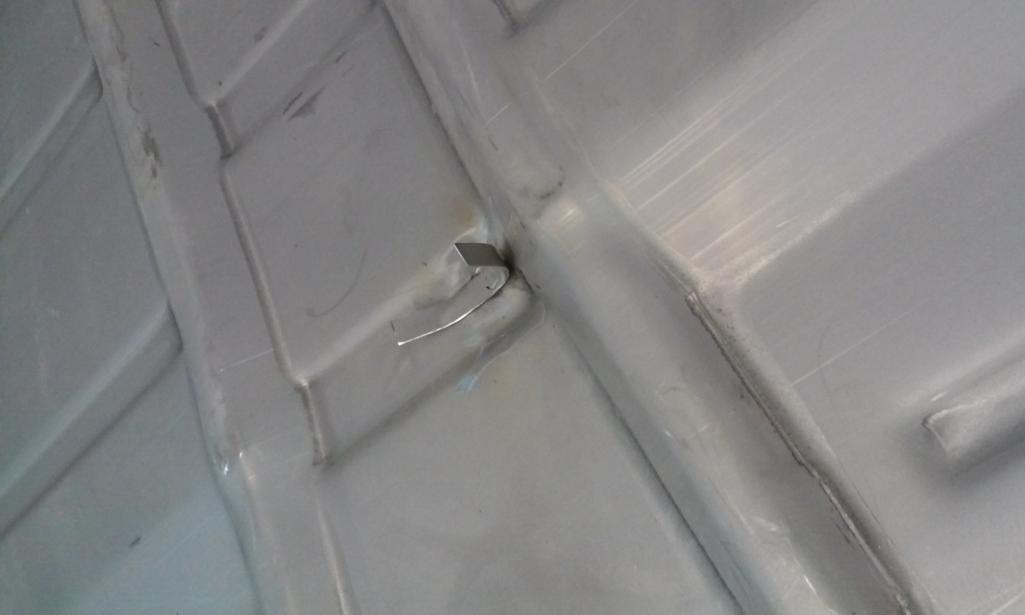
This is pretty self-explanatory but this was an easy way to use tape to locate and transfer the holes into the new piece. The holes were in the outer long but covered with the sill plate (once sill plate was placed) so I used tape to map their location and pulled it back, welded then laid the tape back over to give me the location to drill the hole in the new piece.
Attached image(s)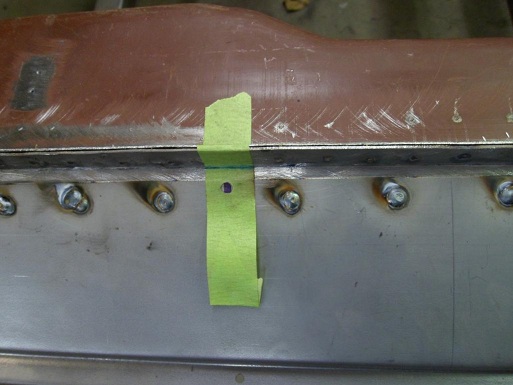
Posted by: stevegm May 19 2015, 08:02 AM
Looks great. Excellent work.
Posted by: Heeltoe914 May 20 2015, 05:47 PM
Really great work. I saw Andys car and its amazing. Best of Show was not surprising at WCR 2015. If you dont mind PM me I would love to stop in bring coffee, sweep floors, lift parts, hold parts anything to see this car in person, Really PM me I am a die hard free hand if you need... Yes I said FREE????
Posted by: Luke M Jul 12 2015, 06:39 AM
Hi Ken,
How's the work going on the 6's ?
Think it's time to give this a update ![]()
Take care,
Posted by: 914350 Aug 27 2015, 09:17 AM
Progress pic.
Attached thumbnail(s)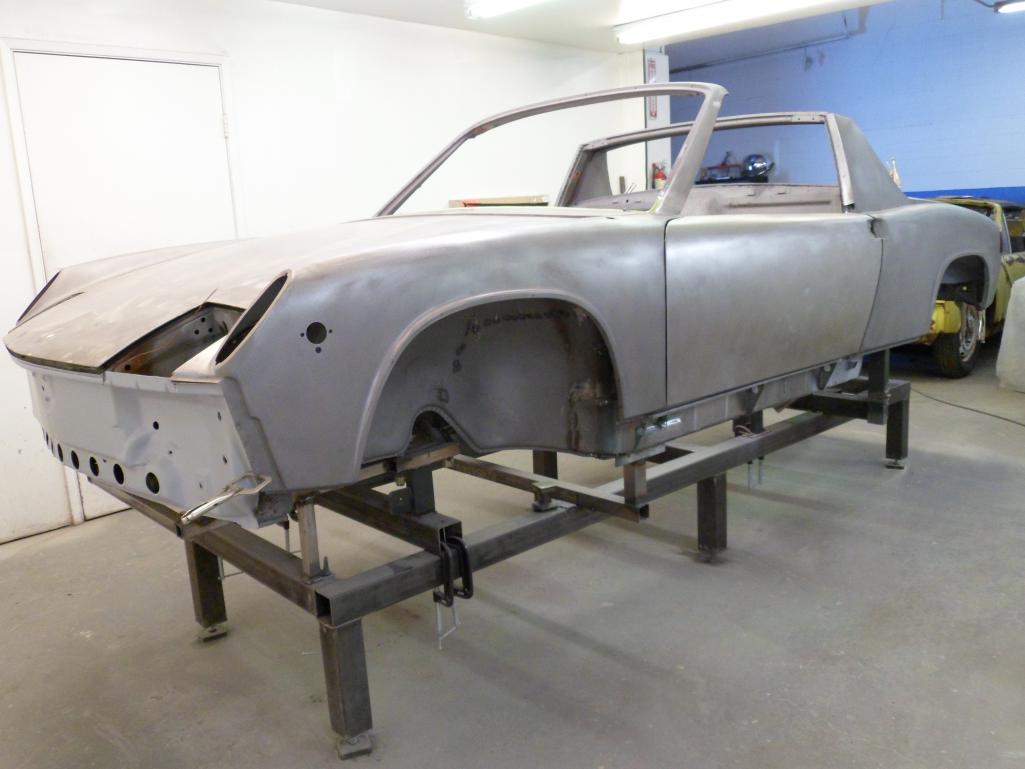
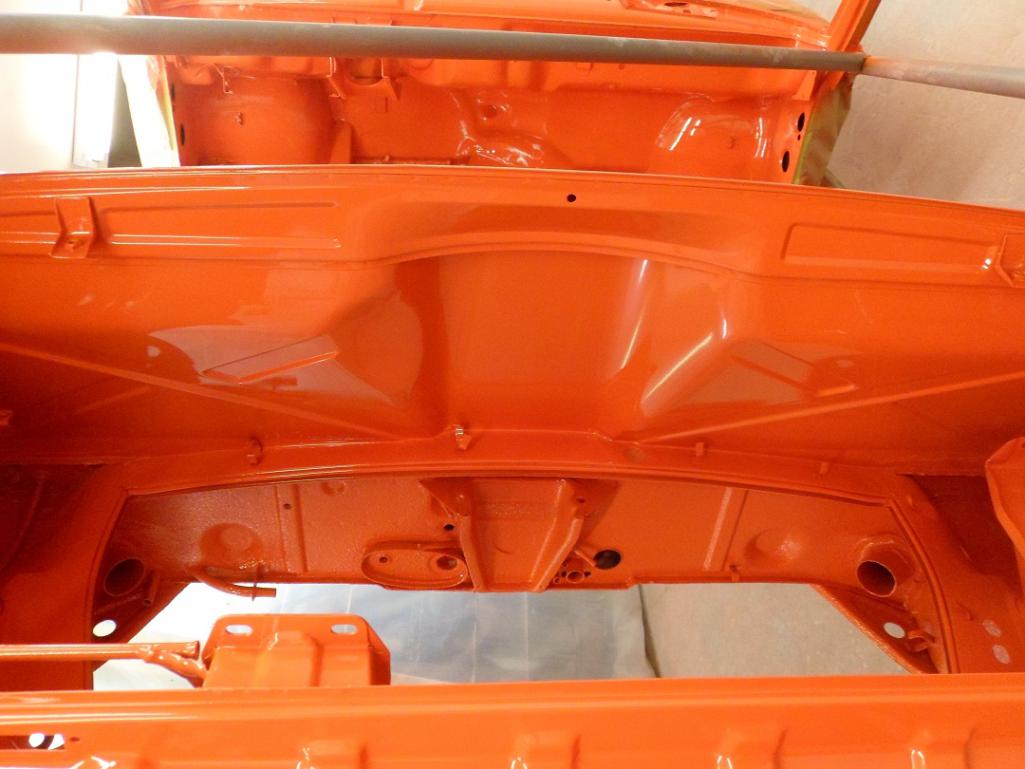
Posted by: 914350 Aug 27 2015, 09:18 AM
Progress pic.
Attached thumbnail(s)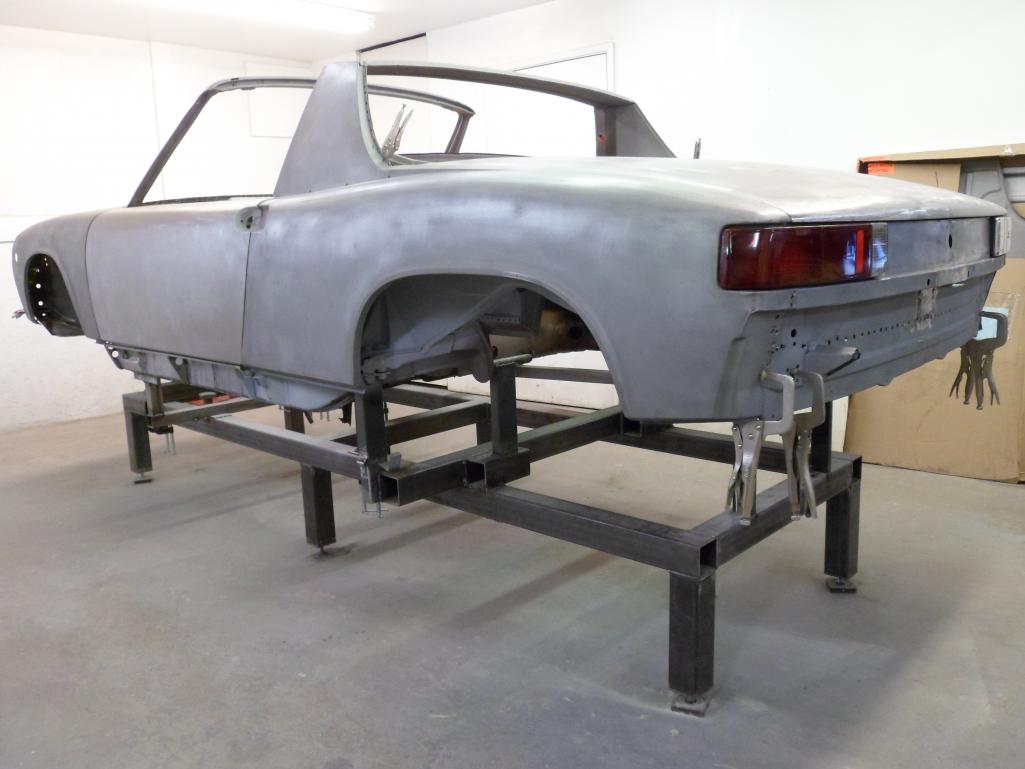
Posted by: 914350 Aug 27 2015, 09:22 AM
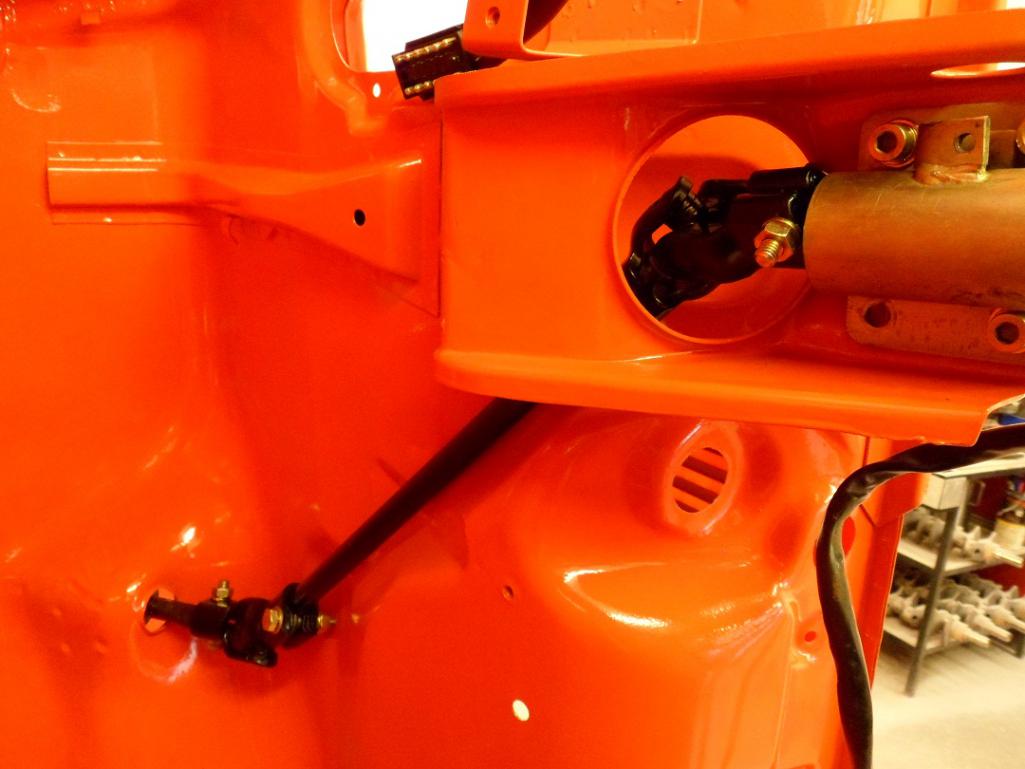
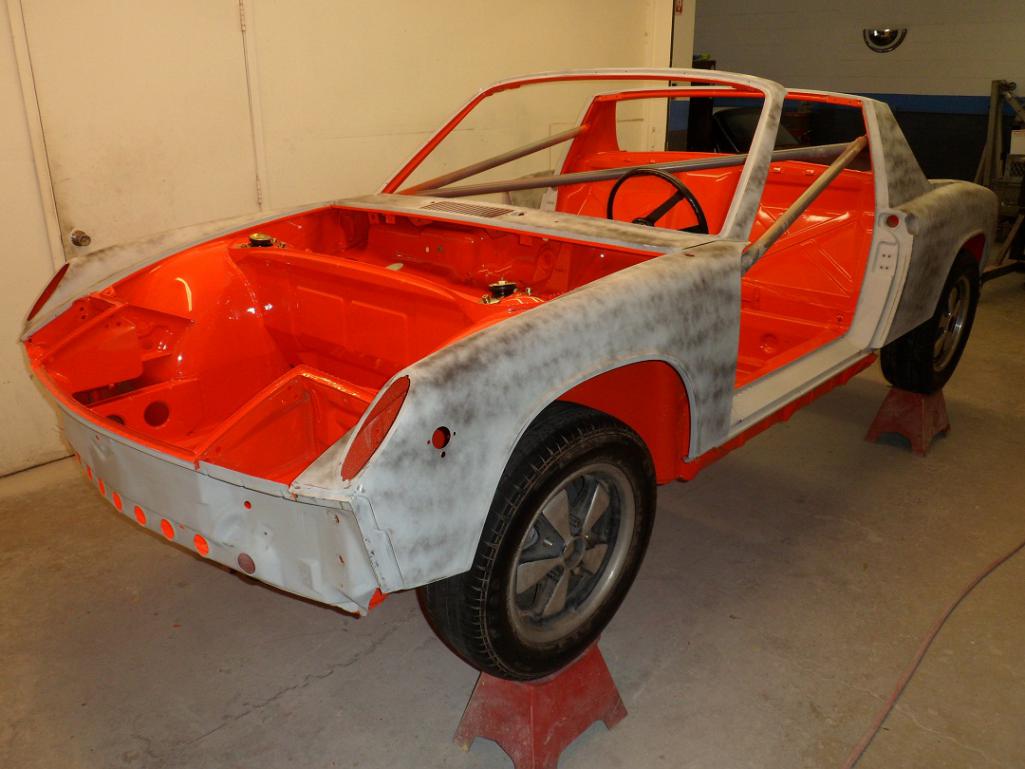
Progress pic. It will be going on the rotisserie to start working on the pans etc. soon.
Attached thumbnail(s)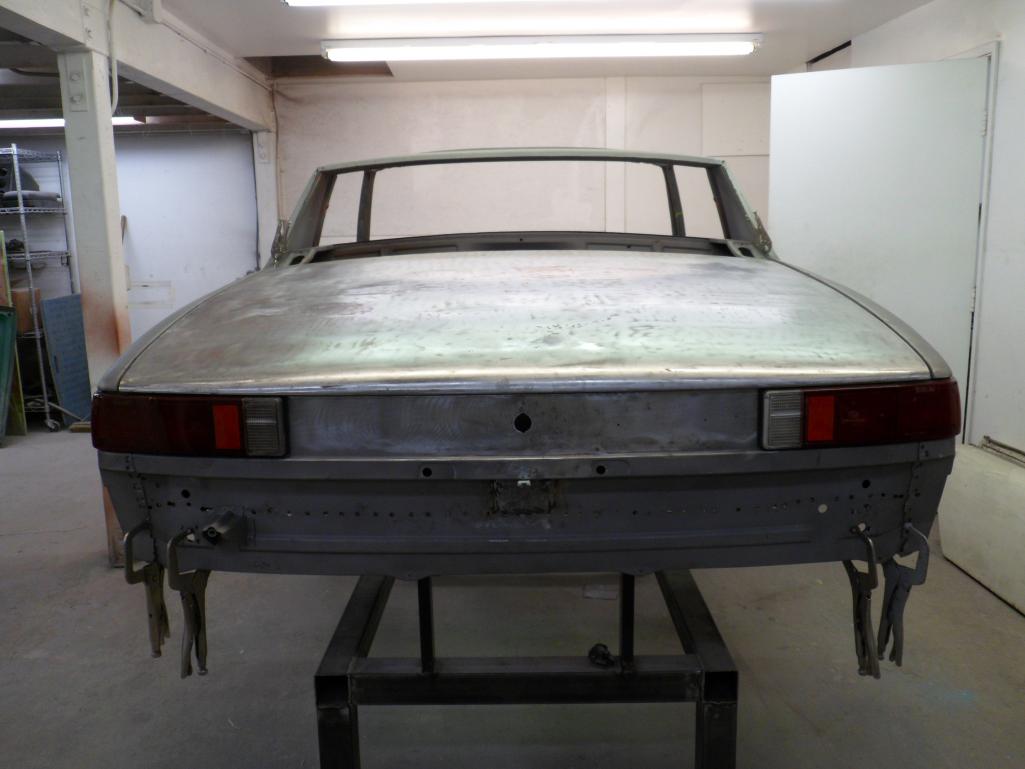
Posted by: ndfrigi Aug 27 2015, 10:15 AM
I'm sure Sir Jim can't wait to see his 914-6 restoration finish! Although he is driving another white 914-6 for now. Thanks for the update of the restoration Kent! And next time your own /6 will be next. But can you make another restoration thread for your car?
Posted by: gms Aug 27 2015, 10:21 AM
The car looks great Kent!
very nice work
Posted by: rick 918-S Aug 27 2015, 10:28 AM
Very nice work.
Posted by: Cairo94507 Aug 27 2015, 12:13 PM
Looking very nice.
Posted by: 914350 Aug 27 2015, 08:09 PM
Thanks guys, appreciate the nice comments.
(in responce to ndfrigi's question/post)
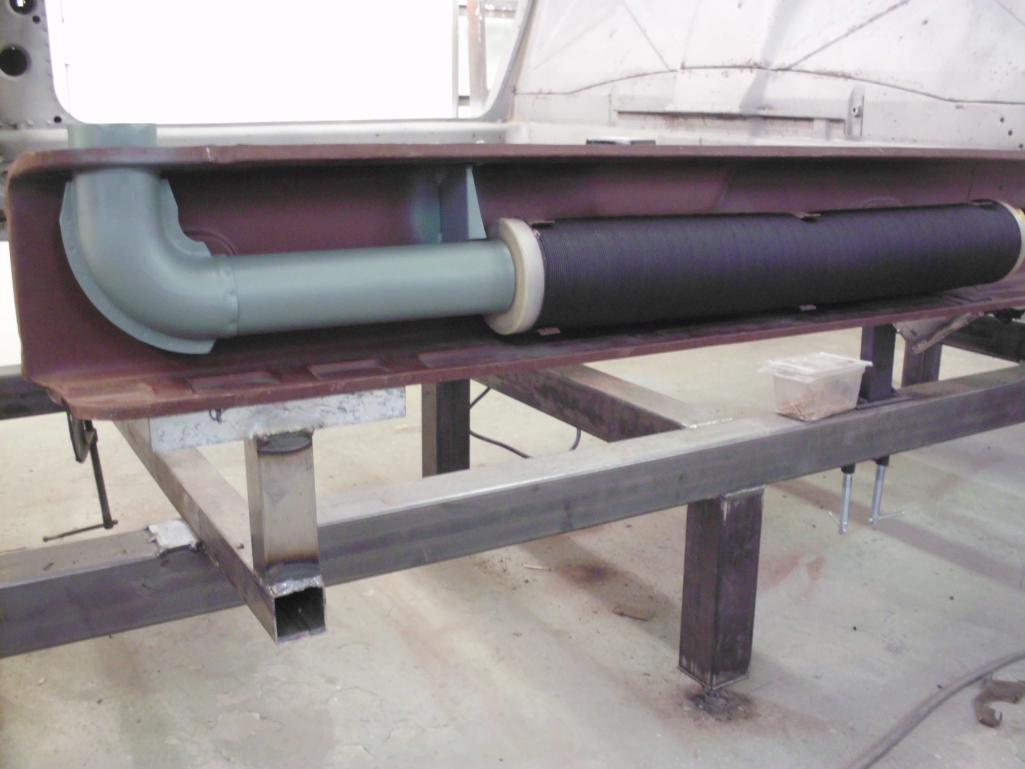
Yes, I think I'll run a thread on my 6. It will need more work than Jims. I’m thinking about sending it to be dipped and E-Coated since I will have both longs opened up and I can remove the heat tubes. We'll see.
Posted by: banananose914 Aug 27 2015, 09:08 PM
Hey Kent. As usual your timing is impeccable. Due to the "cold snap" here in Southern California, it was another one of those days at work. There were many unhappy customers as a result. Anyway, it was inspiring/motivating to see the progress report. I can now go back to work with renewed vigor, knowing that the car will be home soon. You're going to miss her, but you have her sister. They both need/needed major facelifts and overhauls. This thread as well as Andy's, should be a major commercial as a testament to your abilities. You are a true visionary and metallurgical artiste!
Posted by: rick 918-S Aug 27 2015, 11:12 PM
Thanks guys, appreciate the nice comments.
(in responce to ndfrigi's question/post)
Yes, I think I'll run a thread on my 6. It will need more work than Jims. I’m thinking about sending it to be dipped and E-Coated since I will have both longs opened up and I can remove the heat tubes. We'll see.
that process is the best!
http://www.914world.com/bbs2/index.php?showtopic=230343&hl=
Posted by: Luke M Oct 1 2015, 07:48 AM
![]() How's this build going???
How's this build going???
Kent,
I sent you a pm on something else too.
Thanks,
Posted by: 914350 Apr 17 2016, 09:44 PM
Wow! has it been a week already...wait, what, it's been 6 months? Havn't been posting but have got a lot done. I started using my phone to take pics and just figured out how to get them off my phone and onto my comp. Losts to post.
Attached thumbnail(s)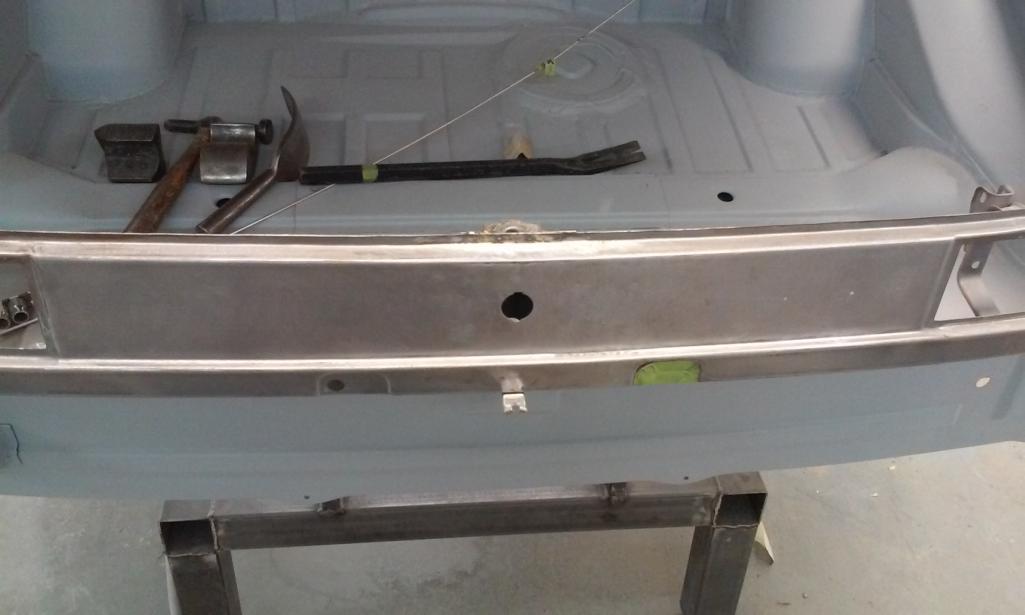

Posted by: 914350 Apr 17 2016, 09:57 PM
More pics.
Attached thumbnail(s)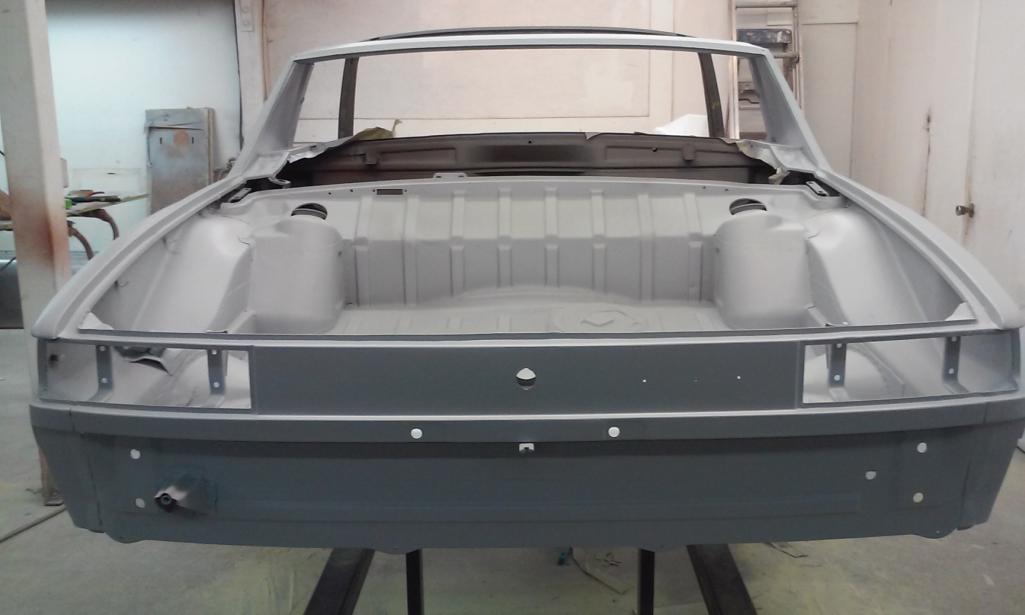
Posted by: 914350 Apr 17 2016, 10:00 PM
more pics
Attached thumbnail(s)
Posted by: 914350 Apr 17 2016, 10:04 PM
This is the foot well removed from the six.
Attached thumbnail(s)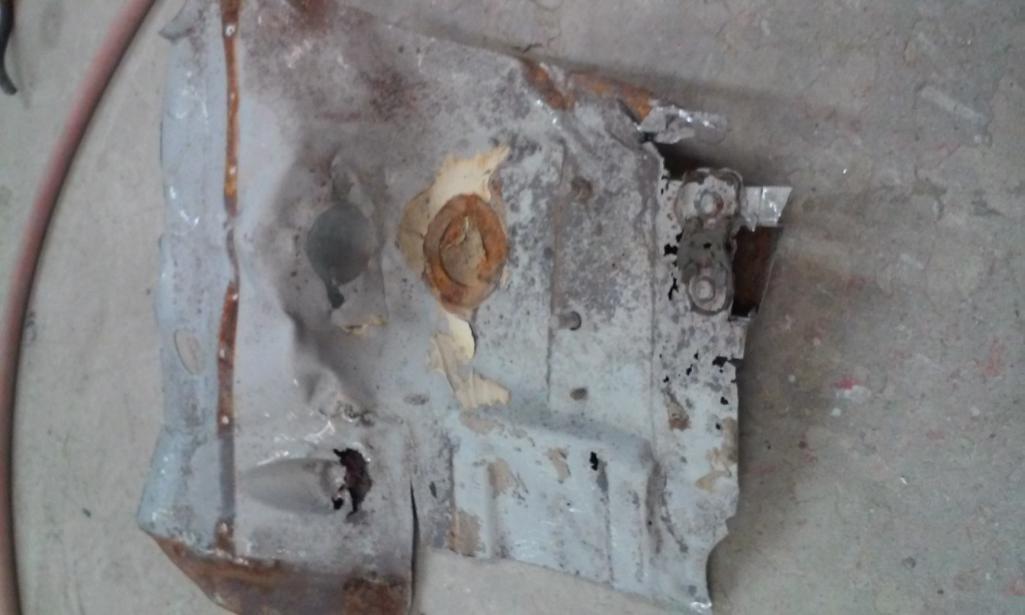
Posted by: 914350 Apr 17 2016, 10:06 PM
more pics
Attached thumbnail(s)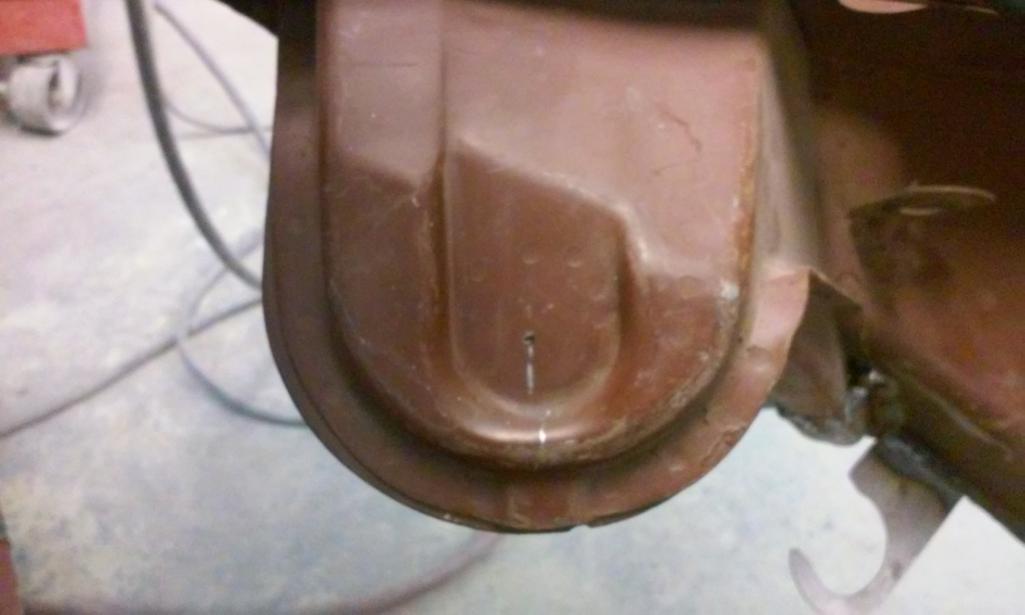
Posted by: 914350 Apr 17 2016, 10:10 PM
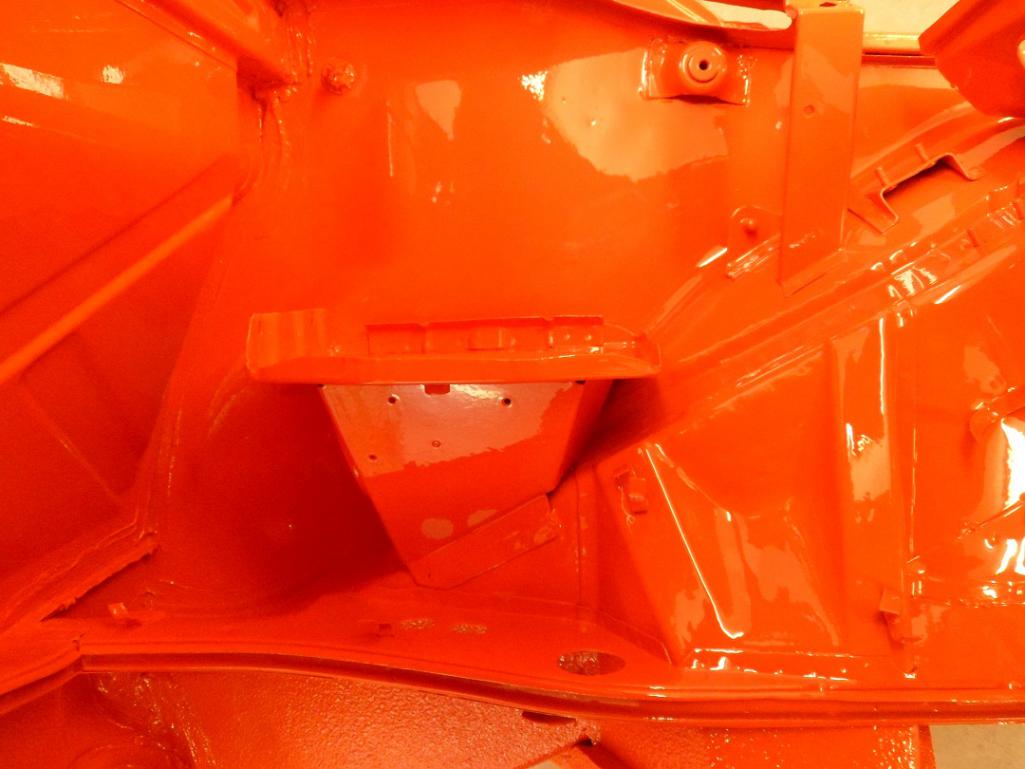
Repaired the hole in the consol on the pass side.
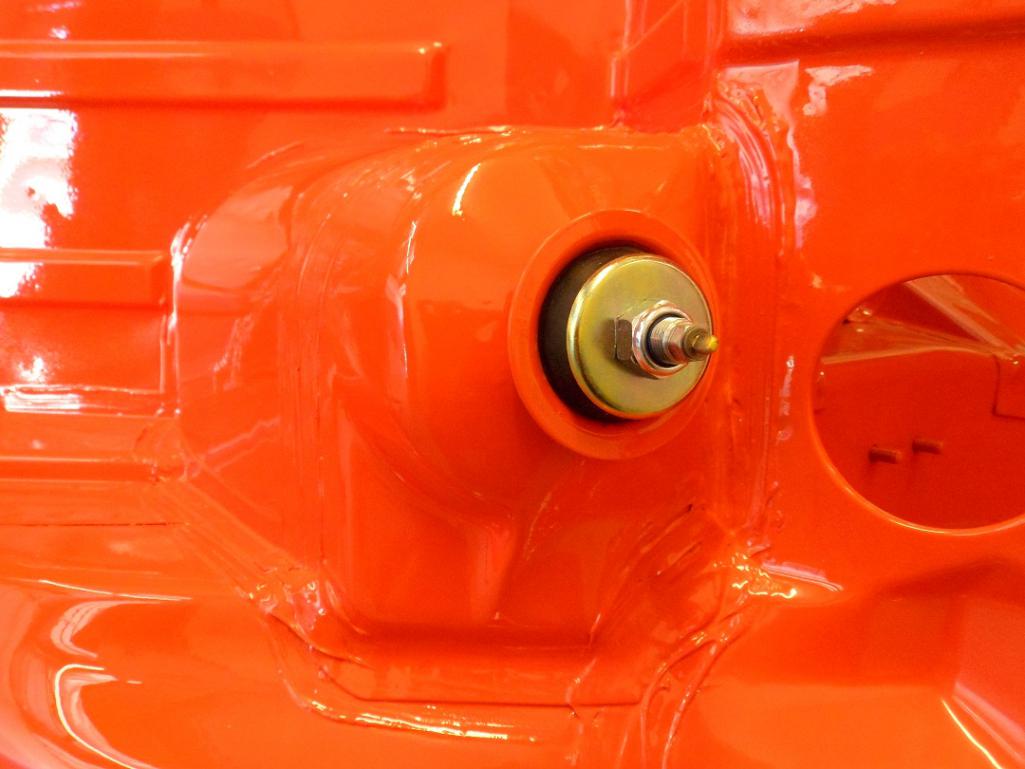
Attached thumbnail(s)
Posted by: 914350 Apr 17 2016, 10:13 PM
more pics
Attached thumbnail(s)
Posted by: 914350 Apr 17 2016, 11:15 PM
more pics
Attached thumbnail(s)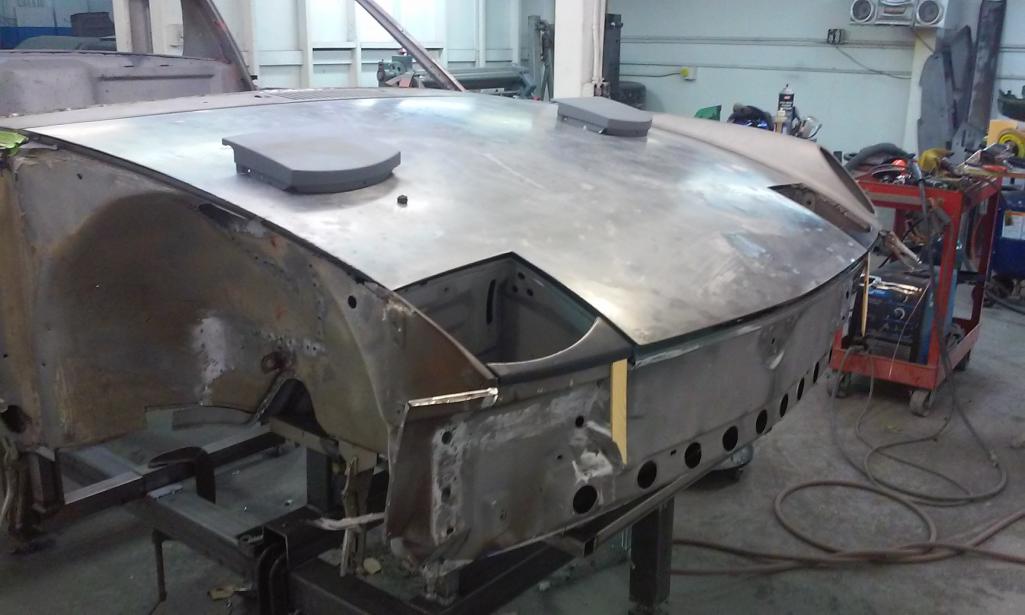
Posted by: 914350 Apr 17 2016, 11:20 PM
more pics
Attached thumbnail(s)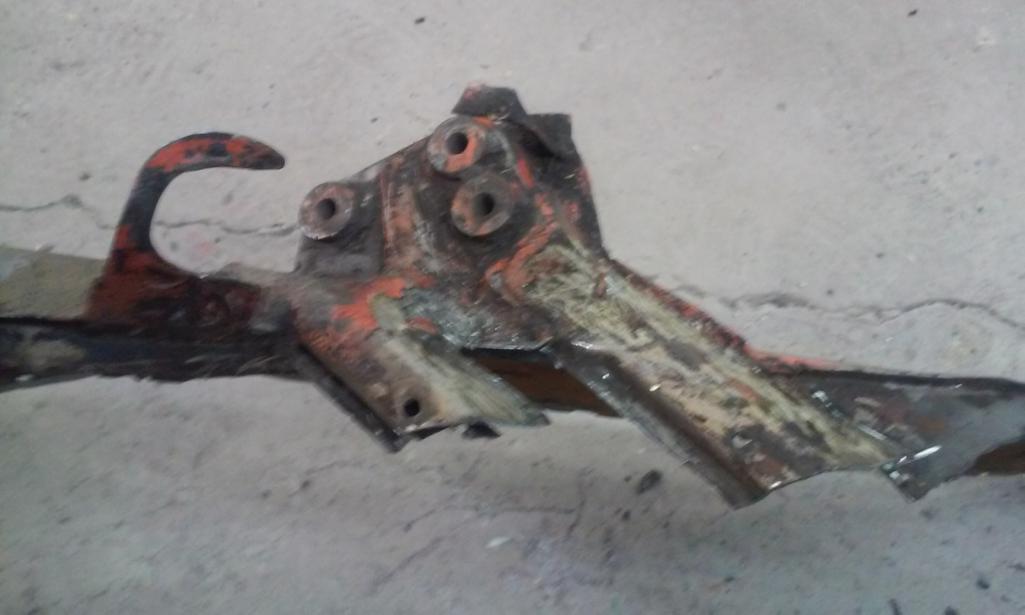

Posted by: 914350 Apr 17 2016, 11:24 PM
more pics
Attached thumbnail(s)
Posted by: 914350 Apr 17 2016, 11:33 PM
more pics
Attached thumbnail(s)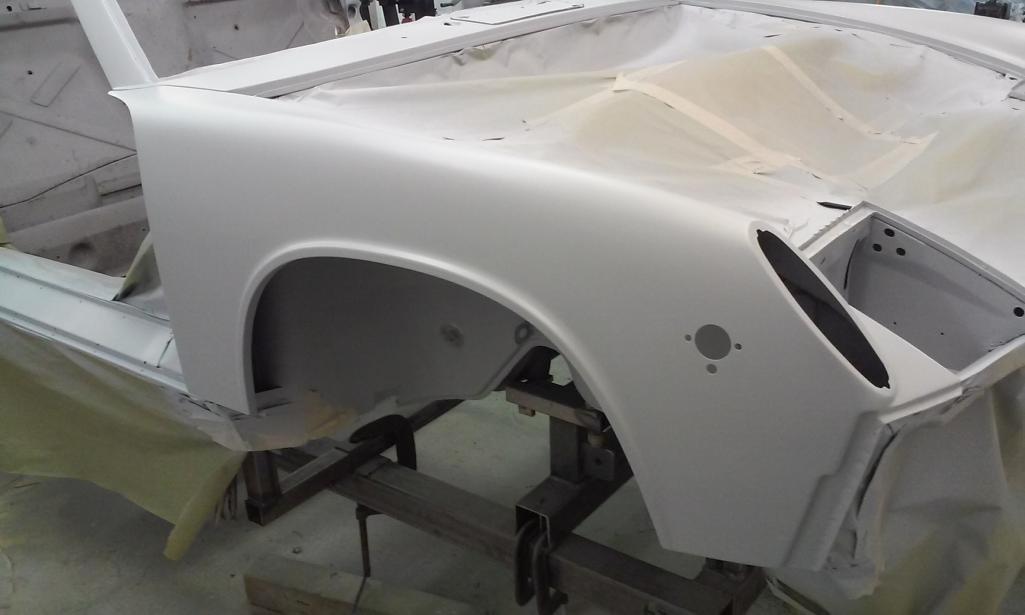
Posted by: 914350 Apr 17 2016, 11:37 PM
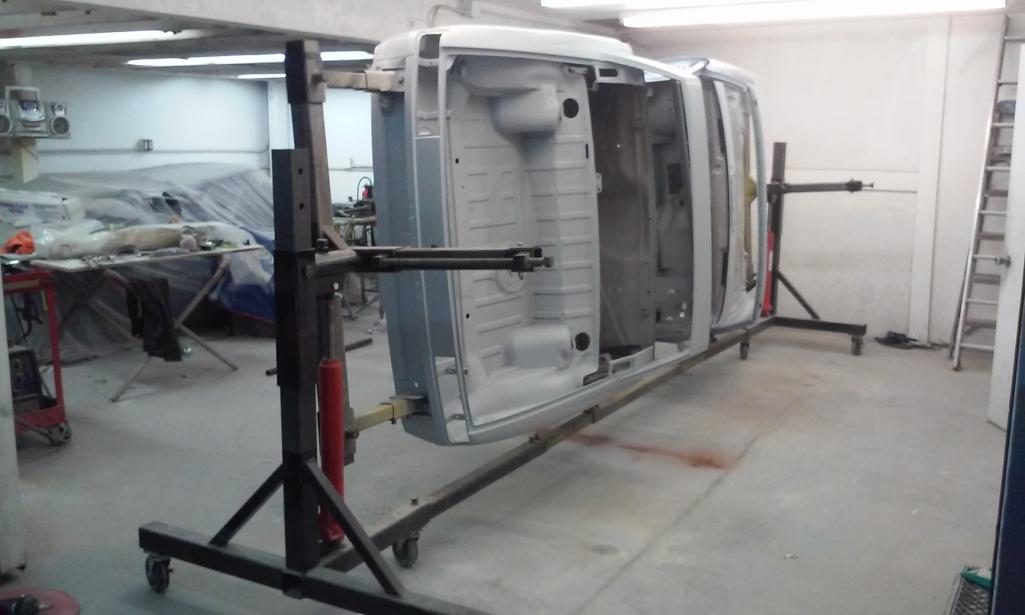
Off the fixture and on the Rotissorie.
Attached thumbnail(s)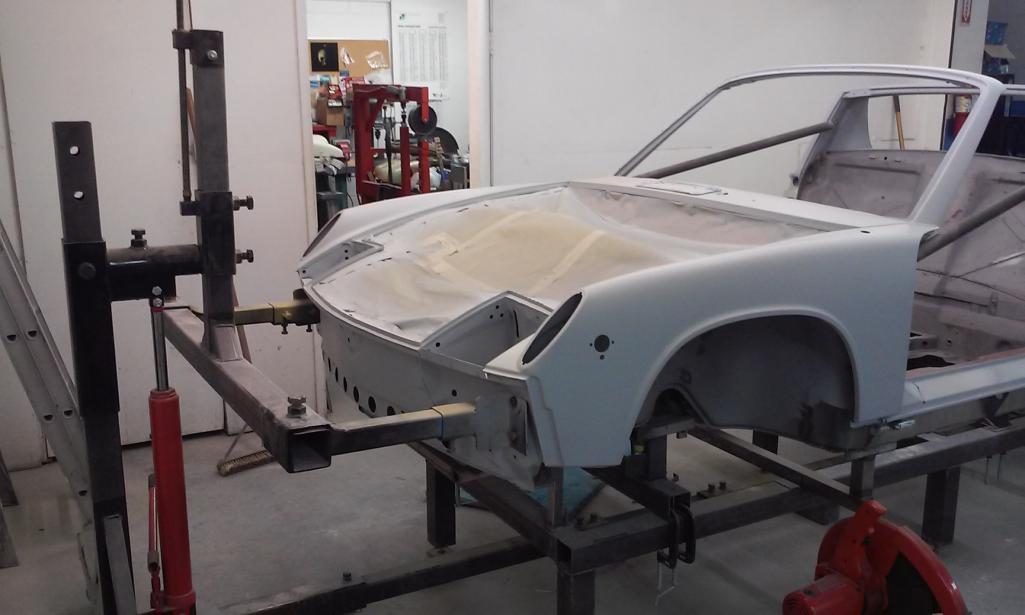
Posted by: 914350 Apr 17 2016, 11:42 PM
more pics
Attached thumbnail(s)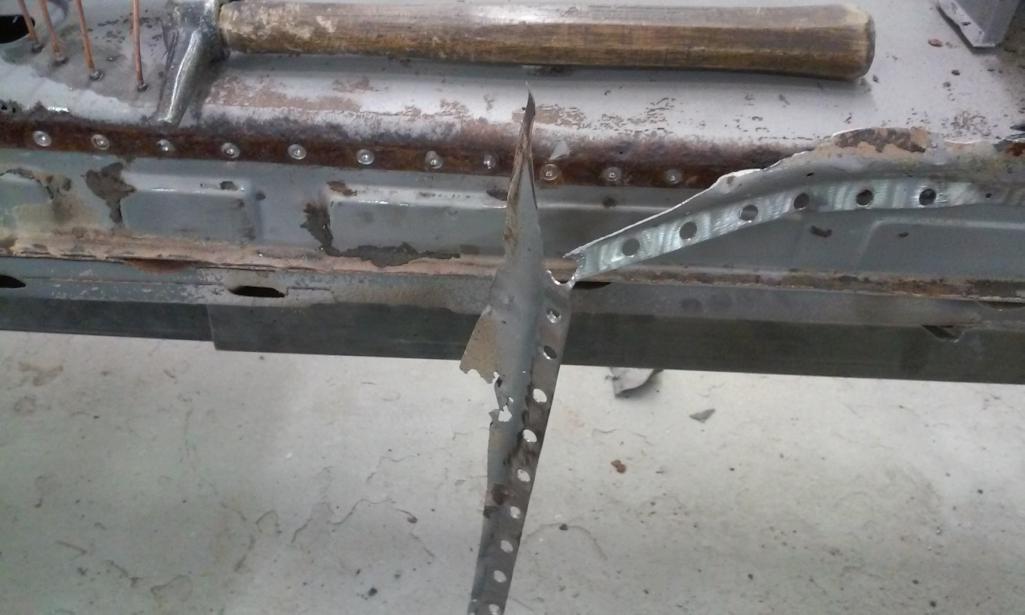
Posted by: 914350 Apr 17 2016, 11:47 PM
Spliced in front half of center tunnel and Brasing in new throttle cable tube.
Attached thumbnail(s)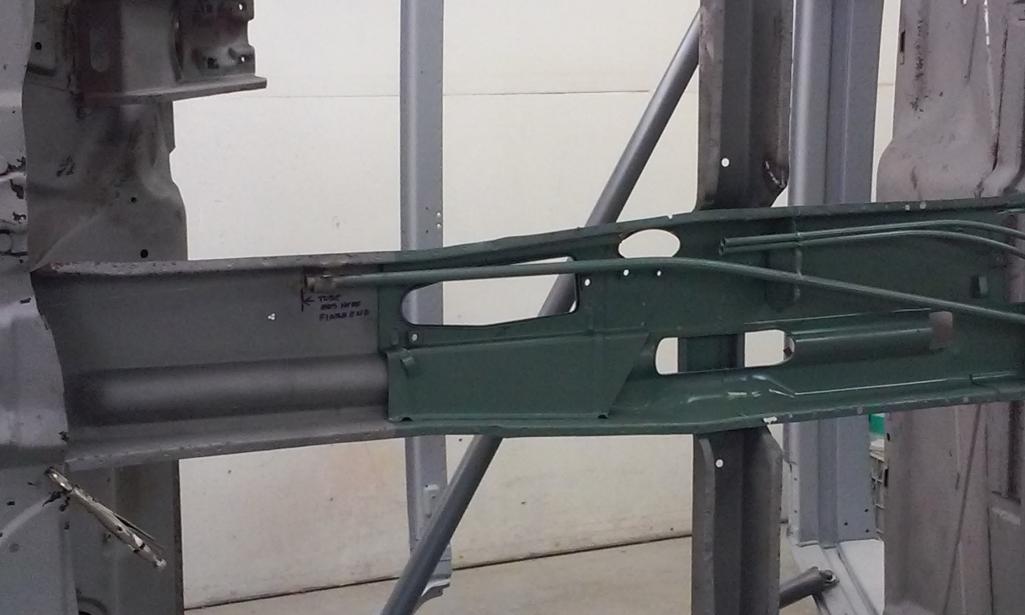

Posted by: 914350 Apr 17 2016, 11:51 PM
Pull on the passenger long.
Attached thumbnail(s)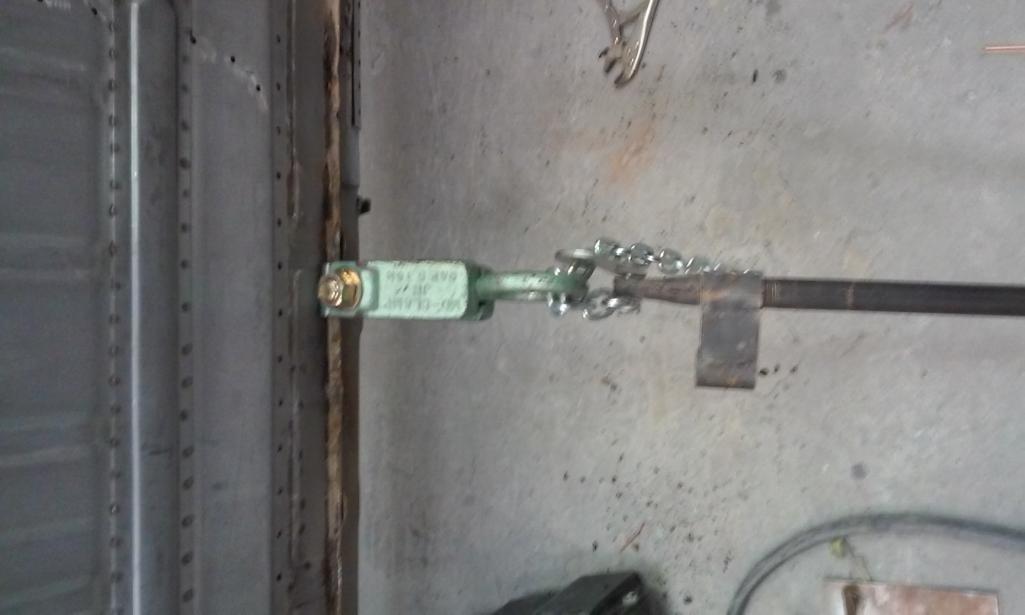
Posted by: 914350 Apr 17 2016, 11:55 PM
more pics
Attached thumbnail(s)
Posted by: 914350 Apr 17 2016, 11:59 PM
more pics
Attached thumbnail(s)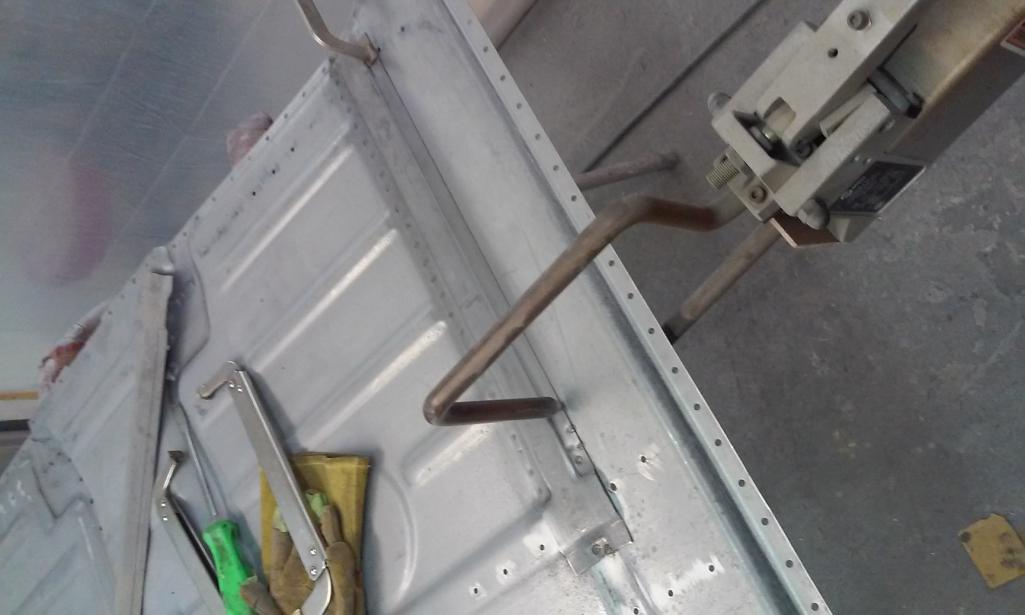
Posted by: 914350 Apr 18 2016, 12:02 AM
Added the line retaining tabs on the pan before install. These are in the tunnel.
Attached thumbnail(s)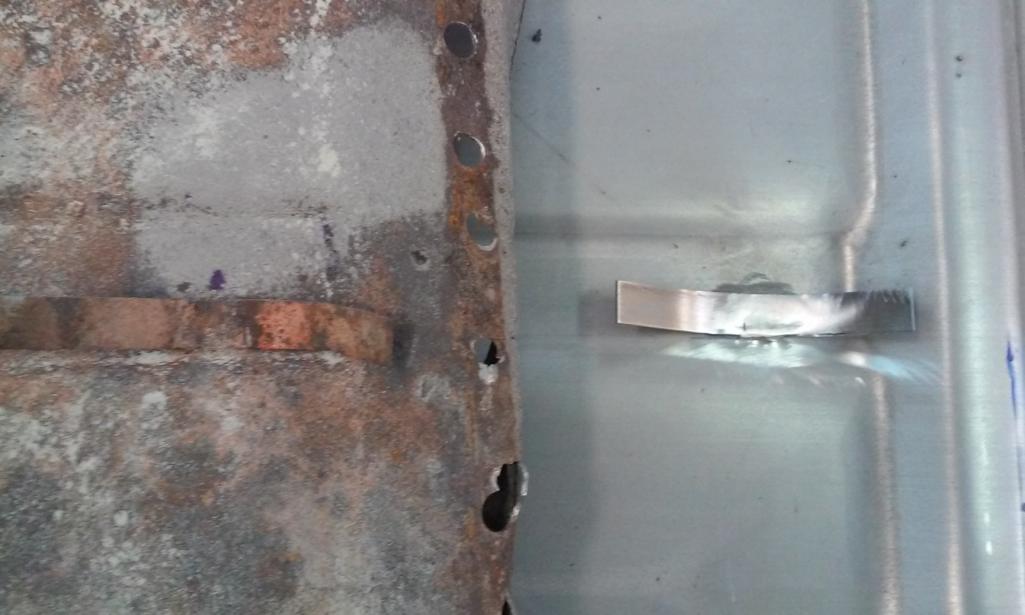
Posted by: 914350 Apr 18 2016, 12:06 AM
more pics
Attached thumbnail(s)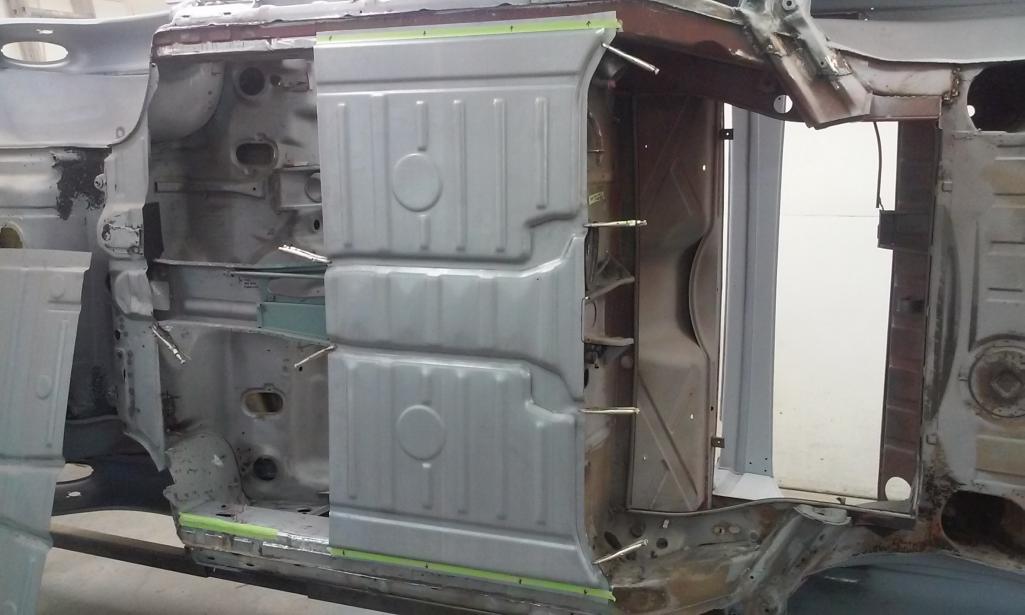
Posted by: 914350 Apr 18 2016, 12:11 AM
Weld made to look factory.
Attached thumbnail(s)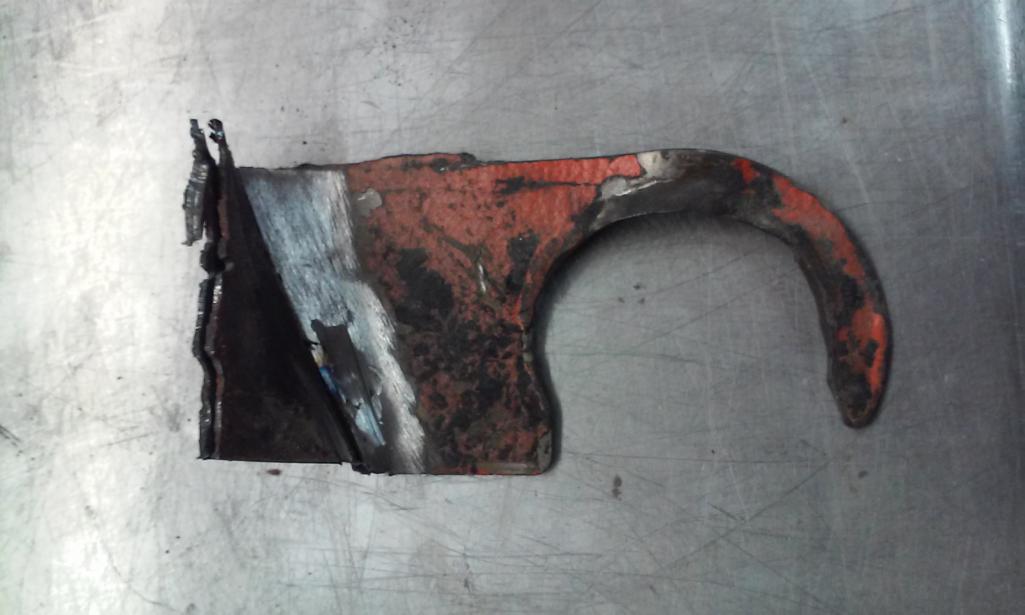
Posted by: 914350 Apr 18 2016, 12:14 AM
more pics
Attached thumbnail(s)

Posted by: 914350 Apr 18 2016, 12:16 AM
more pics
Attached thumbnail(s)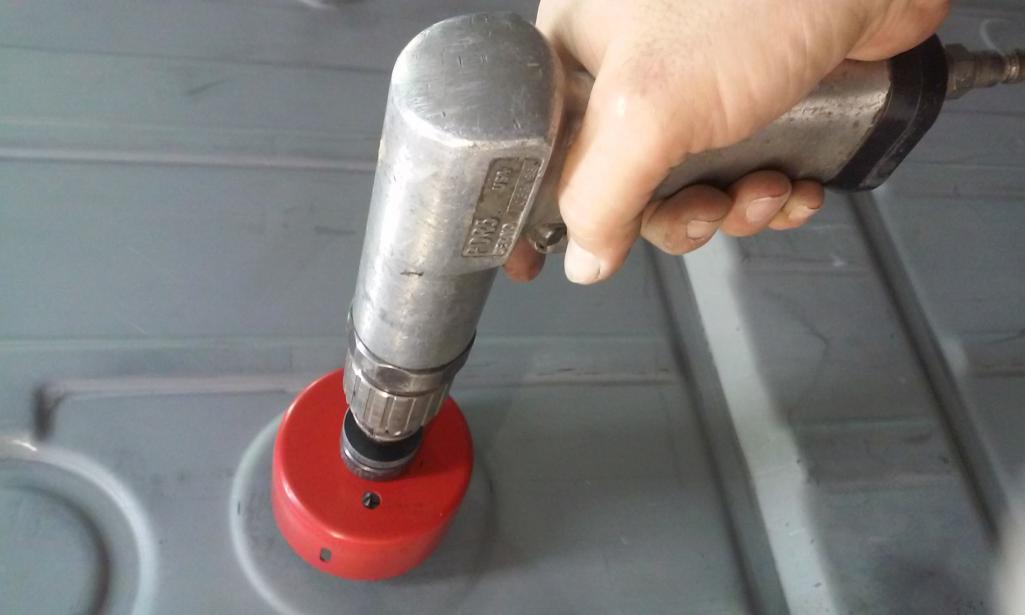
Posted by: 914350 Apr 18 2016, 12:19 AM
Dressing all the plug welds.
Attached thumbnail(s)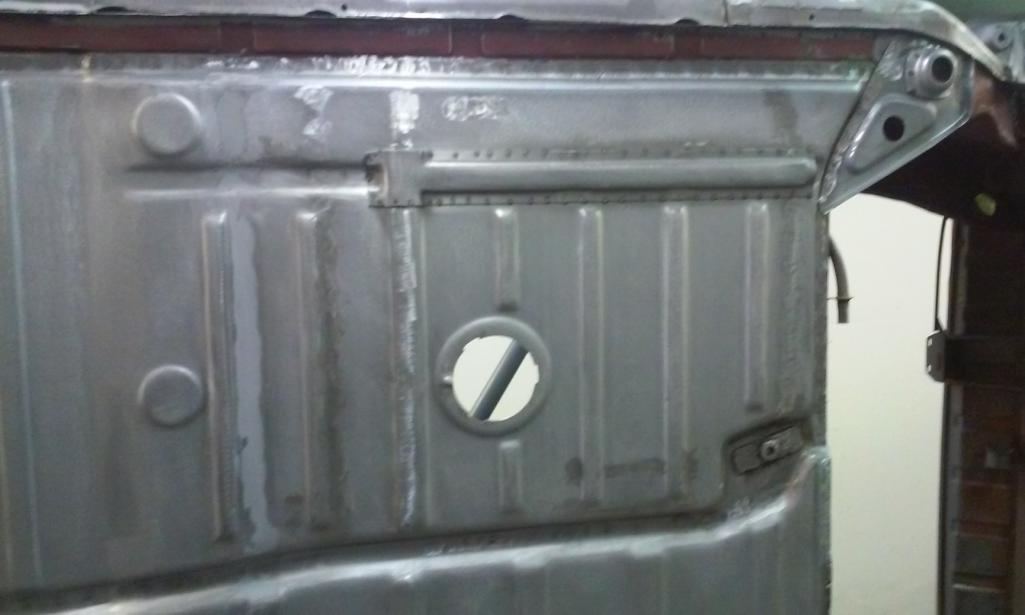
Posted by: 914350 Apr 18 2016, 12:27 AM
Third seat belt nut plates.
Attached thumbnail(s)
Posted by: 914350 Apr 18 2016, 12:30 AM
E-brake stop cut out of old long.
Attached thumbnail(s)
Posted by: 914350 Apr 18 2016, 12:36 AM
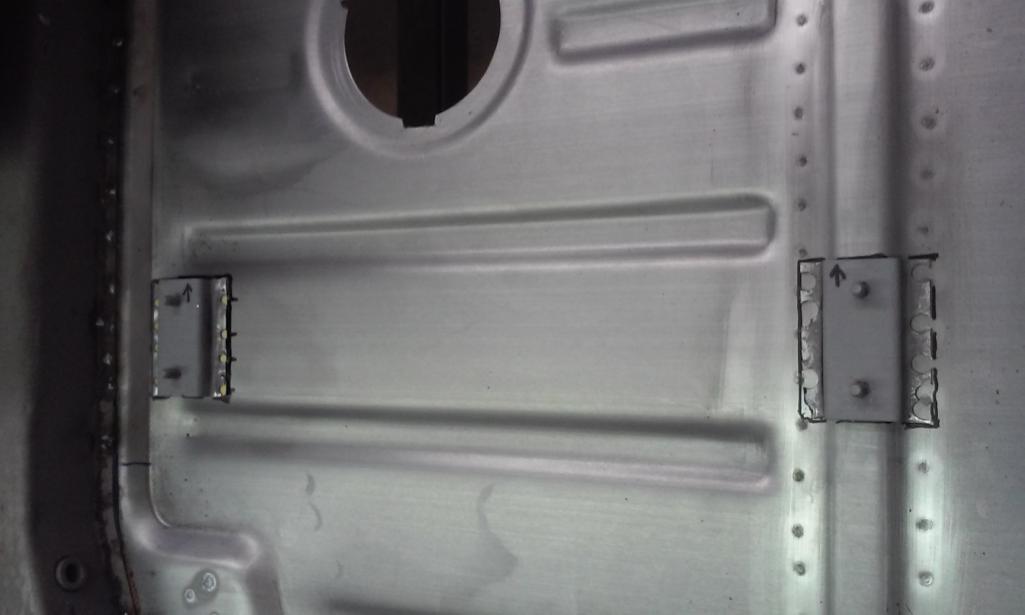
Passenger fixed seat mounts.
Attached thumbnail(s)
Posted by: 914350 Apr 18 2016, 12:38 AM
Drivers seat mounts.
Attached thumbnail(s)
Posted by: 914350 Apr 18 2016, 12:42 AM
Lots of things to remeber to put on. Probably close to 30 items to place.
Attached thumbnail(s)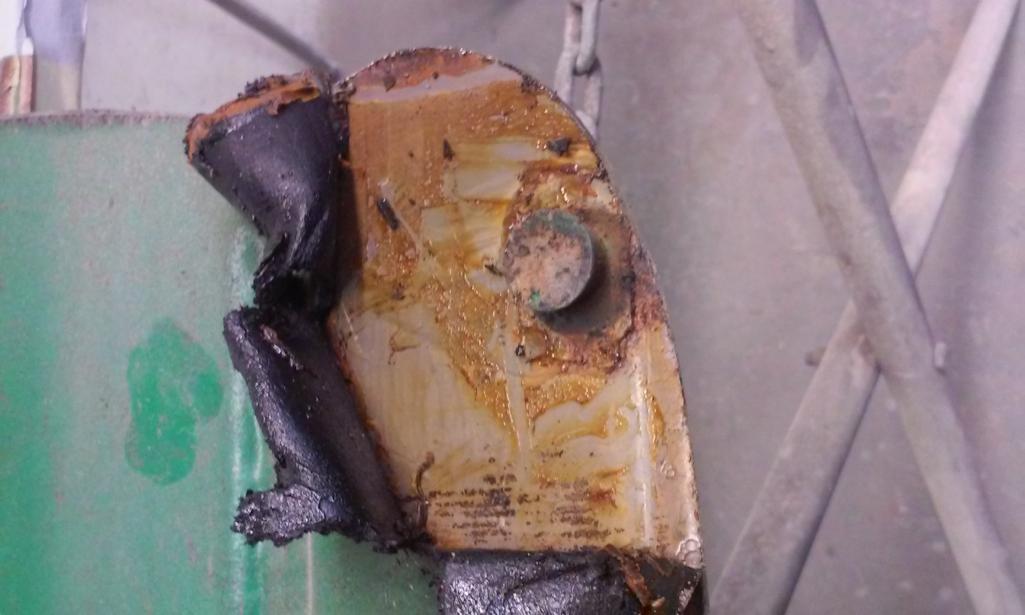
Posted by: 914350 Apr 18 2016, 12:47 AM
more pics
Attached thumbnail(s)
Posted by: 914350 Apr 18 2016, 12:50 AM
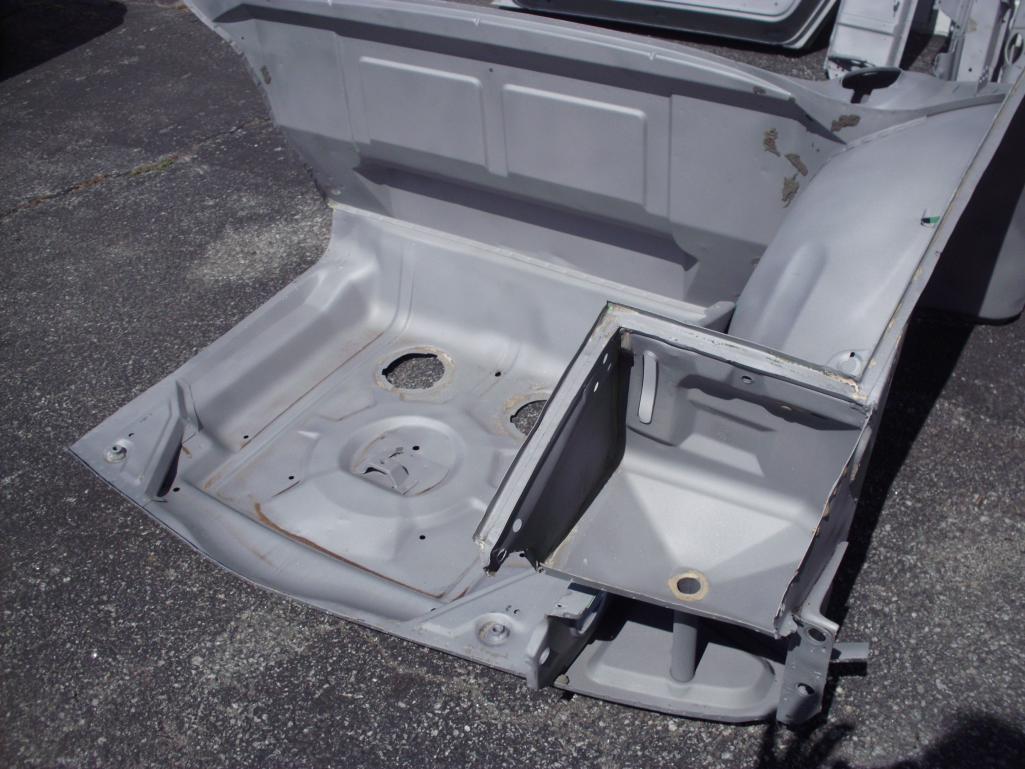
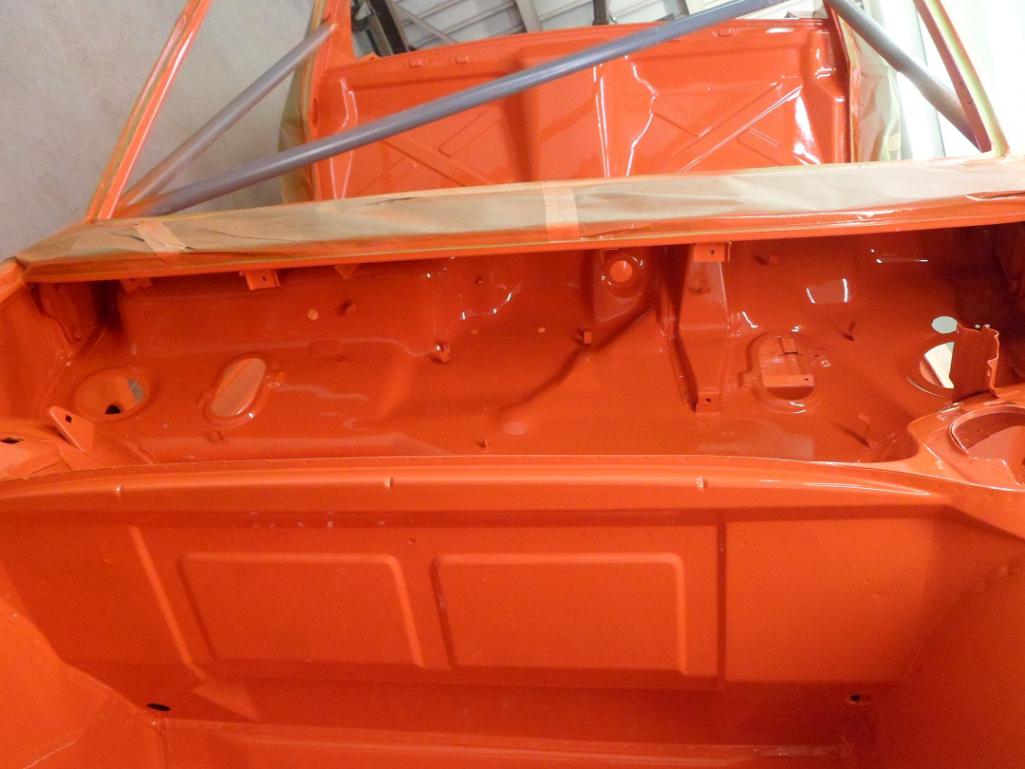
Prep and sealing front tub/turnk.
Attached thumbnail(s)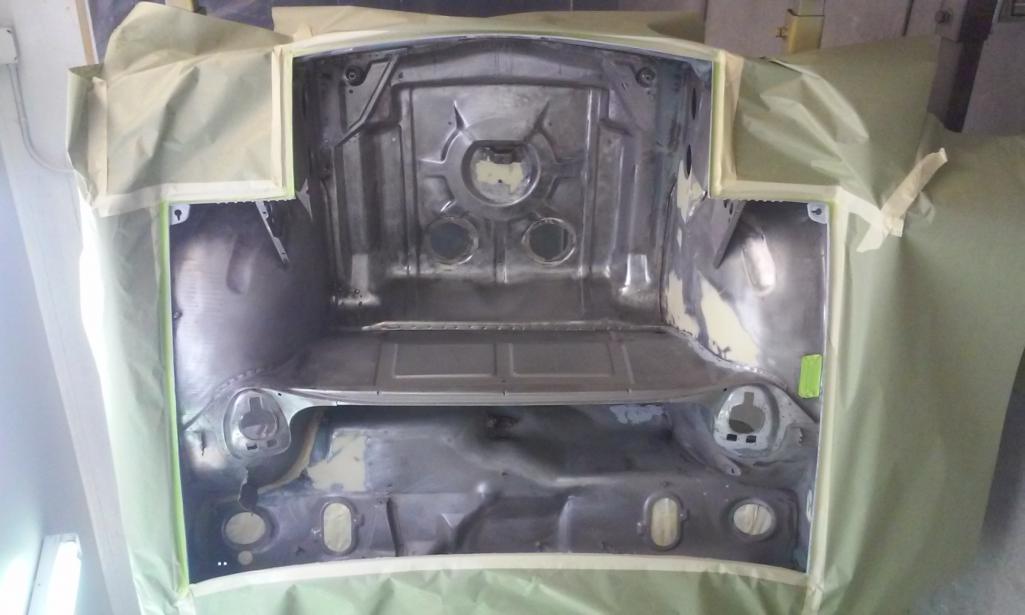
Posted by: 914350 Apr 18 2016, 12:55 AM
more pics
Attached thumbnail(s)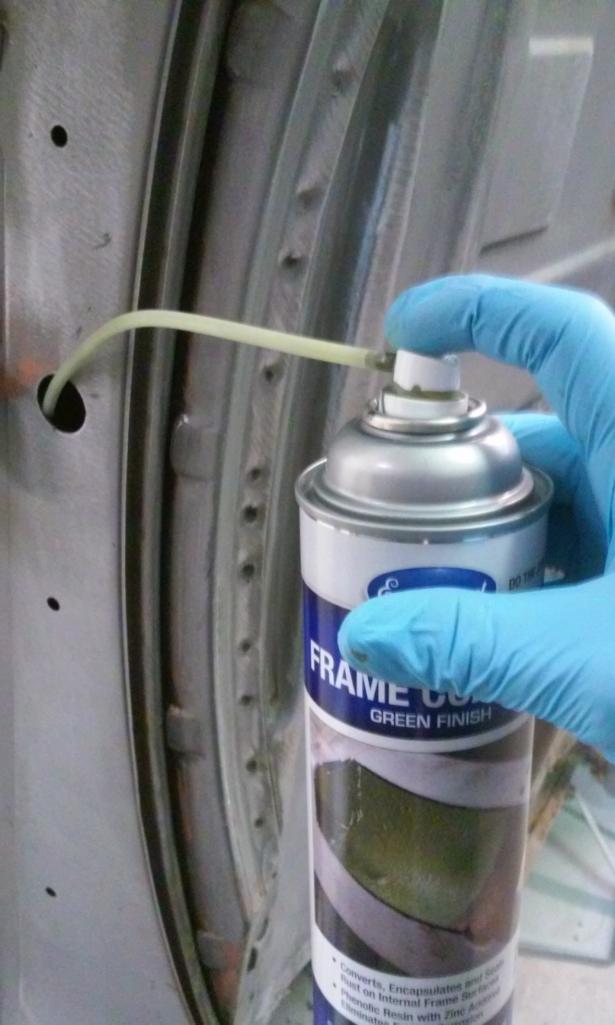
Posted by: 914350 Apr 18 2016, 12:57 AM
more pics
Attached thumbnail(s)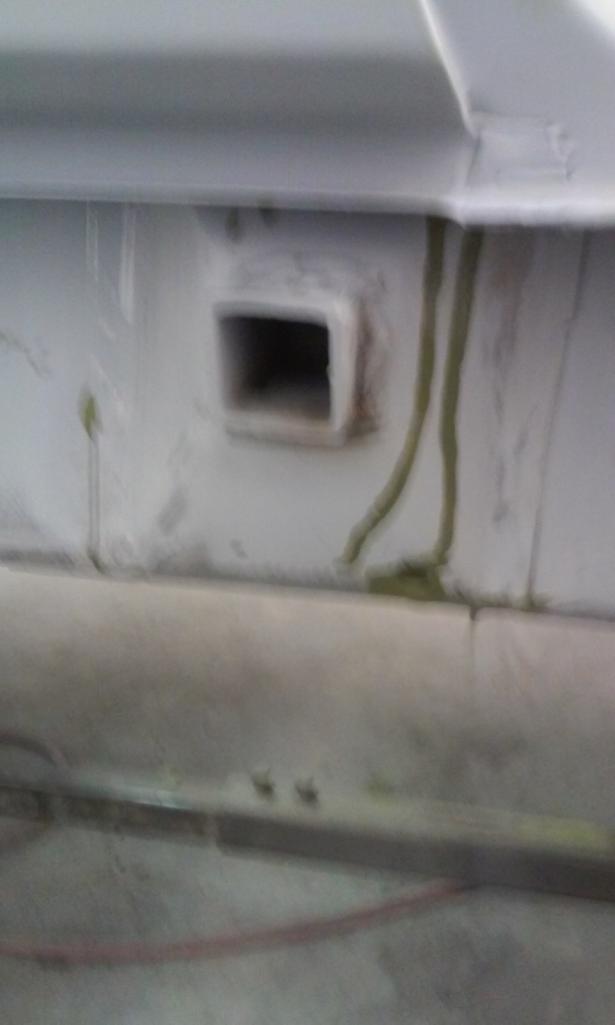
Posted by: 914350 Apr 18 2016, 01:03 AM
more pics.
Attached thumbnail(s)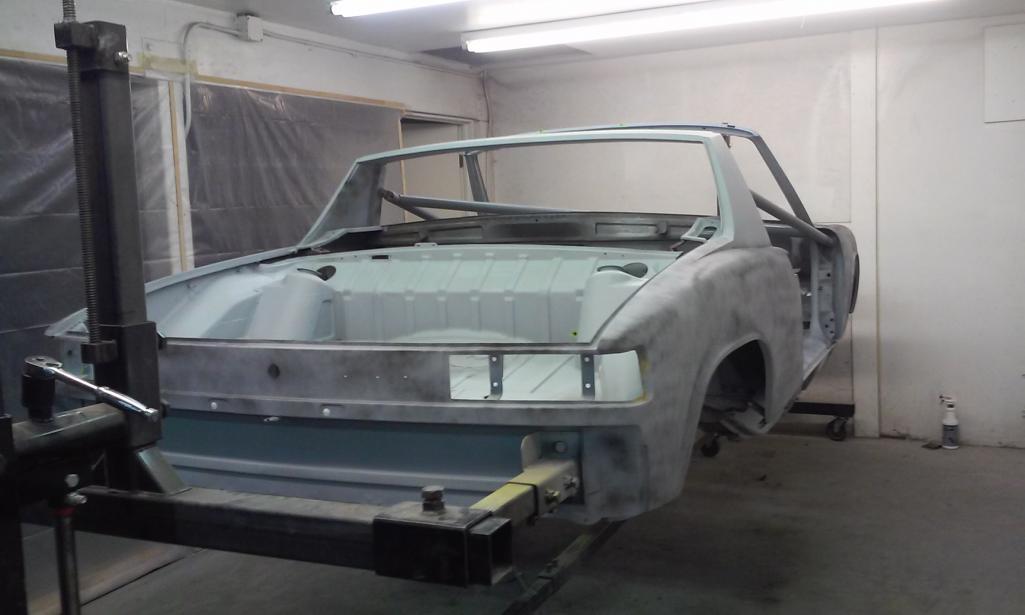
Posted by: 914350 Apr 18 2016, 01:07 AM
more pics
Attached thumbnail(s)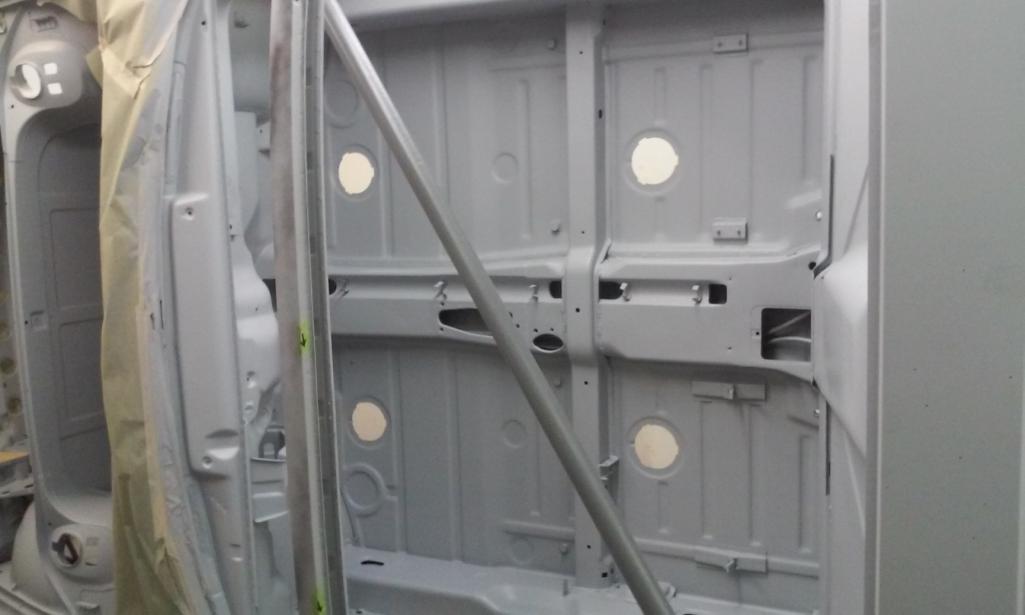

Posted by: 914350 Apr 18 2016, 01:11 AM
more pics
Attached thumbnail(s)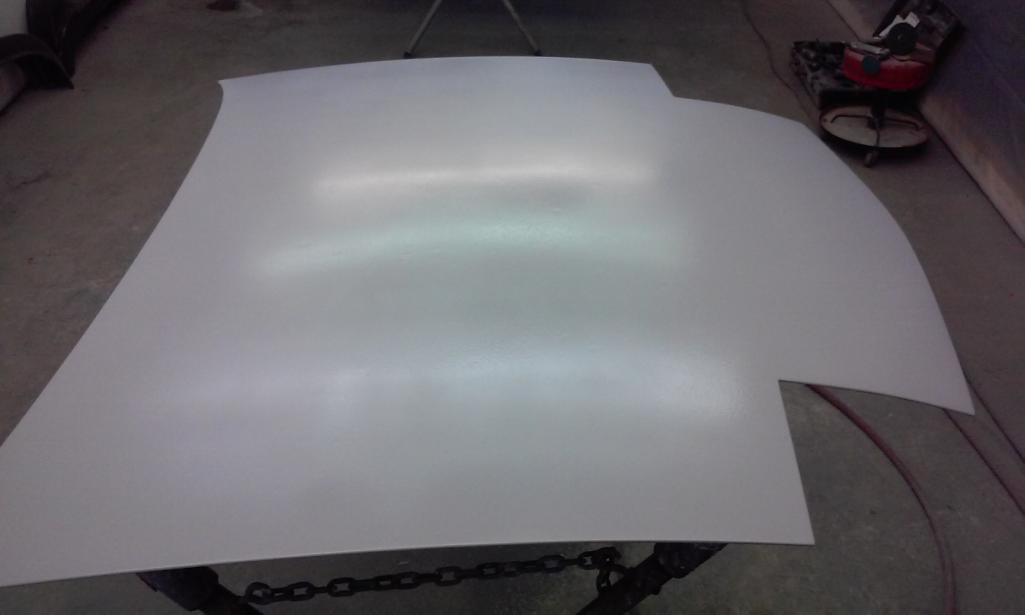
Posted by: Cairo94507 Apr 18 2016, 06:33 AM
That is just terrific work and great photos documenting the process. Thanks for posting.
Posted by: Luke M Apr 18 2016, 07:32 AM
Looks like you've busy there Ken. Keep the progress pics coming.

Posted by: 914350 Apr 18 2016, 07:50 AM
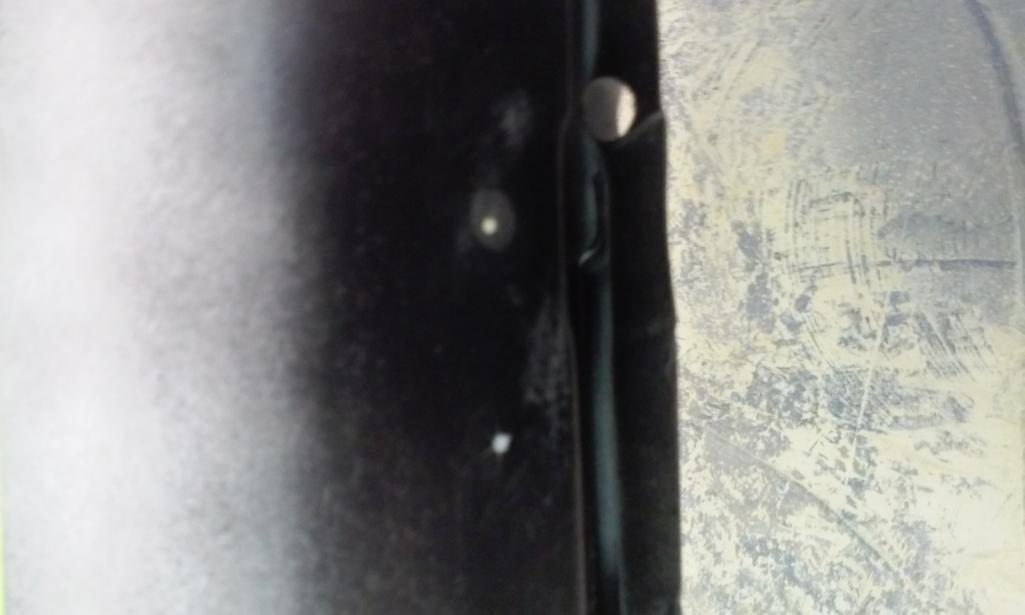
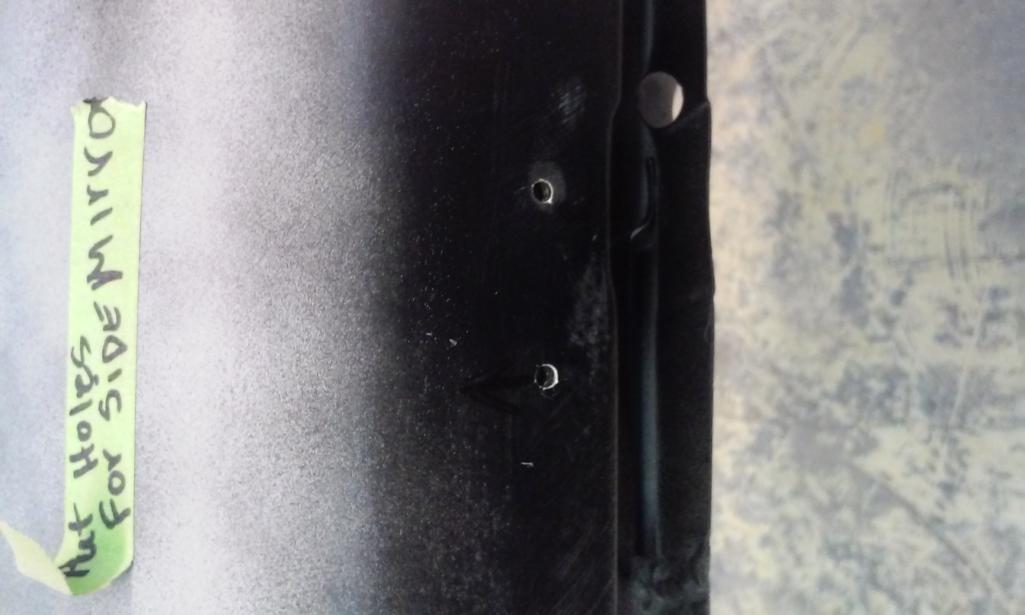
This was a good way to locate and drill the holes in the passenger door for the side mirror. The doors already have a welded in nut plate but the skin of the door is covering it, leaving it hard to know where exactly to drill the holes.
I made a tip on a bolt and screwed it in from inside the door (the back of the nut plate) untill it slightly pushed up on the skin then with some black paint spraid over the area, when I lightly sanded the area, it left whitness marks in the exact place to drill.
After I removed the bolt, I used a punch to make a mark to guide the drill bit, then I drilled a small pilot hole. Then I screwed a regular bolt in from the underside to act as a stop so the drill would not go to far and cut into the threads in the nut plate. Then I drilled the holes to the correct size.
Attached thumbnail(s)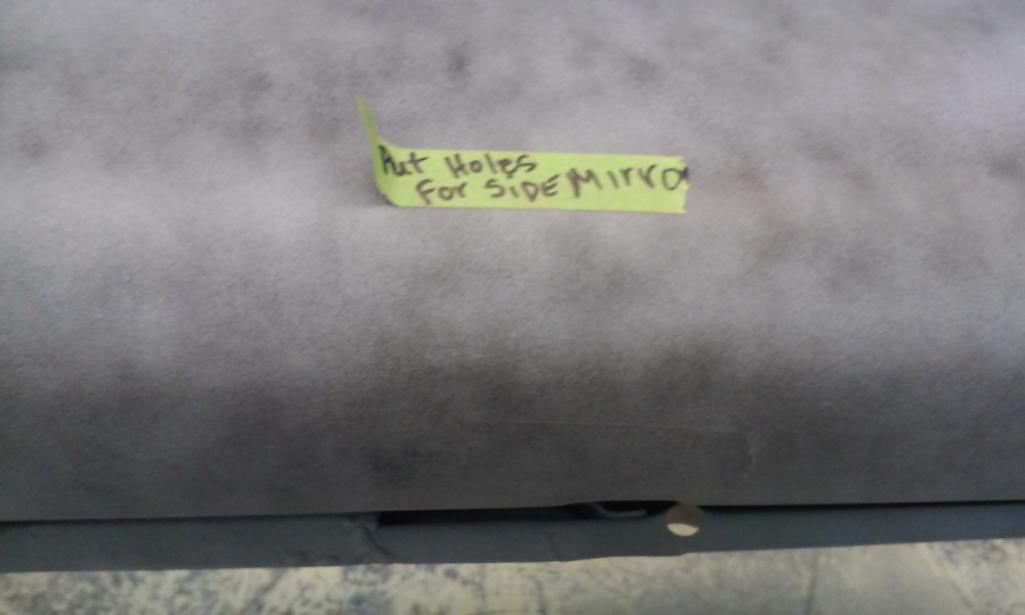

Posted by: 914350 Apr 18 2016, 07:51 AM
more pics
Attached thumbnail(s)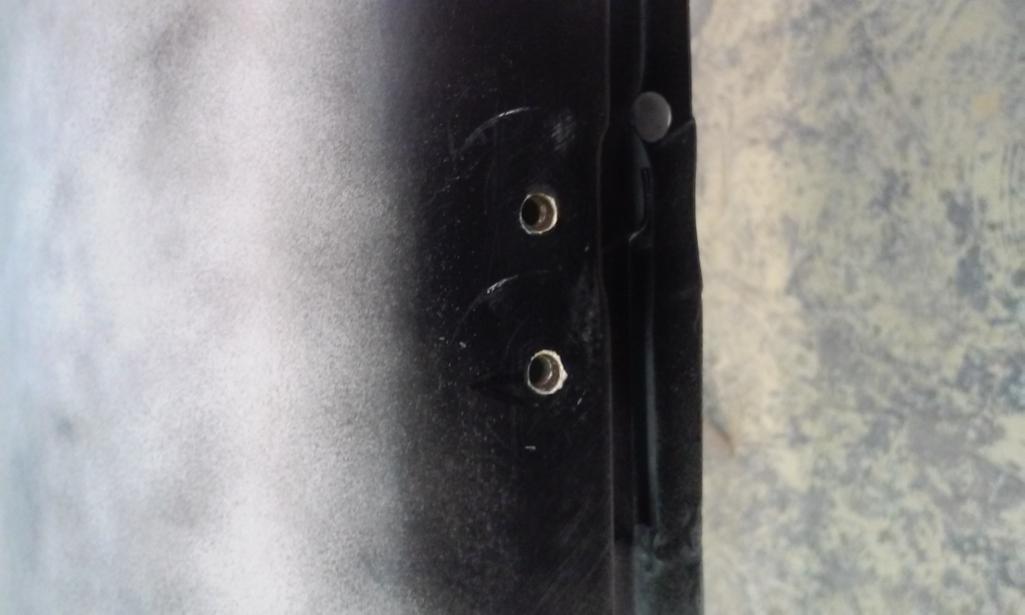
Posted by: rhodyguy Apr 18 2016, 07:55 AM
Very clever method to locate and open the holes. Nice work.
Posted by: cary Apr 18 2016, 08:33 AM
Lots of things to remeber to put on. Probably close to 30 items to place.
I need to install the floor mat posts on my restoration ......... Thanks for the reminder.
Beautiful Work ........ Lots of good take aways, great detail pictures for future restorations. Many, many thanks on the picture documentation.
Posted by: banananose914 Apr 18 2016, 08:16 PM
Once again you have come through. This only drives home the point even more, my six is where it needs to be. In your capable hands. Thanks for the attention to detail, and your efforts to make the car a "noxcus6." Weld on!
Posted by: 914350 Apr 18 2016, 09:13 PM
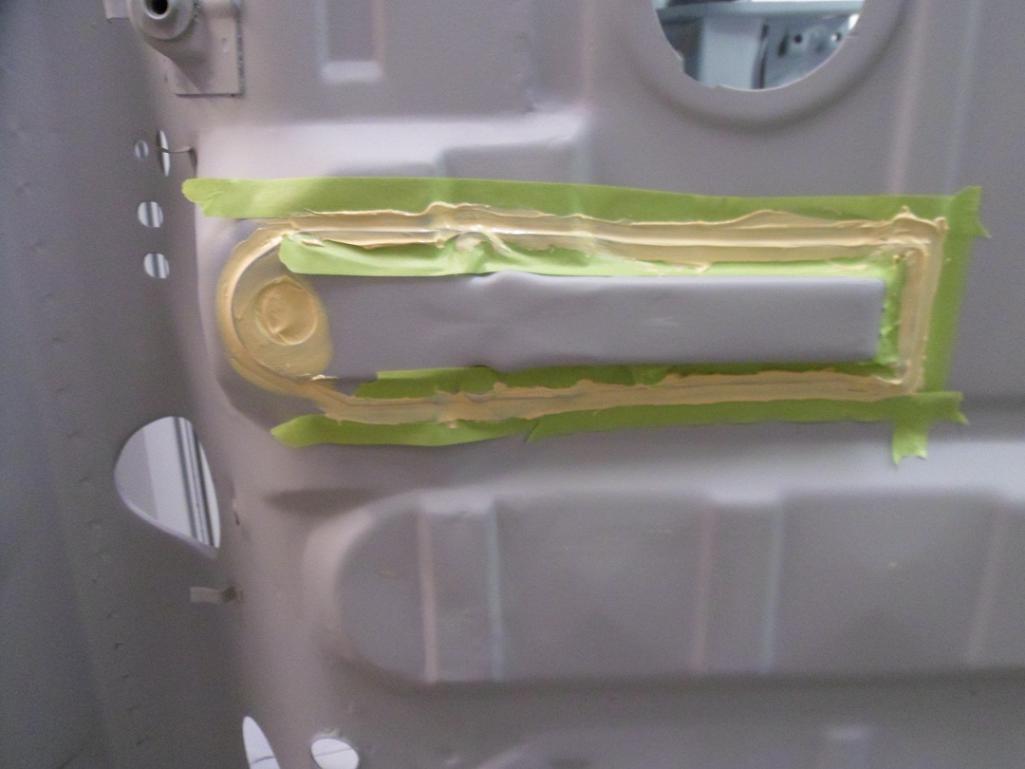
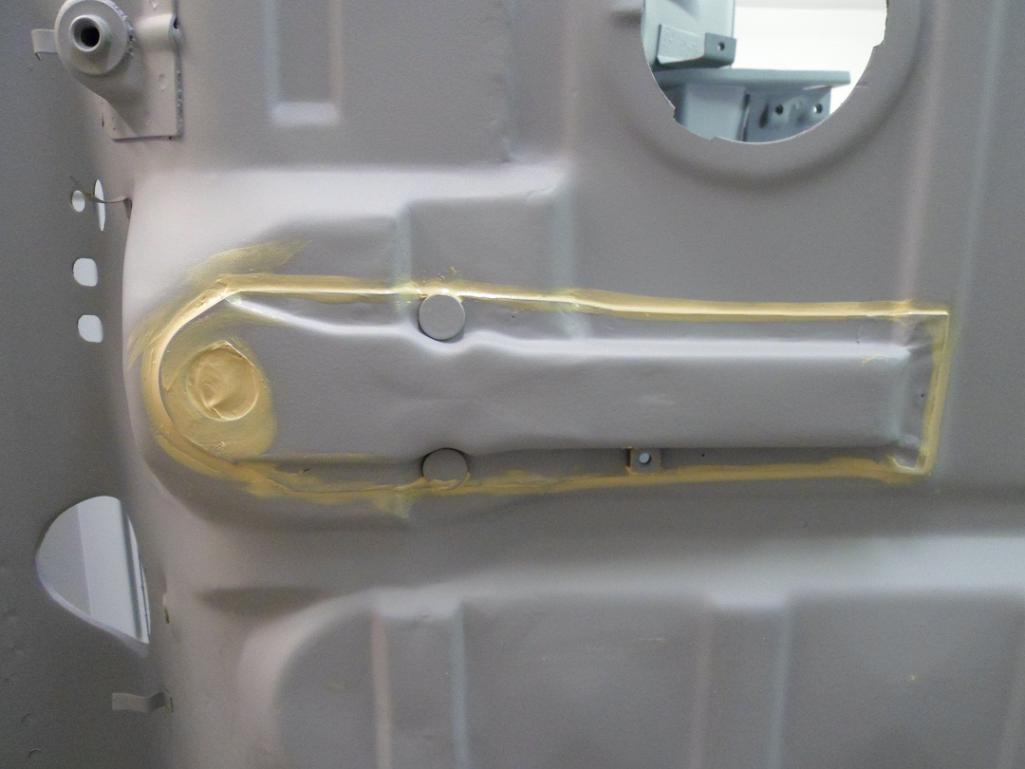
Got the body plugs in today and some seam sealing started.
Attached thumbnail(s)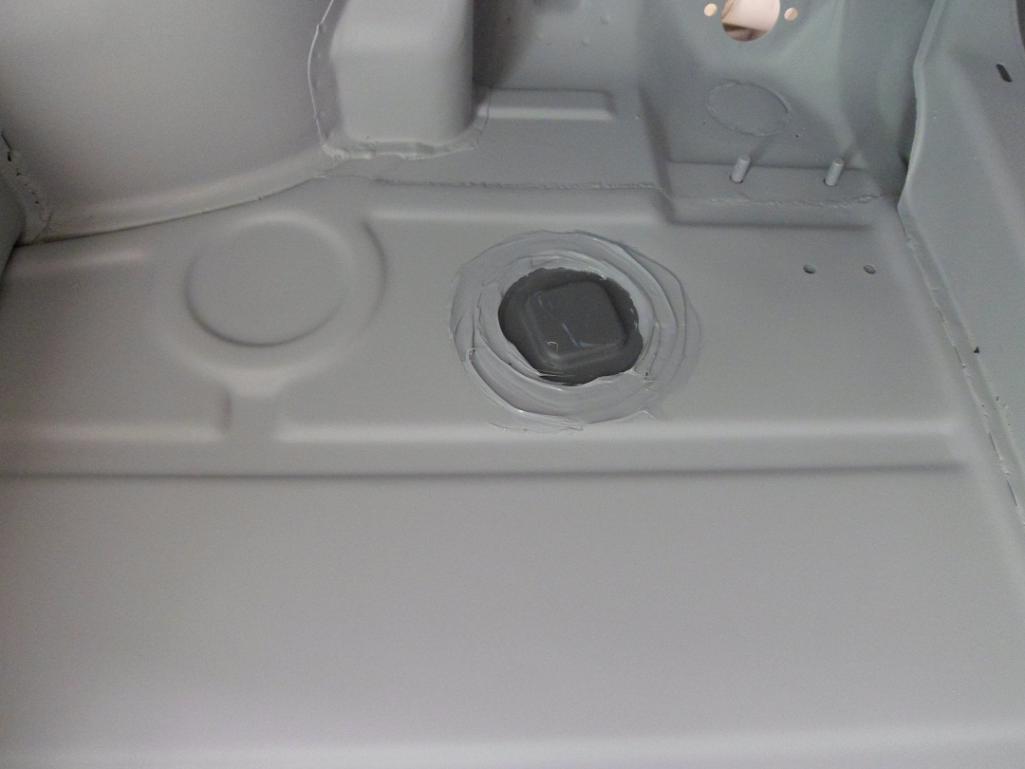
Posted by: bigkensteele Apr 18 2016, 09:17 PM
Interesting. The seam seal around my plugs seems to be a more spackled texture rather than "swirled finger", but mine is a '75. Did they change technique between the early and late cars?
Posted by: 914350 Apr 18 2016, 09:26 PM
Yes actualy. Early 1970 cars were brushed on and somewhere in there they started sraying it on. There must have been a period of time when they smeared/brushed in the sealer on the body plugs but sprayed in the sealer on other areas around the car. In later cars, I think it was all sprayed on.
Someone else might have more to add to this.
I'm putting Jim's car (this car) back to what it was and so I'm doing the brush, smear in sealer to keep with the proper look.
Posted by: bigkensteele Apr 18 2016, 09:29 PM
Yes actualy. Early 1970 cars were brushed on and somewhere in there they started blowing/sraying it on. Andy's car was blown/spraid on and also my 6 which has a build date of 05/70. Someone else might have more to add to this.
I'm putting Jim's car (this car) back to what it was and so I'm doing the brush, smear in sealer.
It's that kind of attention to detail that puts a car like this over the top. The quality of you work is incredible!
Posted by: 914350 Apr 18 2016, 09:30 PM
Yes actualy. Early 1970 cars were brushed on and somewhere in there they started blowing/sraying it on. Andy's car was blown/spraid on and also my 6 which has a build date of 05/70. Someone else might have more to add to this.
I'm putting Jim's car (this car) back to what it was and so I'm doing the brush, smear in sealer.
It's that kind of attention to detail that puts a car like this over the top. The quality of you work is incredible!
Thank you.
Posted by: pete000 Apr 18 2016, 11:25 PM
Very clever method to locate and open the holes. Nice work.
Posted by: banananose914 Apr 19 2016, 08:55 PM
Pure 914 porn!
Posted by: Blue6 Apr 20 2016, 12:42 AM
I hope you'll paint it blue
Posted by: banananose914 Apr 20 2016, 06:22 PM
Dave, Dave, Dave. Contrary to your badgering me about the color blue, it will remain the most excellent color tangerine that the factory intended. Now, go back to your Mom's basement and breathe carbon monoxide fron her broken water heater. And, continue to be a mouth breather.
Posted by: Blue6 Apr 21 2016, 02:07 PM
Can't have enough blue (CHEB). Just because of those mean comments about my mother and me, I hope when Earl Sheib paints the Orangarine color it has runs and lots of orange peel. 
Posted by: banananose914 Apr 21 2016, 05:04 PM
I didn't mean to insult your Mom. I'm glad you finally found her. I know that ever since she was fired from the carnival, she's been a little depressed. Sorry about that Mrs. Carney.
Posted by: banananose914 May 21 2016, 12:07 AM
Saw my car today. Final block sanding done, and paint soon to follow. Kent kicked ass on welding up the rusted and thrashed dash panel. Painted to factory specs with the chassis number inscribed. The tangerine orange is bright and bad ass. Kent is also going to straighten the front and rear valances as well. Tons of work done and still more to go. More progress pictures will be posted when Kent isn't performing his metallurgic madness. He is the metal master. Thanks for all your time and effort Kent
Posted by: Cairo94507 May 21 2016, 07:08 AM
OK....wait.... where are the pictures of it blocked? Come on now, don't hold out on those of us who live vicariously through other  cars.
cars.
Posted by: 914Sixer May 21 2016, 07:30 AM
It is amazing to see a master at work!!! There will be way for anyone to pick at any detail on this car.
Posted by: 914350 Jun 2 2016, 05:38 PM
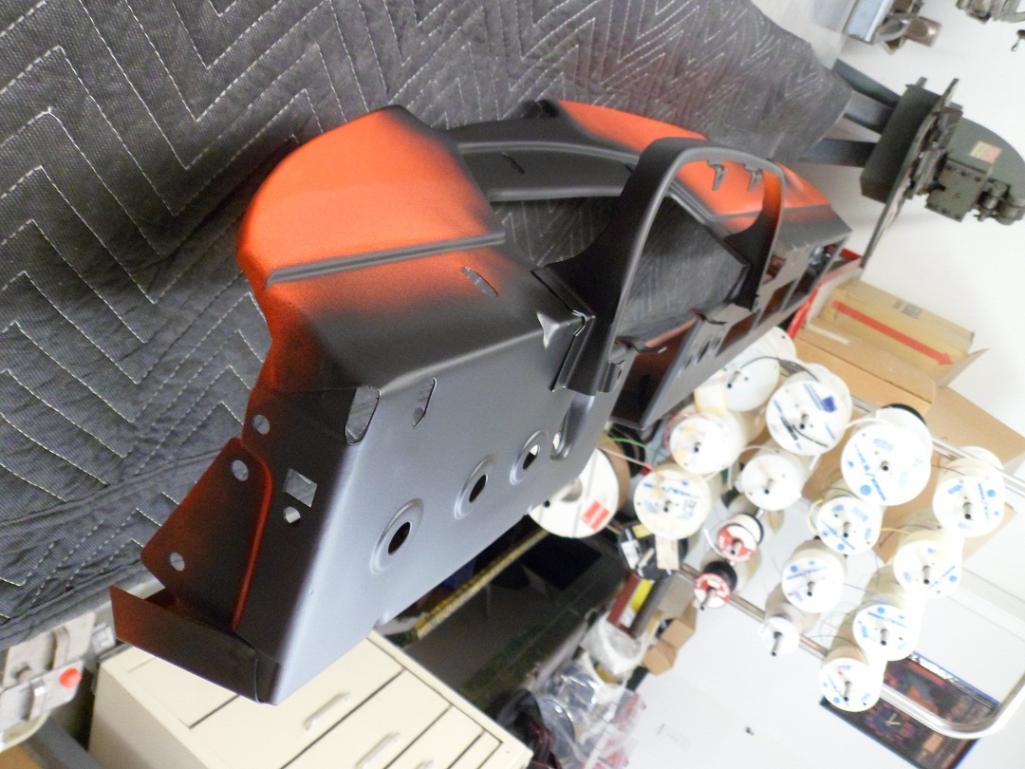
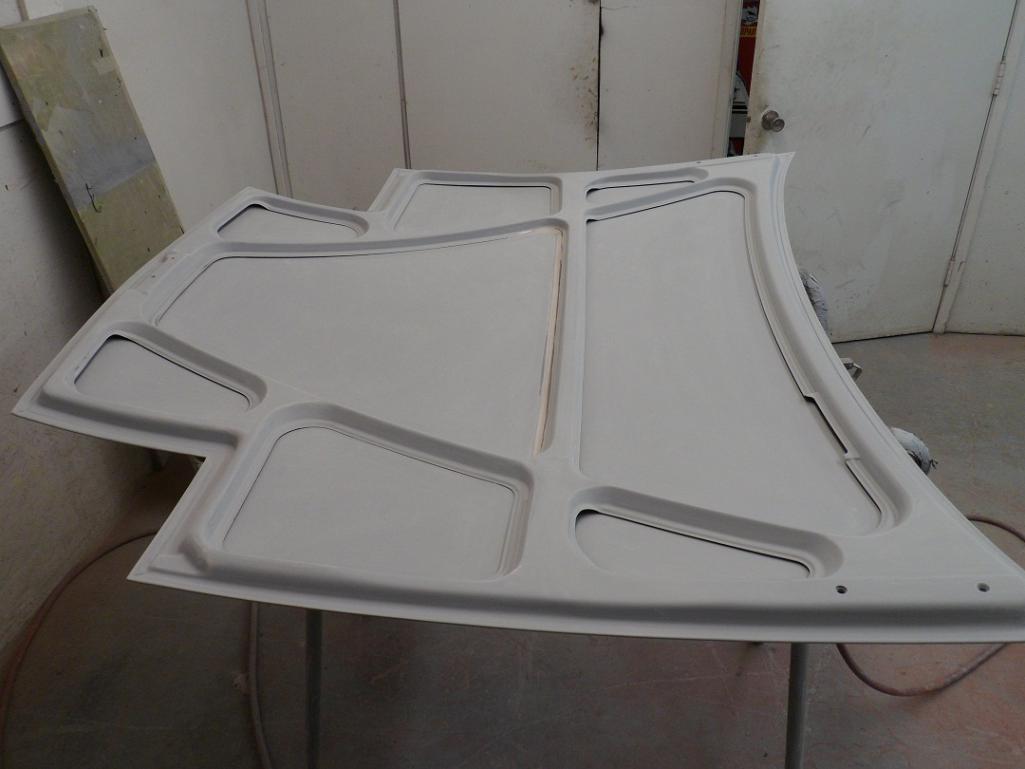
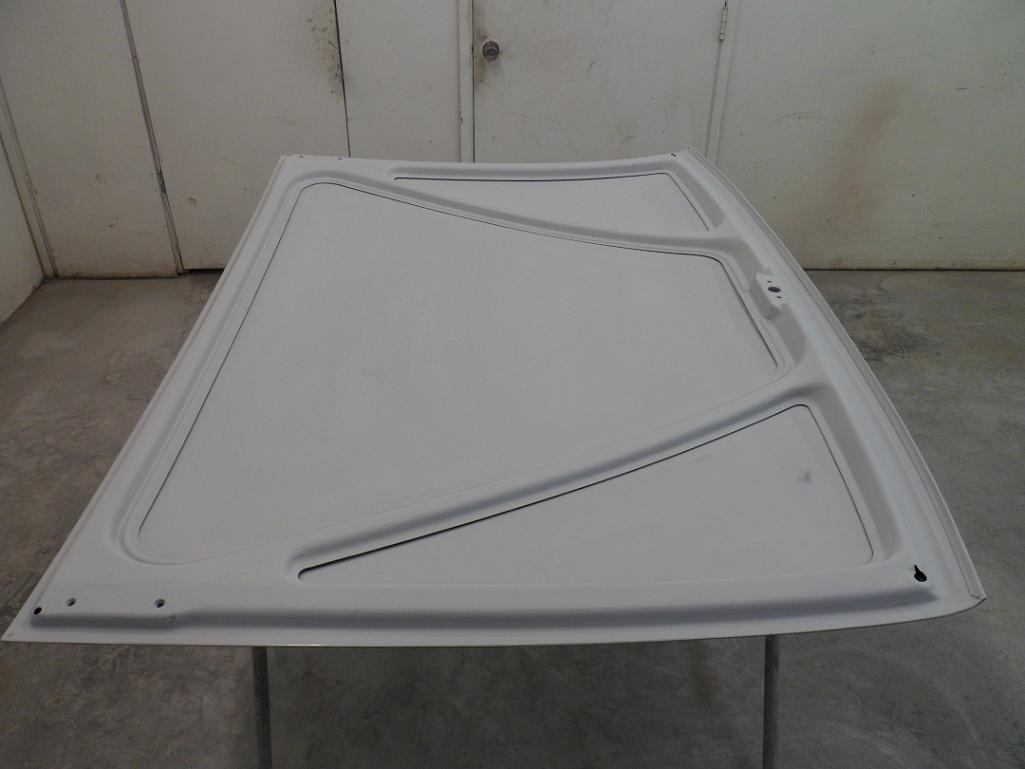
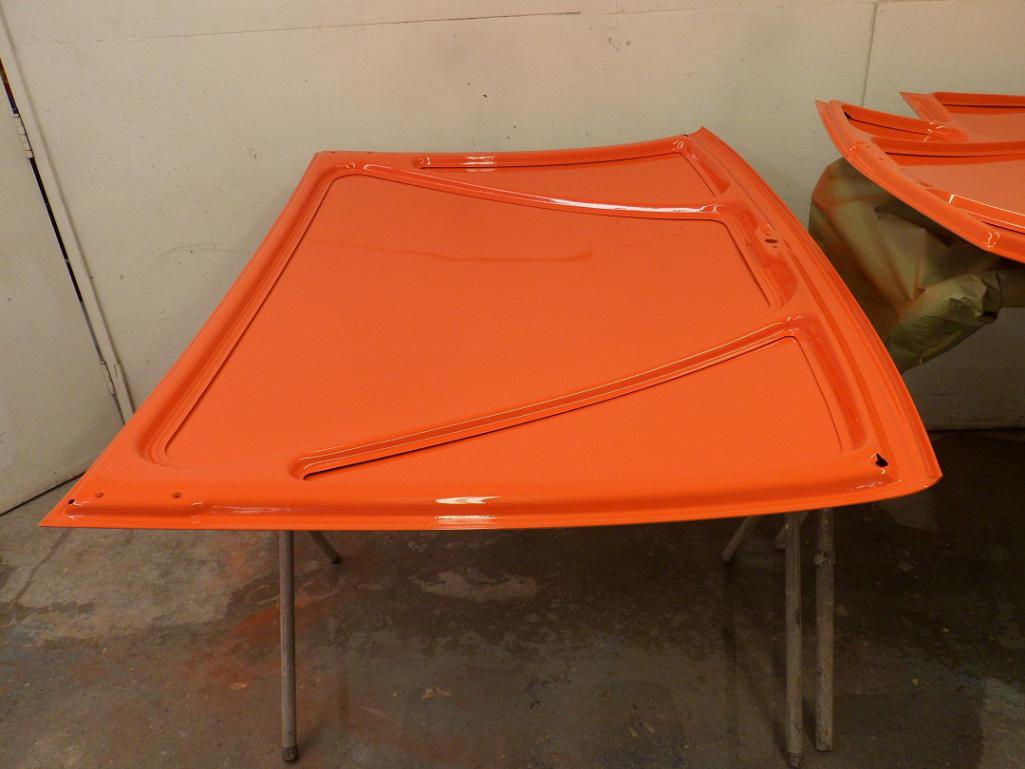
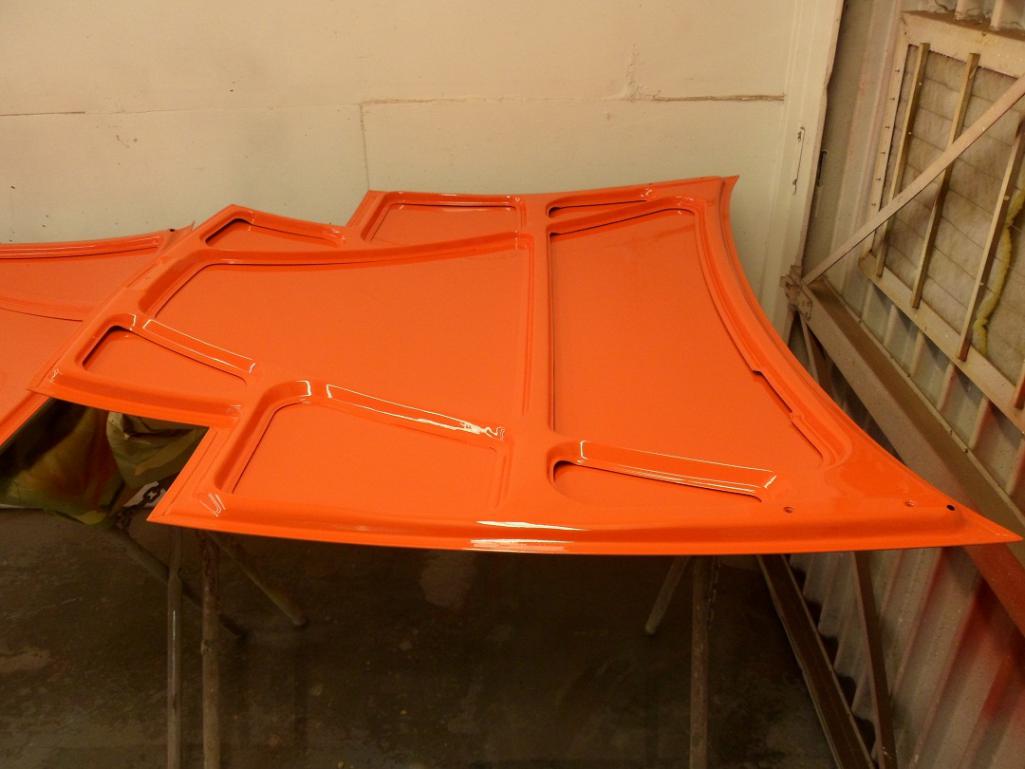
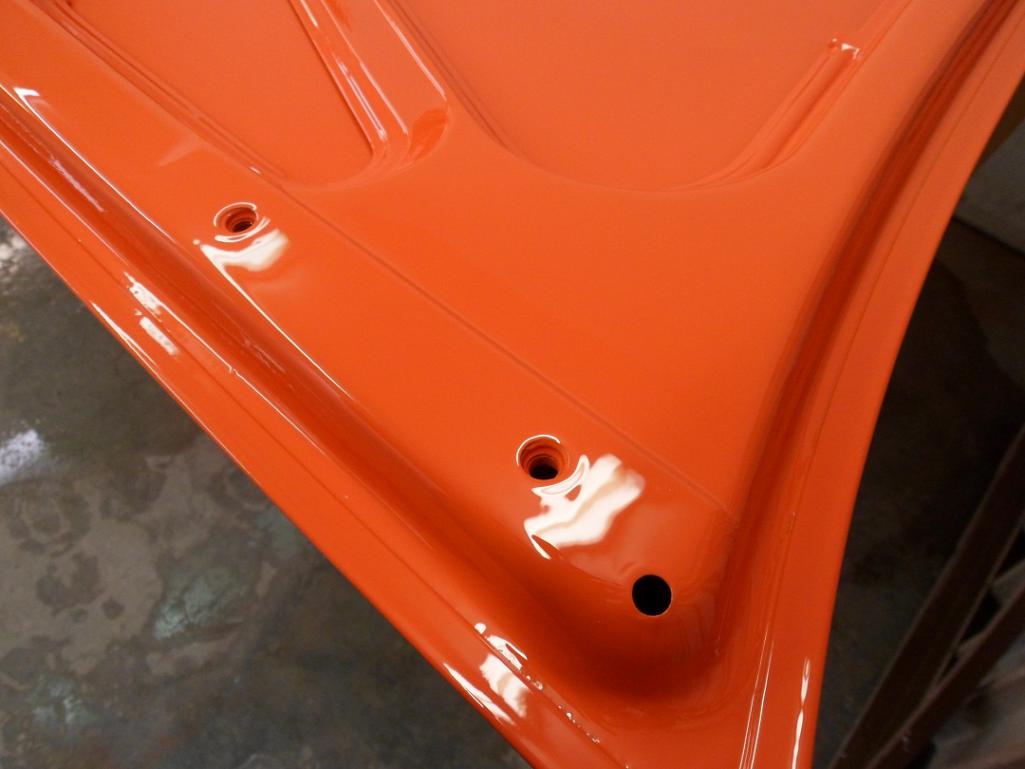
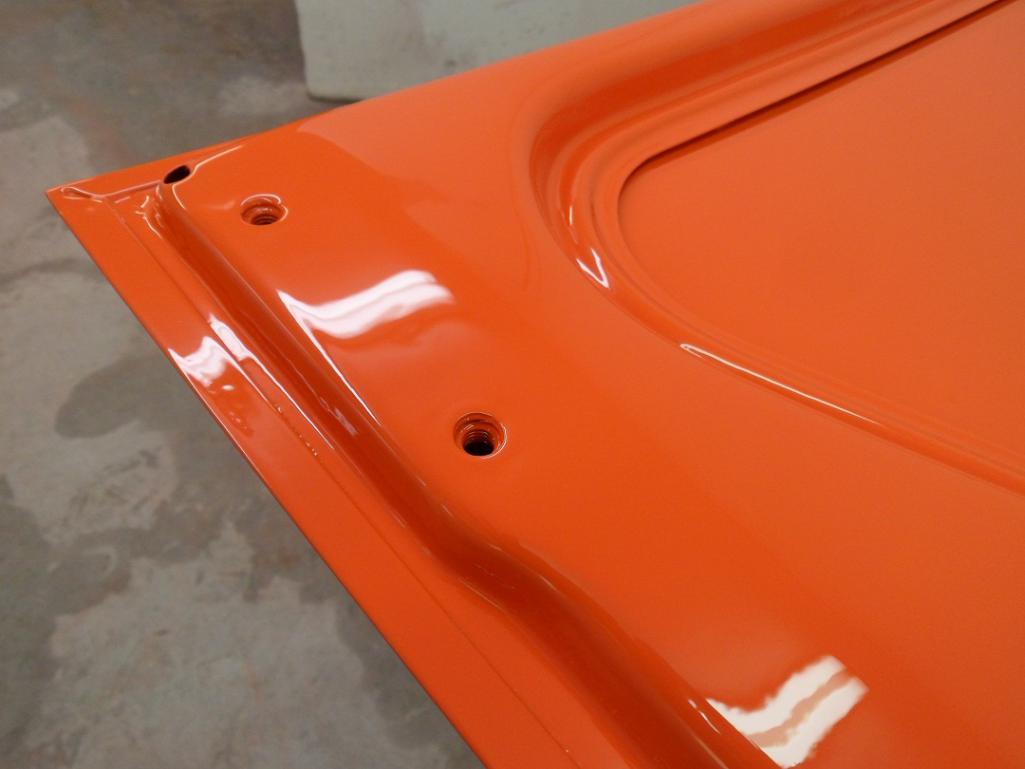
More progress pics. Metal conditioning the engine cover.
Attached thumbnail(s)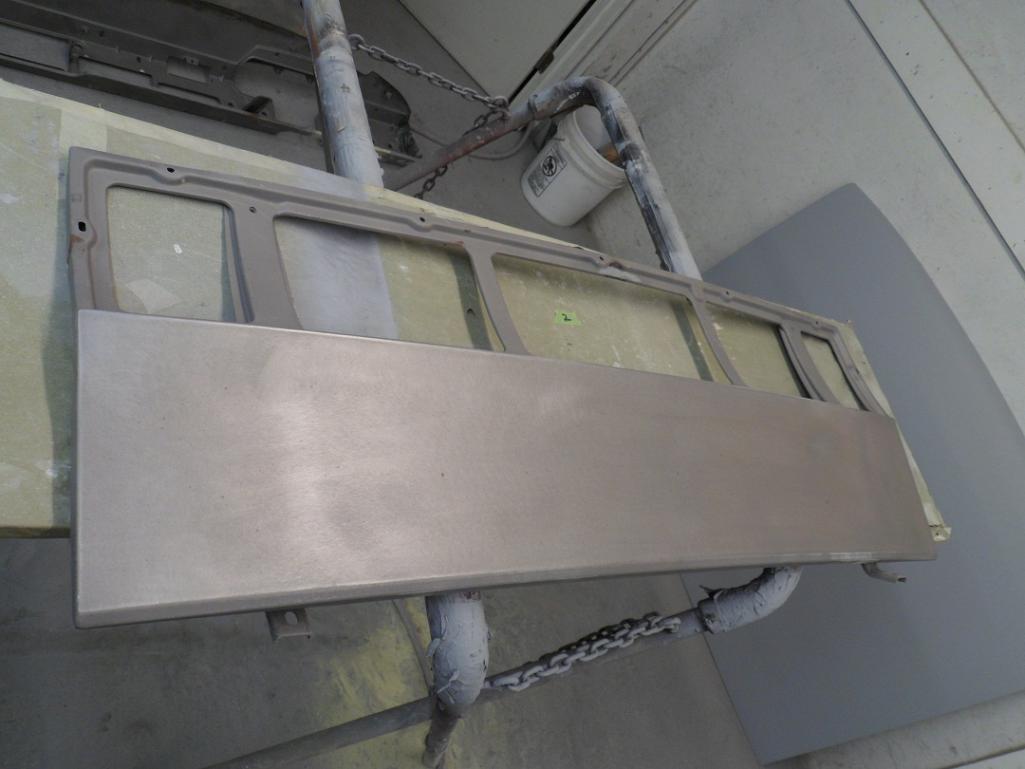
Posted by: 914350 Jun 2 2016, 05:47 PM
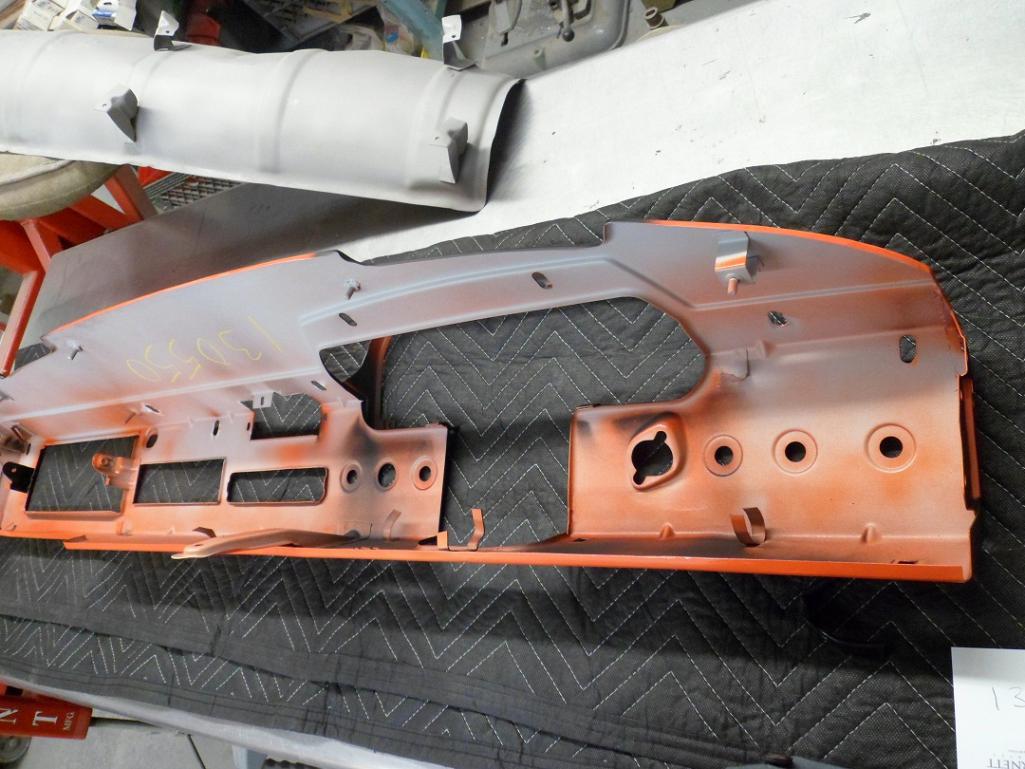
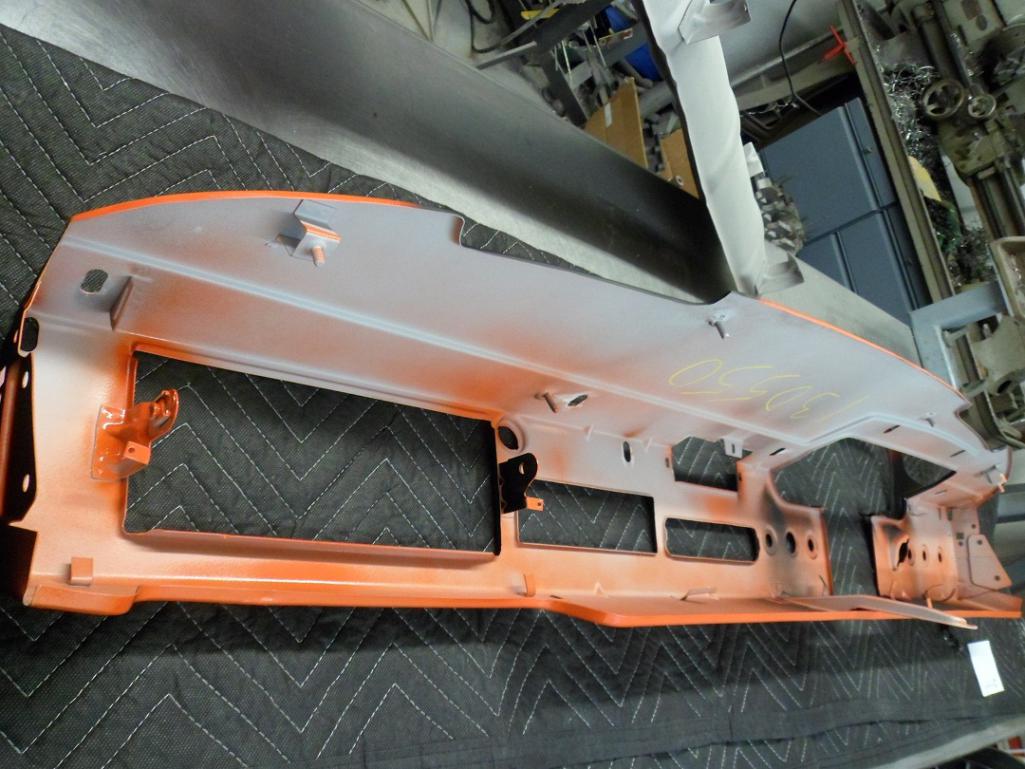
Dash. Lot of damage and some rust. Sorry, these pics are not in order.
Attached thumbnail(s)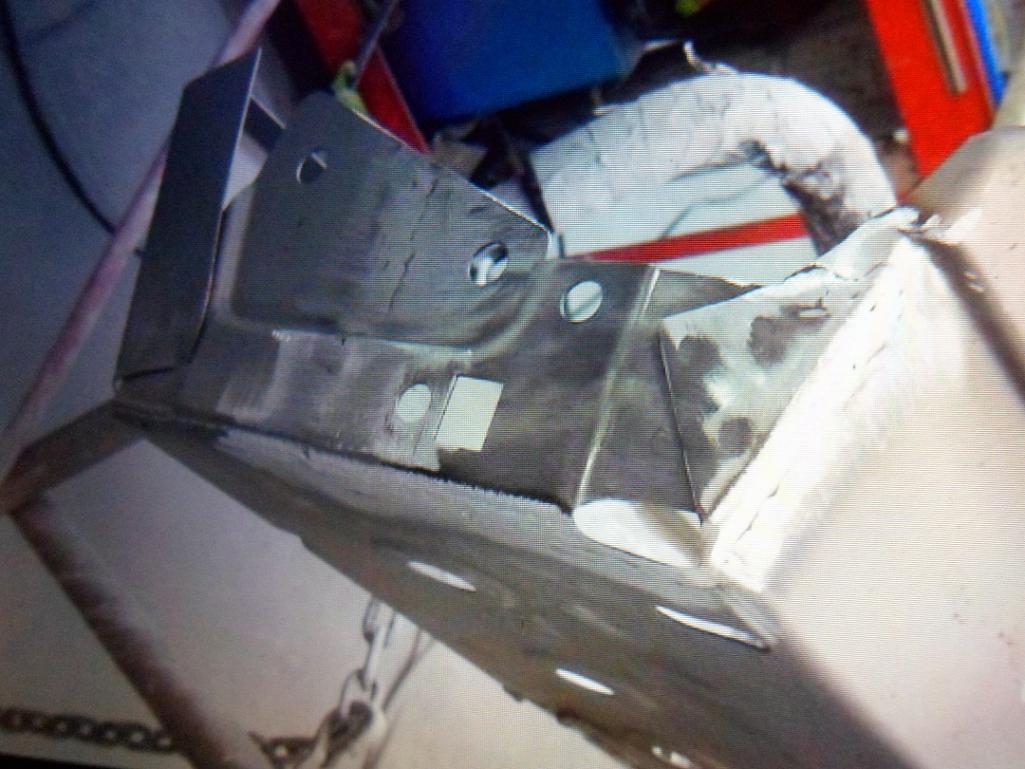
Posted by: 914350 Jun 2 2016, 05:55 PM
More pics.
Attached thumbnail(s)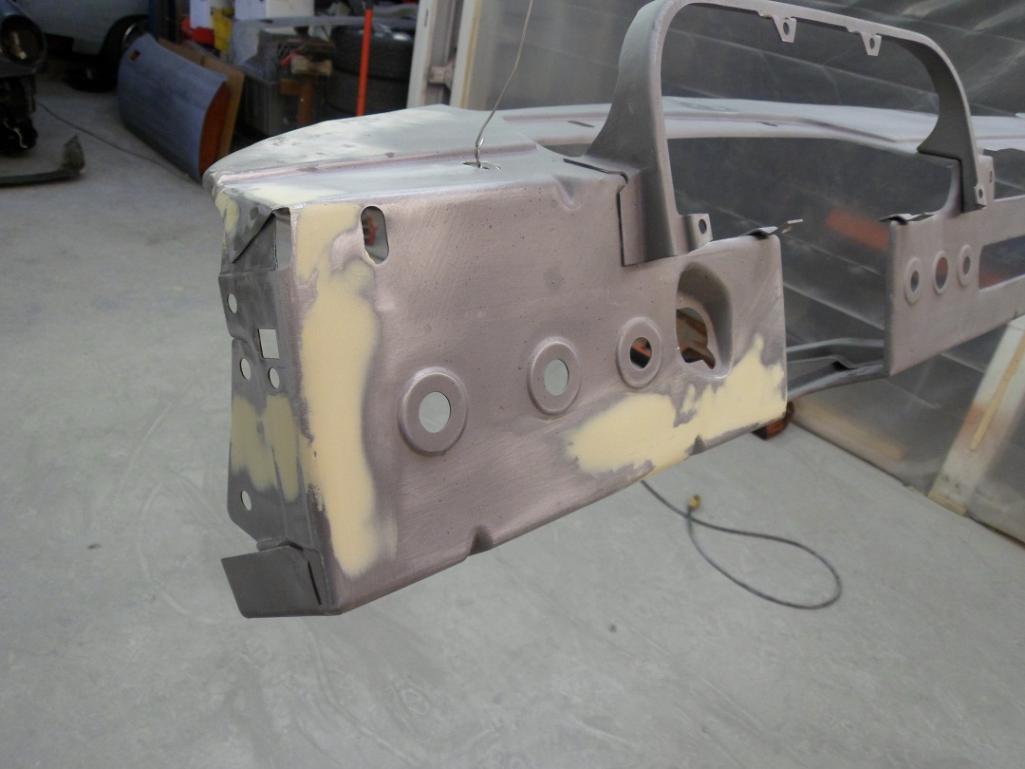

Posted by: 914350 Jun 2 2016, 06:01 PM
More pics.
Attached thumbnail(s)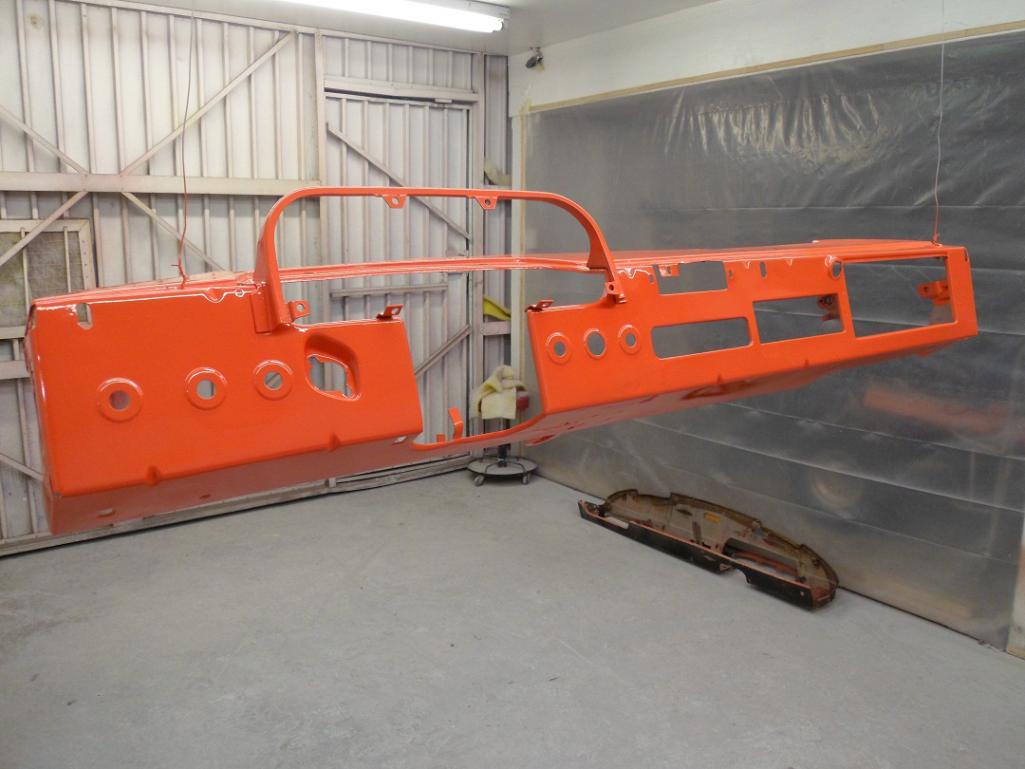

Posted by: 914350 Jun 2 2016, 06:08 PM
Adding black.
Attached thumbnail(s)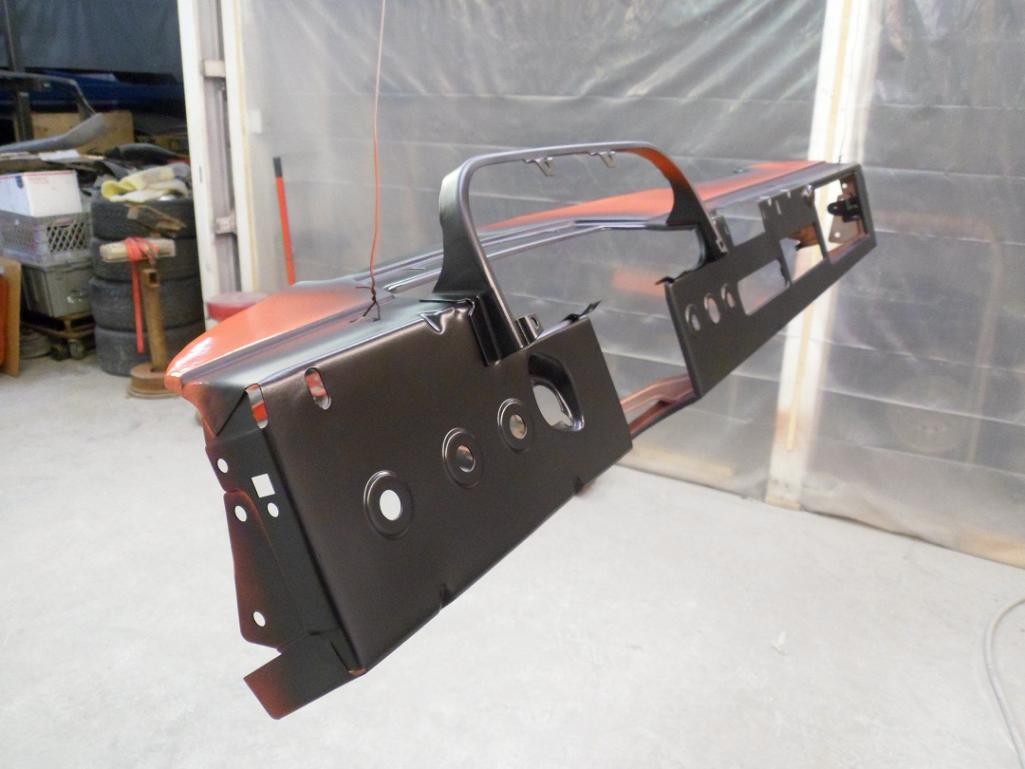

Posted by: banananose914 Jun 2 2016, 06:20 PM
Well Kent, you said it would be about a year and a half to finish. You're already a month behind. Let's pick up the pace. I want it, I want it, I want it! Obviously kidding. With the amount of work my car needed, I thought you were out of your mind on the timeframe. I knew my car was in the right place, and local too. You kicked ass. Now you have me wondering whether to have you start on the other one. Thanks for all you have done thus far. You're doing my car as if it was your own. Thanks for the attention to detail.
Posted by: 914350 Jun 2 2016, 06:21 PM
This first pic here is of a different dash. The goal was to copy the paint as factory. I also wrote the body number under the dash in my best German handwriting.
Attached thumbnail(s)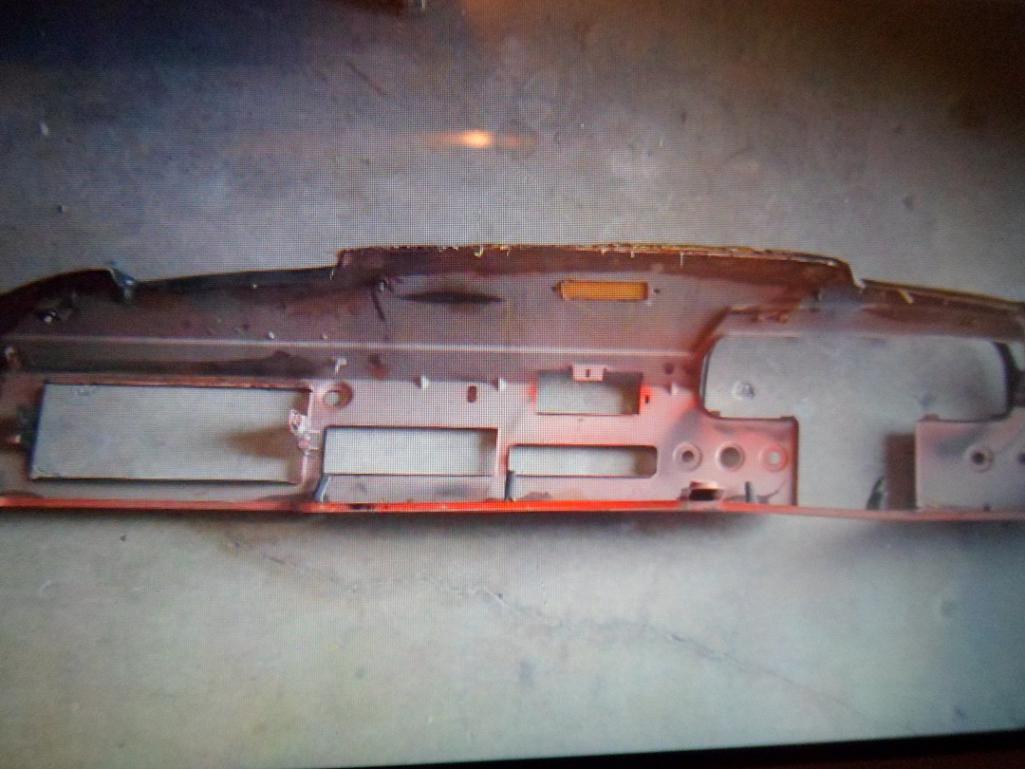
Posted by: 914350 Jun 2 2016, 06:30 PM
Prior to final blocking.
Attached thumbnail(s)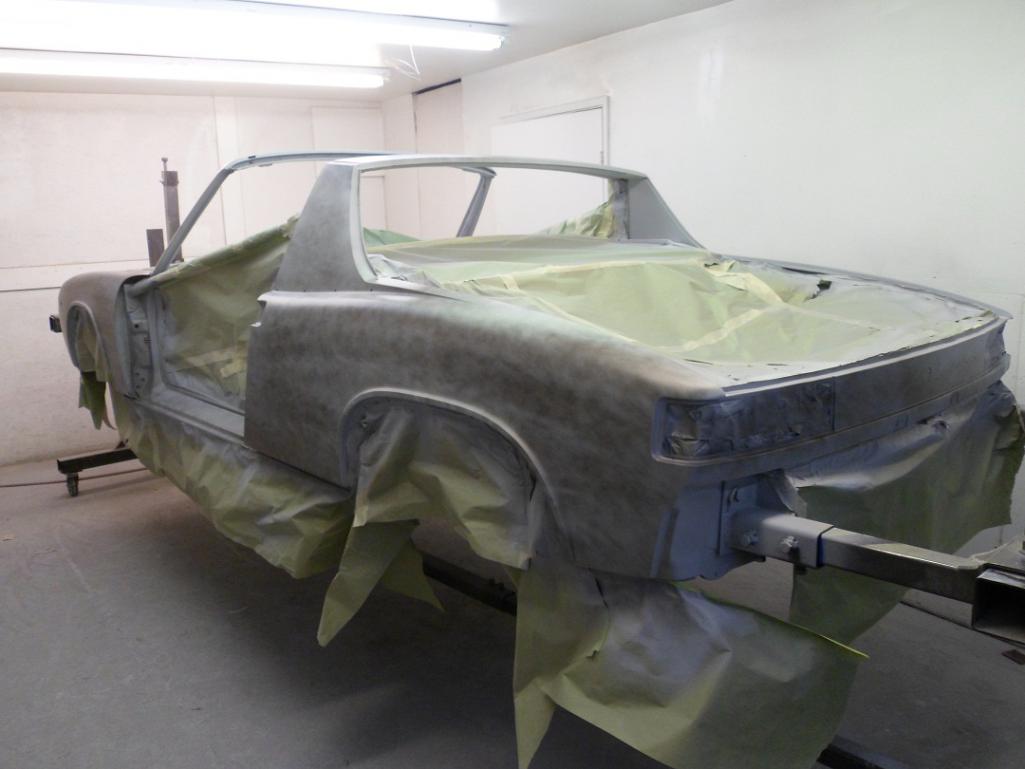
Posted by: 914350 Jun 2 2016, 06:39 PM
Final blocked and taped off for undercoating and paint on underside, trunks, pass. comp. engine comp. The orange tape comes off after undercoating and before paint, it's covering all the holes so the undercoat doesn't blow through. It's Orange tape so I don't miss removing it.
Attached thumbnail(s)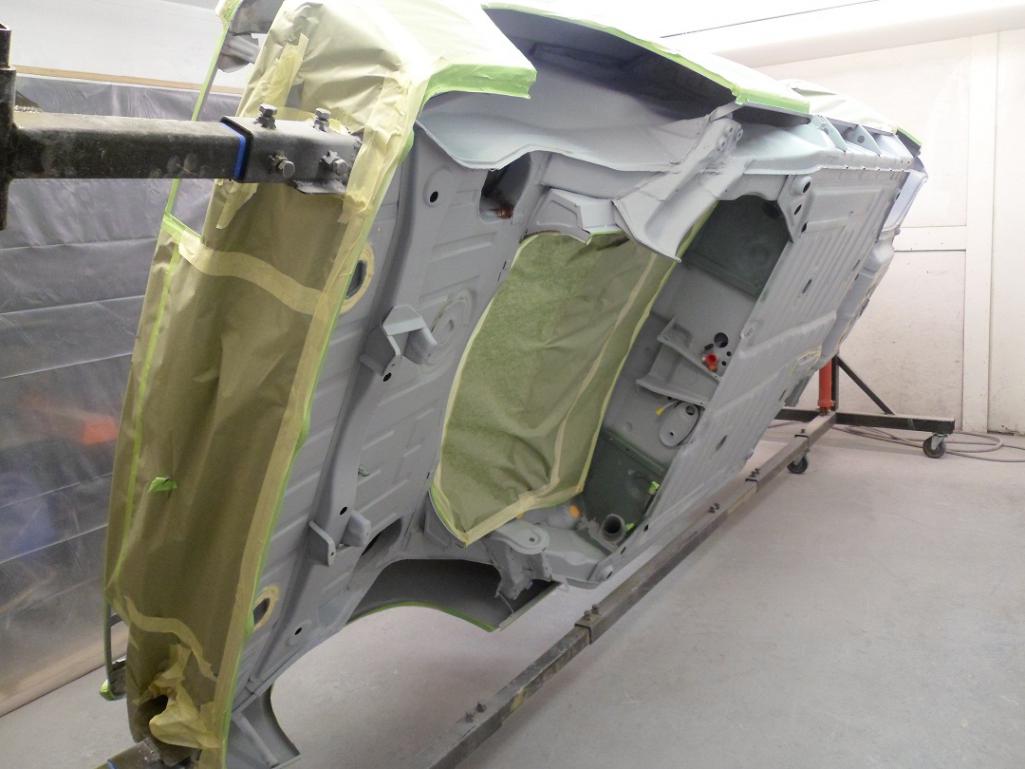

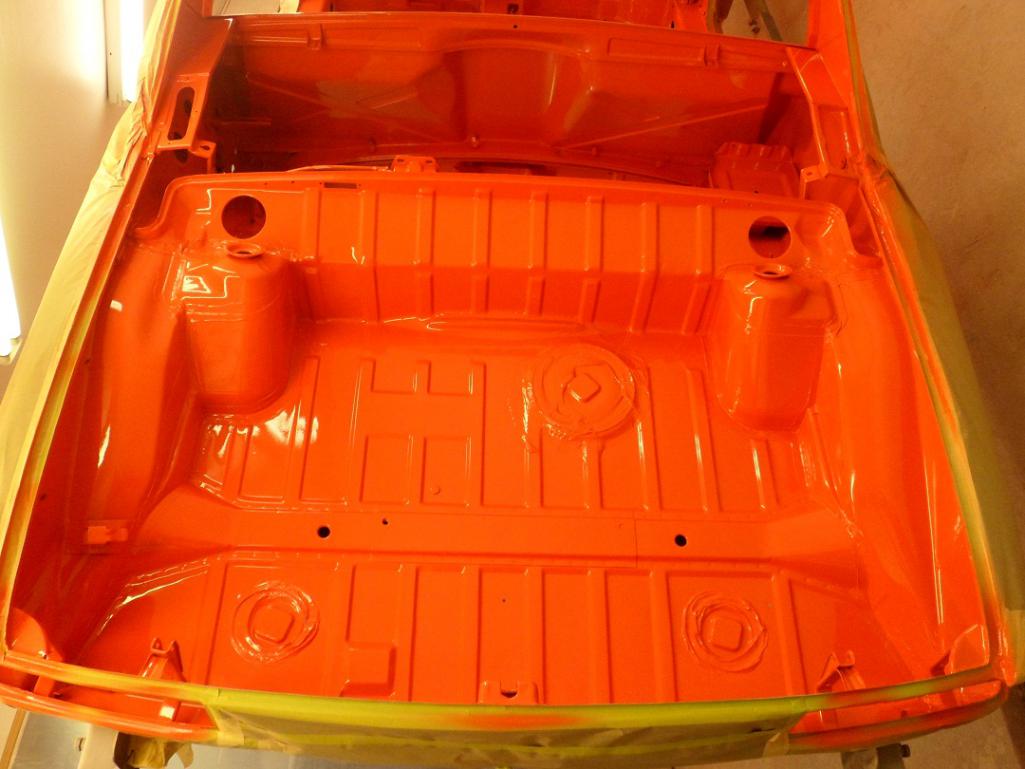
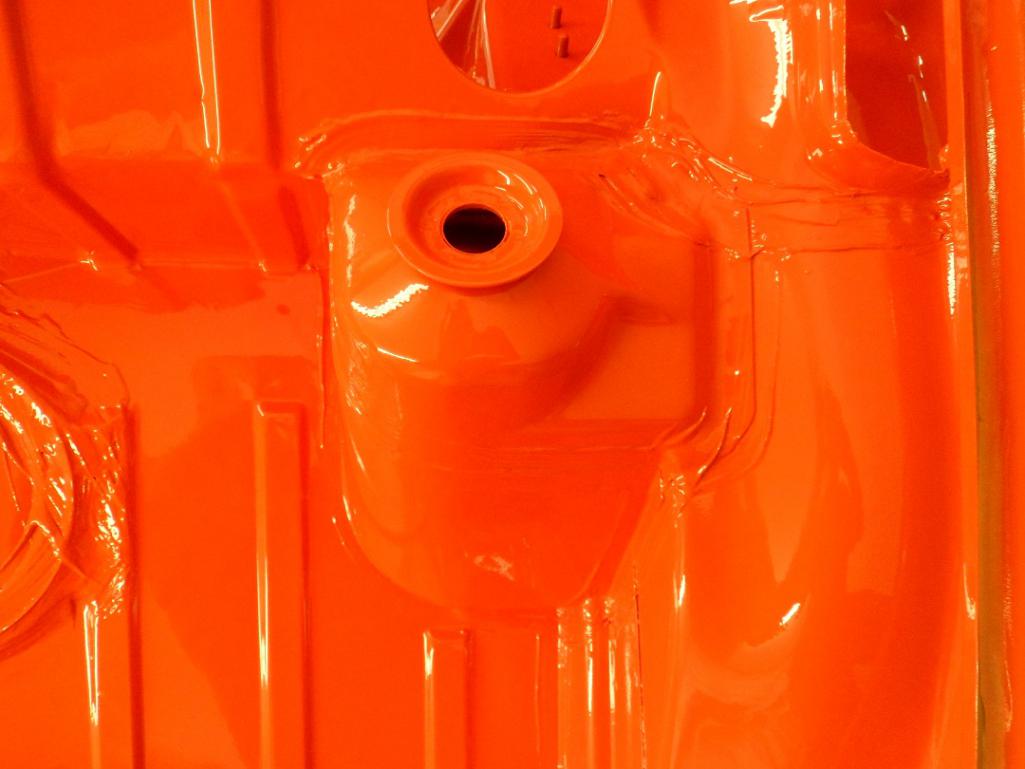
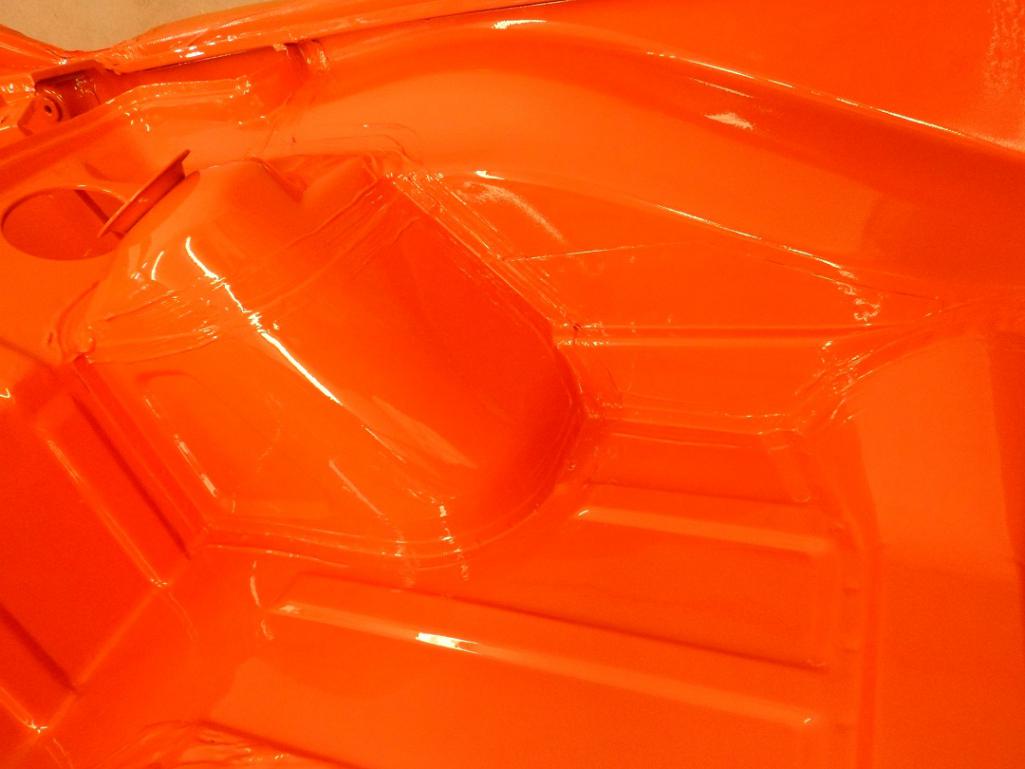
Posted by: 914350 Jun 2 2016, 06:57 PM
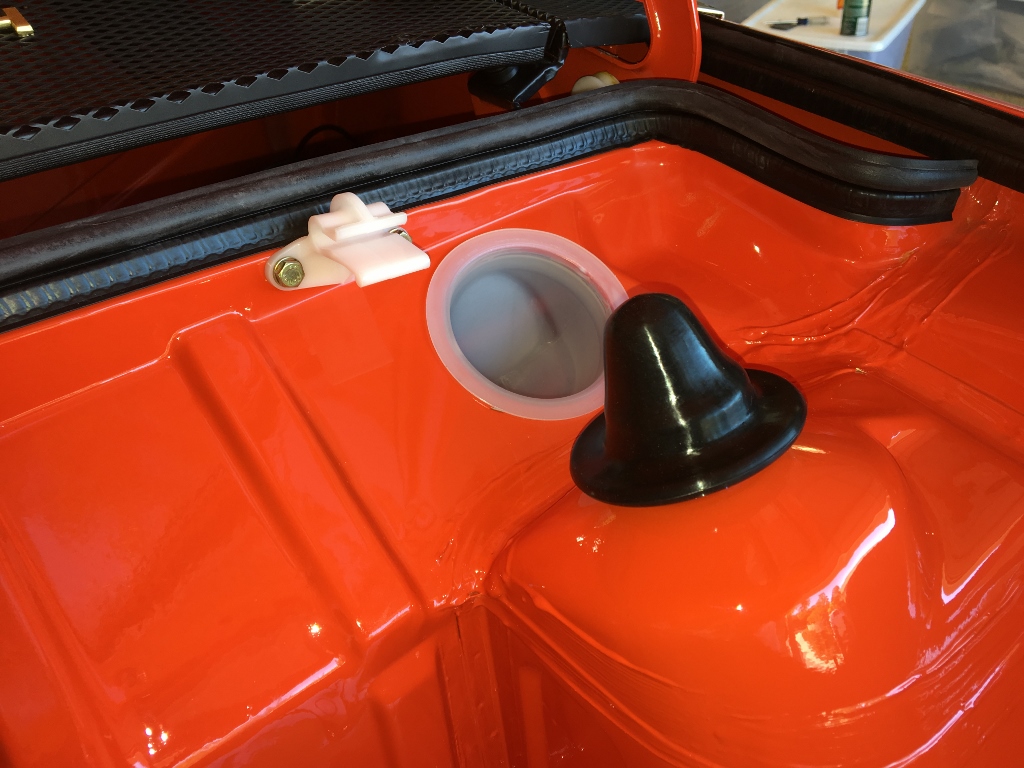
Undercoat. I tinted it to match the color of the factory undercoating. For this car, it will be fully painted orange and none of it will show though.
Attached thumbnail(s)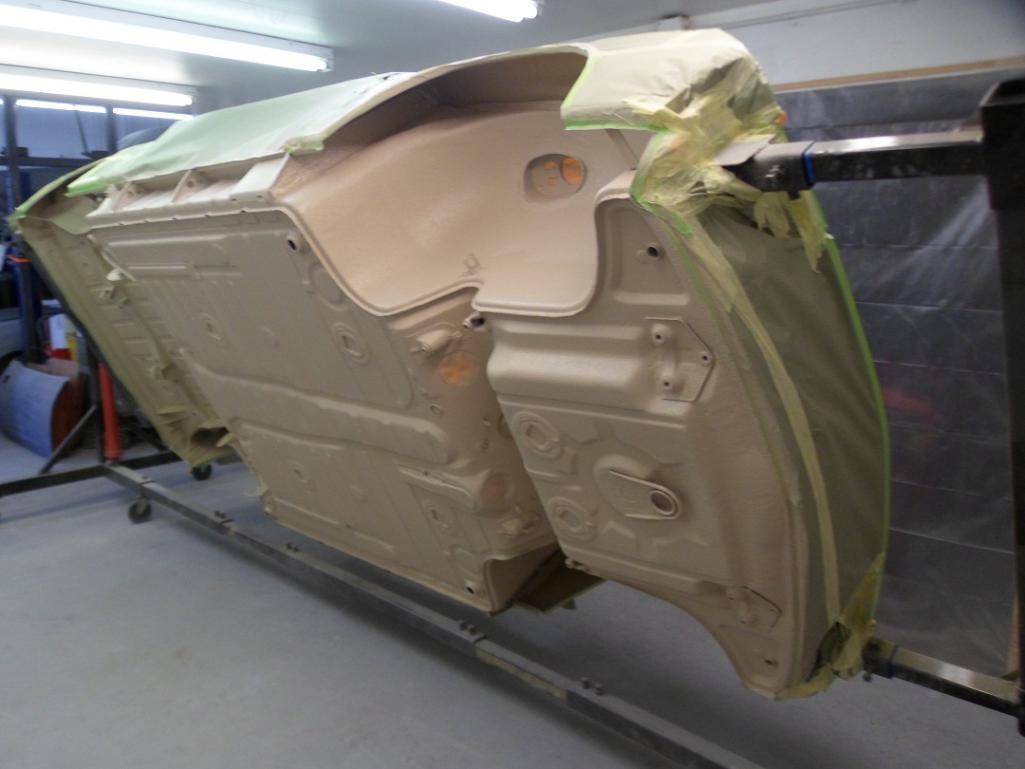


Posted by: 914350 Jun 2 2016, 06:59 PM
more pics.
Attached thumbnail(s)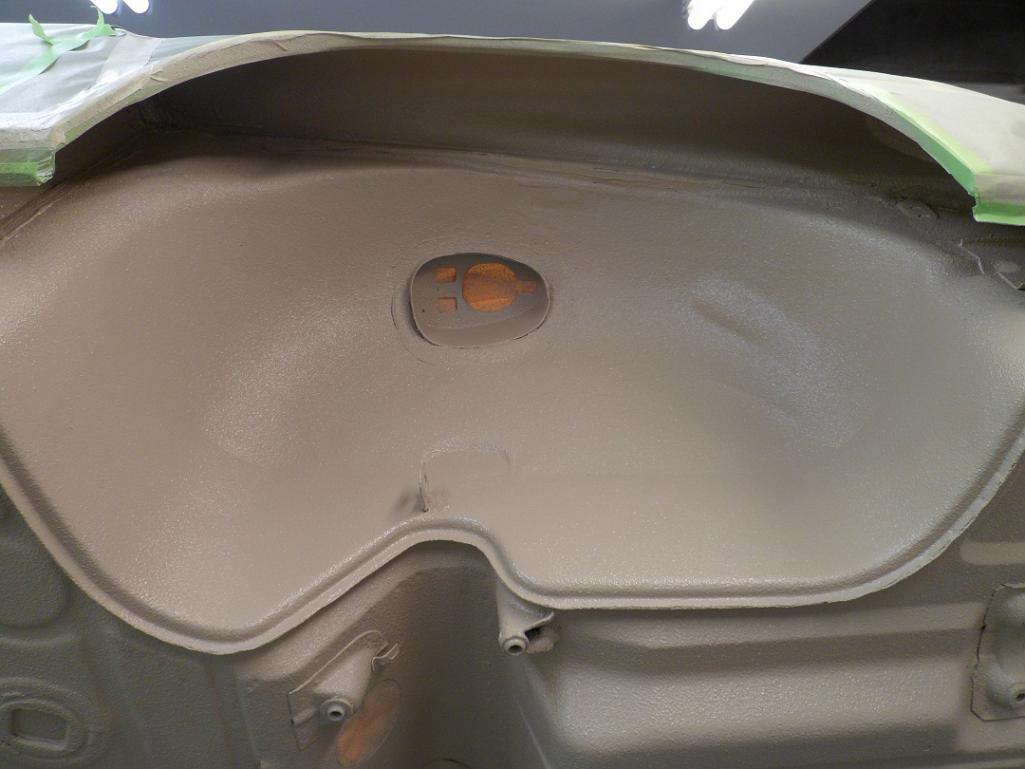
Posted by: trojanhorsepower Jun 2 2016, 07:29 PM
Looks great as always!
What undercoating product did you use?
Can a paint shop tent it for you of did you have to do it in your own shop?
Posted by: 914350 Jun 2 2016, 07:45 PM
Looks great as always!
What undercoating product did you use?
Can a paint shop tent it for you of did you have to do it in your own shop?
Thanks.
It's tintable bedliner. I matched the color and bought a pint of toner. I beleive most brands of bedliner have a tintable kit and you can tint it any color.
Posted by: Larmo63 Jun 2 2016, 08:23 PM
This is a great thread, you are a true craftsman. My hat is off to you!!
Jim is lucky to have you doing this restoration, great job!!
Posted by: 914350 Jun 2 2016, 09:17 PM
This is a great thread, you are a true craftsman. My hat is off to you!!
Jim is lucky to have you doing this restoration, great job!!
Thank you, I appreciate all the nice comments.
Posted by: Blue6 Jun 2 2016, 10:57 PM
This is a great thread, you are a true craftsman. My hat is off to you!!
Jim is lucky to have you doing this restoration, great job!!
Kent, to do that amount of work in that time frame is amazing. I've seen resto threads with less work taking numerous yrs. Just make sure the customer is worth all that effort. 
Posted by: banananose914 Jun 3 2016, 12:13 PM
I'll go ahead and answer for Kent. He would say, "this customer is definitely worth it, the best I've ever had." And I would say, "go bump your nuts, Dave."
Posted by: jmitro Jun 3 2016, 12:44 PM
wow that looks fantastic. nice work.
my only concern with the bedliner coating would be a) excess weight and b) hiding rust in the future. But both are probably very minimal concerns.
Posted by: 914350 Jun 3 2016, 06:23 PM
More pics.
Attached thumbnail(s)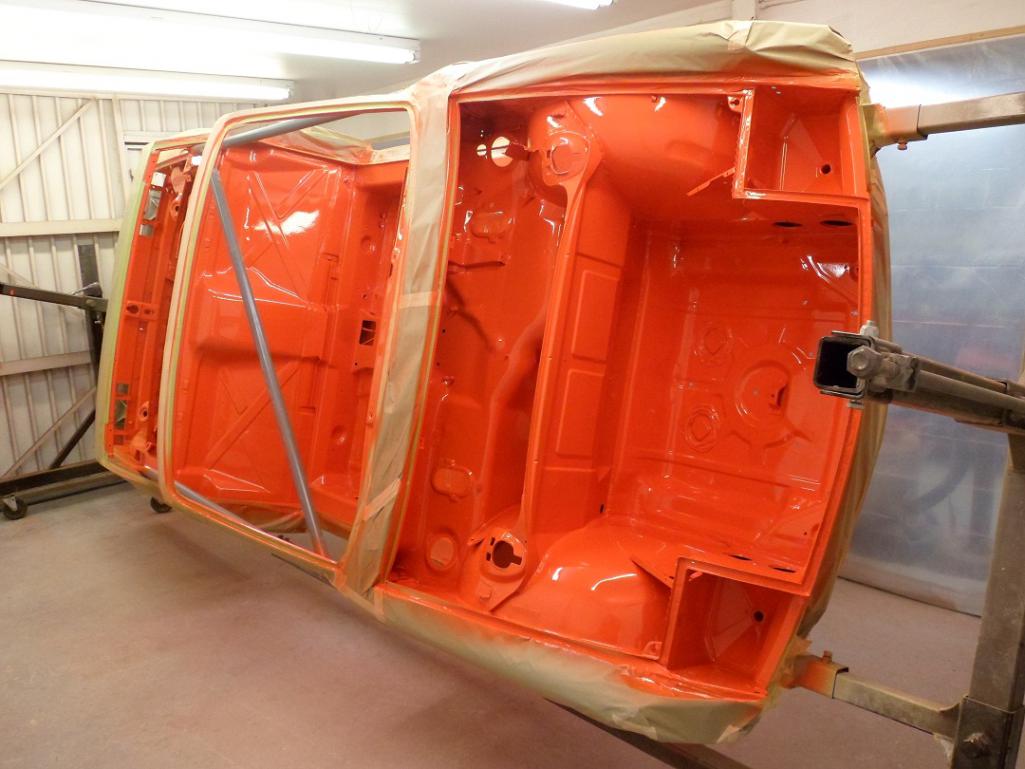

Posted by: 914350 Jun 3 2016, 06:25 PM
More pics.
Attached thumbnail(s)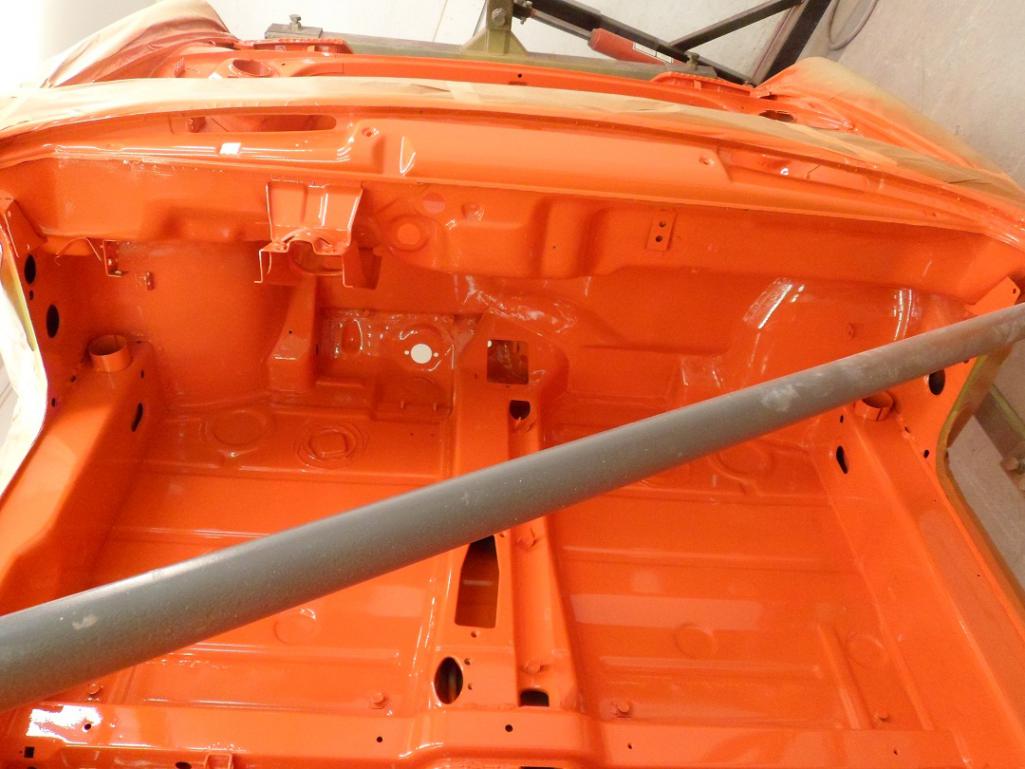


Posted by: 914350 Jun 3 2016, 06:28 PM
more pics.
Attached thumbnail(s)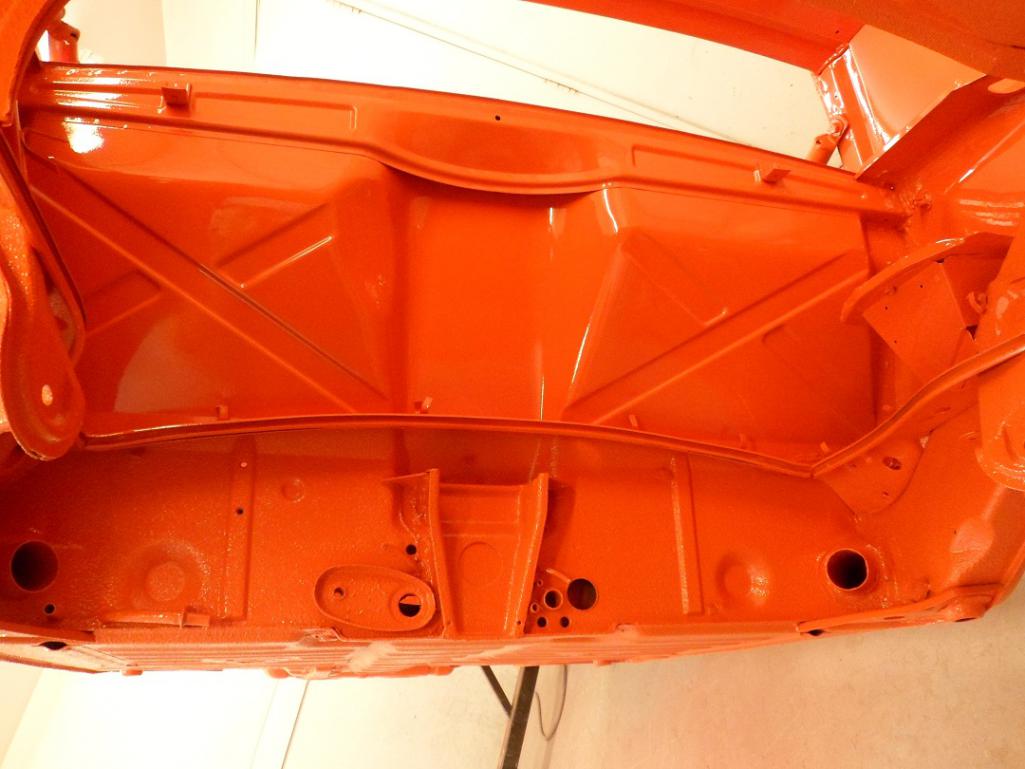

Posted by: 914350 Jun 3 2016, 06:29 PM
Sorry for the Orange overload.
Attached thumbnail(s)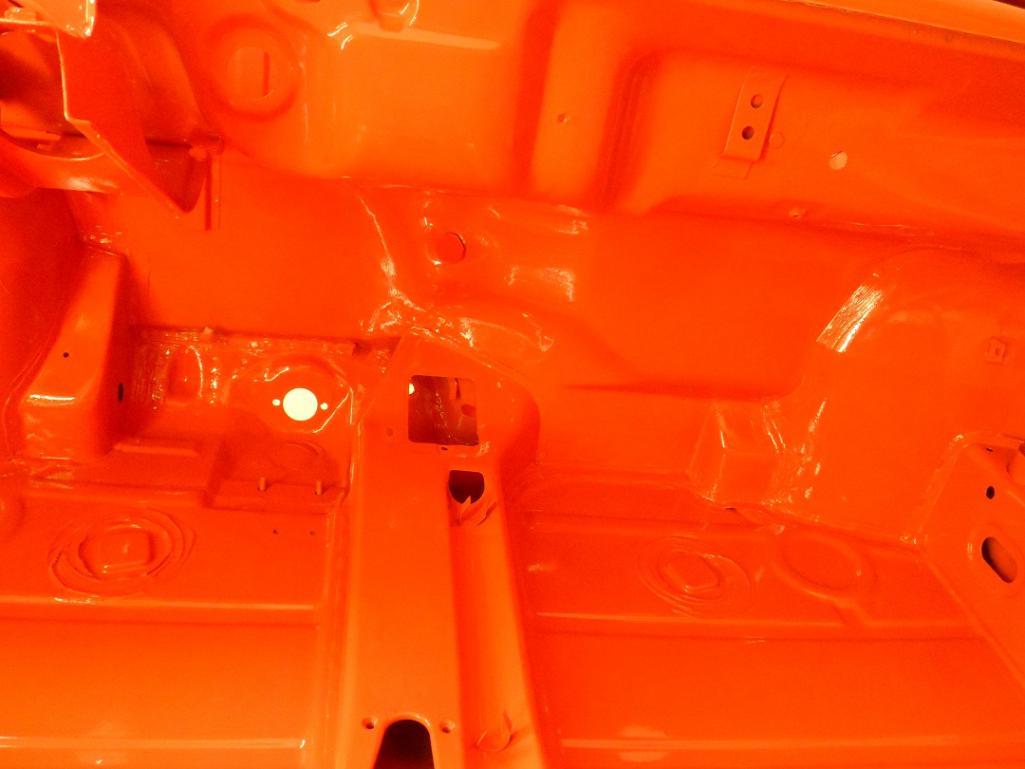
Posted by: banananose914 Jun 3 2016, 06:46 PM
You had my car dipped in orange juice? I like it
Posted by: altitude411 Jun 3 2016, 07:43 PM
This thread needs more pictures....Very nice work.
Posted by: Cairo94507 Jun 3 2016, 09:00 PM
I am way jealous. That Six is looking absolutely beautiful. First class work that anyone here would be blessed to have on their own car(s). That is a very lucky Six.
I am so looking forward to the day I can see pictures of my tub in color.....I know it is going to happen....I hope it happens soon.
Posted by: Blue6 Jun 3 2016, 09:02 PM
Wow, after you lay the blue stripes on that thing it's gonna be tits. You gonna paint them or use vinyl?
Posted by: banananose914 Jun 3 2016, 09:38 PM
Dave, stop chewing on your crayons and get back in the basement.
Posted by: Luke M Jun 4 2016, 08:53 AM
Kent, you do some great work. Keep posting the pics.
I hope the owner of this 6 keeps this thread alive during the assembly process.
Posted by: Larmo63 Jun 4 2016, 09:49 AM
Your idea of the orange valances, rocker covers and painted top sound great too.
Are you still going with the wing on the back?
Posted by: banananose914 Jun 4 2016, 12:09 PM
Larmo, it appears you and Dave have been comparing notes on your way to school while riding on the short bus. If you get a chance, maybe you and him can collaborate and do a finger paint rendition of my car. Keep the great ideas coming. I'll be speaking with your teacher on Monday.
Posted by: mark04usa Jun 4 2016, 01:29 PM
 Tangerine, Tangerine, Living reflection from a dream...
I was her love, she was my queen
Posted by: banananose914 Jun 4 2016, 11:18 PM
Alright Kent, I'm coming to check her out tomorrow. I expect some results. Make sure you look busy when I get there.
Posted by: rick 918-S Jun 5 2016, 06:25 AM
Very Nice!
Posted by: sixnotfour Jun 5 2016, 08:28 AM
Orange you glad to move onto your own Six next ??
fantastic resurrection 
Posted by: Larmo63 Jun 5 2016, 10:22 AM
Larmo, it appears you and Dave have been comparing notes on your way to school while riding on the short bus. If you get a chance, maybe you and him can collaborate and do a finger paint rendition of my car. Keep the great ideas coming. I'll be speaking with your teacher on Monday.
We're just jealous of your beautiful new girlfriend.
Posted by: euro911 Jun 5 2016, 02:14 PM
Wow, I'm just seeing this thread today. Nothing short of awesome
I'd like to visit your shop some day ... I live in Torrance most of the time these days.
Posted by: 914350 Jun 5 2016, 03:35 PM
Very Nice!
Thanks Rick, much appreciated.
Posted by: 914350 Jun 5 2016, 03:43 PM
Orange you glad to move onto your own Six next ??
fantastic resurrection
HaHaHaHaHa...The answer is YES! can't wait to focus on mine but I have a 911 I'm doing and a 356 coming in at the end of the month so unfortunantly, no time for my toys. I did pull the engine out of my 6 and broke it down so I'm working on it for now which is progress.
Posted by: Jason74914 Jun 9 2016, 10:11 AM
914350,
You had me checking in on your progress daily, and now I'm spoiled....no pics for a four days!
Posted by: gcrotvik Jun 10 2016, 07:25 AM
Beautiful car and restoration!!
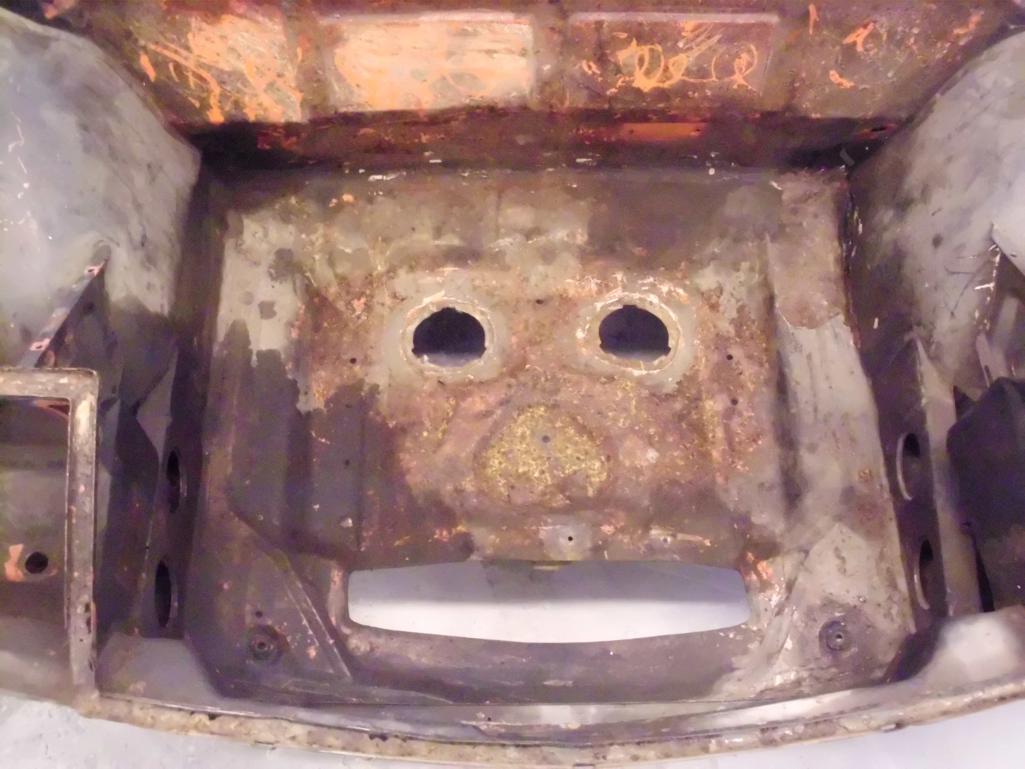
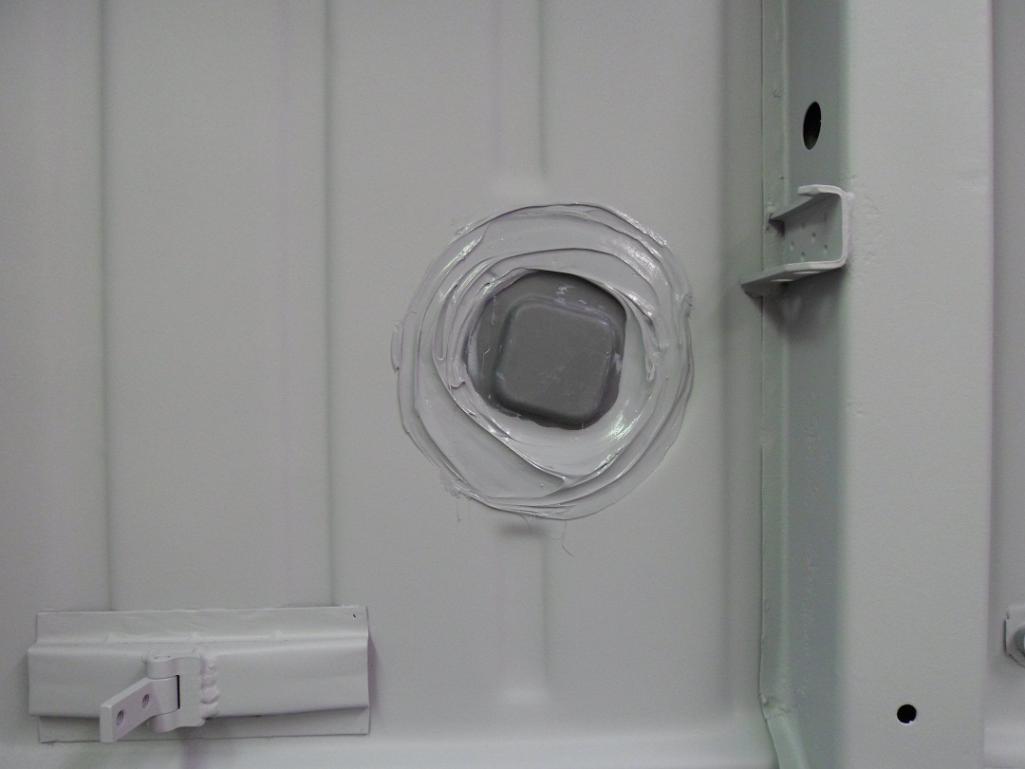
I have a question regarding the 6 holes in the rear trunk floor. They appear to be for a heat shield but I thought the early cars (both 4 and 6 cylinder) did not have a heat shield, but instead had the additional pad in the rear trunk to buffer heat. Does a 6 have a metal heat shield?
Attached image(s)

Posted by: puffinator Jun 10 2016, 07:36 AM
Yes they had heat shields. I have a '70 -6 and it has the same holes for a heat shield. Early cars had bolts to attach and later cars were welded
Posted by: gcrotvik Jun 10 2016, 07:45 AM
Yes they had heat shields. I have a '70 -6 and it has the same holes for a heat shield. Early cars had bolts to attach and later cars were welded
I guess I have never noticed the bolt heads in the trunk floor on early cars before. Thanks!
Posted by: 914350 Jun 12 2016, 09:22 PM
More progress pics.
Attached thumbnail(s)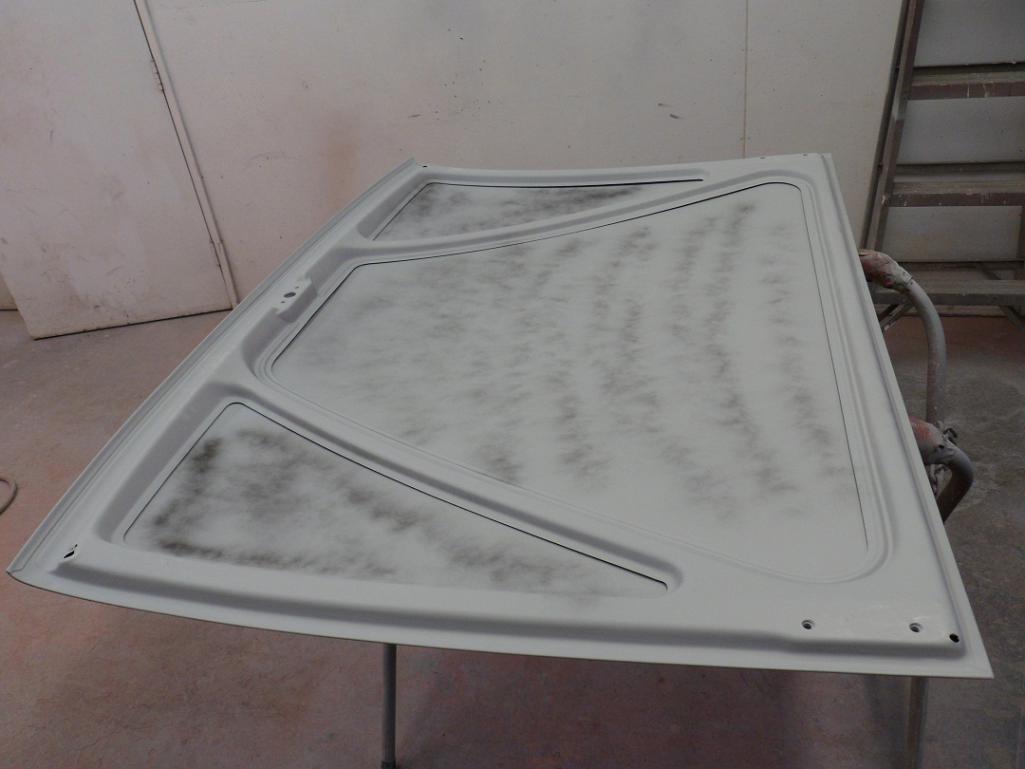
Posted by: 914350 Jun 12 2016, 09:24 PM
Wow, I'm just seeing this thread today. Nothing short of awesome
I'd like to visit your shop some day ... I live in Torrance most of the time these days.
I'm in Gasoline Alley on Normandie. Shoot me a PM.
Posted by: rgalla9146 Jun 13 2016, 05:38 AM
Yes they had heat shields. I have a '70 -6 and it has the same holes for a heat shield. Early cars had bolts to attach and later cars were welded
I guess I have never noticed the bolt heads in the trunk floor on early cars before. Thanks!
Fasteners yes,....... bolts no.
sorry for the crappy pic
Beautiful job.
Attached thumbnail(s)

Posted by: banananose914 Jun 13 2016, 12:54 PM
Well, thanks a lot Kent. Now I have to work some overtime. A lot of overtime
Posted by: 914350 Jul 10 2016, 04:15 PM
More progress pics. Jim did a GREAT job of restoring all the parts.
Attached thumbnail(s)
Posted by: 914350 Jul 10 2016, 04:18 PM
More pics.
Attached thumbnail(s)

Posted by: stuttgart46 Jul 10 2016, 04:35 PM
Wow, that looks incredible.
Congrats
Posted by: jd74914 Jul 10 2016, 04:47 PM
That is really awesome!
Your trunk paint is cleaner than most people's exterior paint!
Posted by: altitude411 Jul 10 2016, 06:26 PM
My favorite part...reassembling the shiny new bits. 
Posted by: Cairo94507 Jul 10 2016, 08:11 PM
That is looking beautiful - nice work and parts restoration too.
Posted by: banananose914 Jul 10 2016, 09:20 PM
For those doing a rotisserie restoration, do yourself a favor. Make sure you put the plastic boot on the steering shaft before you install the suspension. Then, when you put that on don't forget to install the shaft bearing. This should have been a one step process of installing the suspension, but, because of me we removed the suspension twice. Also, make sure you clean the blasting media and any grease from the inside of the a arms. You'll save a lot of time and stress. I tend to learn things the hard, expensive way. This car is no exception. I have other restoration tips that I will share along the way. Tips that I learned the hard way. Stay tuned.
Posted by: Blue6 Jul 11 2016, 12:19 AM
Kent and James, those wheels and tires look like $hit. I have some genuine imitation polished western style wheels I'll sell you for $1,500. Maybe think about flares before you paint it. That way you could run some really wide centerlines with BF Goodrich tires.
Posted by: porschetub Jul 11 2016, 01:33 AM
Sorry for the Orange overload.
Amazing and hard to fault ....better than new no question
Posted by: Mitox Jul 11 2016, 01:45 PM
I'm working on a GT project; the body work is now in process. This is likely obvious to many, but can you tell me what type of paint you used. Single stage or two stage, and what brand?
Posted by: banananose914 Jul 11 2016, 06:02 PM
[quote name='Blue6' date='Jul 10 2016, 11:19 PM' post='2369984']
Kent and James, those wheels and tires look like $hit. I have some genuine imitation polished western style wheels I'll sell you for $1,500. Maybe think about flares before you paint it. That way you could run some really wide centerlines with BF Goodrich tires.
Dave, Dave. I'll have you know that the front ones are super damn close to original 6 1/2 inch fake Fuchs. The rear are Fuchs. I think. Anyway, they still retain their original patina and worn tires. Original is the way to go. Loser!
Posted by: Larmo63 Jul 11 2016, 06:19 PM
You can always put fiberglass flares on it later.
Posted by: pete000 Jul 11 2016, 07:05 PM
Candy !
Posted by: raynekat Jul 11 2016, 09:22 PM
This is a beautiful car that is way over the top.
That means....you have to....or must....show us multitudes of pics.
Karma has dealt you that my friend.
Seriously, I'm saving a bunch of your pics for a "go by" when I start putting my car back together next year.
Really great stuff....
Posted by: banananose914 Jul 12 2016, 03:38 PM
I think I still have pieces of the old ones I took off. When Dave isn't huffing on the bondo, I'll graft them back on. Great ideas from both you and Dave (Wal Mart shoppers).
Posted by: 914350 Jul 24 2016, 09:40 PM
More pics.
Attached thumbnail(s)
Posted by: 914350 Jul 24 2016, 09:50 PM
More pics.
Attached thumbnail(s)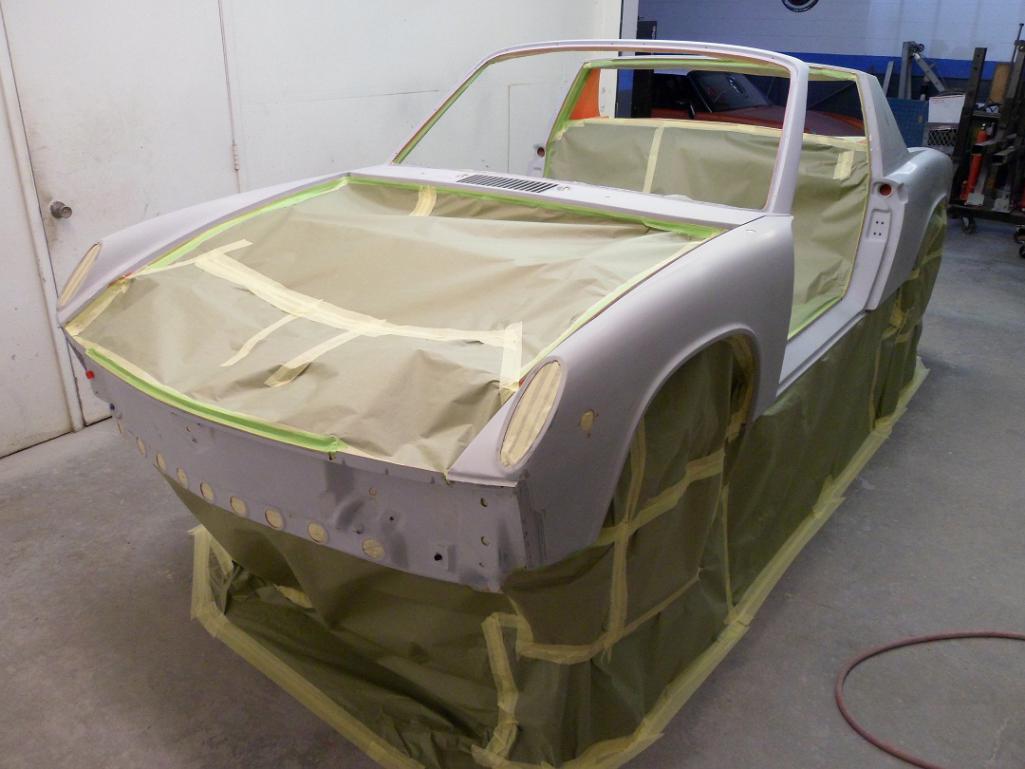

Posted by: 914350 Jul 24 2016, 10:03 PM
Primer Sealer.
Attached thumbnail(s)
Posted by: 914350 Jul 24 2016, 10:05 PM
Primer Sealer.
Attached thumbnail(s)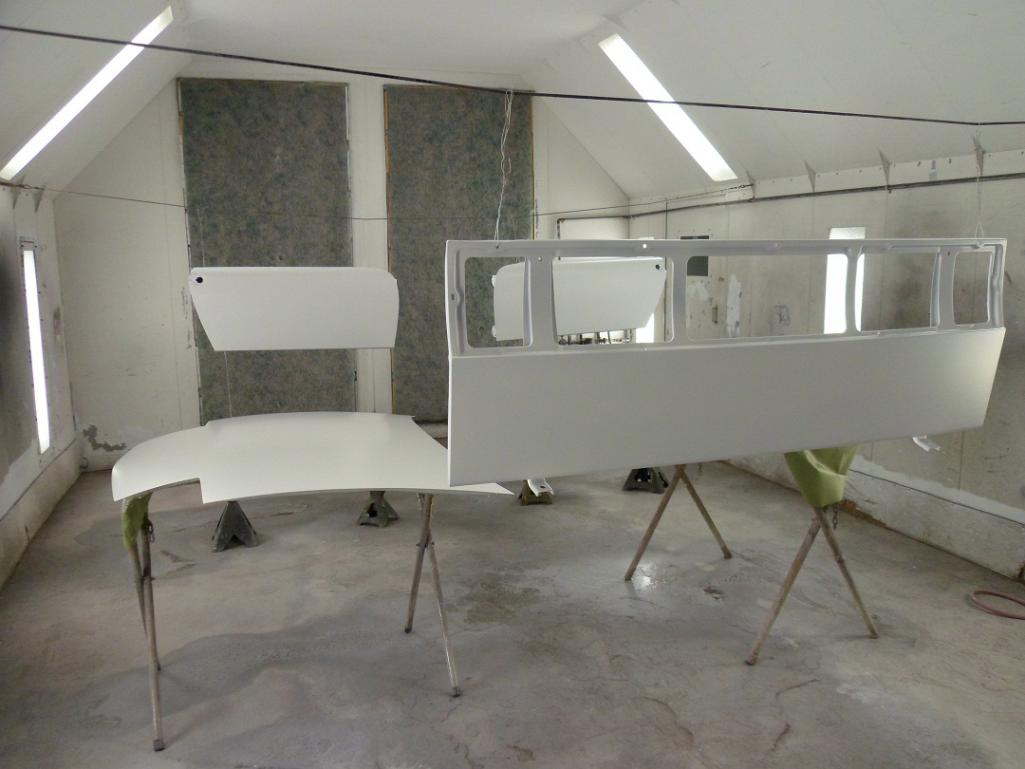

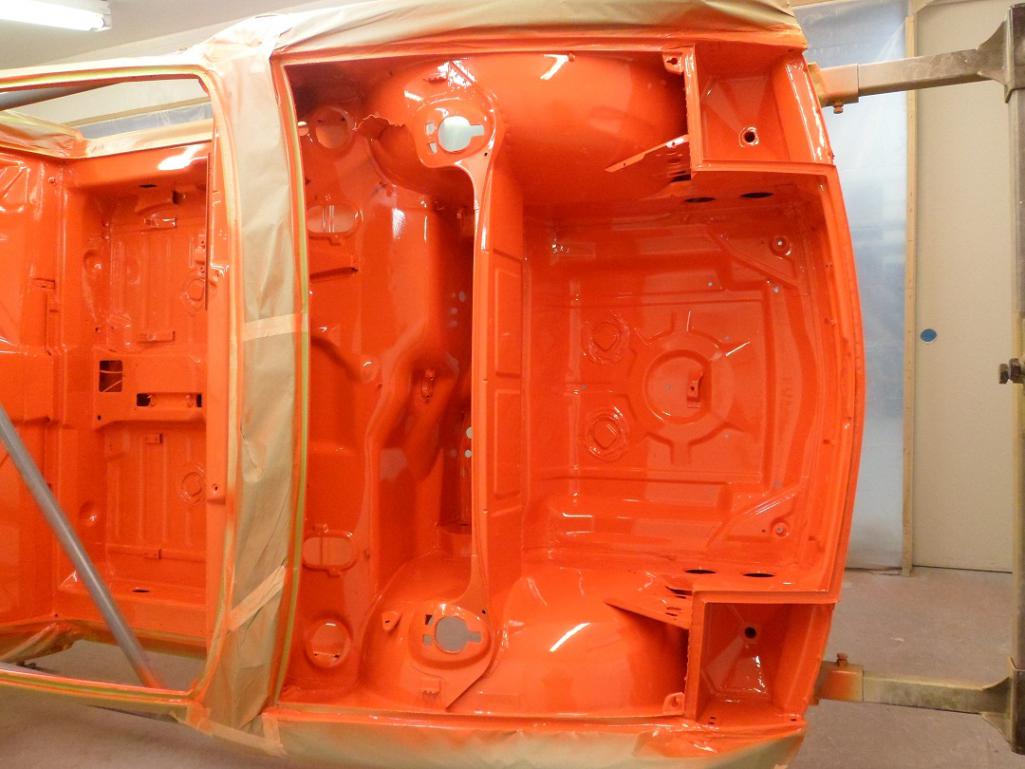
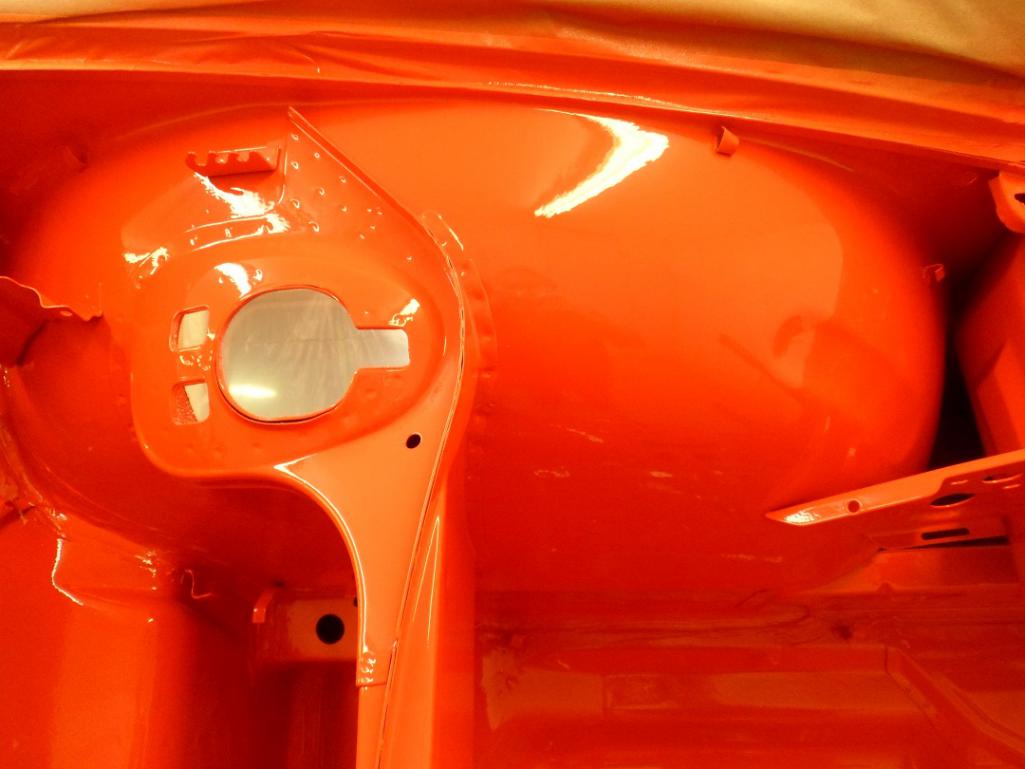
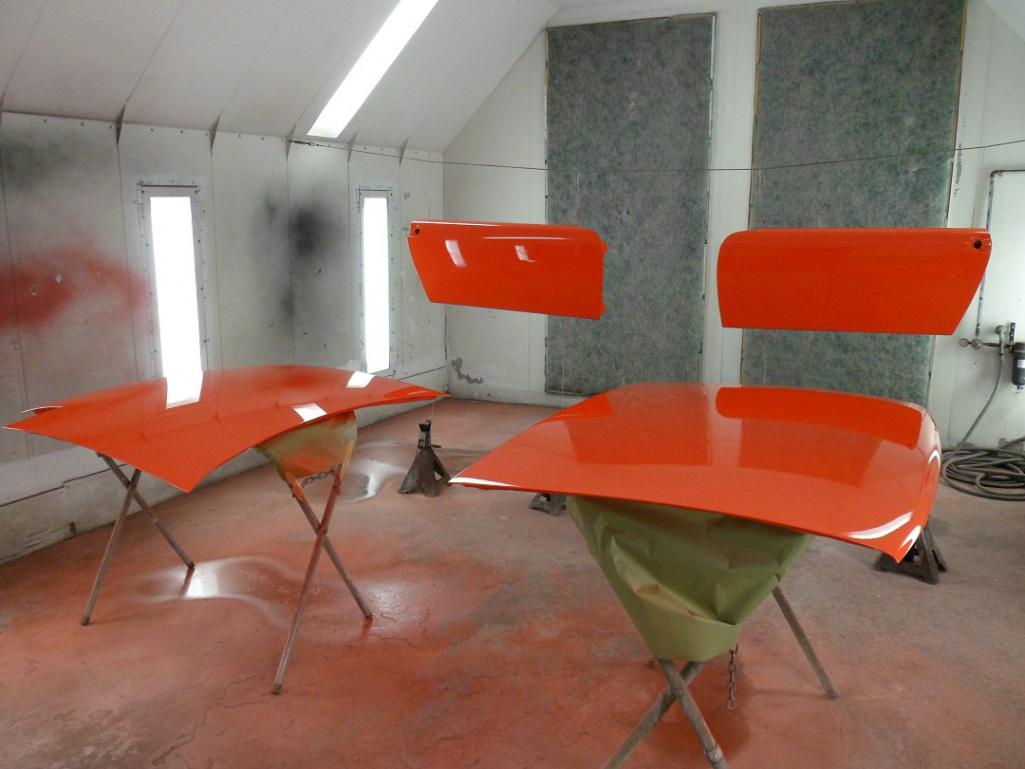
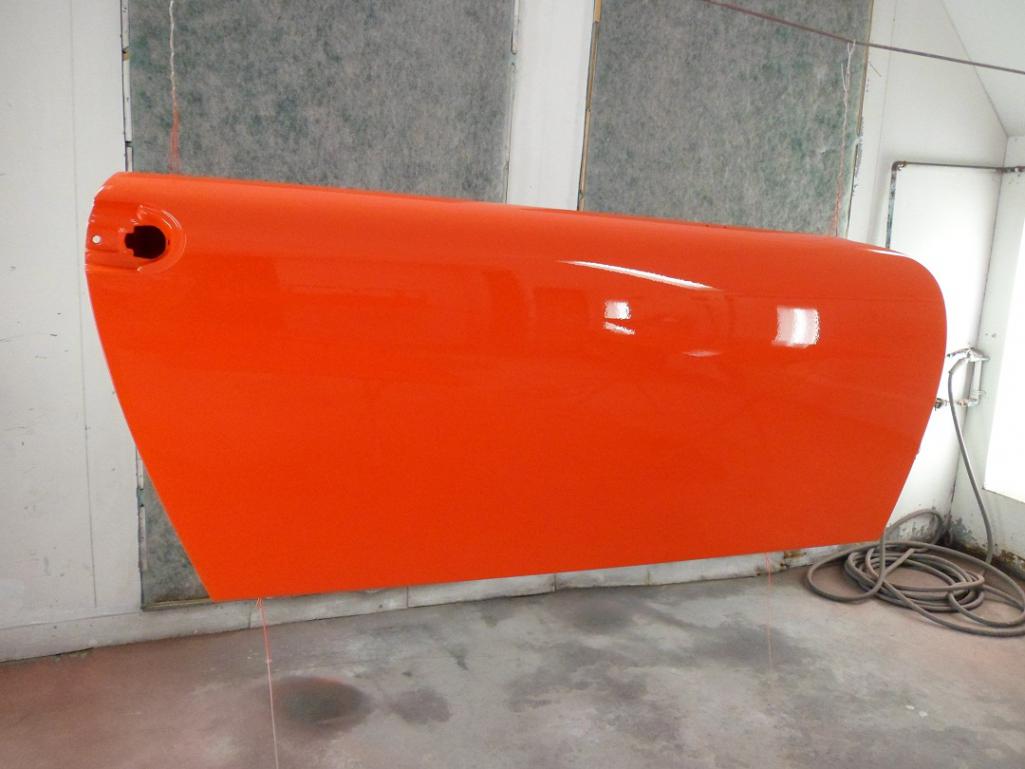
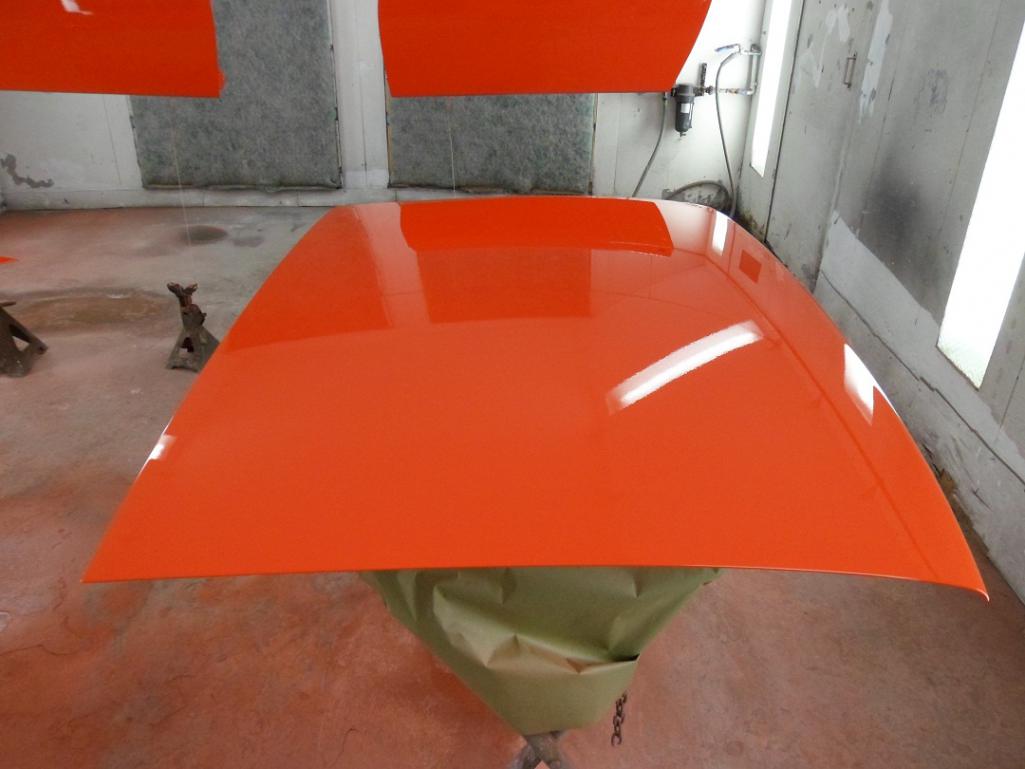
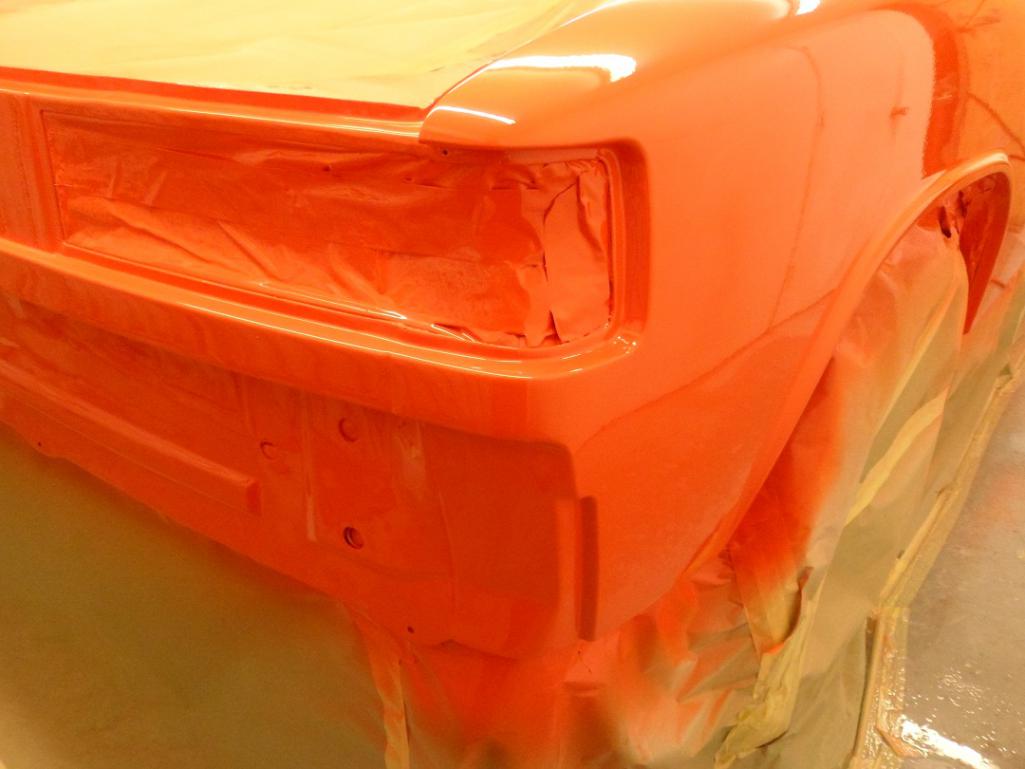
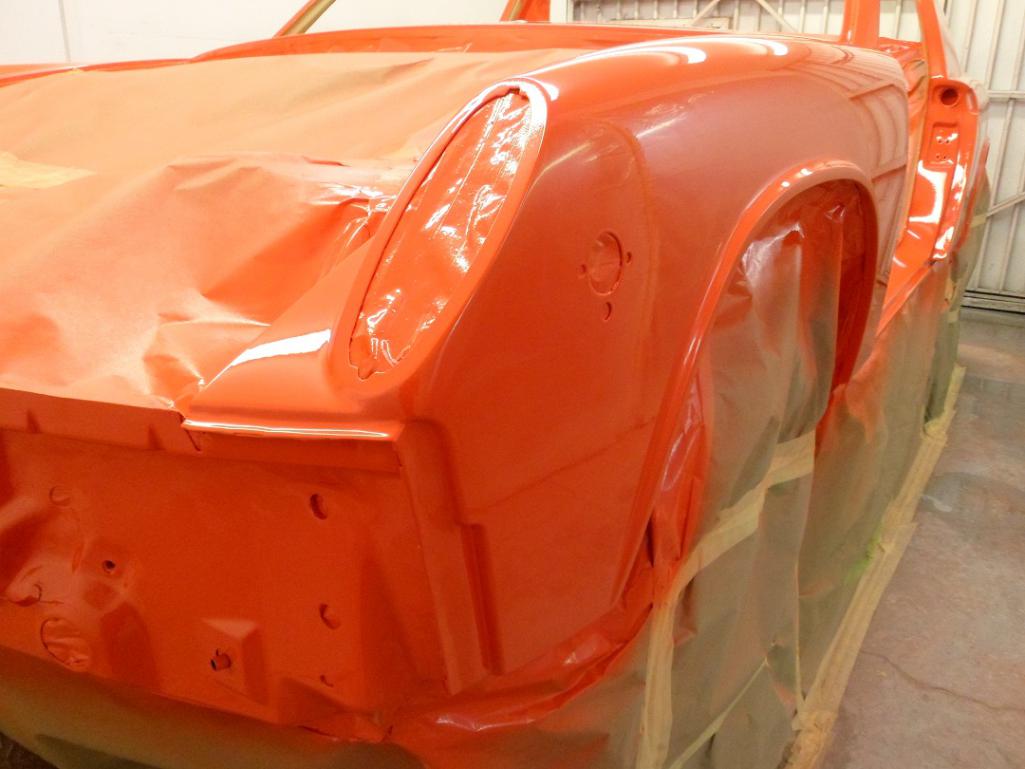
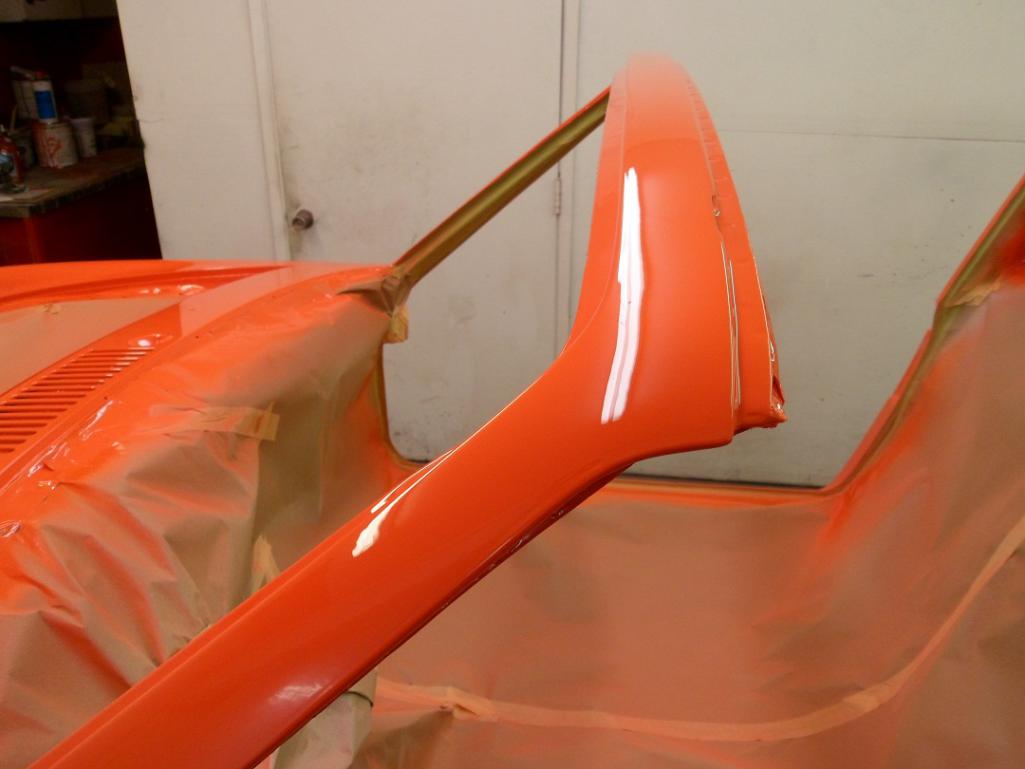
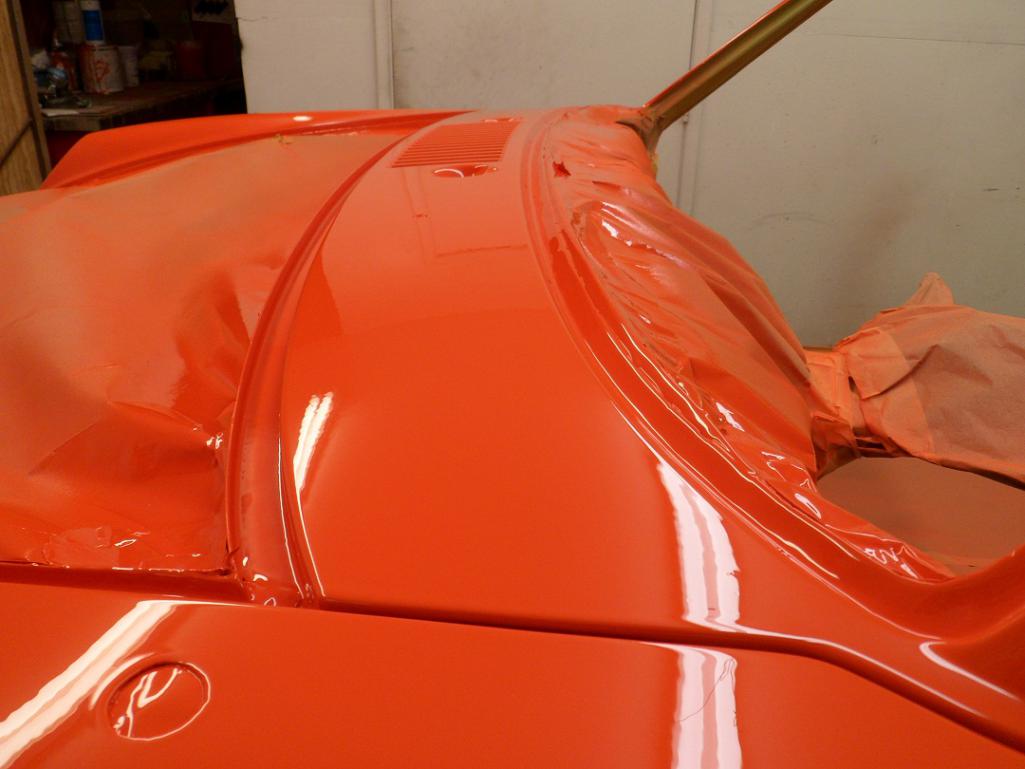
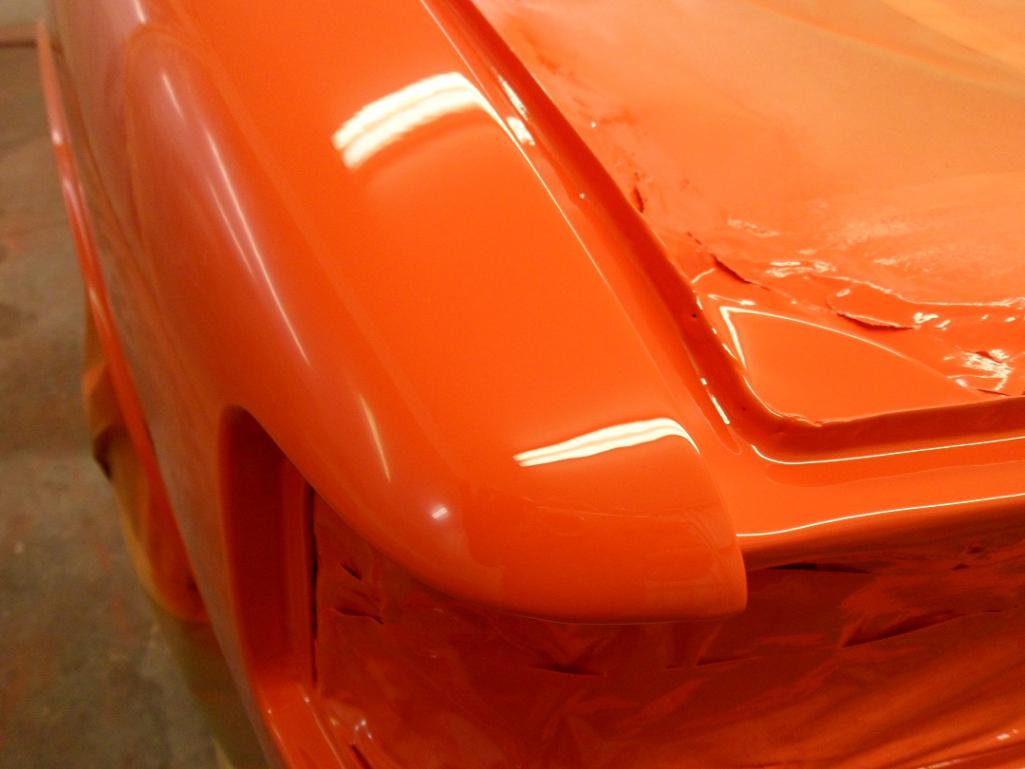
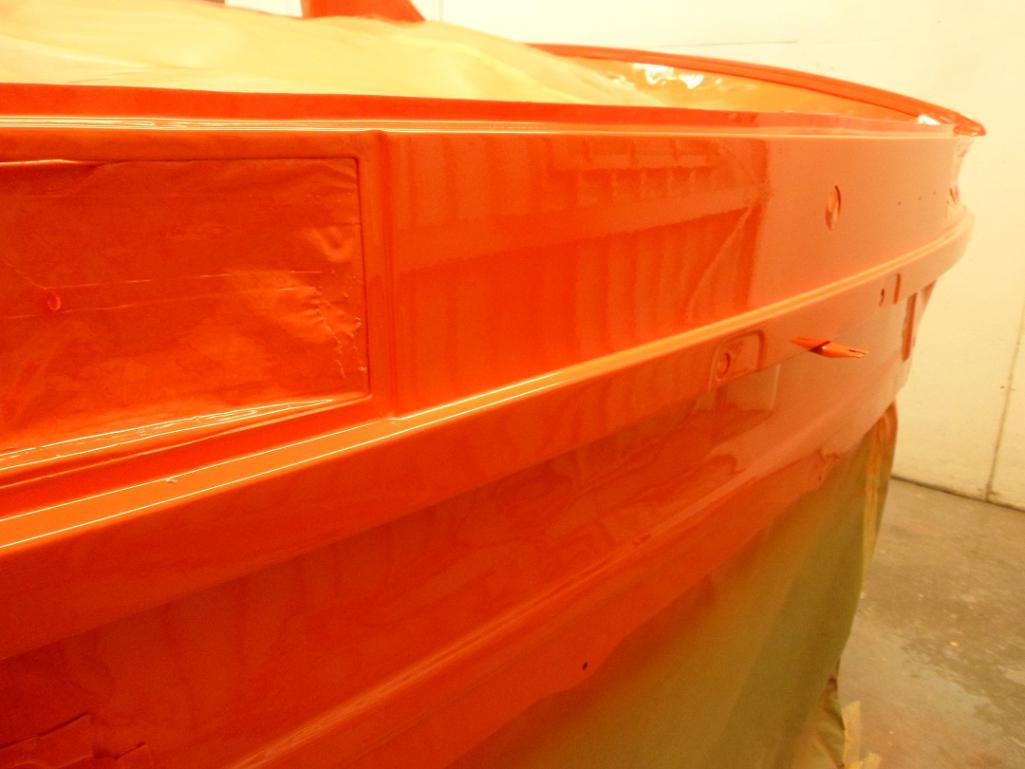
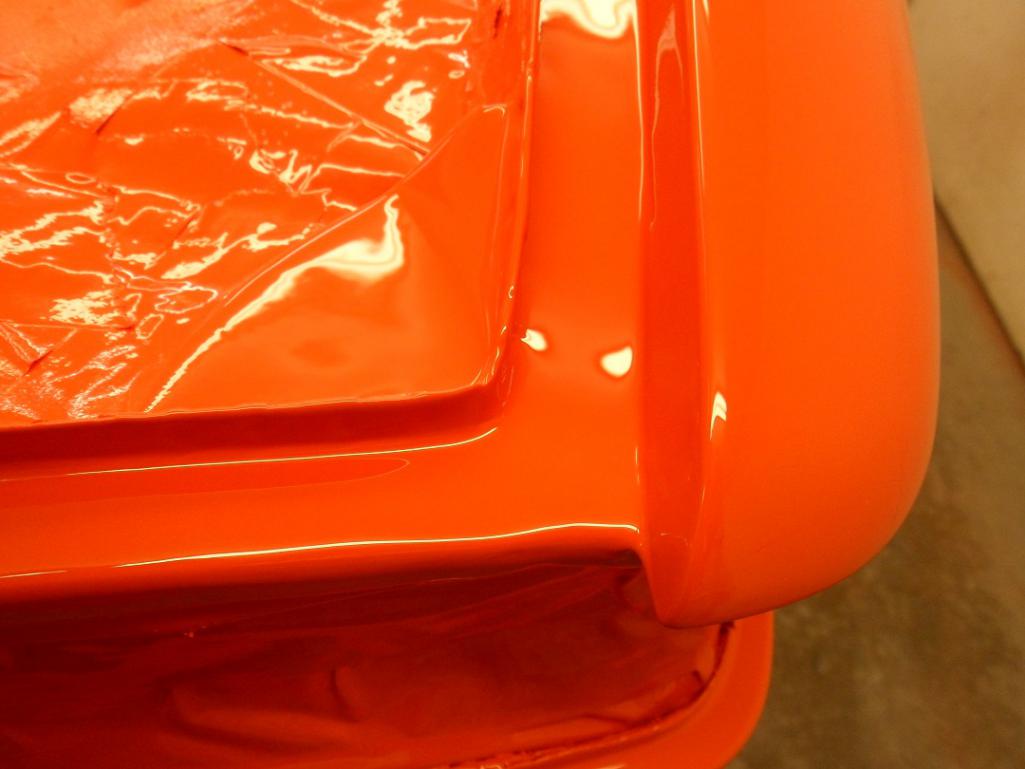
Posted by: 914350 Jul 24 2016, 11:28 PM
Painted. Now it will get color sanded with 3 diff. grits of sandpaper and a 3 stage polish.
Attached thumbnail(s)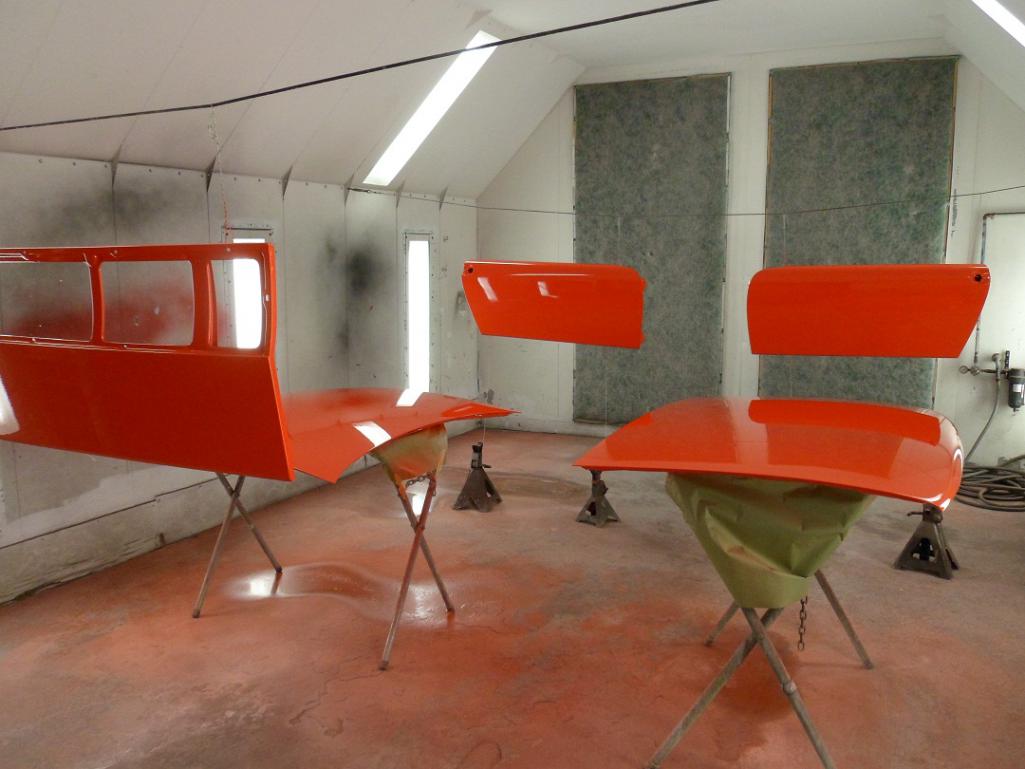
Posted by: euro911 Jul 24 2016, 11:29 PM
Wet Glass
Posted by: 914350 Jul 24 2016, 11:32 PM
More pics.
Attached thumbnail(s)
Posted by: 914350 Jul 24 2016, 11:34 PM
More pics.
Attached thumbnail(s)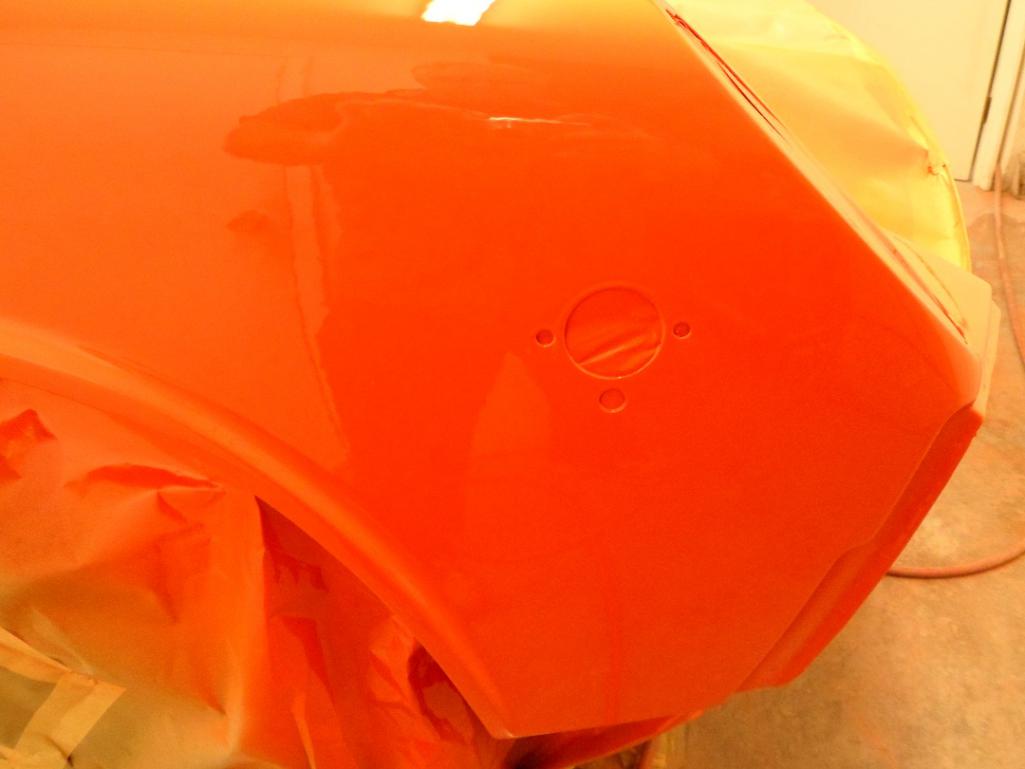
Posted by: Cairo94507 Jul 25 2016, 06:55 AM
Damn! That looks so good. The factory never sprayed them that nice. That is going to be fun to watch as it begins to come together. Best wishes.
Posted by: banananose914 Jul 25 2016, 07:45 AM
Hey Kent. Is it me, or are you trying to get my car done? Looks good, thanks!
Posted by: Blue6 Jul 25 2016, 09:59 AM
It might be the pics, but the drivers side door looks a little wavy. Nice work Kent, car shows in SoCal will never be the same.
Posted by: 914350 Jul 25 2016, 03:33 PM
Hey Kent. Is it me, or are you trying to get my car done? Looks good, thanks!
Posted by: Peashooter Jul 26 2016, 06:43 AM
What can I say? Absolutely beautiful! You have turned a rusty crock into a swan. I hope we get to see the entire process until the car is finished. I'm just glad I don't have to pay the bill at the body shop!
Posted by: sixnotfour Jul 26 2016, 11:49 AM
you'll wish you went Gold...Looks Great !!
Posted by: pete000 Jul 26 2016, 01:54 PM
Candy!
Posted by: banananose914 Jul 26 2016, 03:27 PM
Tell that to Cairo. He's the gold color guy
Posted by: Cairo94507 Jul 26 2016, 09:50 PM
Don't hate the playa, hate the game.
Posted by: Larmo63 Jul 26 2016, 11:52 PM
<------------IS JEALOUS!!!!!
That looks great, Jim!
Posted by: sixnotfour Jul 27 2016, 12:15 AM
you'll wish you went Green...Looks Great !!
Posted by: mark04usa Jul 27 2016, 12:51 AM
Beautiful car, love the color, it looks like Tangerine!
Posted by: borg914 Jul 27 2016, 06:33 AM
awesome work
Posted by: banananose914 Jul 27 2016, 02:57 PM
Hey Cairo, no hating. I'm just a fan of original, and gold looks good. From one 830 to another. Hope to see your car soon.
Posted by: Cairo94507 Jul 27 2016, 04:00 PM
No worries - I was joking. But you know my car will not see gold paint as long as I own it. But that makes your car worth more because there were so few gold ones to begin with.
Posted by: 914350 Aug 19 2016, 05:12 PM
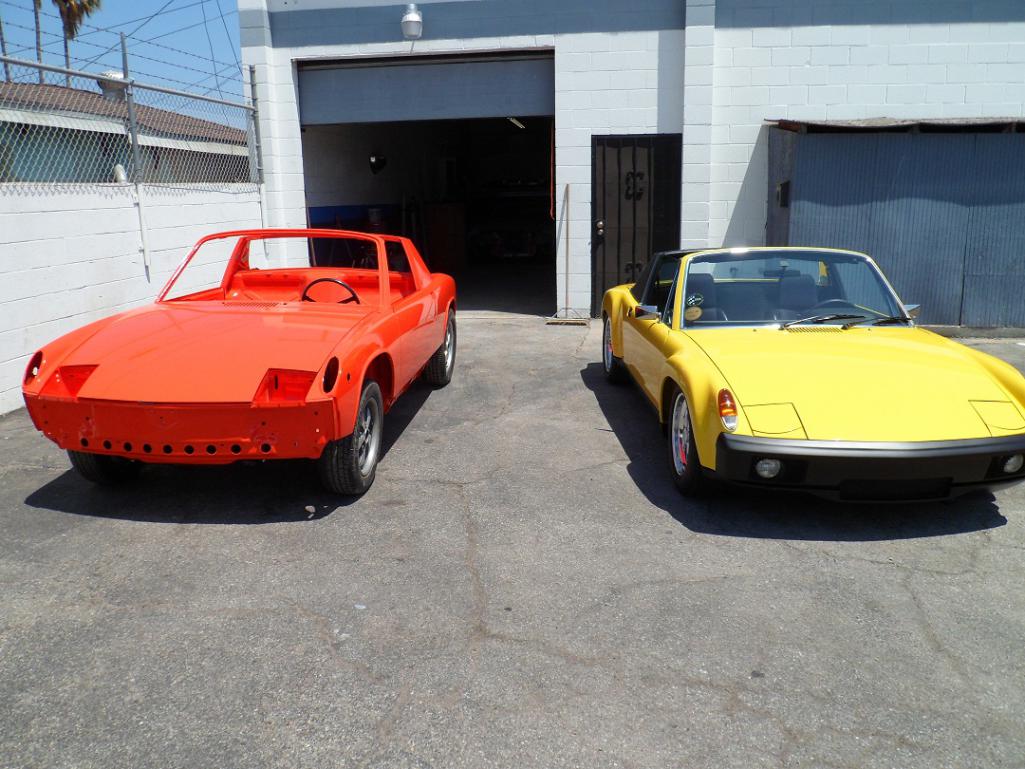
Andy showed up with his car, made for some nice pics.
Attached thumbnail(s)

Posted by: Cairo94507 Aug 19 2016, 05:19 PM
Absolutely beautiful.
Posted by: 914350 Aug 19 2016, 05:22 PM
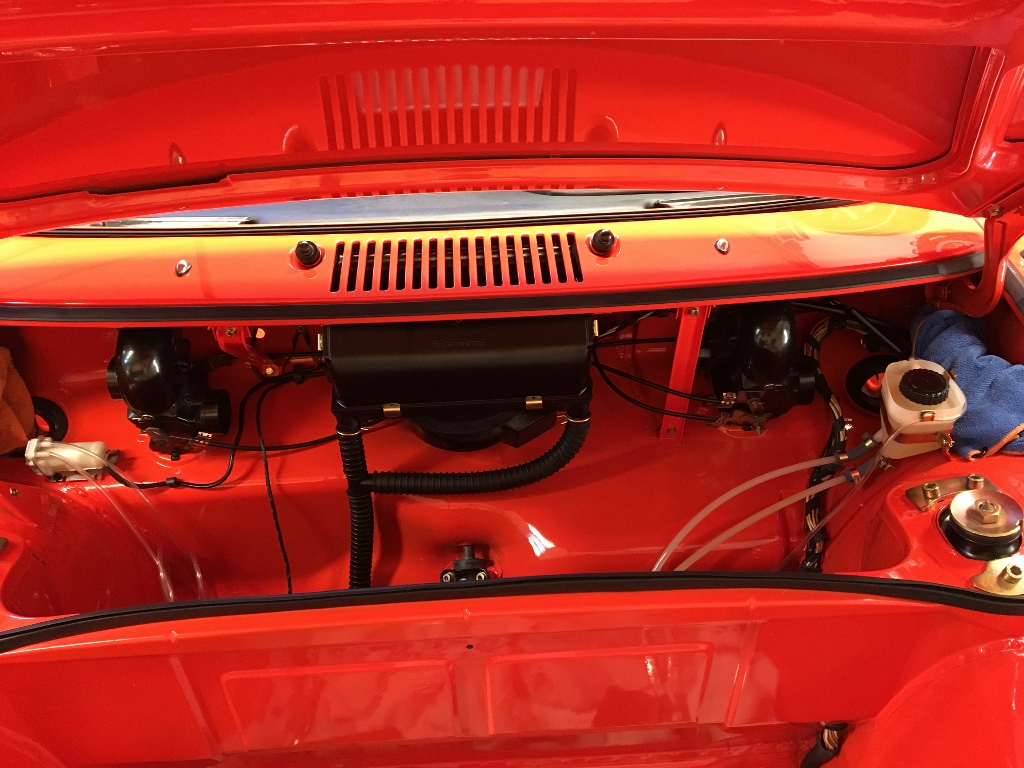
I'm finnished with my part on the car, now it's headed home with Jim. I will be going out to his place now and then to help with assymbly but at this point, I'm turning this thread over to him. Thanks for all the nice compliments on the car throughout the thread, I appreciate it very much.
Kent S.
Attached thumbnail(s)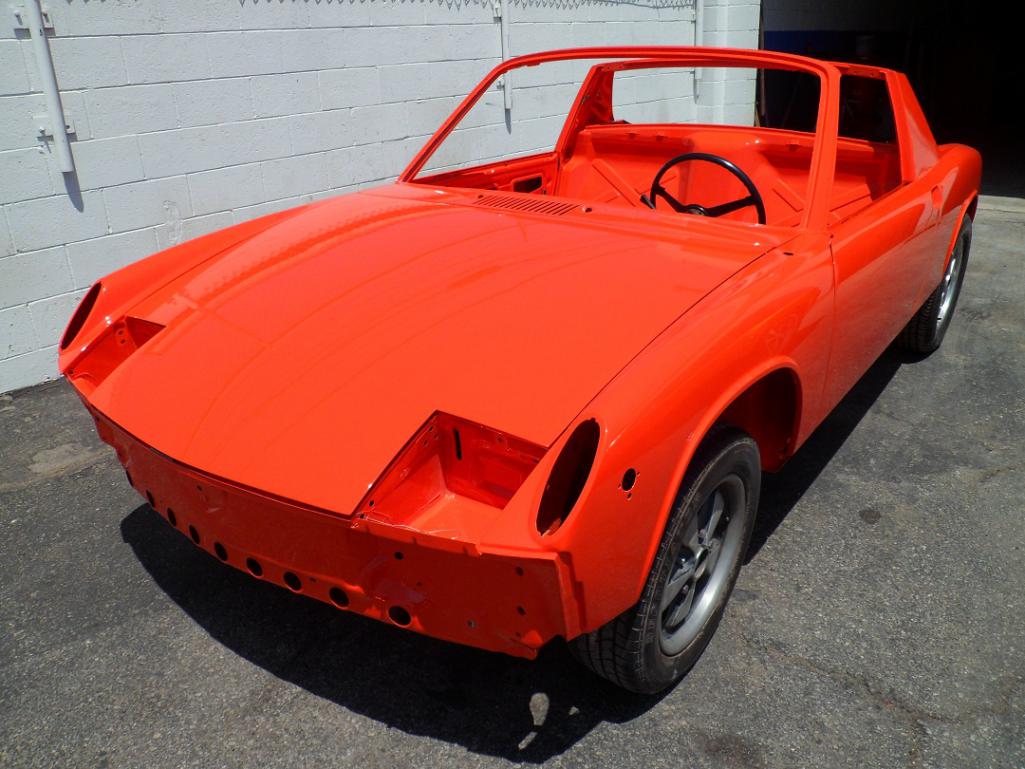
Posted by: 914350 Aug 19 2016, 05:26 PM
pics.
Attached image(s)
Posted by: 914350 Aug 19 2016, 05:31 PM
Pic.
Attached thumbnail(s)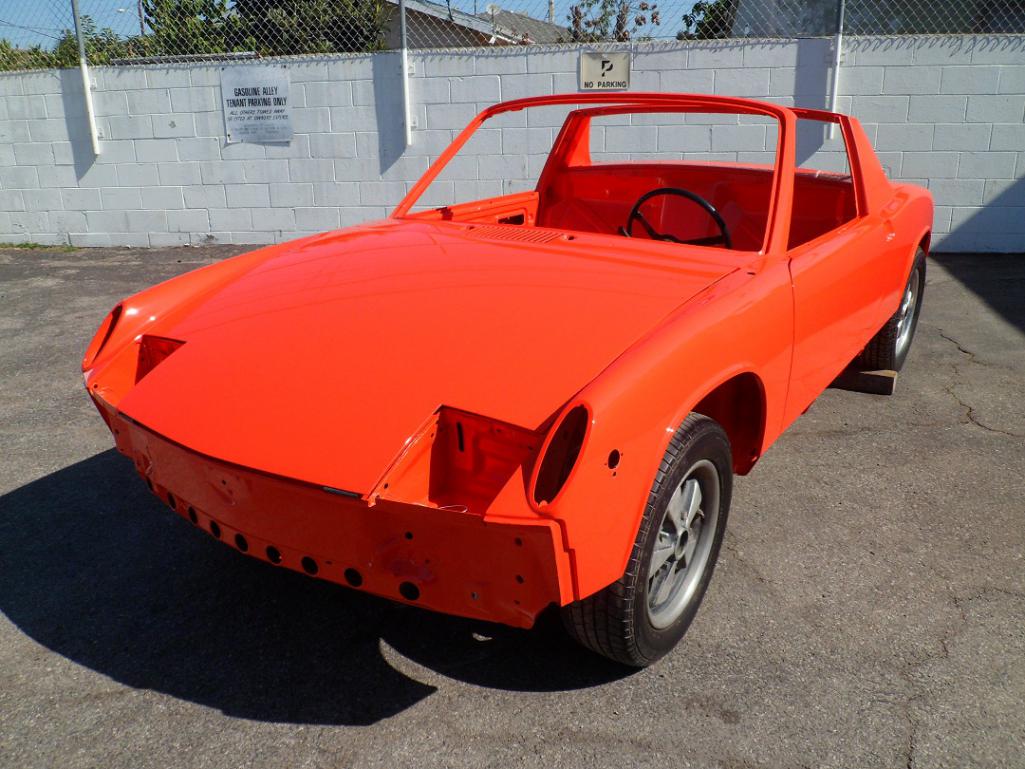
Posted by: 914350 Aug 19 2016, 05:33 PM
...and away it goes.
Attached thumbnail(s)
Posted by: sb914 Aug 19 2016, 05:34 PM
Wow! Great work.
Posted by: banananose914 Aug 19 2016, 10:58 PM
I"ll do what I can to make you proud. Thanks, dude. You kicked some major ass. No regrets or disappointments.
Posted by: ndfrigi Aug 19 2016, 11:34 PM
Wow Sir Jim your car is finally done with Kent's expertise! Is it at your house now for assembly? I noticed ur going to Cars and Coffee Aliso Viejo tomorrow. hope I can join u guys also.
Nice seeing both Jim and Andy's car that was done at Kent's shop!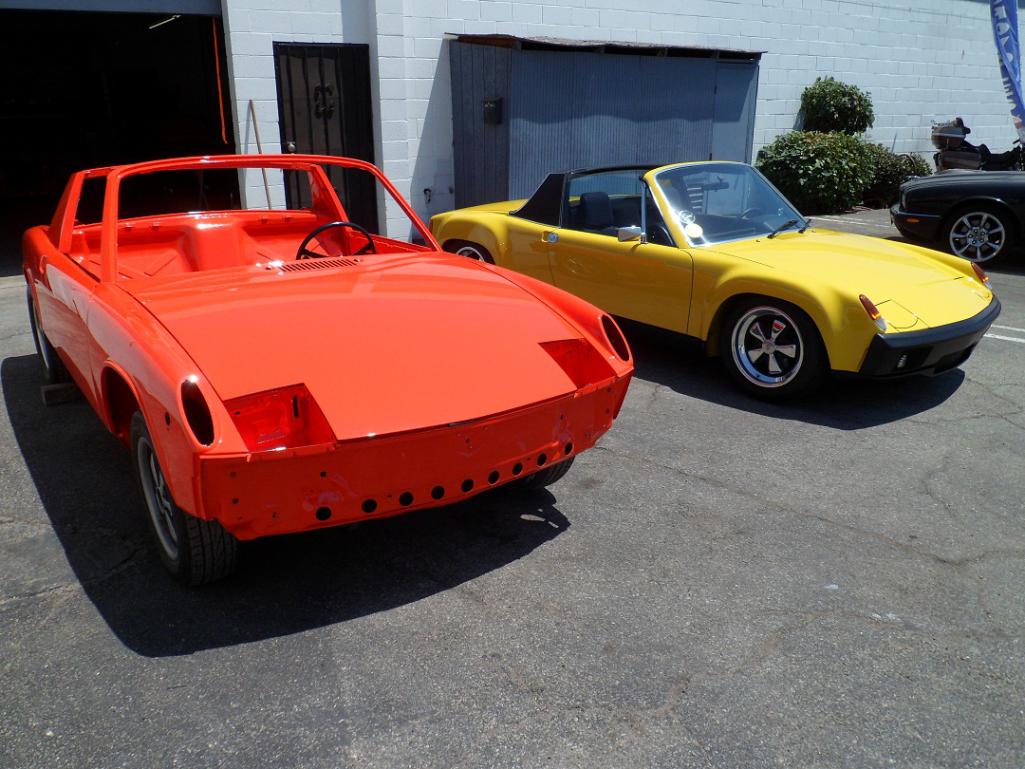
Posted by: euro911 Aug 20 2016, 02:03 AM
Nothing short of awesome. Nary a ripple, nor a ding on it
... wished I could afford to offer that kind of treatment to any of my cars ... 
Posted by: db9146 Aug 20 2016, 05:50 AM
I don't know about you guys but I can spot a problem from here....a big problem.
There is no way I'd want to touch that to start putting it back together. I'd be too afraid to nick that beautiful paint. Wow! Fantastic job!!!
Posted by: 914350 Aug 20 2016, 08:45 AM
I"ll do what I can to make you proud. Thanks, dude. You kicked some major ass. No regrets or disappointments.
Thanks Jim,
You came in as a customer and left as a friend. I look forward to coming out and helping with some of the assymbly, I'll work for food.
Thanks again,
Kent S.
Posted by: Krieger Aug 20 2016, 08:56 AM
Absolutely stunning work! I went back and read the entire thread. I never do that. .
Posted by: Socalandy Jun 11 2017, 10:04 PM
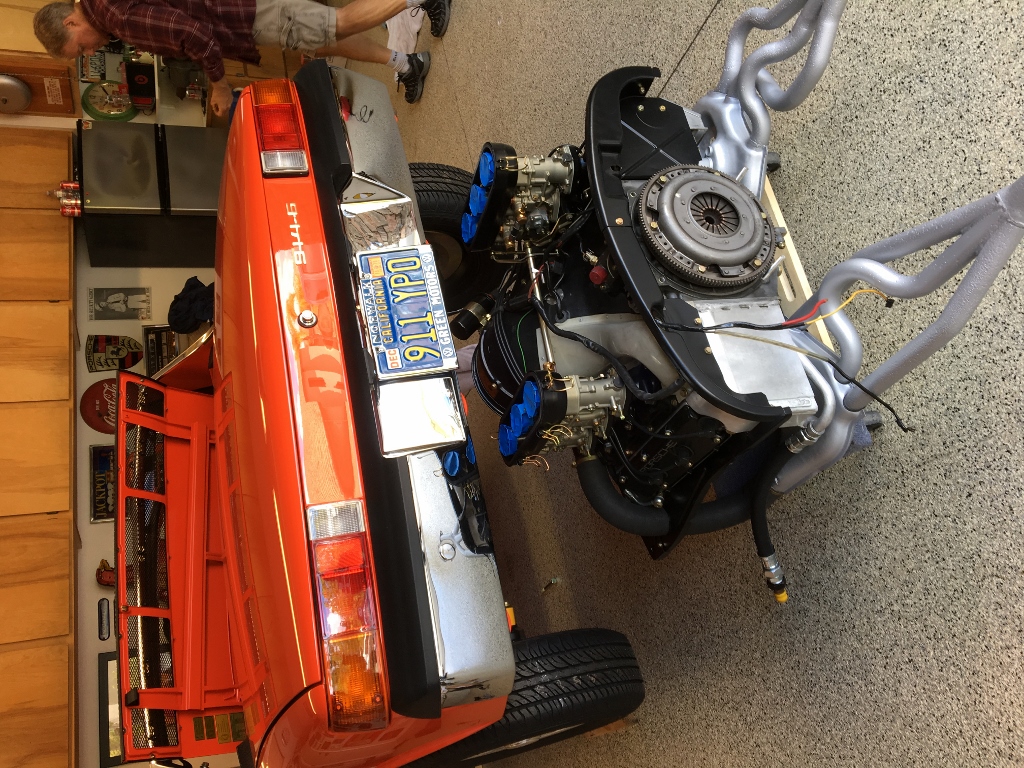
Well I decided Jim's beautiful car needs to be seen and share some assembly pictures. We are getting close to completion and it's been a lot of work and fun. Enjoy the pics and I will keep updating this thread as we wrap this restoration up
Attached image(s)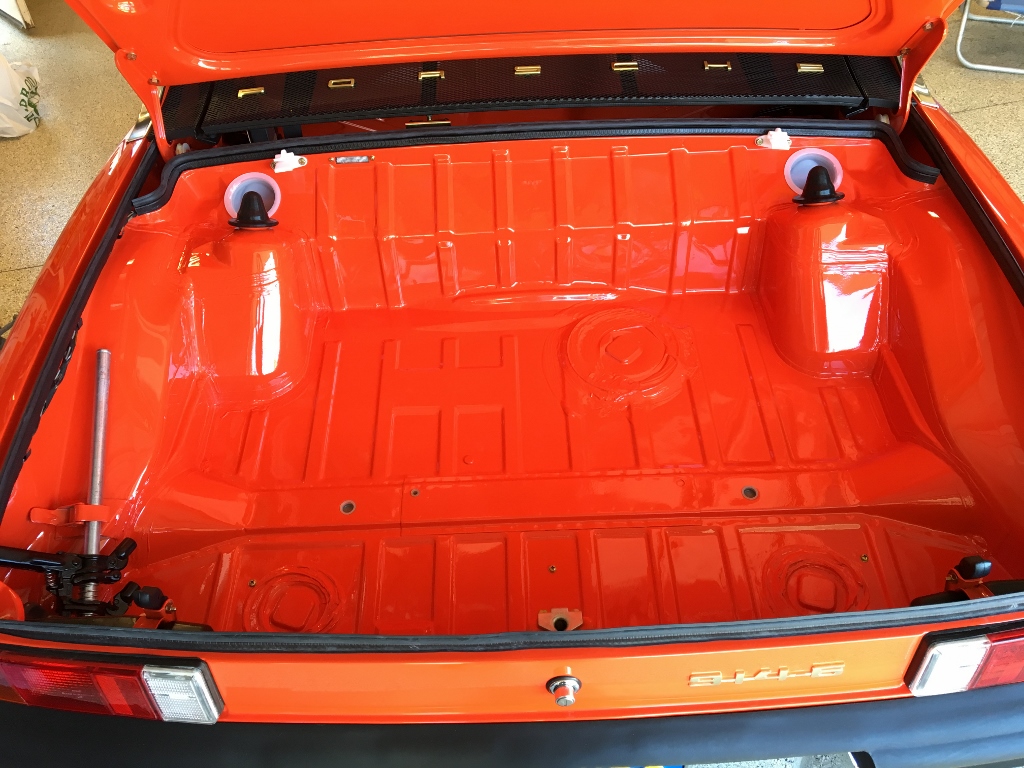

Posted by: Socalandy Jun 11 2017, 10:09 PM
Attached image(s)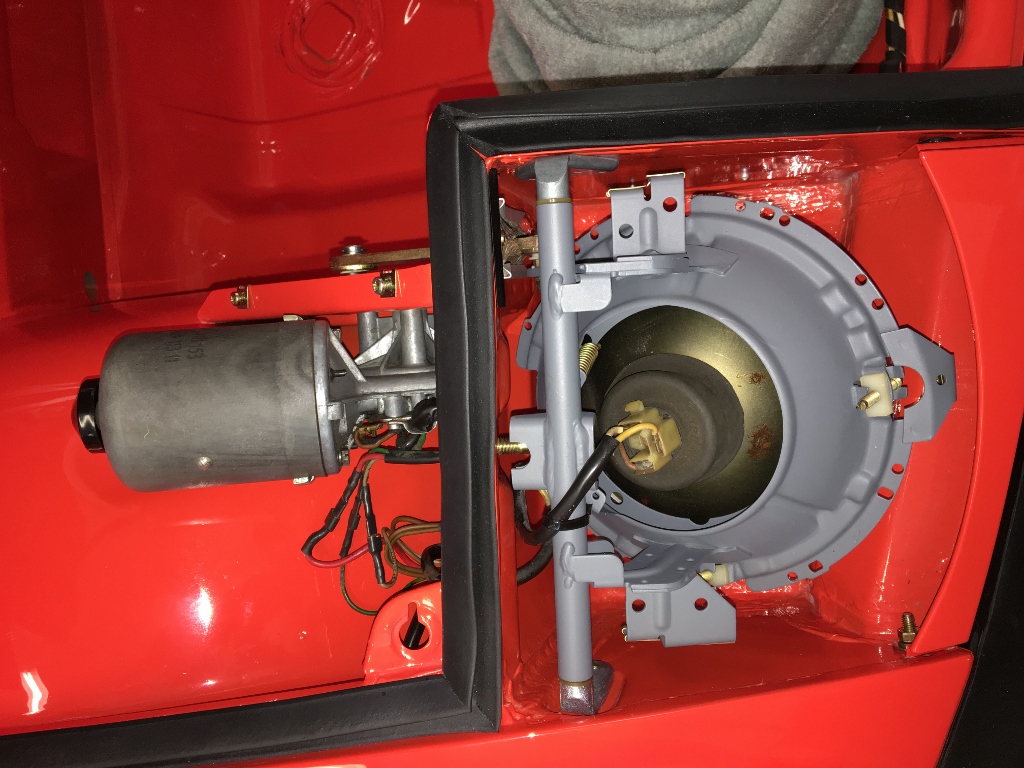

Posted by: Socalandy Jun 11 2017, 10:13 PM

Attached image(s)

Posted by: Socalandy Jun 11 2017, 10:19 PM

Attached image(s)
Posted by: Socalandy Jun 11 2017, 10:23 PM
Attached image(s)

Posted by: Socalandy Jun 11 2017, 10:27 PM
until next weekend
Attached image(s)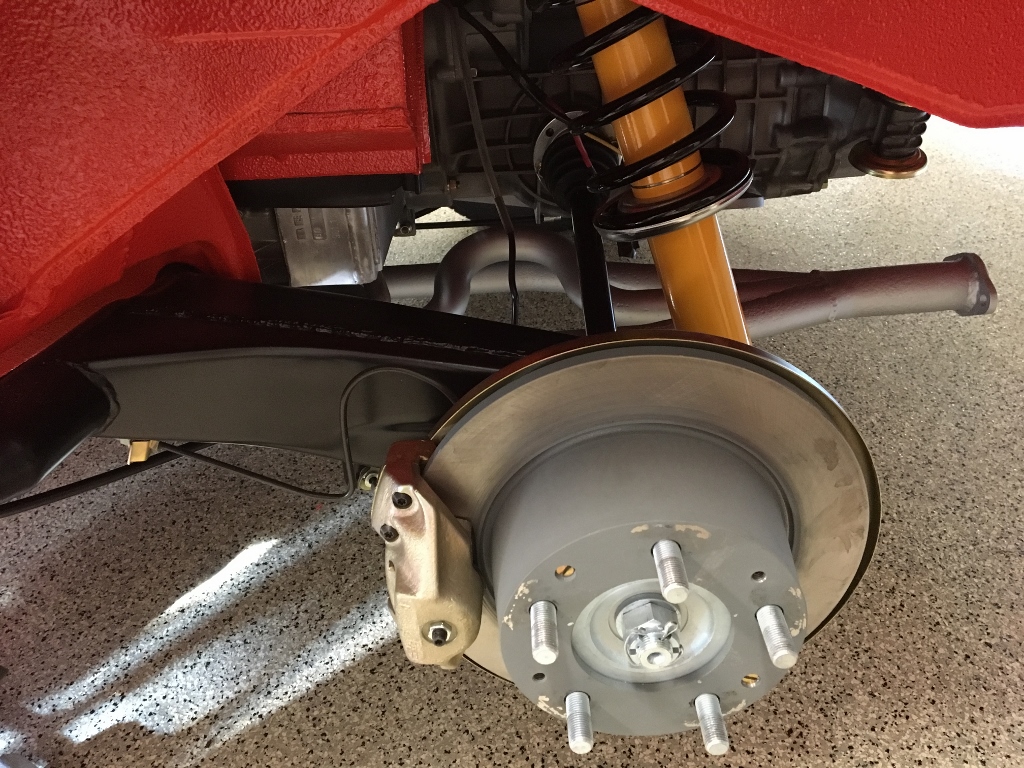
Posted by: euro911 Jun 11 2017, 10:40 PM
Posted by: banananose914 Jun 11 2017, 10:44 PM
Hey Andy and Kent. Yous guys are kicking ass and the car is coming along great. Once I get over this bout of vaginitis, we are going to celebrate. I figure a lunch at 7-11 eating one of their radioactive hot dogs ought to do the trick. A word of advice for anyone doing a restoration, save all your wires and do not unravel the wiring harness. Among other things. Oh, and have some guys on hand who know what the hell they're doing. I love you sons a bitches!
Posted by: defianty Jun 12 2017, 01:52 AM
Stunning work!
Posted by: 80cap Jun 12 2017, 06:15 AM
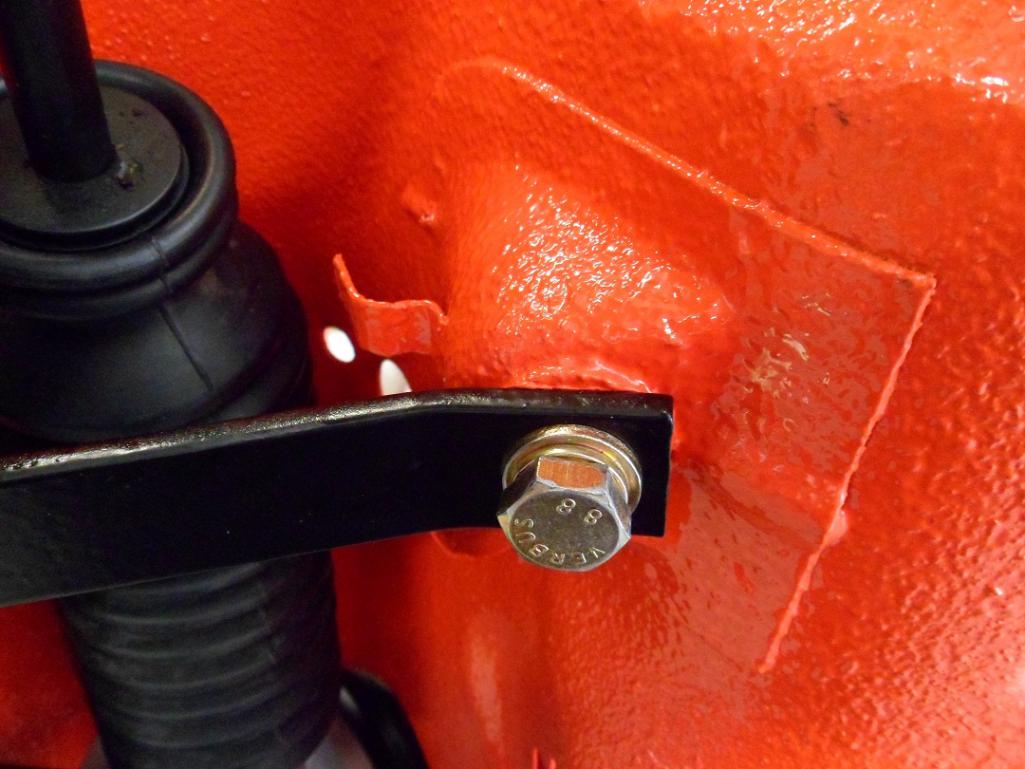
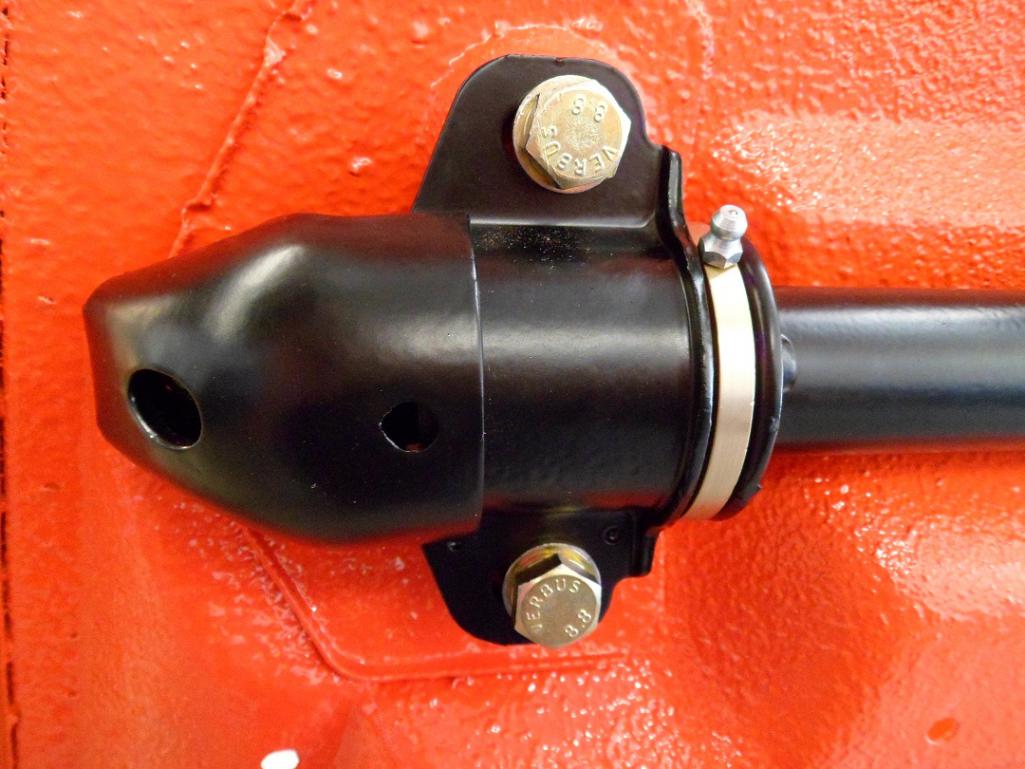
http://www.914world.com/bbs2/uploads/post-10742-1497241362.jpg
I am about to install my transmission and I saw this picture of the rear mounts. Is the large cup washer under the trans mount or above? The inter web shows it above.
Brian
Posted by: rgalla9146 Jun 12 2017, 06:40 AM
http://www.914world.com/bbs2/uploads/post-10742-1497241362.jpg
I am about to install my transmission and I saw this picture of the rear mounts. Is the large cup washer under the trans mount or above? The inter web shows it above.
Brian
The cup washer belongs above the trans arm facing down.
Posted by: 80cap Jun 12 2017, 06:45 AM
Thanks ! That is what I thought.
Posted by: rgalla9146 Jun 12 2017, 06:56 AM
Oh yeah, this too.
Terrible pic and messy setting.
April 2009....drove it to Hershey three days later after full engine rebuild
Attached thumbnail(s)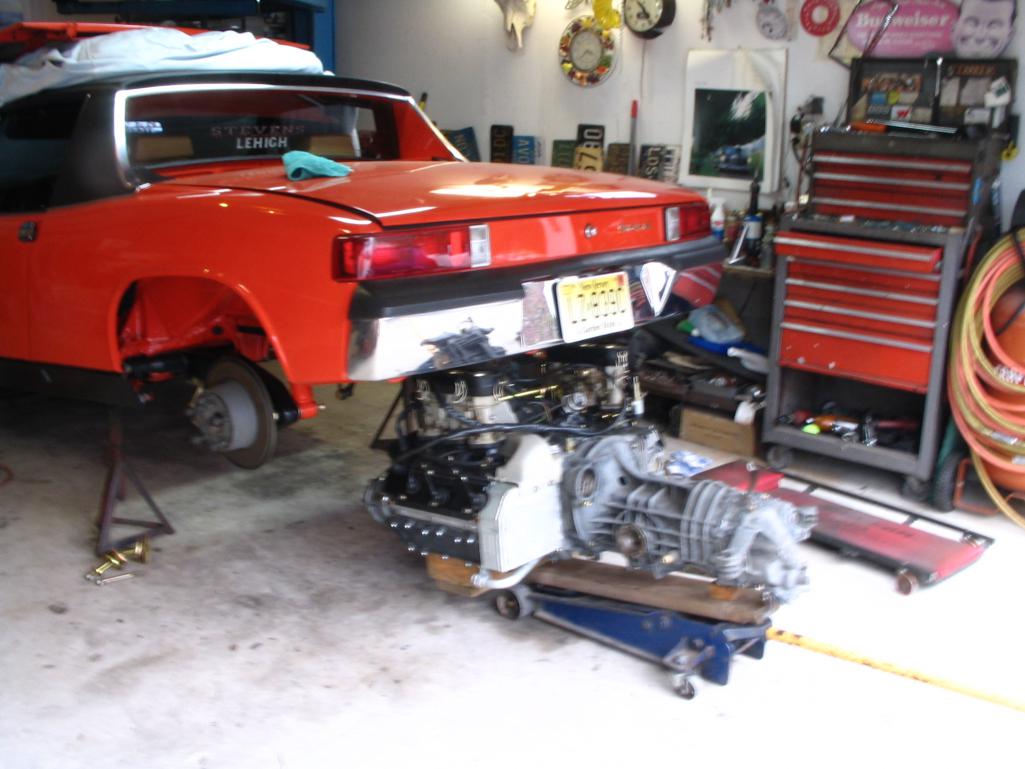
Posted by: gms Jun 12 2017, 09:07 AM
Outstanding!
Posted by: KELTY360 Jun 12 2017, 09:15 AM
Beautiful! Love seeing a narrow body restoration.
Posted by: euro911 Jun 12 2017, 09:55 AM
I am about to install my transmission and I saw this picture of the rear mounts. Is the large cup washer under the trans mount or above? The inter web shows it above.
Brian
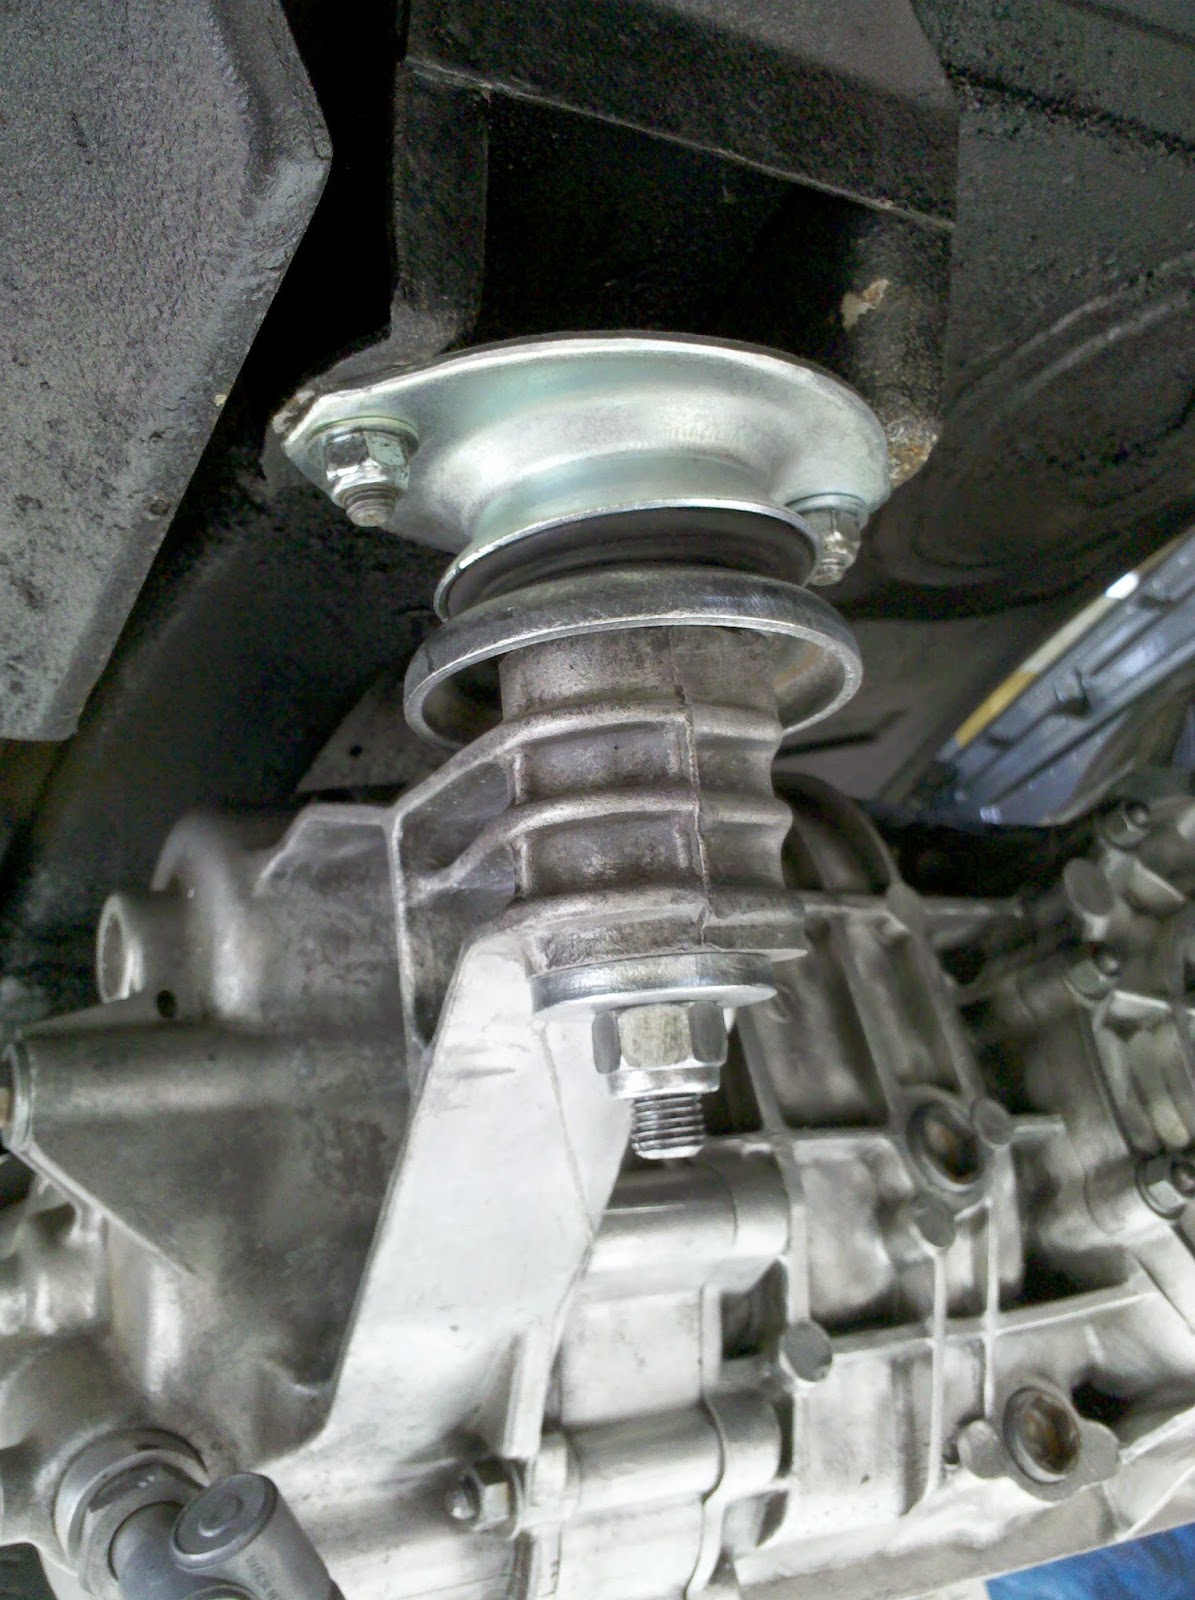
Posted by: Socalandy Jun 12 2017, 11:37 AM
settle down guys, with two guys and no lift we were busy with the front mount and quickly hung it.
Posted by: banananose914 Jun 12 2017, 12:53 PM
This is what happens when you let the owner of the car help with the restoration. Let that be a lesson to you, Andy and Kent. I told you to keep me away from my car. You idiots!
Posted by: euro911 Jun 12 2017, 01:53 PM
Posted by: banananose914 Jun 12 2017, 11:09 PM
After four hours of troubleshooting, Andy, Kent and our resident electrical engineer Bob, were able to get the fan on the windshield defroster to work. On all three speeds no less. I have owned seven 914's, and this is the only fan that would actually work as designed. Maybe I was just buying the wrong 914's. More breakthroughs to come.
Posted by: Matty900 Jun 13 2017, 01:20 AM
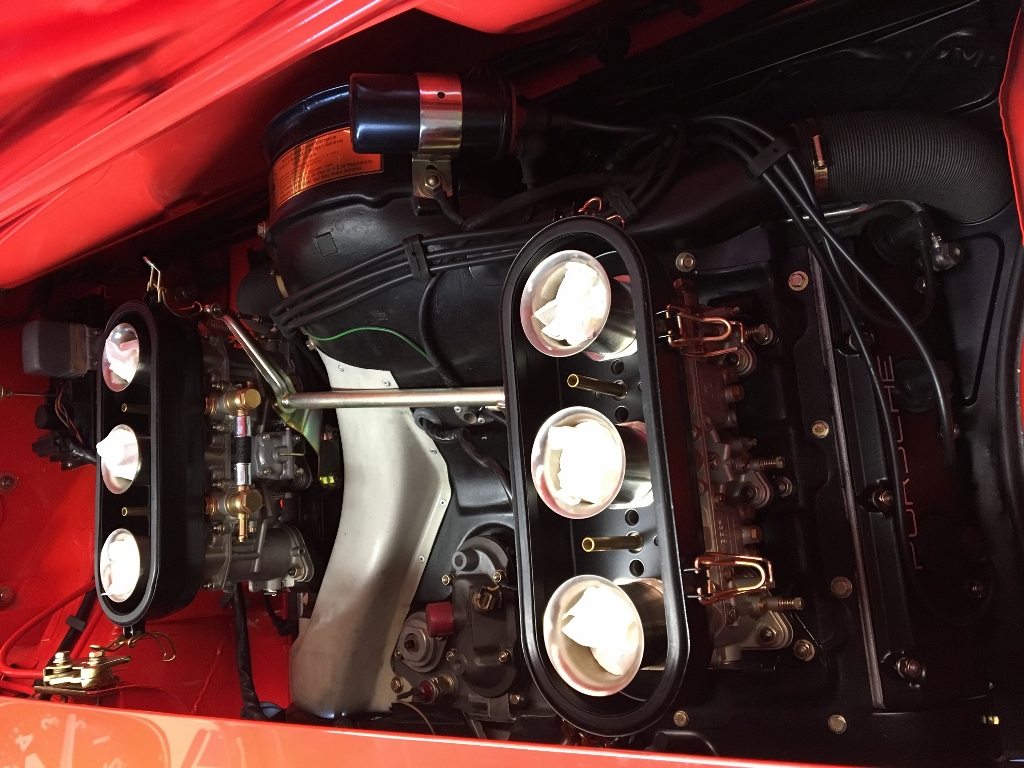
Beautiful work. Do you have a photo of where the stainless steel fuel rail goes and what the clips look like? Mpst photos of a 6 in the car do not loik up under the latch at the rail or they use alternative lines to the carbs
Posted by: Cairo94507 Jun 13 2017, 02:03 AM
Car looks beautiful -stunning. I can't wait to see mine in that condition.
Posted by: Larmo63 Jun 13 2017, 08:34 AM
If you are going to have two people put your 914-6 back together after new paint & restoration, Andy and Kent are two great guys.
Meticulous is an understatement. This car looks even better in person.
Posted by: Luke M Jun 13 2017, 08:52 AM
Looking good there boys.
I see the trans was converted to side shift is there any pics of the shift rod installed?
Just wondering is you guys went with an aftermarket or home made solution ?
Posted by: banananose914 Jun 13 2017, 11:24 AM
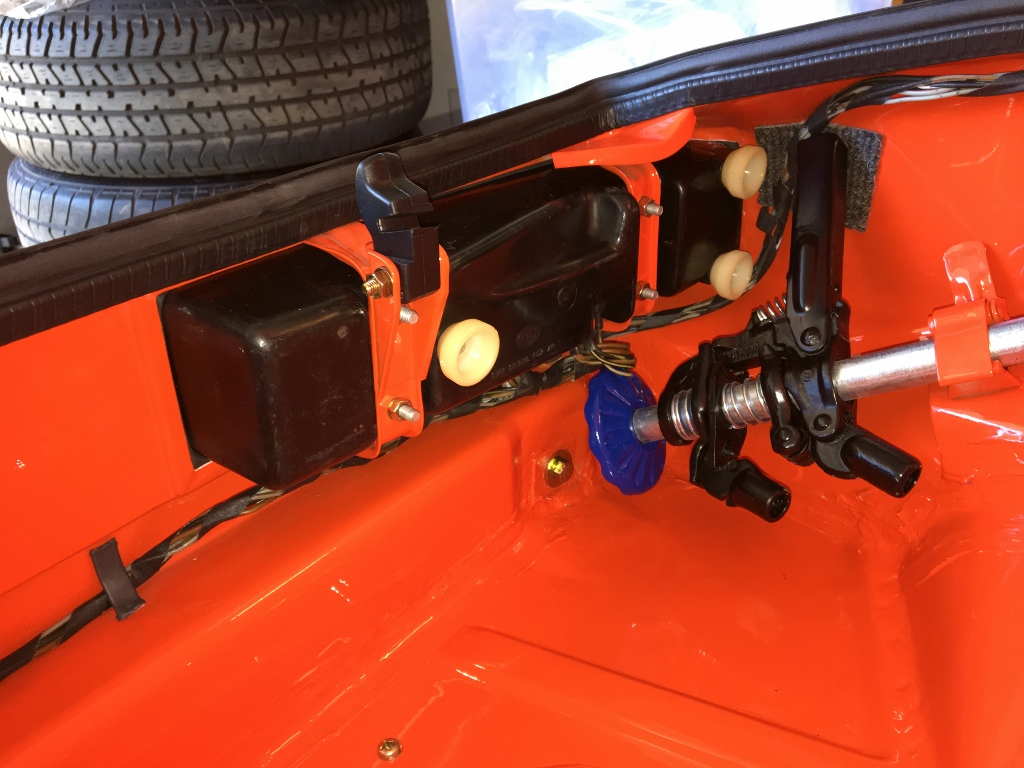
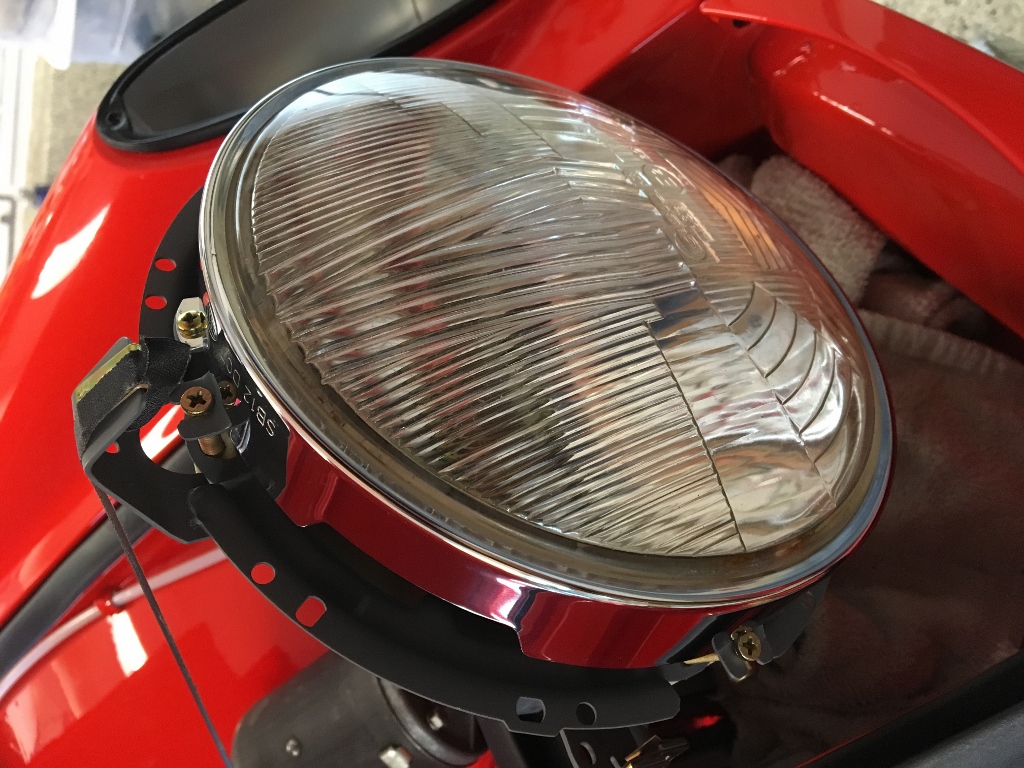
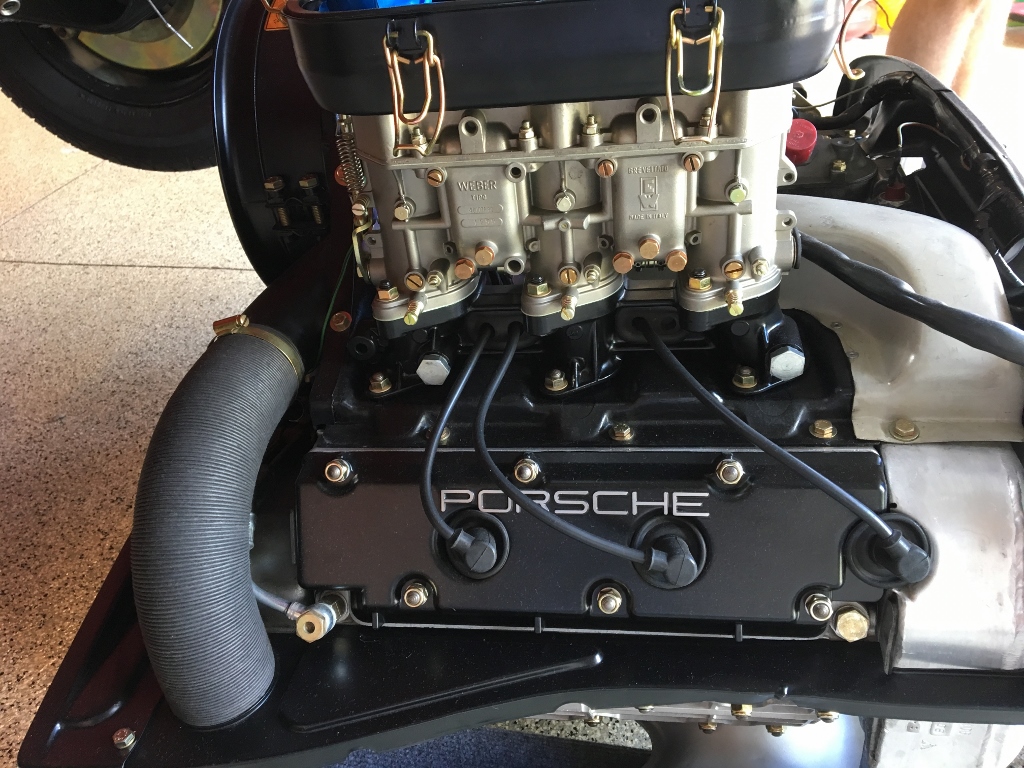
Hey Matt. Here is a picture of the panel between the trunk and engine compartment with one of the three clips attached. The second picture is of the fuel rail and a better view of the clip. Let me know if you have any other questions. Jim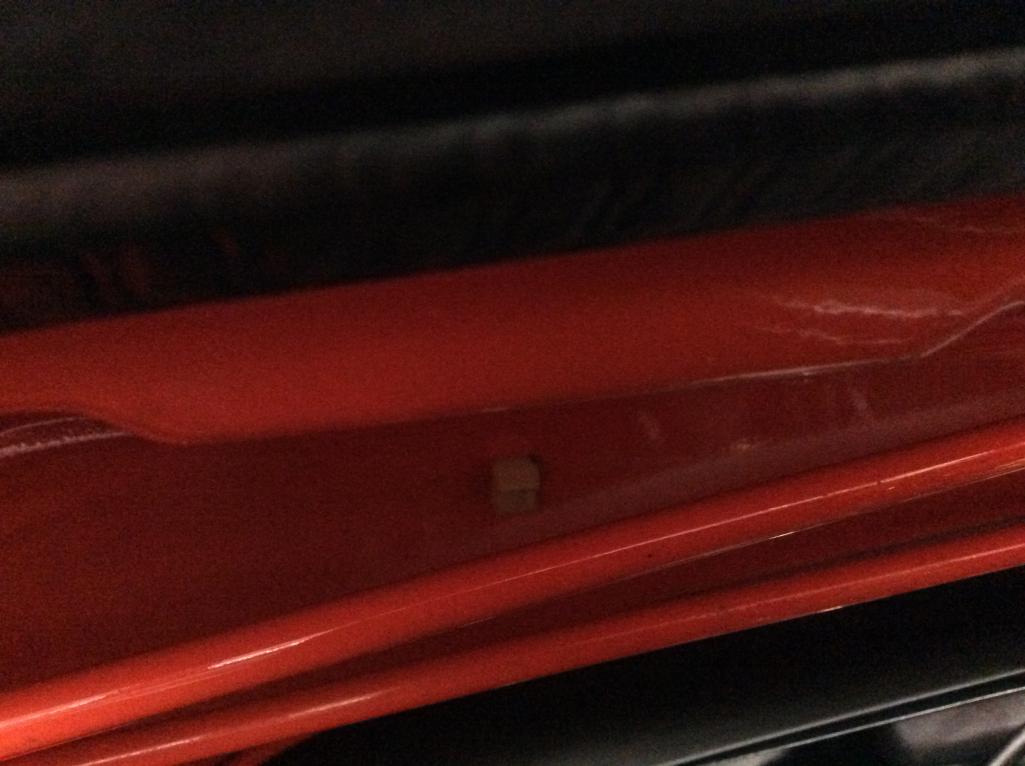
Posted by: banananose914 Jun 13 2017, 06:08 PM
Hey Luke. I went with the Patrick Motorsports set up. I figured that in the interest of not cutting a corner, I would just buy that one. I just sandblasted it today and painted it with satin black paint. It is shipped with a gold zinc coating. Jim
Posted by: Blue6 Jun 14 2017, 10:03 AM
This is what happens when you let the owner of the car help with the restoration. Let that be a lesson to you, Andy and Kent. I told you to keep me away from my car. You idiots!
Agreed, just stay out of the way and let the pros work. Also think about letting someone drive it for you when it's finished. Maybe a good friend or neighbor.

Posted by: banananose914 Jun 14 2017, 06:06 PM
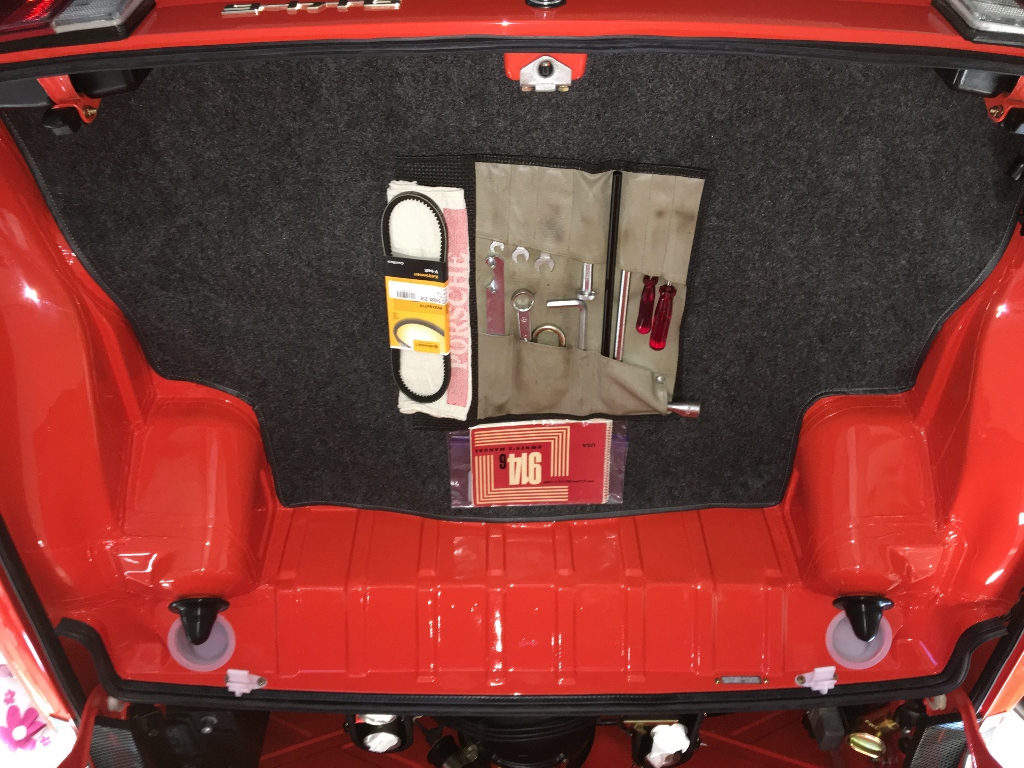
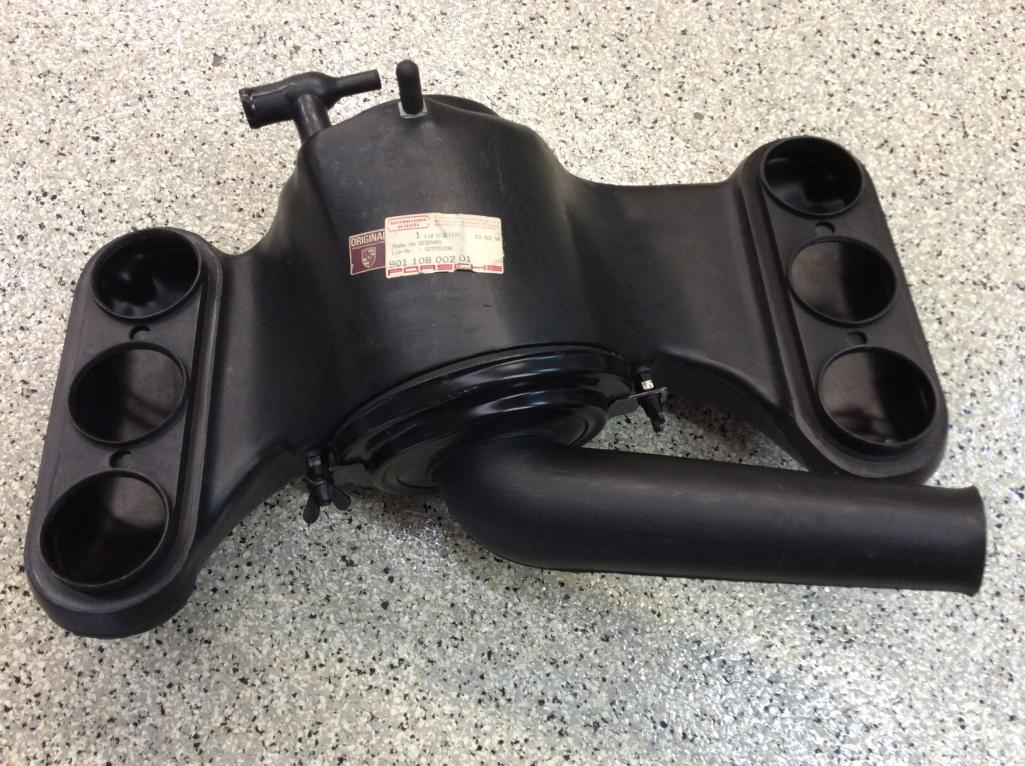
Although the windshield is in, it's not yet in the car. I waited about two months to get it. I'll let you know if it was worth the price and the wait. I also attached a picture of the NOS air leaner box. I gave the old one to Kent for helping me out. Now that I know how to post pictures, you guys are in trouble. Jim
Attached thumbnail(s)
Posted by: ndfrigi Jun 14 2017, 06:53 PM
wow sir Jim, you're putting more value into your orange everyday! When the car is done, it will be valued to $$$,$$$.$$
Posted by: banananose914 Jun 14 2017, 09:30 PM
Here are some early pictures of the car and one of the donor cars. L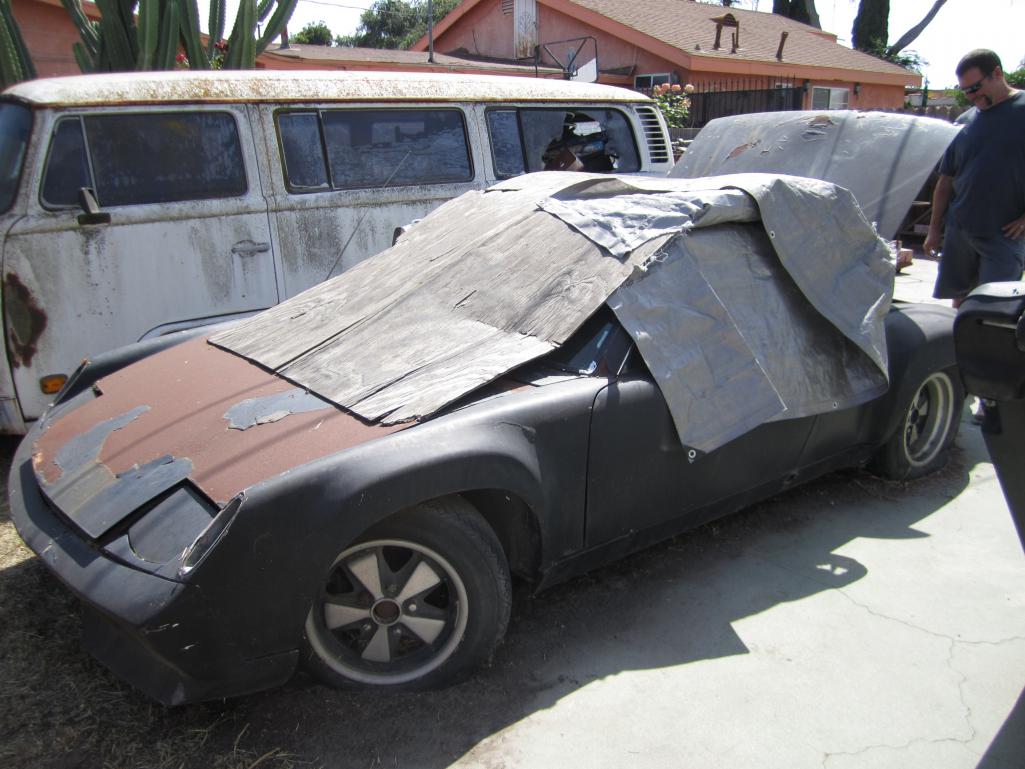
Posted by: banananose914 Jun 14 2017, 09:32 PM
Posted by: banananose914 Jun 14 2017, 09:34 PM
More
Attached thumbnail(s)
Posted by: banananose914 Jun 14 2017, 09:35 PM
More
Attached thumbnail(s)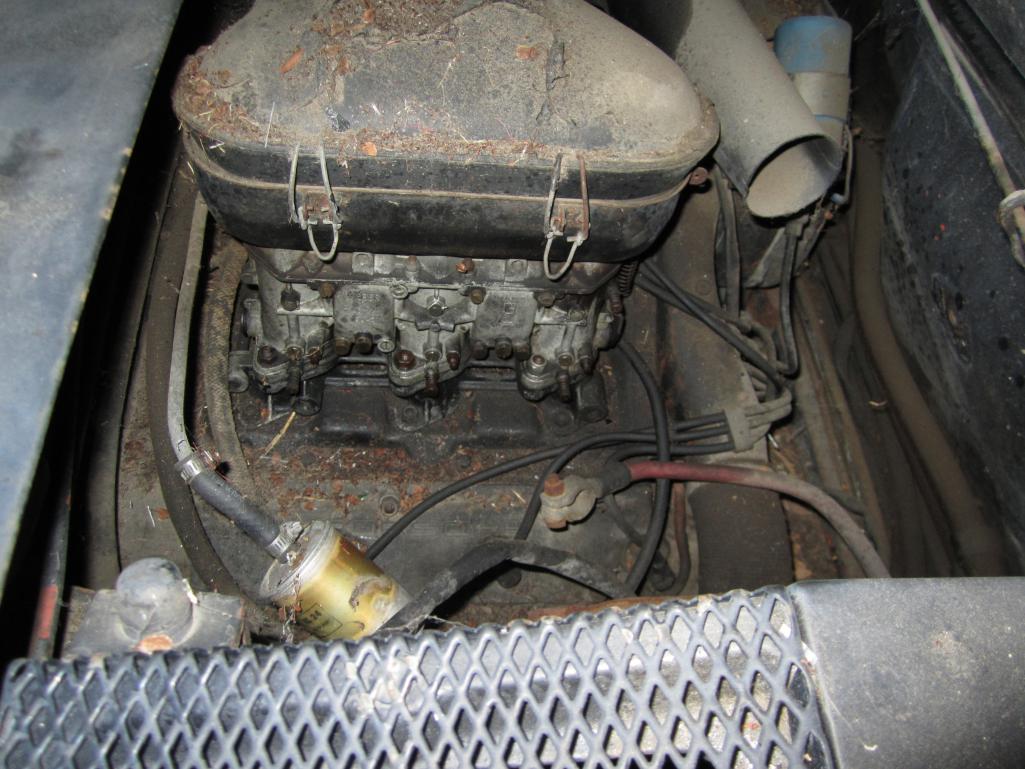
Posted by: banananose914 Jun 14 2017, 09:38 PM
Last one for today
Attached thumbnail(s)
Posted by: Luke M Jun 15 2017, 07:39 AM
Hey Luke. I went with the Patrick Motorsports set up. I figured that in the interest of not cutting a corner, I would just buy that one. I just sandblasted it today and painted it with satin black paint. It is shipped with a gold zinc coating. Jim
Hi Jim,
Thanks for the info.
Great looking car and Keep the pics coming.
Posted by: euro911 Jun 15 2017, 12:03 PM
Really nice transition, Jim
Hope to see it in person (if I ever get any of mine running again)
Posted by: krazykonrad Jun 15 2017, 05:59 PM
Looks great! How did you do the manufacturing date sticker? Looks brand new.
Konrad
Posted by: euro911 Jun 15 2017, 06:34 PM
Socalandy is the source for the stickers
Posted by: banananose914 Jun 15 2017, 09:57 PM
Really nice transition, Jim
Hope to see it in person (if I ever get any of mine running again)
We're working on it this Sunday. If you're around come on down. Send me a PM with your number or I'll send you mine. I'm always open to show off the car and take any constructive criticism.
Posted by: banananose914 Jun 15 2017, 10:02 PM
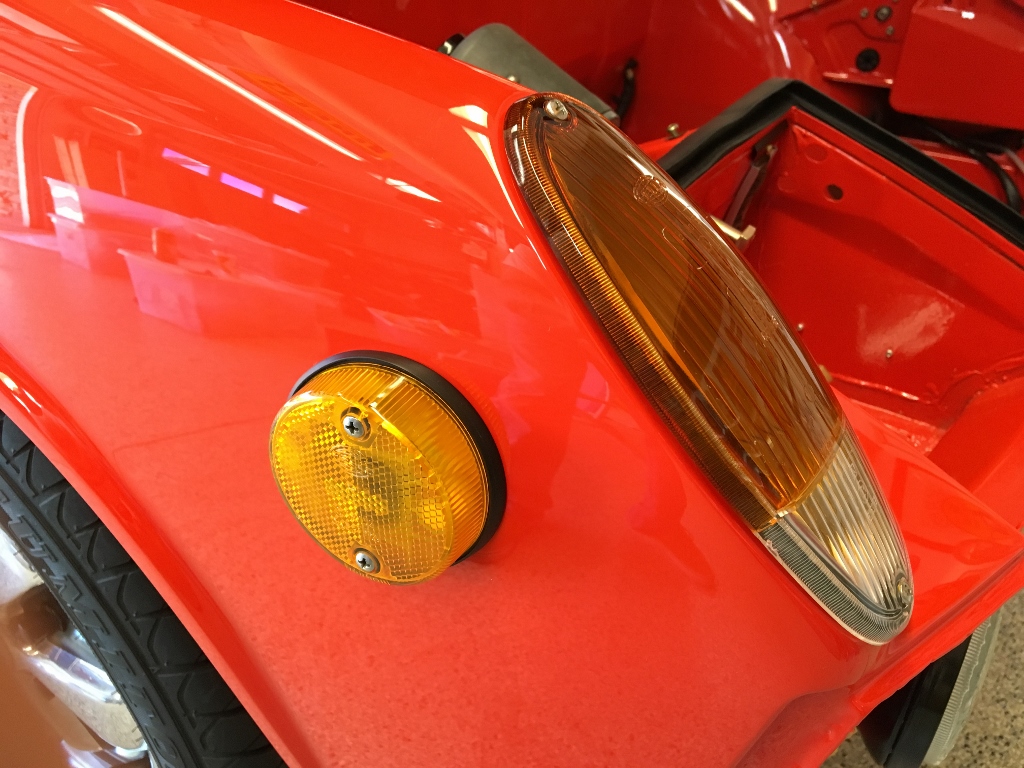
Some more pictures. Valances, rocker panels and early inner door handle
Attached thumbnail(s)
Posted by: euro911 Jun 15 2017, 11:28 PM
Hope to see it in person (if I ever get any of mine running again)
Posted by: porschetub Jun 16 2017, 12:14 AM
truly amazing ..really way out of my space but worth it for a car like yours.well done.
Posted by: db9146 Jun 16 2017, 08:36 AM
Jim,
Did you source new rockers or refurbish?
The work is fantastic.
Posted by: banananose914 Jun 16 2017, 09:57 AM
truly amazing ..really way out of my space but worth it for a car like yours.well done.
Thank you, Sir!
Posted by: banananose914 Jun 16 2017, 10:04 AM
Jim,
Did you source new rockers or refurbish?
The work is fantastic.
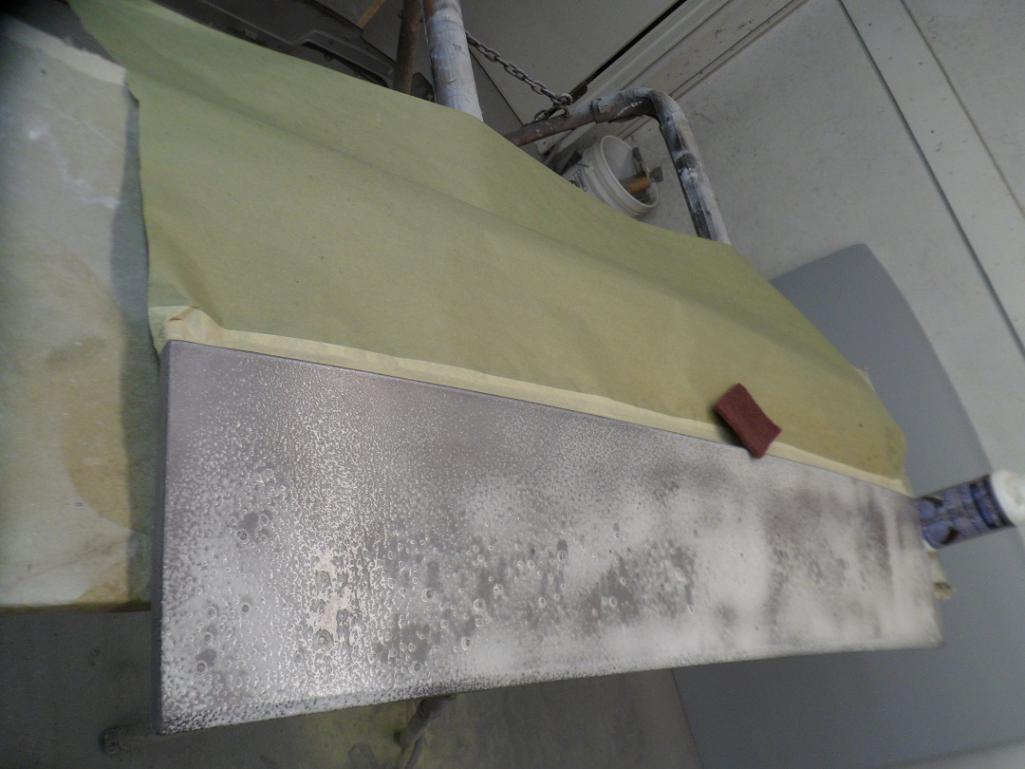
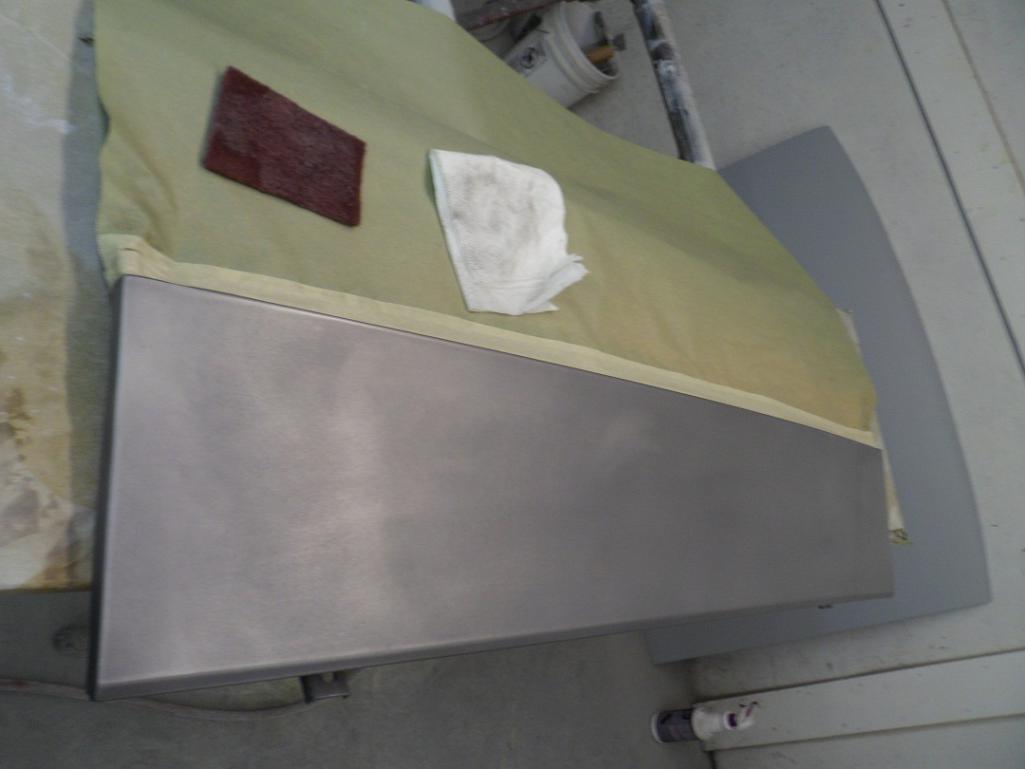
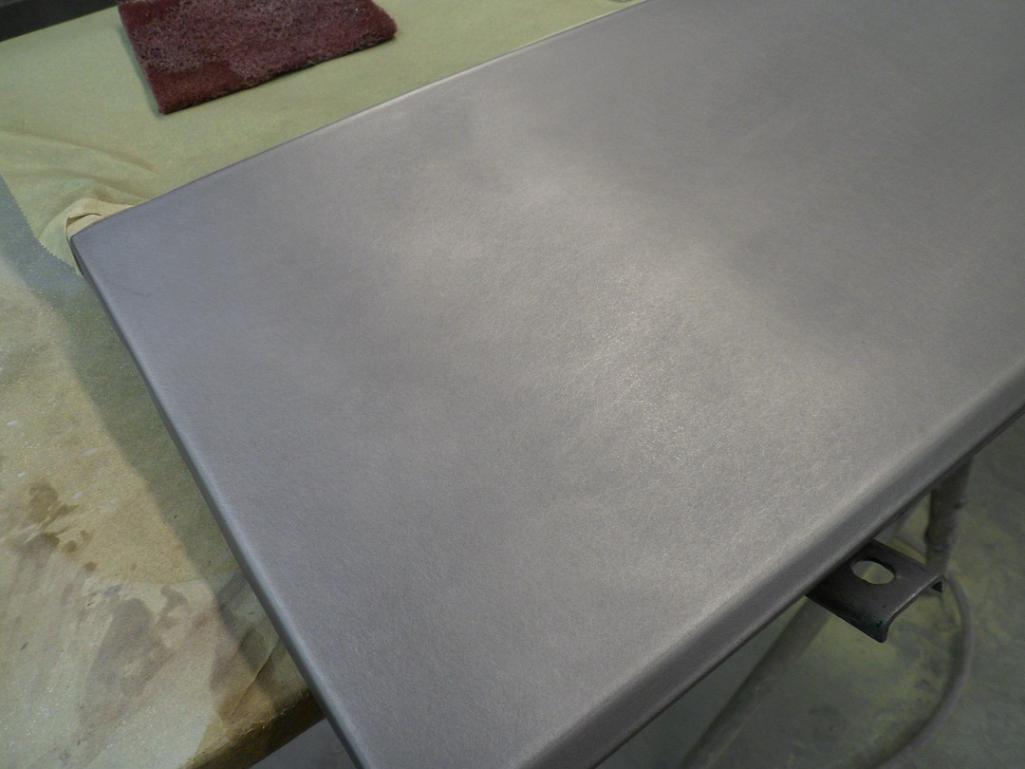
I found a decent set that needed a little bit of work. Kent did a bit of metalergic magic and revived them. All the parts shown were in various stages of disrepair, especially the valances. One was really bad. Kent beat them all back into shape, and re-painted them. He also lightly textured the inside of all the parts. They look real nice.
Posted by: banananose914 Jun 16 2017, 07:41 PM
Here is a picture of the seat rail and early seat adjustment lever. Notice how the lever is straight with no bend to it like the later levers. It certainly did not look like this before. It matched the rest of the car, meaning it was really rough. More mundane pictures to follow. Jim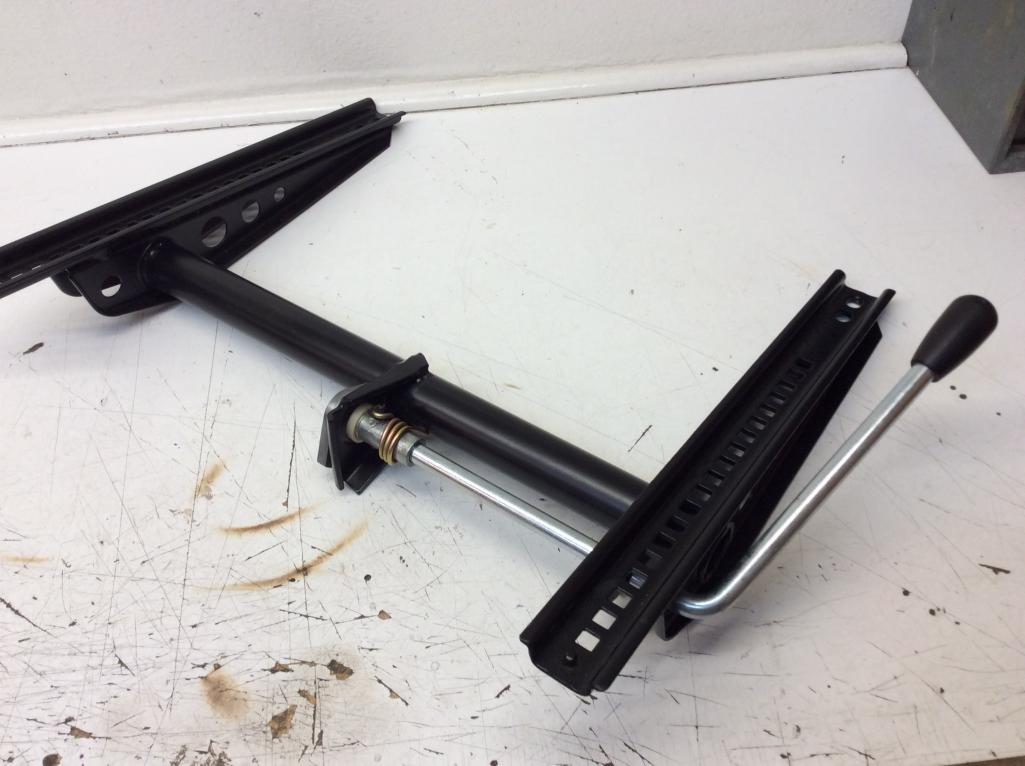
Posted by: Larmo63 Jun 16 2017, 10:44 PM
"Mundane" may be a bit too high brow of a word for this group......
Posted by: banananose914 Jun 18 2017, 07:37 PM
Some additional pictures.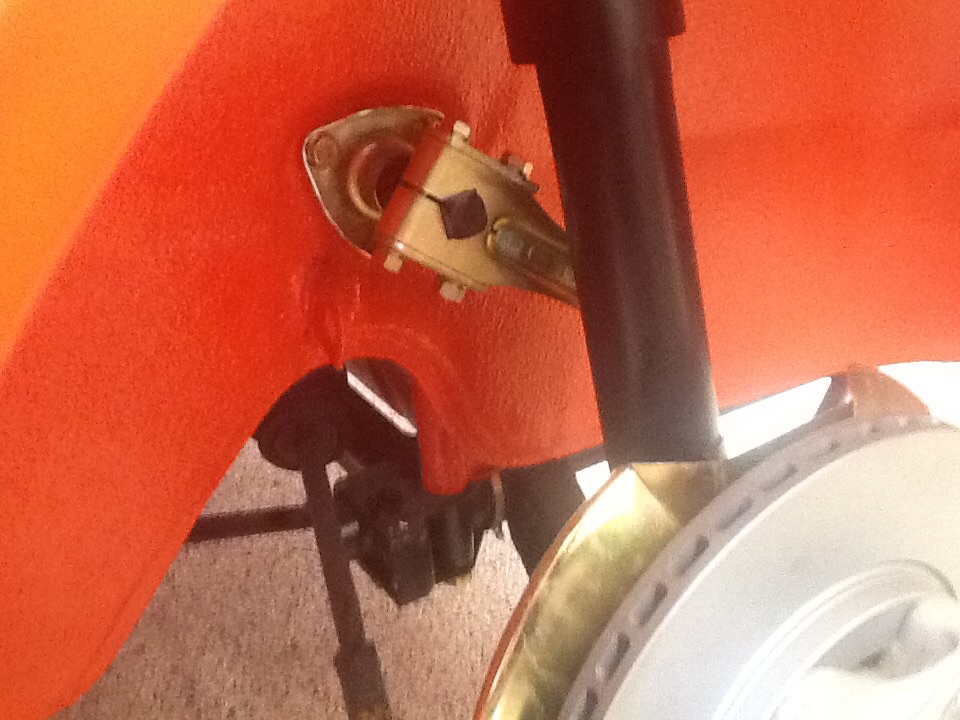
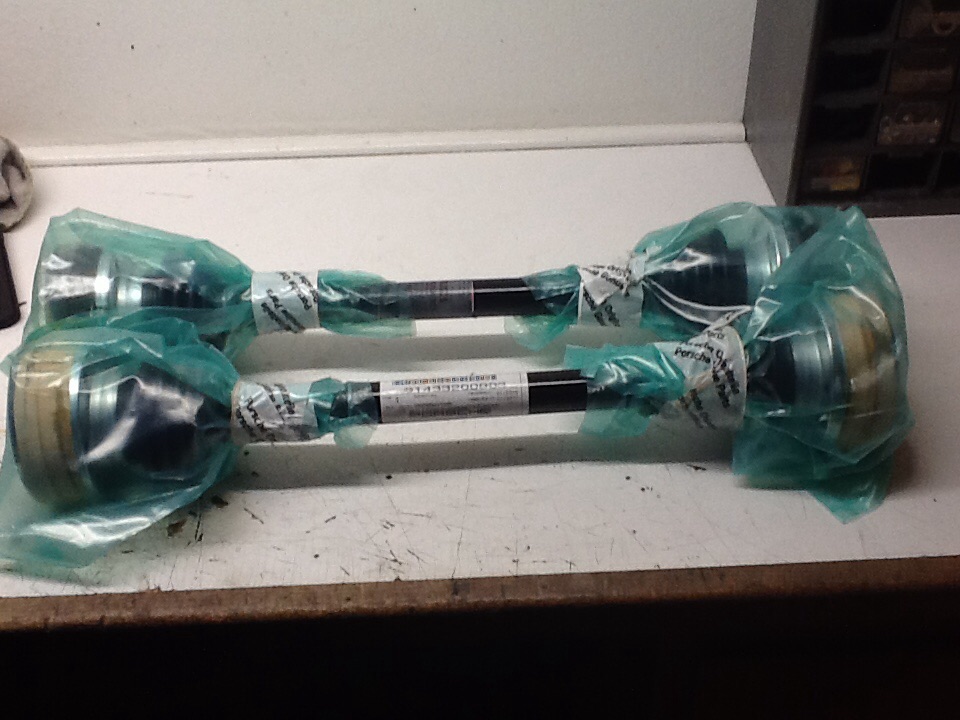
Posted by: banananose914 Jun 18 2017, 07:38 PM
Some additional pictures.
Sorry for the dual pictures
Posted by: banananose914 Jun 18 2017, 07:40 PM
The CV joint were about $250.00 per side. I thought that was a decent price, considering mine were shot.
Posted by: banananose914 Jun 18 2017, 07:54 PM
The gauges have been in, but I wanted to post a picture. These were done through North Hollywood Speedo. At that time it ran $936.00 for all three. I just recently sent out another speedo and it was over $700.00. I think they've realized there aren't many others doing this service. I can only think of two other places. They're good, but pricey.
Posted by: banananose914 Jun 18 2017, 07:55 PM
Before picture
Attached thumbnail(s)
Posted by: euro911 Jun 18 2017, 08:20 PM
I would have redone your speedometer for $500. 
Sorry I couldn't make it up there today 
Posted by: banananose914 Jun 18 2017, 08:28 PM
I would have redone your speedometer for $500.
Sorry I couldn't make it up there today
No problem. Invitation still stands
Posted by: banananose914 Jun 18 2017, 08:30 PM
"Mundane" may be a bit too high brow of a word for this group......
Larmo, what happened to Clint Eastwood?
Posted by: banananose914 Jun 19 2017, 08:16 PM
I finished putting the heater hoses and hose clamps in today. Along with the washer bottle. I ran the lines for the pump, but I'm going to need to spend some time to get them hooked up to the washer nozzles on the cowling. For future reference to those running these lines, run them before you snap the nozzles into place. Another lesson learned. If I ever do my other six, I have learned some invaluable lessons. Many of them cost me a lot of time and money. Oh well the adventure continues. Jim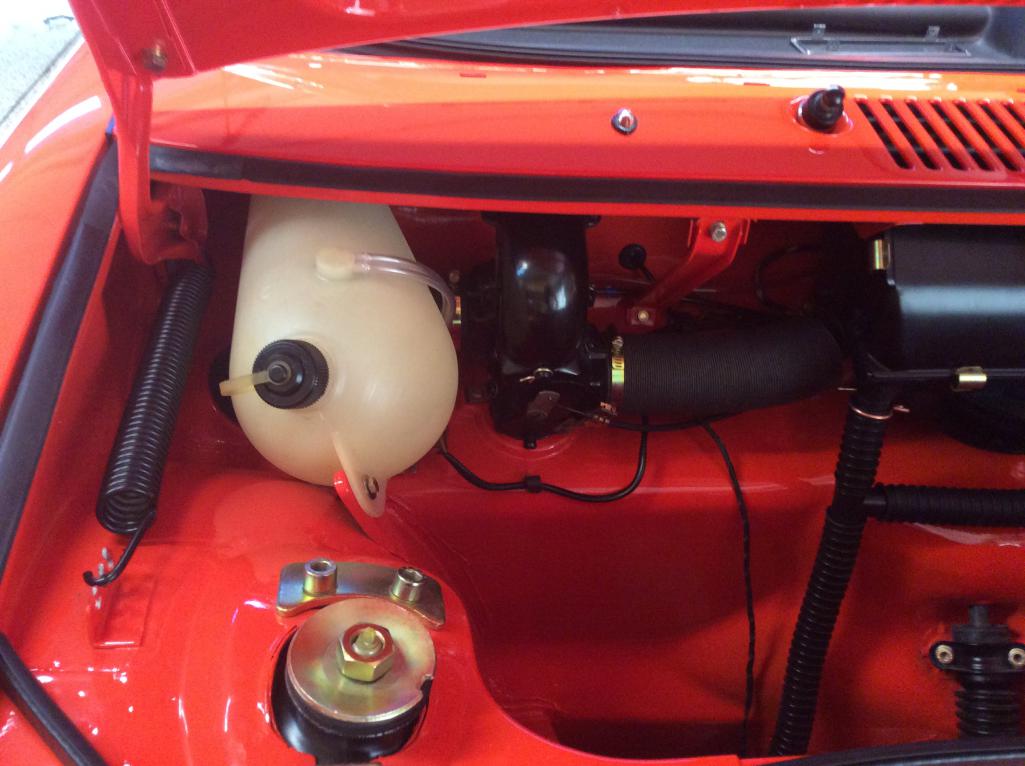
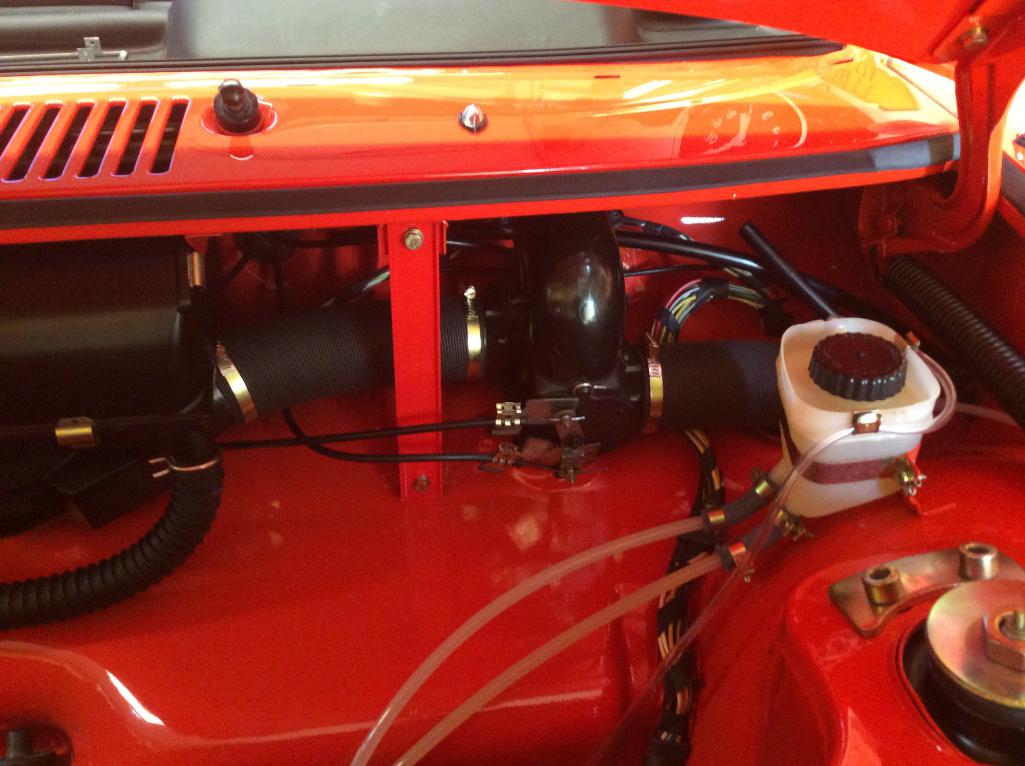
Posted by: banananose914 Jun 19 2017, 08:24 PM
I checked my factory manuals and it shows the overflow hose for the master cylinder reservoir going in a clockwise direction. Many of the ones I have seen in person travel around the reservoir in a counter clockwise fashion. It's not that big of a thing, but I'm trying to stay original with a few exceptions. I have also seen only one set of hose clamps near the bottom of the hoses from the reservoir and others with hose clamps at top and bottom. I think it looks better having two sets, and in my twisted thinking it looks better and makes sense. Stay tuned, Jim.
Posted by: bdstone914 Jun 19 2017, 08:31 PM
I have never seen hose clamps on the fabric brake reservoir hoses.
Posted by: banananose914 Jun 19 2017, 08:31 PM
Some other interesting things that I have found, there is an early reservoir cap and a late reservoir cap. The later one has a smal flange at the bottom and the early one does not. Also, there is a set of early front hood springs and a late set of front hood springs. The early ones have a slight bend near the curved portion of the springs and the late ones are straight. Neither set is easy to get off, but the early ones are a little easier. Another time consuming lesson learned.
Posted by: banananose914 Jun 19 2017, 08:33 PM
I have never seen hose clamps on the fabric brake reservoir hoses.
Hey Bruce. I have seen them both ways. It must be some type of German bi-sexual thing.
Posted by: banananose914 Jun 19 2017, 08:37 PM
Coming soon to a computer near you, the new updated and correct installation of the transmission mounts. Thanks to Andy and Kent.
Posted by: scallyk9 Jun 19 2017, 10:34 PM
"Mundane" may be a bit too high brow of a word for this group......
Larmo, what happened to Clint Eastwood?
Nah! I remember Mundane...Walter F. He ran for President some years ago.
Posted by: banananose914 Jun 19 2017, 11:13 PM
"Mundane" may be a bit too high brow of a word for this group......
Larmo, what happened to Clint Eastwood?
Nah! I remember Mundane...Walter F. He ran for President some years ago.
I think you're right. He served under Jimmy Cooter if I remember correctly. Maybe I misremembered. I'm not sure.
Posted by: banananose914 Jun 20 2017, 07:53 PM
Started messing around with the flapper boxes today. It makes me feel like I'm making progress, and I am. I just get a little impatient. I tend to want things yesterday. It drives my wife crazy, but what does she know? I also just received my fuel pump. You know when it has a Porsche symbol on the box, you had better put your knee pads on, because you're going to be driven around the room. I thought about having my existing pumps rebuilt, but I figure you can't go wrong with new. By the way, if someone rebuilds them I have three. Jim.
Attached image(s)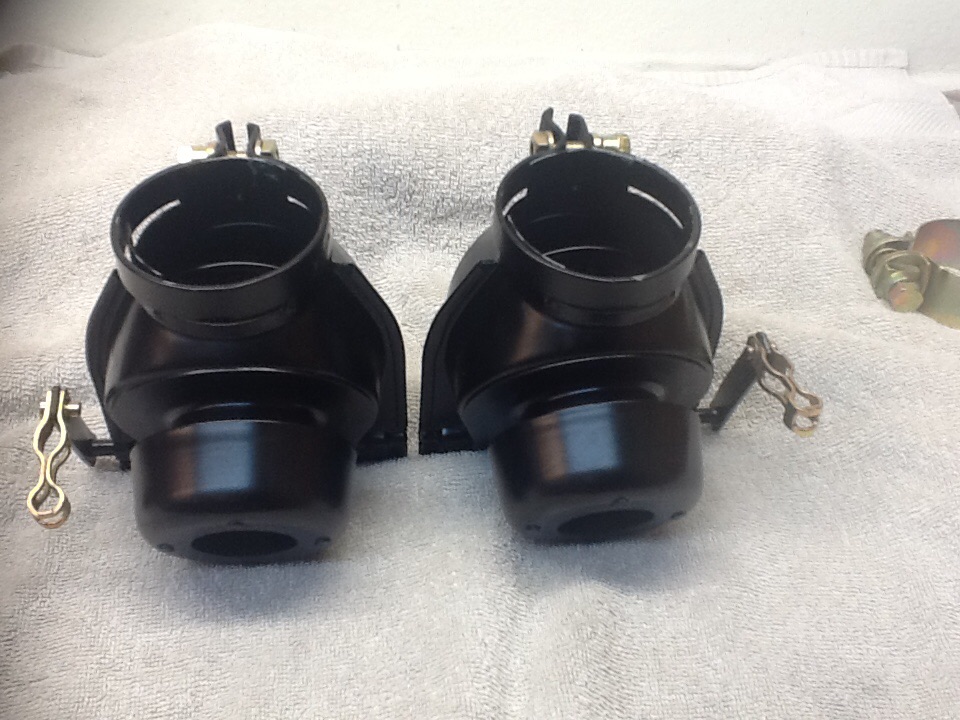
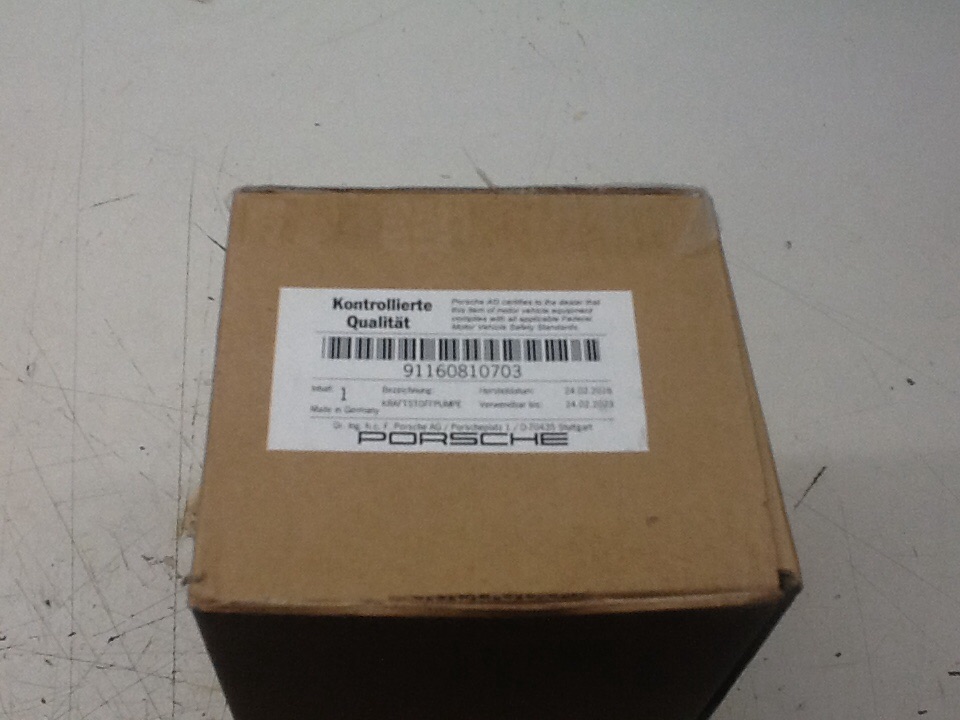
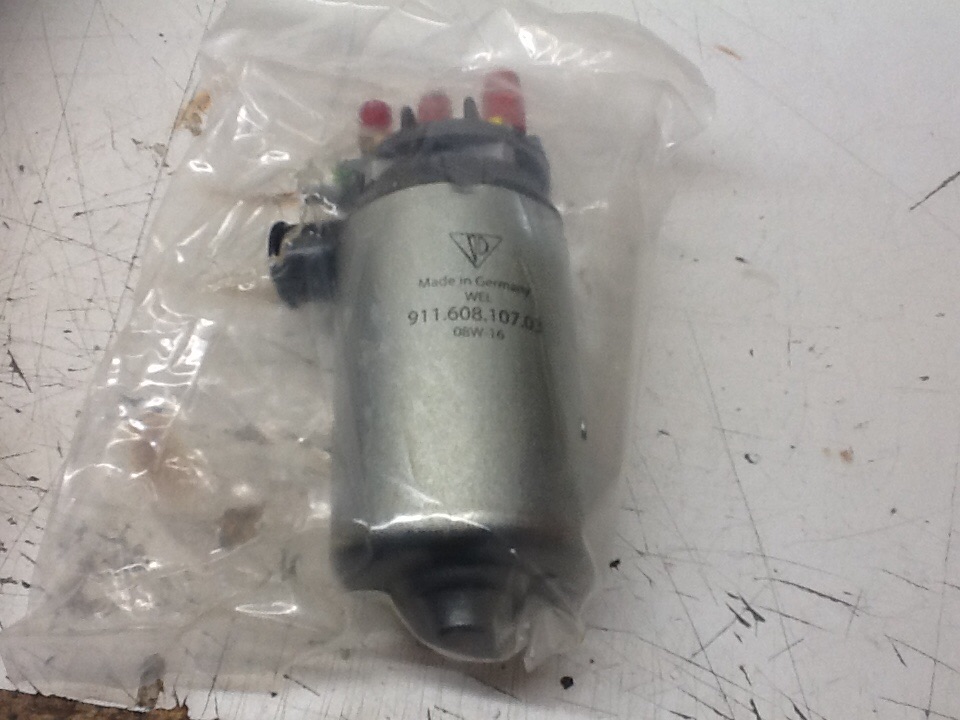
Posted by: banananose914 Jun 20 2017, 07:57 PM
Transmission mounts.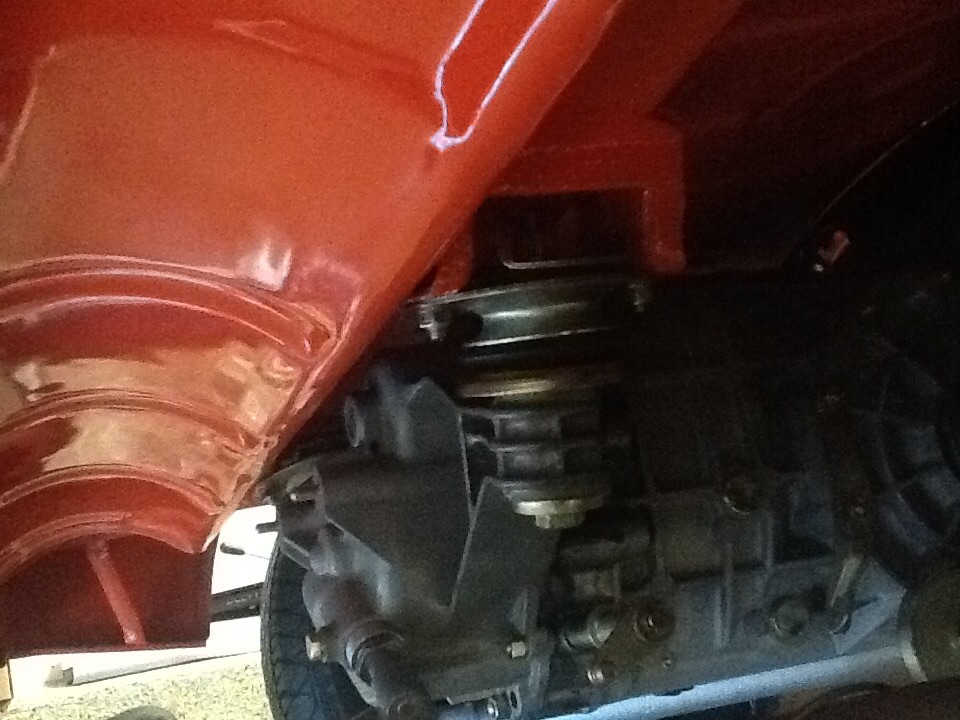
Posted by: pete000 Jun 20 2017, 09:38 PM
Wow rare flapper boxes with correct holes !
Posted by: banananose914 Jun 21 2017, 06:07 PM
Here is today's installment of expensive lesson learned. On the left you will see a freshly plated 914/4 stub axle. On the right is a freshly plated 914/6 stub axle. If you are putting a six together, don't confuse the four stub axle with the six. The difference is virtually nothing in value for the four stubs and about 4 to 600 for the six stubs. Provided you can find a set. Notice the serial number on the four stub axle and none on the six stubs. The spline count is also different. I'm sure there are members here who would say that the difference is pretty evident, and it is now. But when I sold the freshly plated six stub axles for almost nothing I didn't know that. Another expensive lesson learned. Tune in regularly and I will point out other expensive lessons. Jim.
Attached image(s)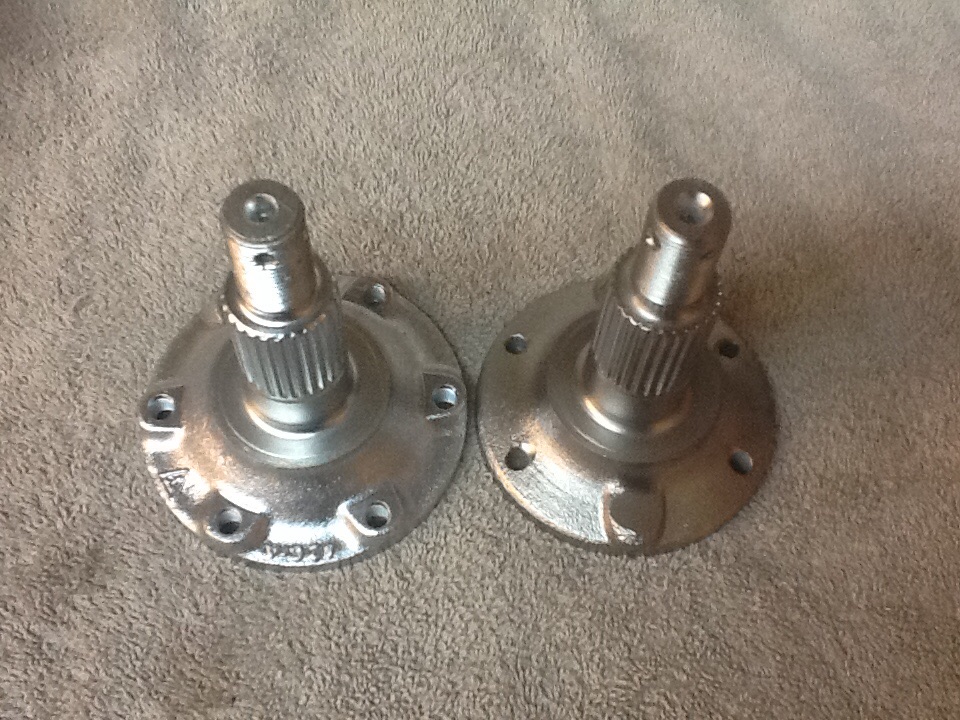
Posted by: Cairo94507 Jun 21 2017, 07:27 PM
Ouch! I hate when that happens. 
Posted by: Blue6 Jun 21 2017, 11:39 PM
Ouch! I hate when that happens.
Yeah, Jims not near the top of the food chain. Luckily he surrounds himself with smart friends.

Posted by: banananose914 Jun 22 2017, 09:28 AM
I mixed up my pictures. The one on the left is for a 911. I thought it would work on a six, but they are not interchangeable. The one on the right is definitely for a six. Carry on.
Posted by: mepstein Jun 22 2017, 10:16 AM
There are 911 stubs that fit. You just have to find the correct ones. 914-6 stubs have there own part number but there is a 911 stub that's identical with a 911 part number.
Attached image(s)
Posted by: banananose914 Jun 22 2017, 07:56 PM
There are 911 stubs that fit. You just have to find the correct ones. 914-6 stubs have there own part number but there is a 911 stub that's identical with a 911 part number.
That is pretty damn descriptive! Thanks for the reply!
Posted by: banananose914 Jun 22 2017, 08:07 PM
This is my latest post of overpriced NOS parts for a 914. This mirror is not specific to a 914/6 but it is correct for an early 914. Notice how narrow it is. It obviously will fit all years though. Another one of those parts that you have to re-finance your house to get. Or in my case, re-finance my trailer. As some of you can relate, as you progress through your restoration you reach a point that you don't care about the cost anymore you just want the car finished.
Attached image(s)
Posted by: SixerJ Jun 24 2017, 12:52 AM
There are 911 stubs that fit. You just have to find the correct ones. 914-6 stubs have there own part number but there is a 911 stub that's identical with a 911 part number.
Jim sorry for the hijack and probably a dopy question. So out of that table which are the ones that would work with a six? I'm assuming the early stuff, but hey like Jim driveshafts and stubs have always been a bit of a mystery
Posted by: mepstein Jun 24 2017, 06:38 AM
There are 911 stubs that fit. You just have to find the correct ones. 914-6 stubs have there own part number but there is a 911 stub that's identical with a 911 part number.
Jim sorry for the hijack and probably a dopy question. So out of that table which are the ones that would work with a six? I'm assuming the early stuff, but hey like Jim driveshafts and stubs have always been a bit of a mystery
I think its the 69-71.
I have a stub chart somewhere but not finding it.
Posted by: mepstein Jun 24 2017, 06:40 AM
There are 911 stubs that fit. You just have to find the correct ones. 914-6 stubs have there own part number but there is a 911 stub that's identical with a 911 part number.
Jim sorry for the hijack and probably a dopy question. So out of that table which are the ones that would work with a six? I'm assuming the early stuff, but hey like Jim driveshafts and stubs have always been a bit of a mystery
I think its the 69-71. Maybe 72-75 with longer bolts.
I have a stub chart somewhere but not finding it.
Eric Shea would know for sure.
Posted by: mepstein Jun 24 2017, 06:42 AM
Sorry, triple post.
Posted by: Cairo94507 Jun 24 2017, 04:21 PM
Jesus....I just went through this whole thread. Absolutely top-notch, beyond comparison work throughout this entire build. This is definitely the bench mark in addition to Andy's car. That's so pretty I would want to put it in my living room to enjoy and keep clean and pretty.
Posted by: Blue6 Jun 24 2017, 07:05 PM
Jim was going to put it in his living room, but we pointed out it would probably fall through the floor of his mobile home. 
Posted by: banananose914 Jun 24 2017, 07:28 PM
Jim was going to put it in his living room, but we pointed out it would probably fall through the floor of his mobile home.
Dave. When you least expect it, expect it. You're in my sights, bizatch.
Posted by: banananose914 Jun 24 2017, 07:30 PM
Jesus....I just went through this whole thread. Absolutely top-notch, beyond comparison work throughout this entire build. This is definitely the bench mark in addition to Andy's car. That's so pretty I would want to put it in my living room to enjoy and keep clean and pretty.
Thanks, Mikey. I appreciate that. One day, very soon, your six will be in the same arena!
Posted by: banananose914 Jun 28 2017, 10:54 PM
Here is a picture of the correct early horn and the correct TN/1 driving light lense. Thanks to Blue6. The horn is the same for a Volkswagen. Notice the slotted screws as opposed to the later riveted cover.
Attached thumbnail(s)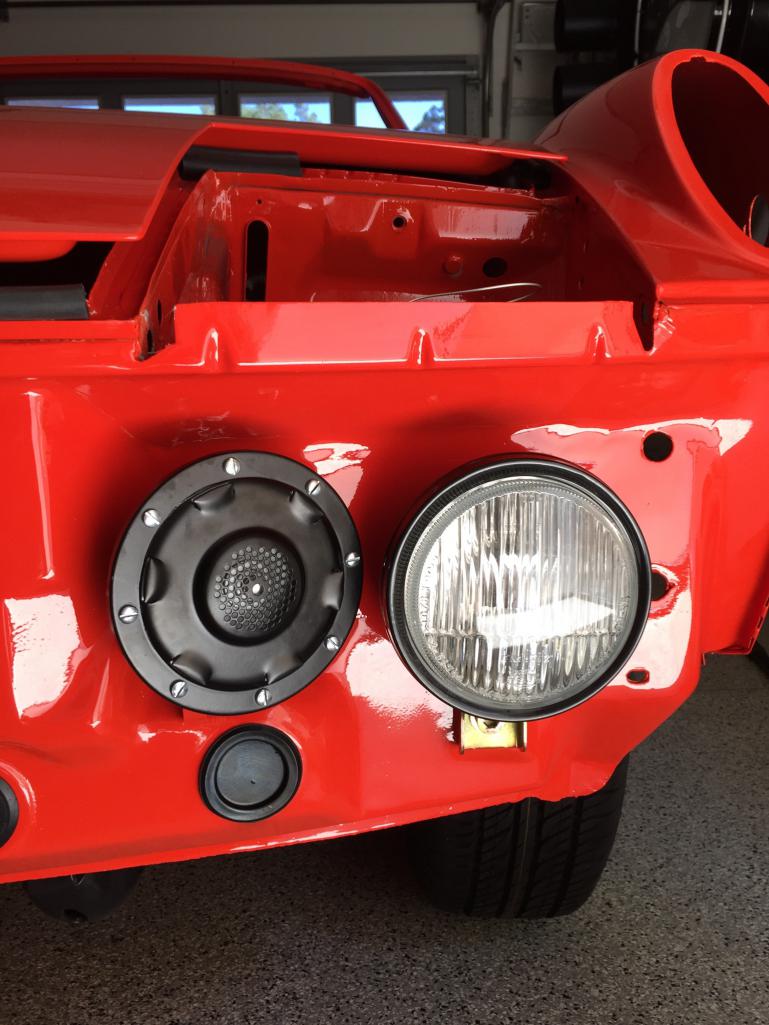
Posted by: defianty Jun 29 2017, 01:57 AM
Looking fantastic. I think those rubber plugs are installed back to front.
Posted by: rgalla9146 Jun 29 2017, 06:02 AM
Here is a picture of the correct early horn and the correct TN/1 driving light lense. Thanks to Blue6. The horn is the same for a Volkswagen. Notice the slotted screws as opposed to the later riveted cover.
Great work ! and a whole lot of unbelievable parts !
You're right about the early horns. Manufactured with screws and a VW type horn.
I'm not a big fan of the sound but it is the right thing.
On all the early cars I've owned and seen the front of the horn was gray-ish
Maybe even galvanised ? Haven't seen it in black.
Posted by: raynekat Jun 29 2017, 09:33 AM
The horns on my 71 914-4 are riveted not screwed....and I'm pretty sure they are original.
Are you positive about the screws?
Posted by: banananose914 Jun 29 2017, 09:46 AM
Looking fantastic. I think those rubber plugs are installed back to front.
On the far right and left they are reversed. Of the donor cars I have disassembled I have found them to be that way. Thanks, Jim
Posted by: banananose914 Jun 29 2017, 09:50 AM
The horns on my 71 914-4 are riveted not screwed....and I'm pretty sure they are original.
Are you positive about the screws?
Posted by: banananose914 Jun 29 2017, 09:55 AM
Here is a picture of the correct early horn and the correct TN/1 driving light lense. Thanks to Blue6. The horn is the same for a Volkswagen. Notice the slotted screws as opposed to the later riveted cover.
Great work ! and a whole lot of unbelievable parts !
You're right about the early horns. Manufactured with screws and a VW type horn.
I'm not a big fan of the sound but it is the right thing.
On all the early cars I've owned and seen the front of the horn was gray-ish
Maybe even galvanised ? Haven't seen it in black.
I have seen them that way as well. With the gray or galvanized it just looks unfinished. I opted for black because to me it looks better. Even though you don't really see them. Thank you, Sir.
Posted by: rgalla9146 Jun 29 2017, 10:04 AM
Both of the pictured cars are 1970s...orange one 3/'70...yellow one 5/'70 ?
Both are 6s but I don't think that matters.
It's an early thing.
Attached image(s)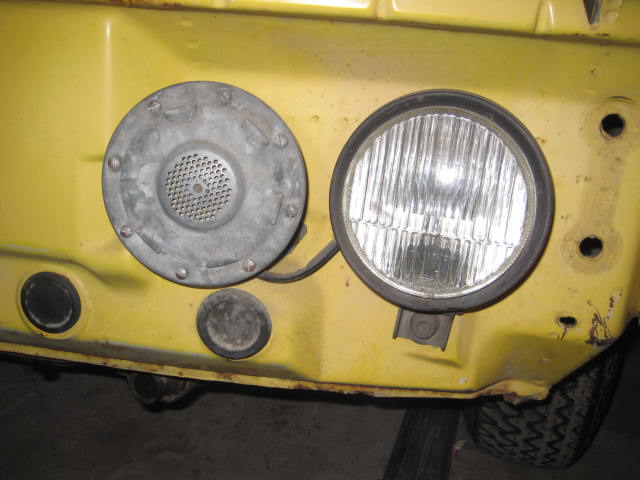
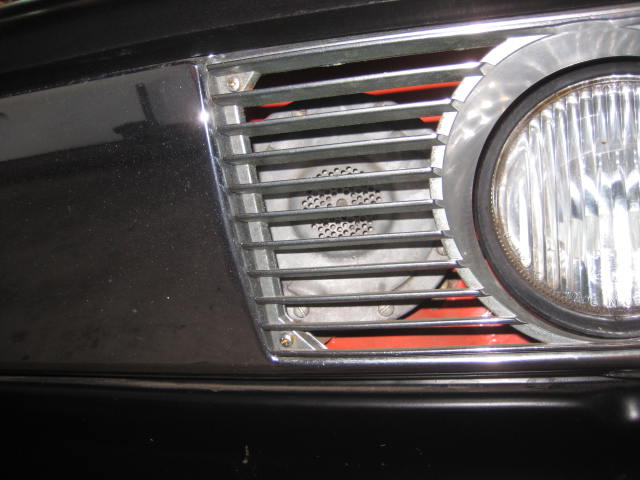
Posted by: gms Jun 29 2017, 12:32 PM
In my experience most 1970 914s horns had screws
Posted by: rgalla9146 Jun 29 2017, 12:45 PM
Please note the color.
Appear to be galvanized
Posted by: 914Sixer Jun 29 2017, 03:48 PM
Glen is correct, 70 cars had screws. Horn covers are galvanized not plated or painted.
Posted by: banananose914 Jun 29 2017, 06:10 PM
Let there be light. The horns work as well. Stay tuned for when the headlights pop up.
Attached image(s)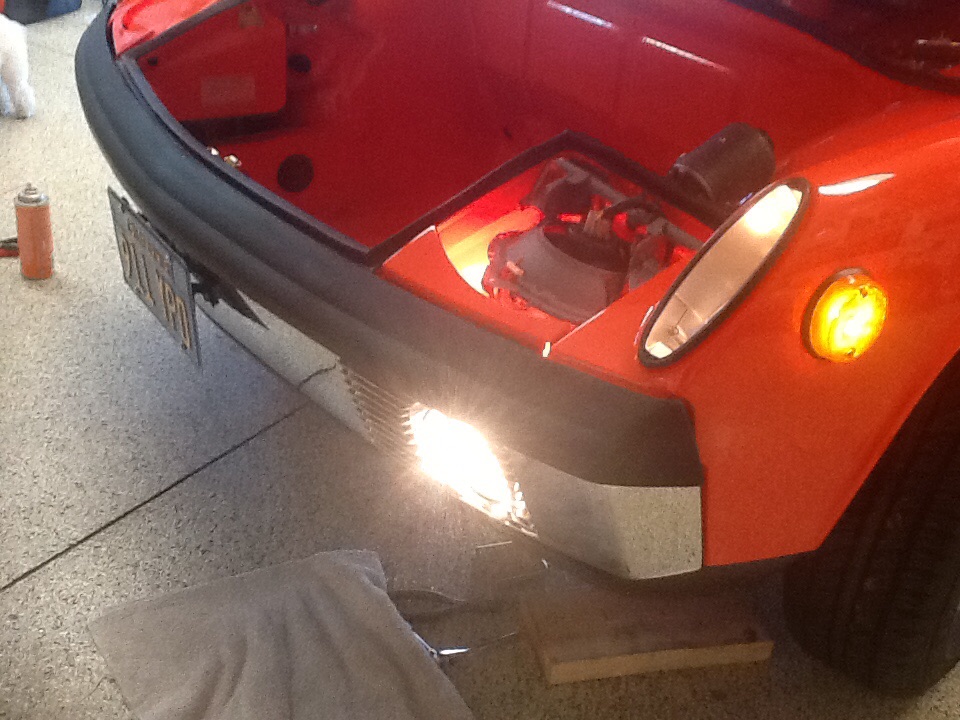
Posted by: rgalla9146 Jun 29 2017, 09:42 PM
Both of the pictured cars are 1970s...orange one 3/'70...yellow one 5/'70 ?
Both are 6s but I don't think that matters.
It's an early thing.
Yes, Glen is correct !!!!!!
Posted by: pete000 Jun 29 2017, 10:39 PM
All the early horns I have ever seen had screws and were galvanized. I had mine cad plated silver as they were really tattered.
Posted by: SixerJ Jun 30 2017, 12:18 AM
Fantastic build and attention to detail & look forward to my daily 1st thing in the morning fix with a cup of 
Posted by: Cairo94507 Jun 30 2017, 06:46 AM
Posted by: defianty Jul 1 2017, 07:15 AM
Looking fantastic. I think those rubber plugs are installed back to front.
On the far right and left they are reversed. Of the donor cars I have disassembled I have found them to be that way. Thanks, Jim
Well I didn't know that, thanks.
Posted by: banananose914 Jul 1 2017, 04:13 PM
Here are a couple of pictures of the targa bar pad. We noticed that when we were fitting another pad, there were no holes on the underside of the targa bar where you would attach the screws vertically to hold the pad on. There were screw holes to attach it horizontally, but none vertically. This particular area of the car was in great shape, and as such did not need any bodywork. When I took the original pad off, I don' t remember if it had holes or not. The pad, like the rest of the car was thrashed. Is there another 914 or 914/6 out there with no holes on the underside of the targa bar? Seeing as how I already had a targa pad out to be recovered, I had the underside holes of the pad covered over. I didn't want to drill holes in the car that weren't there. Andy found a guy in Torrance to recover it. It came out pretty ice. Another peculiar 914 thing.
Attached image(s)

Posted by: euro911 Jul 1 2017, 08:58 PM
Mind sharing the Torrance upholsterer info? ... I'm in Torrance and my pad could stand to be redone
Posted by: banananose914 Jul 1 2017, 09:33 PM
Mind sharing the Torrance upholsterer info? ... I'm in Torrance and my pad could stand to be redone
I'll see Andy tomorrow and let you know
Posted by: Socalandy Jul 4 2017, 03:53 PM
Happy 4th everyone !!!
Were on the short end of it now Polished the mirrors, vapor barriers and door panels
Attached image(s)
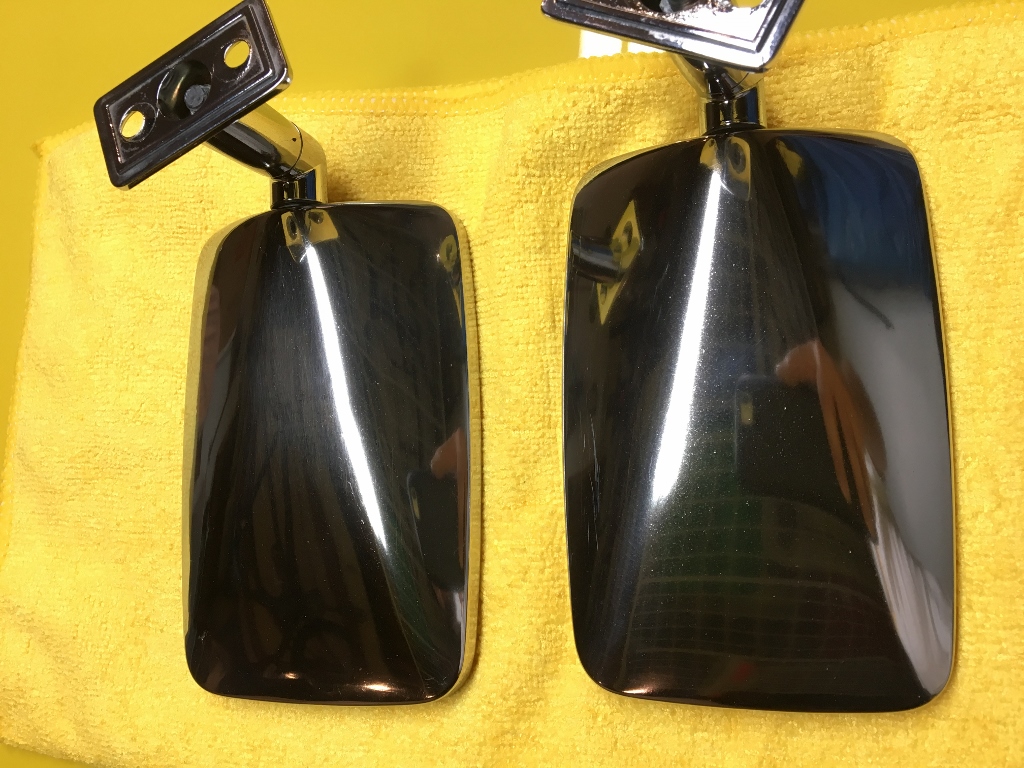
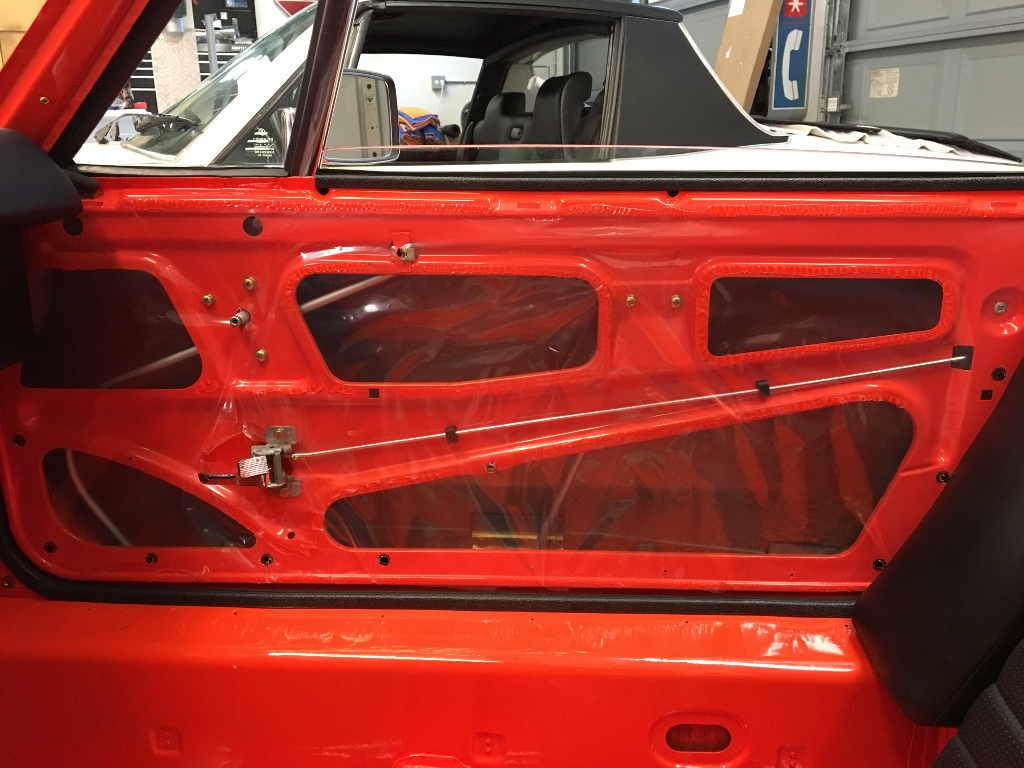
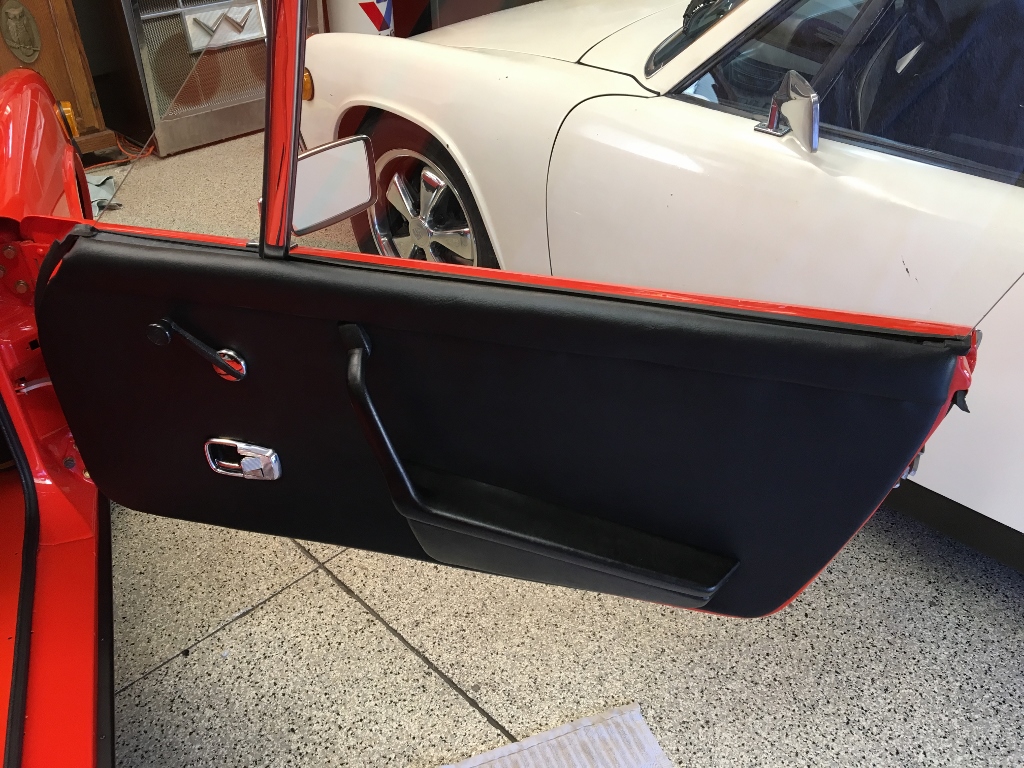
Posted by: Socalandy Jul 4 2017, 03:56 PM
![]()
Attached image(s)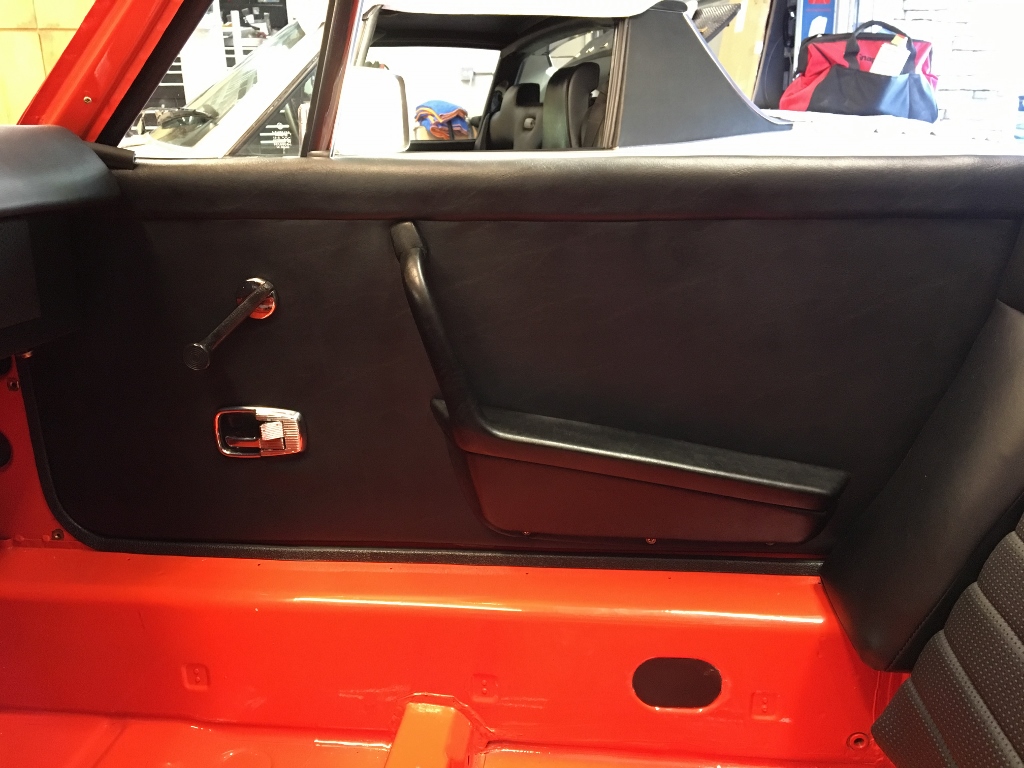
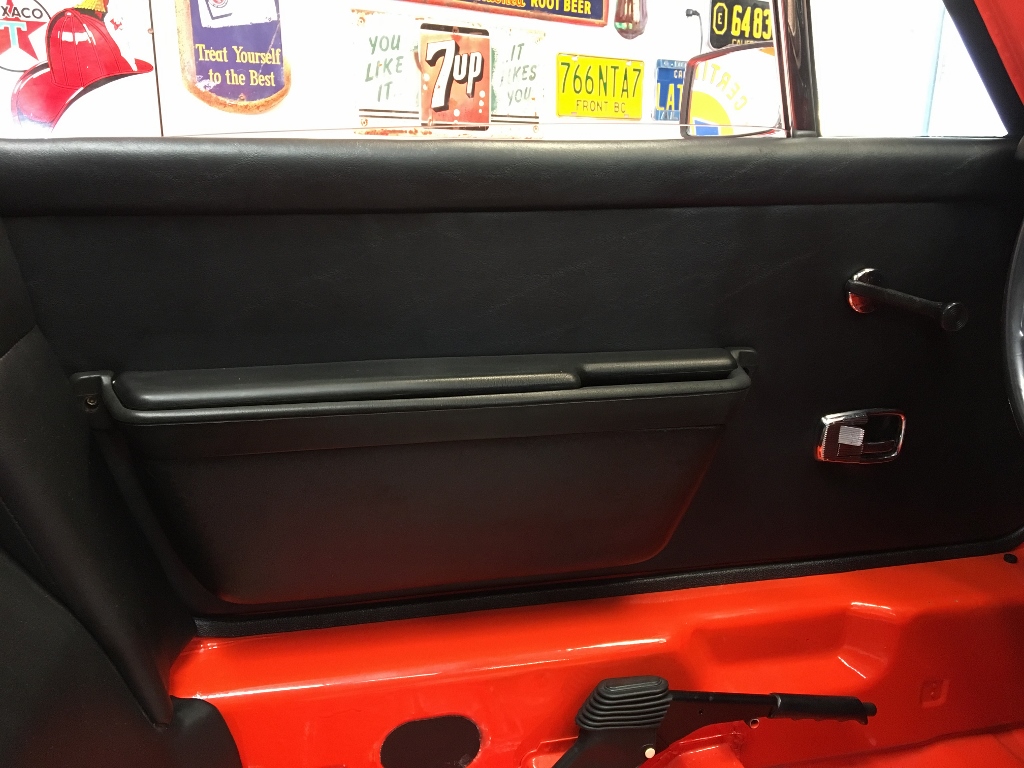
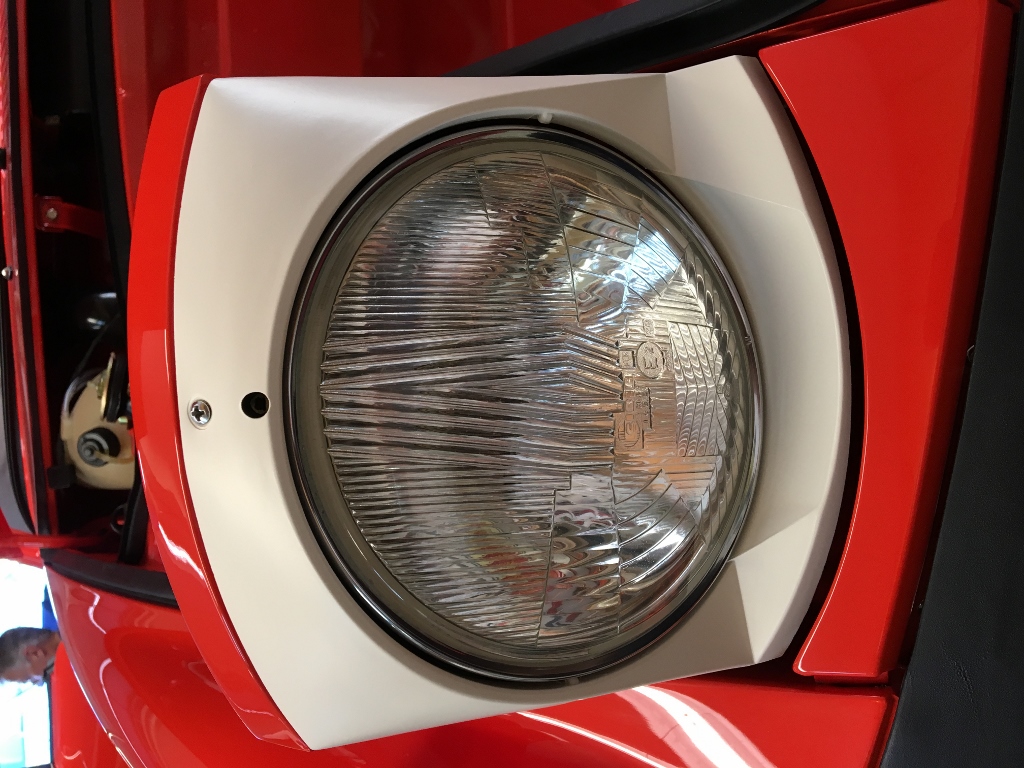
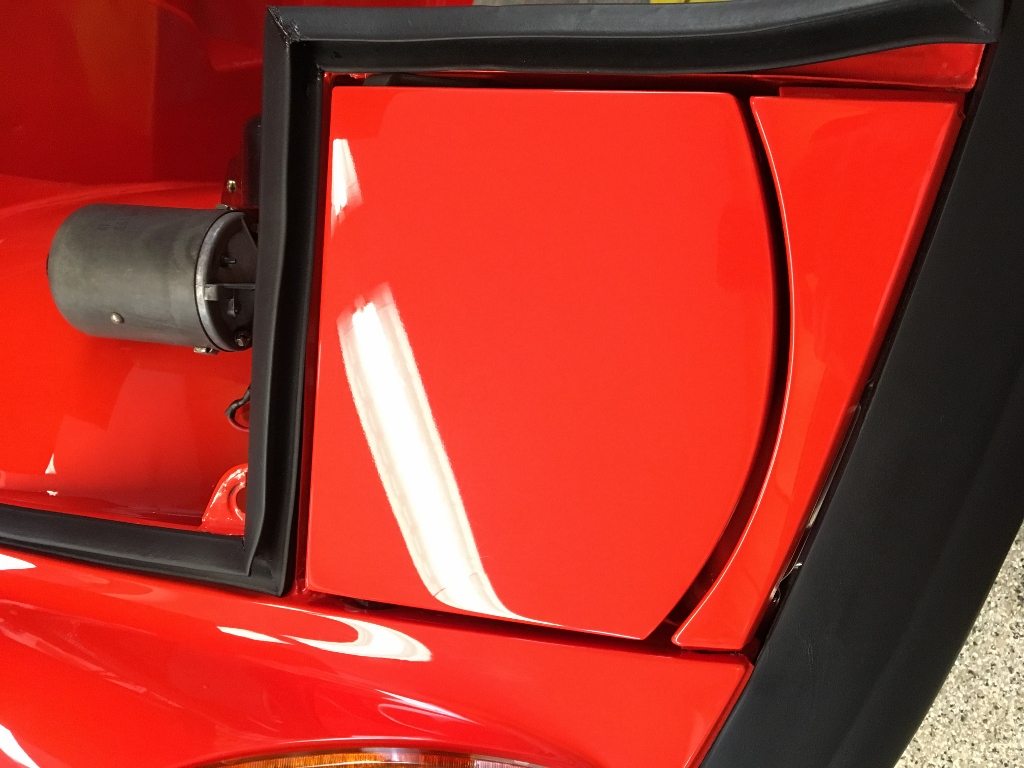
Posted by: Socalandy Jul 4 2017, 04:01 PM
Attached image(s)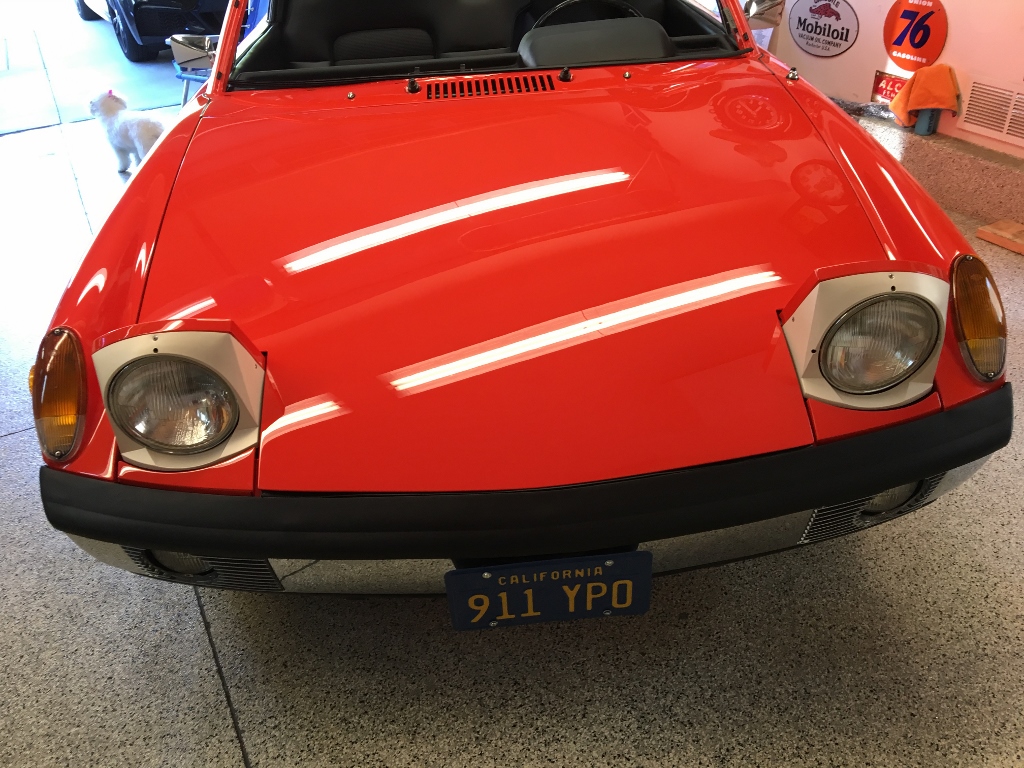
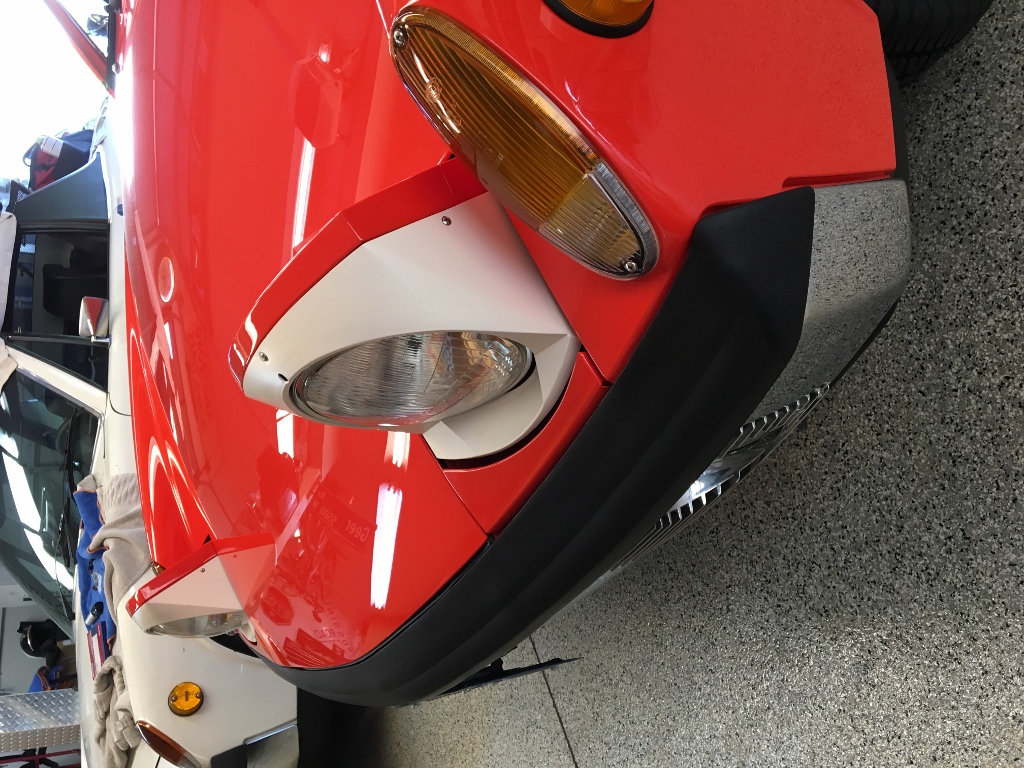
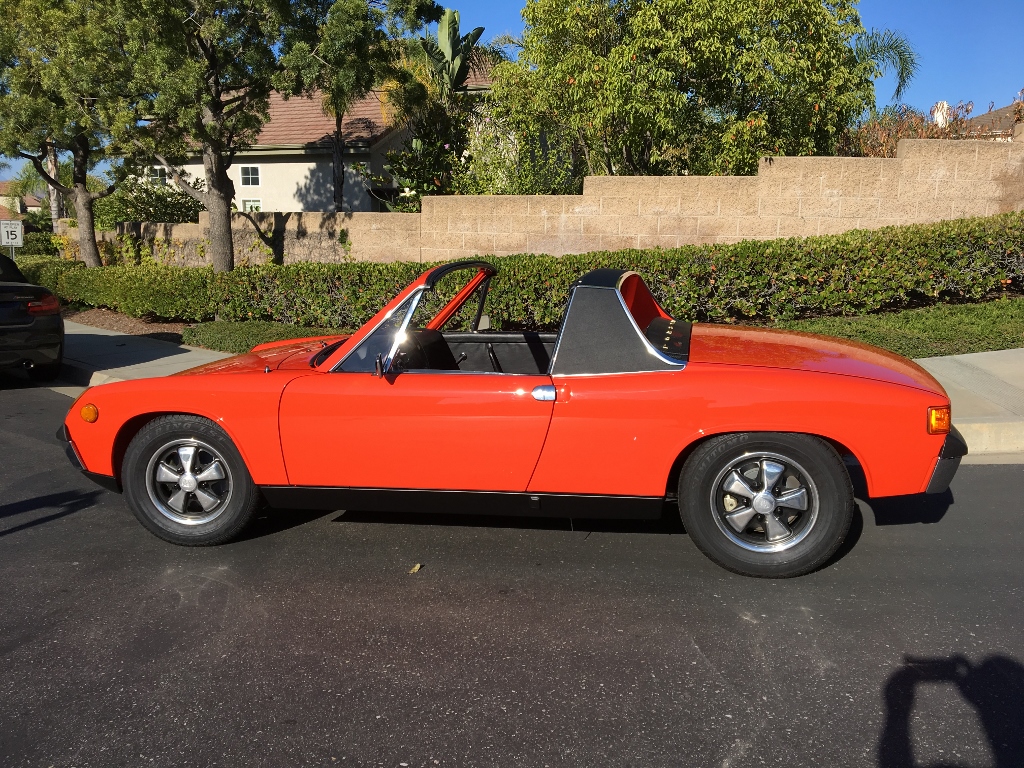
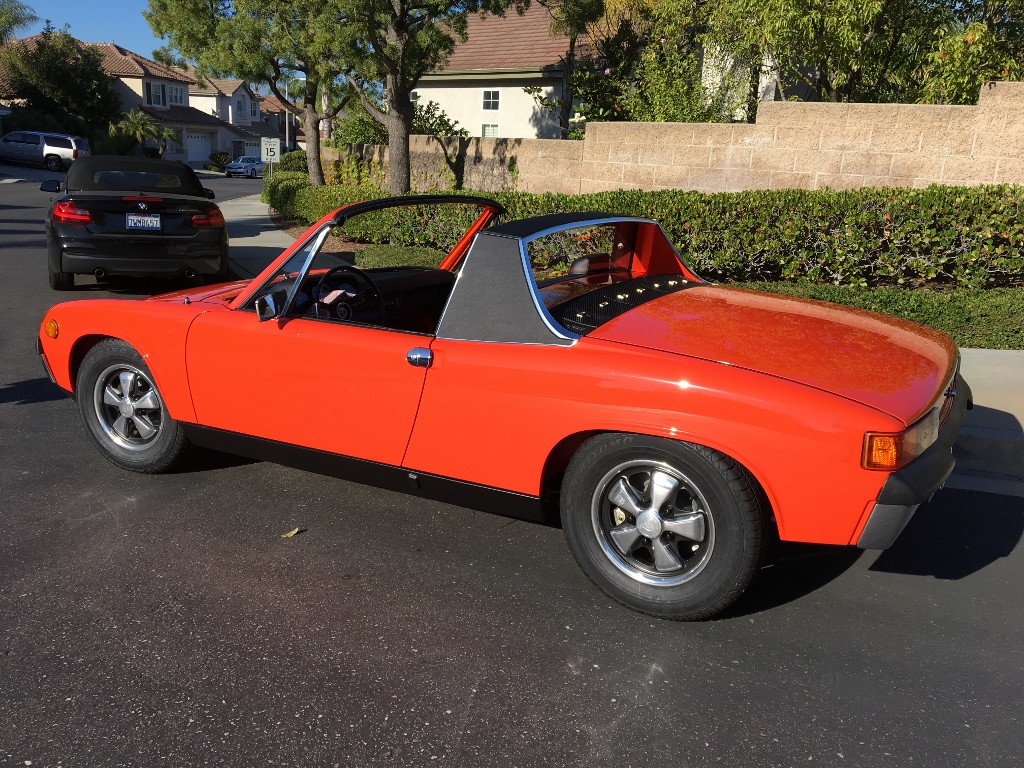
Posted by: raynekat Jul 4 2017, 05:17 PM
Everything looking killer on your car. Well done!
Posted by: ndfrigi Jul 4 2017, 05:25 PM
yehey! After Andy did most of the help finishing Jim's orange, now I can test drive it or maybe just Jim's white not this expensive orange! hehehe
Congratulations sir Jim! Happy Independence Day!
Posted by: Cairo94507 Jul 5 2017, 06:45 AM
Wowzer! That really looks very nice. My hat is off to you guys.
Posted by: altitude411 Jul 5 2017, 08:28 AM
So beau-ti -ful! Thank you for posting... living vicariously thru your thread. It's much less expensive this way.
Posted by: Larmo63 Jul 5 2017, 08:38 AM
That looks great!
My hat is off to all of you guys who put this roller back on the road.
Posted by: sb914 Jul 5 2017, 09:05 AM
Nice job ! Jim
You should "trailer" it down to Temecula 914 day!
It's to clean to drive !
Posted by: defianty Jul 5 2017, 12:48 PM
Beautiful!
Posted by: banananose914 Jul 5 2017, 08:55 PM
Beautiful!
Thank you for the great comments and compliments! Kent and Andy are a great team to have on a project of this magnitude. I'm really impressed. We may put power to the engine this Sunday. Hey Ed. I'm going to try and make the show, but it will probably be in the white car. Jim
Posted by: banananose914 Jul 8 2017, 11:44 AM
I disassembled the seat belts and had the hardware clear zinced. I also had them re sewn. Some upholstery shops won't sew them, for obvious reasons. I also have the center seat belt, but I think I'll be using the center tray with the hinged top. The center seat belt would look kind of weird with that type of tray. I'll have a picture of the center tray shortly. It was recovered and looks pretty good. Jim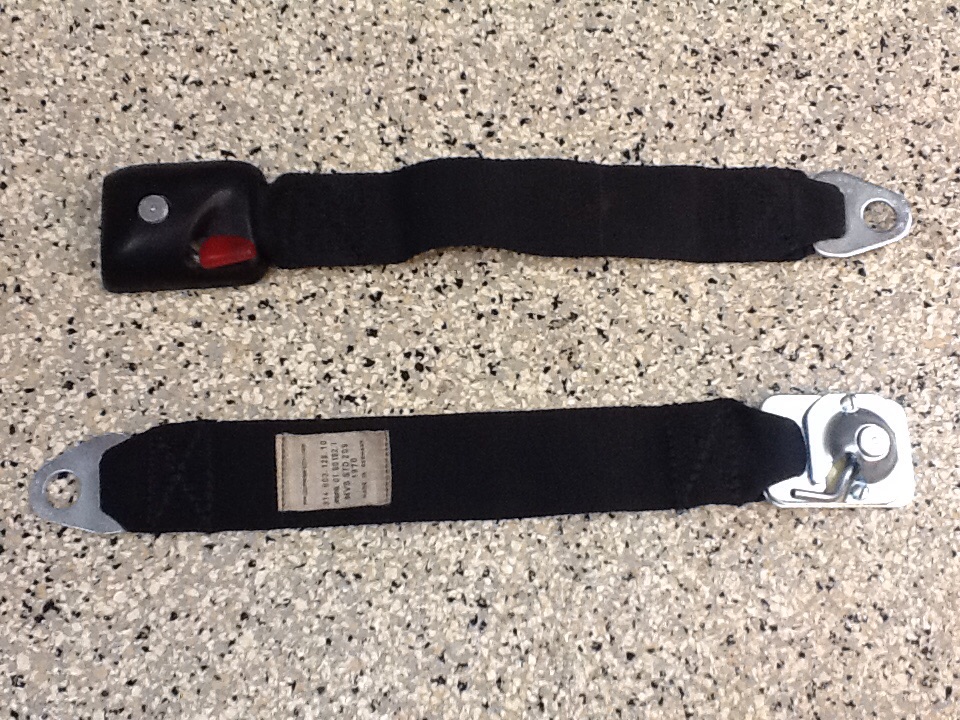

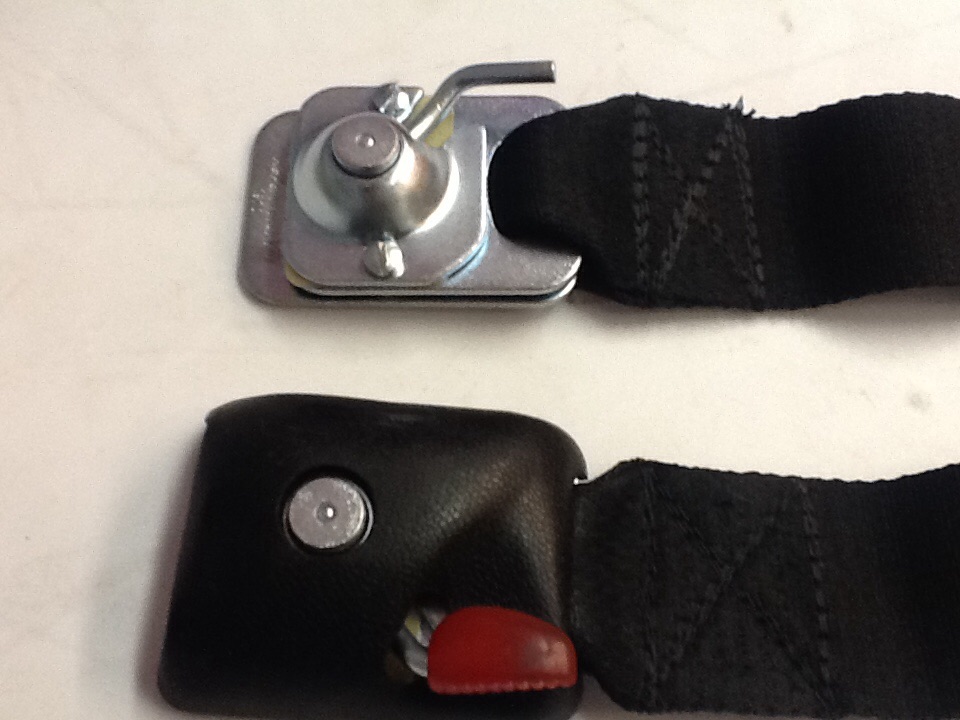
Posted by: daytona Jul 8 2017, 04:09 PM
Beautiful restoration.
I noticed that you used some sound deadening material on the firewall. Are you going to install it on the floor as well?
What kind did you use? Dynamat?
Great job.
Bill.
Posted by: banananose914 Jul 8 2017, 08:33 PM
Beautiful restoration.
I noticed that you used some sound deadening material on the firewall. Are you going to install it on the floor as well?
What kind did you use? Dynamat?
Great job.
Bill.
Hey Bill. Andy put it on. He's coming by tomorrow for our weekly build party. I'll find out and let you know. As far as putting it on the floor, I'm still debating that one. Thanks for the compliment. Jim.
Posted by: Socalandy Jul 9 2017, 12:35 PM
Beautiful restoration.
I noticed that you used some sound deadening material on the firewall. Are you going to install it on the floor as well?
What kind did you use? Dynamat?
Great job.
Bill.
It's STP sound mat. Acquired from my local audio shop. Great sound and heat reduction and conforms well.
Posted by: Socalandy Jul 9 2017, 09:52 PM
More progress today...
Attached thumbnail(s)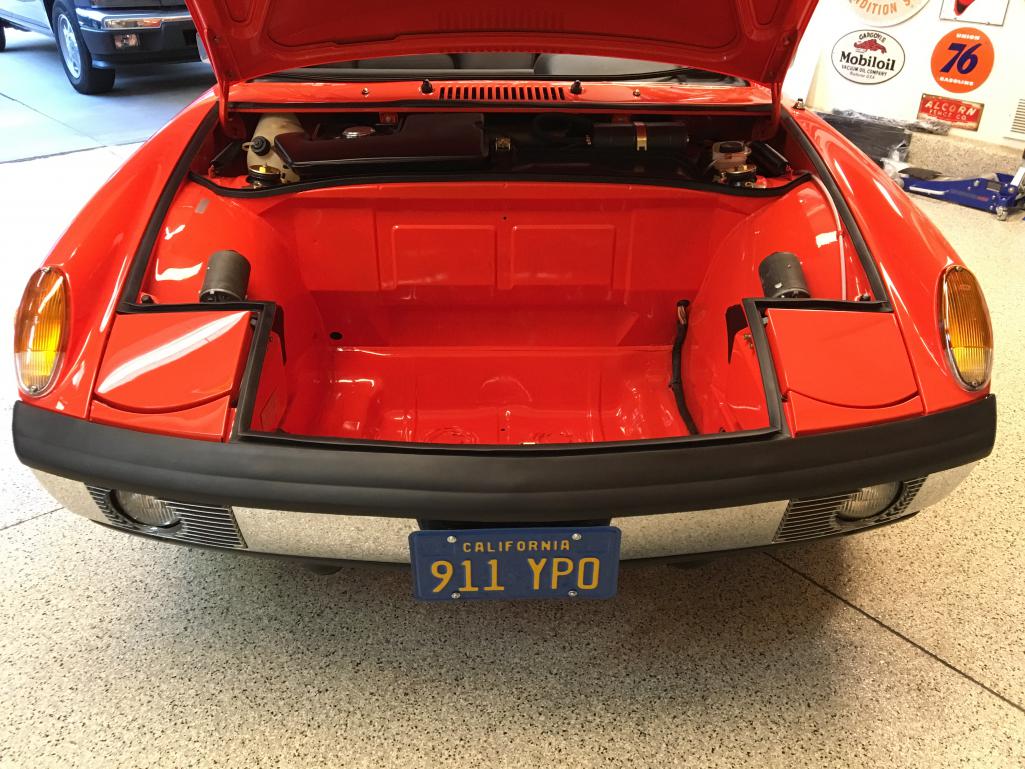
Posted by: Socalandy Jul 9 2017, 09:53 PM
Attached thumbnail(s)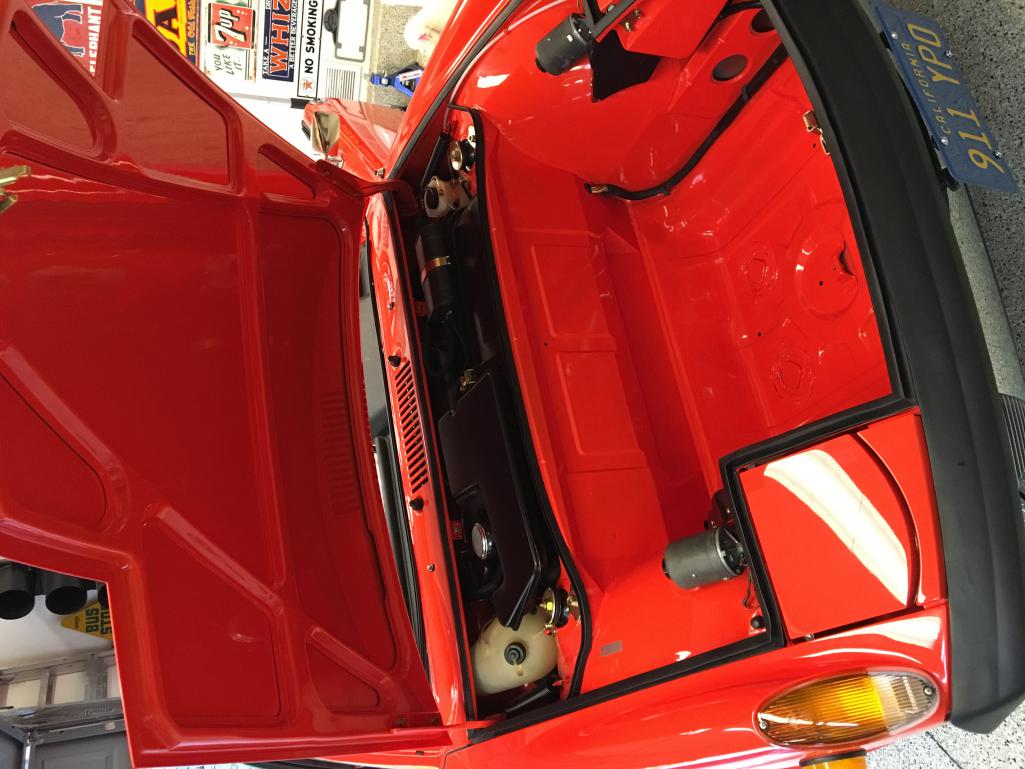
Posted by: Socalandy Jul 9 2017, 09:55 PM

Attached thumbnail(s)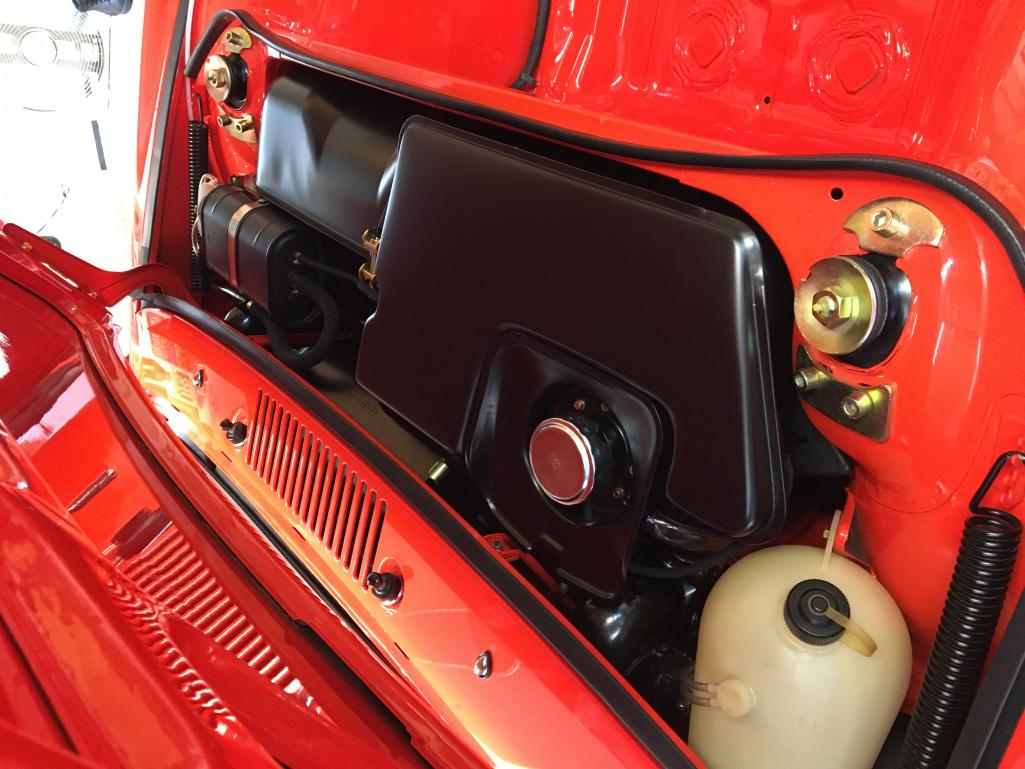
Posted by: Socalandy Jul 9 2017, 09:57 PM
![]()
Attached thumbnail(s)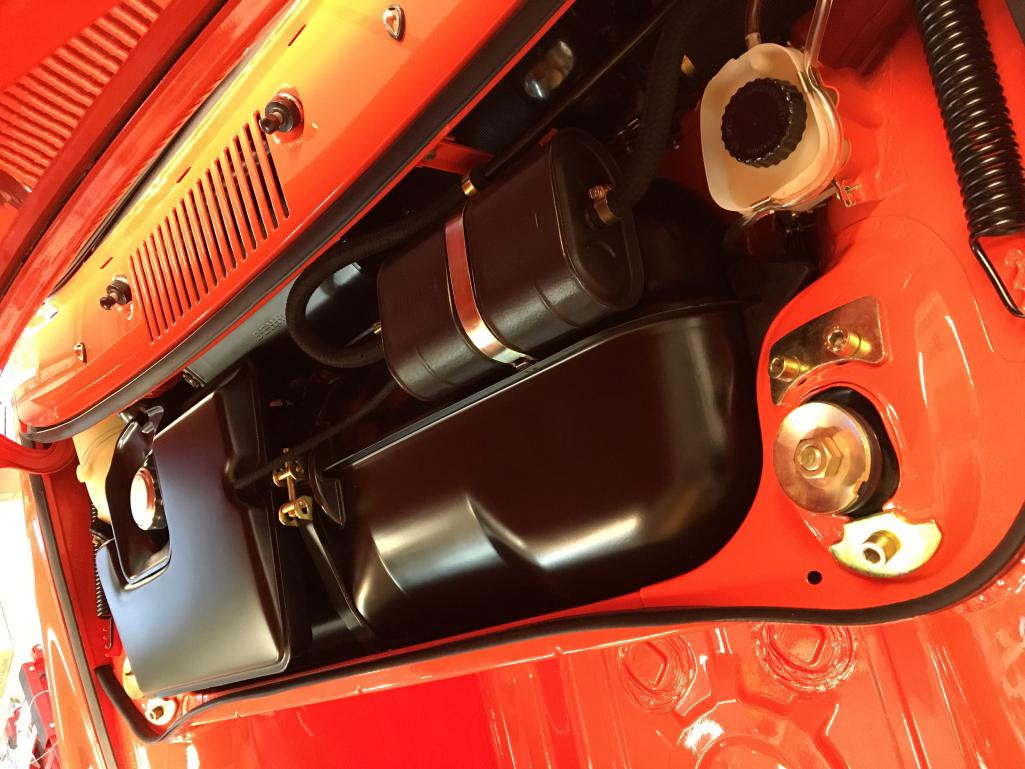
Posted by: Socalandy Jul 9 2017, 09:59 PM
It won't be long now 
Attached thumbnail(s)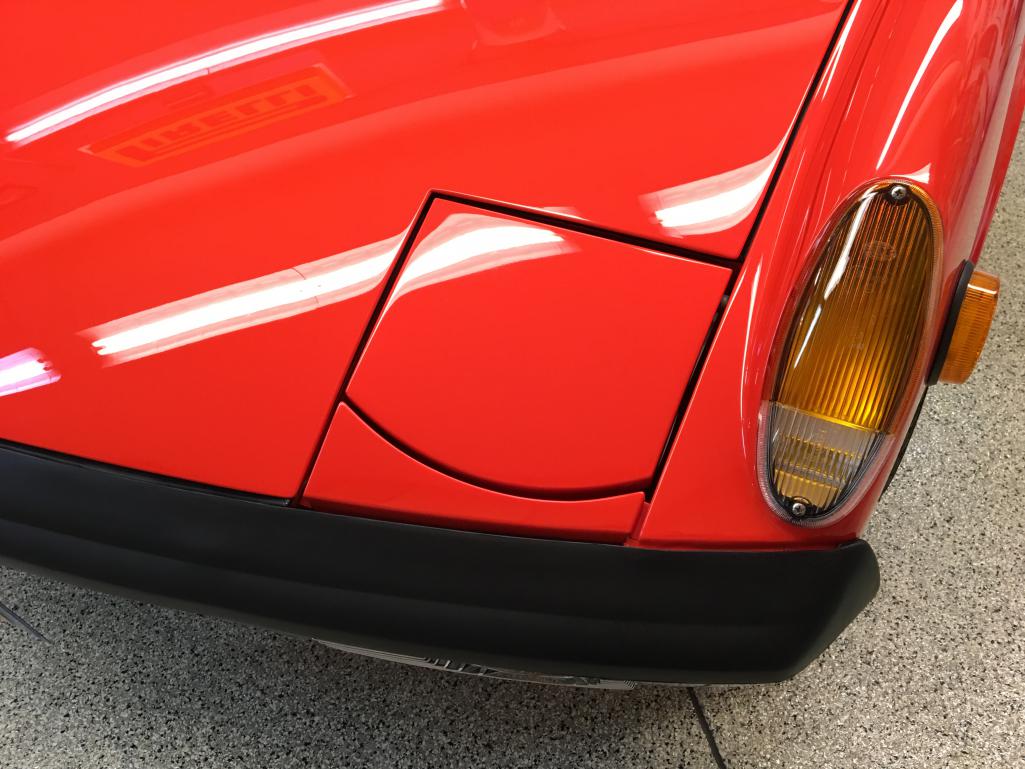
Posted by: Socalandy Jul 9 2017, 10:00 PM
Attached thumbnail(s)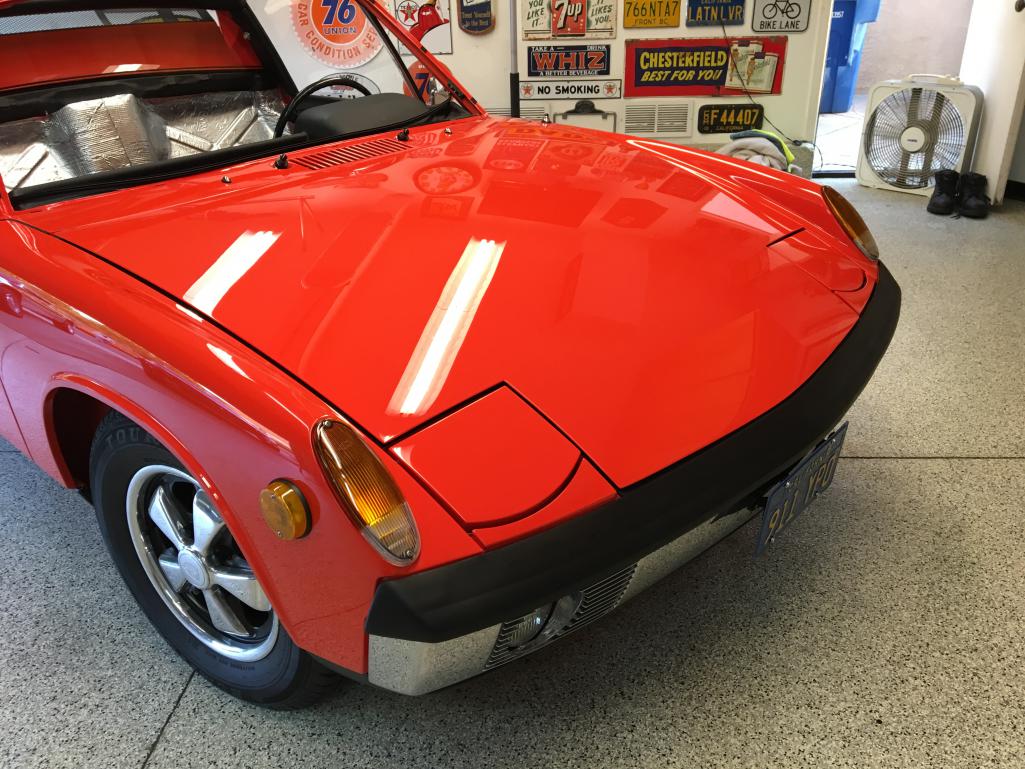
Posted by: Socalandy Jul 9 2017, 10:02 PM
Tomorrow Rafino will come
Attached thumbnail(s)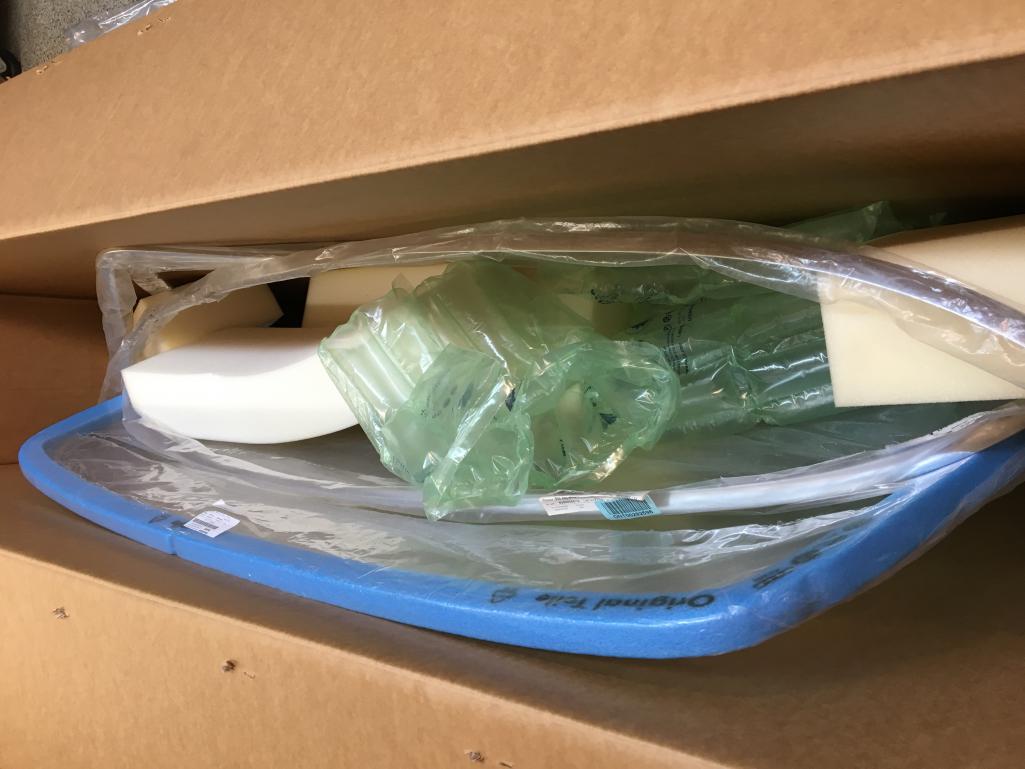
Posted by: Socalandy Jul 9 2017, 10:04 PM
![yellowsleep[1].gif](style_emoticons/default/yellowsleep[1].gif) goodnight
goodnight
Attached thumbnail(s)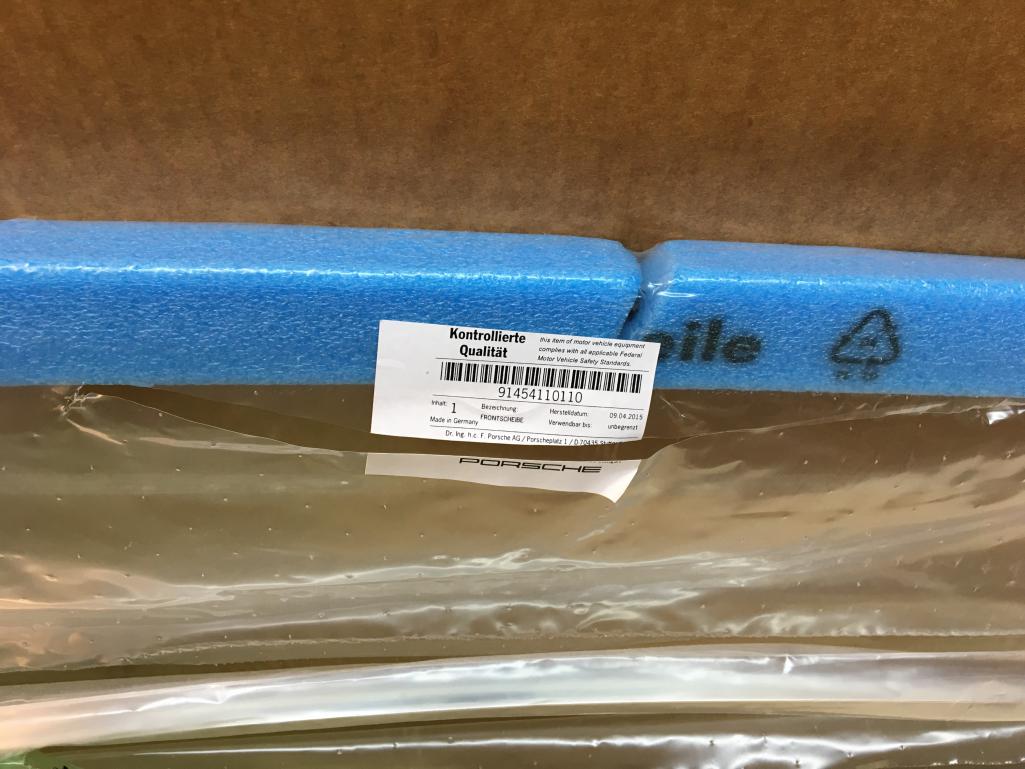
Posted by: banananose914 Jul 9 2017, 10:43 PM
goodnightAnd a goodnight to you too. If I weren't so tired I would come over to your house, Kent's house, Bob's house and Dave's house and tuck each of you sons a b-----s in. We done good today!
Posted by: ndfrigi Jul 10 2017, 12:29 AM
Can't wait to see ur car sir Jim!
Posted by: SixerJ Jul 10 2017, 11:46 PM
She's looking stunning boys
Posted by: Cairo94507 Jul 11 2017, 09:12 AM
Posted by: banananose914 Jul 11 2017, 06:00 PM
Had the windshield installed today. Big difference in appearance. One more thing that leads us closer to the finish line. It definitely gives it a finished look. B pillar pads, inside rear view mirror, visors. and pad up next. I'm tempted to have the boys push me around the block just to make me feel like I'm actually driving.
Posted by: pete000 Jul 11 2017, 10:33 PM
Looking like a future Parade winner !
Posted by: Cairo94507 Jul 12 2017, 06:45 AM
Vroom Vroom.
Posted by: db9146 Jul 12 2017, 07:33 AM
Nice car Jim. Could you please post a side shot of the new windshield to show the profile of the curvature at the top?
Thx
Posted by: banananose914 Jul 12 2017, 07:20 PM
Here are some shots of the side of the windshield. It's kind of difficult to see the curvature at the top. I'm going to check the windshield on my white car and see if the curvature is the same or more pronounced. The windshield on my white 914 is original to the car. I'll try to check it out tomorrow and report back with the results. Jim.
Attached image(s)
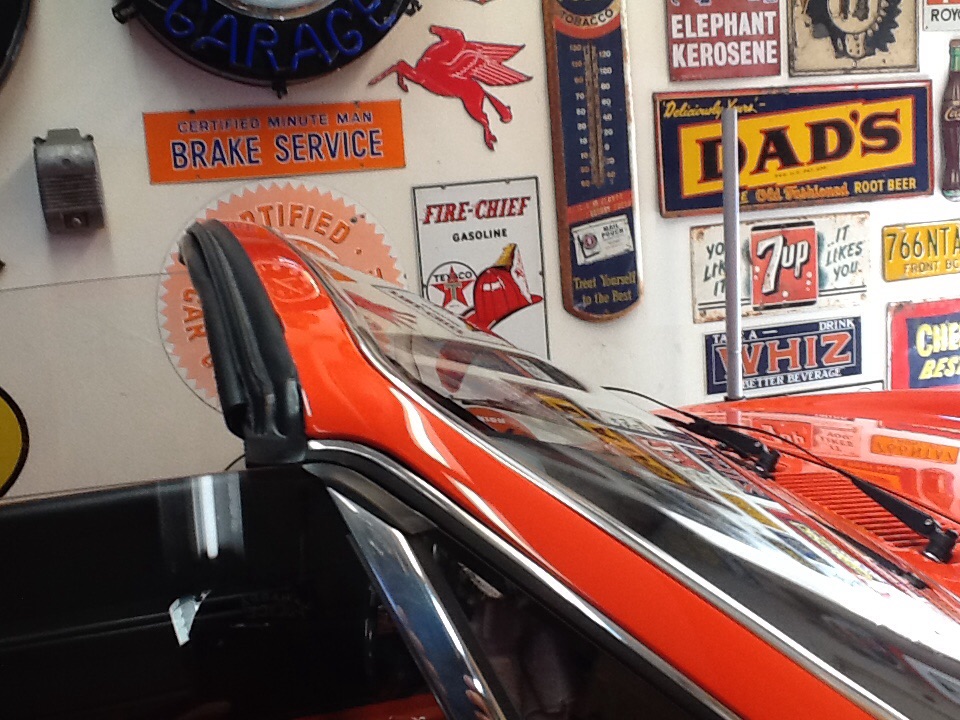
Posted by: banananose914 Jul 12 2017, 09:20 PM
Can't wait to see ur car sir Jim!
Let me know when you want to come over.
Posted by: Larmo63 Jul 12 2017, 09:53 PM
Wonderful car, it looks really great!!
Posted by: rick 918-S Jul 13 2017, 12:02 AM
Getting closer!
Posted by: banananose914 Jul 15 2017, 12:07 PM
Here are a couple of side shots of the original windshield on my white 914. Seems to be the same curvature of the one on the orange car. Jim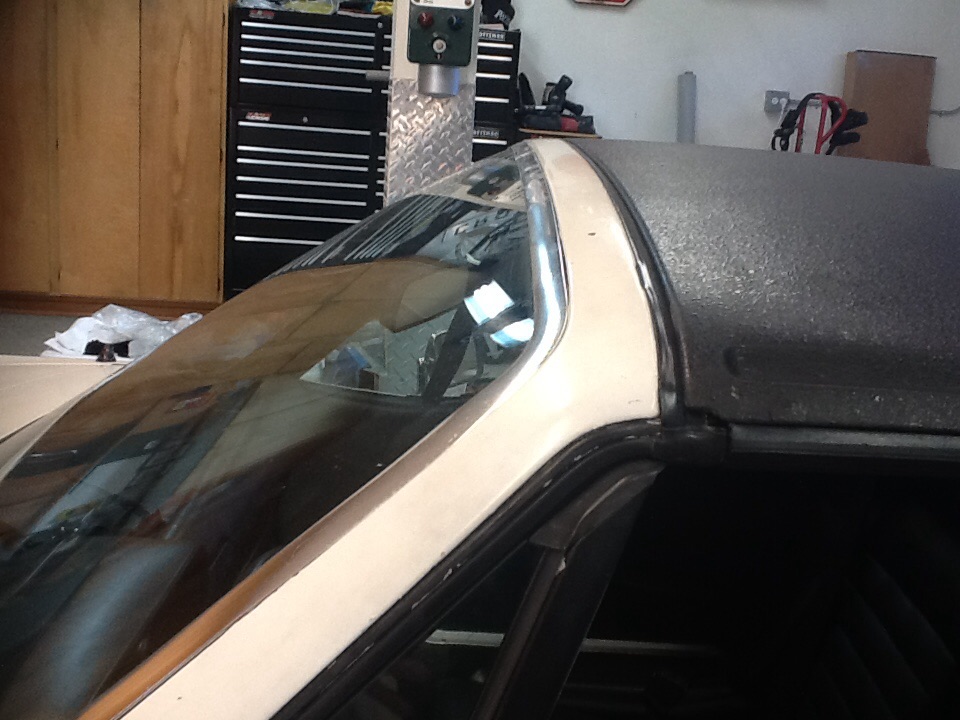
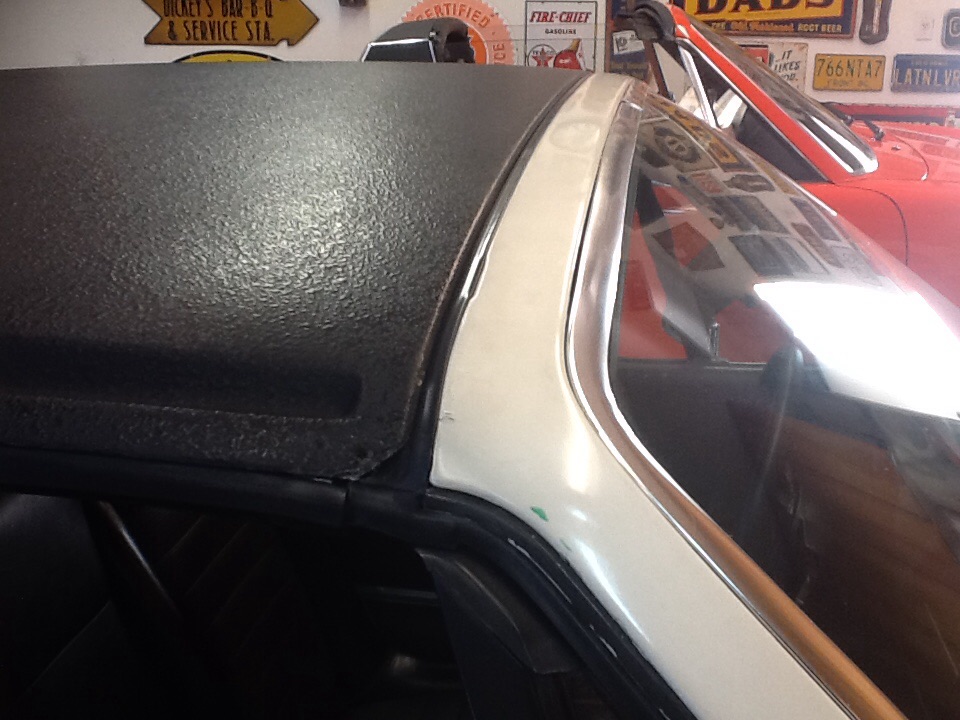
Posted by: db9146 Jul 15 2017, 08:24 PM
Jim,
Thanks for checking both cars, especially since your white one has the original glass.
The reason I was asking is because I remember reading about some of the new glass having less curvature but I had no frame of reference. At some point I'll replace mine and since you had just installed the Porsche glass in the orange, I was curious. Is the glass in the orange one NOS or a recent Porsche Classic part?
I recently bought the verticle sail panel trim and eventhough is says Porsche and Made in Germany, the shape on the inside at the bottom is not the same - I'm still trying to determine if I going to use it or not.
Posted by: banananose914 Jul 16 2017, 10:53 PM
It didn't look like old packaging for the windshield. I would say it was probably Porsche Classic. I had to work a little on my sail panel trim as will. So much so that I damaged one and ordered another one. I believe it was $150.00. Another expensive lesson learned. Jim.
Posted by: db9146 Jul 18 2017, 08:39 AM
Although the windshield is in, it's not yet in the car. I waited about two months to get it. I'll let you know if it was worth the price and the wait. I also attached a picture of the NOS air leaner box. I gave the old one to Kent for helping me out. Now that I know how to post pictures, you guys are in trouble. Jim
Done. Installed and gone. Worked great in the shop here. Don't know if the owner's had a chance to do much testing.
And with my recent retreat from product sales, the only way to get one of these is to have me do the install.
The existing drawings and part numbers may become available if I ever decide how to distribute all that.Jim, do you have any other photos of the underside of the NOS air cleaner, specifically the small pipe that extends straight down from the back center of the main body? I have one I need to replace that tube/metal support on and need a good reference. Since your's is NOS, it certainly qualifies.
Posted by: Socalandy Jul 18 2017, 07:50 PM
Some more progress last weekend but didn't take many photos. NOS mirror
Attached thumbnail(s)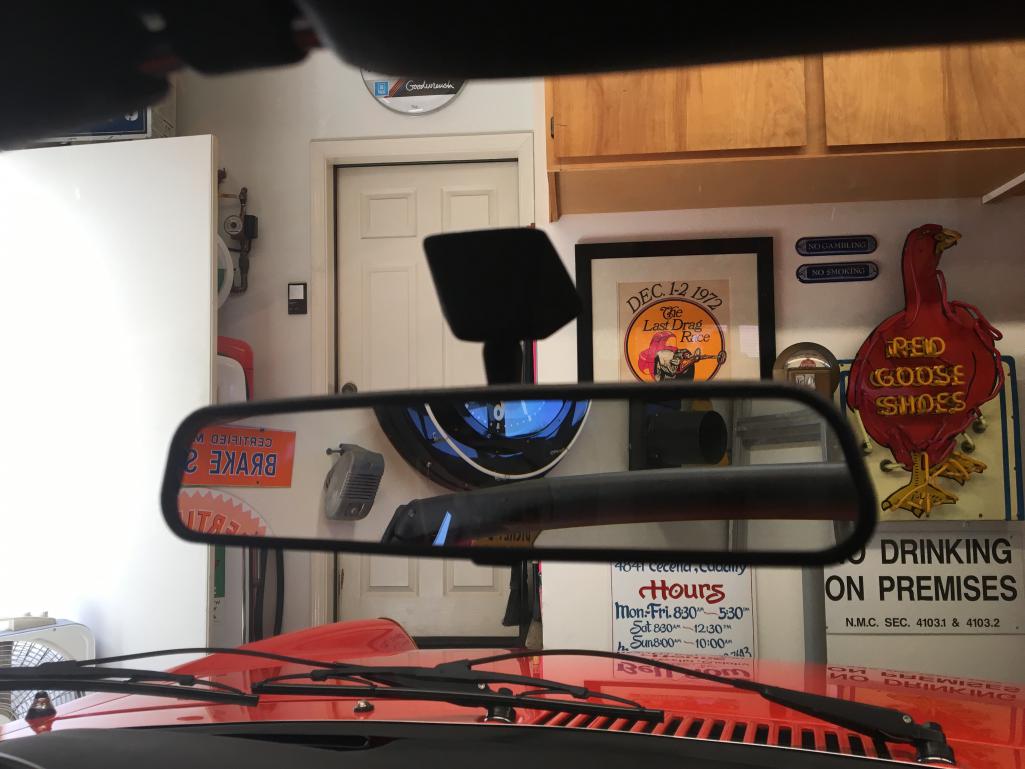
Posted by: Socalandy Jul 18 2017, 07:52 PM
A pillars
Attached thumbnail(s)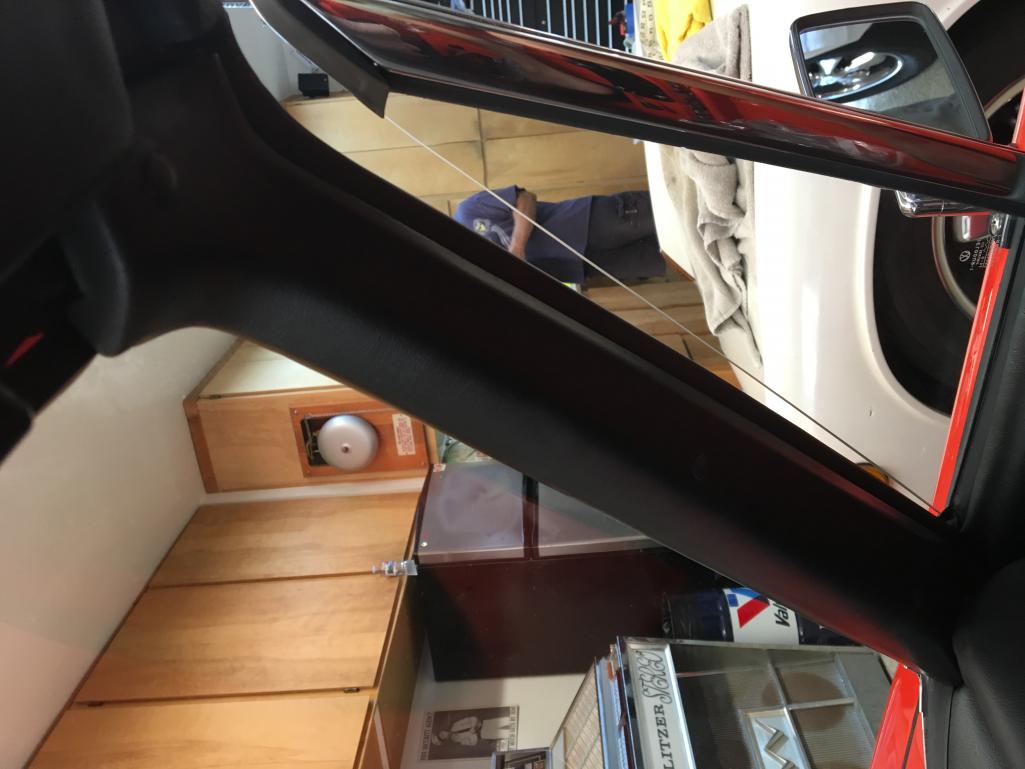
Posted by: Socalandy Jul 18 2017, 07:53 PM
Sun visors
Attached thumbnail(s)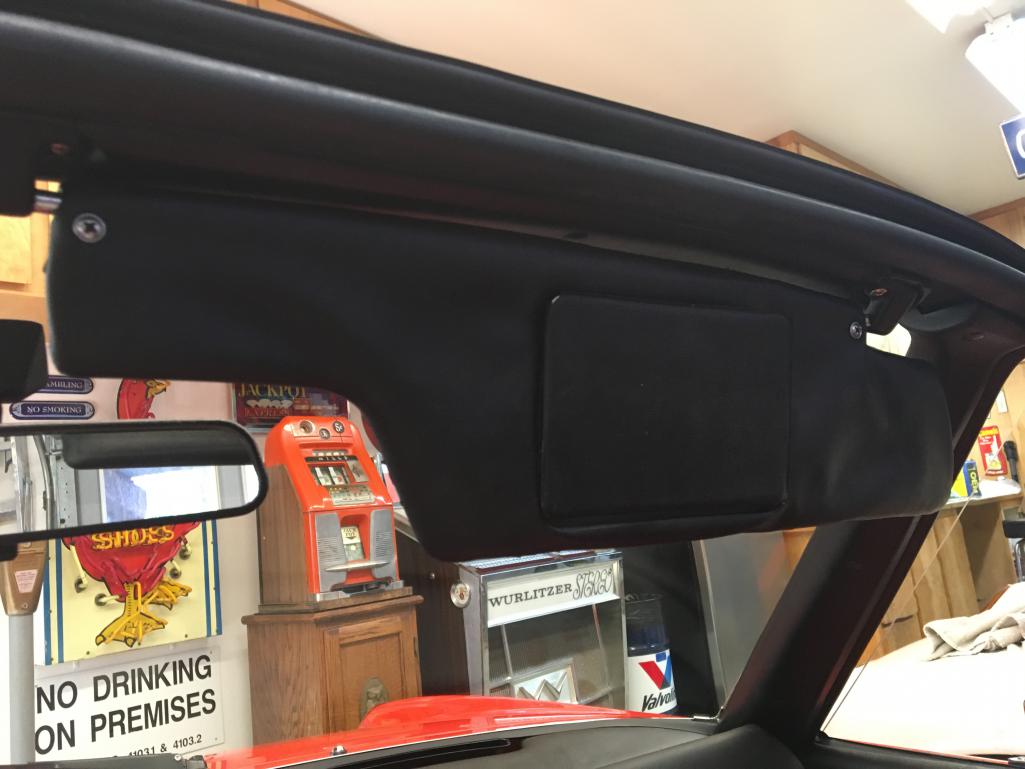
Posted by: Socalandy Jul 18 2017, 07:55 PM
This should come to life this weekend that means video with some noise
Attached thumbnail(s)
Posted by: banananose914 Jul 18 2017, 09:00 PM
Ask and ye shall receive. The last picture shows a rubber grommet to protect that piece. I may use it as the stop for the emergency brake. Jim.
Attached thumbnail(s)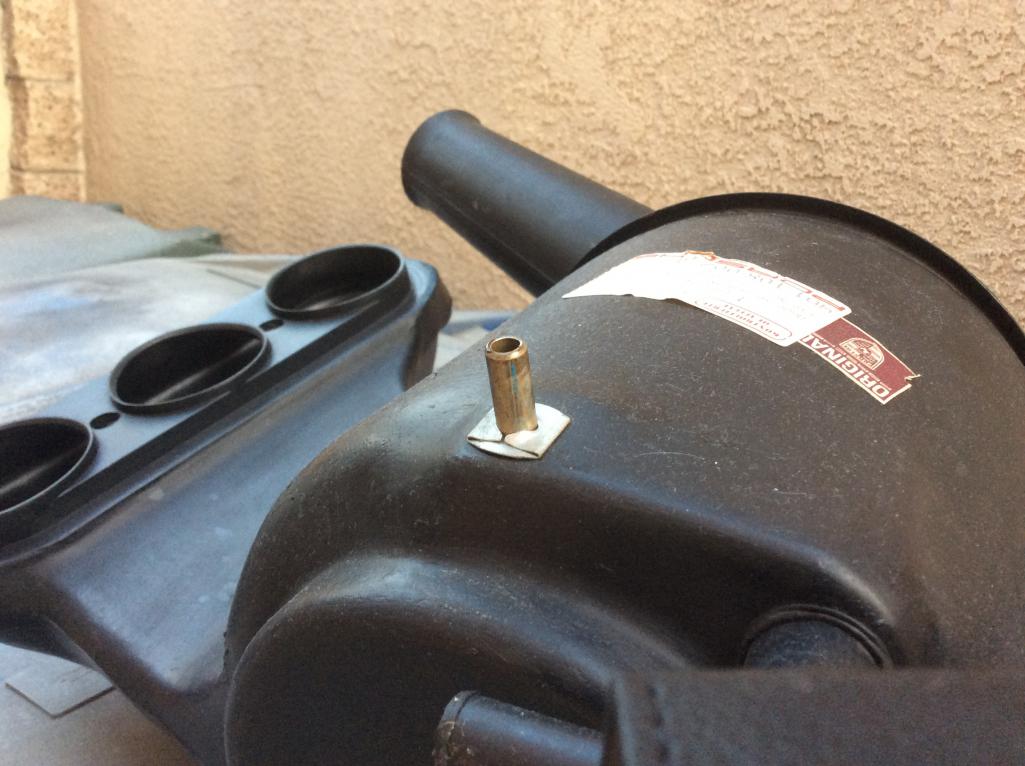
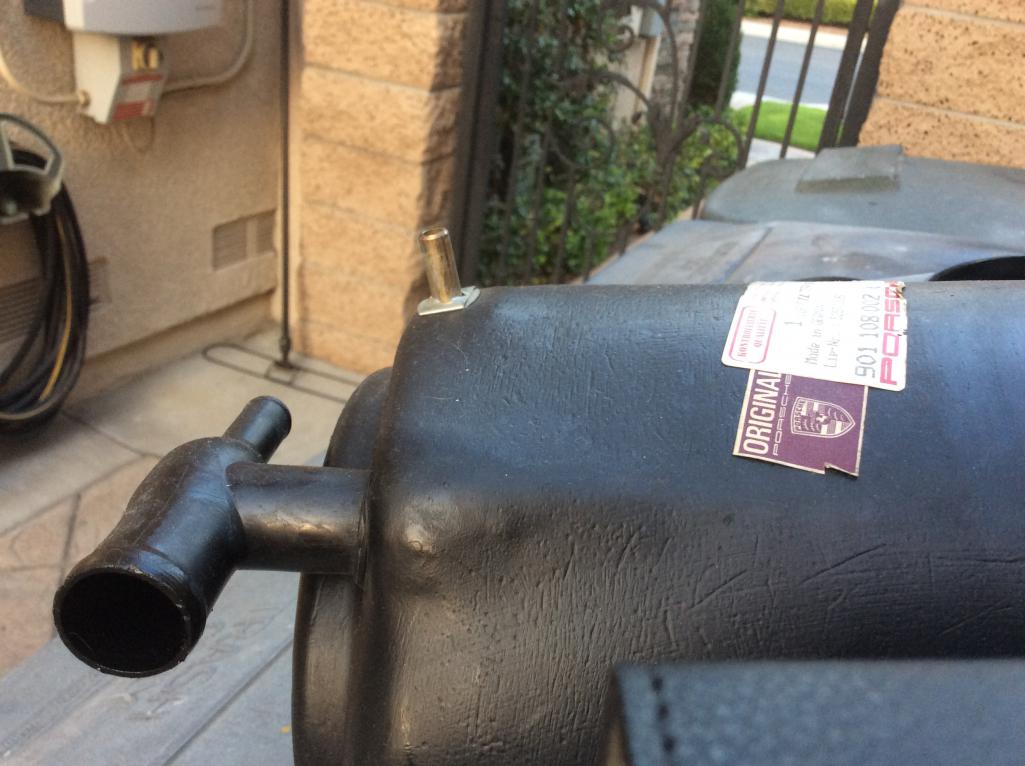

Posted by: Cairo94507 Jul 19 2017, 06:42 AM
I would not be able to sleep until I heard that beauty roar to life.....
Posted by: db9146 Jul 19 2017, 07:22 AM
Ask and ye shall receive. The last picture shows a rubber grommet to protect that piece. I may use it as the stop for the emergency brake. Jim.
Thanks so much Jim. Beautiful car all the way around! lots of hard work on your side to source all the parts. Great job.
Posted by: Socalandy Jul 31 2017, 08:38 AM
Sorry I didn't take many photos on his weekend but here's some of what got done
Attached thumbnail(s)
Posted by: Socalandy Jul 31 2017, 08:40 AM
Cables and grommets
Attached thumbnail(s)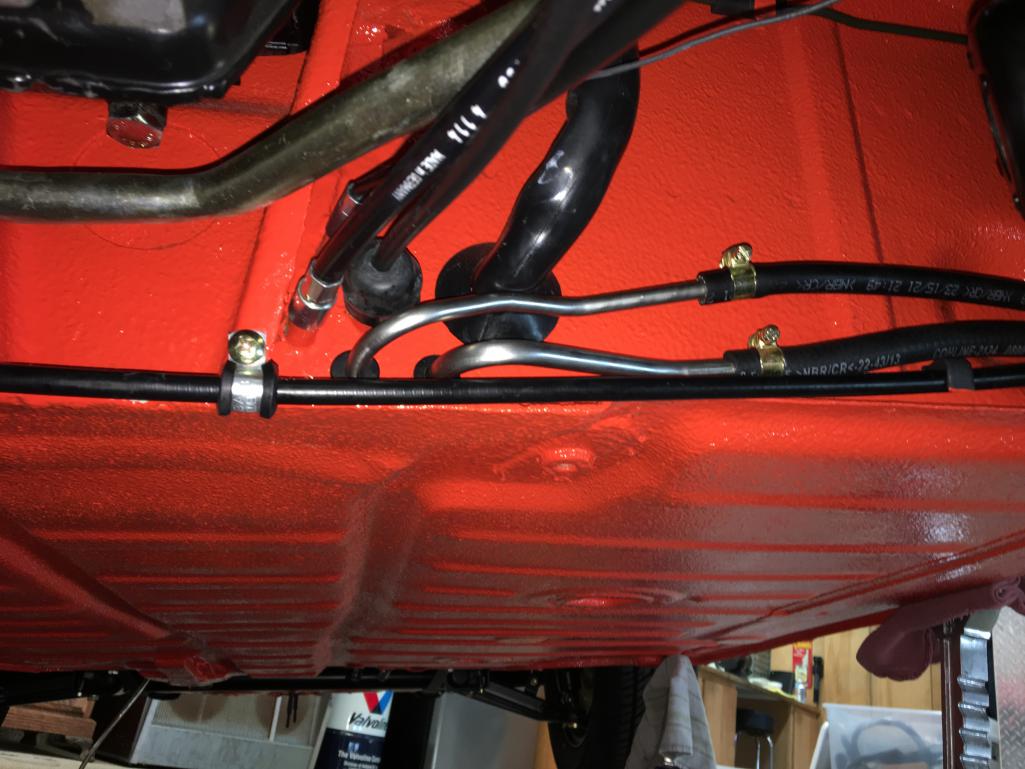
Posted by: Socalandy Jul 31 2017, 08:41 AM
Attached thumbnail(s)
Posted by: Socalandy Jul 31 2017, 08:42 AM
Rear valance
Attached thumbnail(s)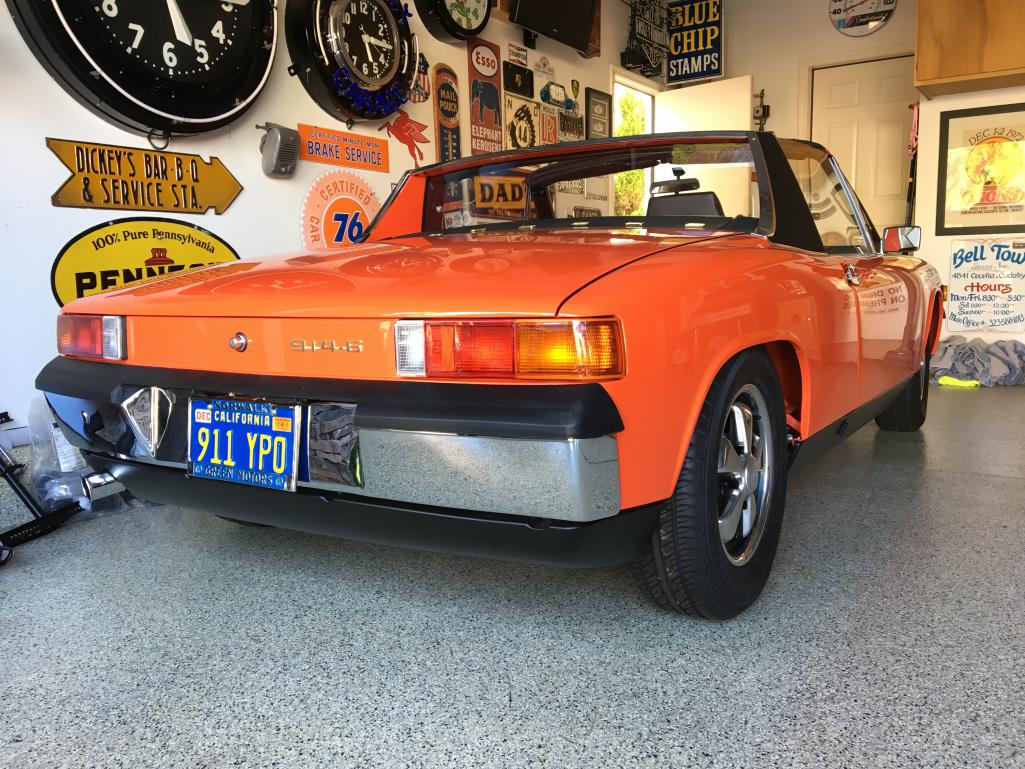
Posted by: Socalandy Jul 31 2017, 08:44 AM
And finally it's time for perlon
Attached thumbnail(s)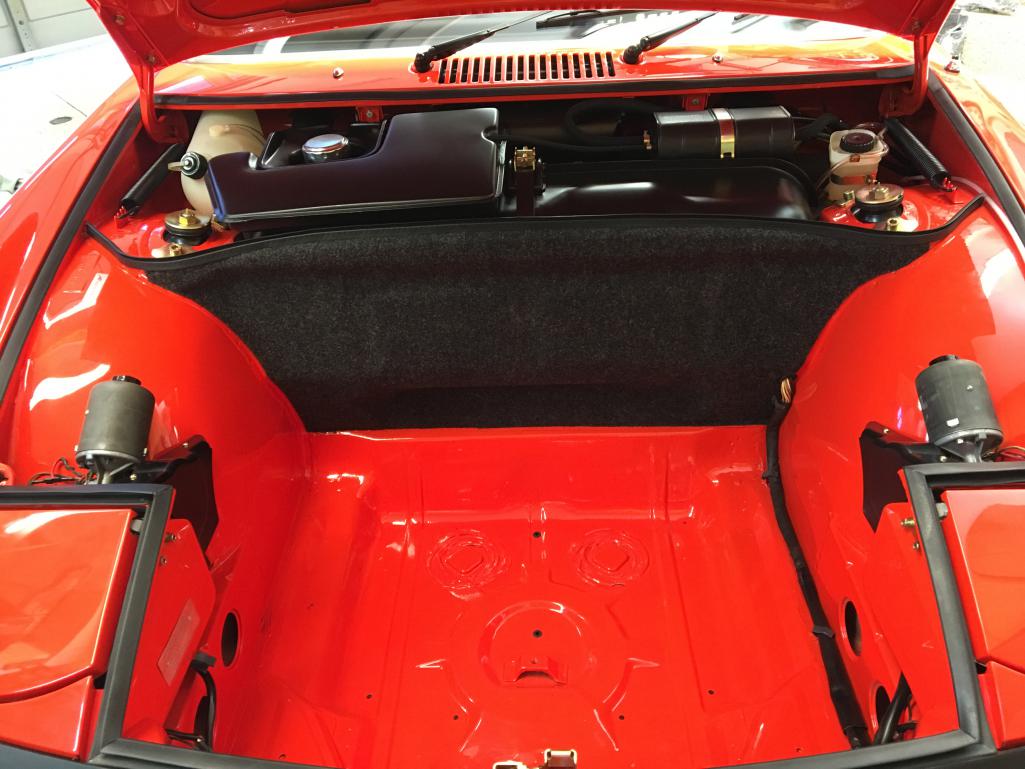
Posted by: Socalandy Jul 31 2017, 08:46 AM
I will get caught up on pictures this week
Attached thumbnail(s)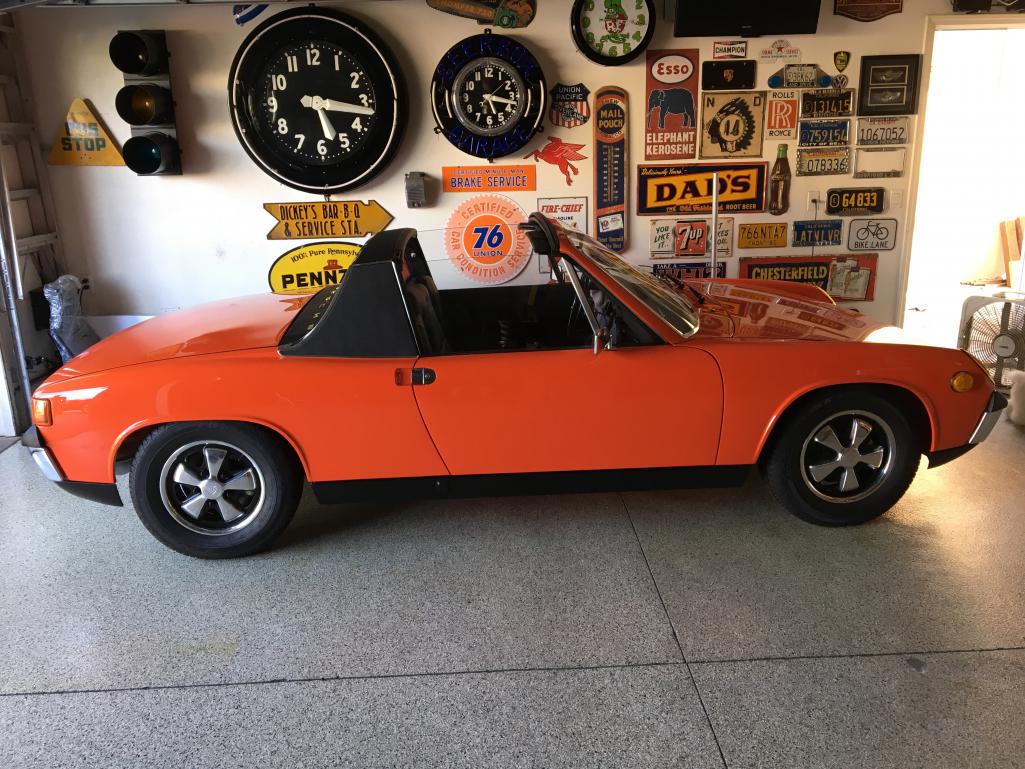
Posted by: raynekat Jul 31 2017, 09:08 AM
Gorgeous car Andy.
I'll be using all your great pics as reference when I get ready to put my car together.
Nice job.
Posted by: db9146 Jul 31 2017, 09:46 AM
WOW.
Posted by: gms Jul 31 2017, 09:48 AM
Amazing transformation!
Posted by: burton73 Aug 1 2017, 03:13 PM
Andy,
This is really a super clean restoration, you should be very proud.
Bob B
Posted by: Socalandy Aug 1 2017, 08:12 PM
Thanks but I'm not the only one that has a hand in bringing this one back to life. It's Jim's "banananose914" car with Kent's amazing metal and paint work. We've all had fun putting it back together!!!
Posted by: banananose914 Aug 4 2017, 01:03 AM
Put the spare tire and rim in today. With the correct hold down. I used Wurth satin black, but I think it came out too glossy. I should have stayed with the other satin black I normally use. Another lesson learned. I have also found that the push button on the Wurth paint can takes quite a lot of pressure. Anyway, the rim looks pretty decent, but I may just re-spray it again using the paint I'm familiar with. The face of the rim is polished to match the rims on the car.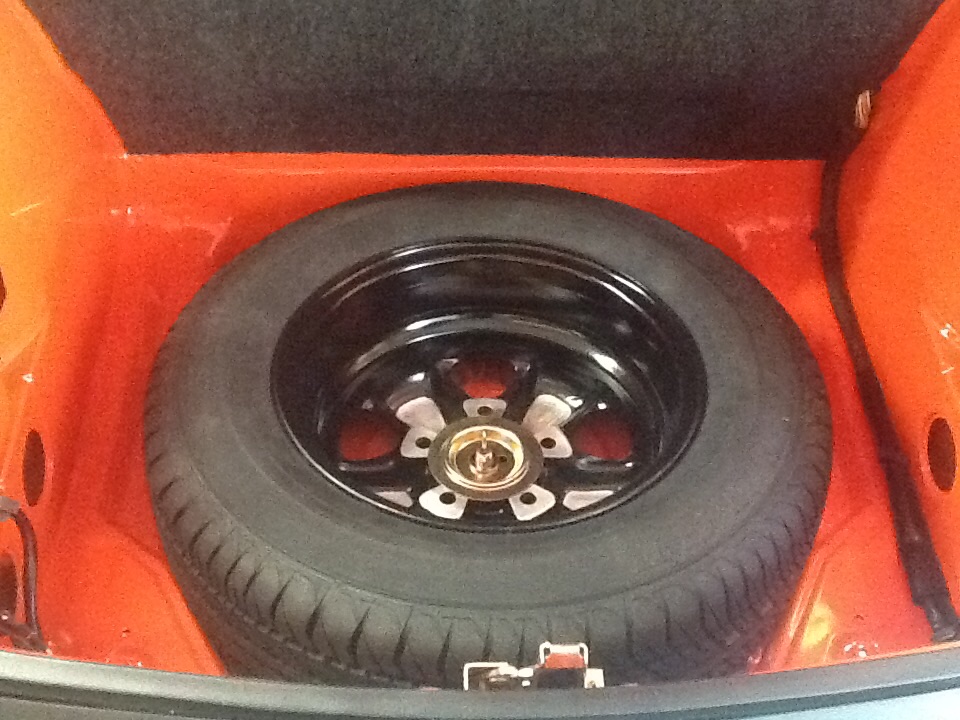
Posted by: Cairo94507 Aug 4 2017, 06:10 AM
Posted by: ndfrigi Aug 4 2017, 12:20 PM
Sir Jim, It's time you drive that beautiful 914-6 to various car shows and to Cars and Coffee! Congratulations!
Posted by: Socalandy Aug 6 2017, 04:00 PM
It's alive It's alive
https://youtu.be/HTmjkFRyovE
Posted by: Socalandy Aug 6 2017, 04:40 PM
Front trunk complete
Attached thumbnail(s)
Posted by: Socalandy Aug 6 2017, 04:42 PM
Ahhhhhhh, I even rotated the pictures
Attached thumbnail(s)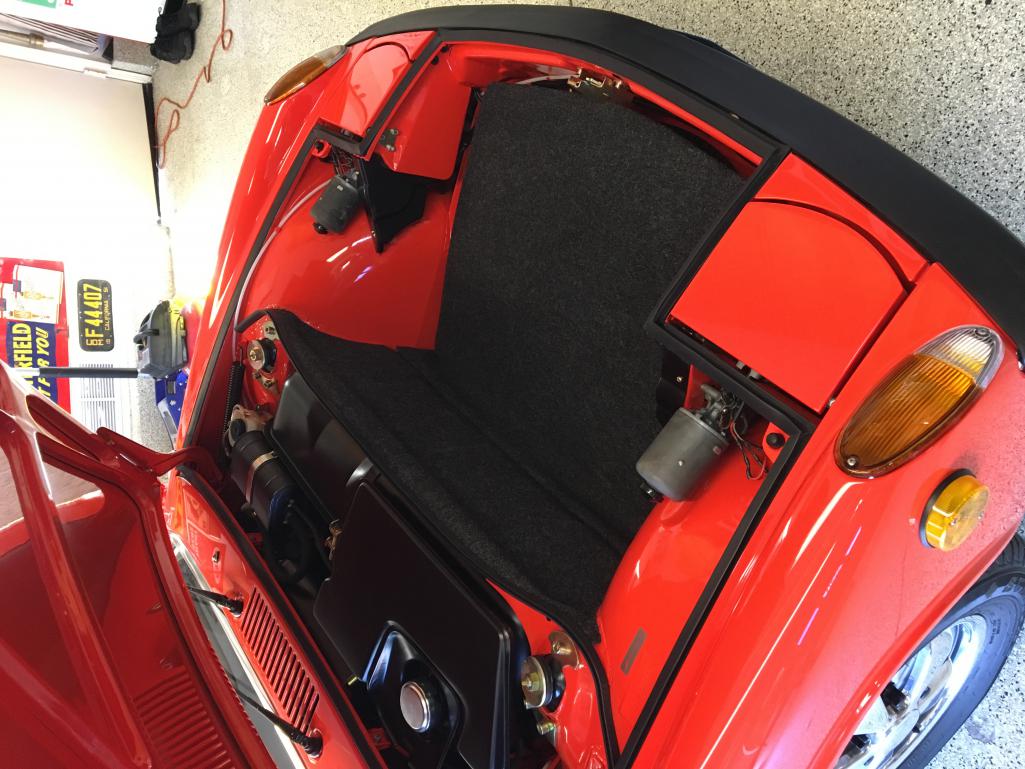
Posted by: ndfrigi Aug 6 2017, 04:45 PM
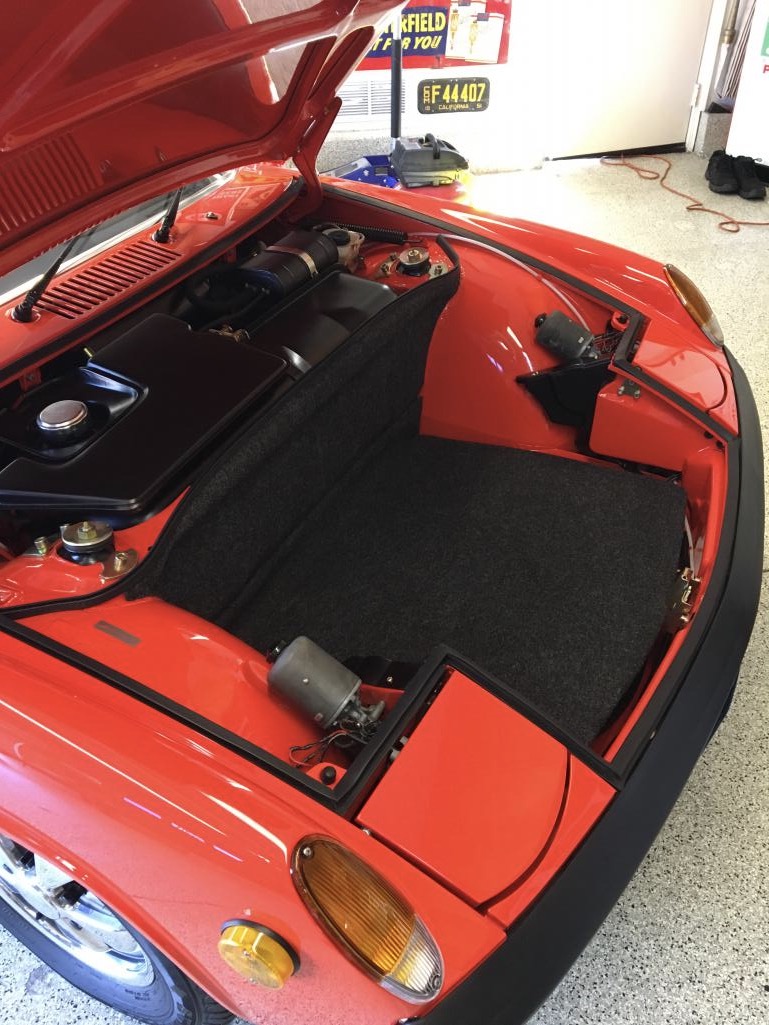
Posted by: ndfrigi Aug 6 2017, 04:47 PM
nice super healthy engine sound!
Posted by: Socalandy Aug 6 2017, 05:32 PM
Hooking up linkage so he can take it around the block
Think I have camera rotation down for iphone 

Attached thumbnail(s)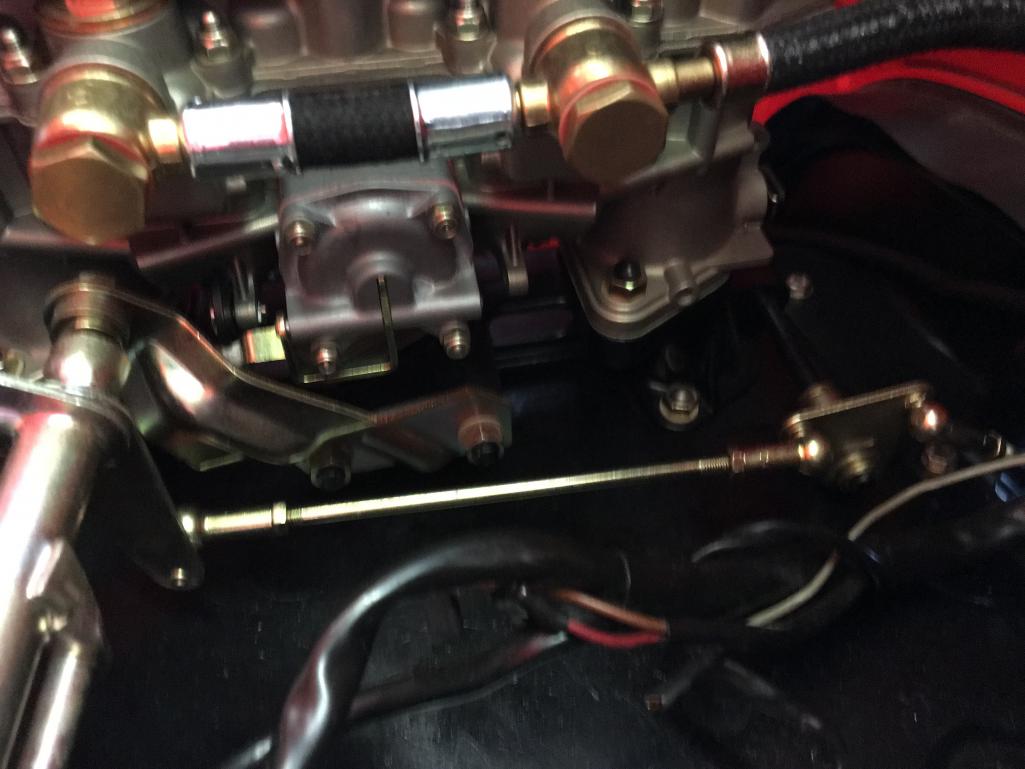
Posted by: Cairo94507 Aug 6 2017, 07:55 PM
Congratulations Jim, Andy and Kent. That is such a great sound. Now we will need video of this Six moving under its own power next.
Posted by: Socalandy Aug 6 2017, 08:51 PM
And away he goes
https://youtu.be/XjD4jUmjvvc
Posted by: Socalandy Aug 6 2017, 09:11 PM
A bit more syncing of the carbs and on to the interior
Attached thumbnail(s)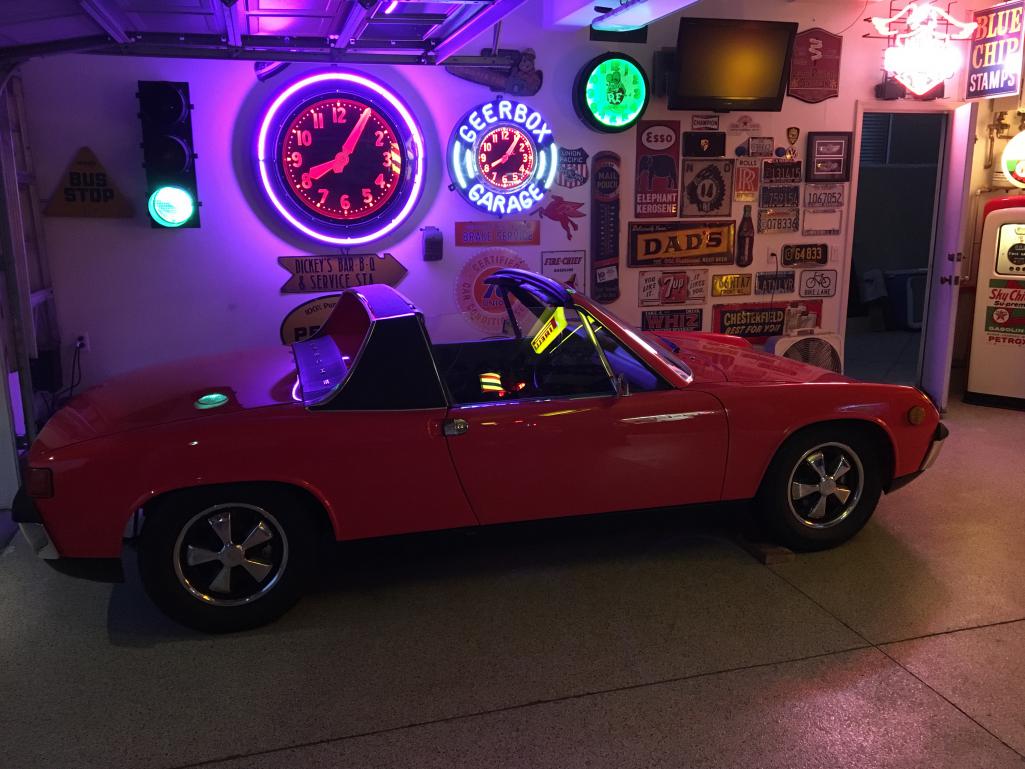
Posted by: banananose914 Aug 6 2017, 10:34 PM
Big, big fat ass day today! Andy, Kent and Bob hit a grand slam! We have had other kick ass days, but today was the biggest. I thought we were doing well when the engine started. Little did I know I would be driving it today as well. I even got the tires to bark. Although the engine case is matching, the engine itself has a little something more than a stock 2 liter.
This car sat outside for almost twenty three years being neglected. Once I got it, it was another almost three years to get it to this point. Thanks, bitches. You three guys f-n kill me.
PS. If you listen real close at the end of the video, you can hear my wife say, "why is he driving like such an idiot?" Andy said, "your day was when you got married, this is his day." Damn right, bitch!! You tell her Andy!
Posted by: Blue6 Aug 6 2017, 10:56 PM
You talk like big man on campus until she reads this thread. Your just lucky she let you drive "her" car.....
Posted by: Larmo63 Aug 6 2017, 11:09 PM
Congratulations!!!!!
You guys are a very good team, and it sounds great.
Posted by: banananose914 Aug 6 2017, 11:09 PM
You talk like big man on campus until she reads this thread. Your just lucky she let you drive "her" car.....
Thanks for screwing things up again Dave. I think that up until your post, people on here thought that I was in control.
Posted by: banananose914 Aug 6 2017, 11:10 PM
Congratulations!!!!!
You guys are a very good team, and it sounds great.
I appreciate that Lawrence. Thank you.
Posted by: euro911 Aug 7 2017, 02:44 AM
Well, now that you guys are done with Jim's car ... my address is ...
Posted by: Cairo94507 Aug 7 2017, 06:35 AM
Jim, nice little acceleration mark and the Six sounded great.
Are we ever really in control once we get hitched....? Regardless, congratulations dude.
Posted by: forrestkhaag Aug 7 2017, 07:37 AM
I wish my red car looked like his red car....................... 
Attached image(s)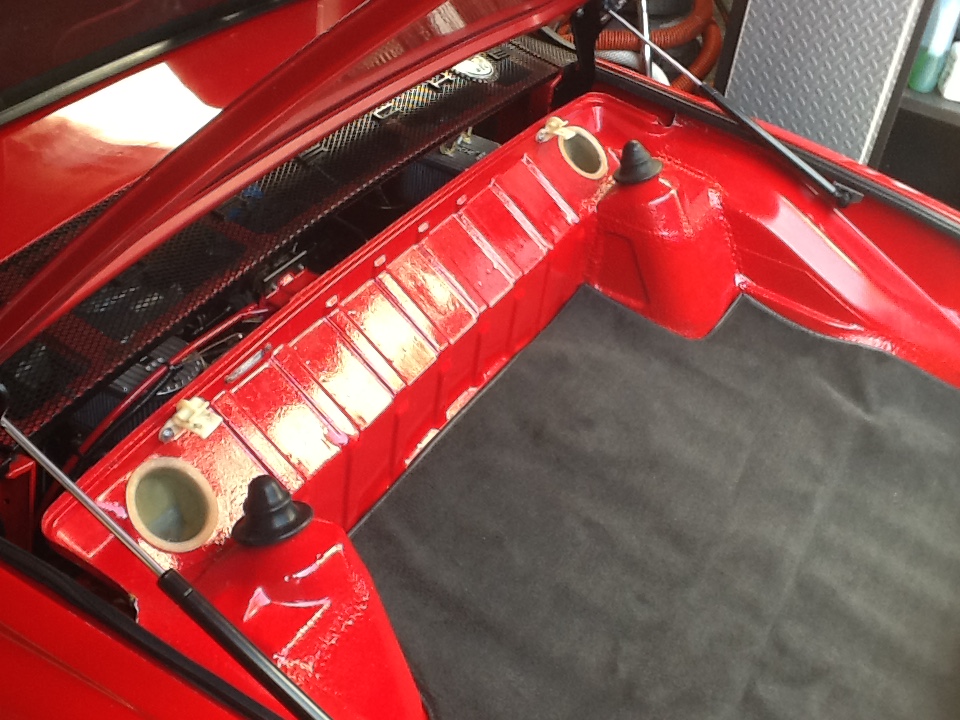
Posted by: 914350 Aug 7 2017, 07:54 AM
Big, big fat ass day today! Andy, Kent and Bob hit a grand slam! We have had other kick ass days, but today was the biggest. I thought we were doing well when the engine started. Little did I know I would be driving it today as well. I even got the tires to bark. Although the engine case is matching, the engine itself has a little something more than a stock 2 liter.
This car sat outside for almost twenty three years being neglected. Once I got it, it was another almost three years to get it to this point. Thanks, bitches. You three guys f-n kill me.
PS. If you listen real close at the end of the video, you can hear my wife say, "why is he driving like such an idiot?" Andy said, "your day was when you got married, this is his day." Damn right, bitch!! You tell her Andy!
Jim even let Andy and I have a turn behind the wheel. Strictly for test purposes though...yeah right! Thanks dude.
It was really cool to see you get to drive it.
Posted by: Socalandy Aug 7 2017, 08:51 AM
It was a pretty cool day and to see Jim's face light up when the car came to life was priceless!! This passion for these cars has created some great times and life long friendships. I feel lucky to have been involved with Jim's Six and do this for a living as well!!! Working in the same bay our own Slits once worked in
Thanks Jim
Attached thumbnail(s)
Posted by: sb914 Aug 7 2017, 08:53 AM
Nice job guys ! Can't wait to drive it . 
Posted by: Socalandy Aug 7 2017, 11:25 AM
This was actually Jim's first run/Pre-burnout in the car.
https://youtu.be/piK_COm0u_E
Posted by: sb914 Aug 22 2017, 08:40 PM
Sooooo
How's it coming along gentlemen?
Posted by: banananose914 Aug 22 2017, 11:47 PM
Eddie/Eddy? You need to get your ass over here and check it out.
Posted by: euro911 Aug 23 2017, 12:20 AM
Thanks Jim
I'll have to pop by Callas' shop some time - tain't that far away from here either ... right next door to my ortho doctor's office
Posted by: Socalandy Aug 27 2017, 09:58 PM
Some more progress today almost ready for carpet and wrap up the interior. Just a very short list of things to do...
Also great to meet Michael "Cairo" and his brother today. Good Times 
Attached thumbnail(s)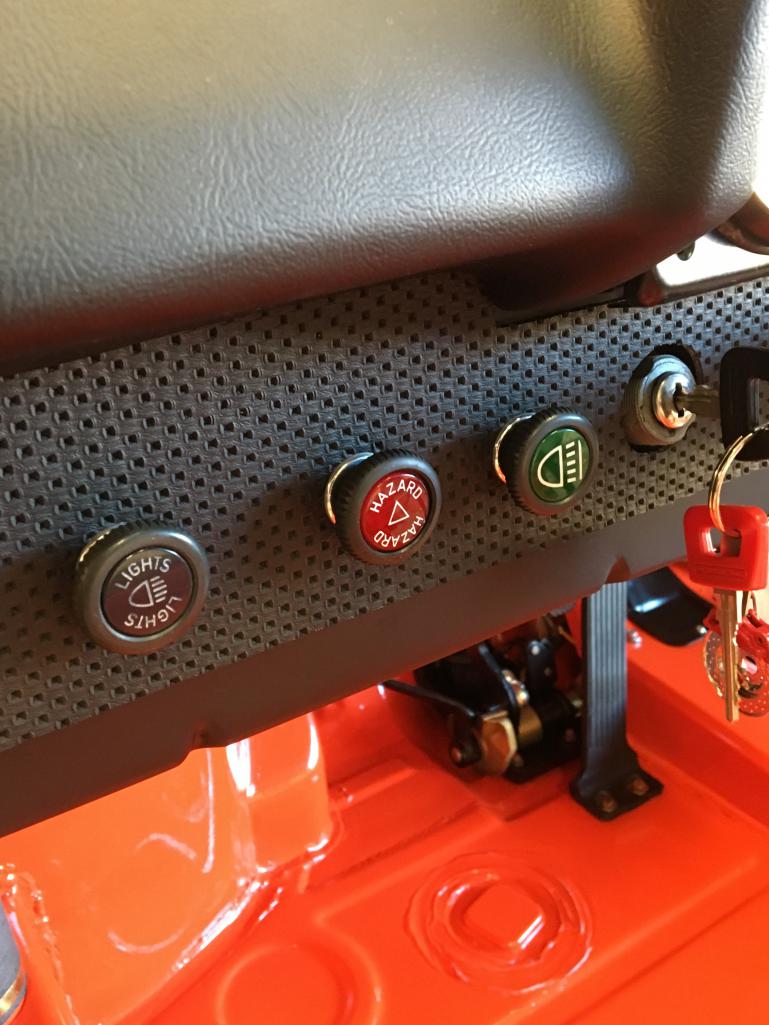
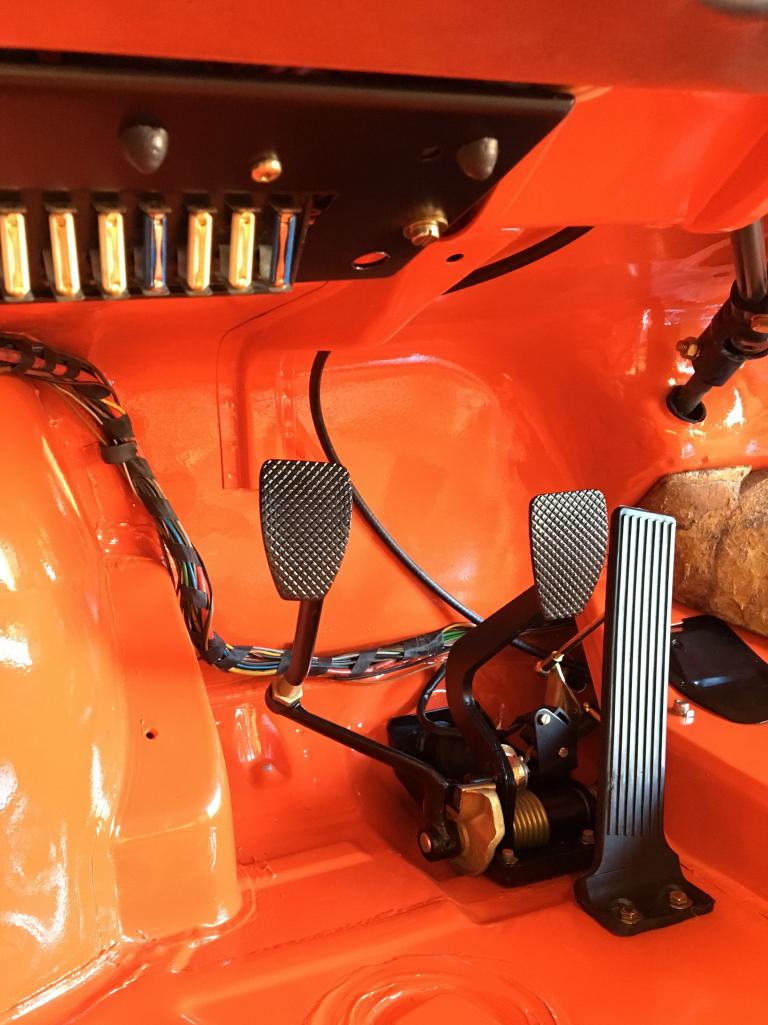
Posted by: Socalandy Aug 27 2017, 10:00 PM
Attached thumbnail(s)
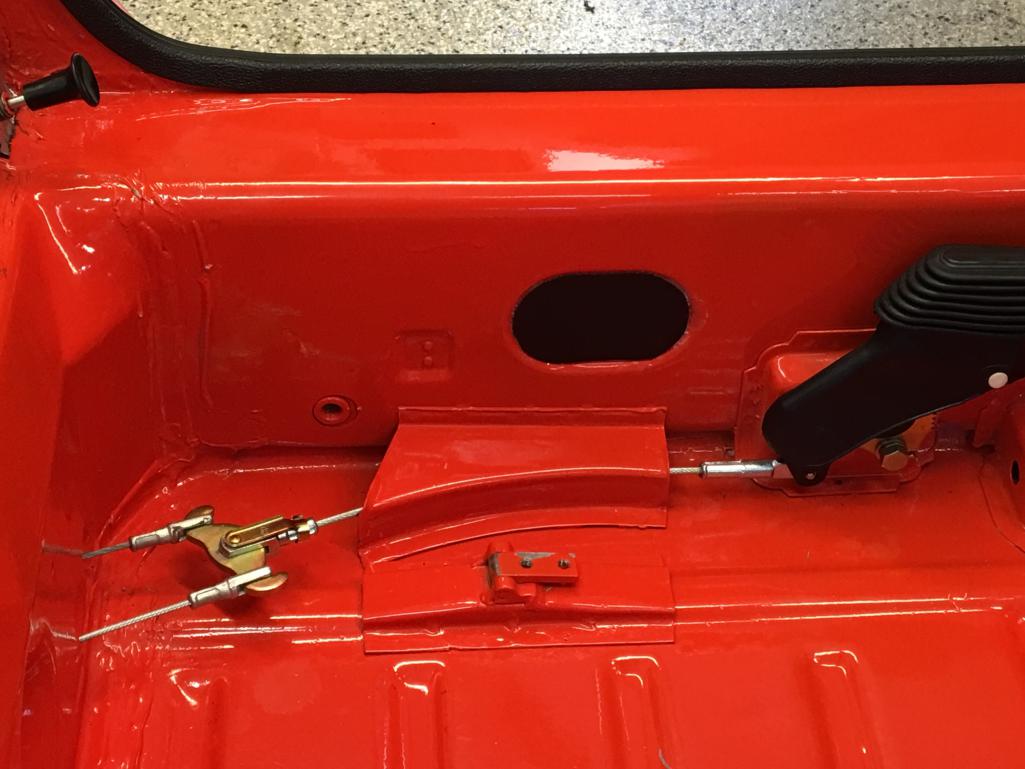
Posted by: Socalandy Aug 27 2017, 10:03 PM
Attached thumbnail(s)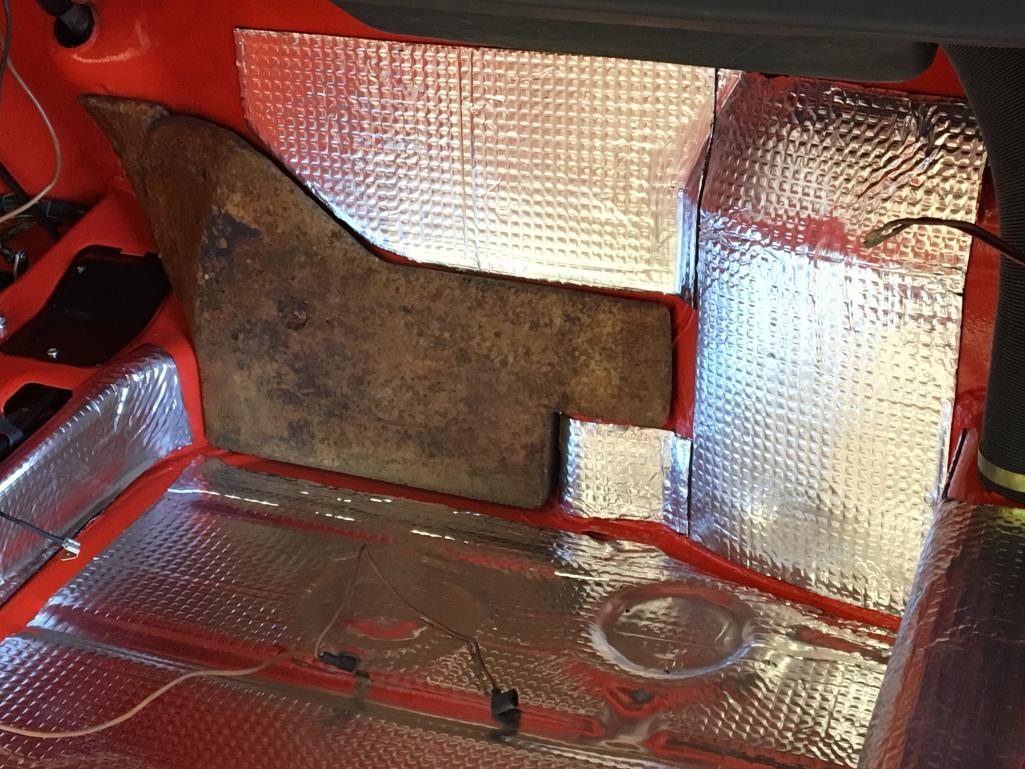
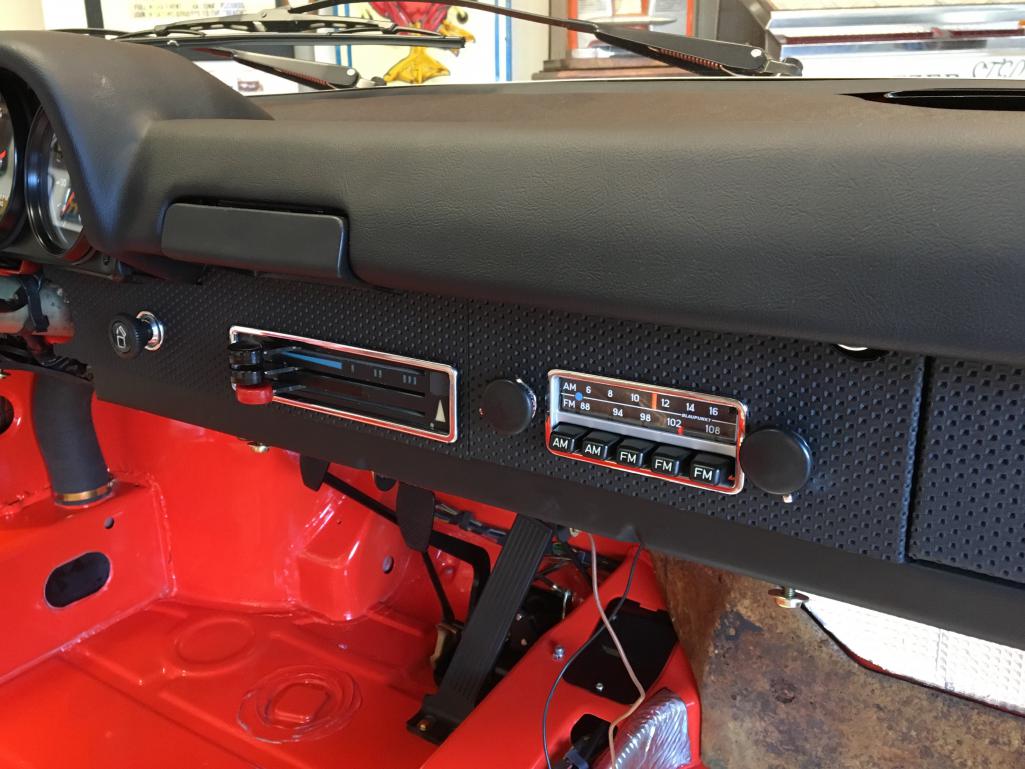
Posted by: Socalandy Aug 27 2017, 10:05 PM
Attached thumbnail(s)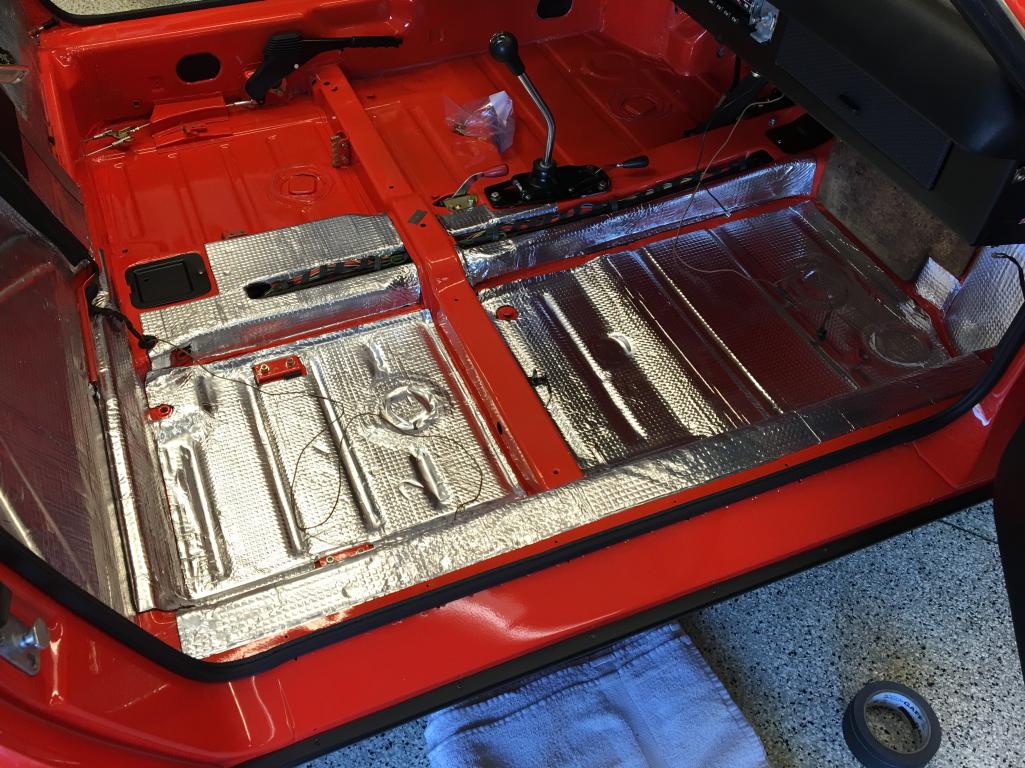
Posted by: altitude411 Aug 27 2017, 10:06 PM
Some more progress today
almost ready for carpet and wrap up the interior. Just a very short list of things to do...Also great to meet Michael "Cairo" and his brother Bob today. Good Times
Not to nit-pic but one of the fuses seems to be a little cock-eyed....
Other than that .... 
Posted by: Socalandy Aug 27 2017, 10:06 PM
More soon 
Attached thumbnail(s)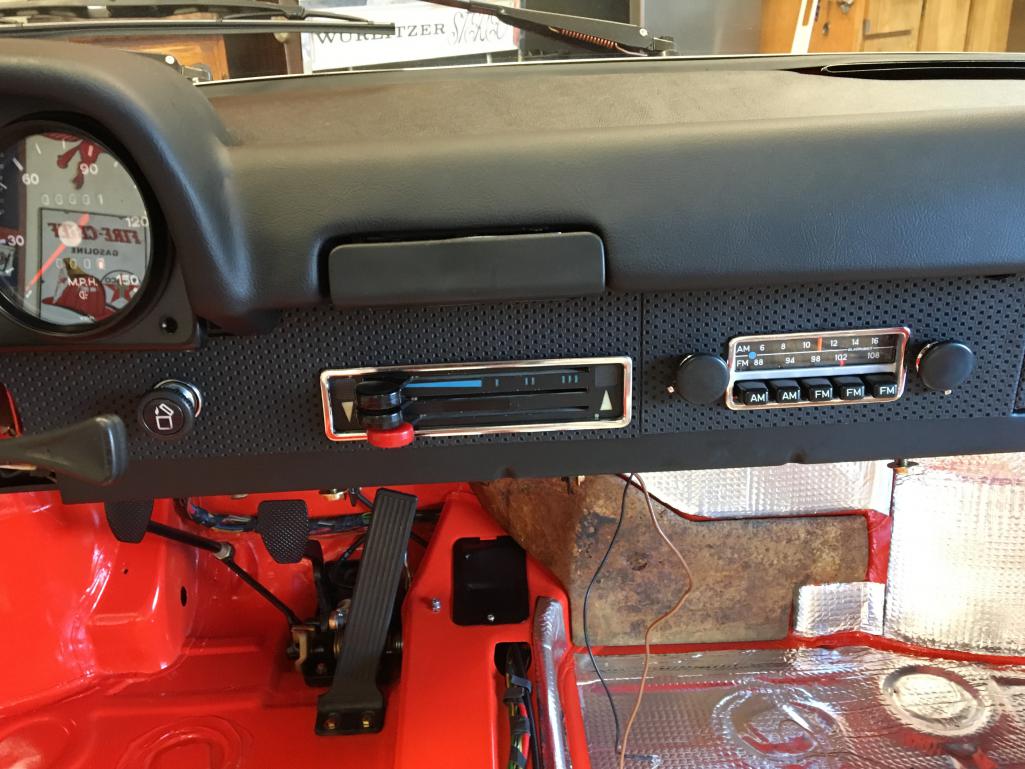
Posted by: Socalandy Aug 27 2017, 10:40 PM
Some more progress today
almost ready for carpet and wrap up the interior. Just a very short list of things to do...Also great to meet Michael "Cairo" and his brother Bob today. Good Times
Not to nit-pic but one of the fuses seems to be a little cock-eyed....
Other than that .... You clearly know the definition of Nit-Picking
Posted by: euro911 Aug 27 2017, 11:04 PM
Andy, what matting did you use on the floor pan and firewall?
Posted by: Socalandy Aug 27 2017, 11:12 PM
Andy, what matting did you use on the floor pan and firewall?
STP http://stp-atlantic.com/
Posted by: euro911 Aug 27 2017, 11:54 PM
Thanks
I might as well do my floor while the interior is torn out ...
Posted by: falcor75 Aug 28 2017, 12:19 AM
I've eaten off dishes that wasnt as clean as that....
Posted by: Cairo94507 Aug 28 2017, 06:02 AM
Wow - Hey Andy - you guys really shifted into high gear after we left. That looks terrific. We had a great time hanging out, talking and seeing your car.
Posted by: banananose914 Aug 28 2017, 09:43 PM
Some more progress today
almost ready for carpet and wrap up the interior. Just a very short list of things to do...Also great to meet Michael "Cairo" and his brother Bob today. Good Times
Not to nit-pic but one of the fuses seems to be a little cock-eyed....
Other than that .... I saw your post and became concerned. As a result I spoke with a friend of mine who is knowledgeable in photography and psychology. He said the reason for the knit picking is the angle of the dangle of the tea bag across ones chin may be affecting their eyesight and judgement. He went on to say that this tea bag syndrome might be because this person is unable or unwilling to appreciate the entire project. He said that the person posting might be the same type that on the last day before Christmas vacation, probably felt the need to tell the teacher that they forgot to give homework for the holiday.
I thought about what he had to say, and I told him that might be a little harsh. He said "no, I just call them as I see them, whether they're balls or whatever. He has always been rather insightful. I've known him my whole life.
Posted by: euro911 Aug 29 2017, 12:04 AM
I think he was being facetious and simply forgot to put one of these at the end of his post:
Now, if you would have place the cover on your fuse block, none of this would have ever taken place
Posted by: jkb944t Aug 29 2017, 05:58 AM
Wow your car looks amazing! Love the great sounds your engine makes.
Jeff B
Posted by: altitude411 Aug 29 2017, 08:03 PM
I NEVER said I didn't appreciate the project... how could you not appreciate the detail and precision that these gentleman have put into this most beautiful six??? It goes without saying.
* Bannananose: next time you get together to wank with your "insightful" friend take a time out and ask him to enlighten you on sarcasm. Oh, and
Posted by: 914350 Sep 3 2017, 06:53 PM
Another day at Jims. We go a lot done. Carpets and seats are in. Andy and Jim relaxing after a long day in the hot garage.
Attached thumbnail(s)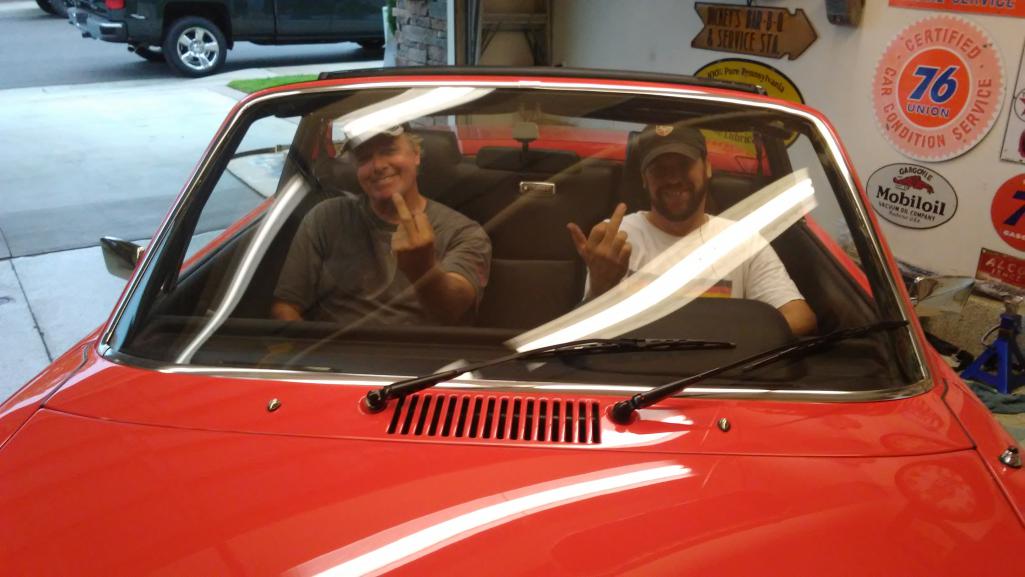
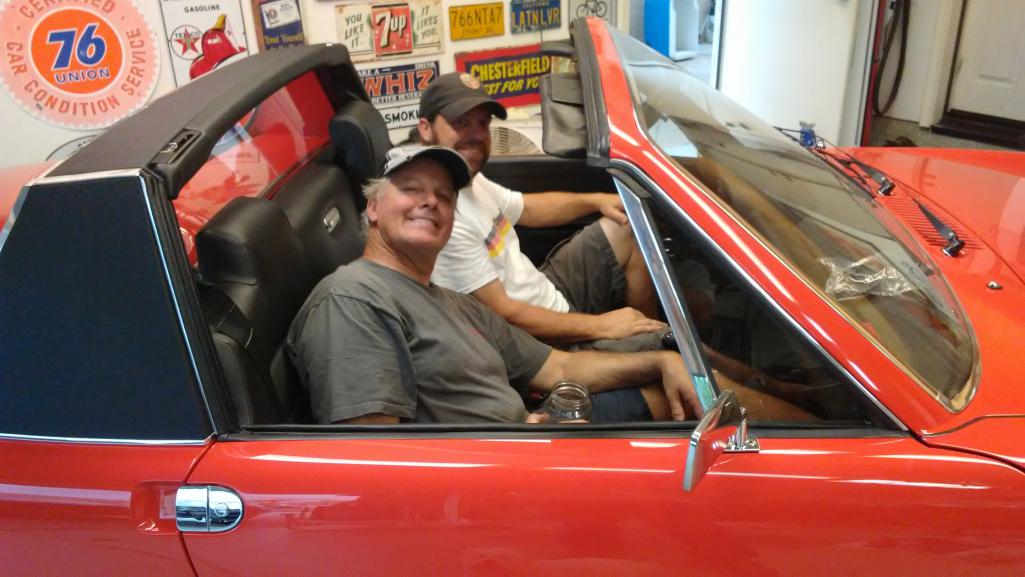
Posted by: 914350 Sep 3 2017, 06:57 PM
More pics.
Attached thumbnail(s)
Posted by: 914350 Sep 3 2017, 06:58 PM
More pics.
Attached thumbnail(s)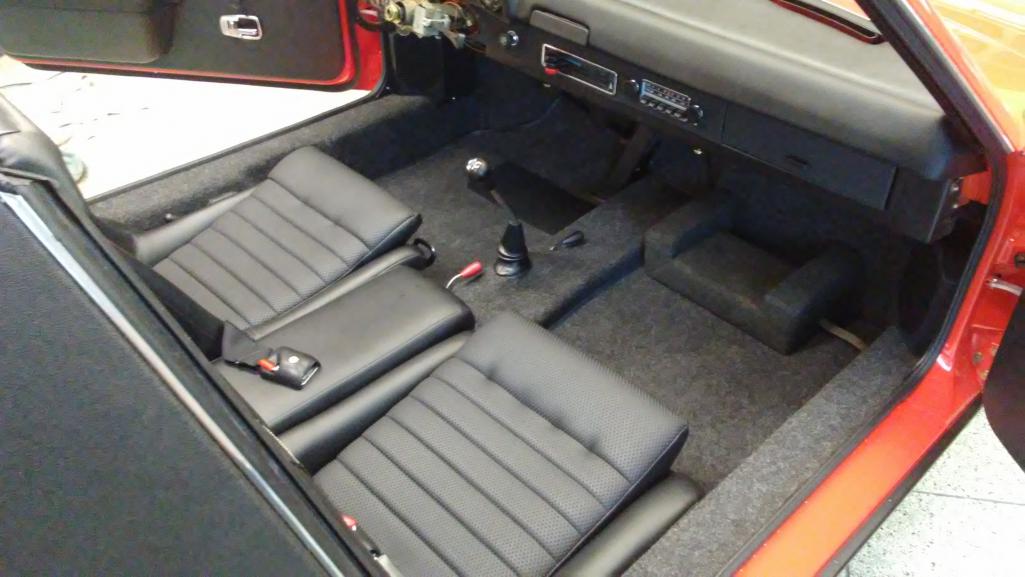
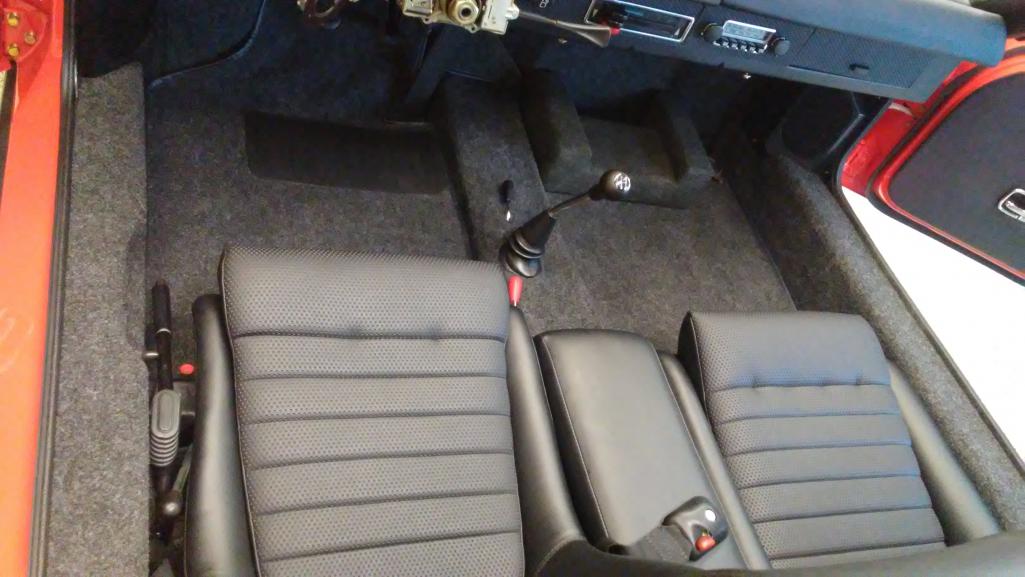
Posted by: Cairo94507 Sep 3 2017, 07:42 PM
Wow! That looks like it rolled out of the factory o only better. You guys are setting the new standard on these restorations. I just hope my car looks that nice.
Cheers Michael
Posted by: Socalandy Sep 3 2017, 10:15 PM
One of the most satisfying parts of a resto IMO
Attached image(s)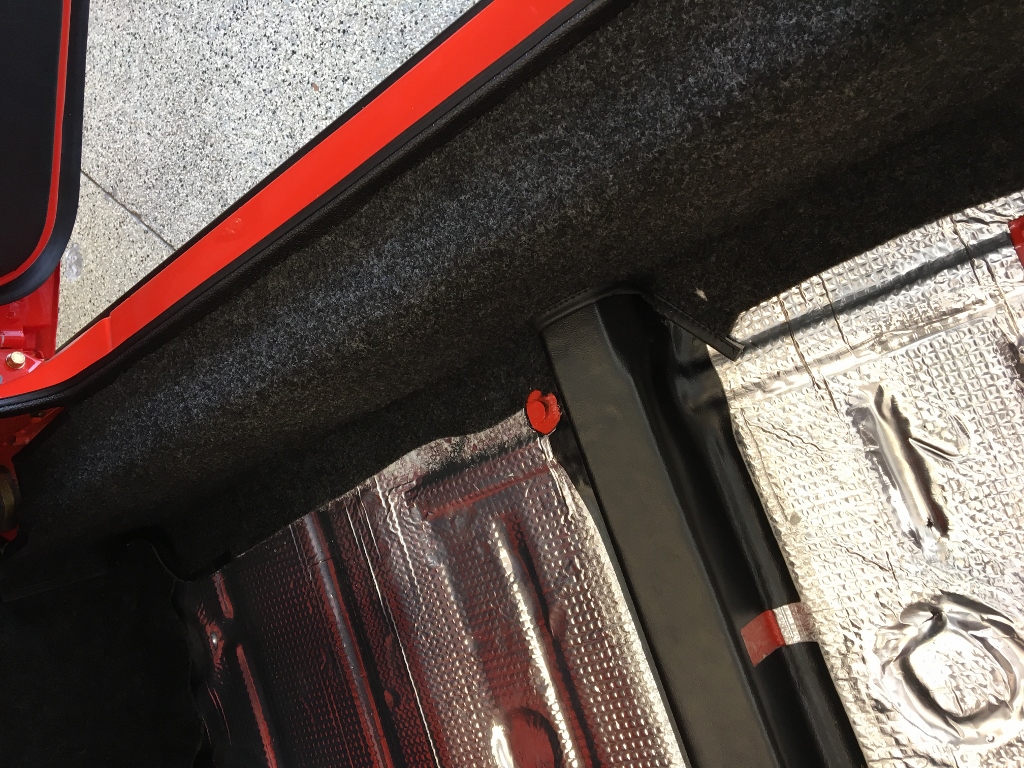
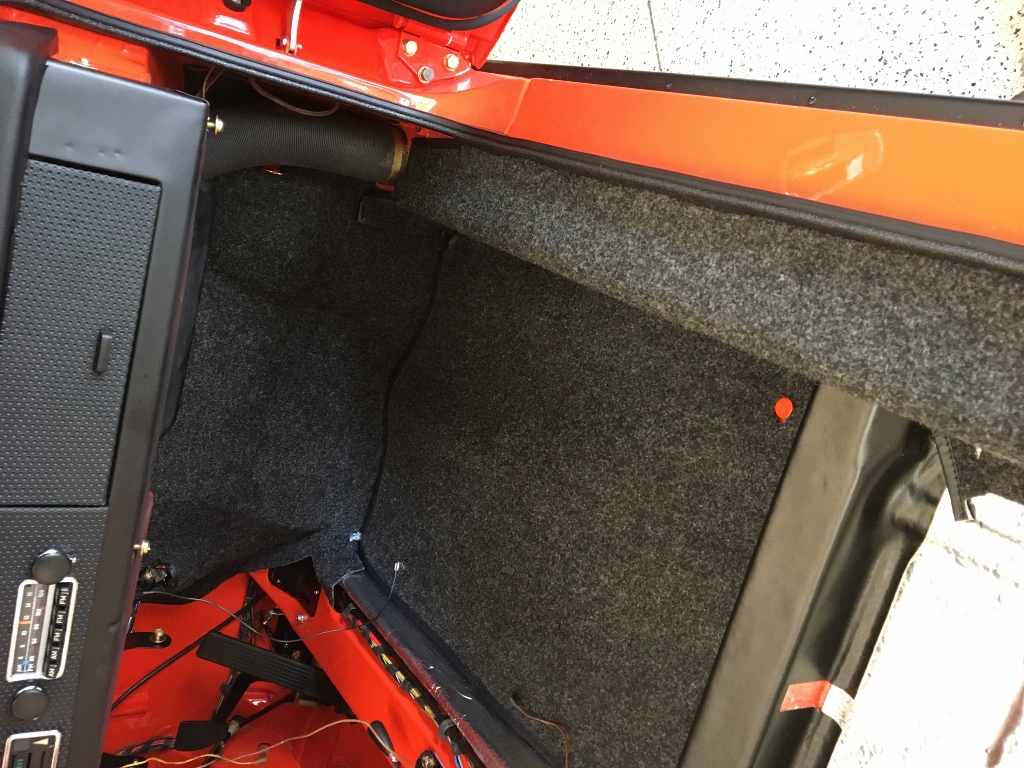
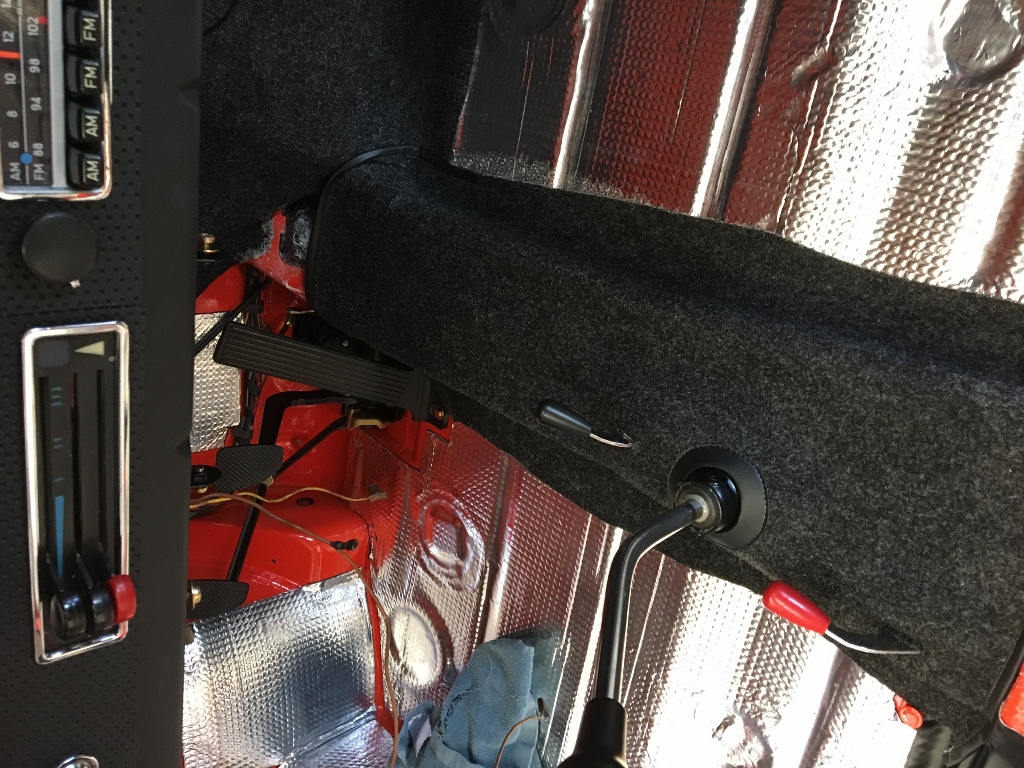
Posted by: Socalandy Sep 3 2017, 10:16 PM
more pics
Attached image(s)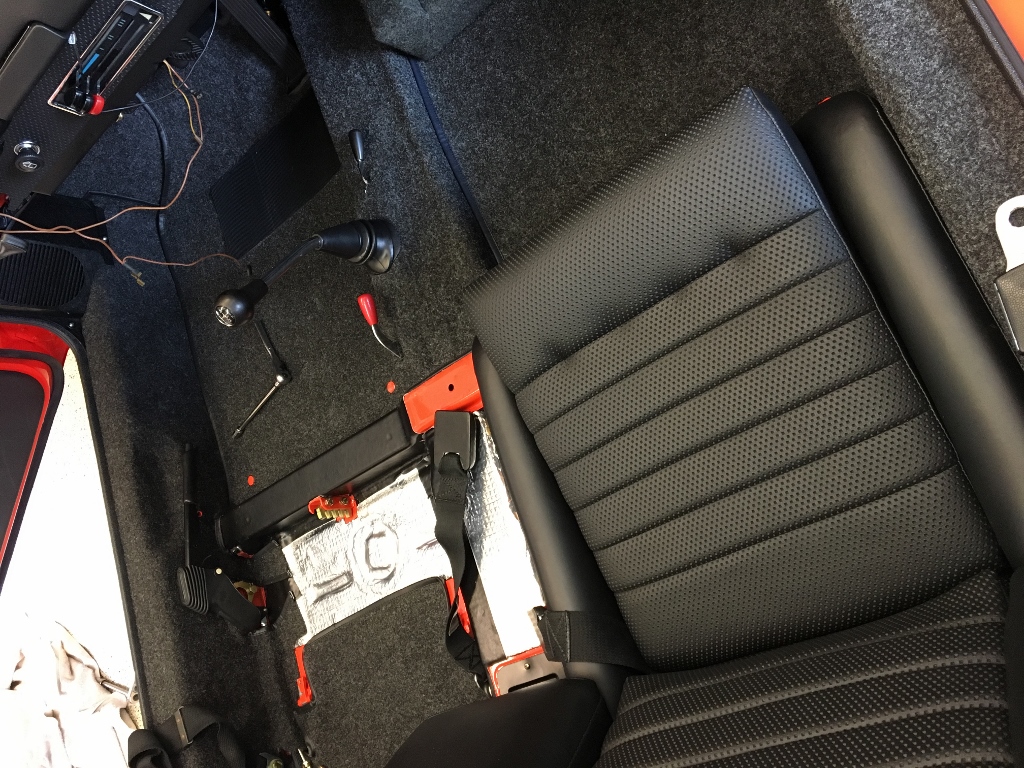
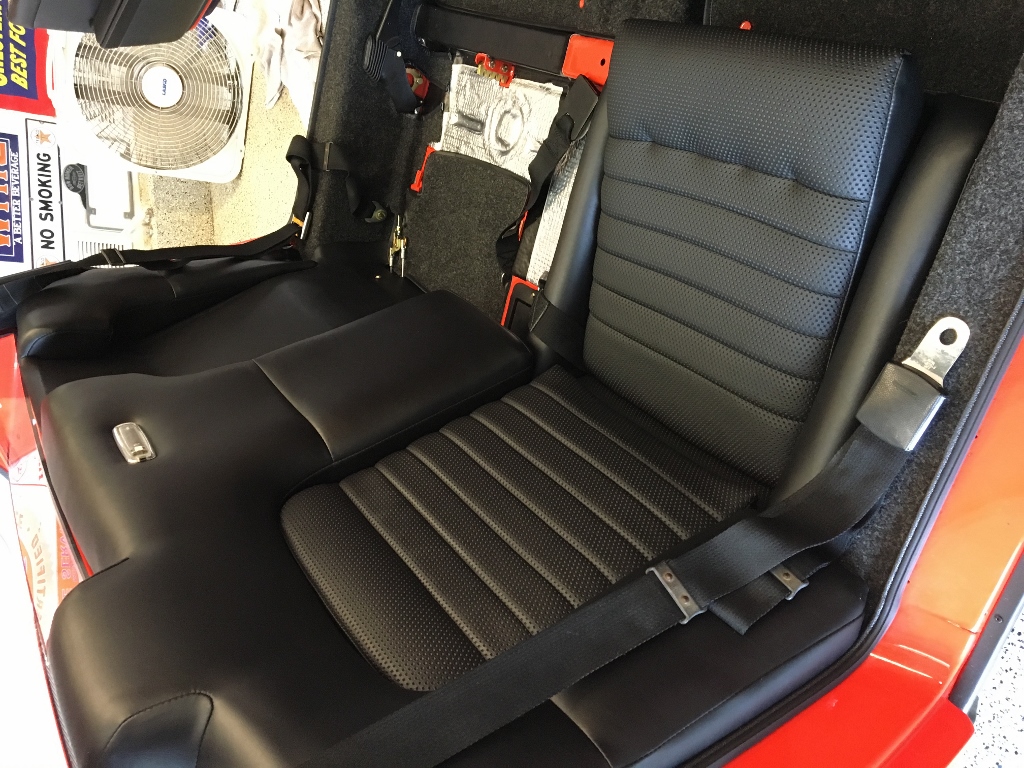
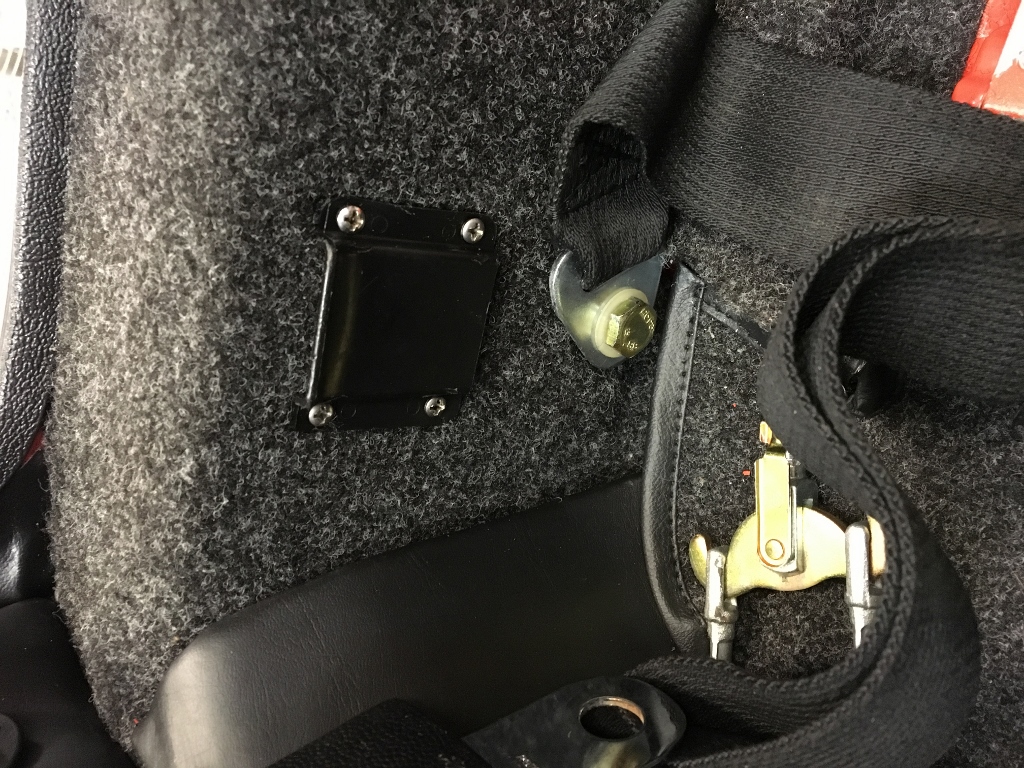
Posted by: Socalandy Sep 3 2017, 10:18 PM
Attached image(s)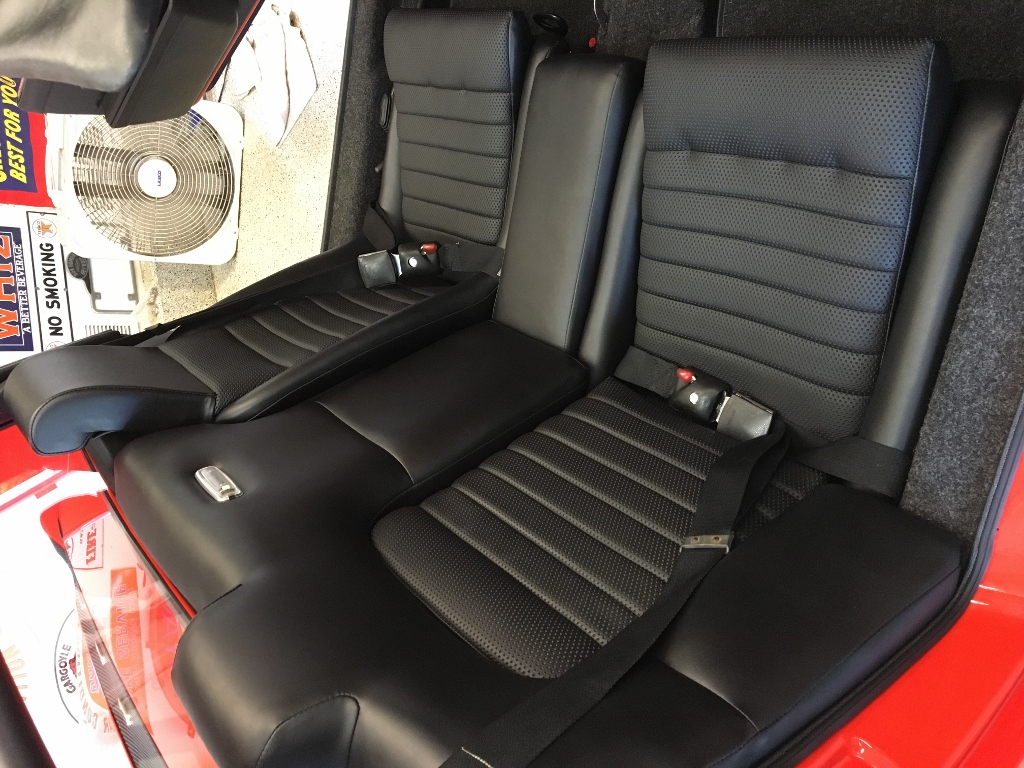
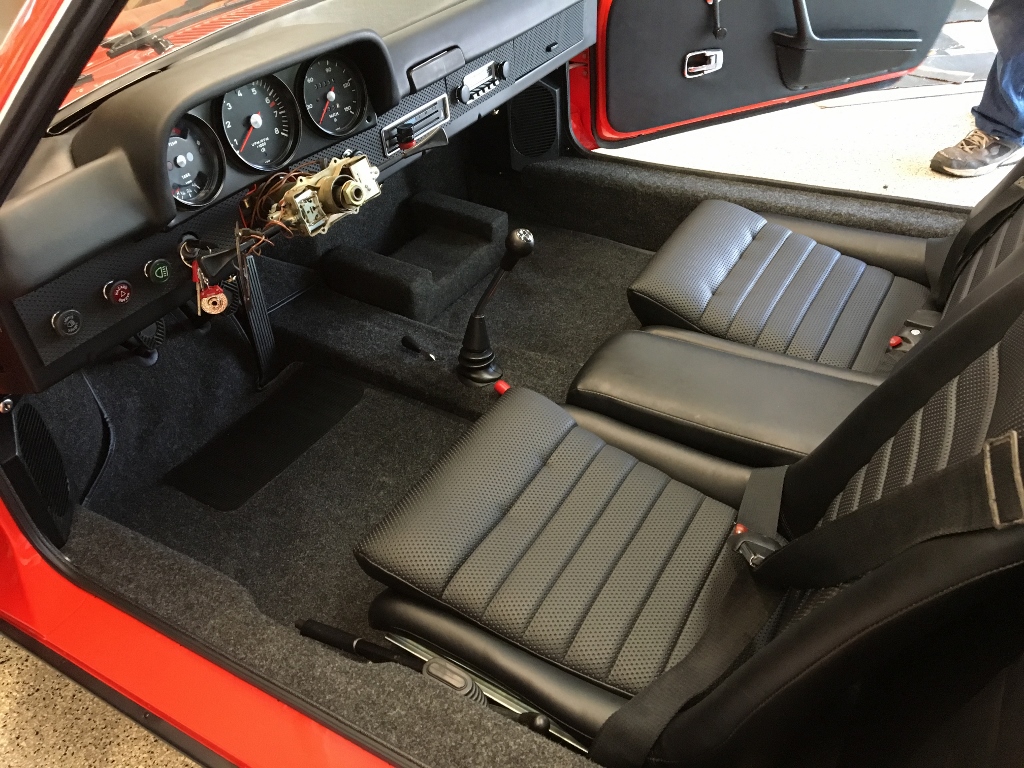

Posted by: Socalandy Sep 3 2017, 10:21 PM
one more Sunday to completion
Attached image(s)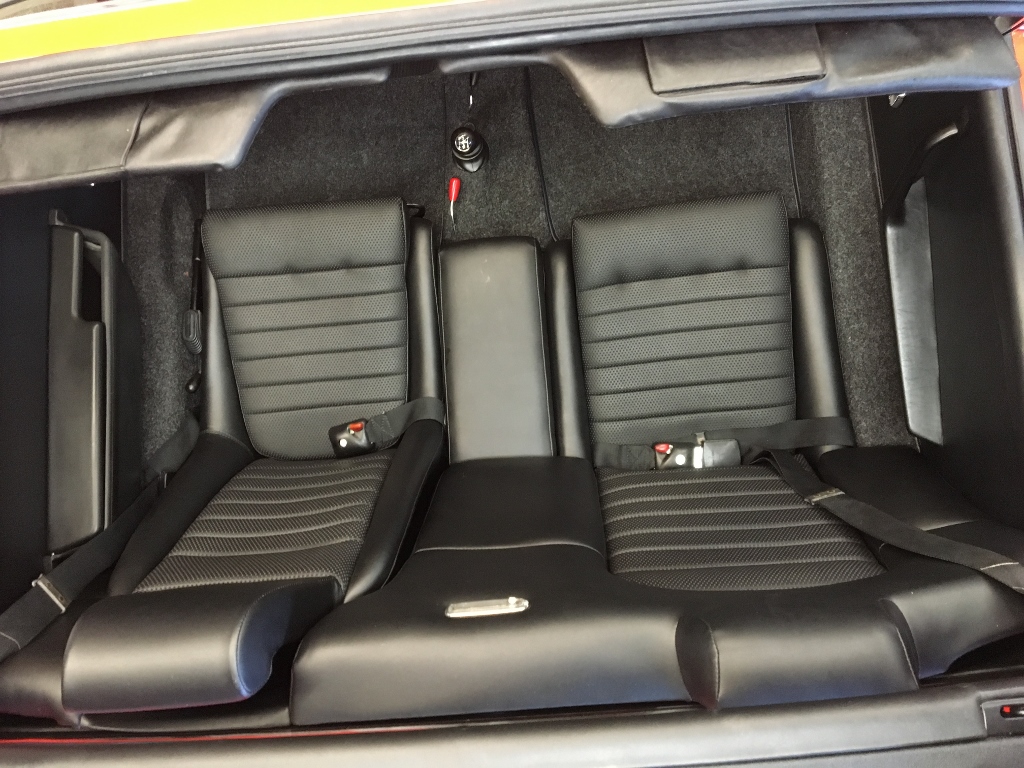
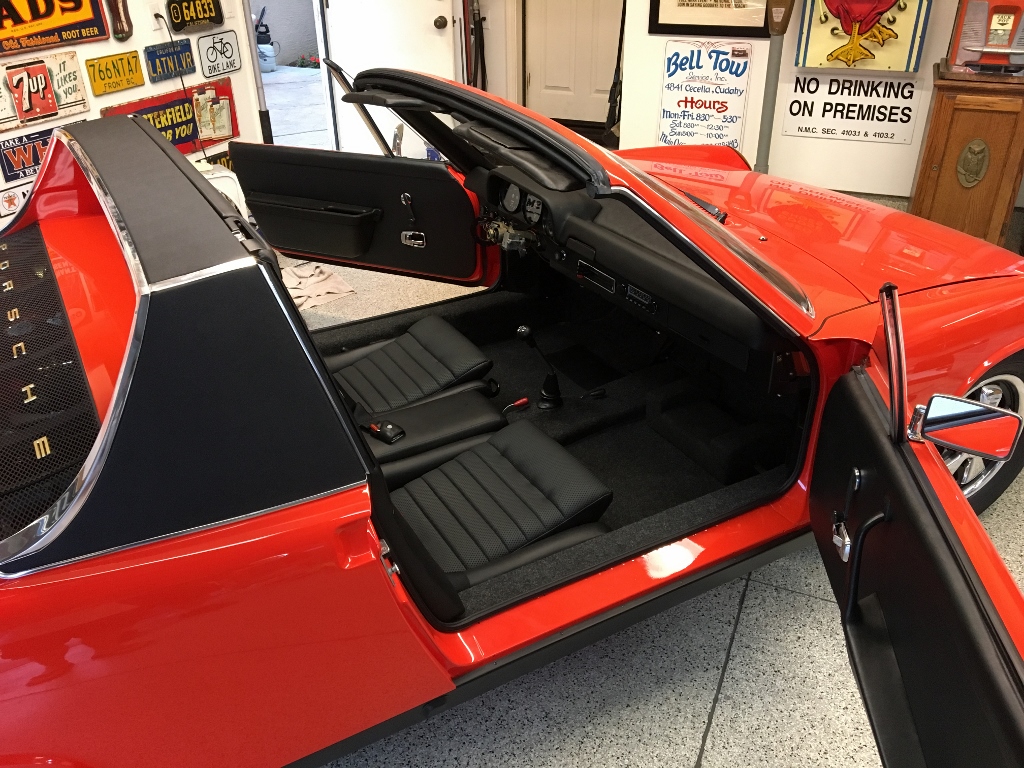
Posted by: Socalandy Sep 3 2017, 10:23 PM
Attached thumbnail(s)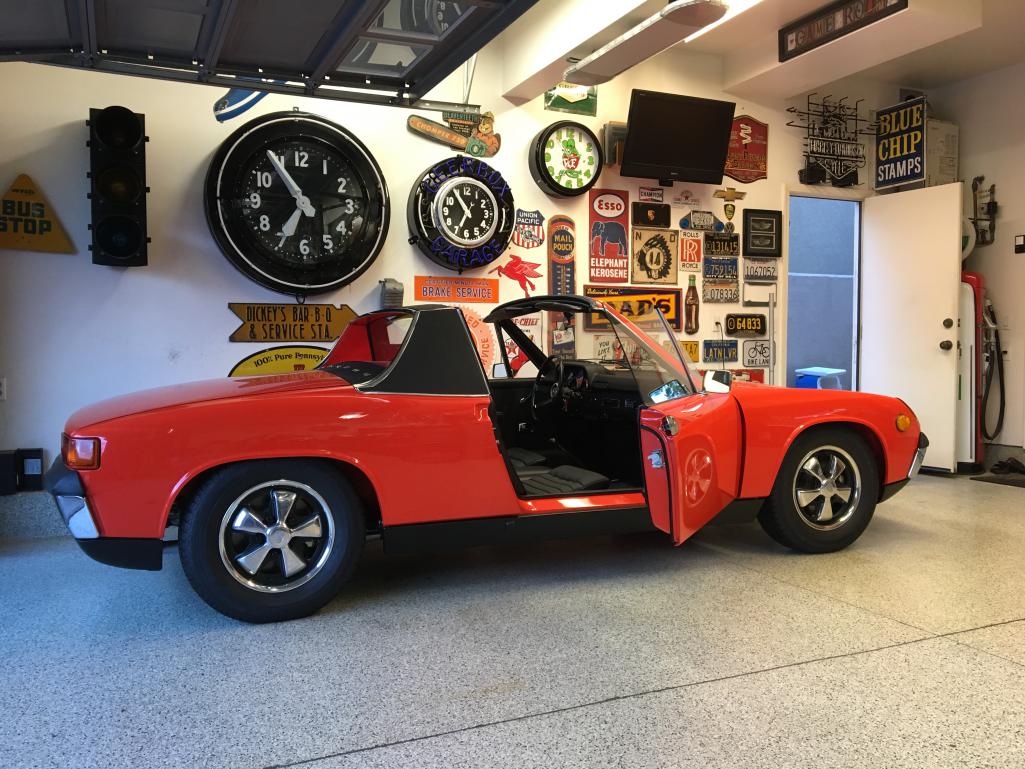
Posted by: Blue6 Sep 3 2017, 10:43 PM
Wow Bananabeek, that looks great. Only question is about the seatbelt holster. Weren't they aftermarket or dealer installed?
Posted by: Larmo63 Sep 3 2017, 10:58 PM
Who said he is going to holster his seatbelt in it? It might have another purpose? Derringer?
Posted by: banananose914 Sep 4 2017, 12:32 AM
Another big day today. Andy, Kent, Bob and Dave, thanks for all the help. By the time we restore my other car, I promise I'll have air conditioning in the garage. Today was brutal. Brutally hot, but damn good.
Posted by: banananose914 Sep 4 2017, 12:33 AM
Wow Bananabeek, that looks great. Only question is about the seatbelt holster. Weren't they aftermarket or dealer installed?
Why do you want to take a swing at the hornet's nest?
Posted by: raynekat Sep 4 2017, 12:45 AM
Those carpets look great; what company makes those? =
Posted by: porschetub Sep 4 2017, 02:19 AM
Wow and wow again...thinking this is one of those benchmark cars.
Posted by: daytona Sep 4 2017, 10:20 AM
Great looking car. Is that person carpeting?
Thanks,
Bill.
Posted by: Socalandy Sep 4 2017, 10:48 AM
It's German Perlon from Autobaun in San Diego
Posted by: daytona Sep 4 2017, 12:35 PM
Thanks Socalandy,
I have to replace the carpet on my now and I can't make up my mind.
Bill.
Posted by: Cairo94507 Sep 5 2017, 06:02 AM
It's great that Jim, Kent, Andy and crew have done this already and know where to go to get all the good stuff our cars need. I love that carpeting. That will make my life easier as my car moves along.
Posted by: Larmo63 Sep 5 2017, 08:35 AM
AppBiz makes pretty nice German Perlon kits too.
Your car looks great, Jim. When you do the "white" one, are you going to do a GT?
Posted by: Socalandy Oct 22 2017, 08:10 PM
Well I think we pretty well wrapped it up today. It’s going to alignment in the morning and hook up vapor recovery lines to engine shroud and air box. DONE
Attached thumbnail(s)
Posted by: Socalandy Oct 22 2017, 08:12 PM
Attached thumbnail(s)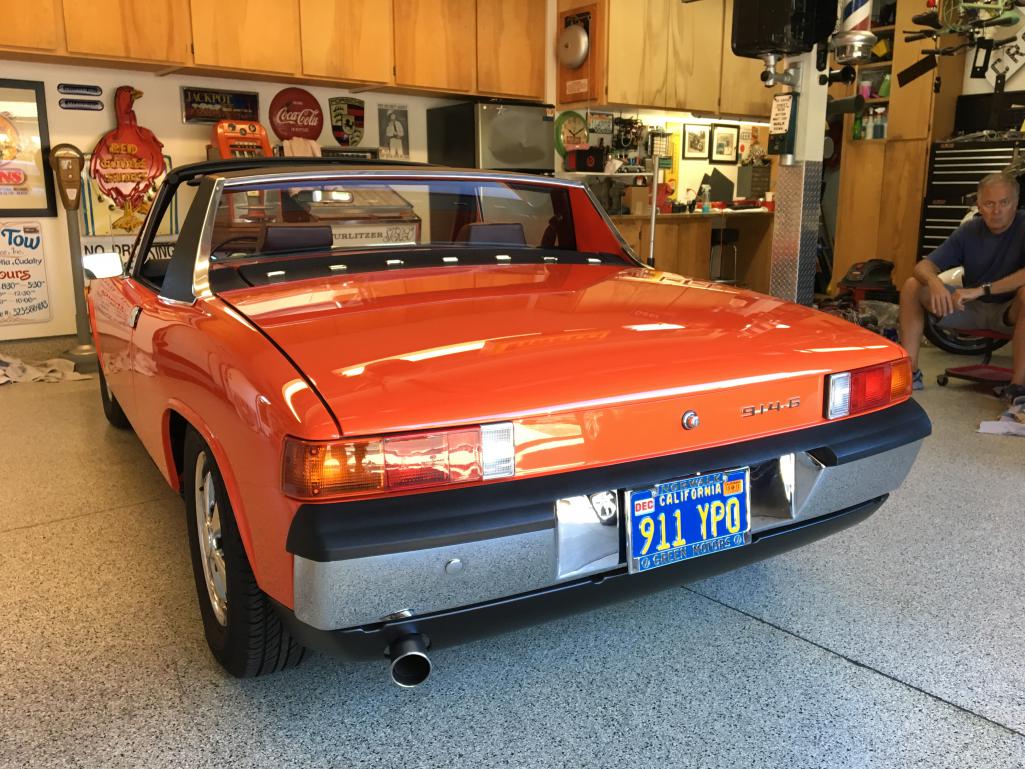
Posted by: Socalandy Oct 22 2017, 08:13 PM
Attached thumbnail(s)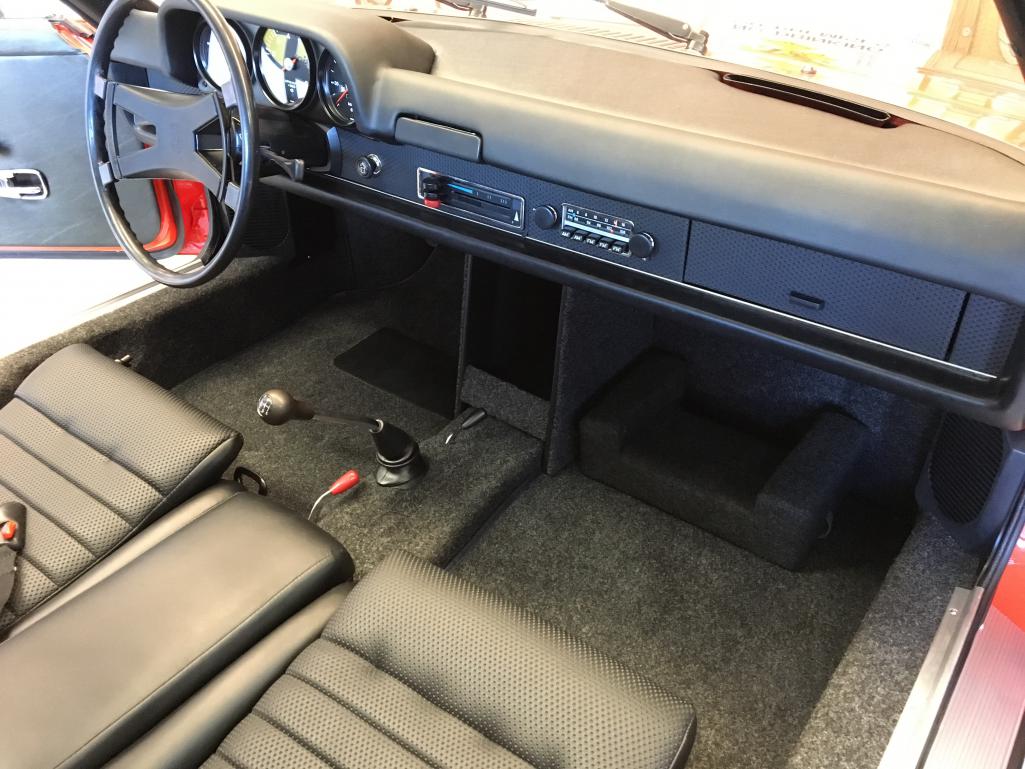
Posted by: Socalandy Oct 22 2017, 08:14 PM
Attached thumbnail(s)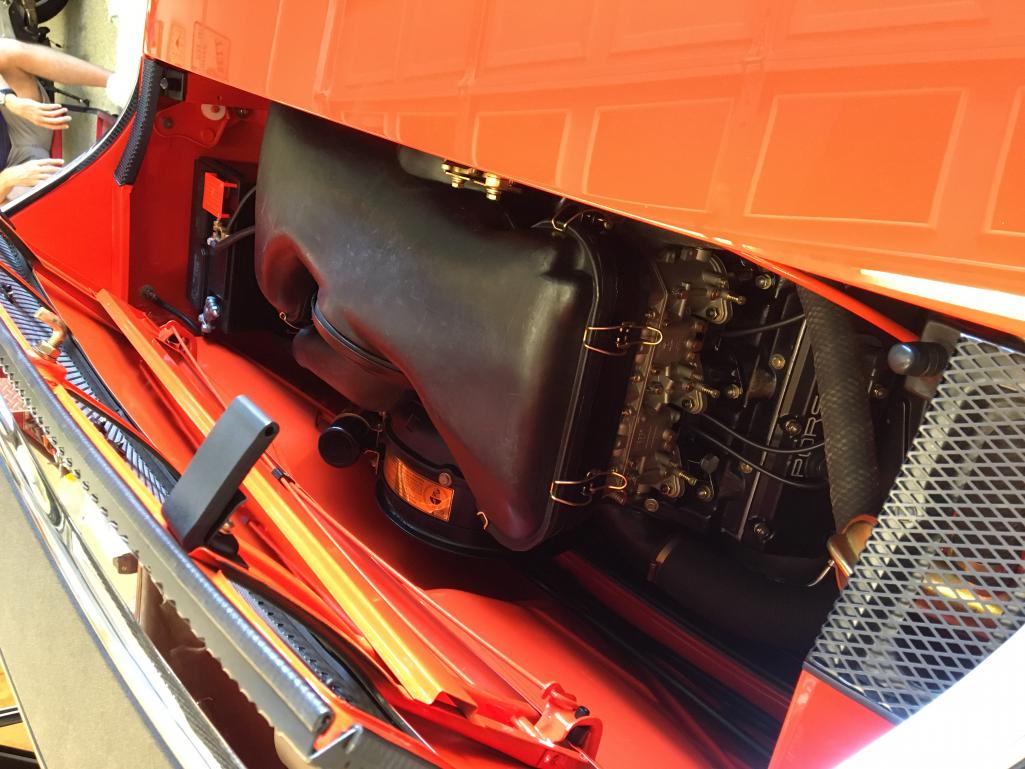
Posted by: Socalandy Oct 22 2017, 08:20 PM
Uploading some clips to YouTube and post when done. I
Attached thumbnail(s)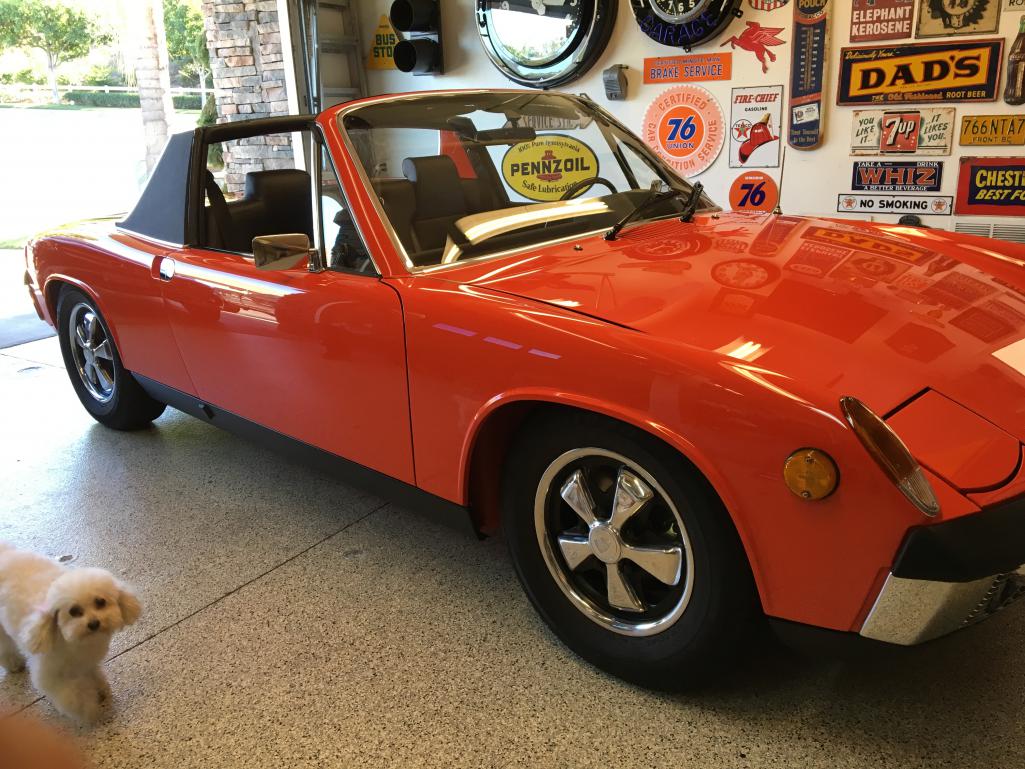
Posted by: 914Sixer Oct 22 2017, 08:20 PM
Built with more care and attention than the factory.
Posted by: Cairo94507 Oct 22 2017, 09:42 PM
Simply stunning.
Congratulations to Jim, Andy and Kent for another terrific Six.
Posted by: Socalandy Oct 22 2017, 10:13 PM
https://youtu.be/Ak9vsEbd6n0
Posted by: ndfrigi Oct 23 2017, 01:32 AM
super beautiful sir Jim! good job Andy and Kent!
Posted by: defianty Oct 23 2017, 02:21 AM
That's perfection!
Posted by: cary Oct 23 2017, 08:07 AM
Wow Bananabeek, that looks great. Only question is about the seatbelt holster. Weren't they aftermarket or dealer installed?
I was wondering the same thing. We ran across them on Matt and Doug's cars.
The car is stunning ............. Well Done
Posted by: 76-914 Oct 23 2017, 09:04 AM
Beautiful! Excellent build.
Posted by: Socalandy Oct 23 2017, 09:39 AM
for those asking the carpet kit is from Autobahn . They also do an amazing job wrapping steering wheels. remember to specify early or late so the passenger side mat is the correct size. Perlon and German velour full kits including trunks
https://www.autobahninteriors.com/
7949 Stromesa Ct. Ste# e
San Diego CA 92126
Email- info@autobahninteriors.com
Tel- 858-453-2400
Posted by: Chris H. Oct 23 2017, 11:13 AM
Another one saved! Incredible craftsmanship guys. To pull a body apart like that and rebuild it perfectly and correctly....very hard to do. Check out the panel gaps!
Posted by: euro911 Oct 23 2017, 11:41 AM
Nice job fellas. You know, if Porsche ever decides to start up 914 production again, you guys will have good jobs
Seriously, the time $ and effort you guys put into Jim's car really shows well.
Posted by: JmuRiz Oct 23 2017, 11:52 AM
Built with more care and attention than the factory.
I was thinking the same thing...this car is amazing, the interior/exterior/etc. is better than new.
Posted by: 914350 Oct 25 2017, 01:44 PM
The car went out on Monday for an alignment and now it's back in my shop for a full polish/detail.
Attached thumbnail(s)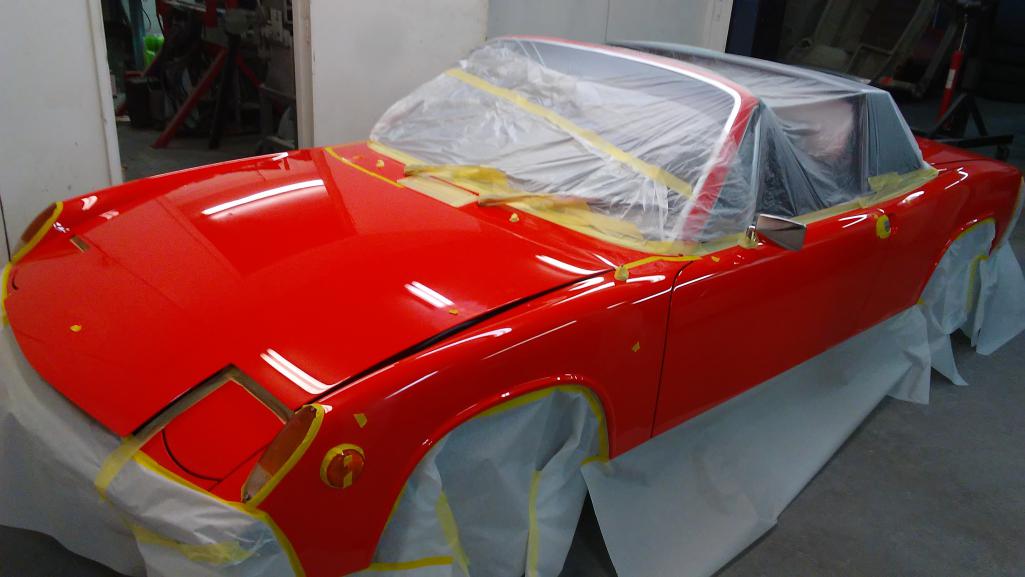
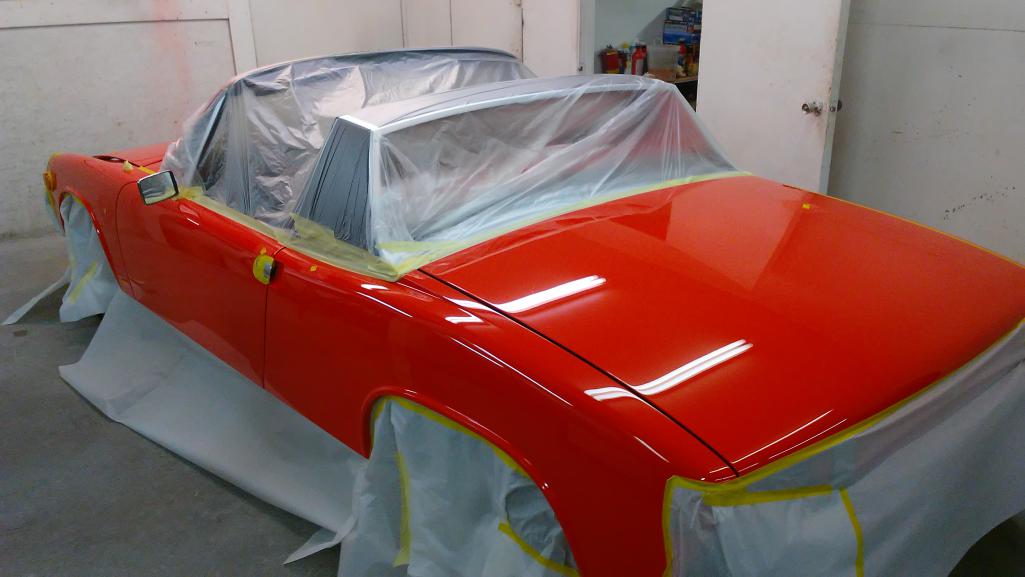
Posted by: Cairo94507 Oct 25 2017, 01:56 PM
Wowzer! It looked terrific before. I can't wait until the next time I see it.
Posted by: euro911 Oct 25 2017, 02:27 PM
I could never own a car that looks that nice - I'd be afraid to drive/park it anywhere
Posted by: sb914 Oct 25 2017, 02:45 PM
I could never own a car that looks that nice - I'd be afraid to drive/park it anywhere
I can't even leave my pos alone without worrying about some dickwad fuching with it .
Posted by: Dion Oct 25 2017, 02:59 PM
Socalandy your car is absolutely a benchmark !! Absolutely stunning
Many miles of enjoyment wished for you.
Posted by: Cairo94507 Oct 25 2017, 04:39 PM
SoCalAndy's car is indeed very nice; this one is Jim's though. They are both stunning examples.
Posted by: Dion Oct 25 2017, 05:09 PM
SoCalAndy's car is indeed very nice; this one is Jim's though. They are both stunning examples.
I stand corrected. So sorry, YES both are
oustanding. Sorry for the confusion.
Way to go Jim!
Posted by: 914350 Oct 27 2017, 06:23 PM
Jim picked up his car today.
Attached thumbnail(s)
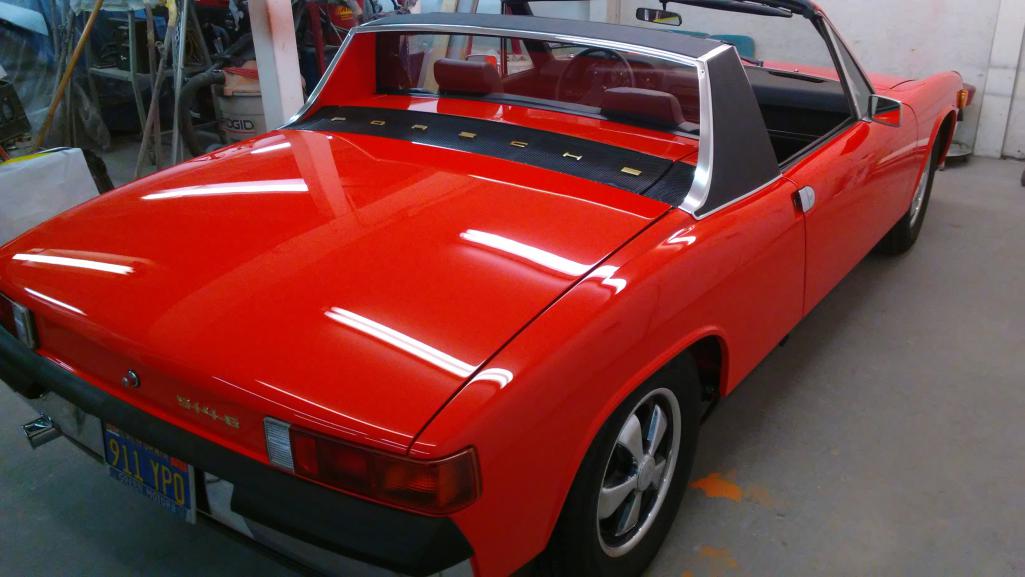
Posted by: 914350 Oct 27 2017, 06:24 PM
More pics.
Attached thumbnail(s)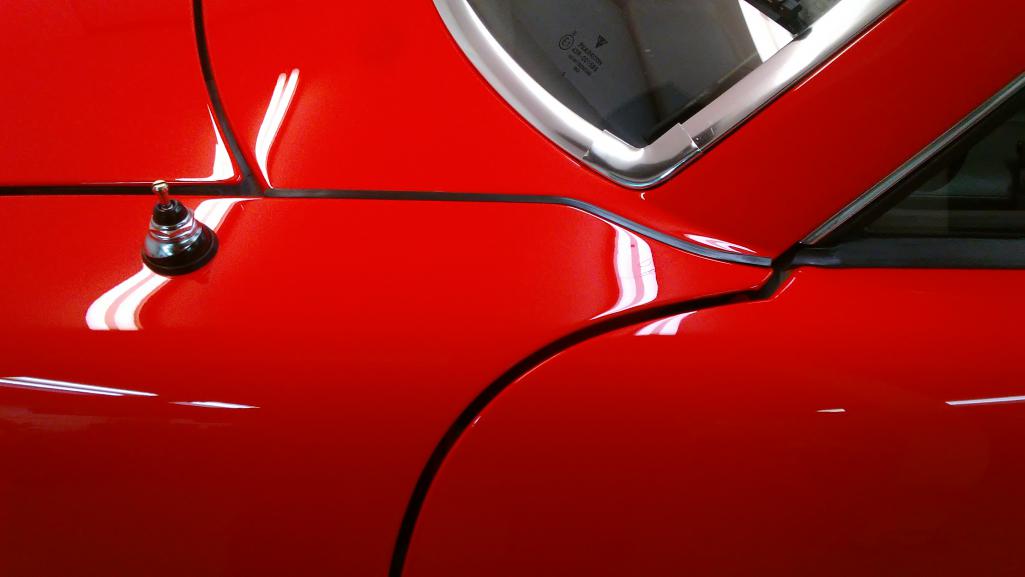
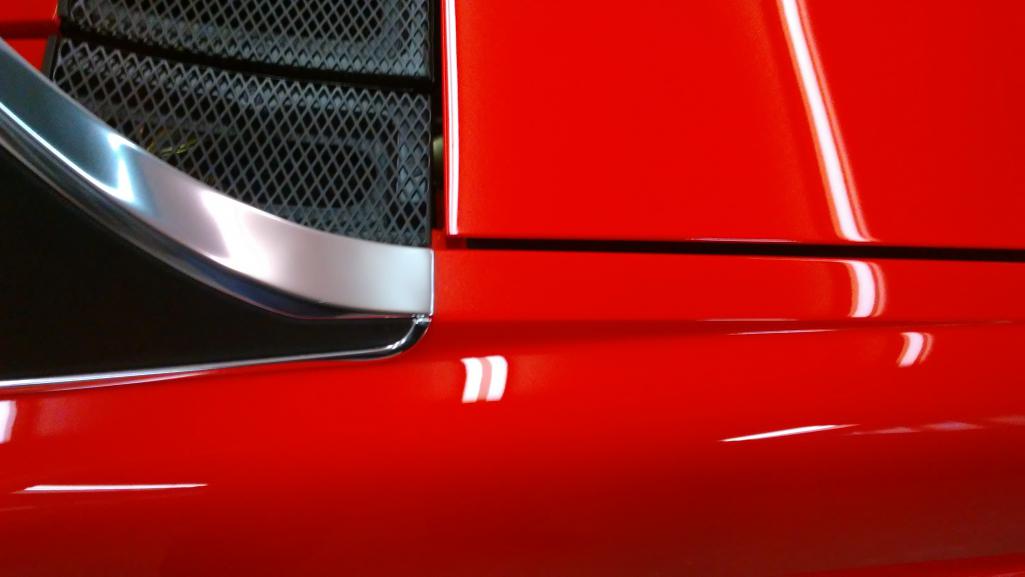
Posted by: 914350 Oct 27 2017, 06:25 PM
Scenic backdrop.
Attached thumbnail(s)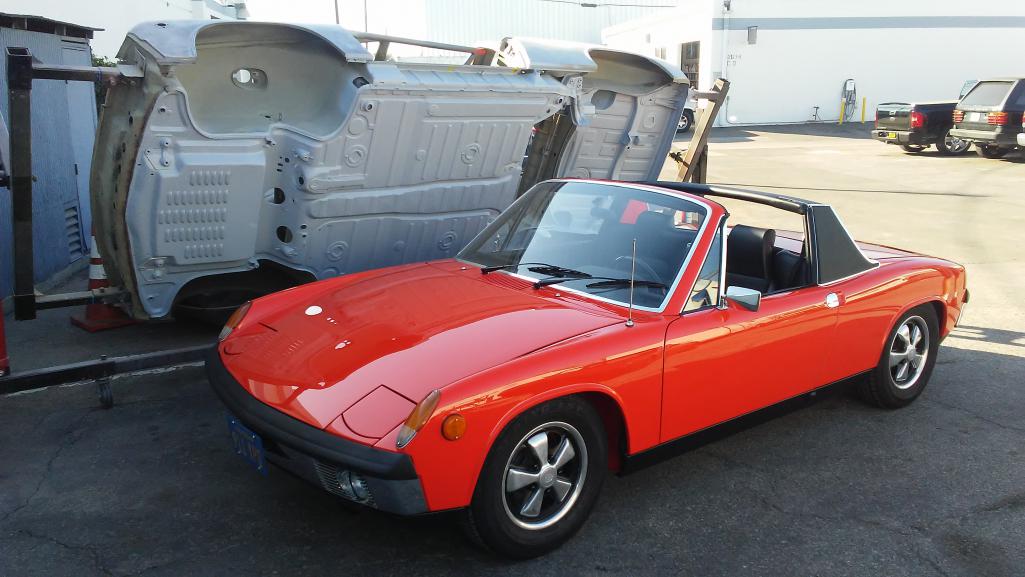
Posted by: Larmo63 Oct 27 2017, 06:33 PM
Amazing! I am saving the cash to get in line to have you take a look at my black car, Kent.
Posted by: 914350 Oct 27 2017, 07:15 PM
Amazing! I am saving the cash to get in line to have you take a look at my black car, Kent.
Sounds good and it's good to see that Clint is back.
Posted by: Cairo94507 Oct 27 2017, 08:50 PM
Jim's car is absolutely crazy beautiful. I am glad it was sitting next to my car. I know my car was feeling a lot better seeing what the end result will look like.
Posted by: 914Sixer Oct 27 2017, 09:22 PM
Stunning !!!!!
Posted by: raynekat Nov 3 2017, 04:29 PM
Did you get your back pad re-upholstered?
If yes, can you please share who did such a nice job?
Thx and your car looks incredible.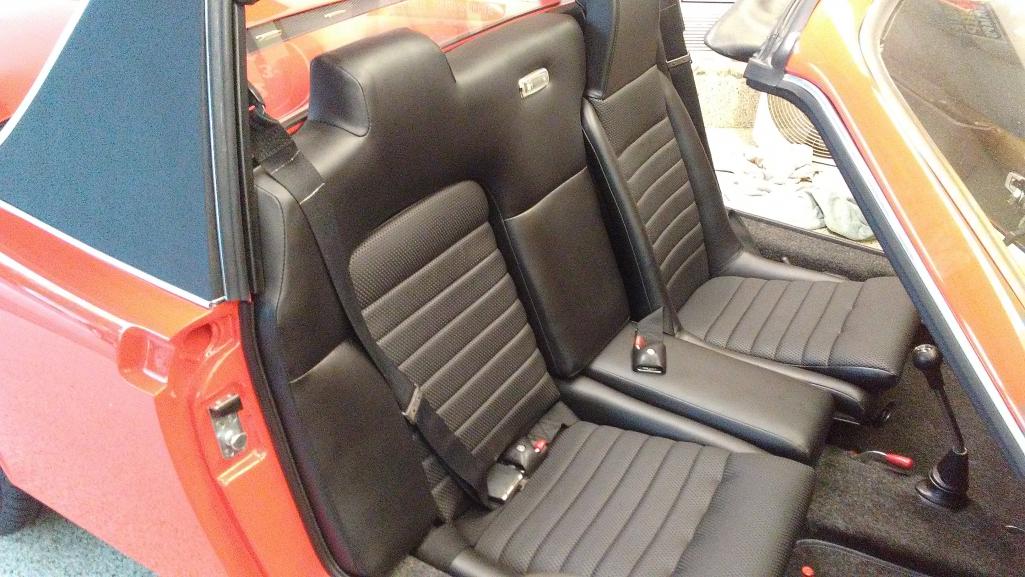
Posted by: banananose914 Dec 10 2017, 10:51 PM
Well, it's official, the car is done! Kent, Andy, Bob, Dave and the stupid owner have accomplished a most momentous task. I couldn't have found a better group of people to help me in getting the car back together.
Today consisted of many final adjustments. Along with many other final adjustments along the way. For anyone who has done a restoration, you can sympathize and relate. For those who are in the process, or thinking about it, you are in for a love/hate relationship.
Although it is truly rewarding, you are in for many ups and downs. Some days you can't wait to work on it, and other days you feel like there is no end in sight. Some days of thinking you're on top of your resto, and then days when you hit bottom. And many days where you realize that you're missing some important parts, and some of those parts will turn out to be almost irreplaceable. This was a regular occurrence. Oh, and you will be visiting the bank quite often.
Through the roller coaster ride of restoring a 914, you will see how important it is to have a group of people/friends who know what they're doing in restoring a 914. It's also important to have a website such as this as a guide, and a way to reach out to others for help.
Thanks for all ya all's help. You done good. In the immortal words of Michael Jackson, I love you, I love you all! Eee, hee!!
Now, off to Cairo's car. It's the next 6 to be awoke from a long sleep.
Posted by: ndfrigi Dec 10 2017, 11:15 PM
Sir Jim, again Congratulation to your 101% super super nice 914-6! Better than when it is brand new from dealer in 1970!
Posted by: ndfrigi Dec 10 2017, 11:15 PM
double post
Posted by: Cairo94507 Dec 11 2017, 08:02 AM
It is so true. This whole process is a roller coaster of emotions. I look at Jim and Andy's cars and can't believe that mine will one day be painted and together. I can't wait until January when I get to return to L.A. to visit and see the progress.
Posted by: 76-914 Dec 11 2017, 08:56 AM
It's a work of Art! Excellent workmanship.
Posted by: Eric_Shea Dec 11 2017, 11:01 AM
Absolutely stunning Jim.
Posted by: rick 918-S Dec 11 2017, 10:26 PM
Absolutely stunning Jim.

Posted by: euro911 Dec 11 2017, 11:41 PM
Powered by Invision Power Board (http://www.invisionboard.com)
© Invision Power Services (http://www.invisionpower.com)