Printable Version of Topic
Click here to view this topic in its original format
914World.com _ 914World Garage _ Swapping Out The Control Arms
Posted by: Mblizzard May 15 2015, 05:14 PM
Seems pretty simple. Going to read through the Haynes Manual of course. But thought I would ask if anyone has tips? Any special tools? Got new set built up with new bushings, ball joints, new nuts, and turbo tie rods.
Figured I would leave the shocks in place, separate at ball joint, and drop out. Will measure and set the tie rods to get close but figure I would pull the rack to clean up everything.
Will get some ride height measurement and such. Seems too easy!
Posted by: 914Sixer May 15 2015, 06:29 PM
Soak everything with PB Blaster. Make sure you have the ball joint tool( high torque impact wrench 450 lbs) but you can use a pipe wrench if you have too. You will need THIN 32mm wrench to tighten up turbo tie rods.
Posted by: Mblizzard May 15 2015, 06:41 PM

Soak everything with PB Blaster. Make sure you have the ball joint tool( high torque impact wrench 450 lbs) but you can use a pipe wrench if you have too. You will need THIN 32mm wrench to tighten up turbo tie rods.
Pretty sure 32mm is a spanner or 2 above the max size I have. Already have the new ball joints in the replacement arms so what is the ball joint tool I need.
Simple job equals new good and $$$$.
Posted by: bdstone914 May 15 2015, 08:49 PM
Remerber the foam seals that go on the torsion bars behind the adjuster caps.
Posted by: Mblizzard May 15 2015, 08:55 PM
Remerber the foam seals that go on the torsion bars behind the adjuster caps.
Ok will have to find those! I have not taken the old ones off are they reusable?
Posted by: r_towle May 15 2015, 10:10 PM
Watch out for the car falling on your head.
Posted by: ConeDodger May 15 2015, 10:24 PM
Watch out for the car falling on your head.
Ha! You made a Gint joke!


Posted by: Larmo63 May 16 2015, 10:01 AM
Did you watch the Elephant Racing video? He shows the proper angles to set up both ends of the arms where the rubber bushings go. This is important! We just did my whole front (and rear) suspension, it is pretty straightforward. A professional alignment is recommended after you set the ride height you want. That makes all the difference in the world.
Posted by: rhodyguy May 16 2015, 03:36 PM
If I'm not too late. Spray the capturing nut repeatedly. I also tap on the circumference with a small finishing hammer. Now fire up the compressor, take your air chisel with one of the notched tips stuck into one of the recesses on the bottom of the nut and have at it in bursts. No success? Spray, tap, chisel, be patient. After you get the nut off put the nut back on finger tight and use the control arm to pull the ball joint out of the strut assembly.
Posted by: Mblizzard May 16 2015, 06:18 PM
Did you watch the Elephant Racing video? He shows the proper angles to set up both ends of the arms where the rubber bushings go. This is important! We just did my whole front (and rear) suspension, it is pretty straightforward. A professional alignment is recommended after you set the ride height you want. That makes all the difference in the world.
Where is this video?
Posted by: altitude411 May 16 2015, 06:56 PM
Posted by: Mblizzard May 16 2015, 08:34 PM
Good info. Took the low tech approach and marked the position before removal. Hopefully that will be good enough.
Posted by: bdstone914 May 16 2015, 08:50 PM
Remerber the foam seals that go on the torsion bars behind the adjuster caps.
Ok will have to find those! I have not taken the old ones off are they reusable?
They are a foam seal and turn to mush. Have them new at Pelican for $4.50 each.
Posted by: Larmo63 May 17 2015, 12:33 AM
An iPhone 6 has a degree meter built into the compass app.
That is what I used, not scientific, but it worked.
Posted by: Mblizzard May 17 2015, 09:20 AM
All thanks for the good advice. Got the additional gaskets, also ordered new wedge bolts and nuts. Still have to figure out how to tighten the ball joint nuts to 184 ft/lbs. don't want to buy a $50 socket to use once.
Going to look for the person that was making and selling the tie rod wrenches.
Maybe next weekend to take it apart.
Posted by: bdstone914 May 17 2015, 08:40 PM
I got a socket meant for Dodge 4 x 4 spindles that i modified to work. I can geyt the part number when i am back at the shop. It has a larger ID but i lined it with nagnetic tape and it works well with an impact. The pelican one is not for use with an impact.
Posted by: r_towle May 17 2015, 08:53 PM
Large pipe wrench, done
Posted by: john77 May 18 2015, 05:30 PM
Large pipe wrench, done
This is good timing, I'm in the process of pulling my control arms to fit new bushings and wanted to get them powdercoated at the same time so I'm gonna need to remove the ball joints.
In all-seriousness, how do you measure torque with a large pipe wrench? I have one, and am considering that route, but with a suspension component that needs so much torque I'm not sure if I trust my arms to calculate correctly so it doesn't unscrew as I'm flying down the freeway
 .
.
Posted by: Larmo63 May 18 2015, 05:35 PM
Ball joints are supposed to be über tight of course, but you do have the lock discs below them as insurance.
A good tire/alignment shop should be able to do them for you off the car also.
Posted by: Mblizzard May 18 2015, 05:47 PM
Ball joints are supposed to be über tight of course, but you do have the lock discs below them as insurance.
A good tire/alignment shop should be able to do them for you off the car also.
Got all new parts so got the new lock disks as well. I will have to have it aligned of course so I might have the shop tighten then up.
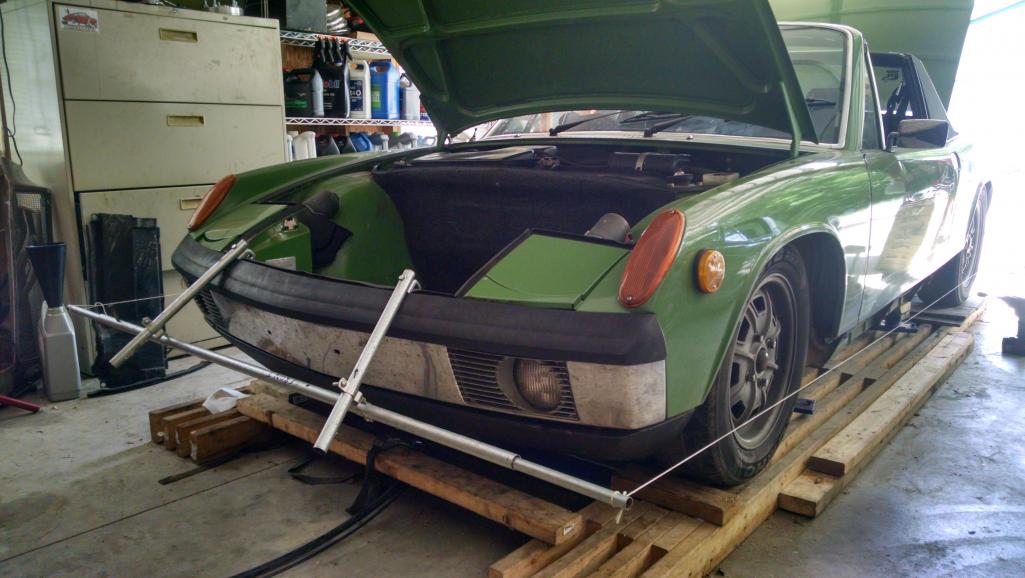
Posted by: Mblizzard May 20 2015, 06:11 PM
Last of parts arrived today!
Long weekend coming up.
Car has not been on jack stands in over a year.
Thanks to all of the suggestion here it looks like I will be tearing the front end out soon!
Posted by: BK911 May 21 2015, 06:25 AM
Are you doing the rears too?
Planning on powder coating?
Just had all my stuff done locally and am VERY pleased with how it turned out.
Who needs a professional alignment?
$25 in parts and a couple hours of fab'n: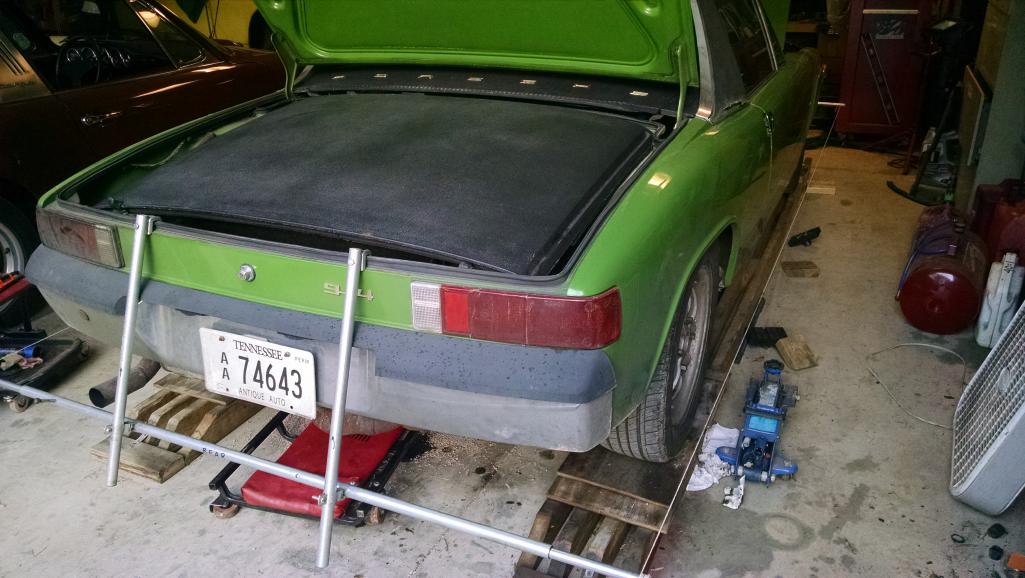
Posted by: BK911 May 21 2015, 06:26 AM
And don't forget the 
Posted by: nine9three May 21 2015, 01:05 PM
And don't forget the
I love this idea. Especially because you can make your adjustments move the car to reset and remeasure without dealing with a jack stand arrangement. Problem I see with your arrangement is that the stringline looks too low on the wheel. For accuracy you really need the stringline centered on the hub. It might be just the camera angle though?
Posted by: BK911 May 21 2015, 03:23 PM
Good eye! It is a little low but is completely adjustable. It was originally set up for a '73 911 track car and I never re adjusted for the 914. Since my goal is zero toe in the rear and barely toe in in the front, a little low is OK. Close enough for a street car!
Posted by: Mblizzard May 21 2015, 05:08 PM
Are you doing the rears too?
Planning on powder coating?
Just had all my stuff done locally and am VERY pleased with how it turned out.
Who needs a professional alignment?
$25 in parts and a couple hours of fab'n:
May have to hit you up for a loan on that!
Went with truck bed coating for this round. Will be doing a complete strip down for paint in future. Will coat then.
Backs are next! Got new bearings and bushings.
Posted by: BK911 May 22 2015, 10:22 AM
I got all my blasting and powder coating done for $100. That was for front and rear 23 pieces total. $100!! By the time you clean up everything and paint you will probably spend close to that, especially if you factor in labor. All I had to do was drop it off and pick it up.
Powered by Invision Power Board (http://www.invisionboard.com)
© Invision Power Services (http://www.invisionpower.com)