Printable Version of Topic
Click here to view this topic in its original format
914World.com _ 914World Garage _ BUILD-OFF CHALLENGE: 74 Sunflower Yellow
Posted by: mrfourteen Oct 11 2015, 10:27 PM
Update, I'll be offering this one up for sale when completed.
Here is a link to an album on fickr much better to see progress pics
https://www.flickr.com/photos/124793434@N03/albums/72157654074622313
I started with a 914 that sat 15 years in dry storage in the hands of a hopeful V8 conversion fan. A stalled project that never happened.
So my starting point was an unmolested car with no rust issues.
Original books/manuals, keys, radio and so on.
This will be a mildly modified back date look with body color bumpers and early steel wheels with hub caps.simple look of the German delivery first series cars.
Starting in on the home stretch, glass in and ready for door install
Interior is in and wiring connected. Starting to test systems and wake the long sleeping beauty. So far all go except for one headlight wont wake up.I'll be digging in on that as I work thru the rest of electrical check out.
Should hang the doors in the next few days. Fuel up and brake check out as well. 
Original carpet is in pretty respectable condition. Steering wheel will get a going over.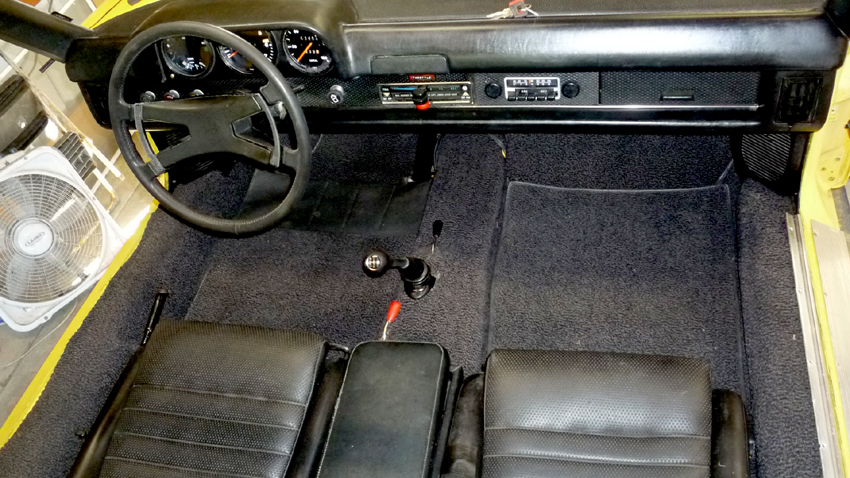
Bumpin' sound system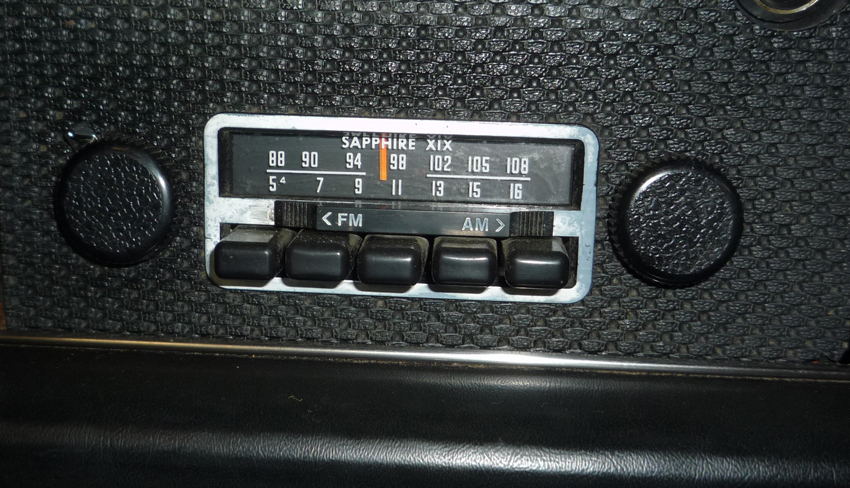
Posted by: mrfourteen Oct 11 2015, 10:33 PM
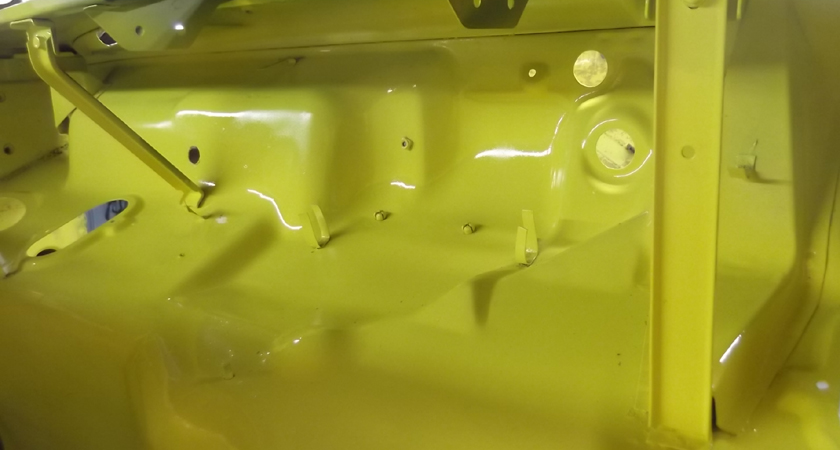
Metal shots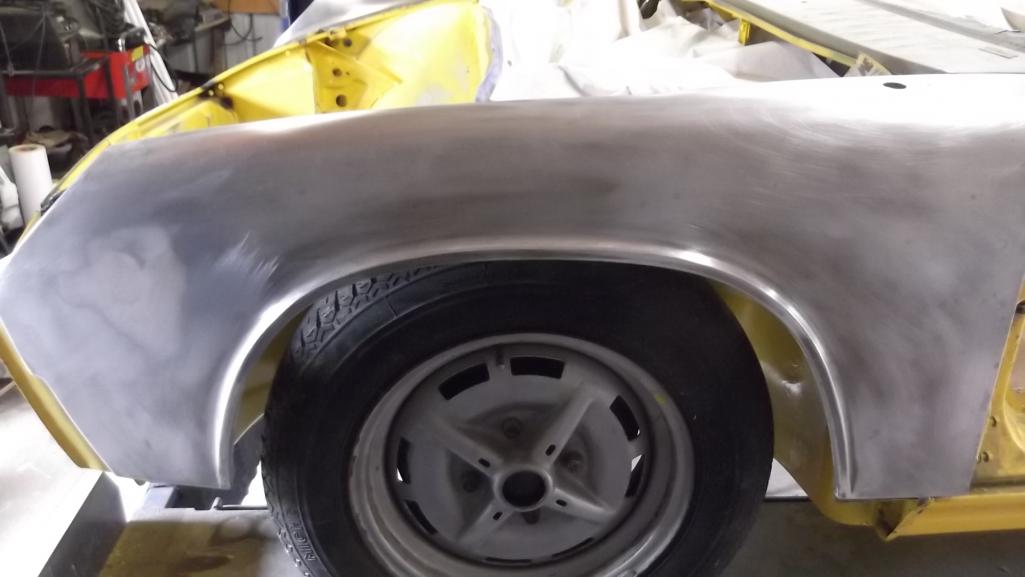
Posted by: mrfourteen Oct 11 2015, 10:41 PM
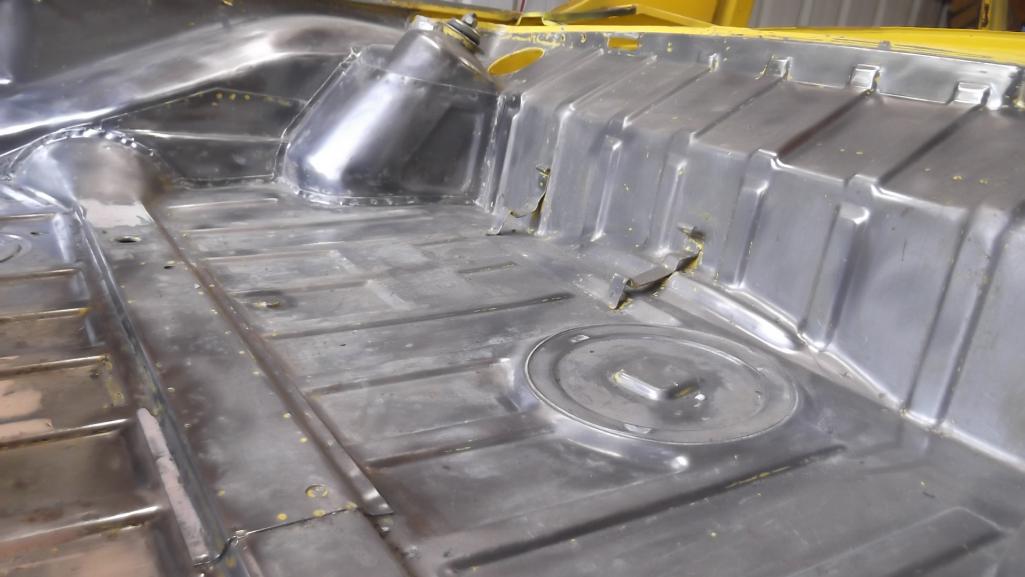
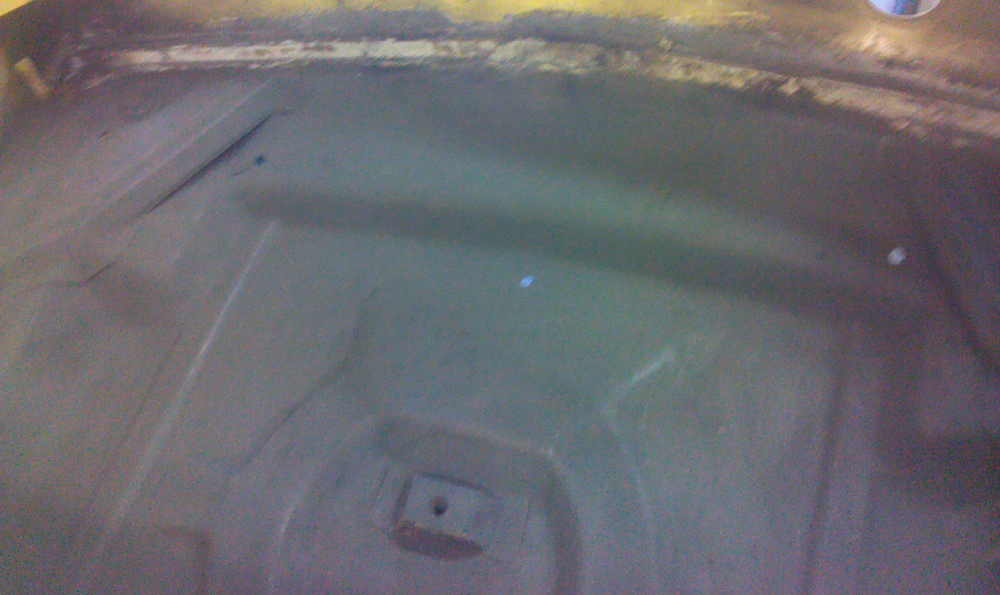
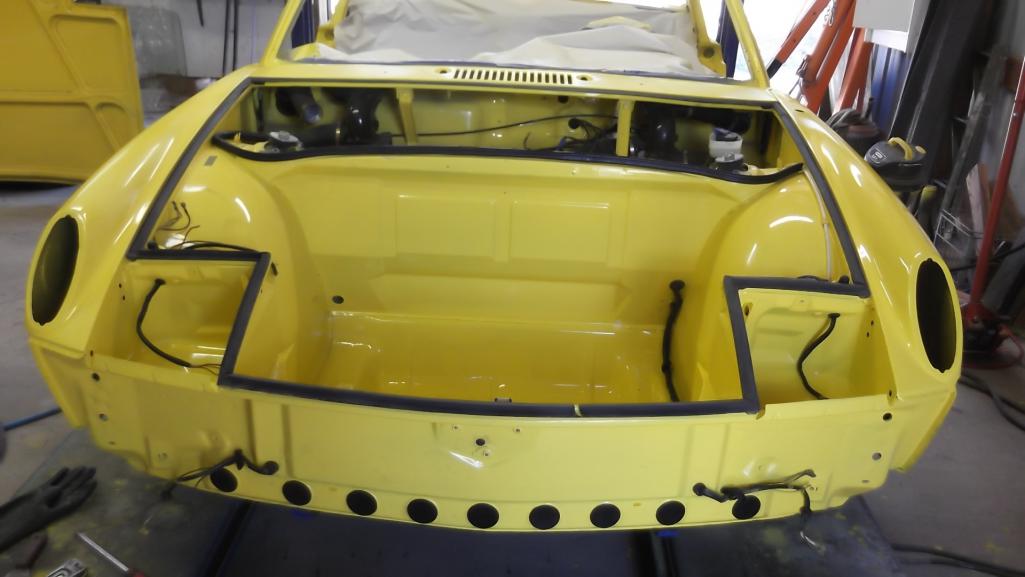
Under fuel tank before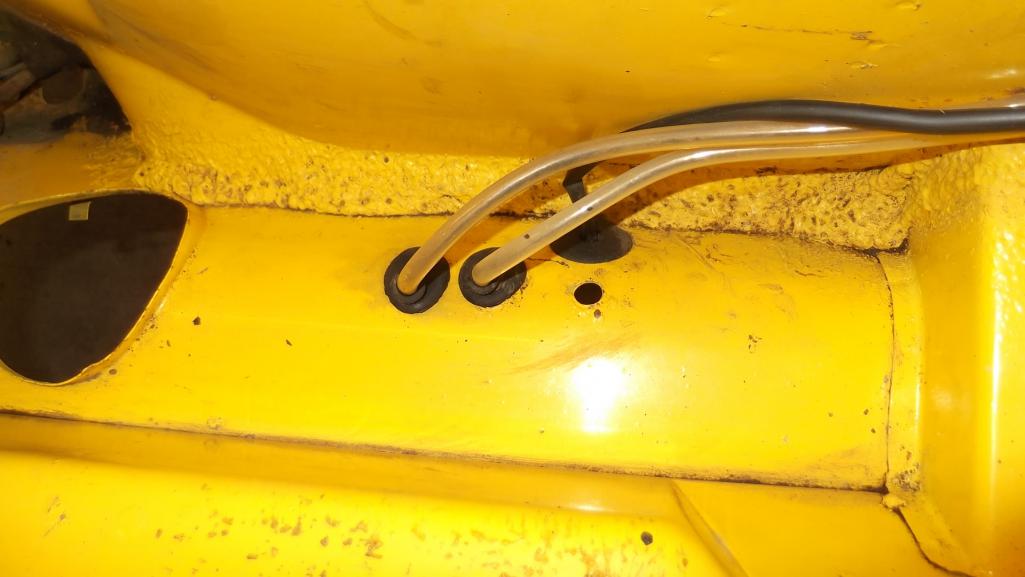
Ugly but nice in a not rusty kind of way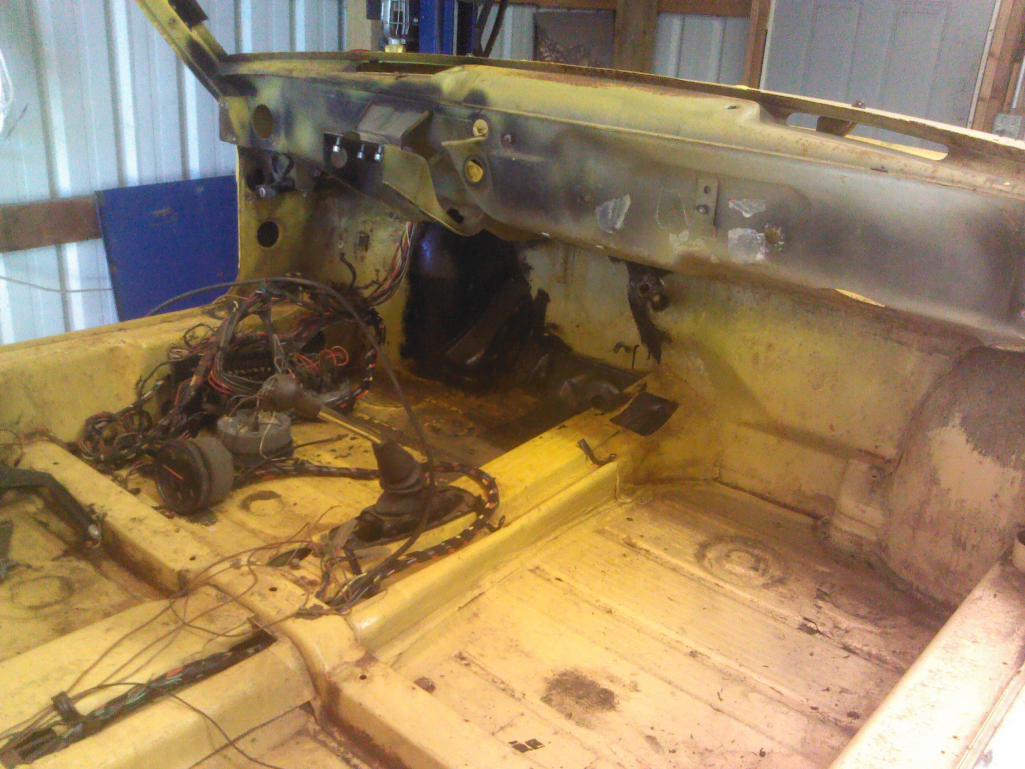
Posted by: Mueller Oct 11 2015, 10:49 PM
Dang, great work on stripping that paint...what did you use?
Posted by: mrfourteen Oct 11 2015, 11:00 PM

Dang, great work on stripping that paint...what did you use?
Paint remover, the kind that burns like mad when to get it on you.
I don't like to blast as it gets grit everywhere and not as easy to control if you have other parts finished. I use heat on the OEM seam sealer in the form of a propane tourch. Stinky and not fun.
Posted by: falcor75 Oct 12 2015, 02:19 AM
Looks like a great start!
Posted by: mrfourteen Oct 12 2015, 09:14 AM
[quote name='mrfourteen' post='2250833' date='Oct 11 2015, 09:41 PM']
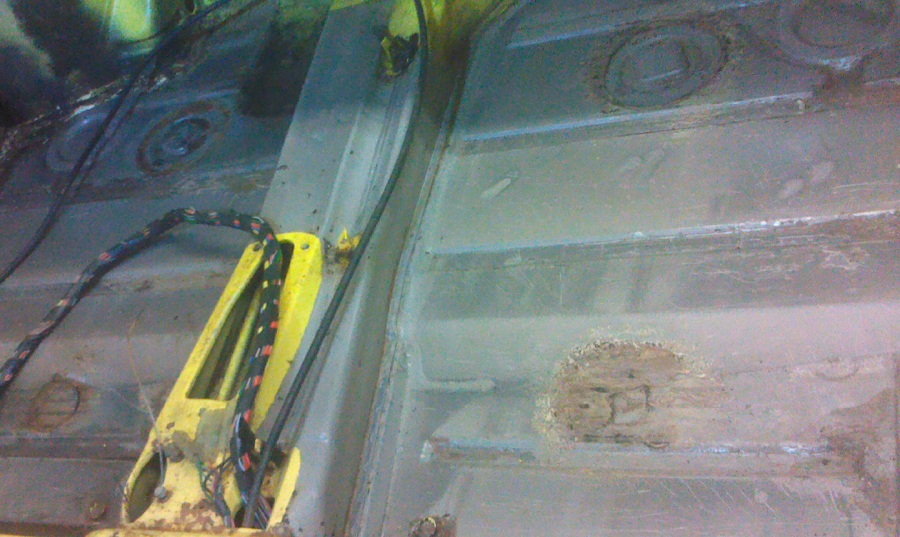
Floors with original factory finish. These were striped and epoxy painted before Roadblocker sound absorption mats were applied.
Roadblocker is self sticking butyl rubber with 4 mil aluminum backing, odorless non asphalt, good stuff.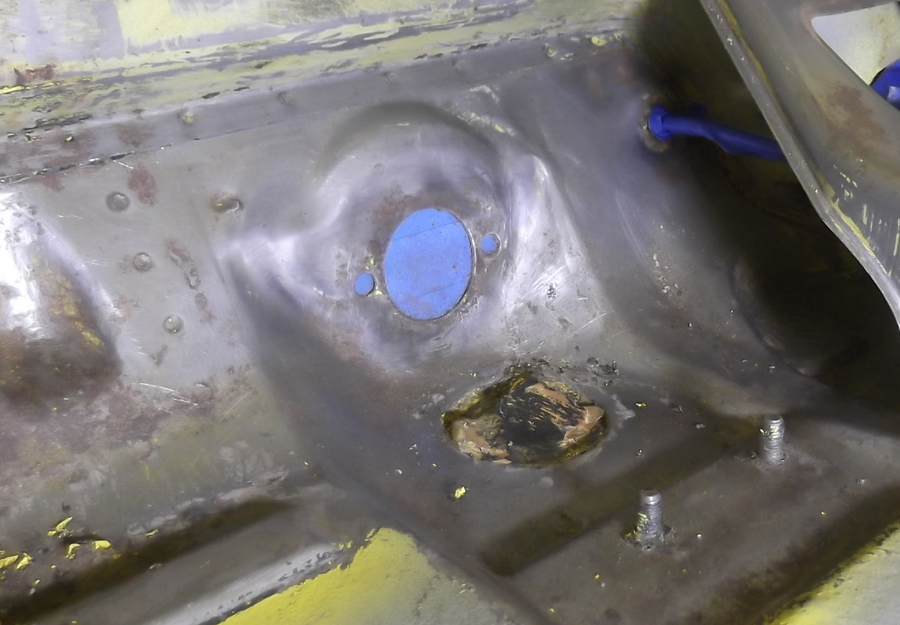
Posted by: mrfourteen Oct 12 2015, 11:10 AM
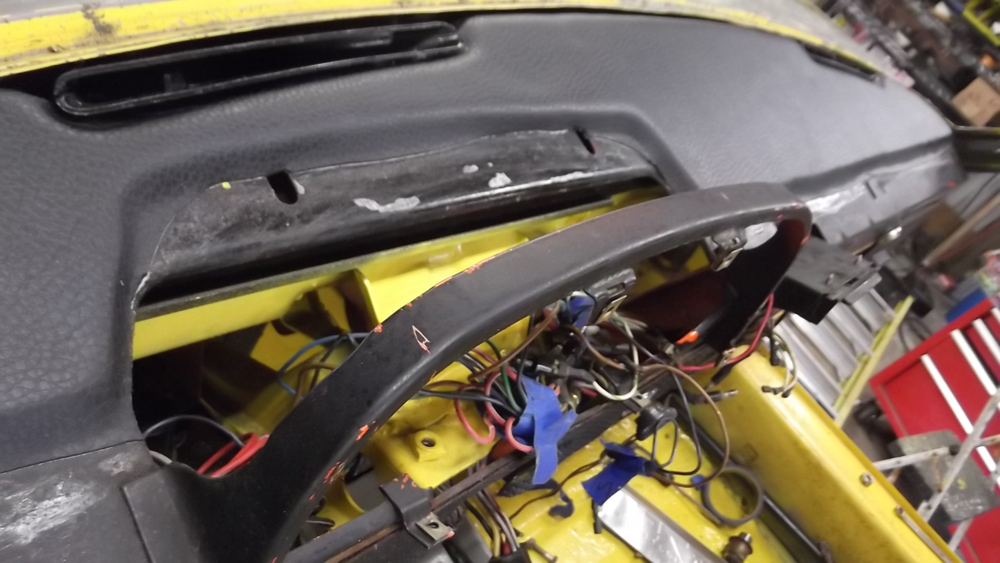
Some dash progress 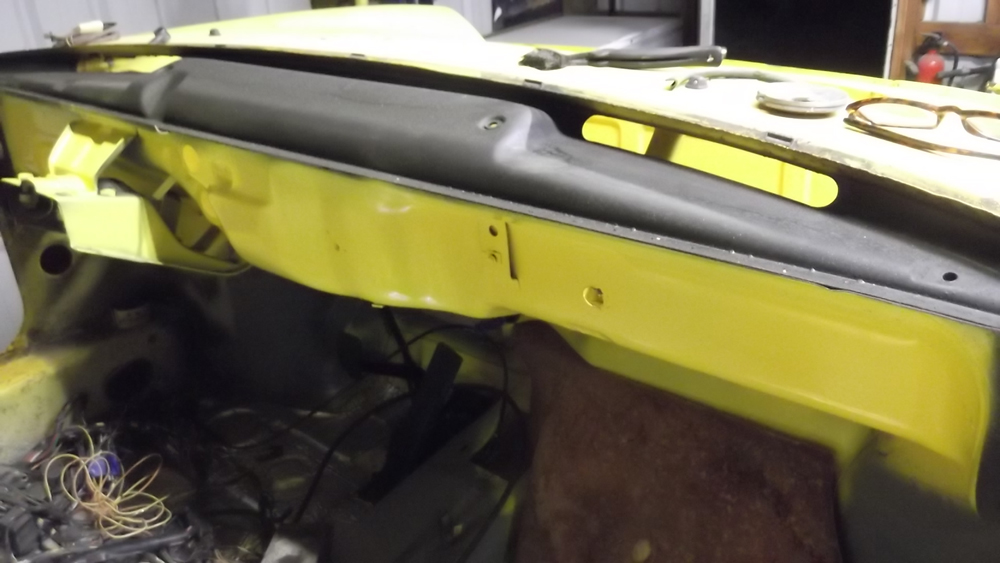
Posted by: mrfourteen Oct 14 2015, 07:18 PM
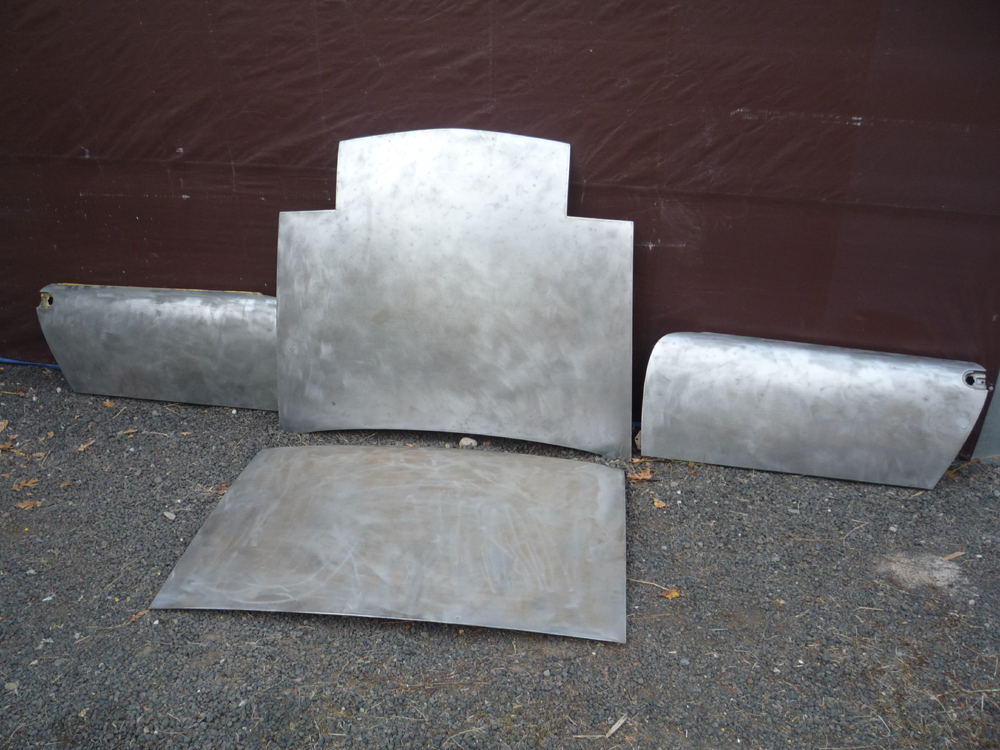
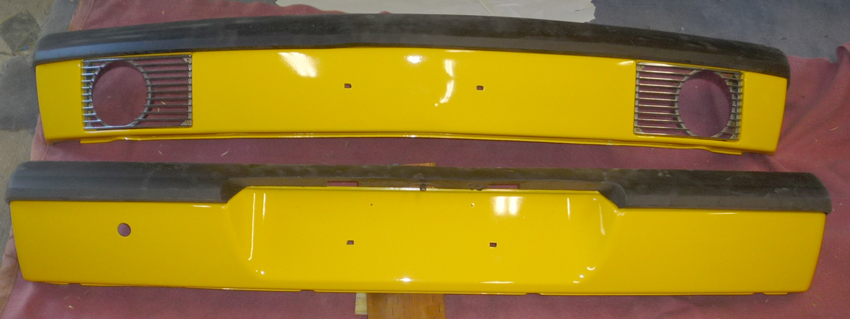
body panels
Posted by: trojanhorsepower Oct 14 2015, 07:31 PM
Looking good. Could you talk a little more about the paint stripping? What brand, what was the process like, did you neutralize.... I want to know all about it!
Posted by: mrfourteen Oct 14 2015, 07:32 PM
epoxy paint going the floors 
A peek inside the fuel tank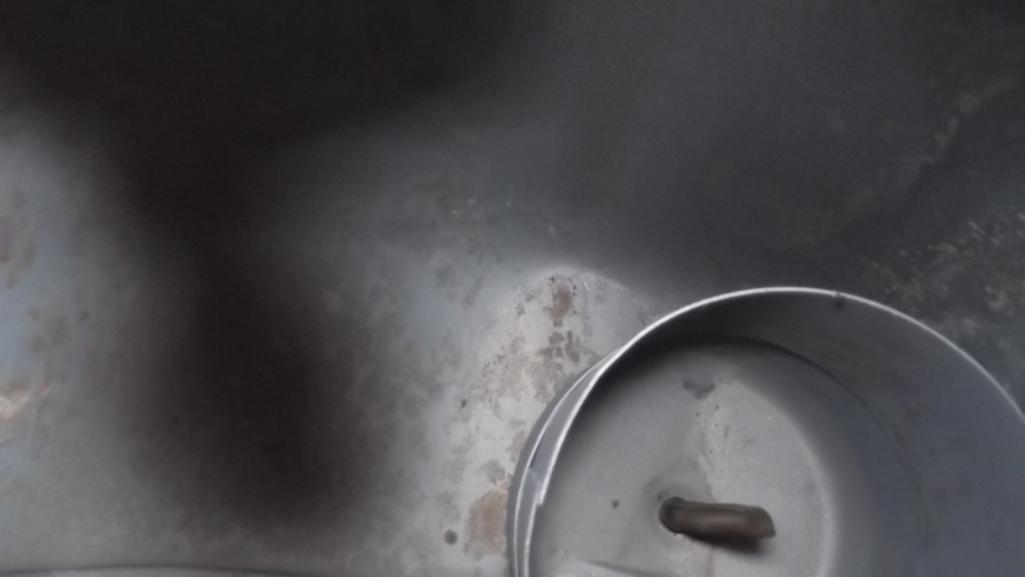
Posted by: mrfourteen Oct 14 2015, 08:44 PM
Paint scheme concept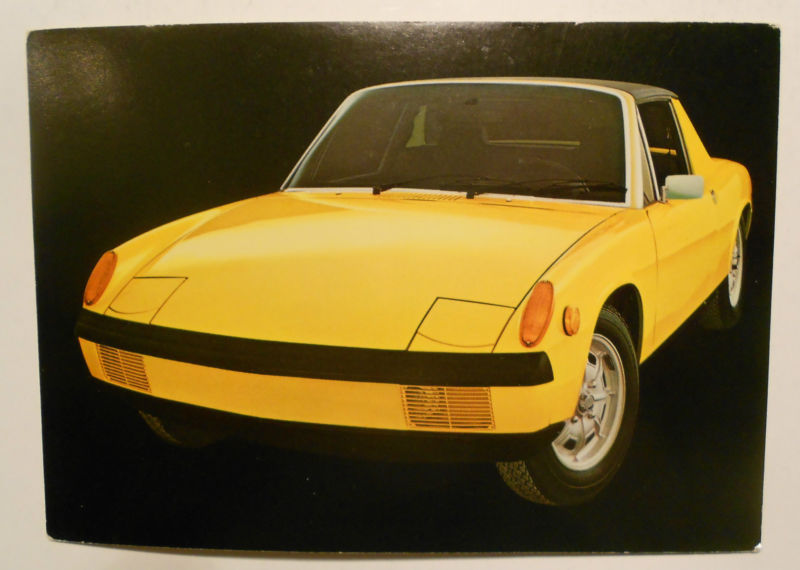
Posted by: mrfourteen Oct 15 2015, 08:47 AM
[/quote]
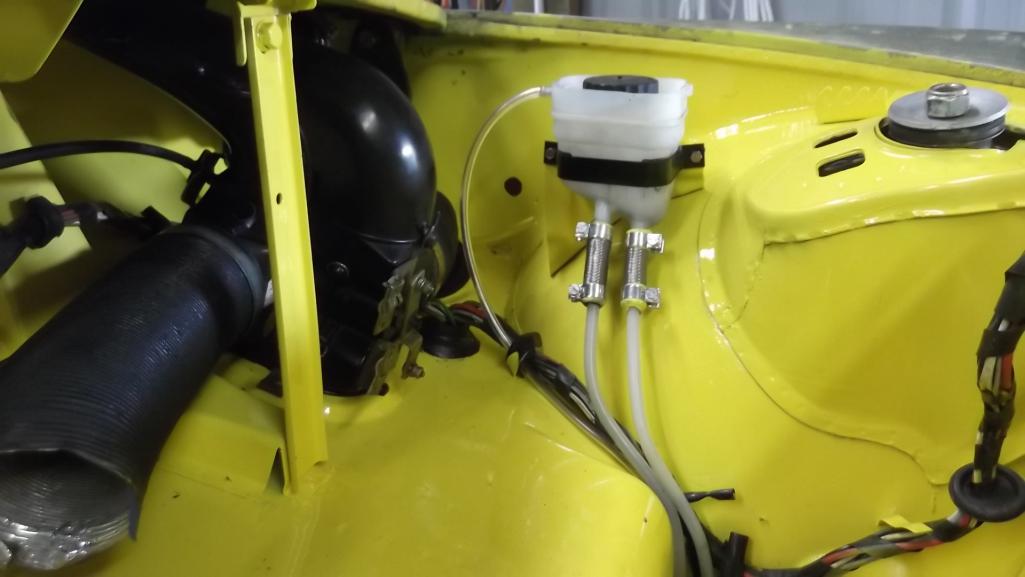
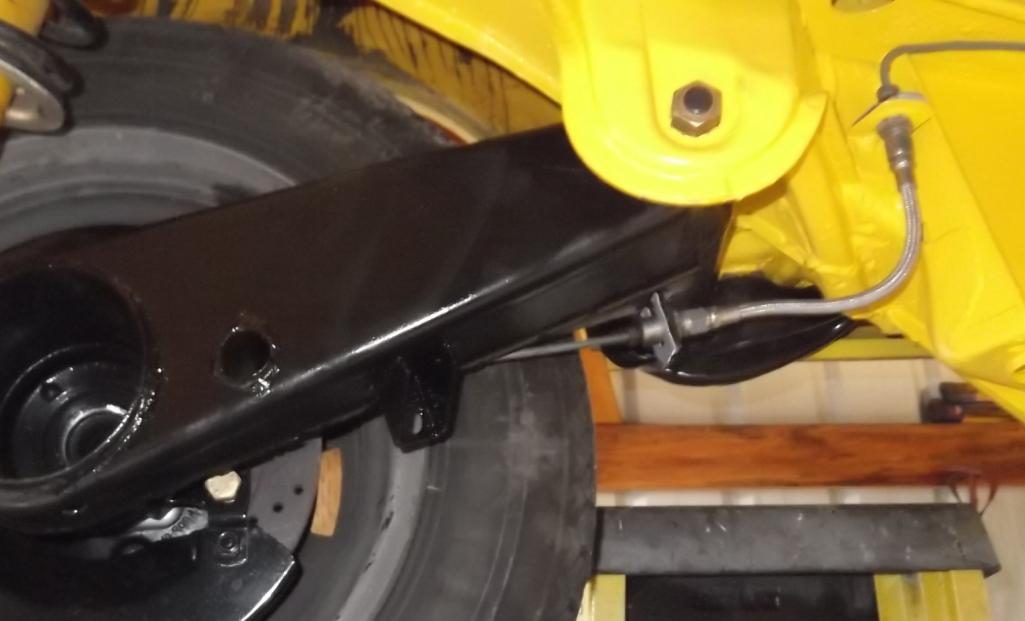
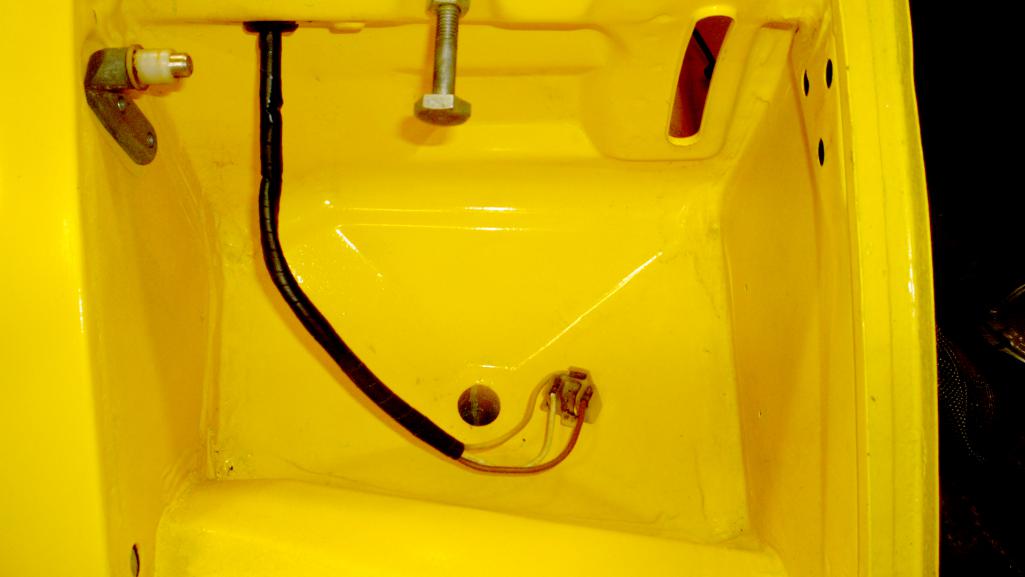
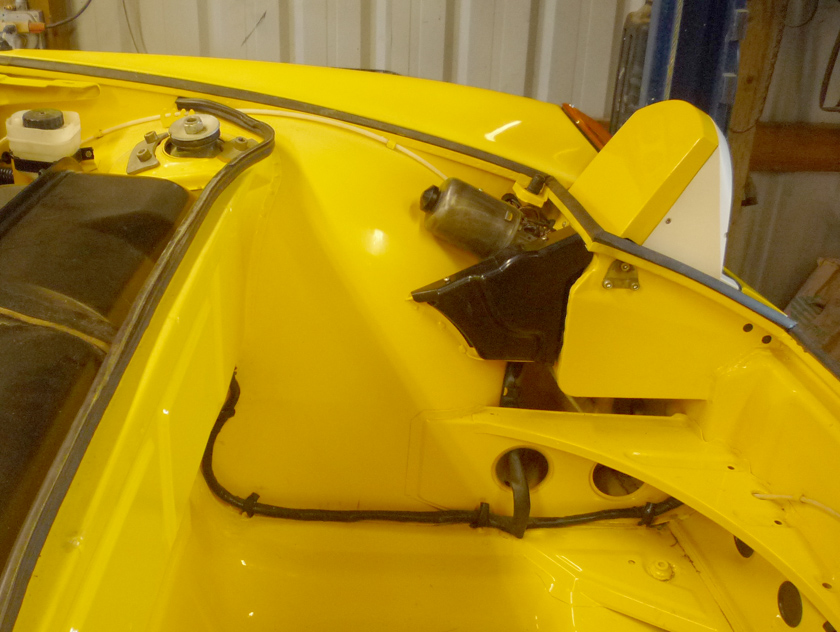
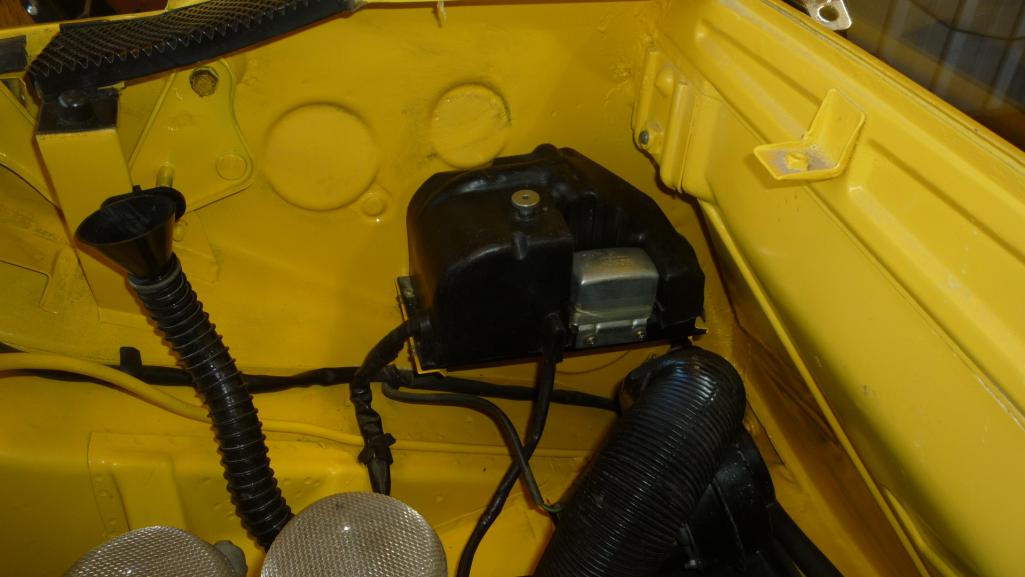
Moving on to some finished portions of the build
The factory heat shield has been removed for access to the area behind.
It's replaced bny an aluminum heat shield is mounted directly to the exhaust.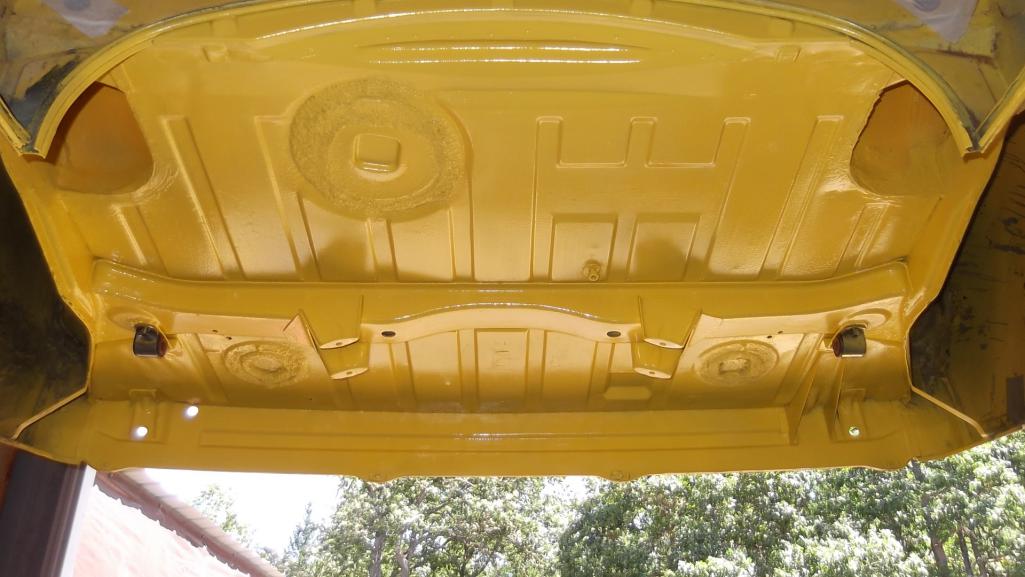
Plastic fuel lines have since been replaced with stainless steel
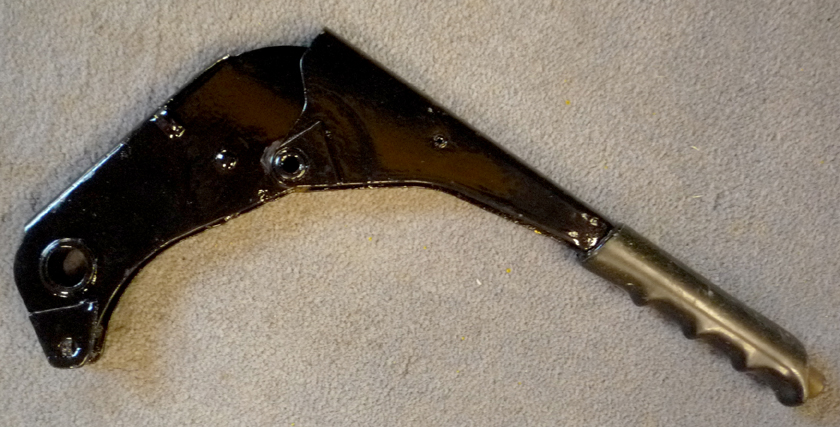
rebuilt pedal assy.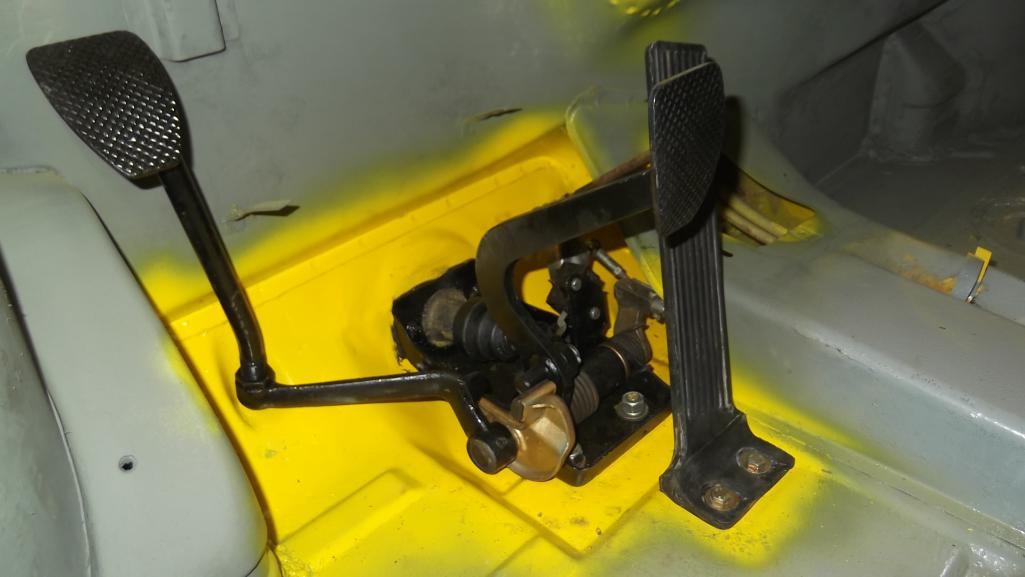
Posted by: mrfourteen Oct 15 2015, 09:21 AM
[quote name='mrfourteen' post='2252149' date='Oct 15 2015, 07:47 AM']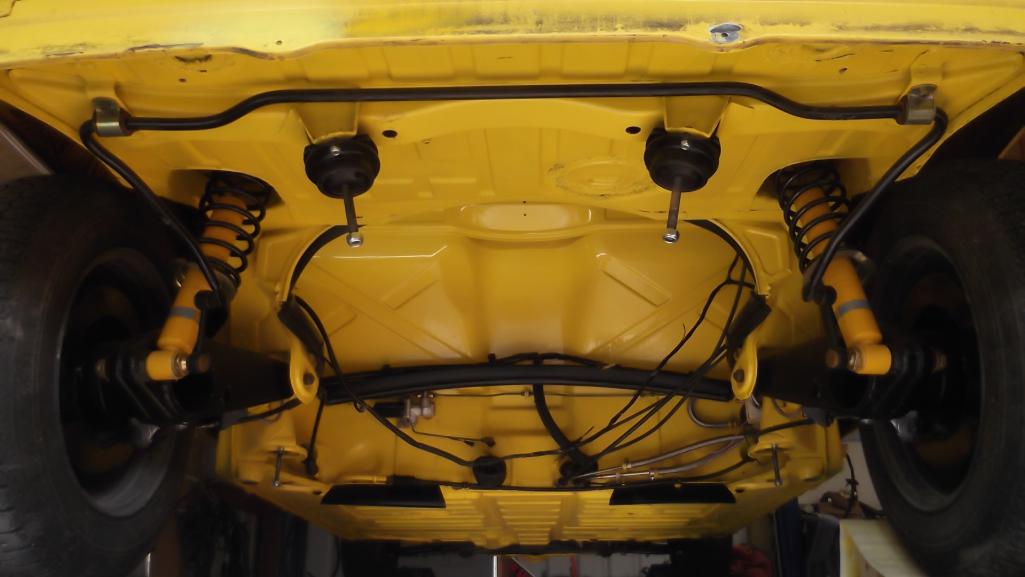

Posted by: Chris H. Oct 15 2015, 09:26 AM
Wow the removal of the seam sealer makes such a huge difference. Looks great so far!
Posted by: mrfourteen Oct 15 2015, 08:38 PM
Wow the removal of the seam sealer makes such a huge difference. Looks great so far!
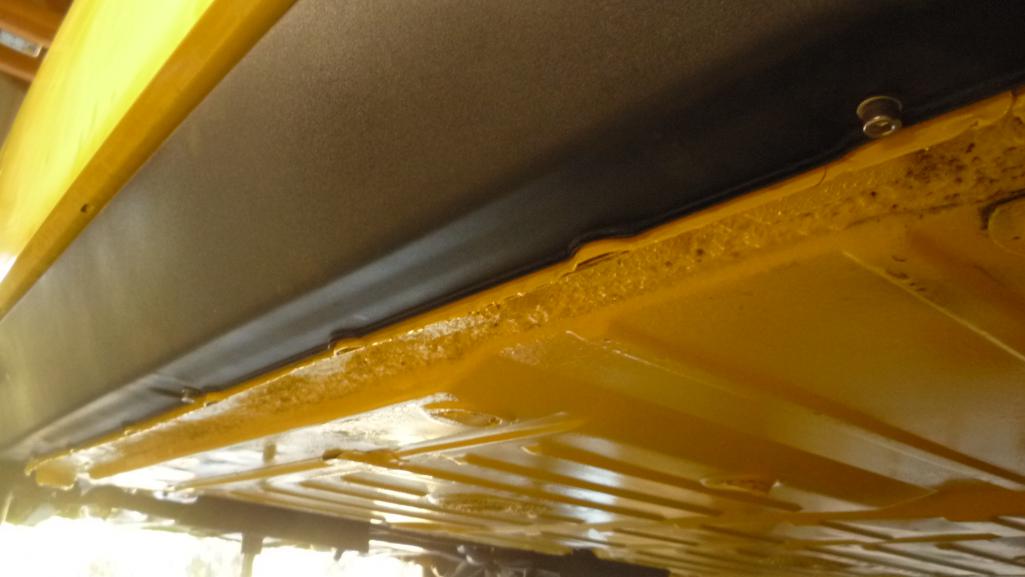
Yeah once you get it off you don't want to replace it, it looks too nice.
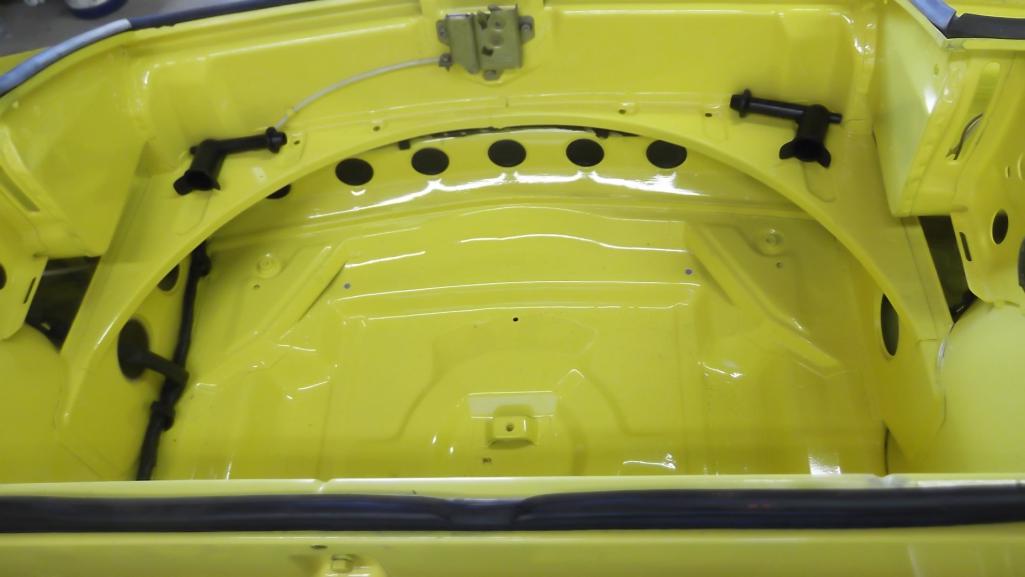
There's plenty on the under side. Front trunk got the same treatment.
Posted by: mrfourteen Oct 16 2015, 07:37 AM
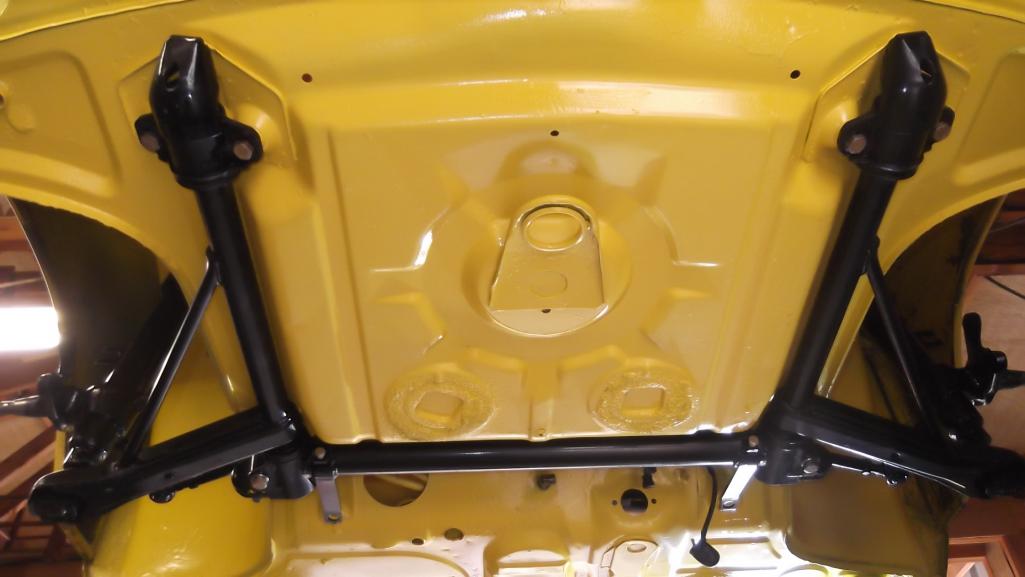
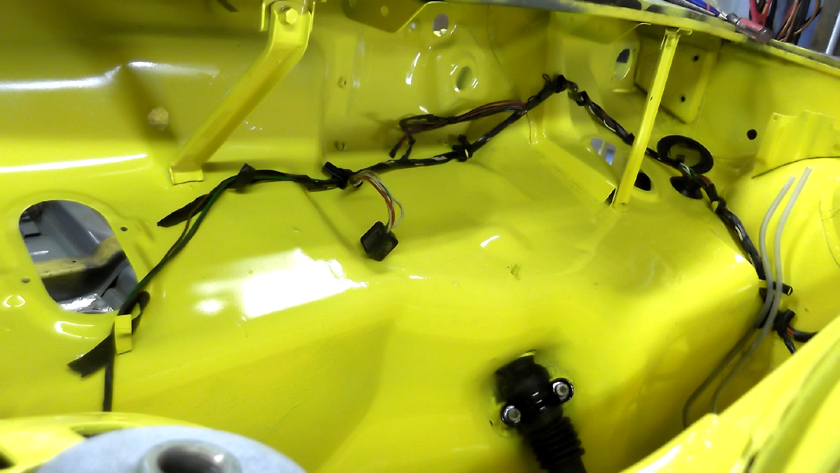
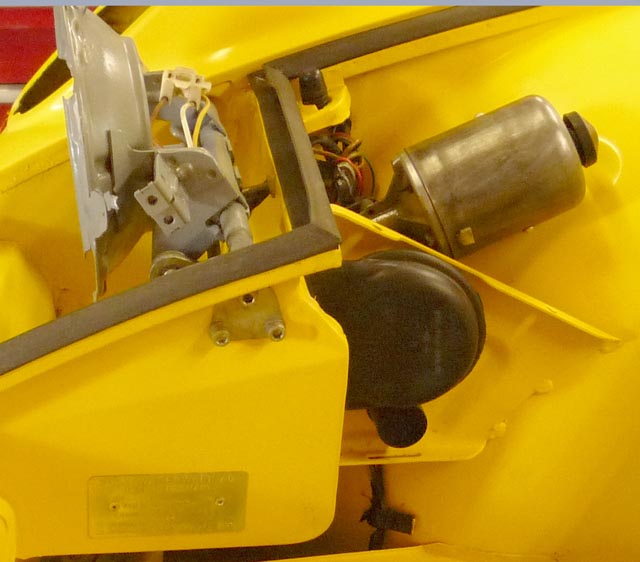
Moving forward to the front trunk and all the fiddly bits that live there.
Posted by: mrfourteen Oct 16 2015, 08:28 AM
After looking over the other builds here I can see how boring this build is. No dramatic surgery or radical mods. Good thing I not worried about winning any prizes.I think I should pair it up with my engine swap car to spice it up a little.
Engine ready to go in after bench testing break in run up and basic tuning.
1.9 with fly cut heads, mild cam Dellorto 36s with 29mm chokes single vac. dual advance dizzy with Pertronics, full stainless exchangers and a header on the back.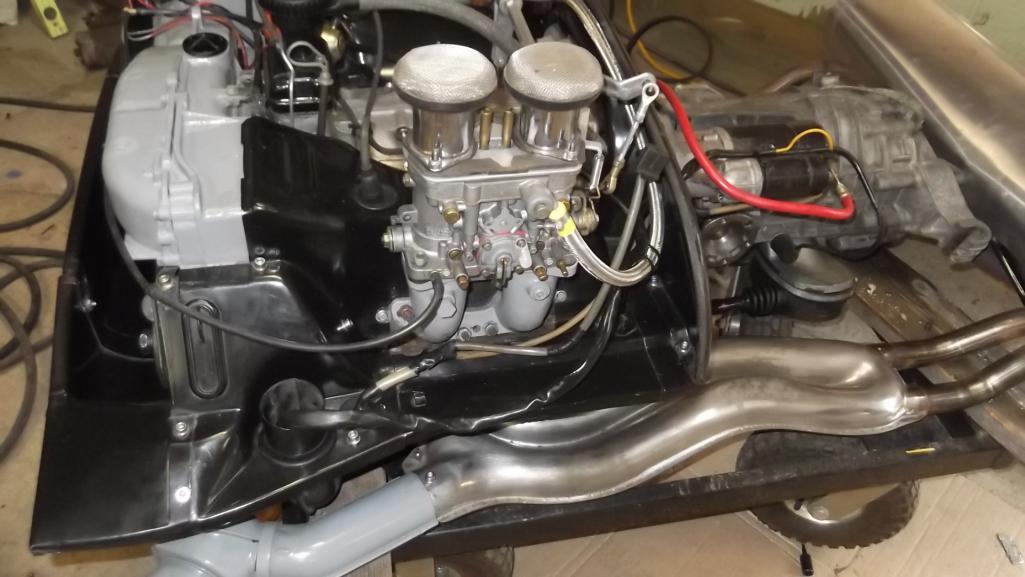
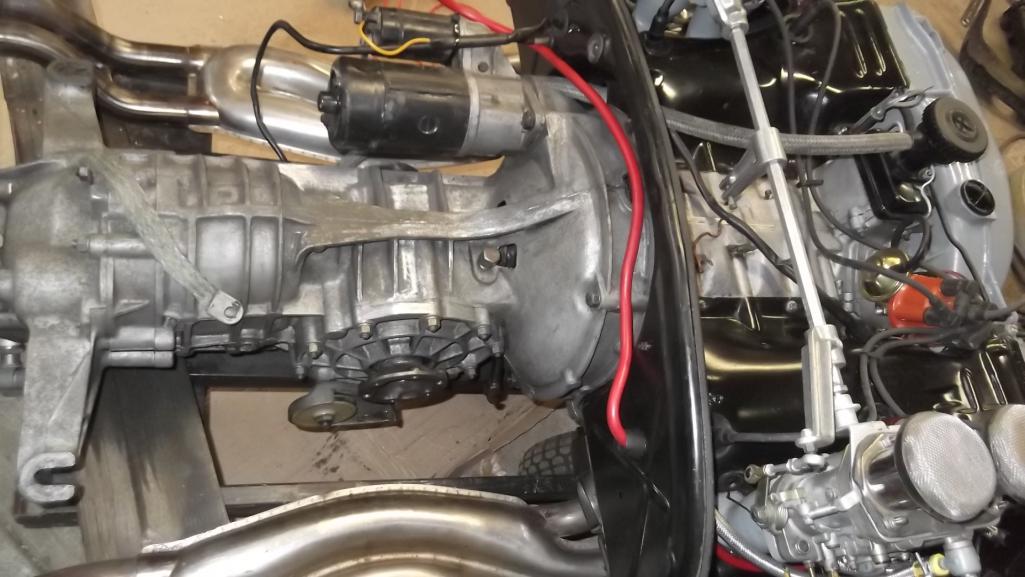
in there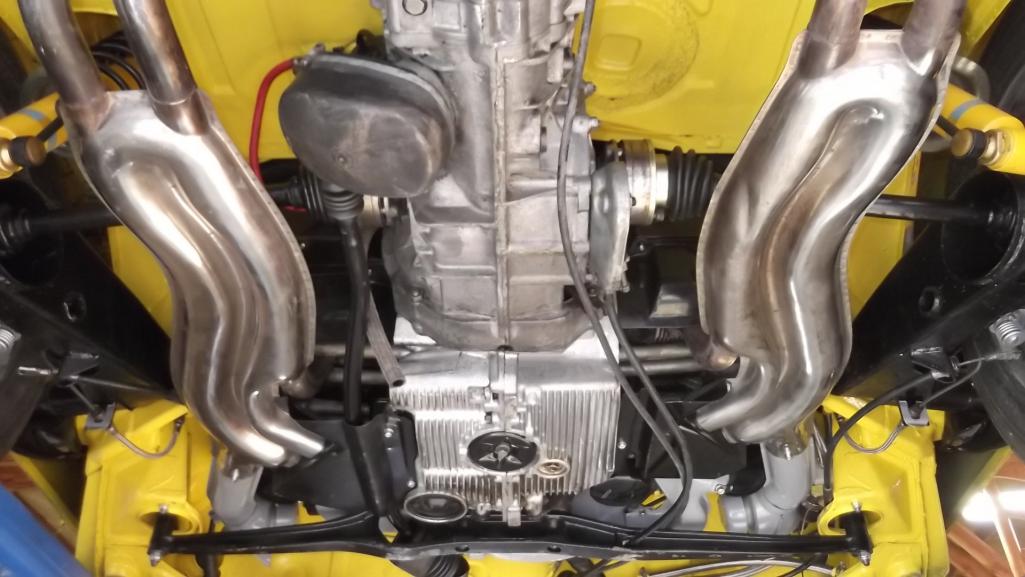
top view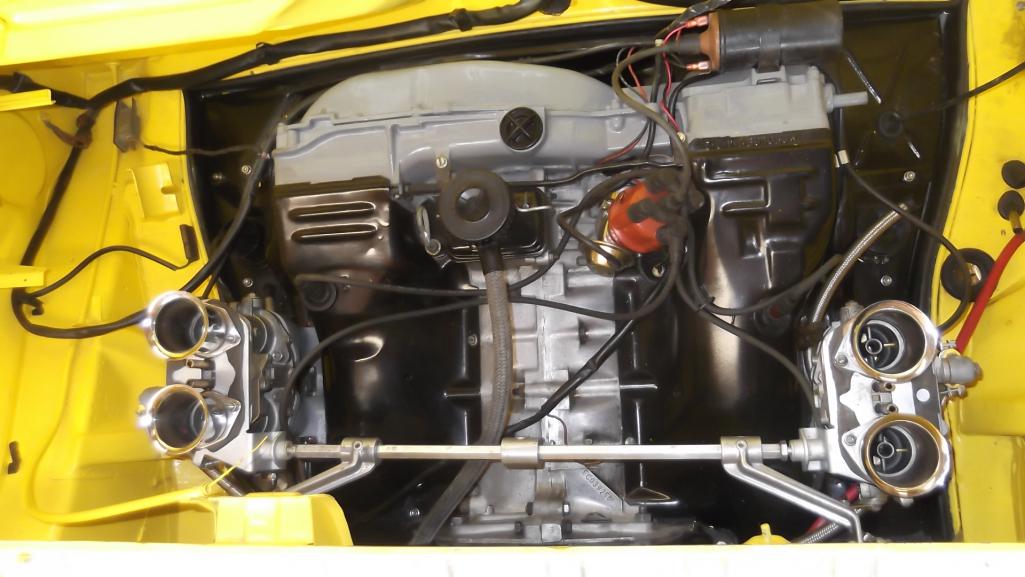
I've had and built so many of these it's like sleep walking I'm a 914 zombie just in time for Halloween
Posted by: mrfourteen Oct 17 2015, 09:40 AM
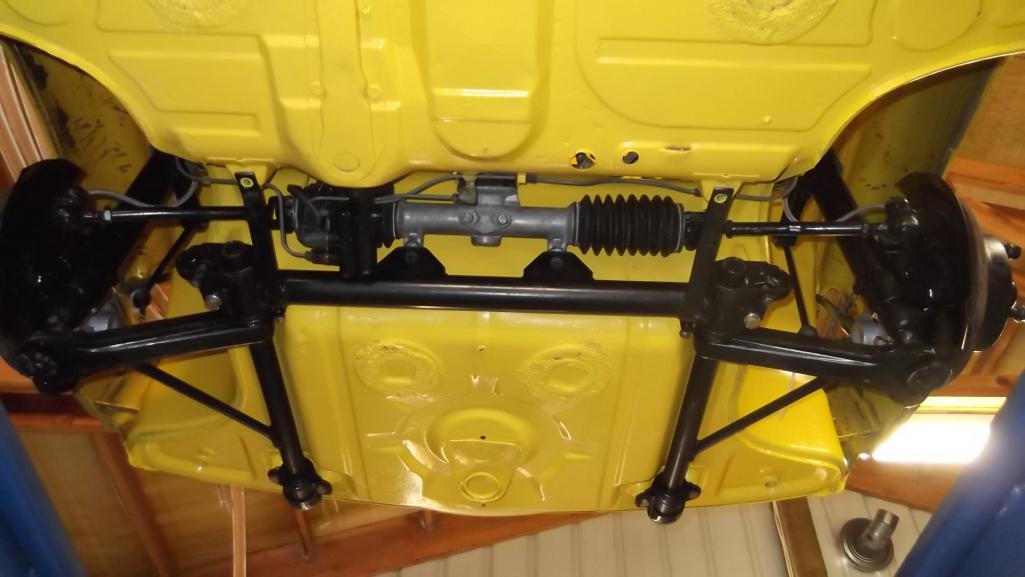
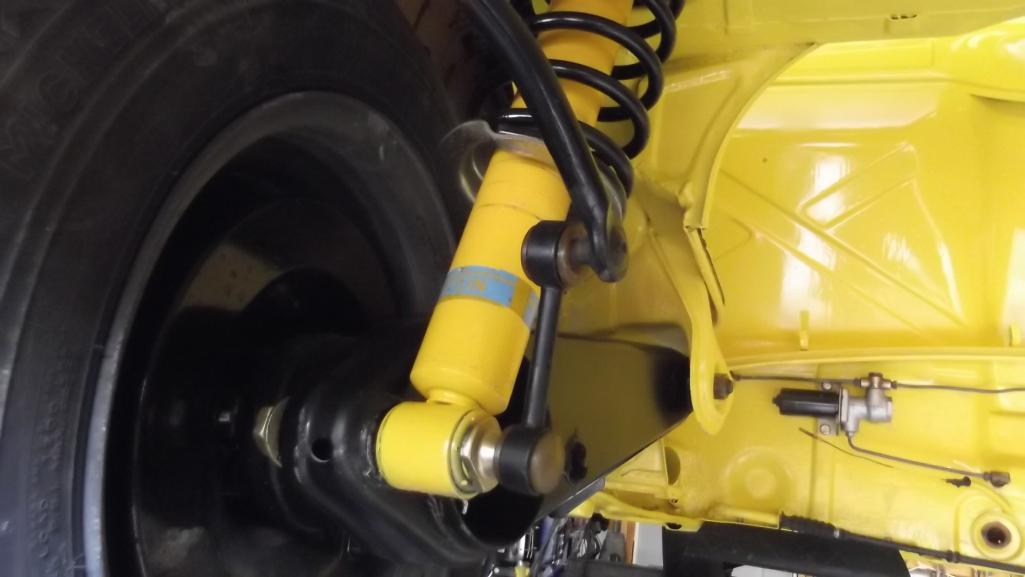
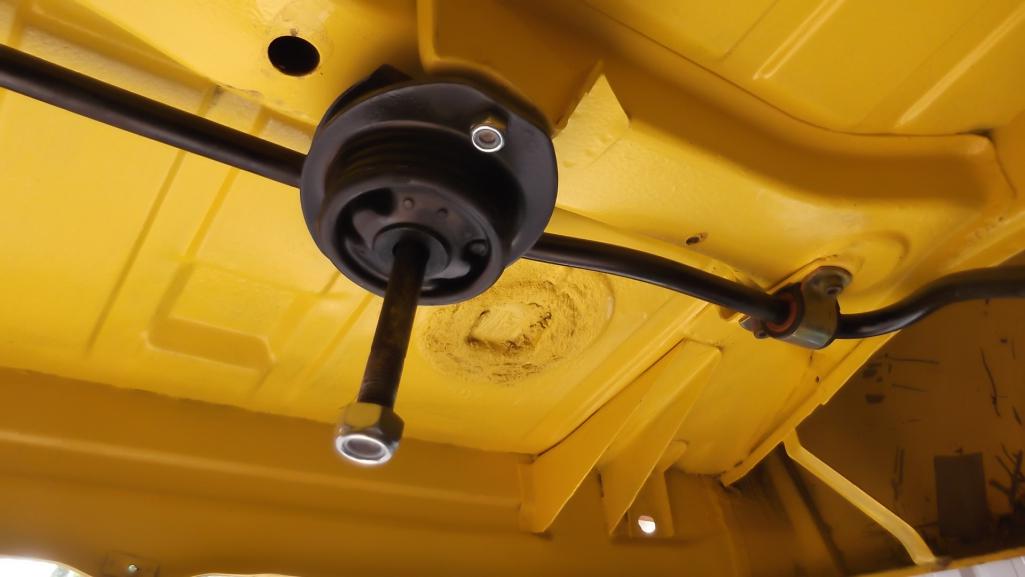
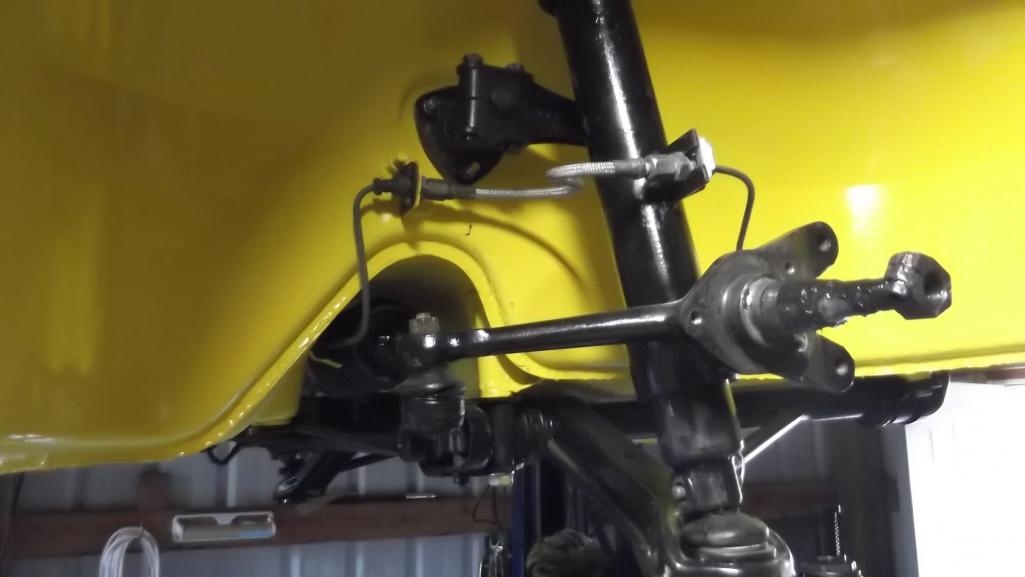
Suspension and brakes.
Adjustable Bilstiens, drilled rotors, 19mm master, stainless soft lines, front and rear sways, graphite poly bushings, new stuff everywhere.
Crap I cant find the pics I'll add more later.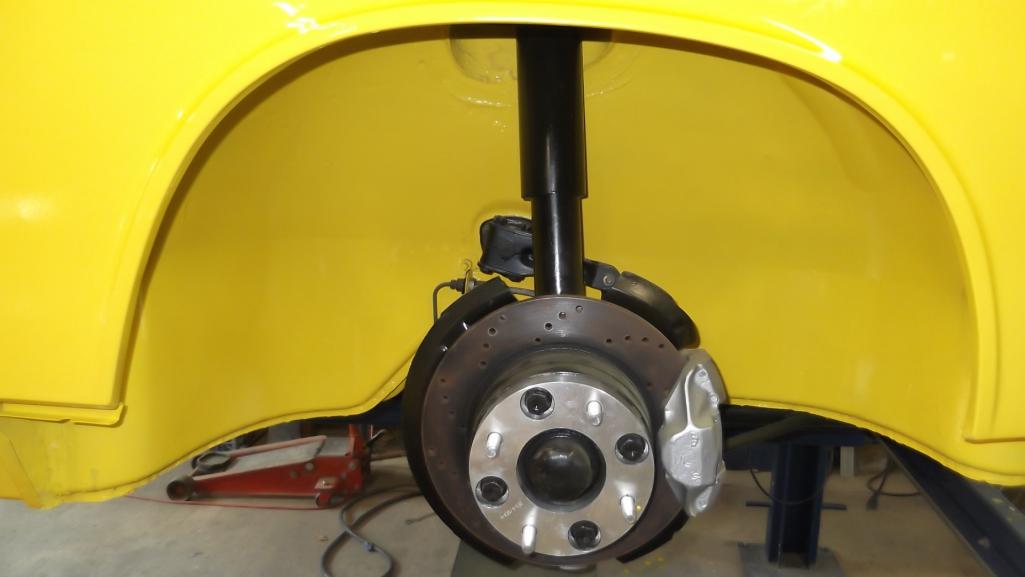
Posted by: mrfourteen Oct 19 2015, 07:52 AM
Steel fuel lines and other bits installed.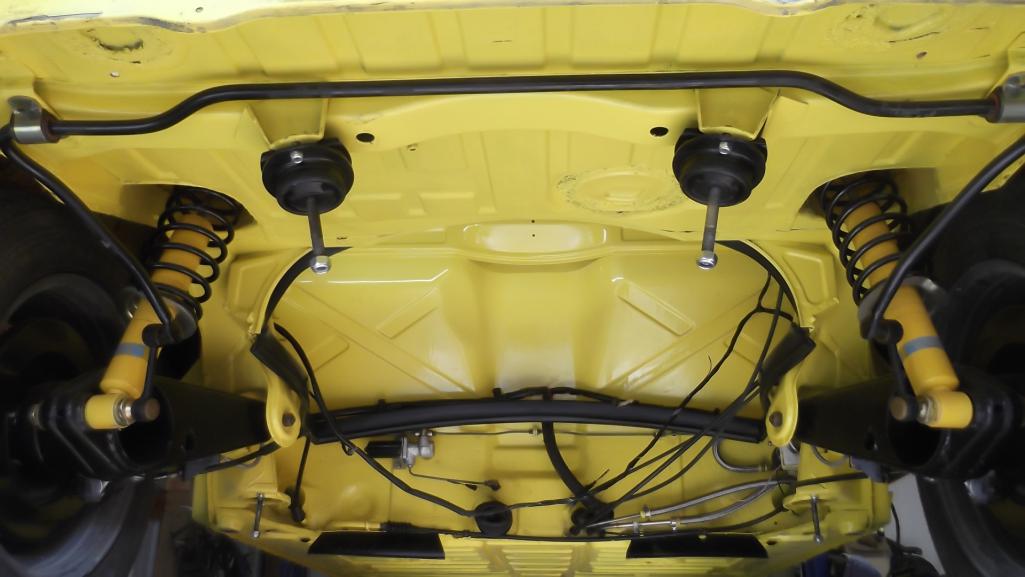
Fuel pump and filter in stock locations.
Using a return flow set up 4 PSI pump with a flow restricting fitting in the return line yields high volume low pressure. 
Posted by: mrfourteen Oct 28 2015, 09:23 PM
Blank
Posted by: stevegm Oct 28 2015, 09:29 PM
Nothing bought this month..
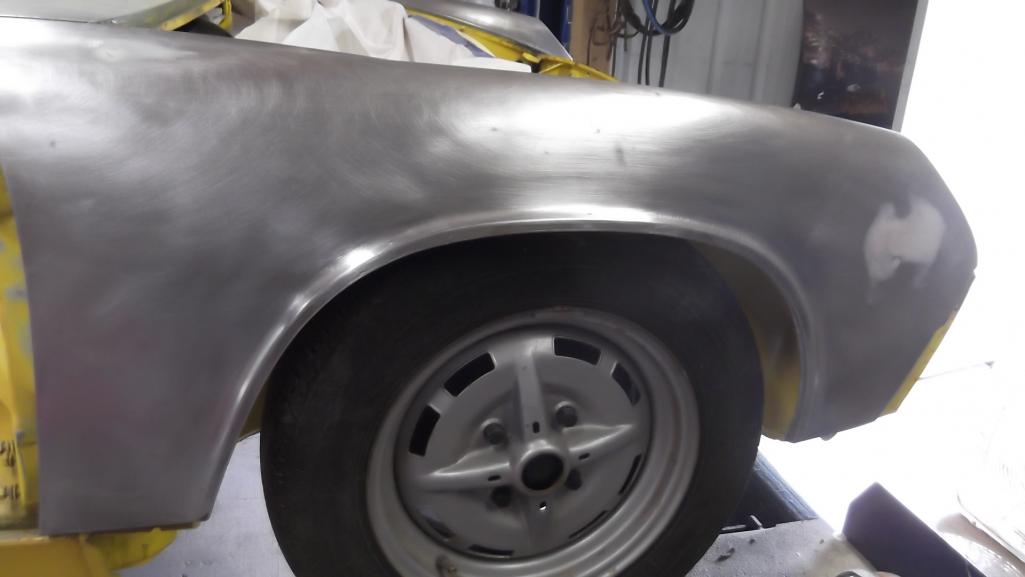
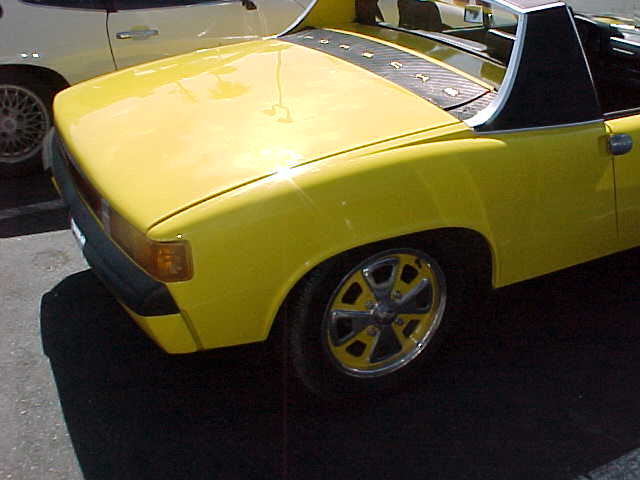
Striped the paint off the doors and hoods and bumpers shot with self etching primer.
Had a set back with regards to paint. while the body panels don't have body work in them when painted and shiny they look less than perfect.
So sanding all exterior of the shell and will begin a Dolphin Glaze process to get them mirror flat. Not that big of a deal since it's only the front fenders and rear quarters that have color on them.
progress pic
[attachmentid=525064]
I don't think this build is in the same league as most of what I see here in the challenge. I doubt anyone wants to see a plain build like this.
Looks pretty good. I am sure it will turn out great. Can you also post this update in the main Challenge thread - http://www.914world.com/bbs2/index.php?showtopic=265569
Posted by: whitetwinturbo Oct 28 2015, 10:23 PM
 Yellow looks great...kinda like beer
Posted by: mrfourteen Nov 4 2015, 11:22 PM
zzzzz 
winter break
Posted by: mrfourteen Jan 24 2016, 12:30 AM
no post
Posted by: mbseto Jan 31 2016, 10:34 PM
After looking over the other builds here I can see how boring this build is. No dramatic surgery or radical mods.
Gimme a break. This is a beautiful build, great workmanship, it is looking fantastic. Fun to watch it come together.
Posted by: tygaboy Feb 7 2016, 05:46 PM
 That may be the prettiest one I've seen. Just beautiful. Great work!
Posted by: mrfourteen Apr 6 2016, 12:12 AM
no post
Posted by: Claus Graf Apr 8 2016, 01:19 PM
coming soon a complete 914.
off to AZ then back to finish this off in my usual break neck pace should take about a month.
stay tuned
Nice work mrfourteen!
Posted by: mrfourteen Jul 22 2016, 03:32 PM
One must endeavor to persevere.
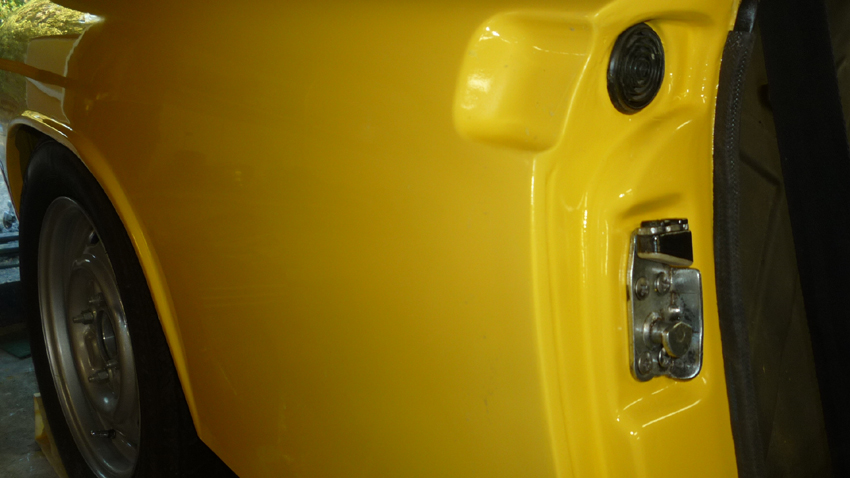
With the body shell in paint assembly is in full swing. Slogging thru the fiddly bits up front in the headlight buckets. Euro light mod as the side markers are deleted.
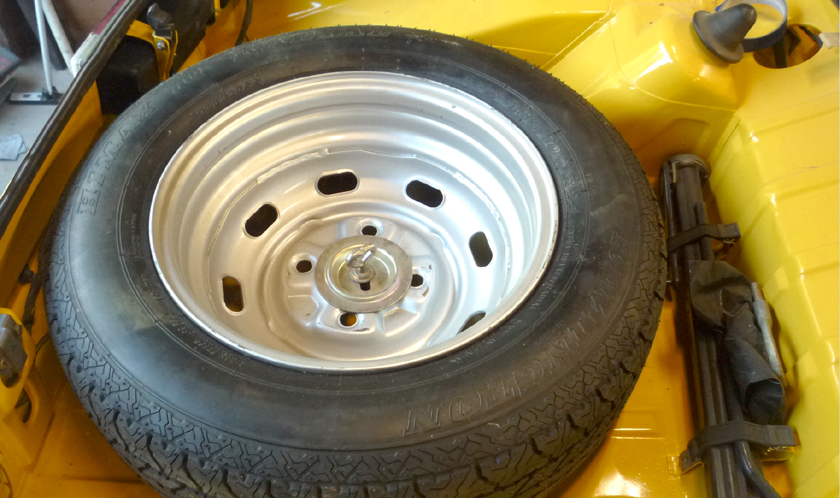
Ready to install that shiny new windshield and back glass then the interior will go in pretty quickly. Got the wheels done and tires mounted. (full size spare will reside in the rear position.
Finnally some new pics.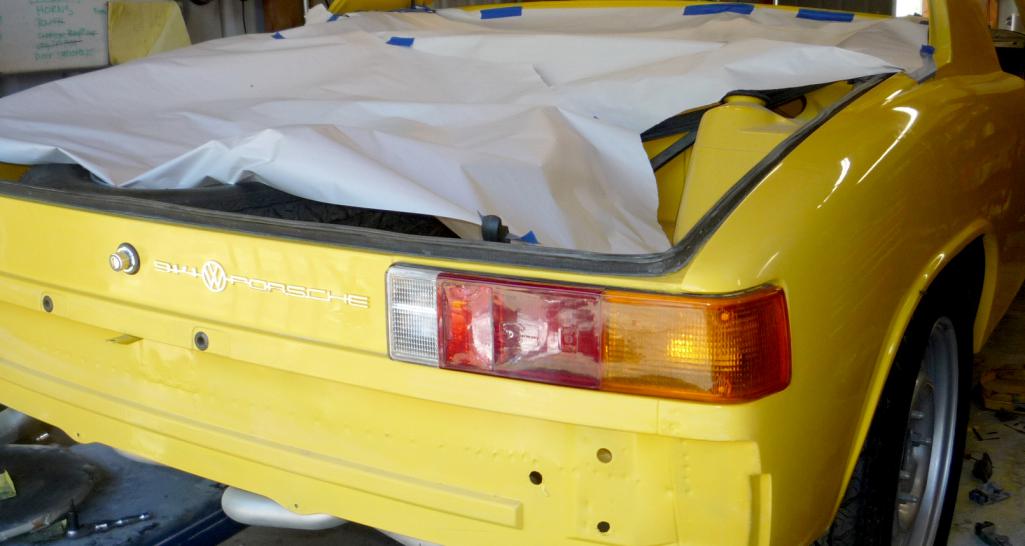
I'll try to get something up every other day or so as this is my full time OCD therapy.
Posted by: mrfourteen Jul 24 2016, 01:27 PM
no post
Posted by: mrfourteen Jul 24 2016, 09:46 PM
Update, I'll be offering this one up for sale when completed.
I started with a 914 that sat 15 years in dry storage in the hands of a hopeful V8 conversion fan. A stalled project that never happened.
So my starting point was an unmolested car with no rust issues.
Original books/manuals, keys, radio and so on.
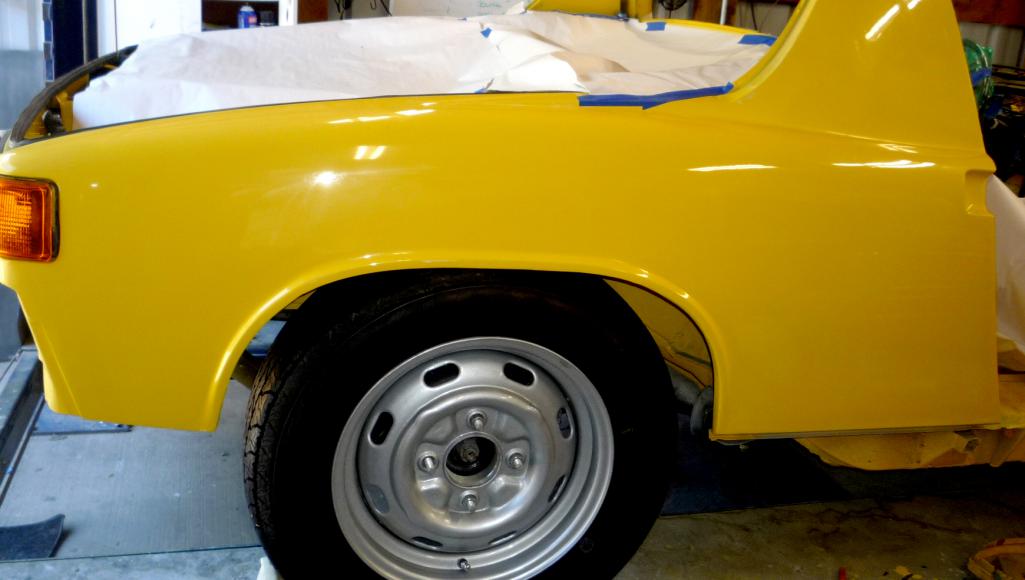
This will be a mildly modified back date look with body color bumpers and early steel wheels with hub caps.simple look of the German delivery first series cars.
Example pic
Like this but only sort of. steelies and hub caps
No side markers euro lights and fogs.
[attachmentid=565500]
Challenge starting point
[attachmentid=565501]
todays progress 7/24
Got things up front pretty well sorted will be moving back to the cockpit and get started on the interior.
Lights and horns the turn lamps are re-wired for euro lenses lenses not here yet.

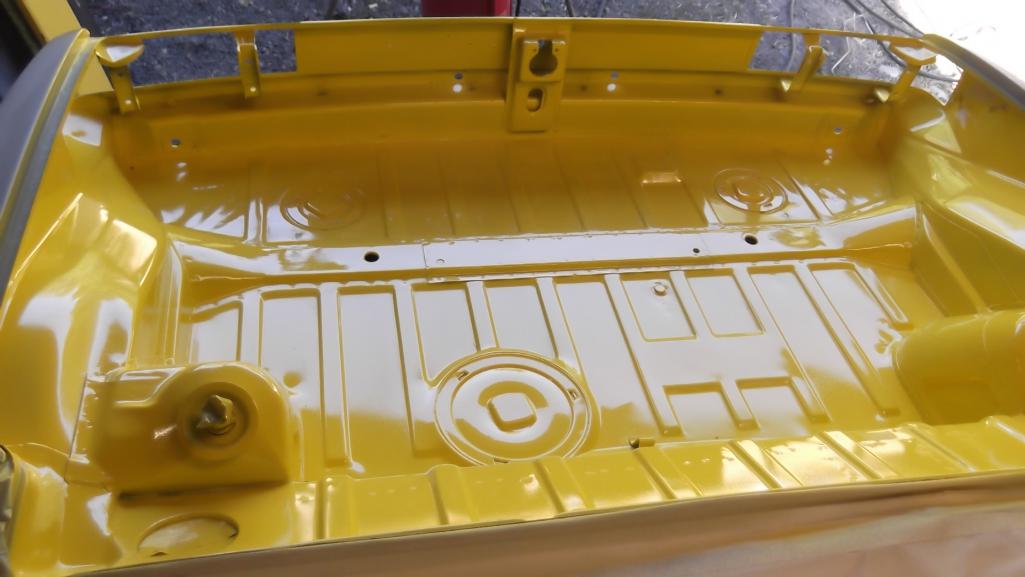
Full size spare in the rear trunk works well with the provided anchor.
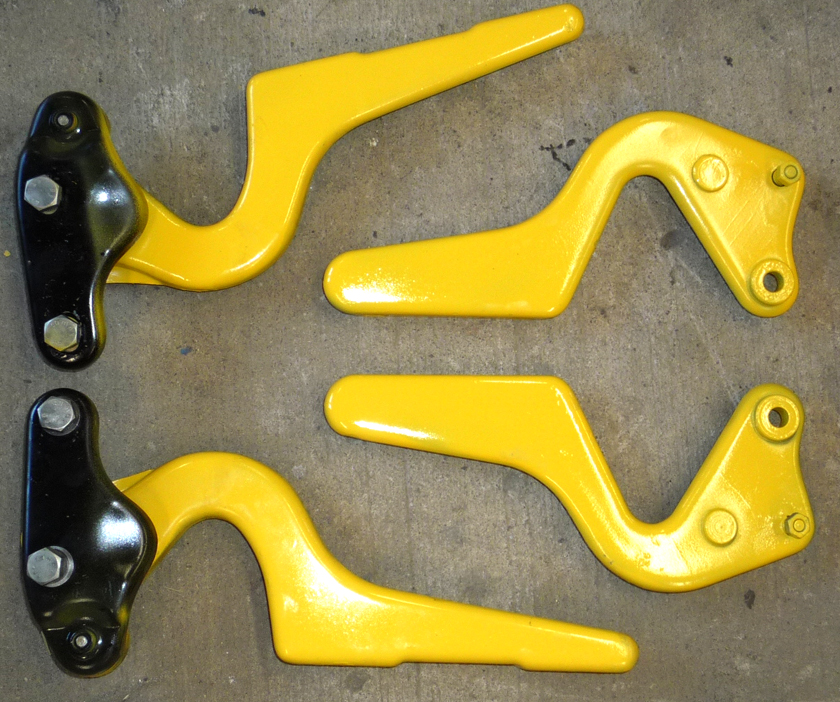
Hinges went in today
Completed headlight apparatus with early white bezel
Attached image(s)
Posted by: mrfourteen Jul 31 2016, 11:38 PM
I'll just post new pics and comments in the first post from here forward It wont be much longer to the finish.
Posted by: mrfourteen Aug 5 2016, 12:12 AM
Hung the doors. Started on bumpers and valances. Installed compact AGM battery, heat booster fan and drain tubes. Engine lid is ready to install. Hood and deck lid left to go.
Things are getting a little dirty from dust and finger prints but that will be sorted in the final detailing. 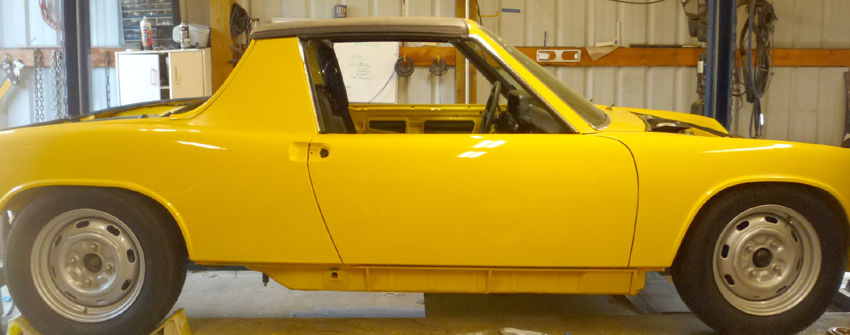
Posted by: mrfourteen Sep 2 2016, 09:15 AM
Getting to the end now. Just havent got alot of pics at the moment.
Been sorting out the little things and test driving. So far drives nice and the sound absorption material makes the quietest teen I've driven even without the big black engine compartment pad.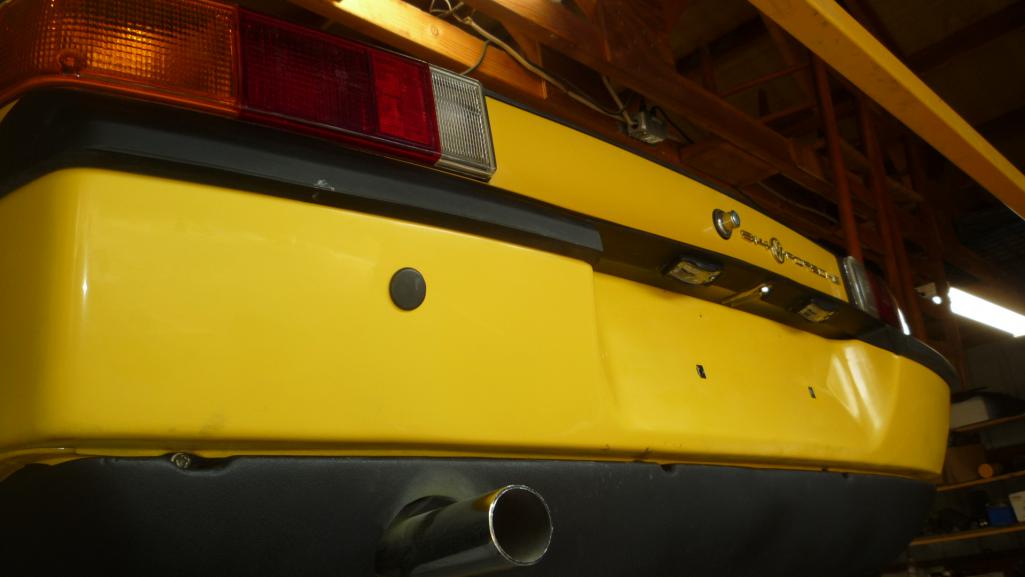
I use stainles allen screws where I can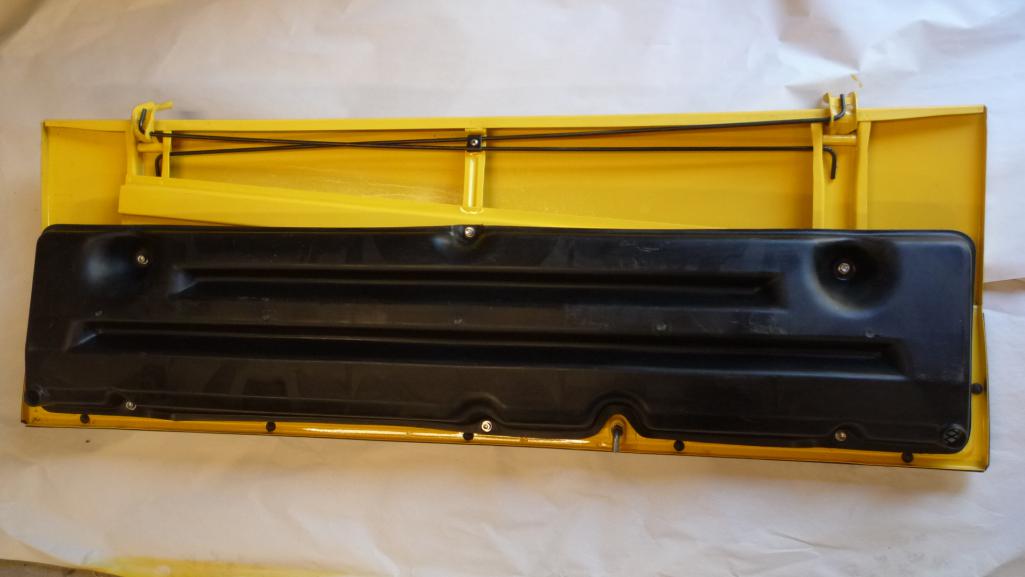
Posted by: mrfourteen Sep 5 2016, 08:51 PM
Actually got it out and drove up to speed and all is good. I had forgoten about the short shifter ( Weltmeister ) and was surprised with the short throw 
Still plenty to do but even a short little spin helps with motivation.
Mostly whats left is the final cut on the paint and cleaning every little thing.
Pre-tuning the engine before install made things go much more smoothly.
So not much fiddling before start up.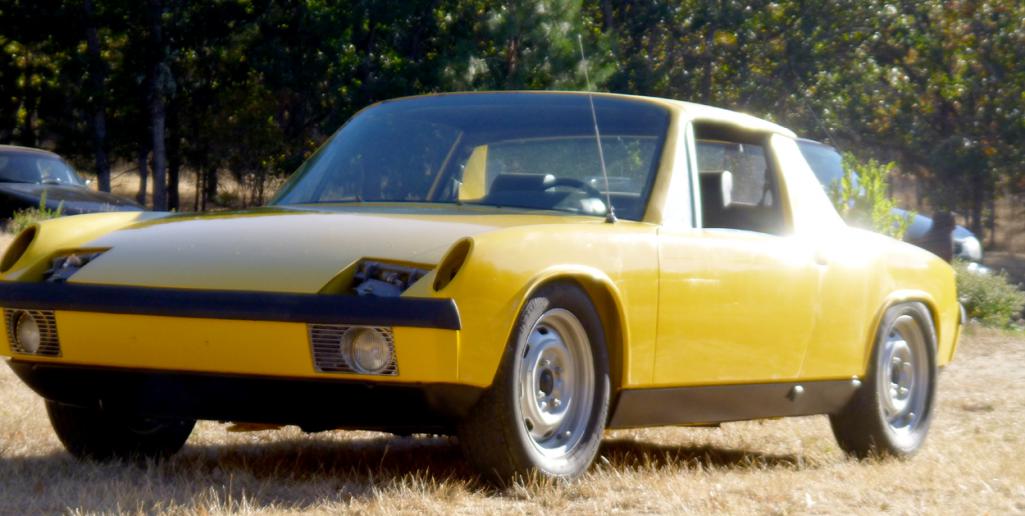
Living in the country you can get away with a quick drive without lights,mirrors, license, ya know all that stuff you really don't need anyway 
Nice to give it a rinse and dust off.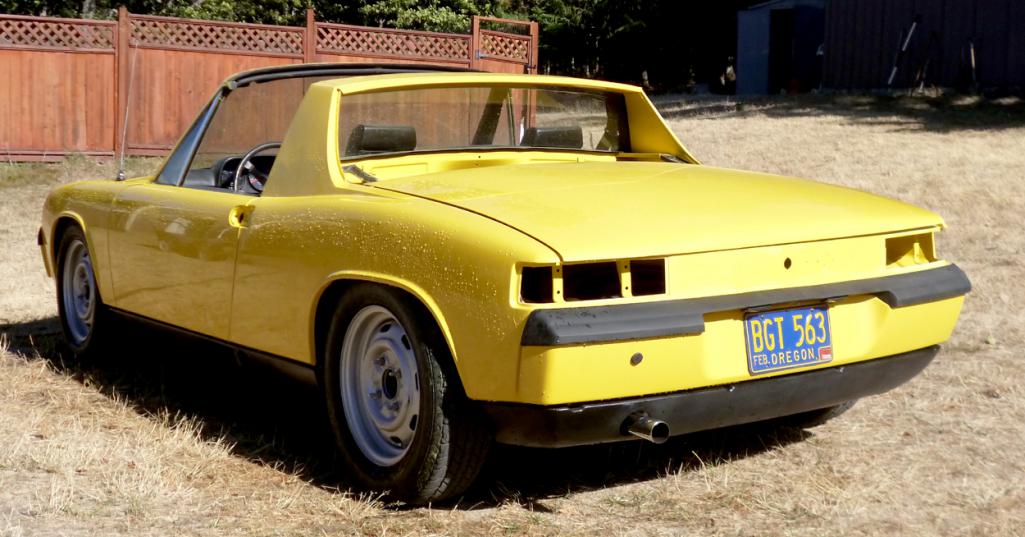
Tilting antennae just isn't snugged up 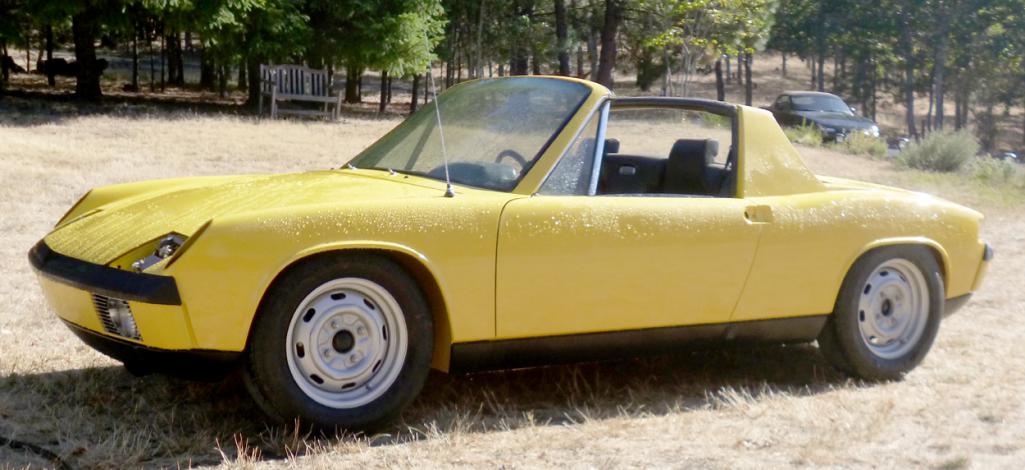
Should be all in one piece by weeks end and ready for the Festival of Cars in Bend Oregon end of the month.
It's convertibles this year think a teener qualifies, won a trophy with the 65 E-Type there in 2012
Posted by: mrfourteen Sep 29 2016, 09:19 AM
Off to DMV for vin inspection and license.
Still some trim bits to install and underside detail clean up.
I must say I'm quite pleased with finished product.
(engine lid is off for engine bay detailing)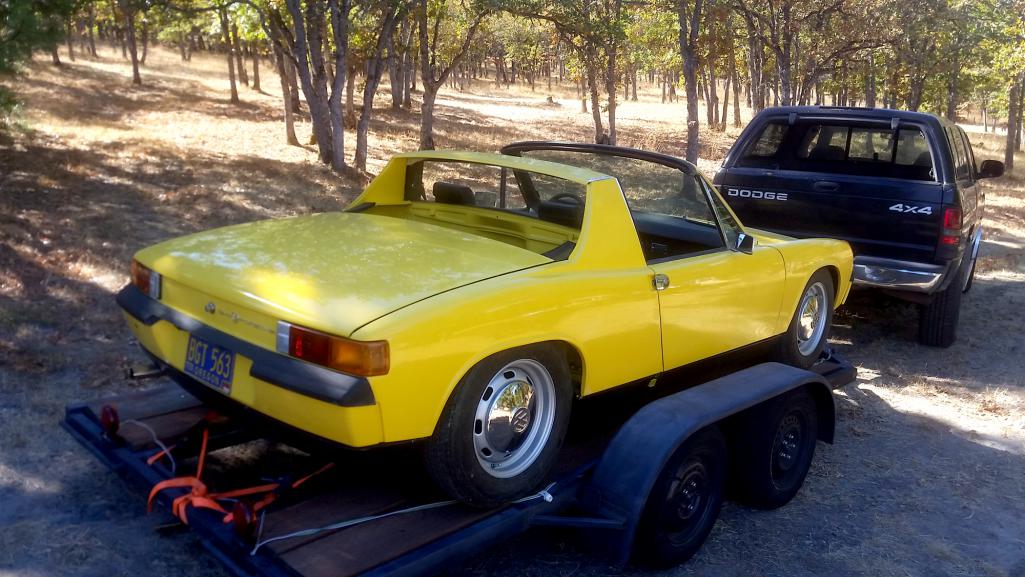
Posted by: jmitro Sep 29 2016, 09:55 AM
that is a very nice job!
Love the contrast of yellow paint and black components. I might just paint mine yellow
Posted by: mrfourteen Nov 3 2016, 06:48 AM
for sale $20k
Posted by: get off my lawn May 17 2018, 05:31 PM
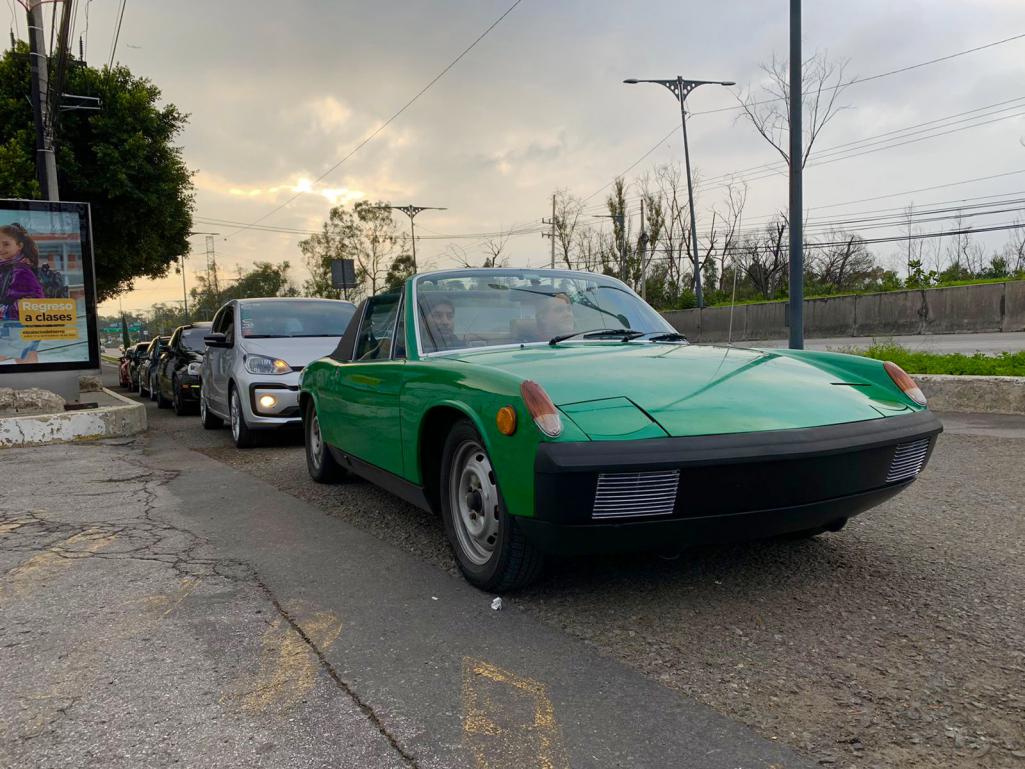
You've got good taste.
Kind of reminds me of something .......
Attached image(s)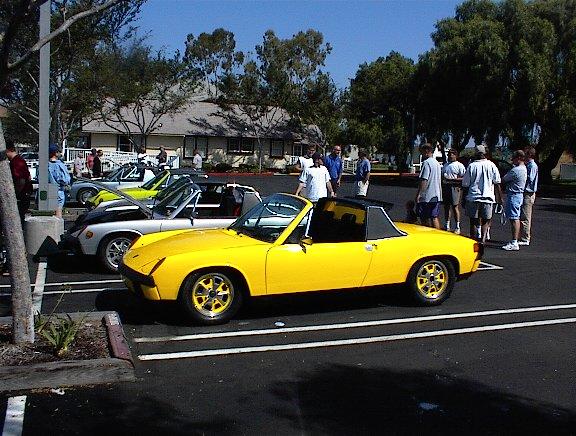
Posted by: CCE Aug 6 2022, 08:52 PM
You've got good taste.
Kind of reminds me of something .......
Your car was my inspiration, thanks.
Powered by Invision Power Board (http://www.invisionboard.com)
© Invision Power Services (http://www.invisionpower.com)