Printable Version of Topic
Click here to view this topic in its original format
914World.com _ 914World Garage _ Rear Trunk Pan Replacement
Posted by: FL 000 Dec 8 2015, 08:36 PM
Just got my rear trunk pan from Restoration Design to replace my rusty one. Need some help from folks that have done this before. The rear and sides look straight forward - just plug weld in place. The front is what I am afraid I will screw up. As seen in the pictures below, they gave me extra material (~5/8") to do something with. I would really like to avoid butt welding the entire front section if possible - my welding skills and patience are not quite up to it. Is there a way to plug weld the front portion also? It's a trunk that will be covered in carpet so I am ok setting my bar lower than normal 
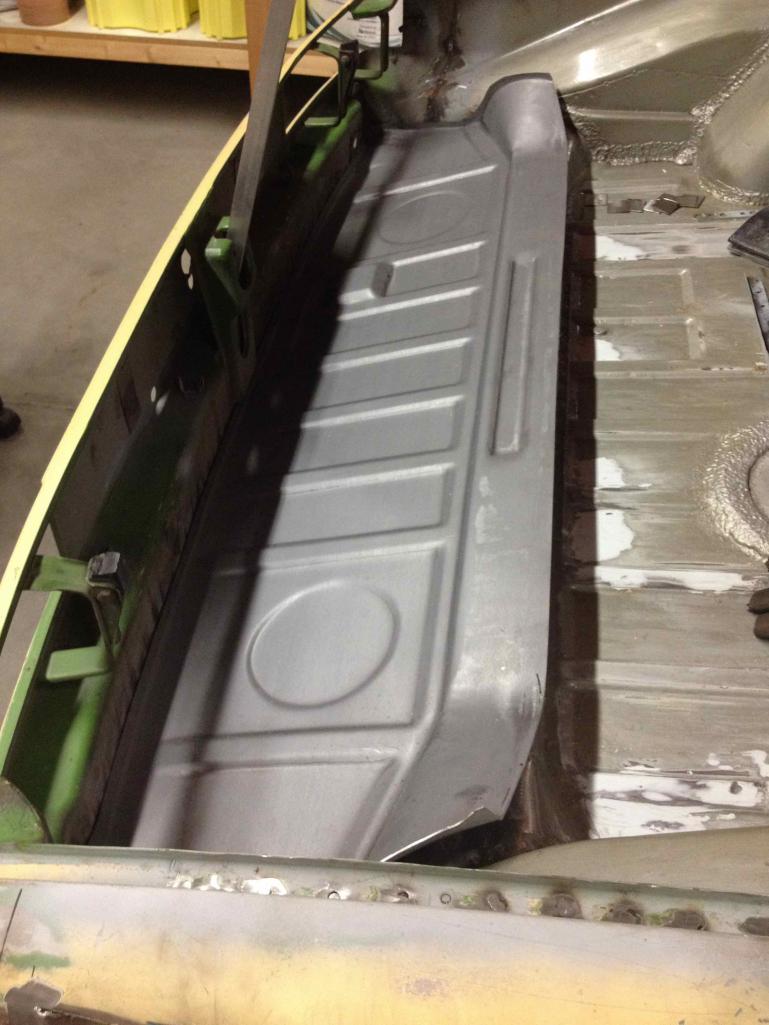
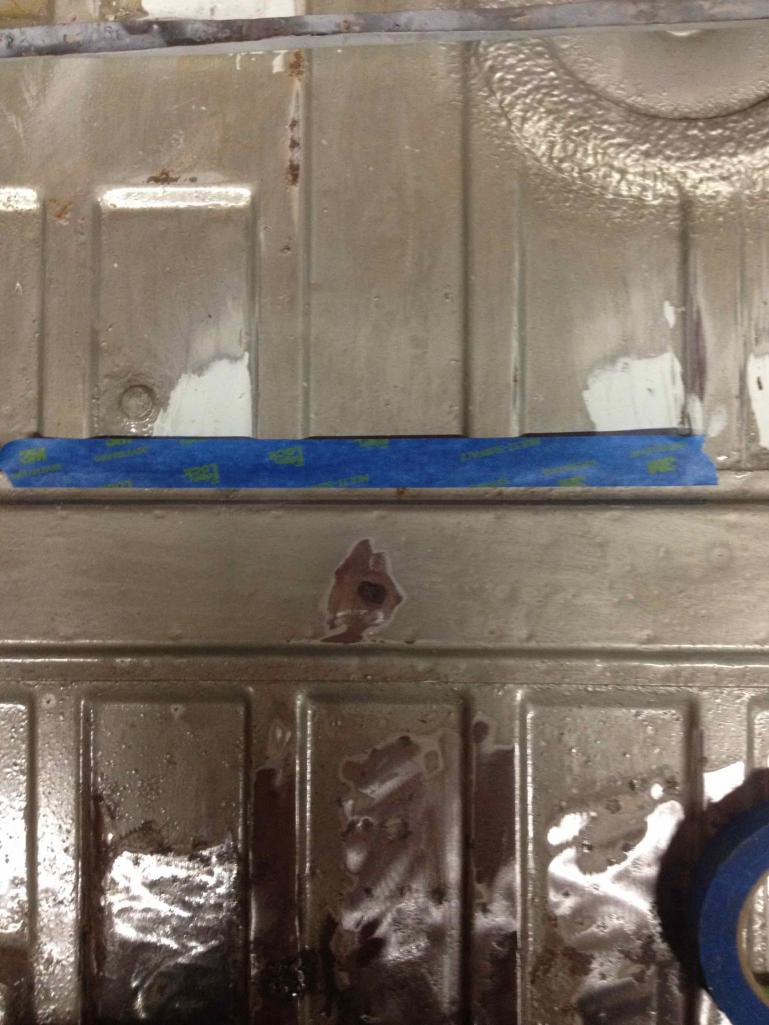
Edge of tape rear most represents where new pan extends to (but doesn't drop down to follow original shape)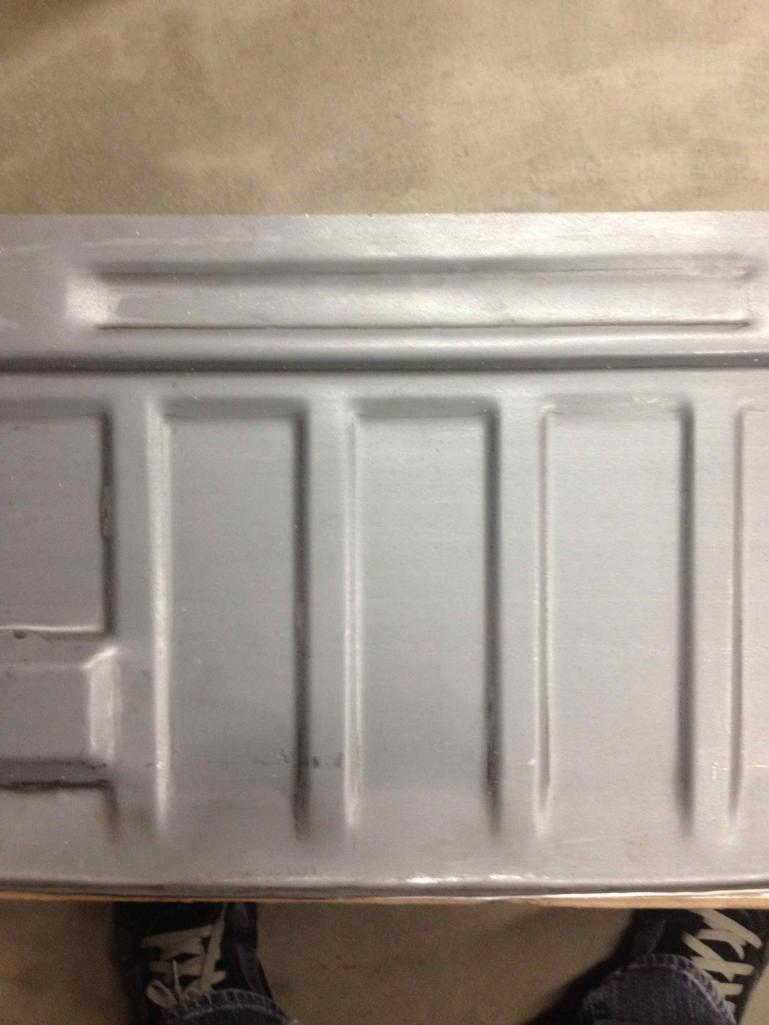
Posted by: Garland Dec 8 2015, 11:29 PM
was the first step of my build, see my link below "Michigan Build"
Posted by: 914_teener Dec 9 2015, 12:06 AM
There is a thread on this replacement in thr classics section
Posted by: barefoot Dec 9 2015, 07:05 AM
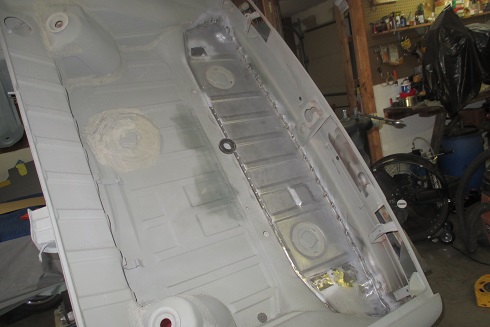
I did this but modified the replacement panel and butt welded the whole perimeter.
I cut out the heat shield standoffs so I could keep the shield intact. I pop riveted the heat shield using ss rivets.
Photo shows what I used (note some extra bits used for hell hole repairs)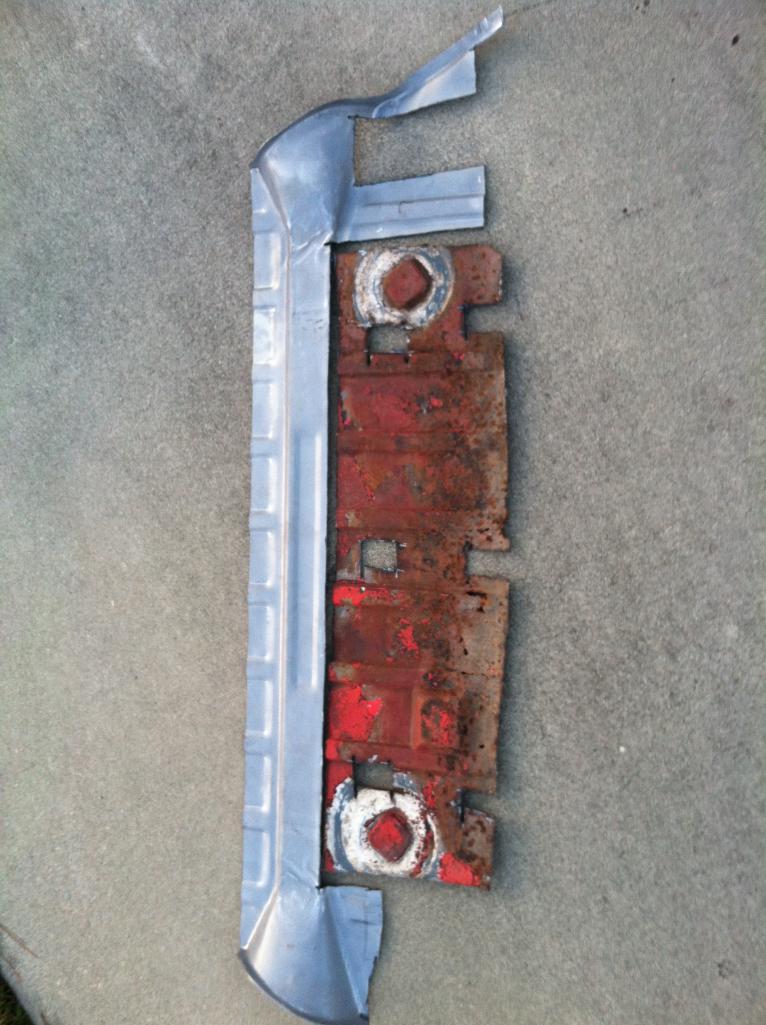
Here's finished: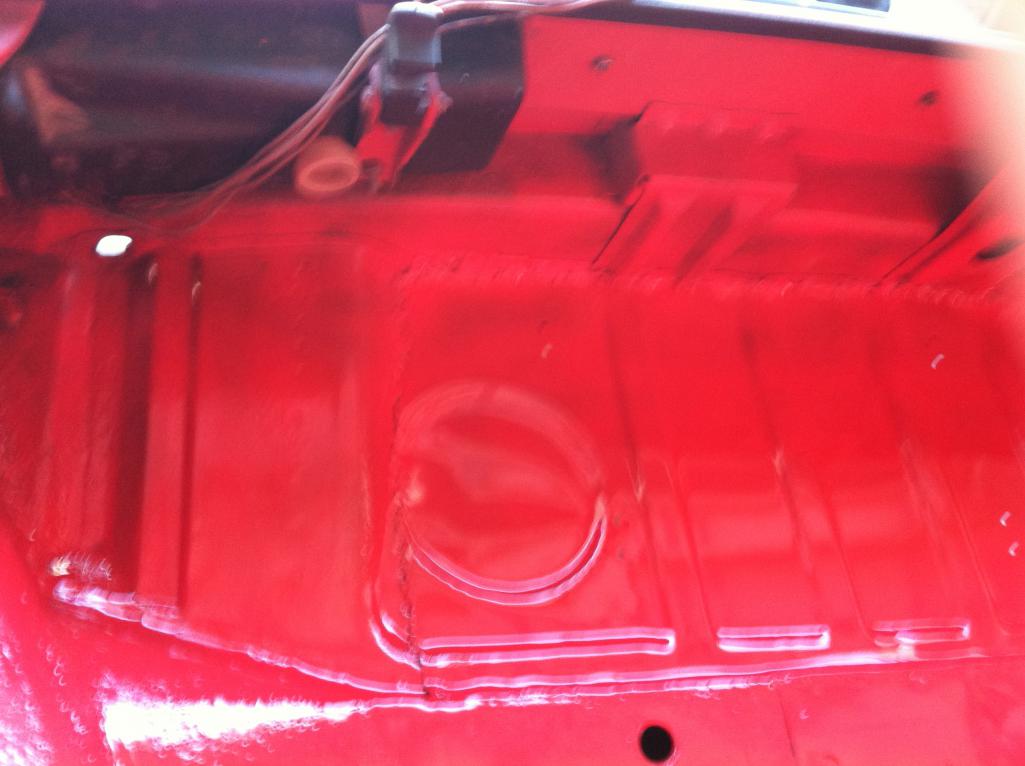
Posted by: FL 000 Dec 9 2015, 07:30 PM

was the first step of my build, see my link below "Michigan Build"
Cool, thanks for pointing me to your thread - a picture is worth 1000 words. Not even sure how you formed your lip to match the trans crossmember, but I know I don't have the skills to do the same. I think I will trim my replacement just before the raised portion for the crossmember, flange it, and plug weld the original.
Posted by: FL 000 Dec 9 2015, 07:36 PM
[quote name='barefoot' date='Dec 9 2015, 05:05 AM' post='2275084']
I did this but modified the replacement panel and butt welded the whole perimeter.
I cut out the heat shield standoffs so I could keep the shield intact. I pop riveted the heat shield using ss rivets.
Photo shows what I used (note some extra bits used for hell hole repairs)
I know how mine would turn out if I went the same route - horrible! I like welding but suck at it. Maybe someday I will get a TIG and get better at butt welding sheet metal, but probably not!
Posted by: t collins Dec 9 2015, 07:48 PM
I only needed to replace the portion to rear of the cross member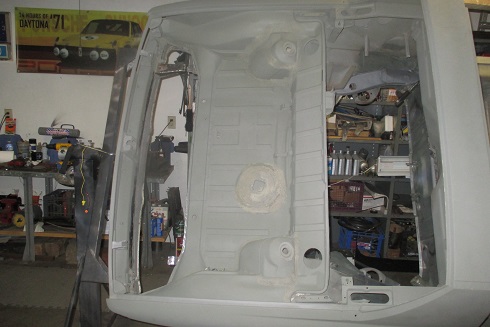

Posted by: FL 000 Dec 9 2015, 08:31 PM
I only needed to replace the portion to rear of the cross member
That's exactly what I plan to do.
Thanks
Posted by: r_towle Dec 9 2015, 08:40 PM
Just because you have the whole panel does not mean you need to use the whole panel.
Only replace what you need to replace and grind the welds to hide the repair both top and bottom to make it smooth.
For the flange you can get a flange tool from harbor freight .
Posted by: Luke M Dec 10 2015, 07:59 AM
Have you seen this : https://www.youtube.com/watch?v=GBmJkP8I_rI
Posted by: FL 000 Dec 10 2015, 09:51 AM
Have you seen this : https://www.youtube.com/watch?v=GBmJkP8I_rI
Not sure how I missed that when looking at their videos - thanks
Posted by: worn Dec 10 2015, 10:51 AM
I only needed to replace the portion to rear of the cross member
That is what I did. They have slightly changed the pressing since mine I think.
Powered by Invision Power Board (http://www.invisionboard.com)
© Invision Power Services (http://www.invisionpower.com)