Printable Version of Topic
Click here to view this topic in its original format
914World.com _ 914World Garage _ Fixin the '73
Posted by: Puebloswatcop Jan 30 2016, 09:04 PM
So today I decided it was time to get to work on replacing the rear trunk floor and rear wall of my 1973. I have only had the parts for for oh....I guess about 10 years. Let me start by saying it was quite evident that it had been in a rear end collision when I bought it, but hey I only paid $800.00, it ran and besides it was a '73 2.0. So after watching everyone in here working on their cars I figured I had better get to it.
I figured I would start with the rear trunk wall and the rear trunk floor. 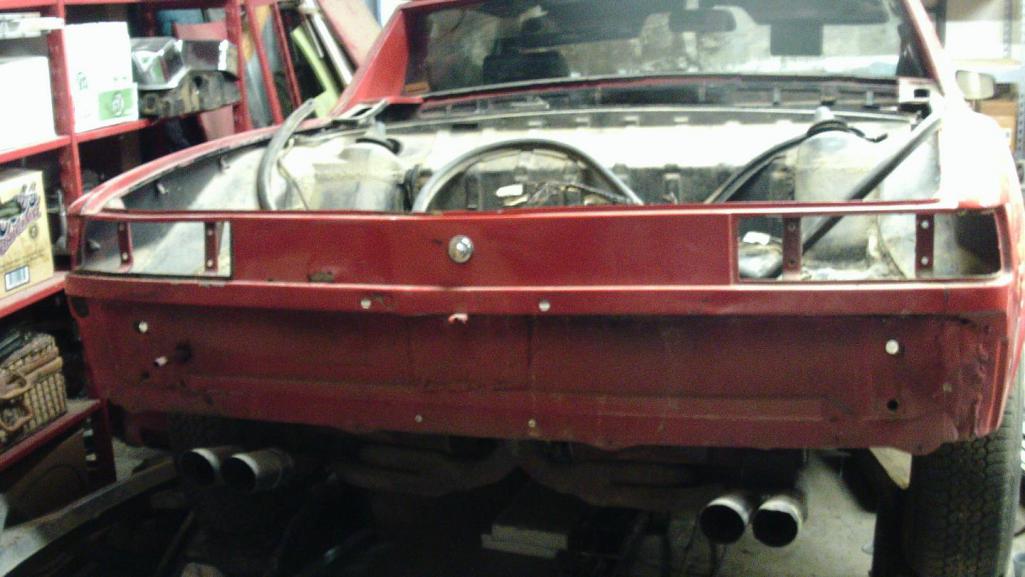
The PO took it to a shop and hell my 5 year old grandson could have doe a better job.
Of course poor workmanship led to leaks and the dreaded rust.
The job was so bad there was a quarter inch drop in the middle of the trunk wall. Caused damage to the hood as a result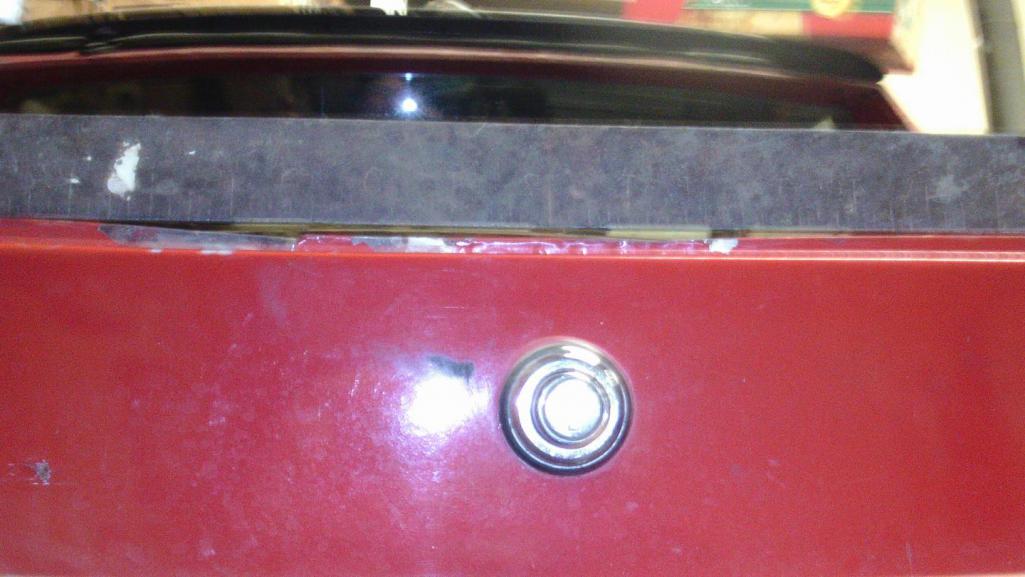
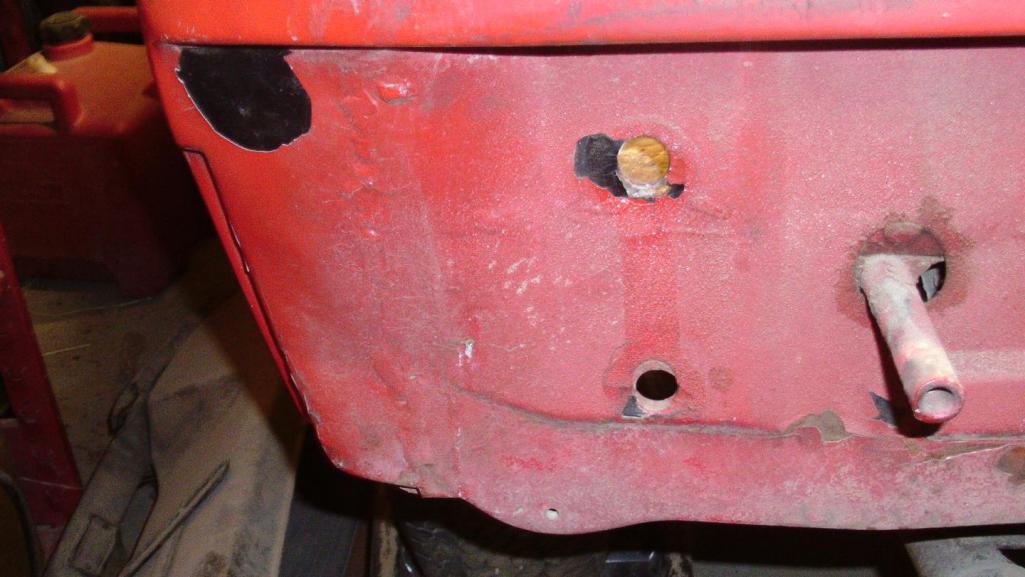
And that is just the outside
Then I had to decide where I was going to start today. I had to assess the damage inside the trunk and then formulate a game plan...
There were so many poor welds (if that is what you want to call them) That it leaked so badly......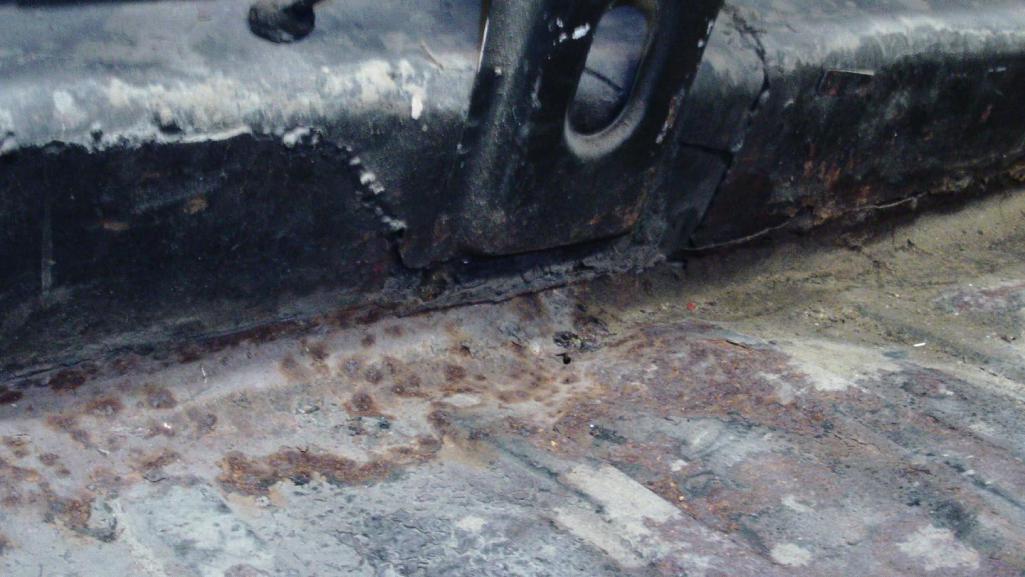
Someone drilled a drain hole in the trunk floor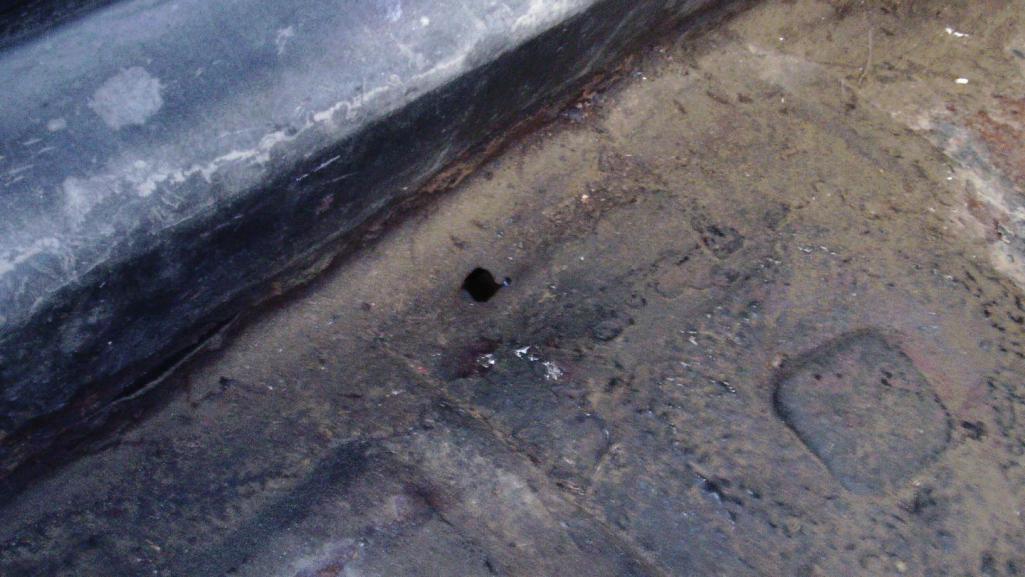
And with that I decided to remove the rear wall first and then attack the floor
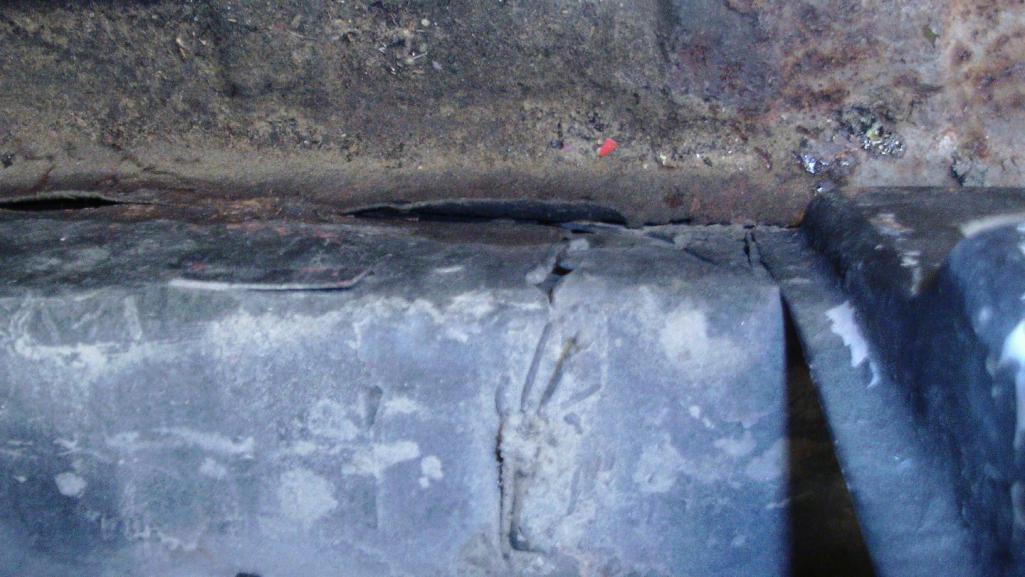
Once it was on the floor, I could really see the hack patch in the bottom center.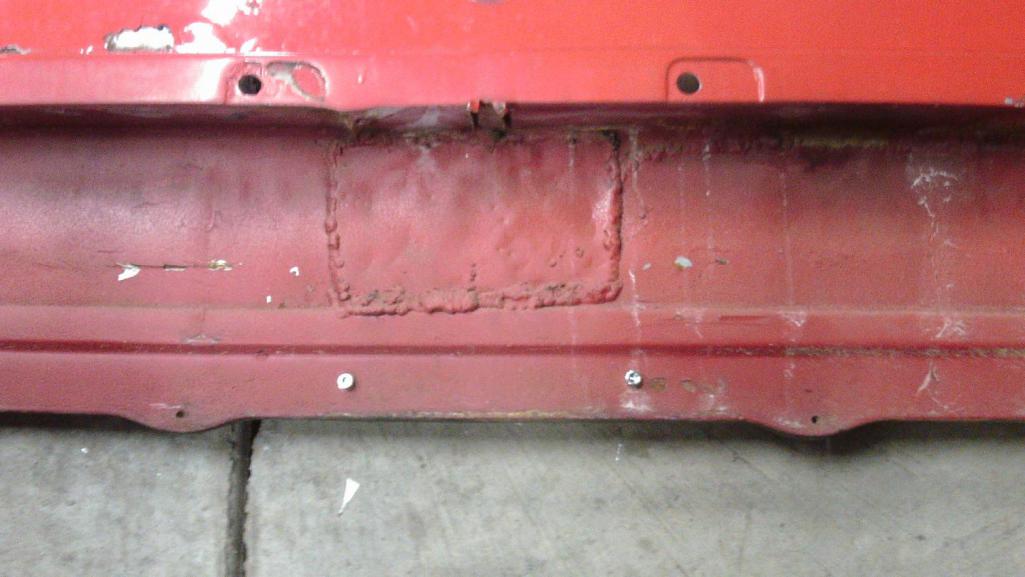
So then I started cutting out the floor. I did it in sections since I was not sure what else the hackers might have done to it.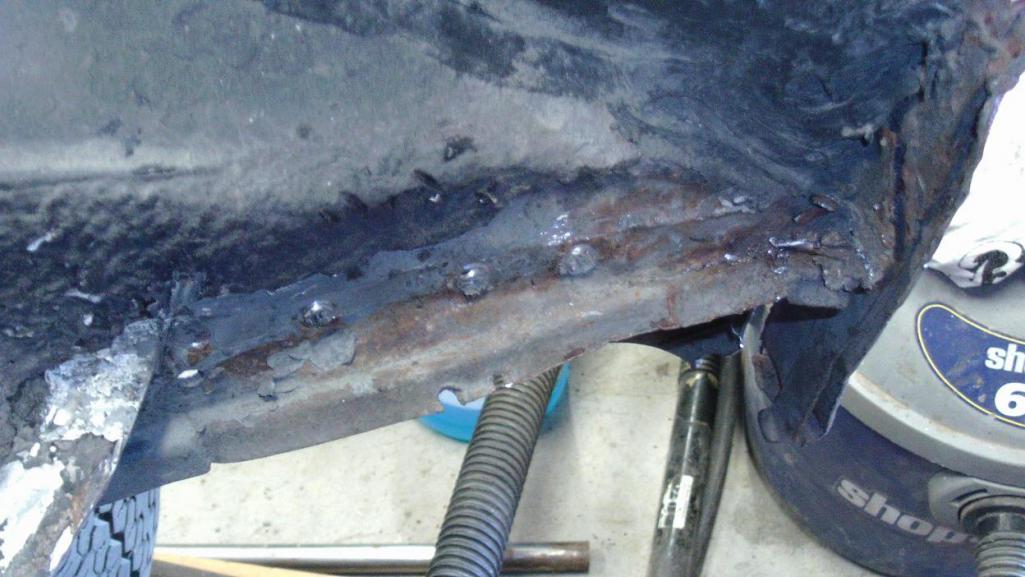
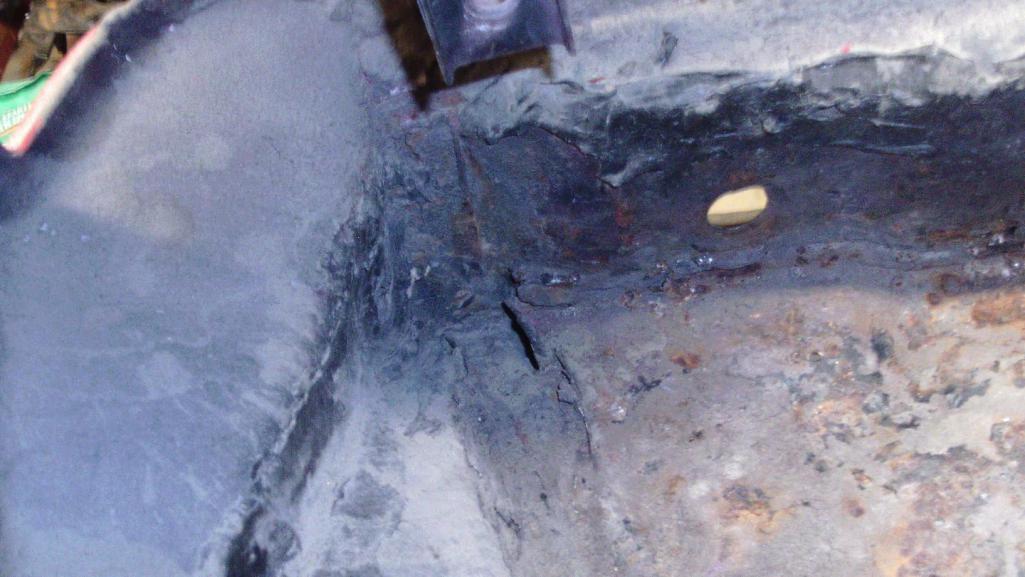
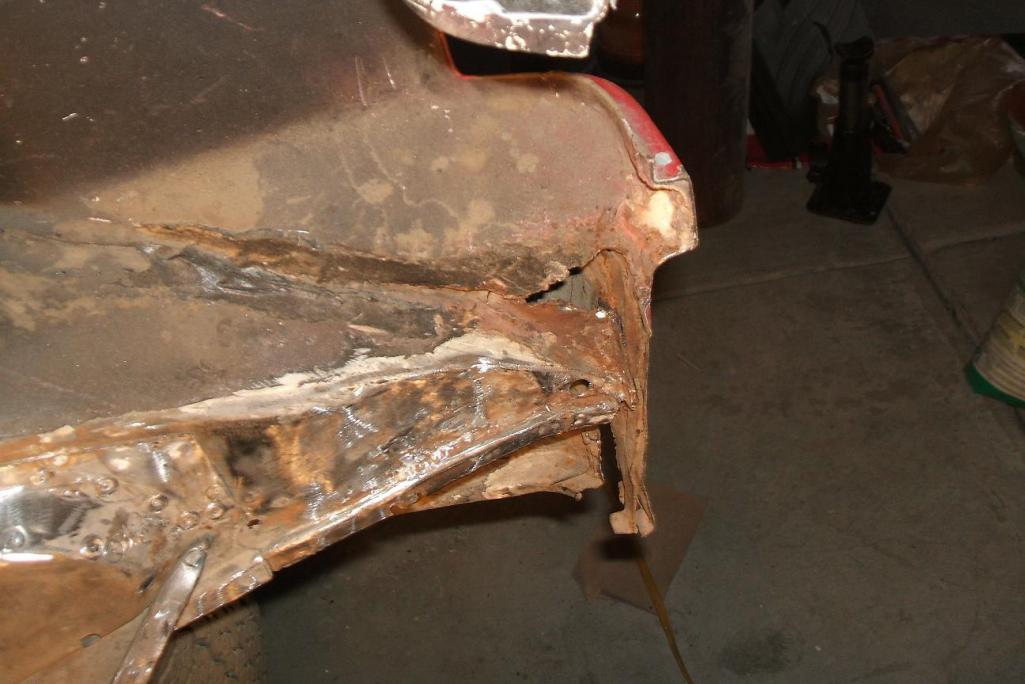
When I got to the passenger side and stripped all of the seam (hole) sealer the hack had put in there, this is what I found....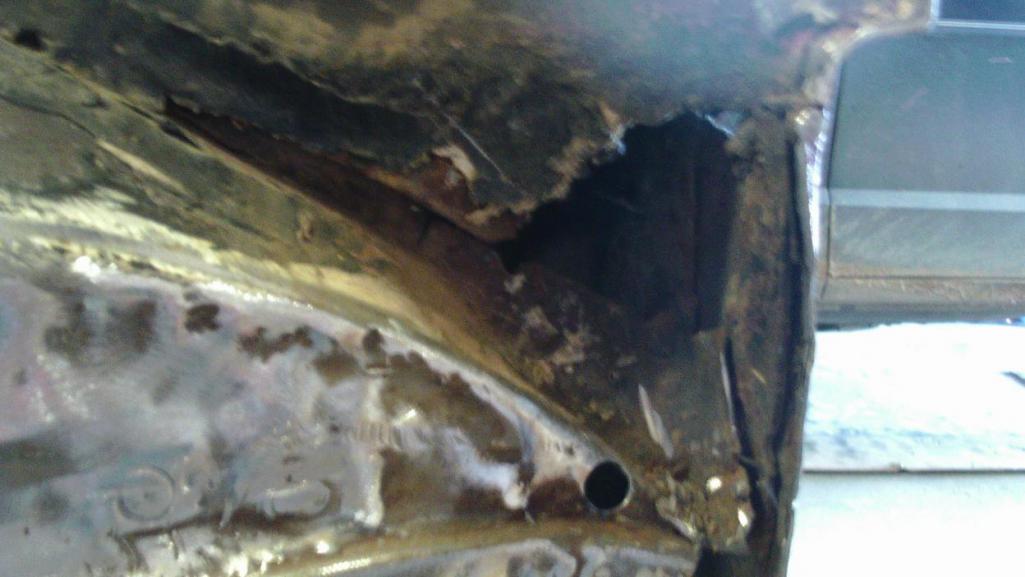
That gaping hole was filled with seam sealer. Guess it is going to be more work than I planned on for today. 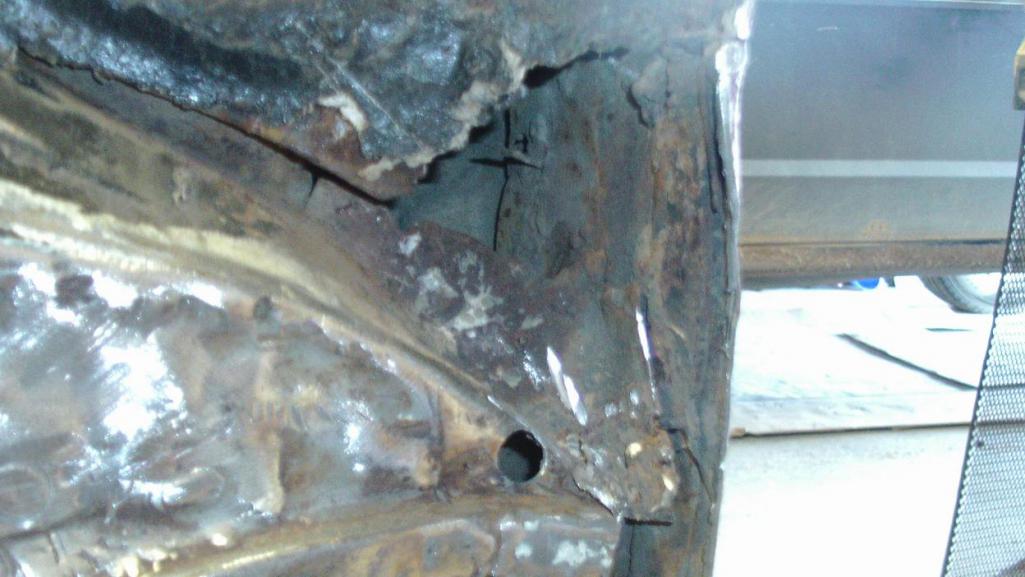
Drivers side was not near as bad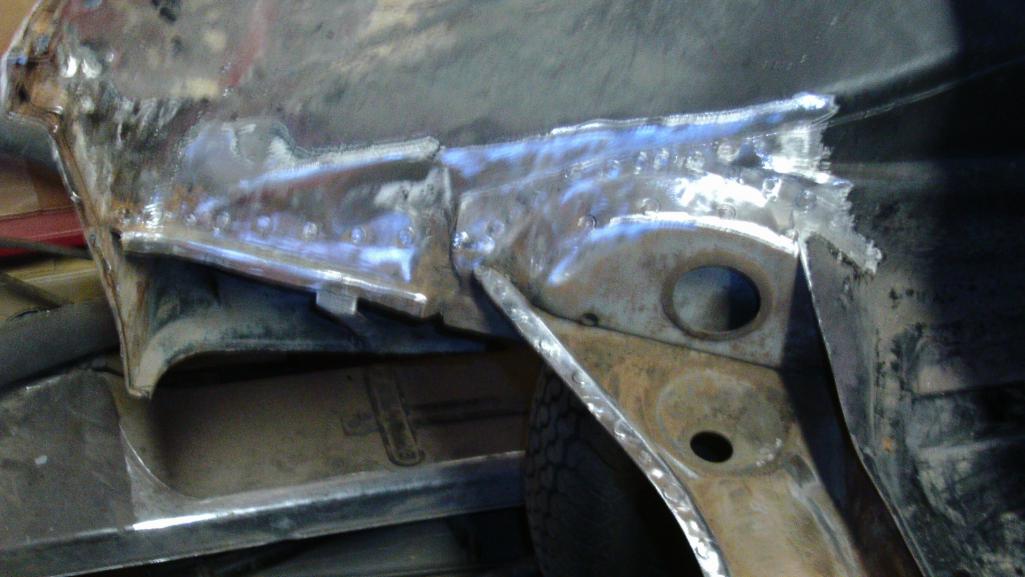
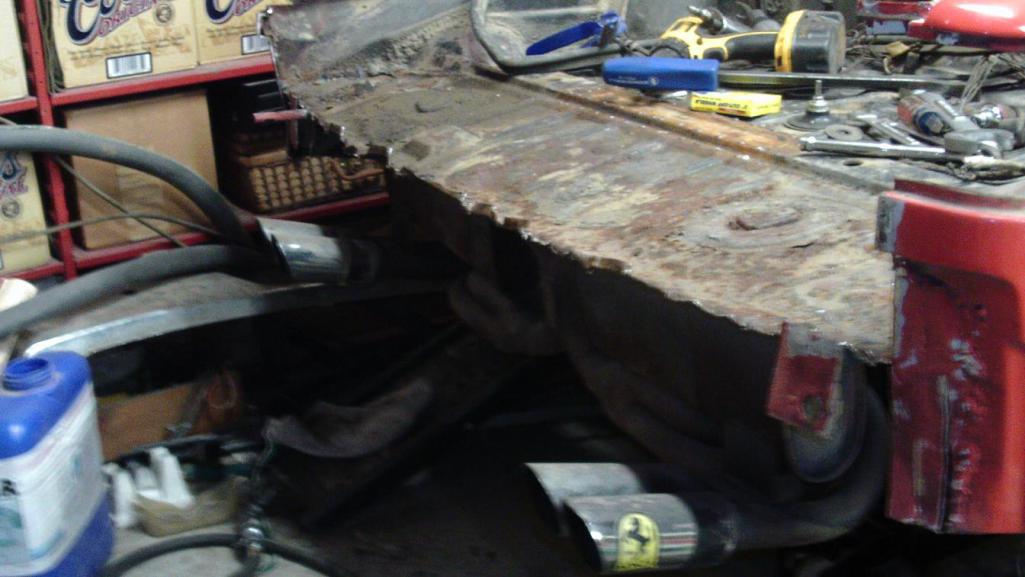
Finally got everything cut out and cleaned up a bit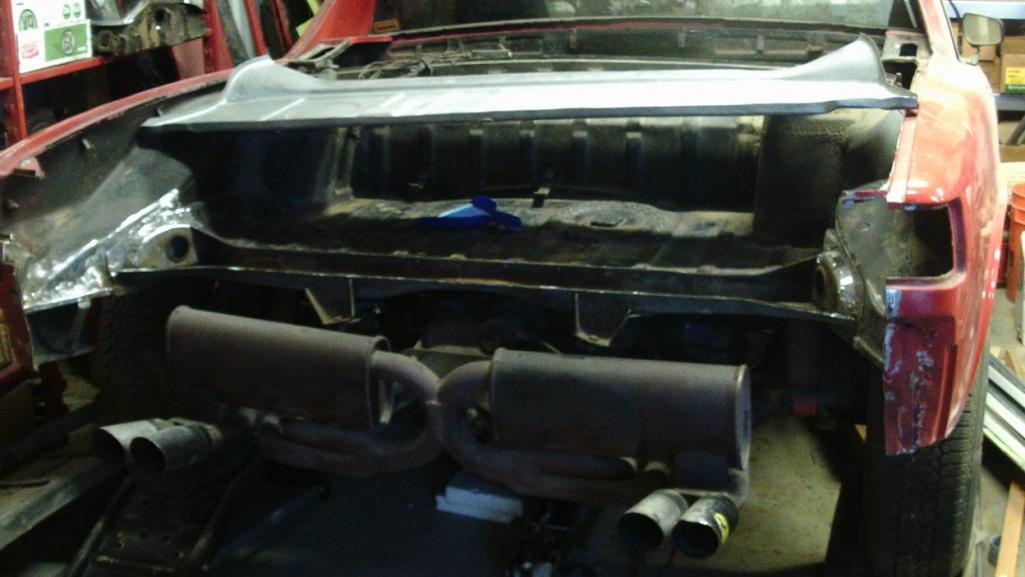
After several hours of work I was finally able to test fit the new floor, not bad for a days work considering how hacked up this car was.....Long way to go...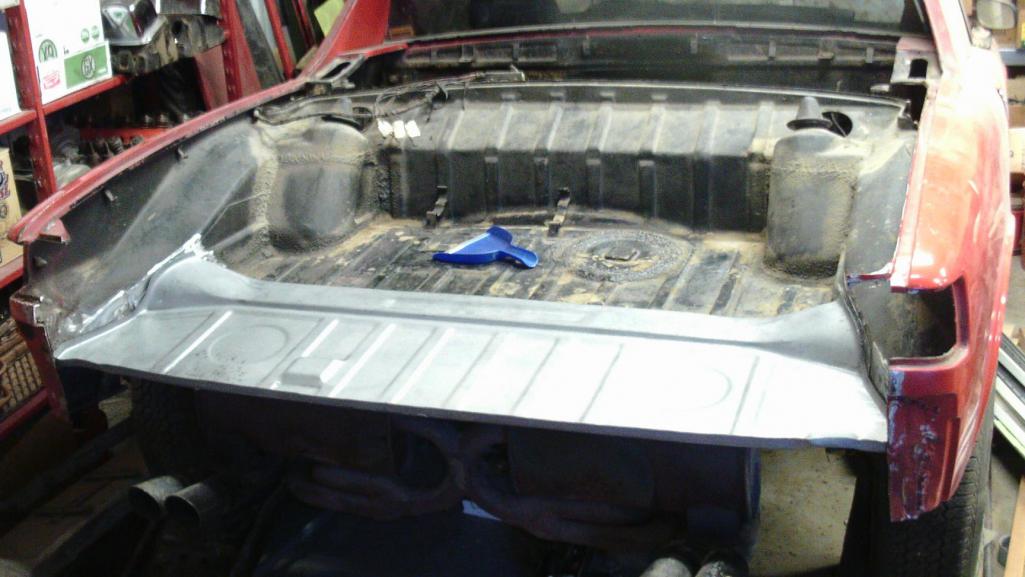
Posted by: Jason74914 Jan 31 2016, 12:05 AM
Dang...you aren't messing around! Nice work.
I do giggle a bit that you did all this in one day.....after ten years.
Posted by: mark04usa Jan 31 2016, 12:06 AM
Top work! 
Posted by: Cuda911 Jan 31 2016, 02:02 AM
Good stuff! Keep us updated with the progress.
Posted by: Puebloswatcop Jan 31 2016, 06:06 AM

Dang...you aren't messing around! Nice work.
I do giggle a bit that you did all this in one day.....after ten years.
I have to laugh too. It is all the motivation of everyone in here, got me feeling guilty...lol. Actually, getting ready to retire soon, so figured this is what I will be doing in retirement, might as well start practicing for retirement.
Posted by: RobW Jan 31 2016, 06:10 AM
Inspirational! Keep up the good work! 
Posted by: tygaboy Jan 31 2016, 08:43 AM
Go, man, GO! Nothing better that seeing fresh metal in our cars. I just buttoned up my front 1/2 floor install and I guarantee you are closing in on one of the most satisfying feelings.
You clean up that last weld and switch off the grinder. Then the world around you in your shop transitions. It's like just after a wave crashes on a rocky shore and the water retreats. All shifts from the noises and other sensory inputs of violent, powerful, shape changing to the calm and quiet beauty of what's now visible. From sparks and welding sizzle and spinning electric wheels and abrasives removing metal and sparks flying to the clean lines and straight edges and non-oxidized results that you just created - with Lyle Lovett playing on the radio, if all the stars align.
Great work. And no stopping 'til you're finished, young man...
Now stop reading and get back out there! 
Chris
Posted by: whitetwinturbo Jan 31 2016, 01:04 PM

Posted by: Puebloswatcop Jan 31 2016, 07:46 PM
 I am really bummed today. Wanted to continue what I started yesterday, but work and snow storm interfered...got nothing done, now will have to wait until next weekend.
Posted by: cuddyk Jan 31 2016, 08:21 PM
I vote for chris as the poet laureate of 914World.
Posted by: cary Feb 1 2016, 09:53 AM
I vote for chris as the poet laureate of 914World.
Ditto ........... He hit it dead on
You clean up that last weld and switch off the grinder. Then the world around you in your shop transitions. It's like just after a wave crashes on a rocky shore and the water retreats. All shifts from the noises and other sensory inputs of violent, powerful, shape changing to the calm and quiet beauty of what's now visible. From sparks and welding sizzle and spinning electric wheels and abrasives removing metal and sparks flying to the clean lines and straight edges and non-oxidized results that you just created - with Lyle Lovett playing on the radio, if all the stars align.
Posted by: Puebloswatcop Feb 1 2016, 11:23 AM
I vote for chris as the poet laureate of 914World.
Ditto ........... He hit it dead on
You clean up that last weld and switch off the grinder. Then the world around you in your shop transitions. It's like just after a wave crashes on a rocky shore and the water retreats. All shifts from the noises and other sensory inputs of violent, powerful, shape changing to the calm and quiet beauty of what's now visible. From sparks and welding sizzle and spinning electric wheels and abrasives removing metal and sparks flying to the clean lines and straight edges and non-oxidized results that you just created - with Lyle Lovett playing on the radio, if all the stars align.

Posted by: Garland Feb 1 2016, 11:52 AM
Great job, keep it up! after the weather changes.
Posted by: Puebloswatcop Feb 1 2016, 09:52 PM
Great job, keep it up! after the weather changes.
I will Garland, problem is the darn storm is getting worse by the hour, plus that evil thing they call a job keeps getting in my way....lol. But since retirement is looming close on the horizon, I will certainly be spending alot more time with my beloved 914's

Posted by: Puebloswatcop Feb 5 2016, 06:34 PM
 So didn't get any work done on the car today. Had to dig a walk path from the house to the garage and shovel the snow away from the door just to get in. Decided it was a shopping day, went and bought a media blaster and some other small items. Then I was hungry so made dinner and now its beer time.
I do have the donor rear end so will start on that tomorrow
Posted by: Puebloswatcop Feb 6 2016, 06:31 PM
So I went out this morning thinking this was going to be a quick day of removing the rear wall from the donor piece....not so...with a temp of 25 degrees and no heater in the garage it took the entire day. Damn how many spot welds did Porsche put on these damn things.
Here is the donor rear piece. It is from a later model so will have to fill the bumper mounting holes, but it is in excellent shape.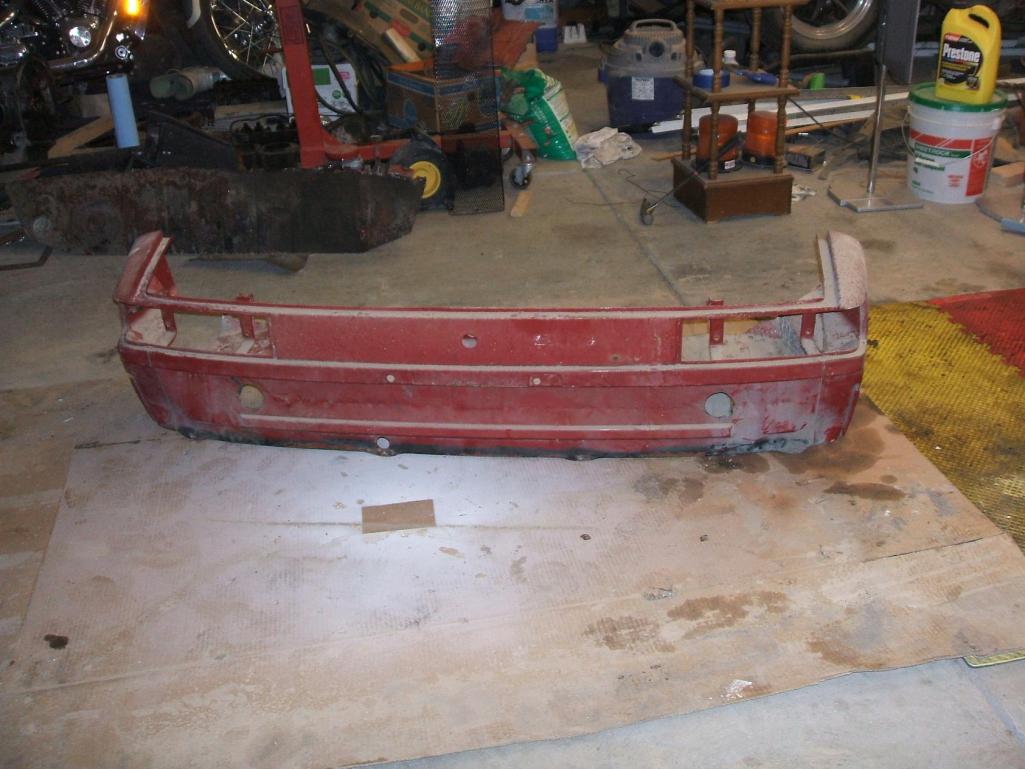
Started by removing the floor portion of the clip. Have to take a lot of time so I don't cut through or damage the wall. 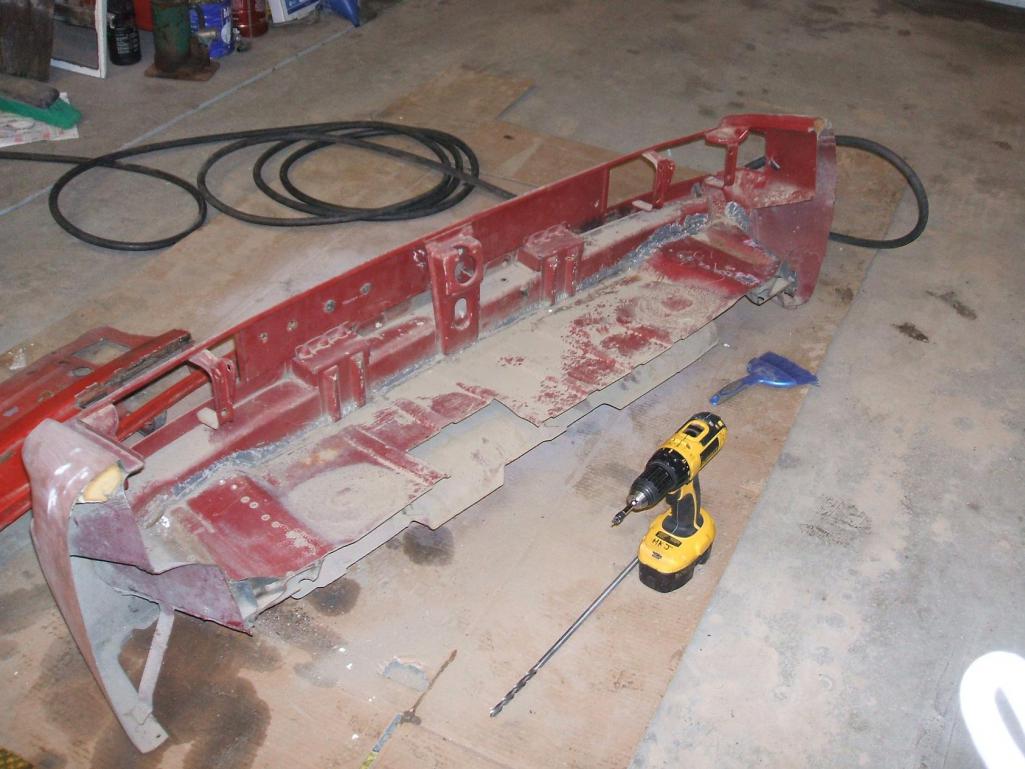
Two sets of welds on each side where it attaches to the structures underneath...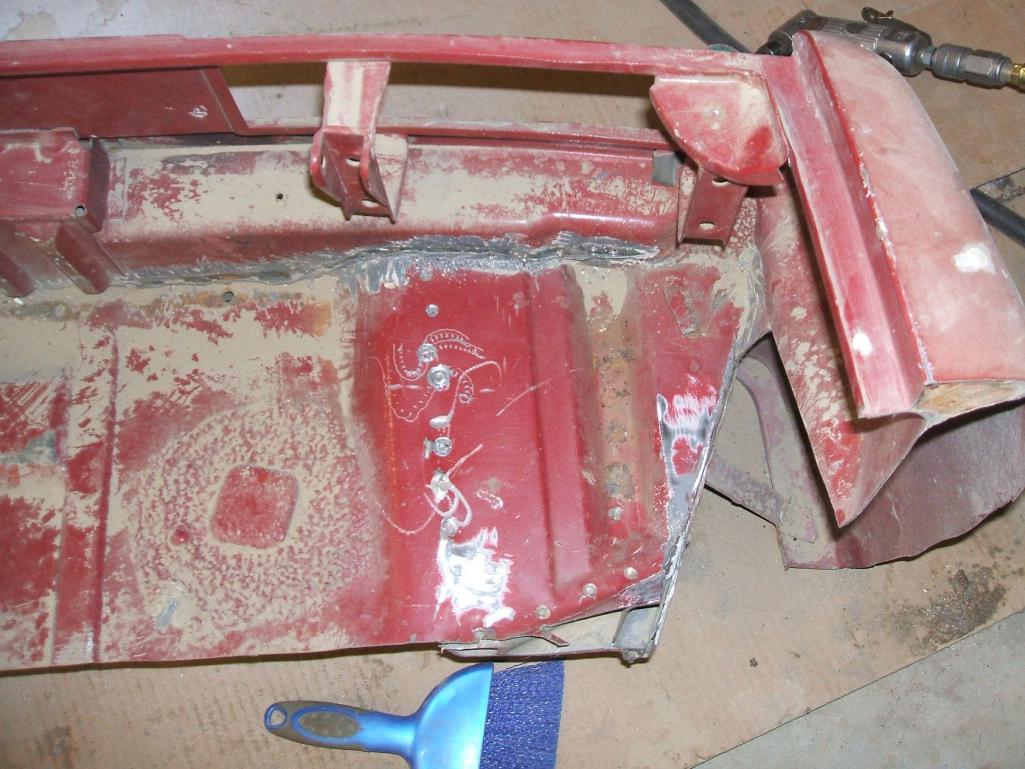
Then work on the welds along the rear wall. Cut all welds from the inside so there would be no holes across the rear wall...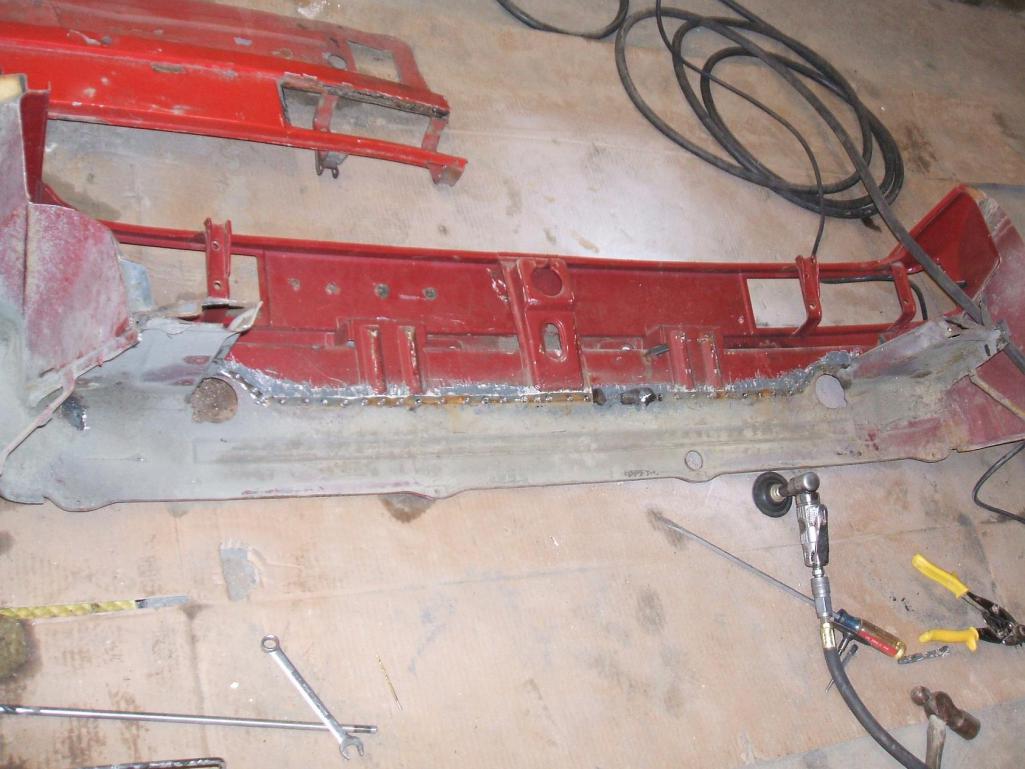
The floor portion is out and now to remove all of the under structures and the corner pieces....hopefully without damaging the wall.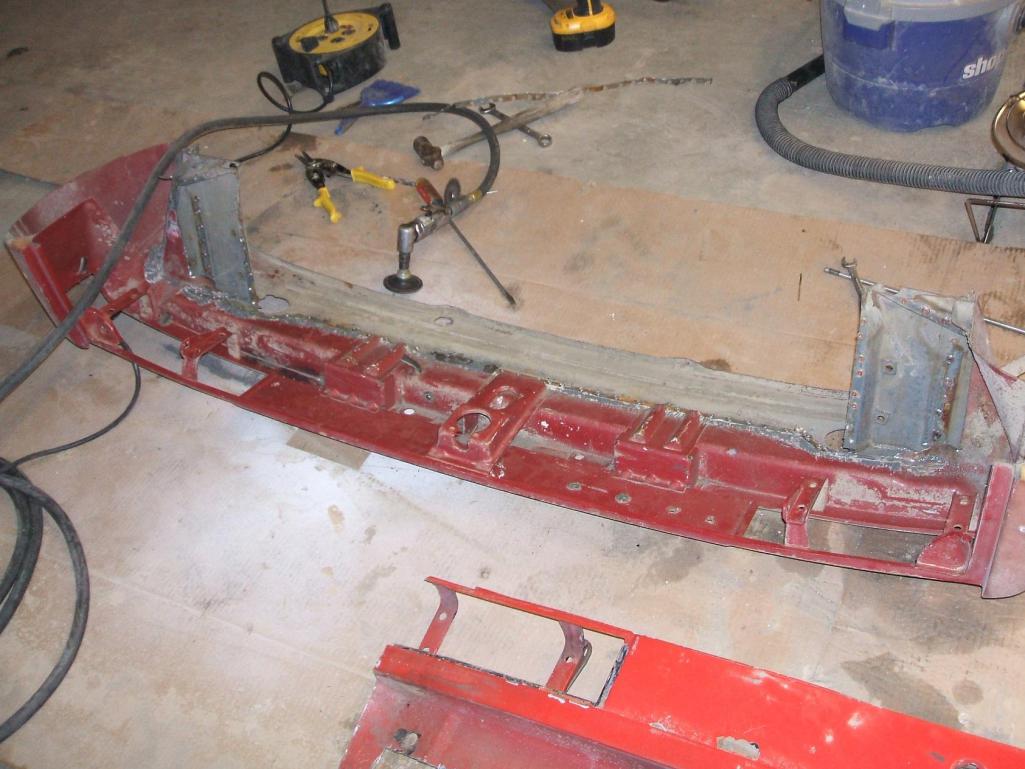
8 hours later I finally did get all but 1 corner removed. Will see if I can finish it tomorrow...Temp is dropping again and it is just too cold to work. Will fit in the rest hopefully before the Super Bowl.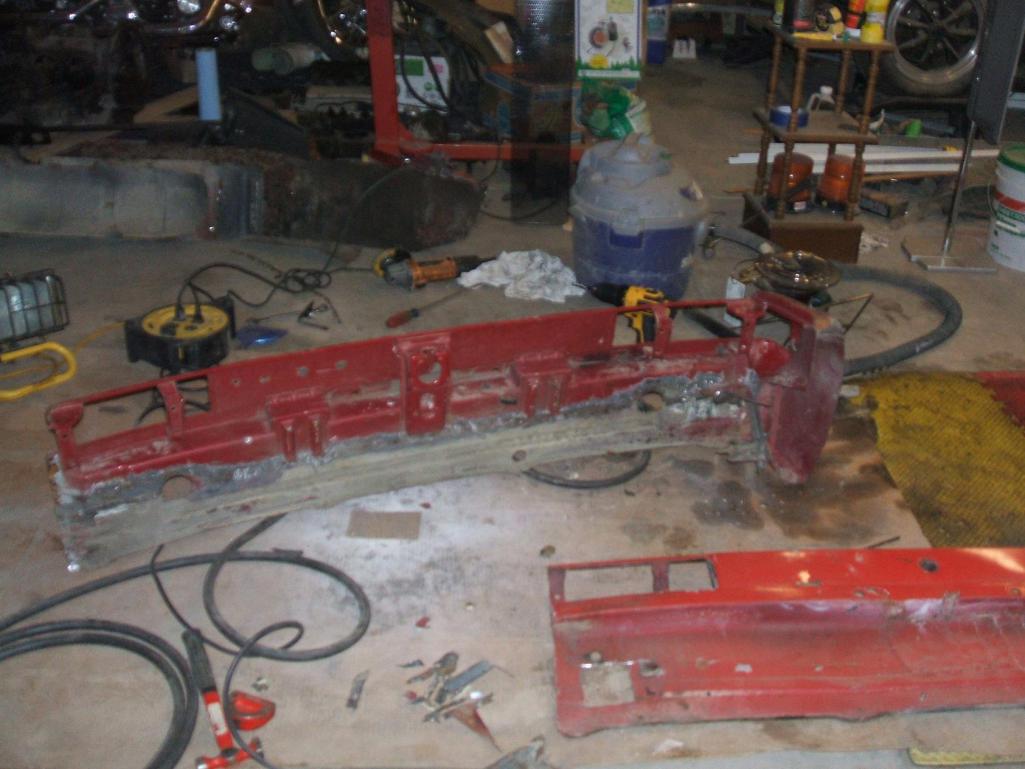
And now....you got it....it is definitely BEER time 
Posted by: whitetwinturbo Feb 7 2016, 10:38 AM

Posted by: Puebloswatcop Feb 7 2016, 02:05 PM
Went back out and finished what I started yesterday. It was a bit warmer today and go figure, things seemed to go a bit smoother (and quicker).
Now I have a clean, straight rear wall...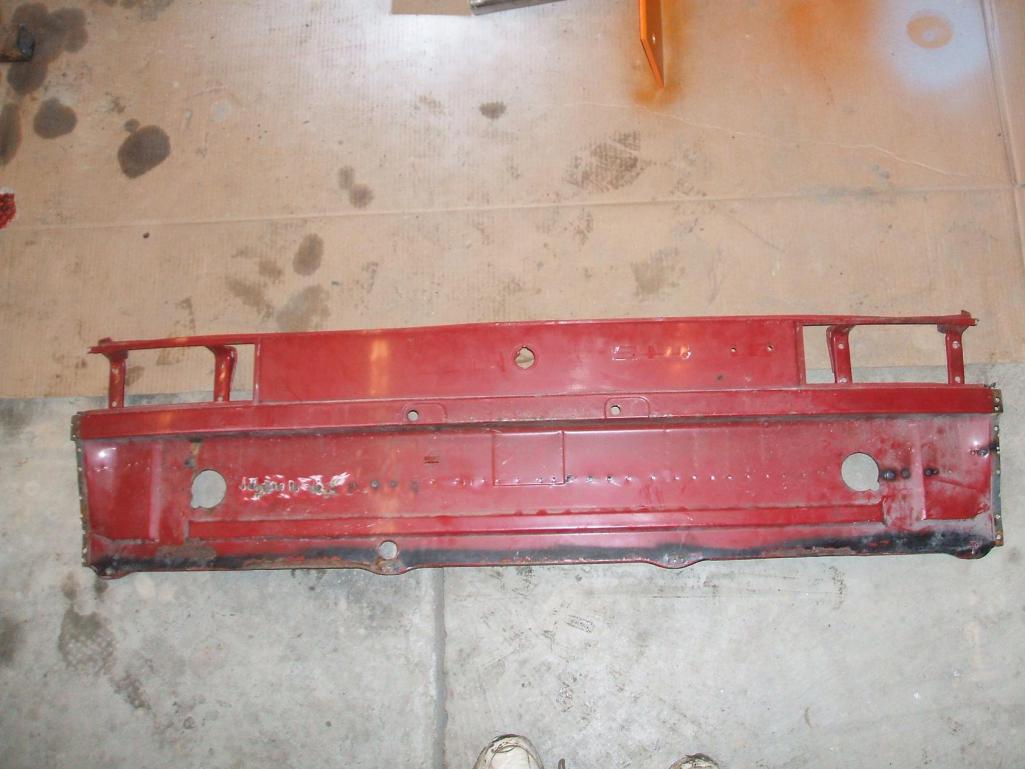
And no major issued with drilling through ....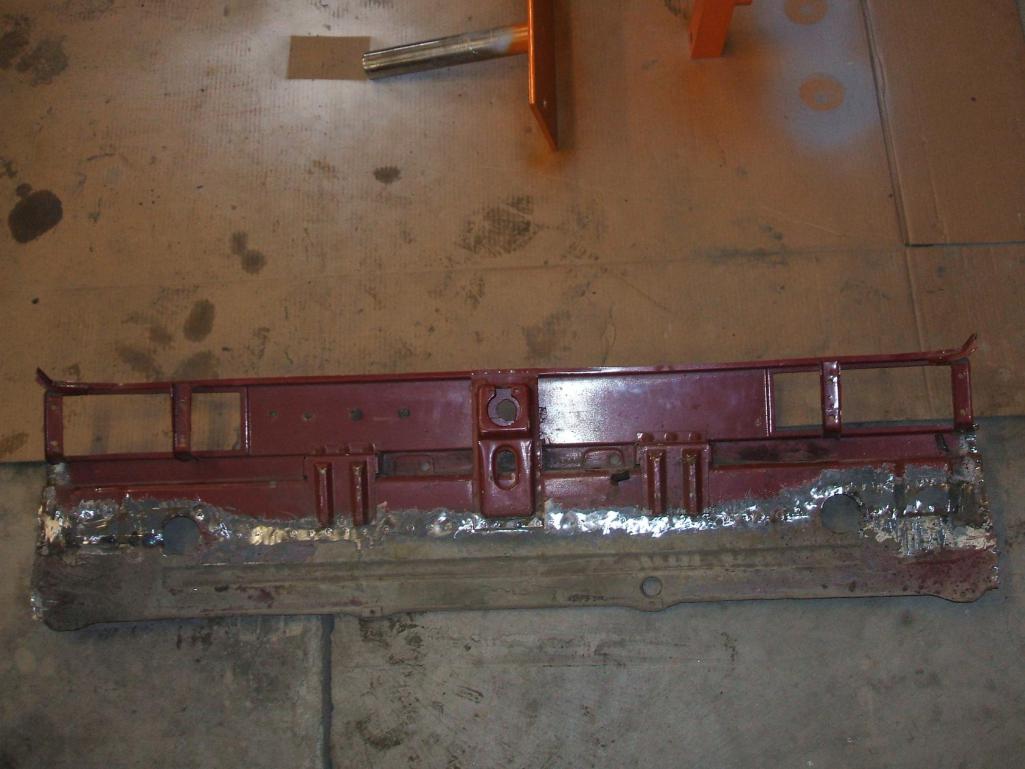
Now just a matter of prepping the back of the car and the trunk floor to install this, first I think I will media blast it. Gives me a chance to try out my new blaster.
For now its time to have some beer and go watch the Super Bowl. 
Posted by: whitetwinturbo Feb 8 2016, 11:16 AM

Posted by: Puebloswatcop Mar 8 2016, 09:17 PM
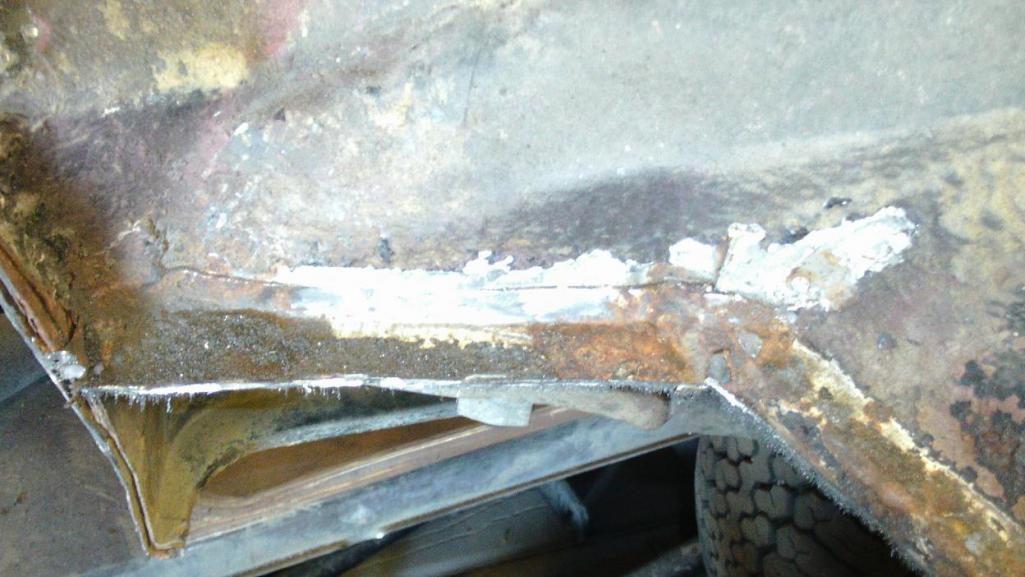
So, things have slowed a bit with work and the start of NASCAR. But Sunday I decided to do some more cutting. I didn't like the way the new floor was fitting between the sides and upon inspection found even more improperly repaired damage. (some people should not own tools). This is what the right side looks like...yikes.
Decided I would start with the outside lower corner since I am limited on time, (race starts in an hour).
After closer examination I found I could use the remainder of the donor corner from which I cut the rear wall...at least on the passenger side. I may have to cut the drivers side from the other donor car I bought awhile back. The inner wall on the right side may have to come out of that car as well.
First I cut out the metal where the horrible weld job was done by the PO 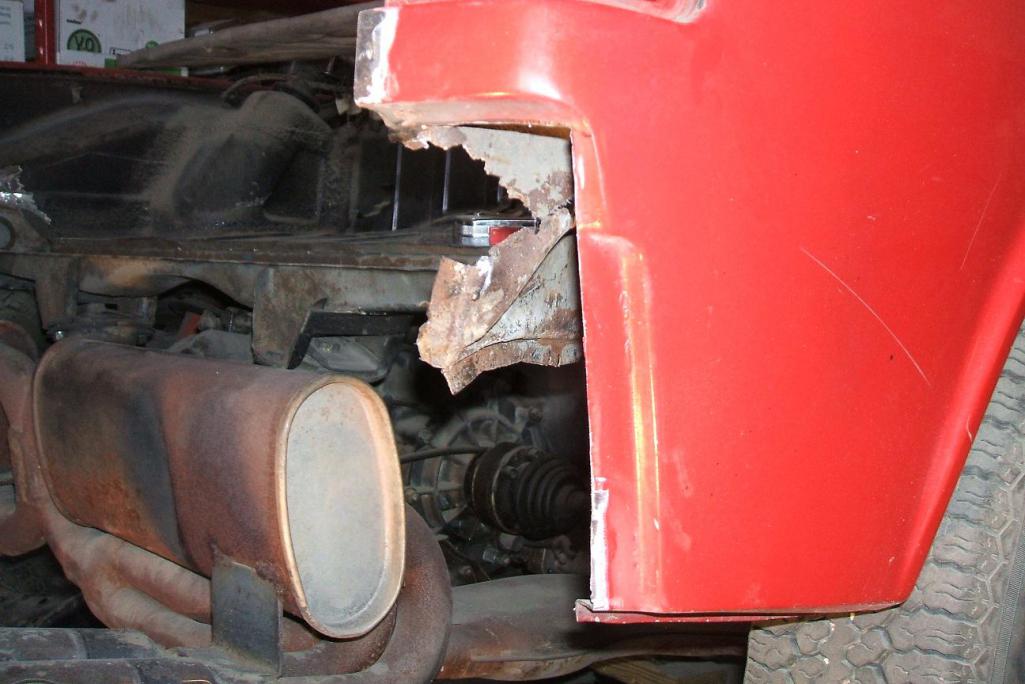
Then I carefully cut the same part from the left over donor corner 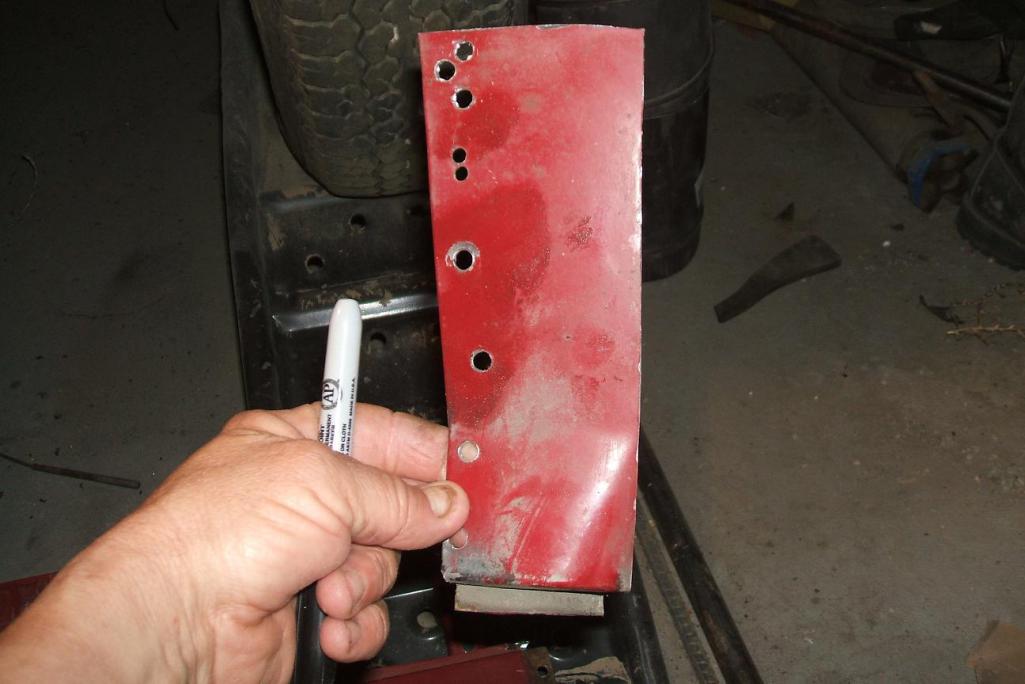
And after some very careful trimming I have a piece that fit very nicely.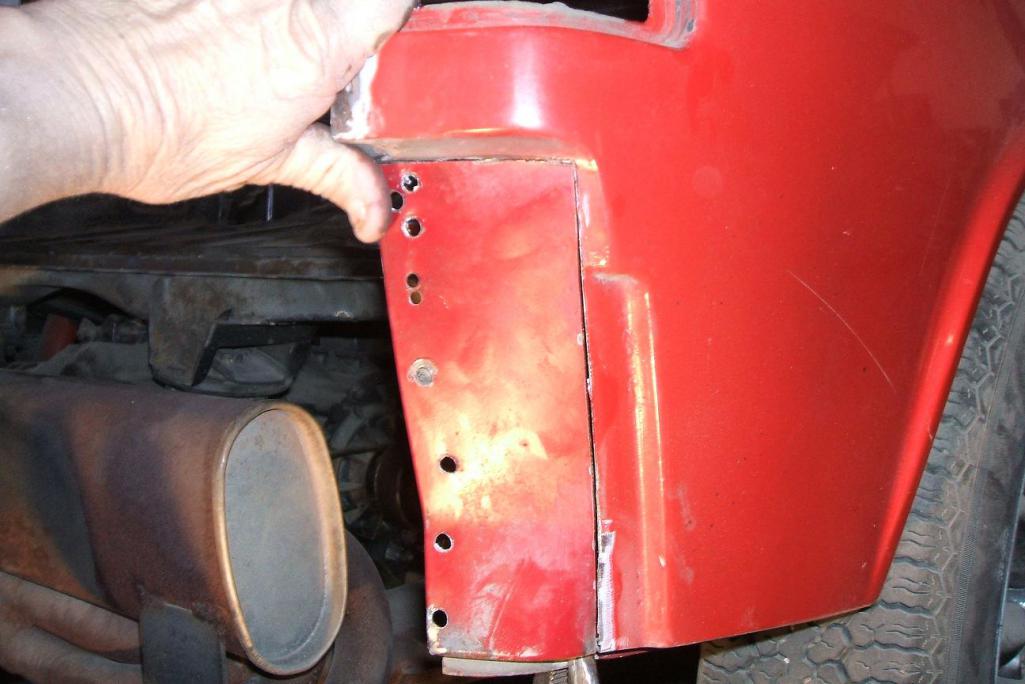
Started cutting some other recoverable portions of the donor corner, but due to the 10,000 spot welds they put into these, I ran out of time....So it is beer time and Race time.....Never work on the 914 post race as usually too much beer is consumed....see you all next week
Posted by: Cairo94507 Mar 8 2016, 09:43 PM
Great job - keep up the good work.
Posted by: whitetwinturbo Mar 8 2016, 11:30 PM
Posted by: Puebloswatcop Mar 23 2016, 08:05 PM
As you all have seen when I was going to replace the rear wall and rear half of the trunk floor I found very poor previous repairs which are now requiring extensive structural and panel replacement. On the rear drivers side I found that the tail light area was filled extensively with body filler and was rusting the metal underneath. Does anyone have any advice on how far forward on the fender I should cut to replace this area. The damage extends to at least the forward edge of the curve of the tail light section.
I have a donor car which would give almost an entire left quarter, but I really don't want to cut that much good metal away from this car if there is a better place to cut the bad corner.
Posted by: Puebloswatcop Apr 22 2016, 07:37 PM
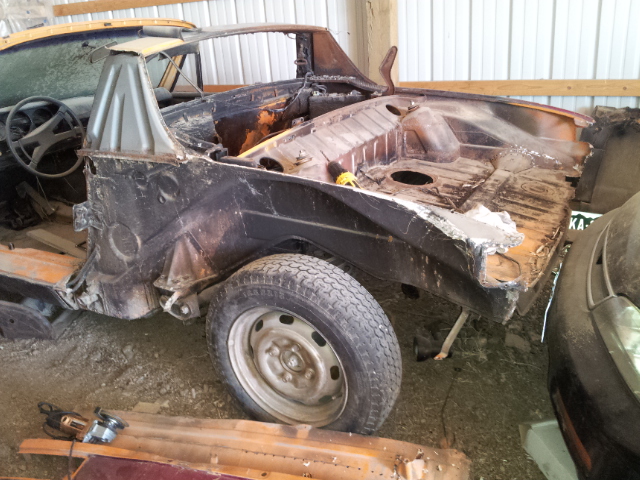
So today I started cutting up my '73 donor car so I can replace some of the damaged metal on my 73 Restoration project. I decided to remove the whole left rear quarter panel today.....150 welds later 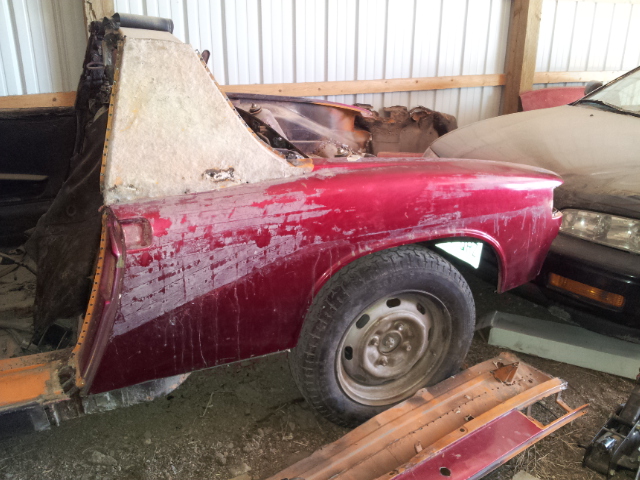
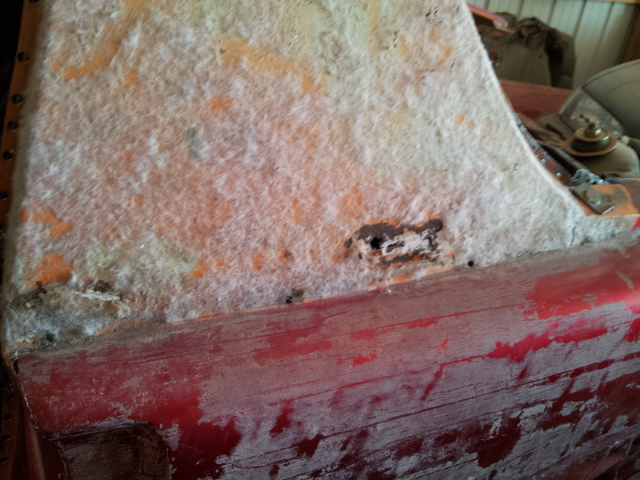
This car had allot of rust, mostly caused from putting out a fire. No one ever cleaned it up afterward so the acid from the melted battery ate the whole passenger side and some of the drivers side as well. 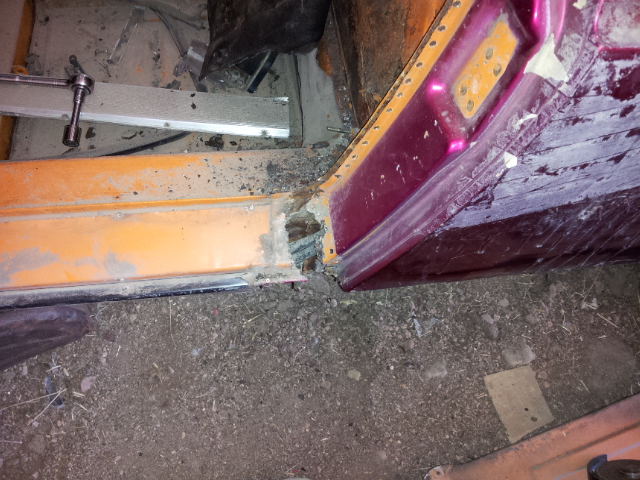
And of course the typical rust to the sail panel, why did Porsche use a foam piece to separate the panel from the inner structure? 
I did get it off in one piece though. The most important part (the rear half) will go to repair the crash damage to my '73. 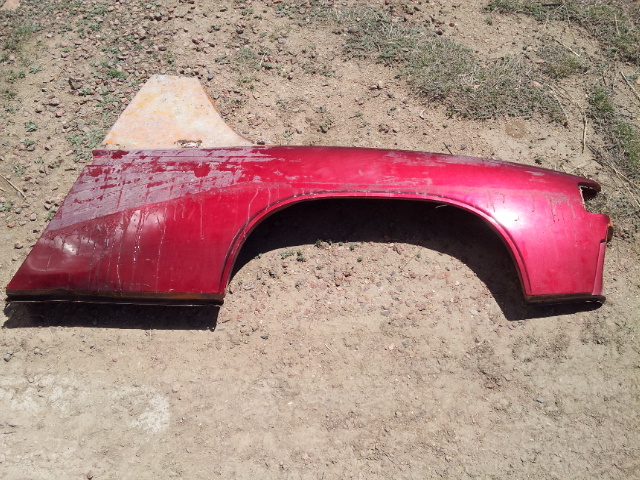
I was surprised at the soot still underneath after about 20 years since the fire. Of course this is a guess based on coins and documents I found in the car. Still allot of good parts left though. 
Powered by Invision Power Board (http://www.invisionboard.com)
© Invision Power Services (http://www.invisionpower.com)