Printable Version of Topic
Click here to view this topic in its original format
914World.com _ 914World Garage _ Replacing Seat Adjuster Handles
Posted by: keely444 Jun 15 2016, 09:48 PM
Any one replace their seat adjuster Handles with any of the aftermarket products out there. How does the removal and install work? Also has anyone powder coated the originals?
Posted by: steuspeed Jun 15 2016, 09:57 PM
http://shop.914rubber.com/914-Seat-Adjuster-Handle-914SH1.htm
Posted by: keely444 Jun 15 2016, 10:00 PM

http://shop.914rubber.com/914-Seat-Adjuster-Handle-914SH1.htm
Thanks! Do you know what material they are made of?
Posted by: Mikey914 Jun 16 2016, 01:54 AM
Steel powder coated black. They will NEVER break and are designed so that the holes are on center with the existing rivets.
Michael broke one of the "unbreakable" plastic ones on his car. He will be doing this soon too.
Posted by: keely444 Jun 16 2016, 06:45 AM
Steel powder coated black. They will NEVER break and are designed so that the holes are on center with the existing rivets.
Michael broke one of the "unbreakable" plastic ones on his car. He will be doing this soon too.
That is what I was hoping to hear. I will get some on order.
Posted by: Optimusglen Jun 16 2016, 07:31 AM
I have a steel one from 914Rubber in my car, the thing is seriously really tough, very pleased with it. I have an early car so I only have one though.
Posted by: 76-914 Jun 16 2016, 08:01 AM
Buy 2 because Mark's is actually nicer than the OEM model. 
Posted by: Rob-O Jun 16 2016, 09:03 PM

I bought 914Rubber ones. Easy fix and they e been in place for several years. I can't see them ever breaking again.
Originals were pot metal. Even if you removed them, painted them and put them back on the car, eventually they're going to fatigue to the point of failing. When? Probably two weeks after you have them powder coated!
Posted by: green914 Jun 17 2016, 07:00 AM
914 Rubber have them on mine, easy to install.
Posted by: billsimmeth May 20 2018, 03:15 PM
Question for those that have installed the 914Rubber handle: Do I need to drill the holes in the adjuster to a larger size or do the supplied screws fit in the factory holes?
Posted by: Rob-O May 20 2018, 05:35 PM
Ya been awhile since I installed them but I want to say I did need to drill a slightly larger hole and then assemble with nut and bolt. I don’t remember if the nut and bolt were provided by 914Rubber or not.
Posted by: billsimmeth May 20 2018, 07:07 PM
Thanks Rob,
Seems hardware is included. Just need to know hole size as car is leaving tomorrow for California and I'll need to install handle in the field.
Ya been awhile since I installed them but I want to say I did need to drill a slightly larger hole and then assemble with nut and bolt. I don’t remember if the nut and bolt were provided by 914Rubber or not.
Posted by: 914-300Hemi May 20 2018, 07:23 PM
I just installed one. You have to make the hole bigger for the bolts that are provided with the kit. I would suggest replacing both of them.
I did take the eats out to drill the old rivets out which made the job much easier.
Posted by: billsimmeth May 21 2018, 04:43 PM
Thanks guys. Anyone know what diameter the bolt that 914Rubber provides is?
Posted by: Dave_Darling May 21 2018, 10:48 PM
Avoid the plastic Weltmeister ones... They break about the second time you use them.
--DD
Posted by: jcd914 May 21 2018, 11:07 PM
I did not buy this one, it came with one of the cars I bought but I don't know of anyone else that makes metal ones other than 914rubber.
It has 6mm Allen head bolts with lock washers, so a 1/4 inch drill will work.
Jim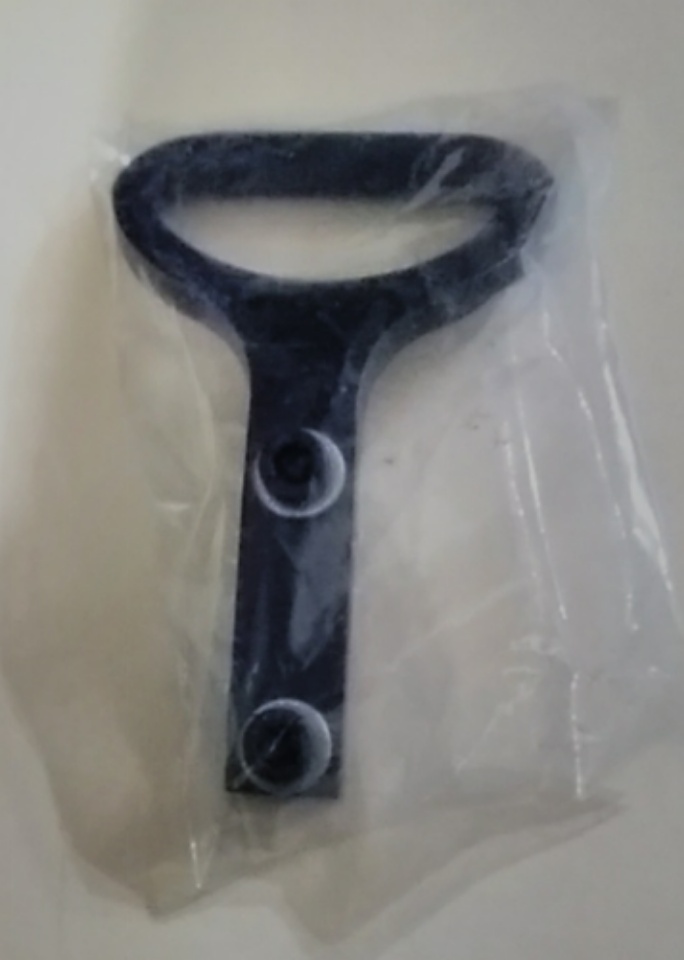
Posted by: Matty900 May 22 2018, 01:44 AM
I restored the base while I had it out and also replaced the seat adjuster bushings. https://shop.914rubber.com/Seat-adjuster-rebuild-kit-for-one-car-and-special-tool-included-SARBK.htm;jsessionid=F8F0DC9CE6DDC125DED57FEB84C90E6E.p3plqscsfapp004?categoryId=-1
Attached thumbnail(s)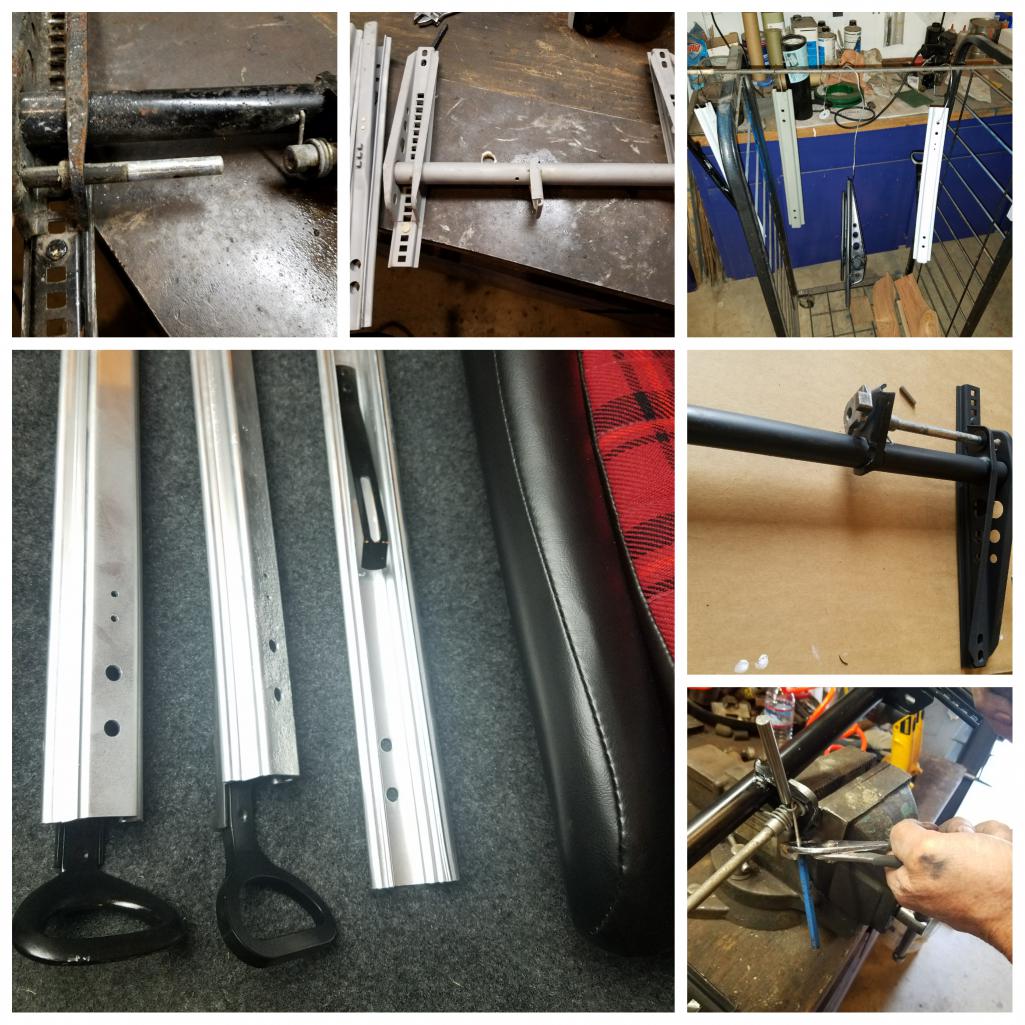
Posted by: Matty900 May 22 2018, 01:46 AM
Drill out the broken handle. (I think it was 7/32)
Attached thumbnail(s)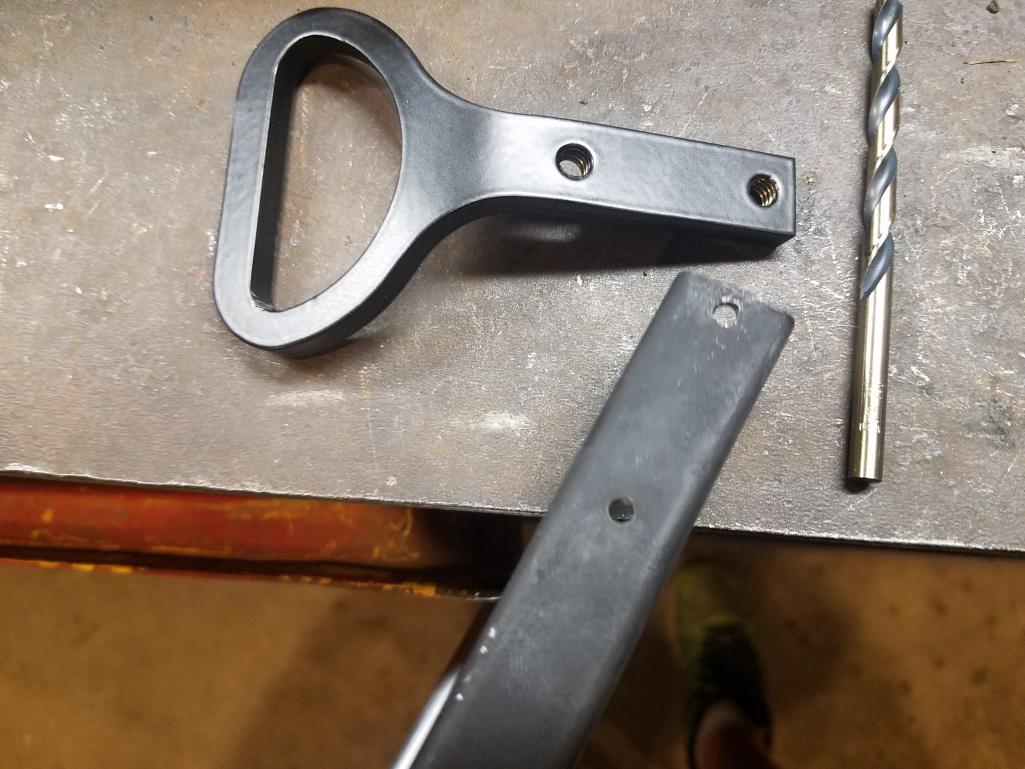
Posted by: Matty900 May 22 2018, 01:49 AM
Then screw on the new one.
Attached thumbnail(s)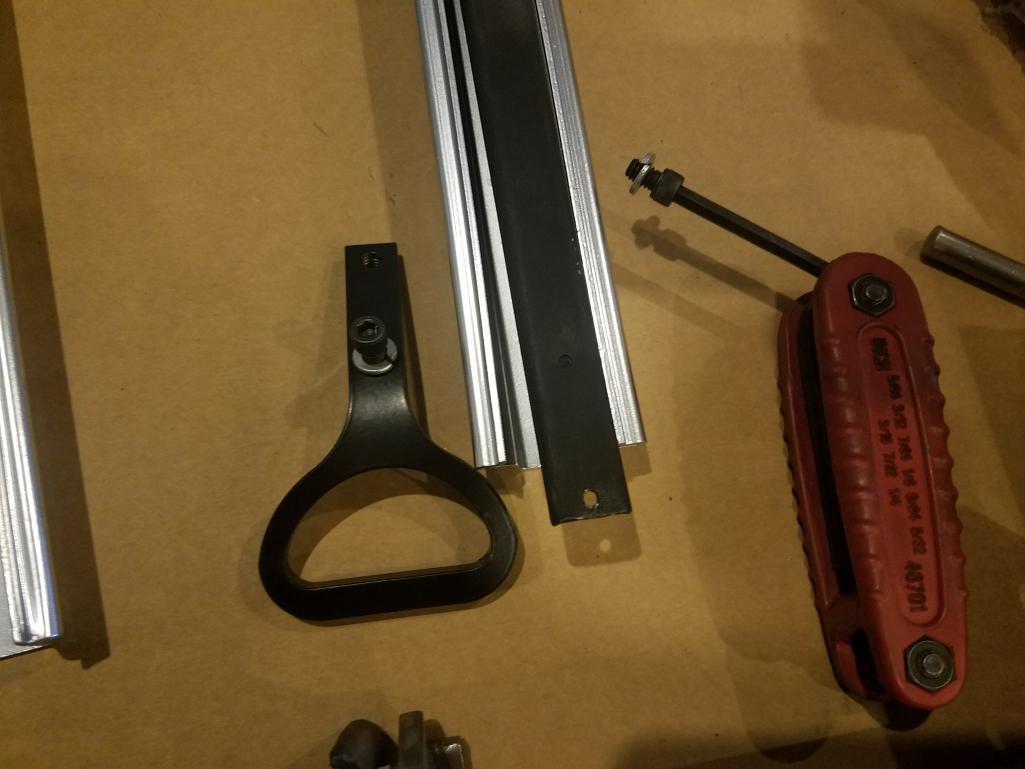
Posted by: billsimmeth May 22 2018, 04:43 AM
Thanks all!
Powered by Invision Power Board (http://www.invisionboard.com)
© Invision Power Services (http://www.invisionpower.com)