Printable Version of Topic
Click here to view this topic in its original format
914World.com _ 914World Garage _ Installing the Bumper Top
Posted by: 76-914 Jun 11 2017, 09:53 AM
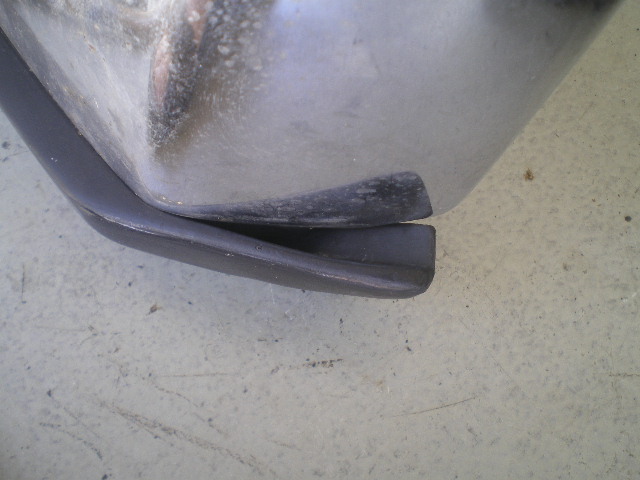
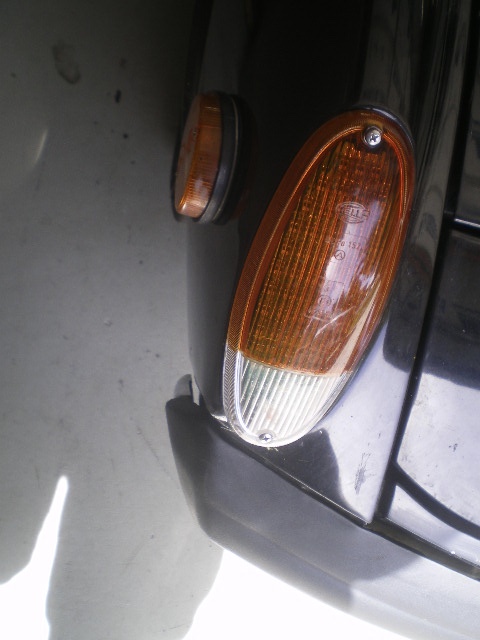
I installed my 914 front bumper top two months ago but just now got around to "taming" the ends. Darren C covered this in his build thread( http://www.914world.com/bbs2/index.php?showtopic=247250&st=60 day 164)but did not provide much detail. Anyway, here are a few pic's of mine being tamed. In this first pic you can see how the ends look once the bumper top is secured to the bumper. And yes, I know my bumper is dirty. 
Notice how I center punch a wee bit inboard of center. This was to give myself a bit more room to turn the screwdriver from inside the bumper. If the hole is too close to the bumper (the place where bumper & rubber meet) you will play Hell turning the screw with a screw driver.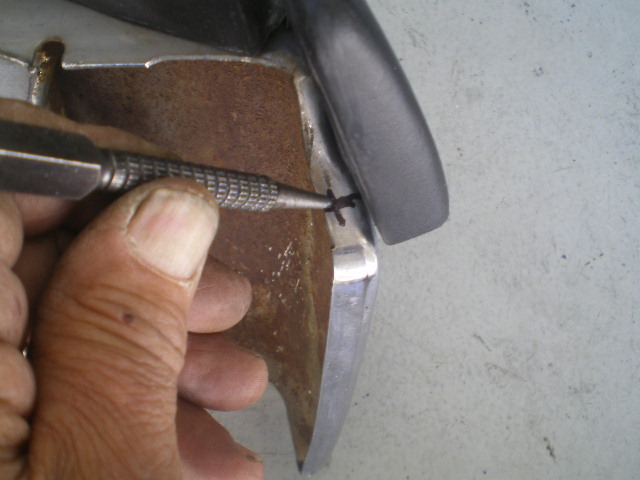
This is where I varied from Darren's method. Rather than remove the rubber top I simply maneuvered it to one side whilst drilling.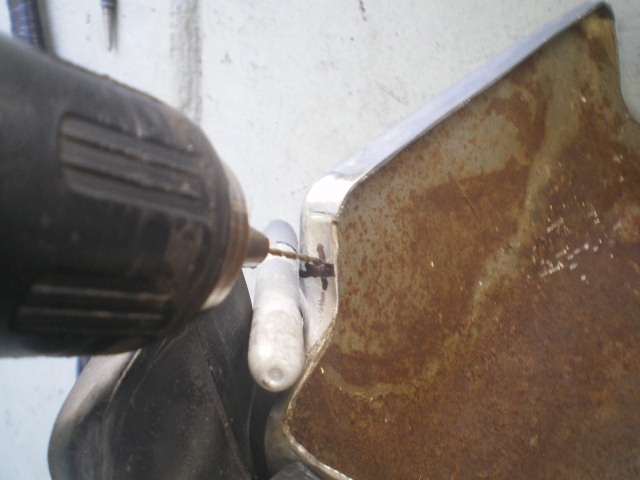
Once the bumper is drilled, pull and hold the rubber end in place then using the hole in the bumper as a guide, insert a "push pin" into the rubber. This will mark the spot you'll need to drill the rubber. 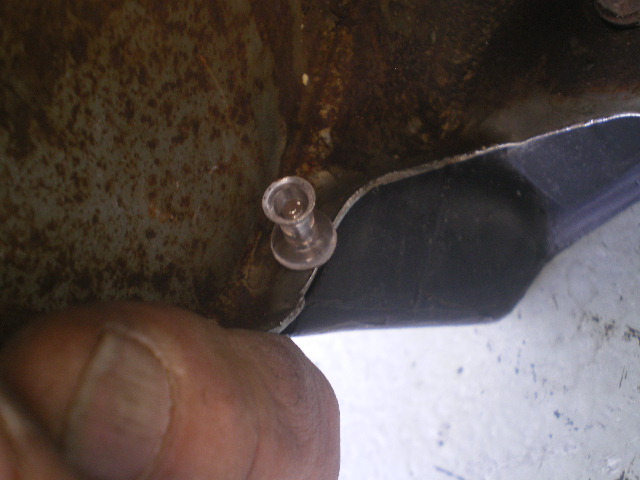
Drill out the rubber paying close attention to the angle of the hole. You don't want to pop out the side of the bumper top.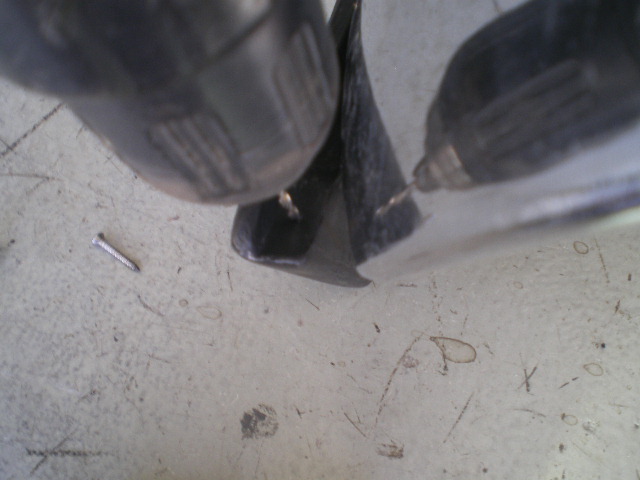
You can see why I drilled a bit off center as you need all the room you can get to tighten the screw.
With the screw tightened the edge pulls in quite nicely.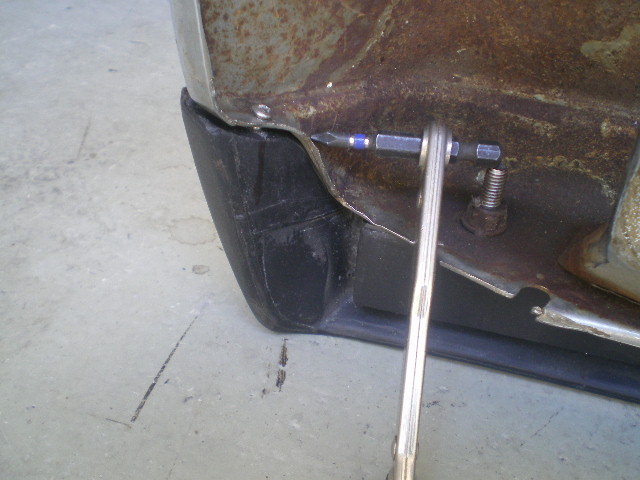
Attached image(s)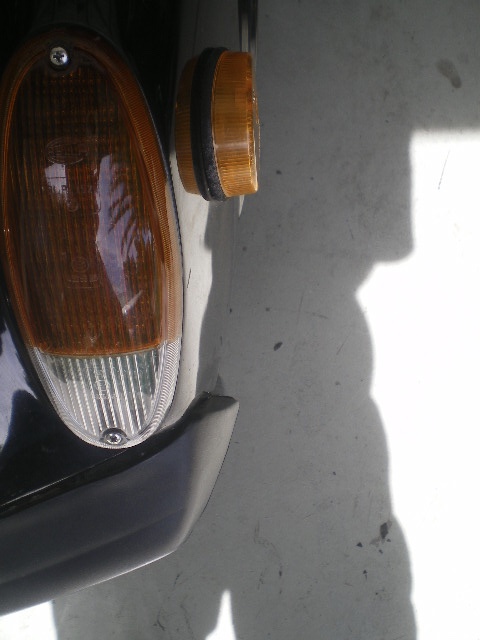
Posted by: Steve Jun 11 2017, 01:49 PM
Nice job!!! Looks great!! I have the same issue with my 914 rubber bumper tops. Would the bumper top spacers help? Why don't the factory ones have this issue?
I hate to jury rig my car or drills hole in it, just because some after market part doesn't fit right.
Posted by: rhodyguy Jun 12 2017, 08:46 AM
You need to treat the rust on the back of your bumper(s) kent.
Posted by: mepstein Jun 12 2017, 09:00 AM
If you are going to go that direction, I would bond a small stud in the rubber top and then you could tighten down into the bumper with a washer and nut. Sort of a small version of how it fits on top of the bumper.
Posted by: 76-914 Jun 12 2017, 09:08 AM

Nice job!!! Looks great!! I have the same issue with my 914 rubber bumper tops. Would the bumper top spacers help? Why don't the factory ones have this issue?
I hate to jury rig my car or drills hole in it, just because some after market part doesn't fit right.
I hear you Steve. You'd need an OEM one for your 914. For mine and most other's the 914 top is fantastic and I'm glad to have it. I'm sure 914rubber will address the shrinkage issue in the future. Besides, I could never complain given the group buy price.

Posted by: 76-914 Jun 12 2017, 09:09 AM
You need to treat the rust on the back of your bumper(s) kent.
Yes, your correct Kev. It isn't as bad as it appears. You know how the flash amplifies the rust condition. How's everything?
Posted by: 76-914 Jun 12 2017, 09:10 AM
If you are going to go that direction, I would bond a small stud in the rubber top and then you could tighten down into the bumper with a washer and nut. Sort of a small version of how it fits on top of the bumper.
That sounds like a lot of work!

Powered by Invision Power Board (http://www.invisionboard.com)
© Invision Power Services (http://www.invisionpower.com)