Printable Version of Topic
Click here to view this topic in its original format
914World.com _ 914World Garage _ replacing the D-jet MPS diaphram
Posted by: pgollender Nov 12 2017, 12:36 AM
Rebuilding a extra 1.7 liter in my spare time.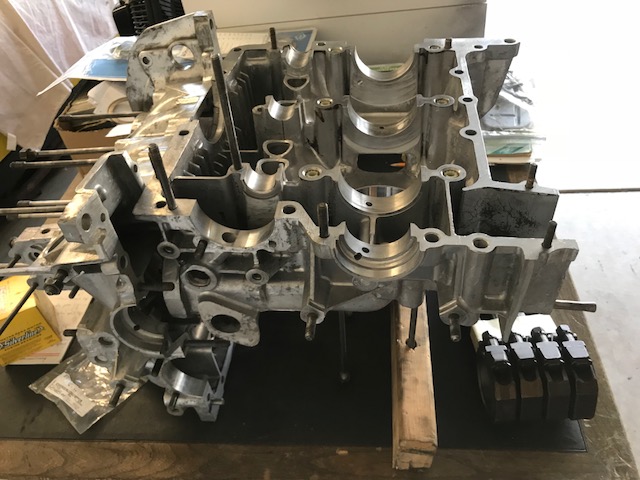
So today I decided to rebuild my MPS that couldn't hold a vacuum. Ordered a kit from Tangerine Racing (Chris Foley). Darn easy job. It took about 40 minutes. I haven't bench tested it yet as I am planning to put it together with the 1.7 
Split the case. (4 screws hold it together)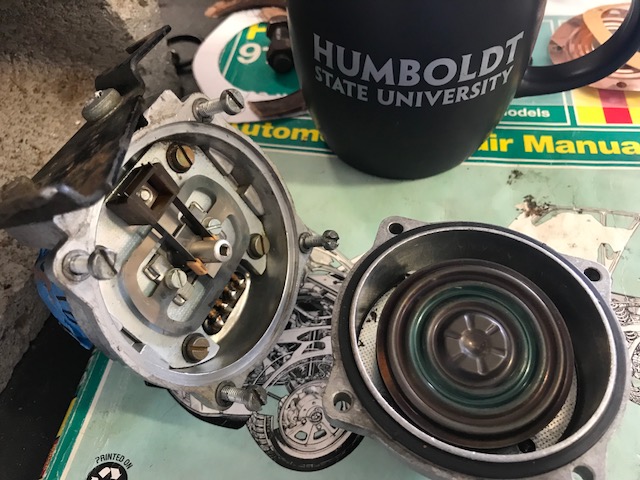
Here are the double Aneroid cells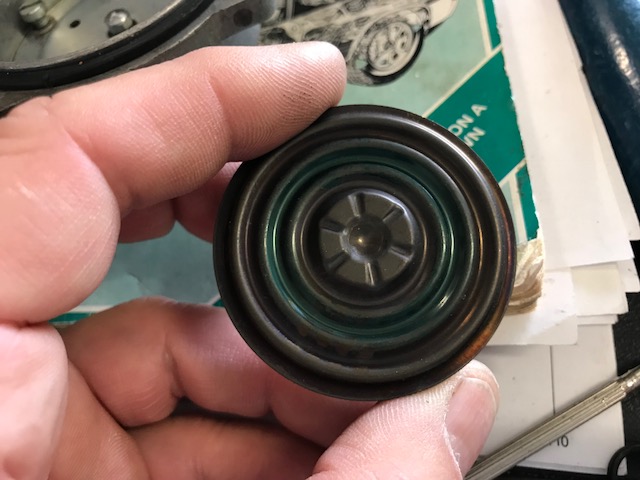
Unless you are going to make your MPS tunable, forget about the removing the epoxy.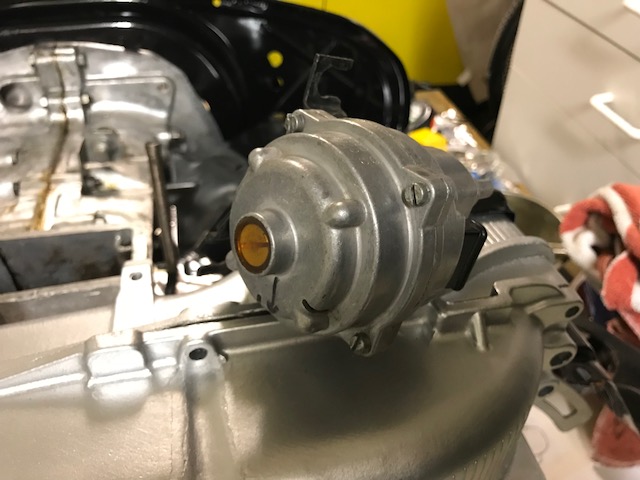 .
.
You just have to make sure that your inner and outer screw assembly stays the same with respect to the diaphram and each other.
Remove the 4 inner screws that hold the part-load stop plate: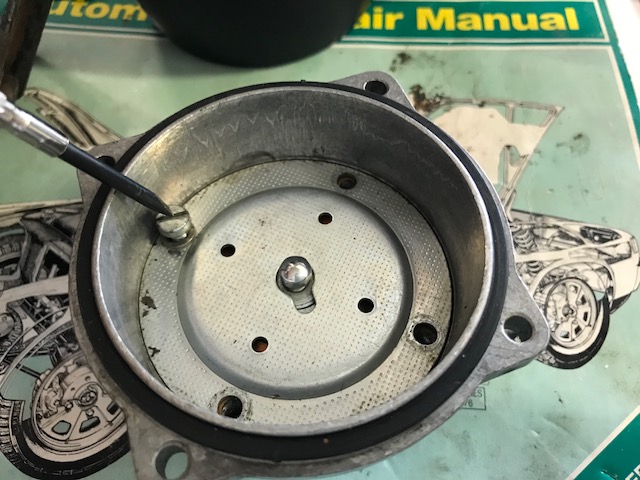
Remove the diaphram assembly. Here's the reason it didn't hold a vacuum (torn diaphram) :
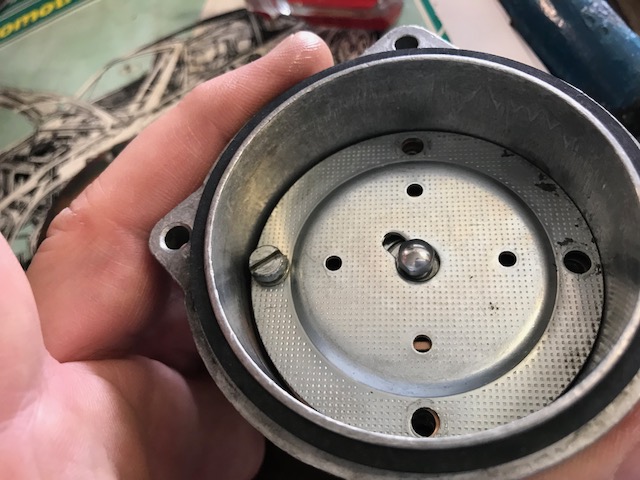
This is the backside of the assembly with the inner screw that faces outwards.
New Foley Kit and instructions: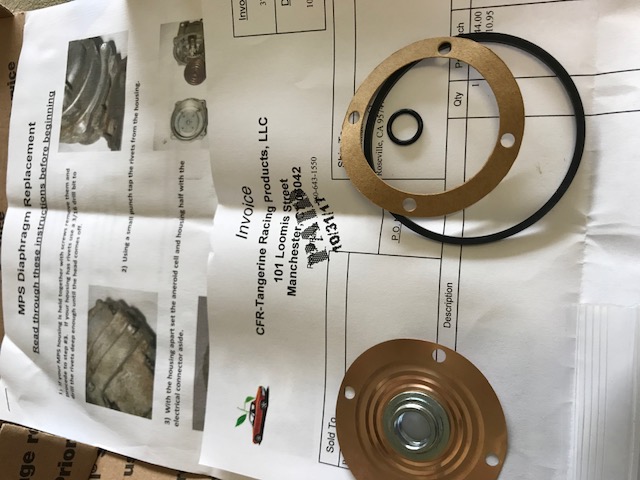
Replace small rubber seal on screw assembly: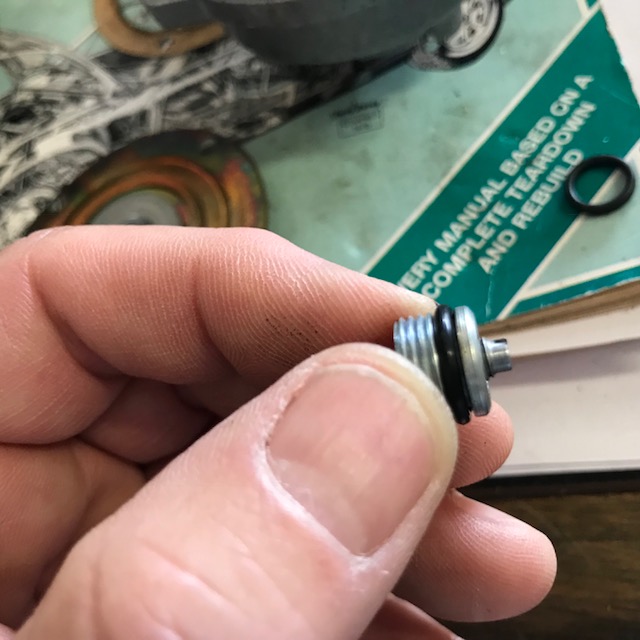
Replace old paper gasket: Coat new one lightly both sides with wheel bearing grease.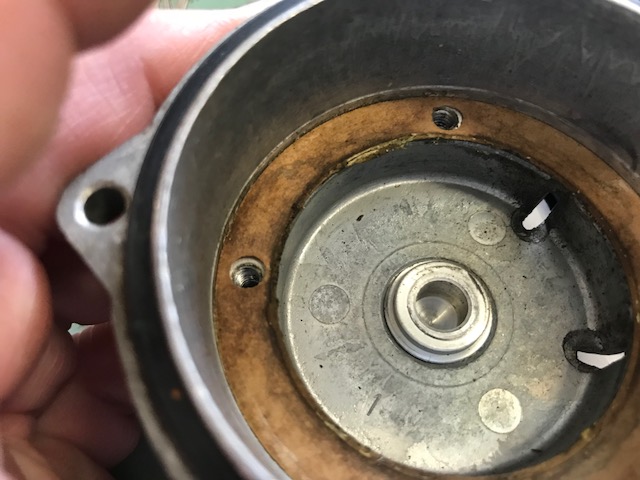
Measure carefully the assembly's depth. A depth measuring tool works best. My outer screw was 1-3/4 threads above the plane of the aluminum surface of the diaphram. Transfer it exactly over to the new diaphram. I found that I had to remove the inner/outer assembly by backing it out from the backside.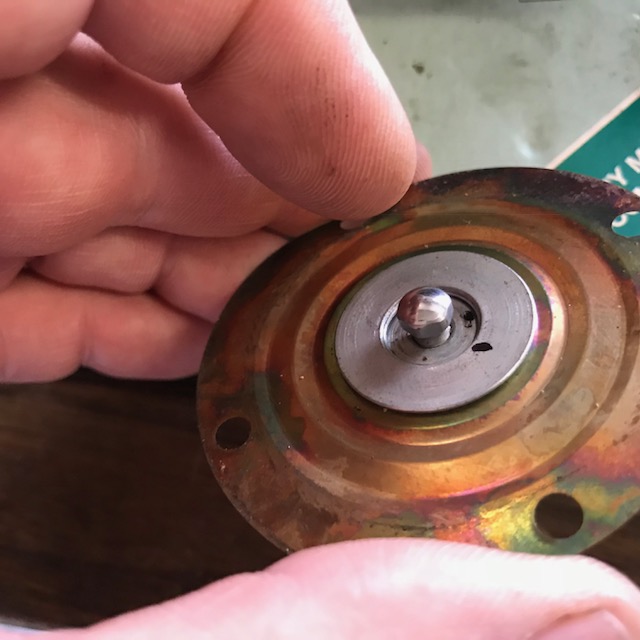
Careful not to change the relationship between the inner and outer screw distances. If you do you will affect how lean/rich your mixture is under either part load or full load conditions. Brad Anders has an excellent article posted on Rennlist describing the effect: https://members.rennlist.com/pbanders/manifold_pressure_sensor.htm
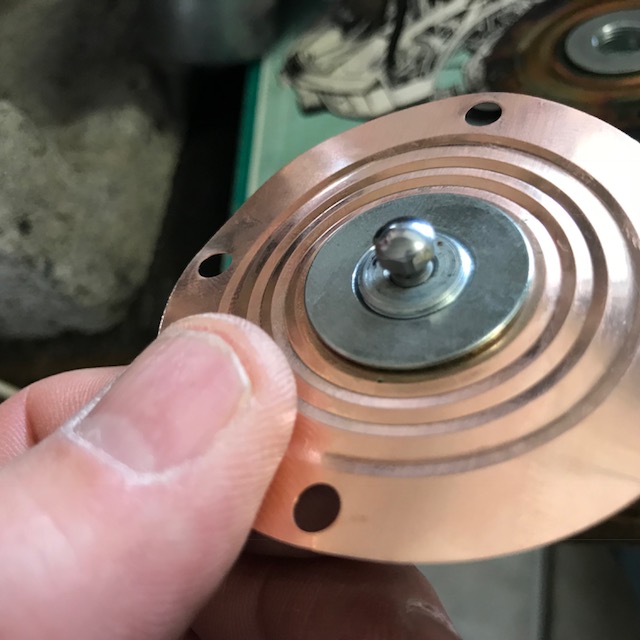
Replace old outer seal: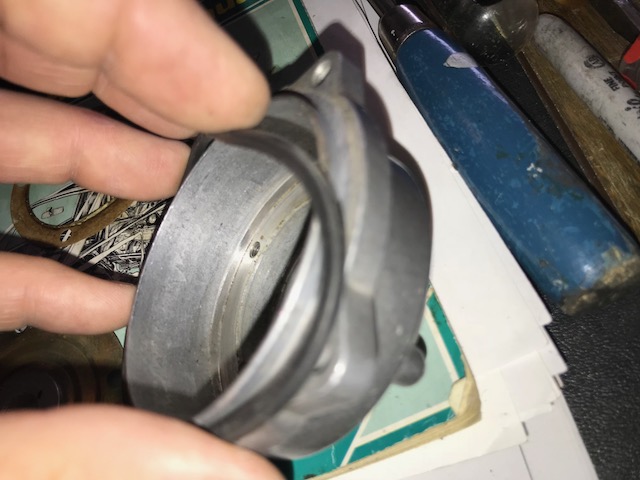
Put it back together: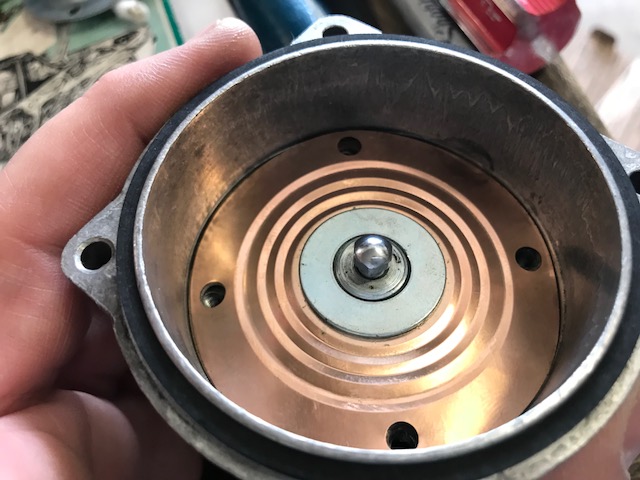
Make sure the weap holes in the assembly point down when mounted back into the car.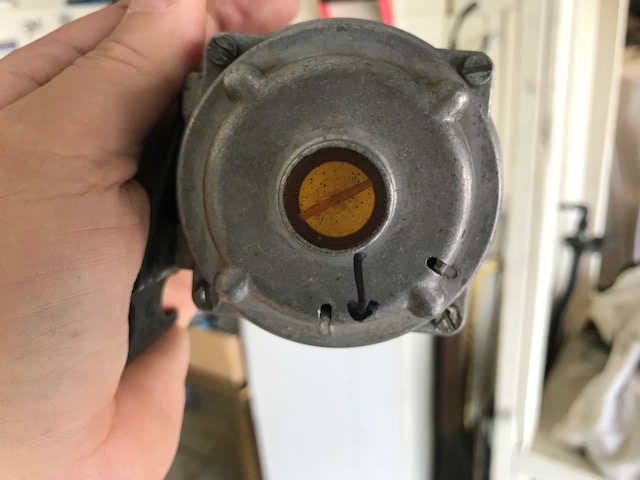
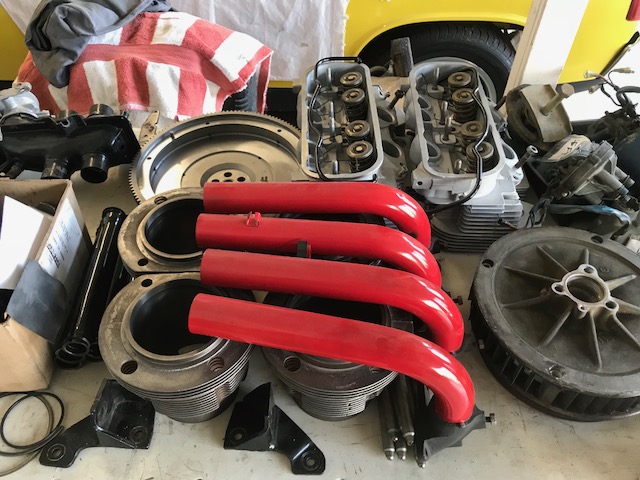
Now back to the grind.... Dry fitting the tins and fan shroud on the short block after welding them up and painting:
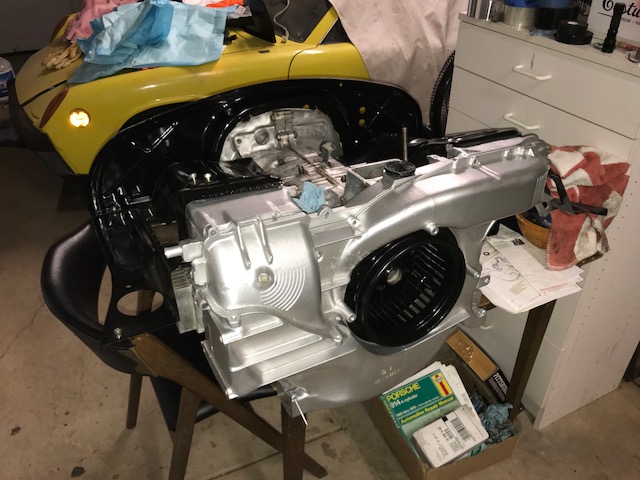
The yellow '74 in the background is next summers 1.8L Turbo (Audi) conversion project inspired by Mike Bellis and Andrew Dalen's 1.8L projects.
Posted by: Jeff Bowlsby Nov 12 2017, 08:24 AM
"Measure carefully the assembly's depth."
Nice write up. I spend more time than that just getting the case cleaned up and painted. Conceptually its all so easy and hopefully that measurement will be close enough to allow fire to breath into your new engine. The proof will be in how it actually performs as the correct calibration is extremely delicate and varies with each engine. Be prepared to need to refine that calibration.
Getting that calibration exactly correct for the requirements of a specific engine, without a dyno or exhaust gas analyzer is not possible. I have had access to many different NOS MPS over the years, characterizing each one. None are calibrated identically from the factory, but it is apparent that each was calibrated specifically for each engine.
Posted by: pgollender Nov 12 2017, 12:11 PM
[quote name='Jeff Bowlsby' date='Nov 12 2017, 06:24 AM' post='2547811']
"Be prepared to need to refine that calibration.
Getting that calibration exactly correct for the requirements of a specific engine, without a dyno or exhaust gas analyzer is not possible."
Thanks Jeff
I do have wide band O-2 sensor ready once the engine is completed and on the test stand. I will update this post when I am there.
Brad Anders states that the total travel of the MPS diaphram is about 1.3mm in a 2.0 liter, (I failed to measure the 1.7L travel distance yesterday). So any little difference in intra-screw travel would be significant .
Chris Foley says you know you are very close to optimal when the ECU idle adjustment knob is working and actually has an effect. I also plan on using an electric 2 port fuel pump at 30 PSI. I've already had my injectors cleansed and matched at RC Fuel Injectors at in Torrence. If I'm not happy with the "raw" results, Ill run a CO analyzer afterwards, which I'll probably do anyway regardless.
Posted by: Racer Chris Nov 13 2017, 07:41 AM

Chris Foley says you know you are very close to optimal when the ECU idle adjustment knob is working and actually has an effect.
I proved this again just a week ago. A car was here with a 2L that supposedly had an aftermarket cam. We were tasked with removing the carbs and reinstalling d-jet.
After we had it running, I did a little tuning to where it drove fine but the idle was a little rough still. At first I attributed it to the cam, but decided to continue tuning.
On another test drive I decided it didn't feel quite like it had even stock 2L performance. So I pulled out my adjusting tools and richened the idle another half turn of the center MPS screw. I could hear the idle rpm increasing, and stabilizing at the same time. Turning the ECU knob now had a significant effect on the idle quality. I made one final MPS adjustment, moved the ECU knob to the best idle, and screwed the idle speed screw on the TB in about a full turn to lower the rpm to 900.
Posted by: ThePaintedMan Nov 13 2017, 08:30 AM
Chris Foley says you know you are very close to optimal when the ECU idle adjustment knob is working and actually has an effect.
I proved this again just a week ago. A car was here with a 2L that supposedly had an aftermarket cam. We were tasked with removing the carbs and reinstalling d-jet.
After we had it running, I did a little tuning to where it drove fine but the idle was a little rough still. At first I attributed it to the cam, but decided to continue tuning.
On another test drive I decided it didn't feel quite like it had even stock 2L performance. So I pulled out my adjusting tools and richened the idle another half turn of the center MPS screw. I could hear the idle rpm increasing, and stabilizing at the same time. Turning the ECU knob now had a significant effect on the idle quality. I made one final MPS adjustment, moved the ECU knob to the best idle, and screwed the idle speed screw on the TB in about a full turn to lower the rpm to 900.
Interesting. So it's actually not all that far off from tuning carbs. Basically you need to get in the ballpark with coarse adjustments, then fine tune from there. Sorry, I still have not owned a 914 with FI, but because the carbs have taught me quite a bit about physics and the Stoichiometric Ratio, FI intrigues me more and more.
Powered by Invision Power Board (http://www.invisionboard.com)
© Invision Power Services (http://www.invisionpower.com)