Printable Version of Topic
Click here to view this topic in its original format
914World.com _ 914World Garage _ Making custom gauge faces?
Posted by: falcor75 Nov 16 2017, 01:40 PM
I've got an old Saab VDO fuel gauge that I'd like to change the gauge face to a more Porsche looking face. Any ideas on how to make your own gauge face that doesnt look like crap after being exposed to sunlight etc?
Posted by: mepstein Nov 16 2017, 02:00 PM
I'm hoping there is someone on World with the skill to do gauge faces. I would like a set of green face gauges and even though there are gauge companies that can do it for me, I'm hoping someone here can keep it "in house".
Posted by: Mblizzard Nov 16 2017, 02:04 PM

I'm hoping there is someone on World with the skill to do gauge faces. I would like a set of green face gauges and even though there are gauge companies that can do it for me, I'm hoping someone here can keep it "in house".
I know Tim Kinney did some work on white ones. I am having him update mine to what over the winter. He might be the source you need.
Posted by: mepstein Nov 16 2017, 02:14 PM
I'm hoping there is someone on World with the skill to do gauge faces. I would like a set of green face gauges and even though there are gauge companies that can do it for me, I'm hoping someone here can keep it "in house".
I know Tim Kinney did some work on white ones. I am having him update mine to what over the winter. He might be the source you need.
Tim supplied gauges to a company called whitegauges.net and they made them. I'm sure I could have them custom make what I want but there's a good chance someone on world can do it. The guys here always amaze me with their skill and knowledge.
I actually think it would be a great addition for 914rubber.
Posted by: jd74914 Nov 16 2017, 02:20 PM
They have a ton of color options and $20 seems hard to beat.
http://www.whitegauges.net/categories/Porsche/914/
Posted by: Chris914n6 Nov 16 2017, 04:38 PM
They have a ton of color options and $20 seems hard to beat.
http://www.whitegauges.net/categories/Porsche/914/
Colors are +$30
What they sell is digital print vinyl. They might be willing to do a "custom" for the fuel gauge.
Or if you can do graphics you can print your own onto an inkjet/laser vinyl at home, top with clear UV spray paint. I'm actually going to do that to my
Posted by: SirAndy Nov 16 2017, 04:50 PM
I did that with my tach and it works well enough but the real problem is to find an adhesive that doesn't eventually separate from the underlying face.

Posted by: mepstein Nov 16 2017, 04:59 PM
They have a ton of color options and $20 seems hard to beat.
http://www.whitegauges.net/categories/Porsche/914/
As soon as you do anything but white, there's a $30 up charge. $150 is more than I want to pay for 3 stickers. That's why I think someone like 914 rubber could have this done professionally for a lot less.
Posted by: Mueller Nov 16 2017, 05:58 PM
I can laser engrave anodized aluminum with my laser, could be used to make a new face.
Attached thumbnail(s)
Posted by: porschetub Nov 16 2017, 10:33 PM
They have a ton of color options and $20 seems hard to beat.
http://www.whitegauges.net/categories/Porsche/914/
As soon as you do anything but white, there's a $30 up charge. $150 is more than I want to pay for 3 stickers. That's why I think someone like 914 rubber could have this done professionally for a lot less.
Was keen till I saw the "colour tax"
 don't like white gauge faces to start with.
Posted by: falcor75 Nov 17 2017, 12:38 AM
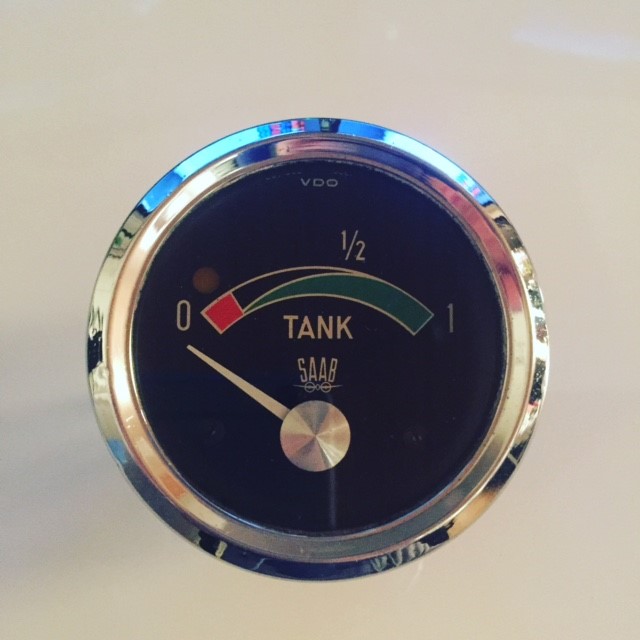
What I want to do is to turn this....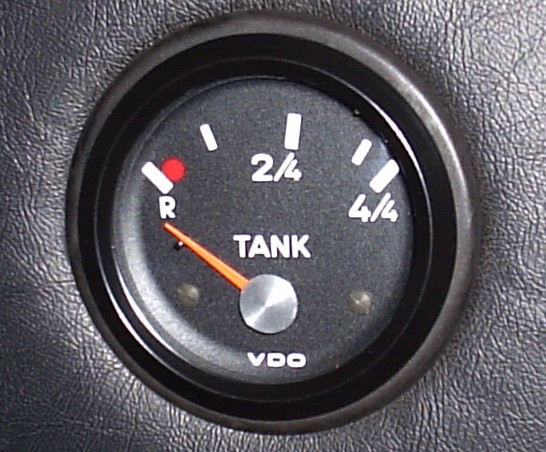
into this. So I'll need some way of making/printing a black gauge face.
While I'm waiting for my gearbox to be rebuilt I'm replacing the stock fuel/e-brake gauge with a 911 oil temp and pressure gauge and moving the fuel gauge to the radio location together with the volt gauge. 
Posted by: defianty Nov 17 2017, 01:28 AM
Mats, take a look at my thread here about how I approached this
http://www.914world.com/bbs2/index.php?showtopic=310626&st=40
Any questions just drop me a pm.
Posted by: falcor75 Nov 17 2017, 03:44 AM
Thanks Stephen, I knew I'd read about the conversion somewhere but I could not find your thread when searching.
Posted by: Mark Henry Nov 17 2017, 08:07 AM
Contact carbone, it will cost you a little more than his stock items, but he will custom make anything you want.
http://car-bone.pl/
Posted by: gereed75 Nov 17 2017, 09:07 AM
Mats. I did a combo gauge that is holding up fine. See This thread for details
http://www.914world.com/bbs2/index.php?showtopic=258558&hl=
With your skills - piece of cake !!
Posted by: jd74914 Nov 17 2017, 09:38 AM
They have a ton of color options and $20 seems hard to beat.
http://www.whitegauges.net/categories/Porsche/914/
As soon as you do anything but white, there's a $30 up charge. $150 is more than I want to pay for 3 stickers. That's why I think someone like 914 rubber could have this done professionally for a lot less.
Was keen till I saw the "colour tax"
don't like white gauge faces to start with.Wow, didn't realize that-Never actually selected any other colors. That's insane.

Posted by: 914forme Nov 17 2017, 10:28 AM
I am working on this as we speak. And Muller is on the correct path if your doing a custom gauge, and replacing the face. You use, metal or a plastic, and then you can also back fill the etching with OneShot or similar paints.
For assembled gauges that you don't want to replace the backing. You use a white vinyl with a 3M adhesive promoter, and then a laminated surface that has been printed. The printing is not cheap, thus the reason for the $30 up charge on the gauges. The dye costs are high. And the equipment to do the dye printing can also make you head spin.
So Mark, doing a set in green, not a problem, doing a set in any color you wish, really not an issue. Making them so they last for 70+ years, and bit harder.
You can also do these on a laser and paint them or use a transfer system, lots of ways to do this.
I have also done them silkscreened, and vinyl masked with an airbrush. Vinyl masking is actually pretty nice yet time consuming.
If your doing new gauges and all of the, are to be new, you can do things like backlighting the gauge, and then having the ticks transparent to allow the ticks to be seen. Can be done, but looks a bit modern for a 70s car.
Lots of ways to do this, some much cheaper than others.
Posted by: mepstein Nov 17 2017, 11:06 AM
I am working on this as we speak. And Muller is on the correct path if your doing a custom gauge, and replacing the face. You use, metal or a plastic, and then you can also back fill the etching with OneShot or similar paints.
For assembled gauges that you don't want to replace the backing. You use a white vinyl with a 3M adhesive promoter, and then a laminated surface that has been printed. The printing is not cheap, thus the reason for the $30 up charge on the gauges. The dye costs are high. And the equipment to do the dye printing can also make you head spin.
So Mark, doing a set in green, not a problem, doing a set in any color you wish, really not an issue. Making them so they last for 70+ years, and bit harder.
You can also do these on a laser and paint them or use a transfer system, lots of ways to do this.
I have also done them silkscreened, and vinyl masked with an airbrush. Vinyl masking is actually pretty nice yet time consuming.
If your doing new gauges and all of the, are to be new, you can do things like backlighting the gauge, and then having the ticks transparent to allow the ticks to be seen. Can be done, but looks a bit modern for a 70s car.
Lots of ways to do this, some much cheaper than others.
I agree with everything you are saying. I wonder if white gauges would do a group buy and waive the $30/gauge.
Posted by: burton73 Nov 17 2017, 05:15 PM
This will work for someone.
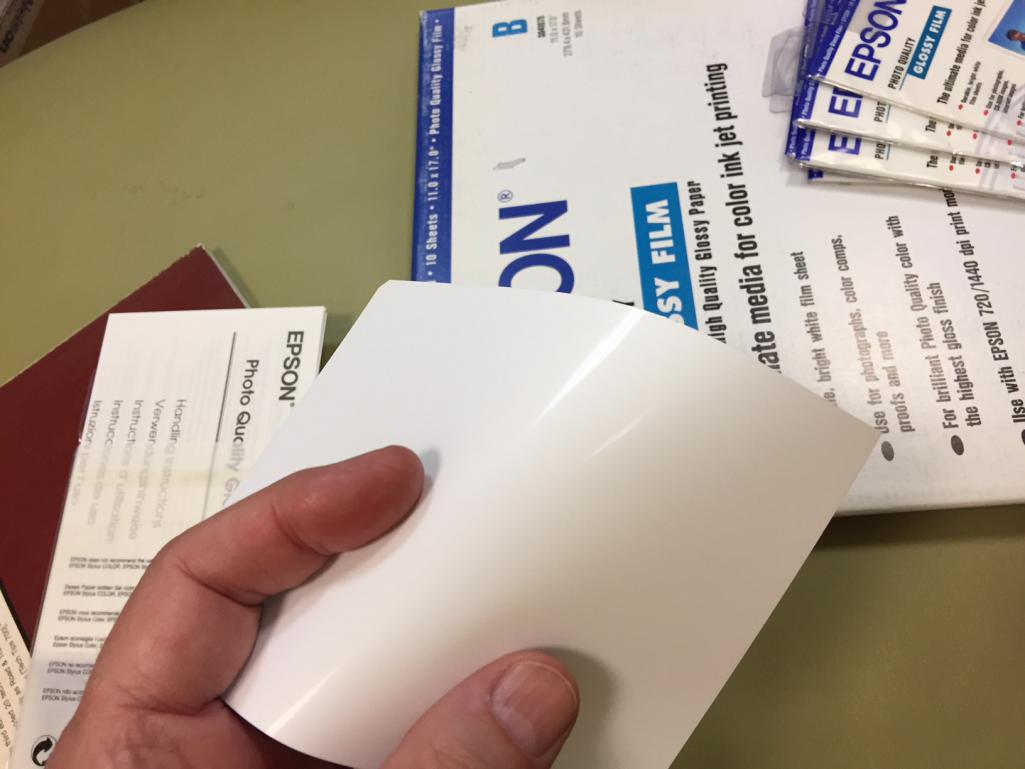
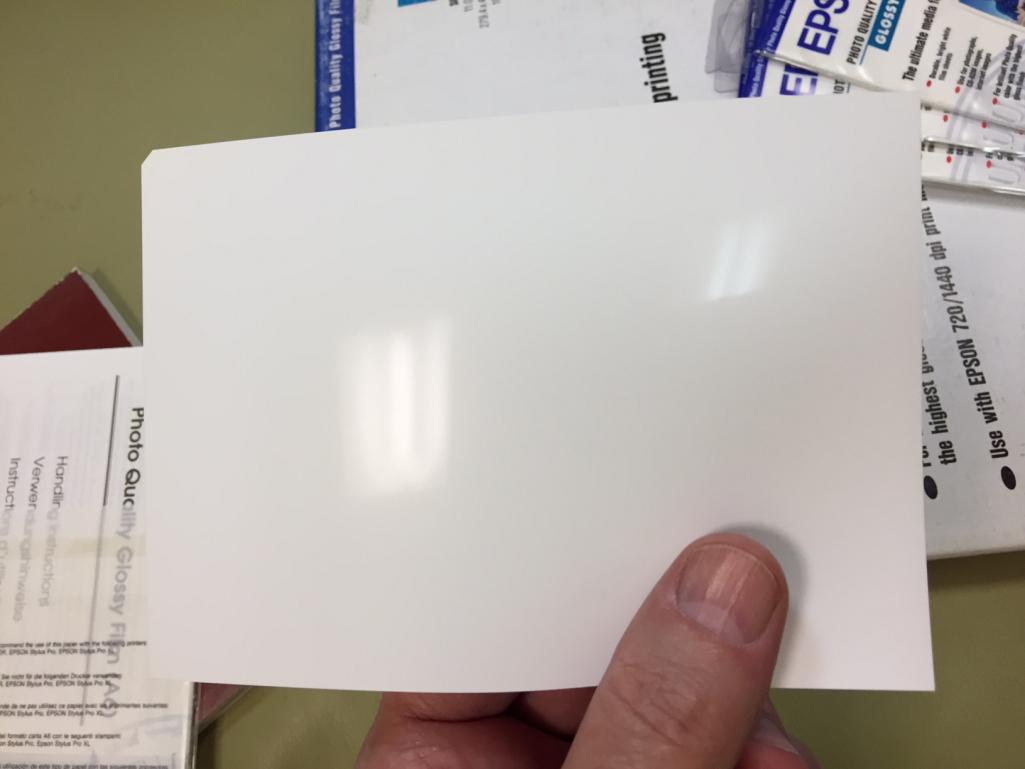
I have been in the plastics Biz for 43 years. In that time we have embedded artwork in Lucite and Polyester materials. We have used different techniques over the years to achieve the look of inserts from Silk Screen printing to inkjet printing on different substrates. One of the best looks is a high-end ink jet printing on white gloss film made by Epson. One of the problems is Epson does not make this material any more so when I need it I buy it on the secondary market. It is all over the world. Easy to set up the artwork and then print out on this film and then cut it out. I have a high temperature double stick film that I put on my inserts that I make for my Patented Color Changing Thermometers.
I want nothing to do with making these films for gauges but it is very easy too do.
Today a low cost inkjet printer will do the job. I hate inkjets as they clog if not used all the time and you have to dick with them to get a clean print but when they are working well they are super clear. Sorry That I do not have a sample of how it looks because by printer is banding right now and I have spent to much time today trying to get it to print clear, I am getting married this weekend and I have lots to do.
This can look really good for this use. The inkjet ink bonds to the plastic sheet and will not flake off. It is hard to scratch as well
Bob B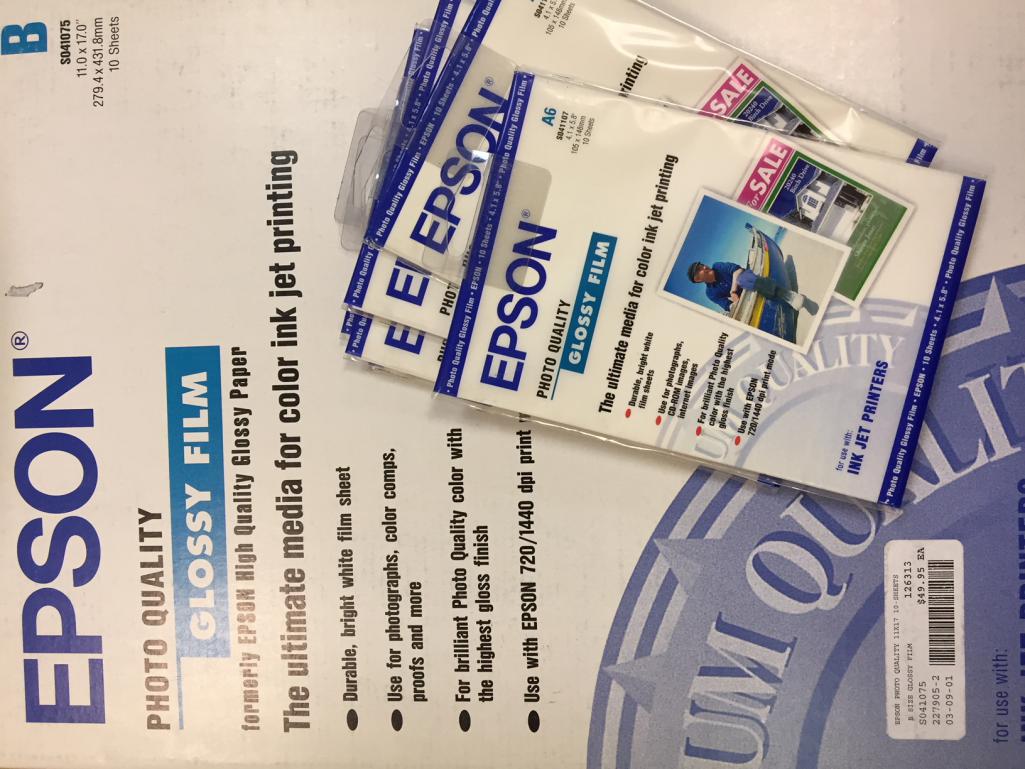

Posted by: 914forme Nov 17 2017, 07:09 PM
 PM sent
Posted by: mepstein Nov 17 2017, 07:36 PM
Well that certainly explains a lot. If there is someone who is willing to do the graphics and share, it seems like this could be printed at home.
Posted by: burton73 Nov 17 2017, 07:40 PM
Well that certainly explains a lot. If there is someone who is willing to do the graphics and share, it seems like this could be printed at home.
Yes. The hard part is getting the film. I just bouight 45 more 1
8.5 x 11 sheets on EBay at $.50 per sheet delivered. . I have had in the past had to buy it from Germany or France. Like I said it is all over the world. I guess it was not a big item for Epson.
Bob B
Posted by: burton73 Nov 17 2017, 07:43 PM
My inkjet is somewhat clogged today and not printing 100% so I could not print out any samples but I know this works well. The blacks are very dark as are the colors. It puts printing on paper to shame. Super crisp. Clear.
Bob B

Posted by: 914forme Nov 17 2017, 08:39 PM
Yes Bob thank you for sharing this idea. I have another way of doing this on an inset, but you use pigmented ink, so not a standard inkjet. Printed on vinyl and then you laminate to cover it. That process shoals last 20-30 years. It is more equipment heavy than Bob's solution.
Mark sharing the files is not hard, I know I have hours in my files and they are still not done to my liking.
Also Epson now makes a replacement for the white film. I tis a clear film that lets you print white using one of their $8400 printers and the ink cartridges especially the whites are expensive.
Another way of doing this is just printing vinyl stencils and airbrushing them. Long process. But can be done at home still.
Posted by: burton73 Nov 17 2017, 10:17 PM
Yes Bob thank you for sharing this idea. I have another way of doing this on an inset, but you use pigmented ink, so not a standard inkjet. Printed on vinyl and then you laminate to cover it. That process shoals last 20-30 years. It is more equipment heavy than Bob's solution.
Mark sharing the files is not hard, I know I have hours in my files and they are still not done to my liking.
Also Epson now makes a replacement for the white film. I tis a clear film that lets you print white using one of their $8400 printers and the ink cartridges especially the whites are expensive.
Another way of doing this is just printing vinyl stencils and airbrushing them. Long process. But can be done at home still.
Sent you more pictures
Bob B
Posted by: falcor75 Nov 18 2017, 06:58 AM
I'l contact car-bone and see what they can offer.
I measured the Saab gauge today and it is as follows:
10 ohm: low reserve / empty
22 ohm: start of reserve
47 ohm: 50%, middle of range
100 ohm: 60%
150 ohm: 90%
172 ohm: Max on the scale
200 ohm: needle maxed
Then I did the same for the stock 914 gauge and got this:
10 ohm: 90%
22 ohm 70% (just below 3/4)
32 ohm 50%
47 ohm 30%
69 ohm Reserve (needle on the R)
So the scales are inverted from eachother, one way around this would be to get a VDO gauge and plunder the mechanism as defianty did. When I bought the gas gauge the seller asked if I wanted a Saab temp gauge aswell for the another $5 so I said sure, its not breaking the bank and he wanted to get rid of them both. So after realizing the scales were inverted I had a small stroke of genius.
I started testing the Saab temp gauge in the same way and got this result: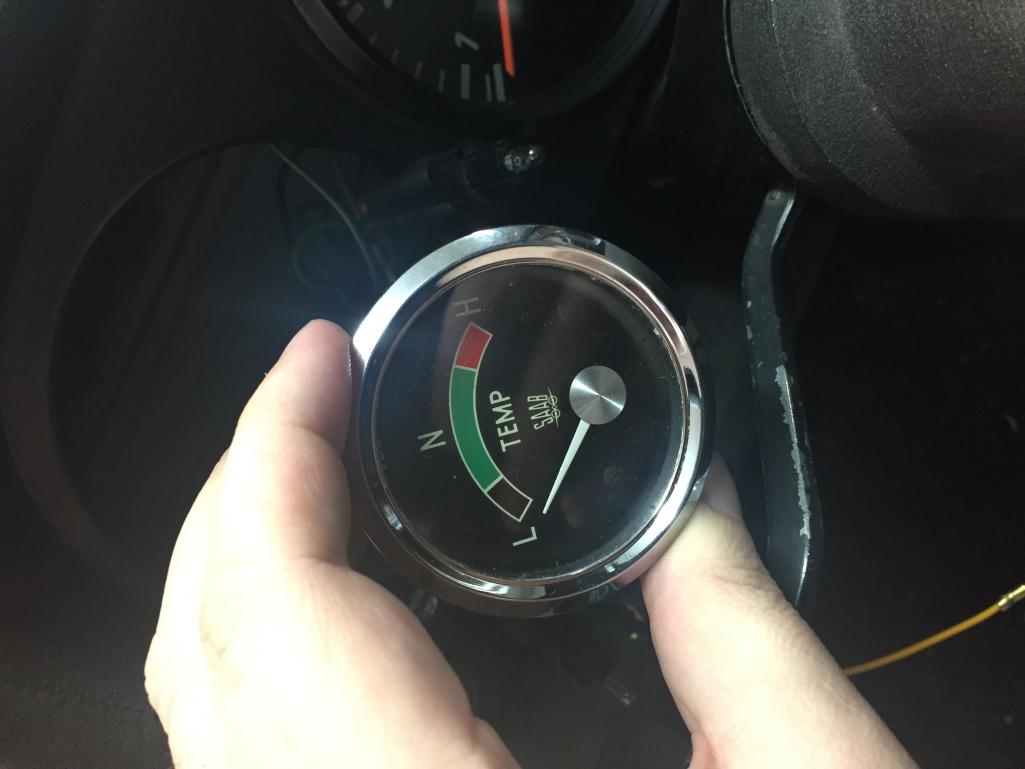
10 ohm: needle pegged on max
22 ohm: end of the red area
47 ohm: 50% middle of scale
100 ohm: start of the green area
200 ohm: 20% of the black area
270 ohm: start of the black area
So the temp gauge goes the same way as the stock gauge but with a different resolution. Dig up some old electronics books from university and taddaaa... if I connect a 100 ohm resistor in parallell with the sender I will get a pretty good match
in the range of the scale from 50% and below.
Powered by Invision Power Board (http://www.invisionboard.com)
© Invision Power Services (http://www.invisionpower.com)