Printable Version of Topic
Click here to view this topic in its original format
914World.com _ 914World Garage _ Repairing an oval suspension mount hole
Posted by: Ecke Liebhaber Jan 15 2018, 09:07 AM
I am doing repairs of my 73 914 chassis in preparation of creating yet another GT clone.
I have started a build thread; GT Build; Flares add flare here;
http://www.914world.com/bbs2/index.php?showtopic=322283&st=0
I thought anyone else who has repaired a 914 may have run into oval rear suspension console mount holes;
Here is the suspension pivot , which has a step shoulder on the end that locates the pivot in the suspension console hole. My non digital caliper measures it at .550"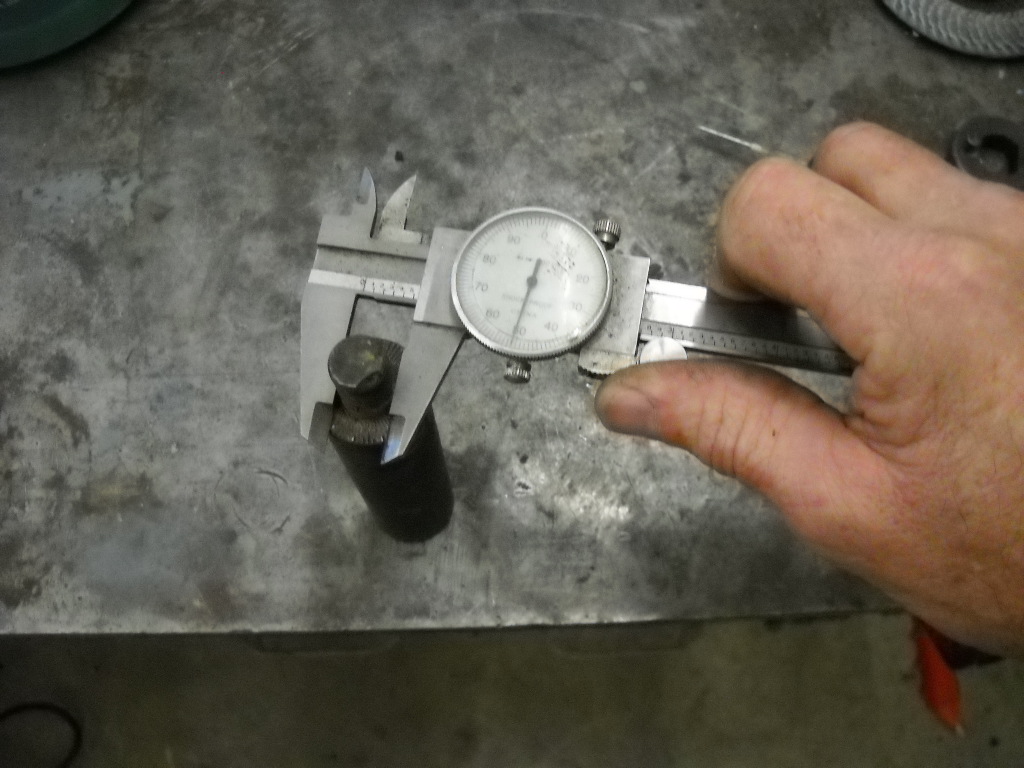
The pivot is one I cut in half to see how it was made, easier to deal with also.
Here are pictures of measuring my right side console;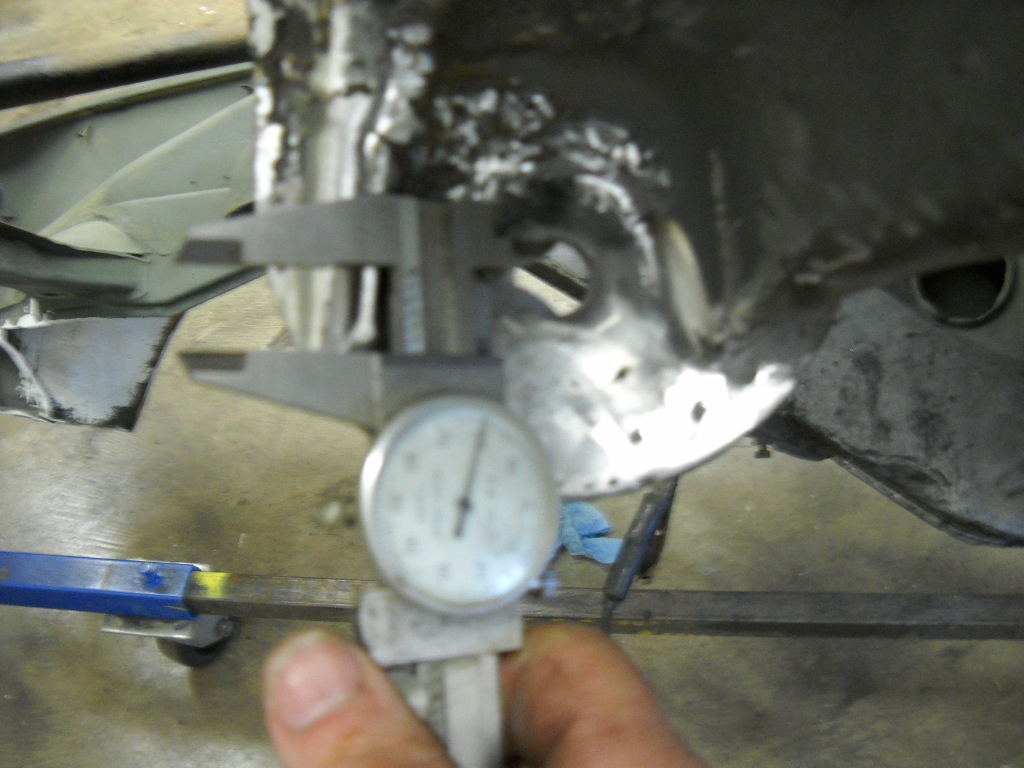
out of focus, but easy to see needle is .030 larger than the step of the shaft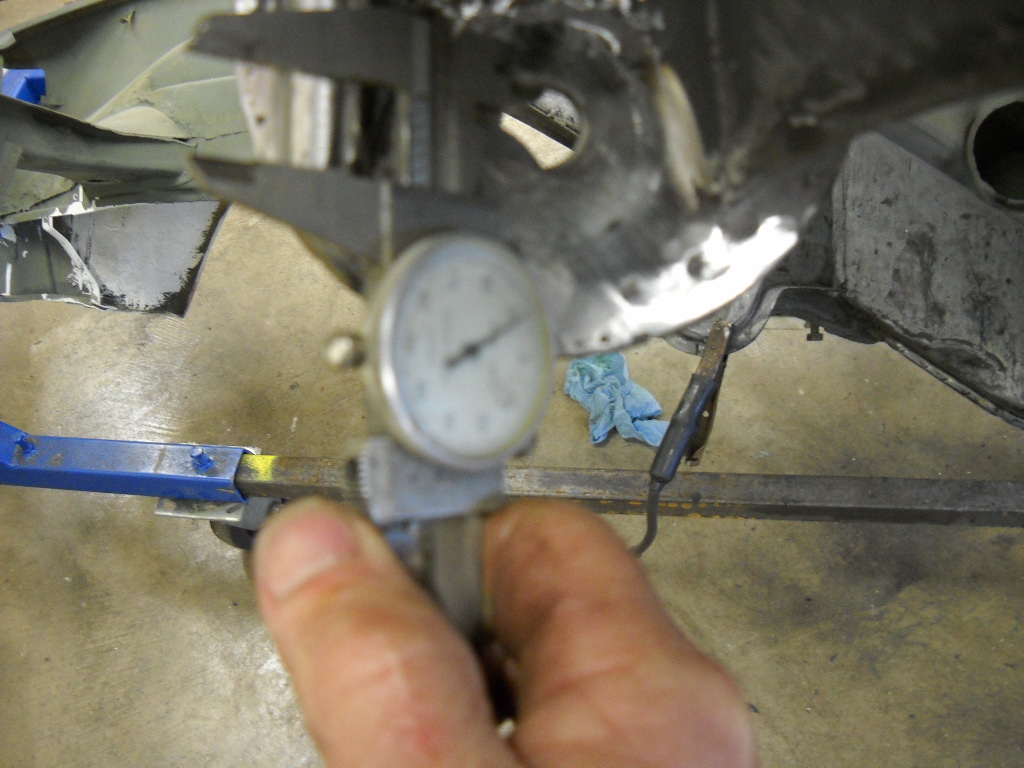
Vertical measurement is .040" larger than the step of the shaft.
I want to keep the suspension hole close to original placement, and the original two pieces of stamped plate are in decent condition, so my plan it to make a new locater out of a larger piece of stock;
I took a piece of 4140 tubing, .750" o.d., .500" i.d..
First step is to make the i.d. fit the step of the pivot shaft , something just larger than .055".
I checked the stock in my lathe and bored the center out to .055" (14mm).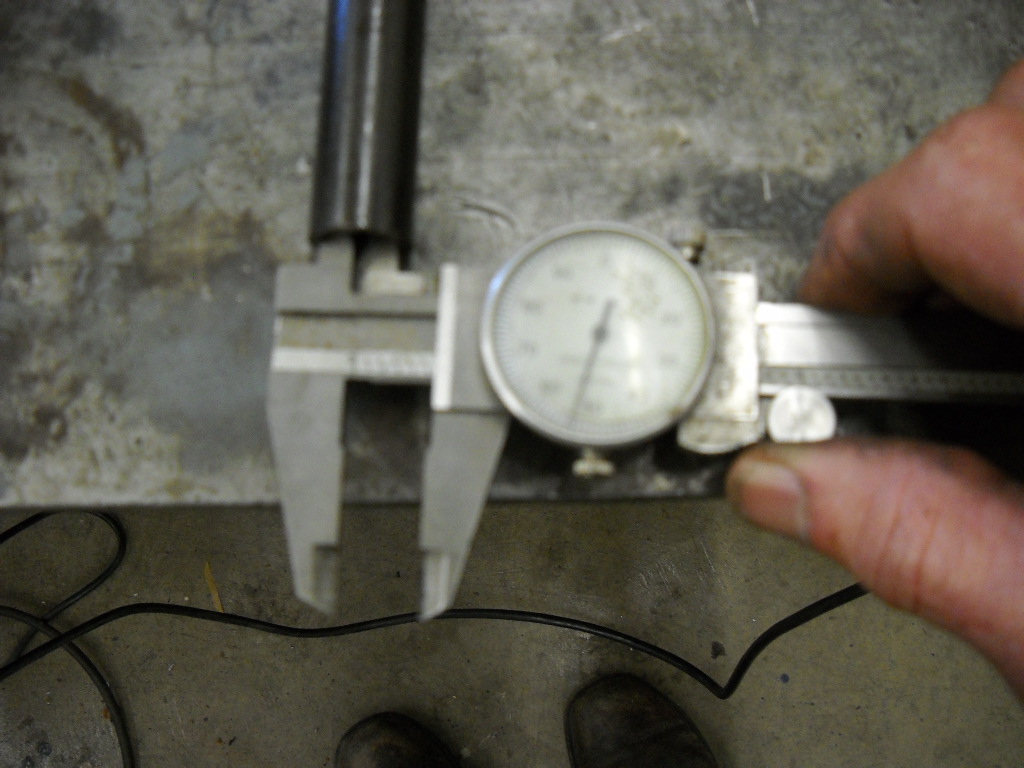
So now I have a shaft to create a 'washer' from that has the perfect inside diameter.
I'll take it back to the lathe and 'part' the thickness of the two plates that currently have an oval hole inside. After I have a repair washer that is .750" outside diameter, I'll drill a hole .75" in the oval hole and insert the new washer.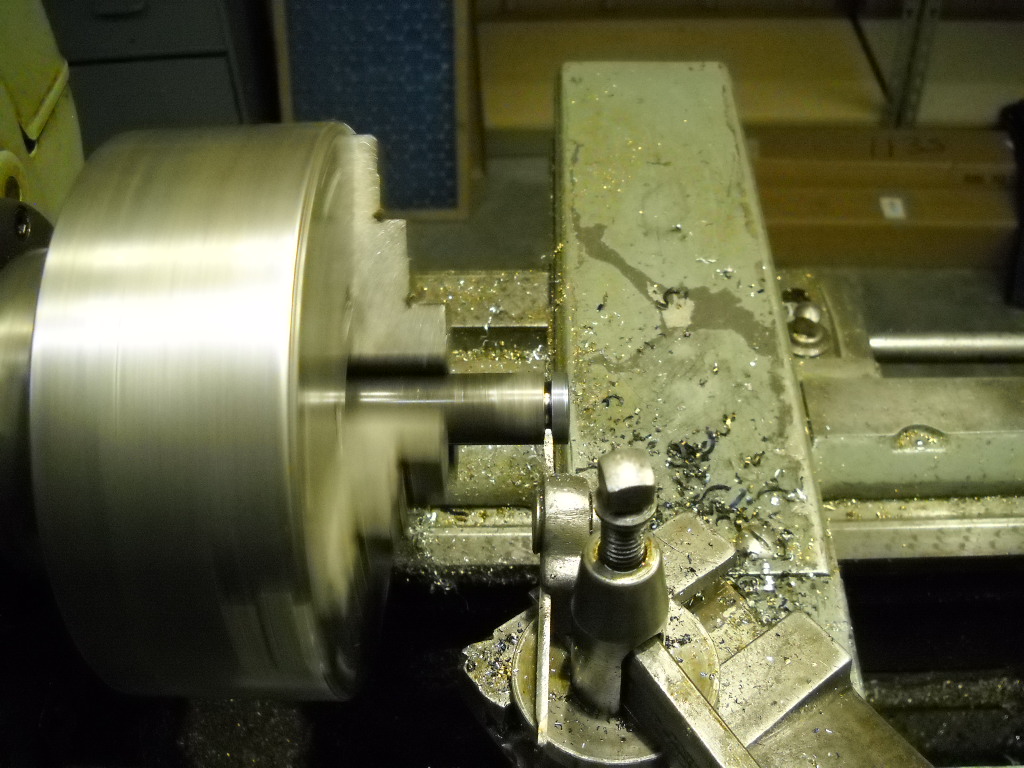
Here is the rough washer, it is a bit warm from machining, so pliers are in order.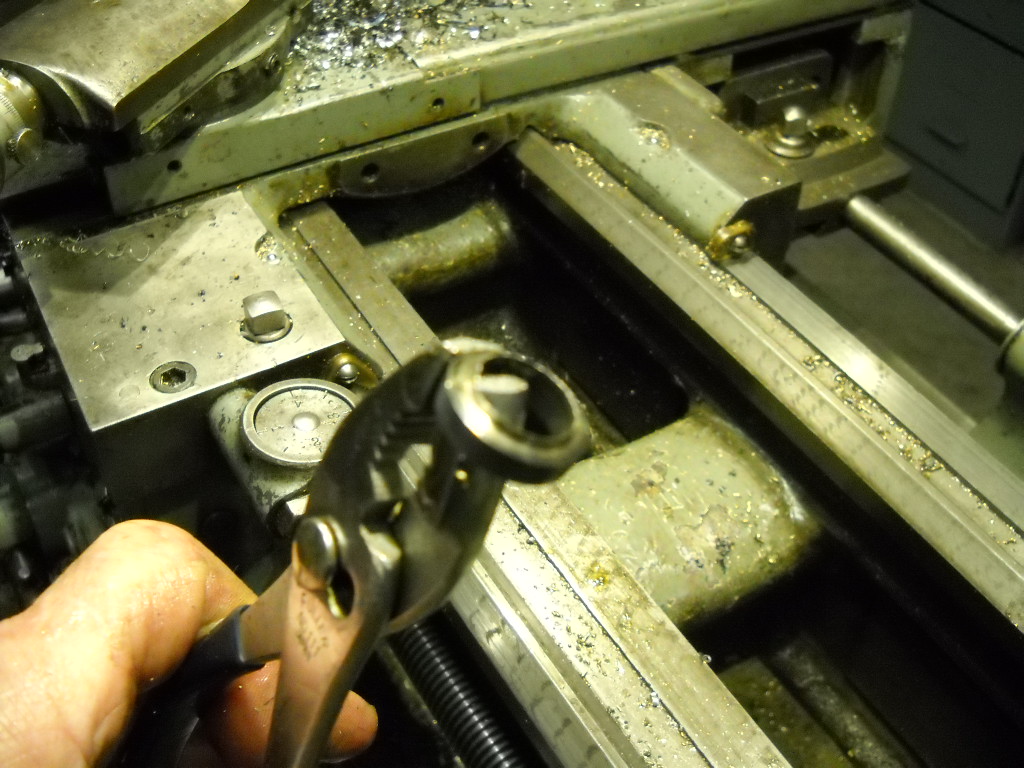
Now I'll mark a step bit at the diameter I do not want to exceed with a Sharpie. The red is very visible as I drill, and as soon as I get the hole to the red mark I know to stop.
Step drills are good for keeping slightly oval holes on the original hole center when enlarging the hole for repairs.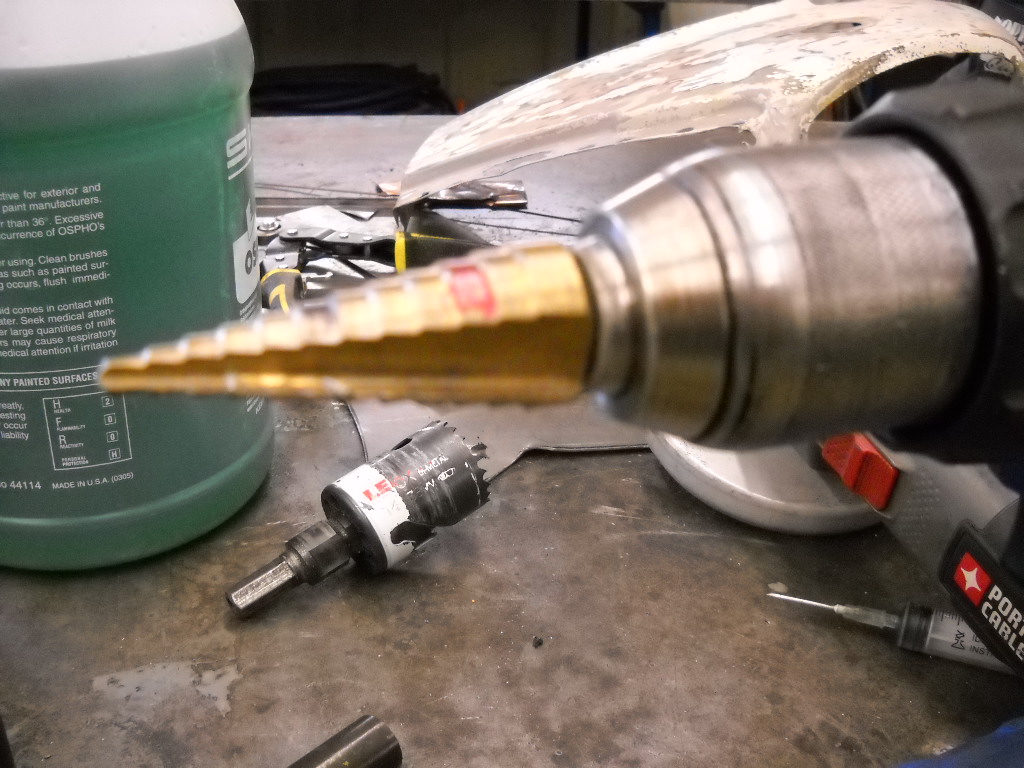
I took the little washer back to the car, de-burred it and metal finished to clean for welding later. placed it in the .75" hole, holding it there with the stepped shaft for placement;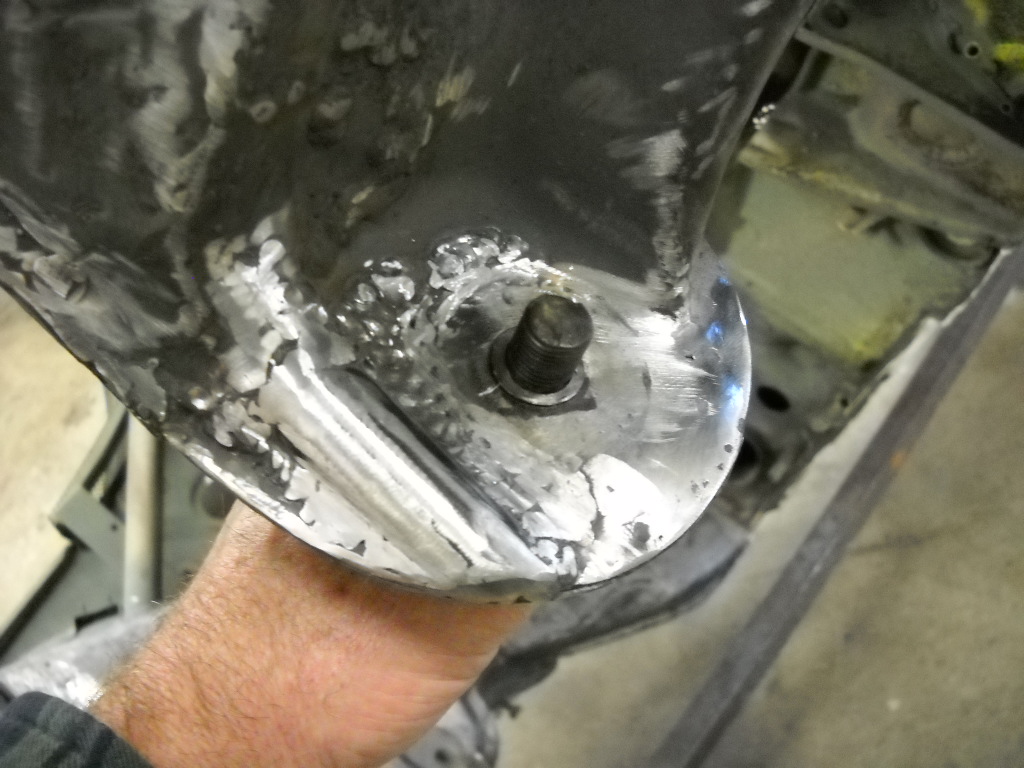
I then tacked it in place with my MIG welder, and then ground off any 'proud' weld tacks. 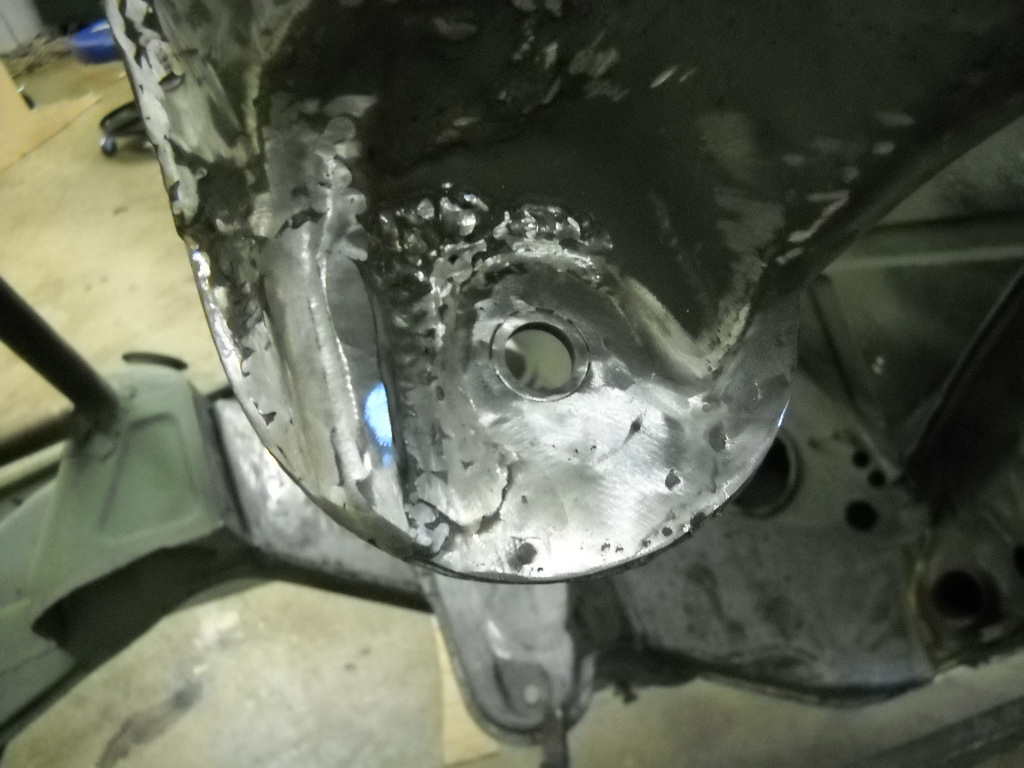
I went back after this picture and ran a TIG weld pass around both sides of the new 'washer' .
The stepped shaft is now fixed in one location, no moving up and down/ back and forth,. creating havoc when trying to align a suspension.
Next step, new roll bar.
Posted by: Andyrew Jan 15 2018, 09:50 AM
Great time to reinforce it as well!
Posted by: brant Jan 15 2018, 09:58 AM
I agree with Andrew.
now is the time to add reinforcements.
the ova ling happens...
but with big tires they also rip out when not reinforced.
Attached image(s)
Posted by: Jeff Hail Jan 17 2018, 07:11 PM
Bushing the enlarged hole was the best way to repair that. Good job! The metal bush (old shaft piece turned to washer) will hold up better than the original sheet metal did over time since its a harder material. Easier the way you did it than trying to make a fitted hole round with a wire welder.
Attached image(s)
Powered by Invision Power Board (http://www.invisionboard.com)
© Invision Power Services (http://www.invisionpower.com)