Printable Version of Topic
Click here to view this topic in its original format
914World.com _ 914World Garage _ Rear bumper top fitting
Posted by: 914 RZ-1 Feb 23 2019, 12:07 PM
I cannot get the rubber rear bumper top to fit in the rear bumper. I can get the middle holes to line up, but not the outer holes. I was only able to pull one of the outer ones in just enough to get the bolt thru the hole, but it's short on the width and doesn't seat properly on the bumper. The other side is about 3/8" off. The top is sitting in the sun to warm it up a bit in the hopes I can stretch it but I thought I'd see what you all had to say.
My bumpers are original.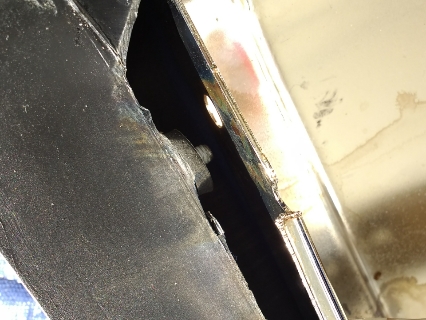
Posted by: dr914@autoatlanta.com Feb 23 2019, 01:21 PM
hard to get a perspective, please post some more pictures

I cannot get the rubber rear bumper top to fit in the rear bumper. I can get the middle holes to line up, but not the outer holes. I was only able to pull one of the outer ones in just enough to get the bolt thru the hole, but it's short on the width and doesn't seat properly on the bumper. The other side is about 3/8" off. The top is sitting in the sun to warm it up a bit in the hopes I can stretch it but I thought I'd see what you all had to say.
My bumpers are original.
Posted by: steuspeed Feb 23 2019, 01:28 PM
OEM bumper top or reproduction?
Posted by: 914 RZ-1 Feb 23 2019, 02:36 PM
It's a 914rubber top. I got it awhile ago during a sale.
I tried to fit it to another bumper and got the same results.
Here is another picture from the back. You can see how the threaded shaft doesn't fit easily. It's like this in both sides. It's been in the sun for awhile.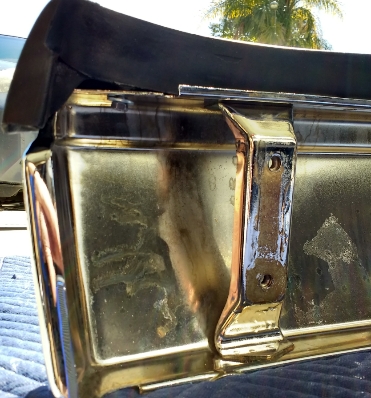
Posted by: dr914@autoatlanta.com Feb 23 2019, 02:42 PM
probably a bad batch then, I am sure that 914 rubber will make it right for you
It's a 914rubber top. I got it awhile ago during a sale.
I tried to fit it to another bumper and got the same results.
Here is another picture from the back. You can see how the threaded shaft doesn't fit easily. It's like this in both sides. It's been in the sun for awhile.
Posted by: DickSteinkamp Feb 23 2019, 02:52 PM
I installed the 914rubber tops on mine. It was a little stretch to get all the bolts in the holes but they eventually made it. From what I understand, the ends need some attention to conform to the shape of the bumpers. Here's the solution...
http://www.914world.com/bbs2/index.php?showtopic=311480&hl=bumper+top
I did this fix to mine and they look great.
Posted by: 76-914 Feb 23 2019, 06:32 PM
IIRC, Mark or someone mentions doing this on a warm, sunny day or expect the stretch. Take the bumper off to do the install because you will need to drill an ~1/8" hole on the upper outer lip on each side of the bumper to run a pin or SS screw into the end of rubber top where it sticks out. 
Posted by: Mikey914 Feb 25 2019, 12:50 AM
I have a ship that will make the alignment correct on those. Drop me a PM with your name I’ll forward you what you need to align it correctly.
Mark
Posted by: 442nd914s Feb 25 2019, 07:07 PM
I had THE VERY same problem. You're not alone. I also did buy mine on Black Friday sale. When I called 914Rubber, they suggested that I leave it soaking in a tub of hot water so it would stretch. Eventually it did stretch out. I did aid the process by directly placing the trim piece on a home HVAC vent (71 degree heat) during this winter and it worked like a charm. Keep in mind that the vent is on the floor.
My cover was 1/4" too short on the driver's side between the 1st and 2nd stud. I just don't know what will happen in the next few years with the extreme Missouri weather. Maybe a Jerry Seinfeld moment: cold causes shrinkage
Posted by: Mikey914 Feb 25 2019, 08:22 PM
When we made these we had to mold from an original bumper. We left the ends “floating” as the internal structure is a little more difficult to make so it will not touch the ends of the bumper. This allows the ends to shrink slightly. If the material is heated, via hot water or air, or even sunlight on a warm day. It can be “stretched” to fit. If it’s not completely warn you can see some bowing, and the strips that are the same thickness as the rubber washers allow it to tighten and not bow.
These are 2nd gen bumpers and now that we have acquired some new equipment we can make the internals better. Unfortunately we have to make some changes to the molds too. We will be doing that later this year.
Until them please drop me a PM with name and address and I can drop the strips out to those that need them.
Thanks,
Mark
Posted by: ConeDodger Feb 26 2019, 12:47 AM
I got the last set of factory rubber bumper tops from Aase. I had to let the sun heat them up a bit to make them fit the factory bumper. They’ve been on there for years now. Fit pretty good.
Point is, if the factory tops need a little heat to be fit correctly... 
Attached image(s)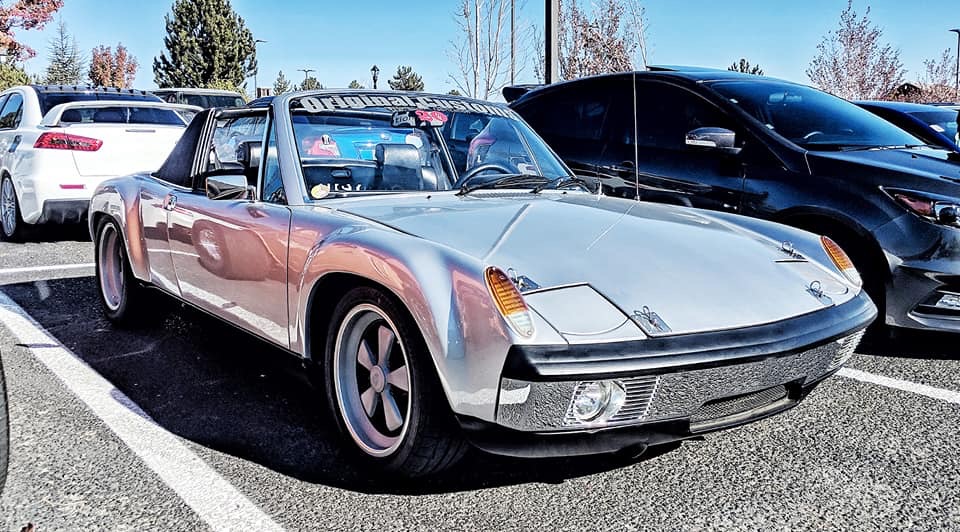
Posted by: horizontally-opposed Feb 27 2019, 12:08 PM
I got the last set of factory rubber bumper tops from Aase. I had to let the sun heat them up a bit to make them fit the factory bumper. They’ve been on there for years now. Fit pretty good.
Point is, if the factory tops need a little heat to be fit correctly...
Car looks great, Rob!
And agree that even the factory rubber can require a bit of fitting. The last one I installed had to be fit a bit/spaced a bit to look its best.
Posted by: zoomCat May 25 2023, 10:36 AM
If it’s not completely warn you can see some bowing, and the strips that are the same thickness as the rubber washers allow it to tighten and not bow.
Until them please drop me a PM with name and address and I can drop the strips out to those that need them.
Thanks,
Mark
What’s the long term effectiveness of shimming with the strips? I’m just now getting to this after picking up a set of these a couple of years ago and am seeing this.
I did see some improvement by using fender washers, the washers specified by the PET were small enough to fall into the hole in the bumper on one side.
Posted by: dr914@autoatlanta.com May 25 2023, 11:36 AM
anyone have any comments on the way ours fit? Curious
Posted by: 914Sixer May 25 2023, 11:46 AM
I have a set of AA. Fit with no problem.
Posted by: Mikey914 May 25 2023, 02:21 PM
If you recall the rubber spacers are needed, they were not molded into our bumper as they actually are separate parts. We made the tops like factory, mist look like they are molded in when removed , but as we started with NOS tops.
https://914rubber.com/bumper-top-spacers
I think we may just need to include them in.
https://914rubber.com/bumper-top-spacers
Attached thumbnail(s)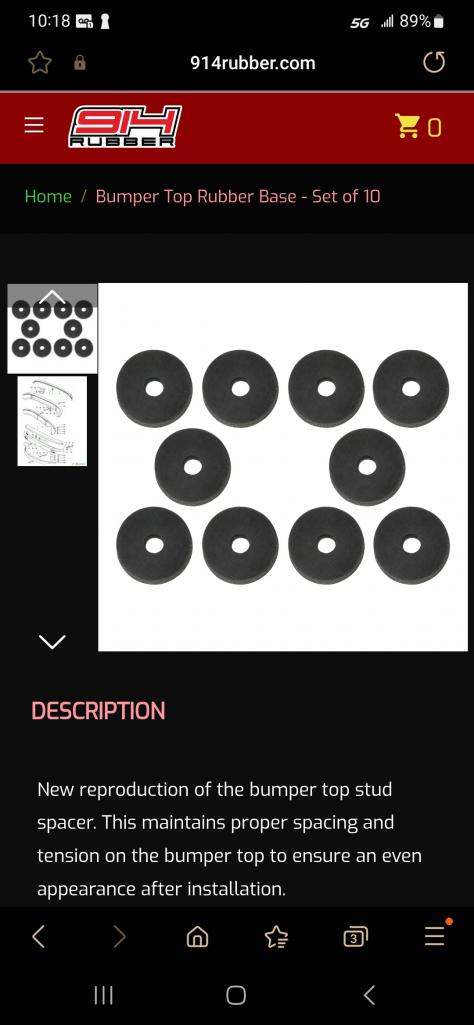
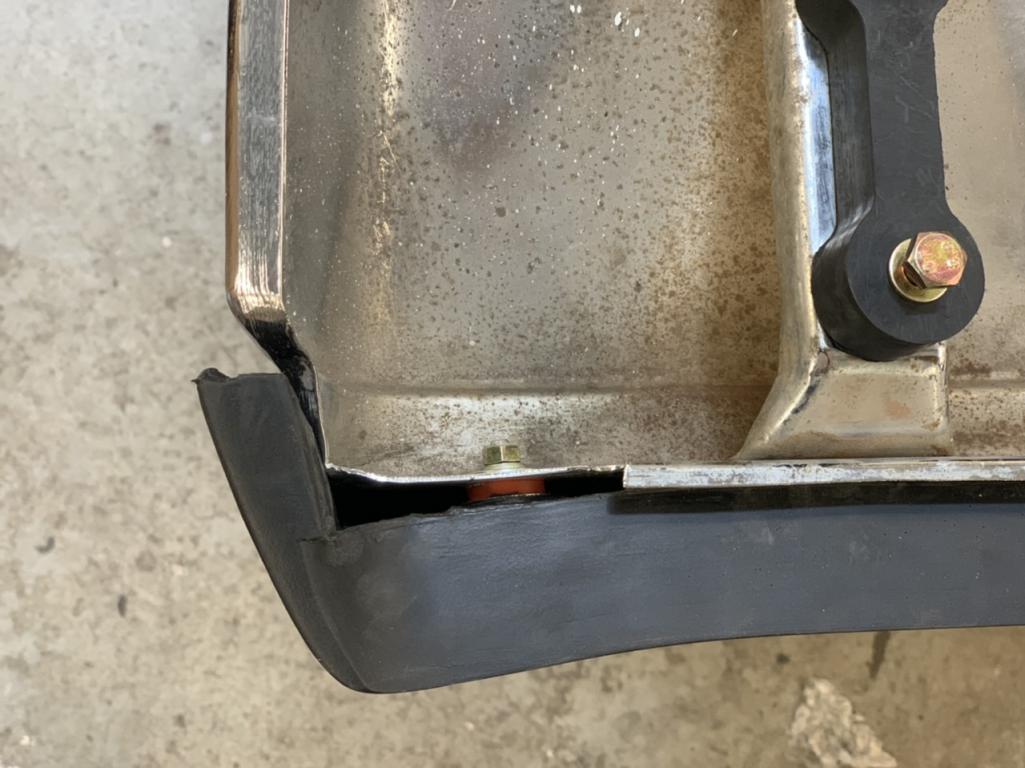
Posted by: zoomCat May 25 2023, 03:18 PM
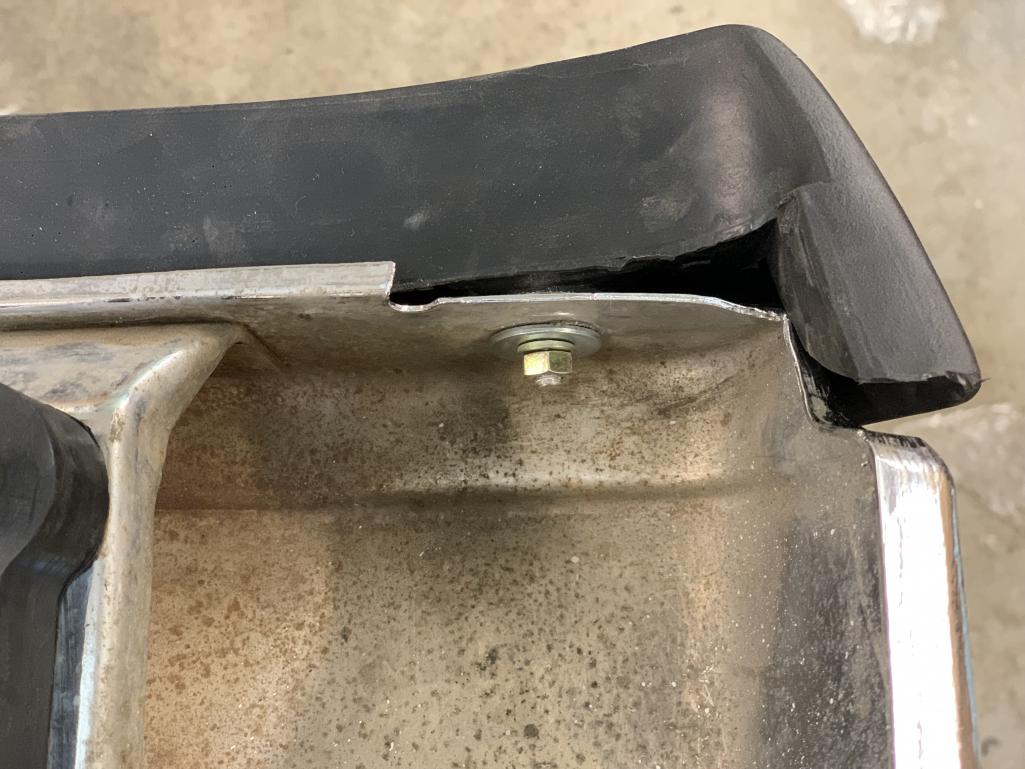
If you recall the rubber spacers are needed, they were not molded into our bumper as they actually are separate parts.
Here’s what they look like installed.
Powered by Invision Power Board (http://www.invisionboard.com)
© Invision Power Services (http://www.invisionpower.com)