Printable Version of Topic
Click here to view this topic in its original format
914World.com _ 914World Garage _ Installing Front Trunk Seal Question
Posted by: Highland Apr 21 2019, 07:31 PM
So read some old threads trying to figure out how to install the front trunk seal from 914Rubber. It seems that many install with no adhesive for maintenance purposes, but I'm having trouble getting the seal to stay in place.
So some remedial questions:
1) Does this picture show the bottom (facing the ground) of the seal or do I have it backwards?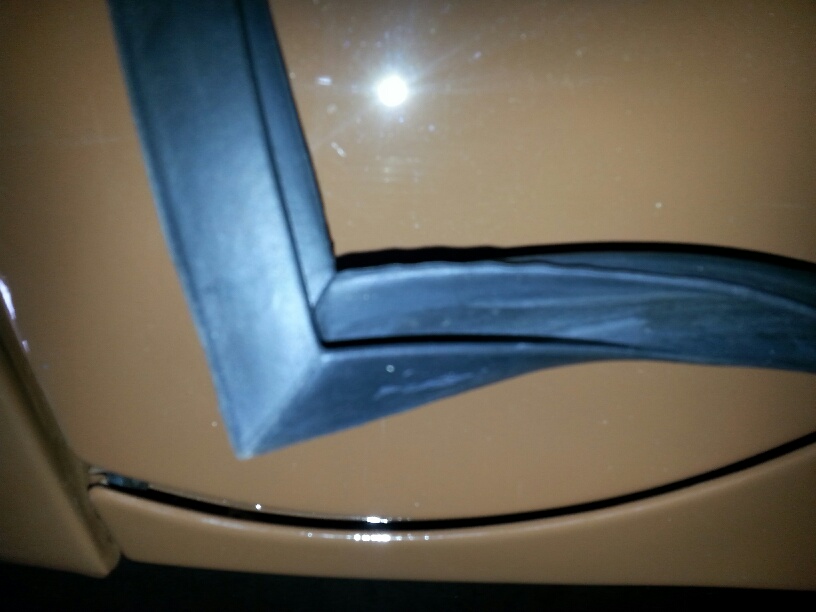
2) Do most people use weatherstrip adhesive? maybe just in the corners?
3) Can somebody post a picture of where this part goes? I don't seem to be able to find a picture anywhere.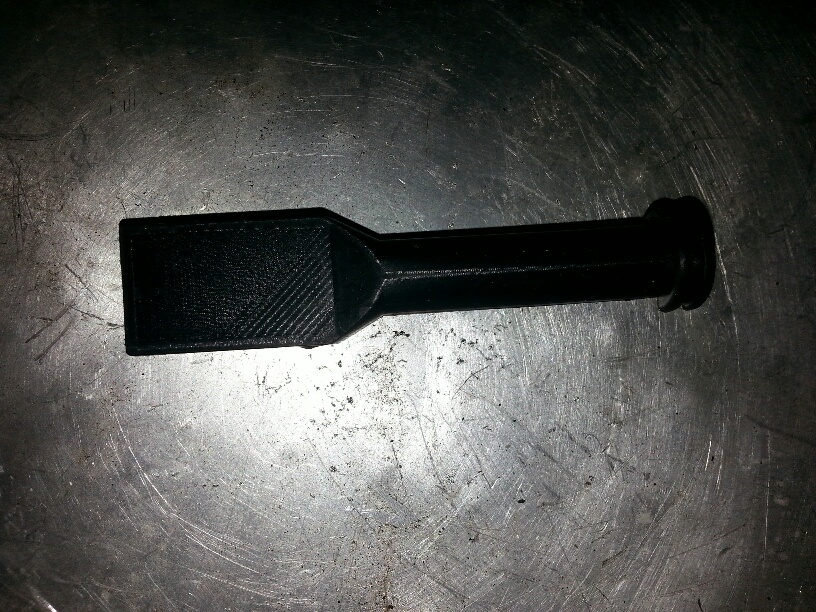
Posted by: bandjoey Apr 21 2019, 08:20 PM

So read some old threads trying to figure out how to install the front trunk seal from 914Rubber. It seems that many install with no adhesive for maintenance purposes, but I'm having trouble getting the seal to stay in place.
So some remedial questions:
1) Does this picture show the bottom (facing the ground) of the seal or do I have it backwards?
2) Do most people use weatherstrip adhesive? maybe just in the corners?
3) Can somebody post a picture of where this part goes? I don't seem to be able to find a picture anywhere.
#3 is the rain drain tube in the headlight tubs, under the lights. There's a hole there that it plugs into. #1 the small side of the weather seal goes on top and the larger side on the bottom in the channel. I do not glue mine in and after a rain or car wash I pull it out to dry the channel. Glued I think it can trap water under the seal.
Posted by: bandjoey Apr 21 2019, 08:24 PM
best picture i could find...
Attached image(s)
Posted by: bbrock Apr 22 2019, 07:57 AM
Here's a pic of the drain tubes installed. There are two of them.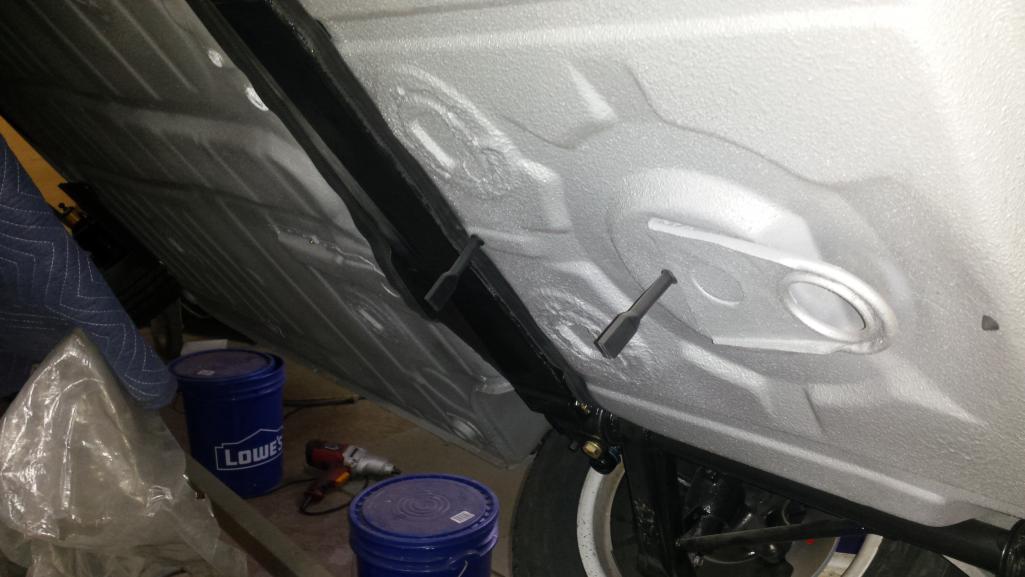
Posted by: 914 RZ-1 Apr 22 2019, 03:40 PM
I just painted my car and installed new seals.
Place the seal in the channel and close the hood, making sure the seal stays in the channel. Then leave it alone for a few days. The seal will get compressed a bit and seat itself in the channel.
Posted by: jcd914 Apr 22 2019, 05:27 PM
I just painted my car and installed new seals.
Place the seal in the channel and close the hood, making sure the seal stays in the channel. Then leave it alone for a few days. The seal will get compressed a bit and seat itself in the channel.
I tried this and it hasn't worked.
I put the seal in place but had to use blue painter tape to keep it in the channel.
The seal seems slightly short in all the sections so it has to be stretched slightly.
After taping it in place I closed the truck and left it for about a month.
Opened the truck a week or so ago and the seal pops out of the corners around the headlights, it might pop out at the corners by the windshield but they are still taped.
I will probably end up gluing it in place.
Jim
Posted by: Mikey914 Apr 23 2019, 10:28 AM
3m weatherstrip adheasive will remain tacky. Use it. We rever to it as monkey snot. It really sticks but can ge cleaned off easily.
As far as fitment there is a little tension on the rubber but should stay in the channel.
I’m wondering if you have a 1st gen seal as they were just an extrusion and not molded.
I’ll offer you the same as anyone else that has bought my early ones. If you drop me your name, I’ll credit what you paid toward a next gen seal.
You can tell the new ones are molded in the upper corners with the step down.
Mark
Posted by: jcd914 Apr 23 2019, 12:37 PM
Mine is a later version with the molded corners and I have the 3M yellow weather strip cement, we always call "gorilla snot".
I'm one of those "California Shmucks" that has to put up with all this warm dry weather, so rust is not my big concern.
Thanks
Jim
Powered by Invision Power Board (http://www.invisionboard.com)
© Invision Power Services (http://www.invisionpower.com)