Printable Version of Topic
Click here to view this topic in its original format
914World.com _ 914World Garage _ Video for installing rubber trailing arm bushings?
Posted by: Mueller Mar 27 2020, 02:56 PM
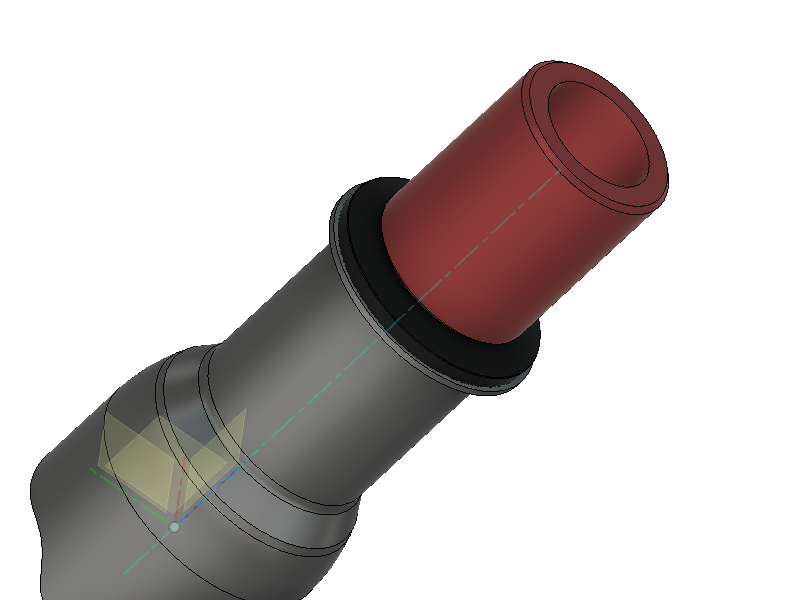
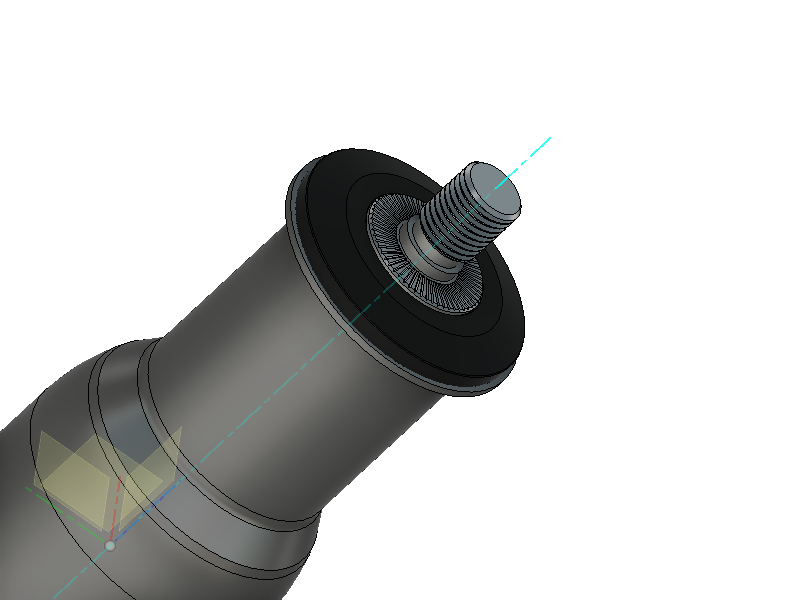
Decided to ditch the hard plastic bushings and go with the rubber versions from 914 Rubber.
There are instructions for the A-arms (and I found Cuddy K's video) however for the trailing arms I see no such thing.
Thanks,
Mike
Posted by: cuddy_k Mar 27 2020, 04:54 PM
Hey Mike,
I'll be doing a trailing arm video once I get the bumblebee back from paint.
I wish I could help, but I haven't actually done a trailing arm bushing yet. So working on the bumblebee should be fun  .
.
I'm sure the fellas at 914Rubber and the brain trust here can help in the meantime.
Thanks for watching the videos!
Posted by: Mikey914 Mar 27 2020, 05:04 PM
No video but @http://www.914world.com/bbs2/index.php?showuser=22336 did post up a pic or two months the GB thread
http://www.914world.com/bbs2/index.php?showtopic=341753&hl=
Posted by: 76-914 Mar 27 2020, 05:45 PM
Mike, IIRC Elephant site has it. I laugh every time I see those carpenters C clamps that they use. I wish they were so easy to pull. I use a 12 ton press and even it grunts sometimes.
Posted by: Mueller Mar 27 2020, 07:10 PM
I got them in, couldn't find the Elephant video so I just took a stab at them. No biggie with a HF press and an assortment of large washers and scrap pieces laying around.
Thanks. Mike
Posted by: tvdinnerbythepool Mar 27 2020, 07:14 PM

I got them in, couldn't find the Elephant video so I just took a stab at them. No biggie with a HF press and an assortment of large washers and scrap pieces laying around.
Thanks. Mike
Exactly what I did!
Posted by: Mueller Mar 27 2020, 07:20 PM
Excuse the mess. Hardest part is holding the arms level.
Yes, that is a Boxster rear hub I installed a few hours ago.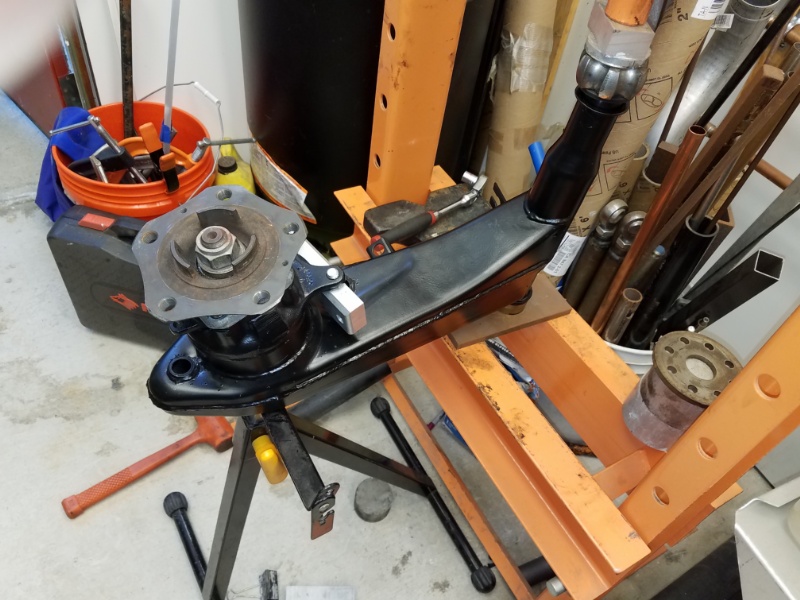
Posted by: Mueller Mar 27 2020, 07:22 PM
Excuse the mess. Hardest part is holding the arms level.
Yes, that is a Boxster rear hub I installed a few hours ago.
I may have squeezed the rubber too much, hopefully it has some memory and springs back some. Same amount of axle sitting proud of rubber on both sides.
Posted by: bkrantz Mar 27 2020, 08:56 PM
Excuse the mess. Hardest part is holding the arms level.
Yes, that is a Boxster rear hub I installed a few hours ago.
Did you do that with all the parts dry?
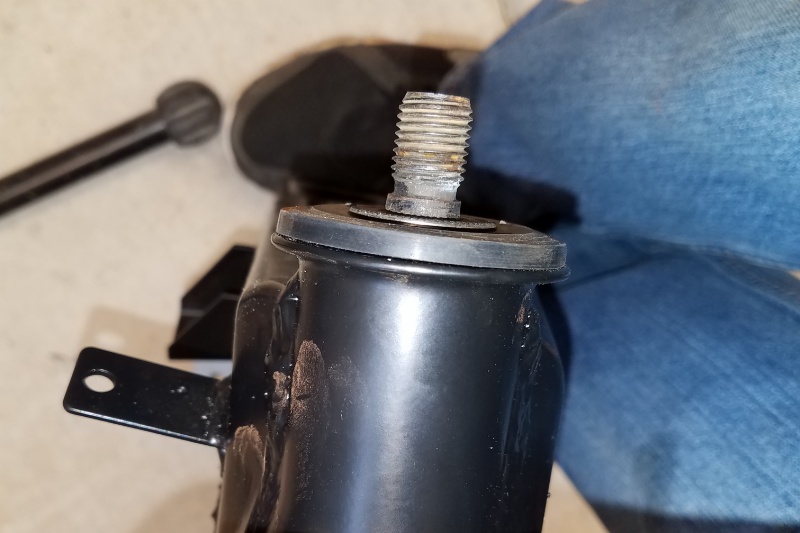
Posted by: Mueller Mar 28 2020, 09:17 AM
I left the OD dry , freshly powder coated trailing arms so they had a nice smooth surface.
Posted by: 76-914 Mar 28 2020, 09:26 AM
That stand holding the arm is the key. Otherwise you'll need a 3rd hand. I hated those noises plastic bushings. Did you use Elephants or 914 Rubber's bushings. I was curious if the 914 Rubber bushings fit as tightly?
Posted by: Mueller Mar 28 2020, 01:53 PM
That stand holding the arm is the key. Otherwise you'll need a 3rd hand. I hated those noises plastic bushings. Did you use Elephants or 914 Rubber's bushings. I was curious if the 914 Rubber bushings fit as tightly?
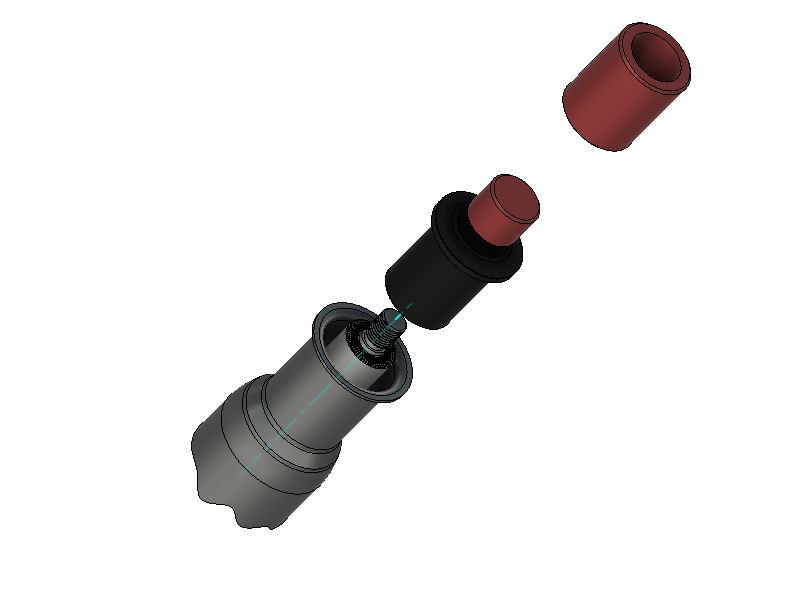
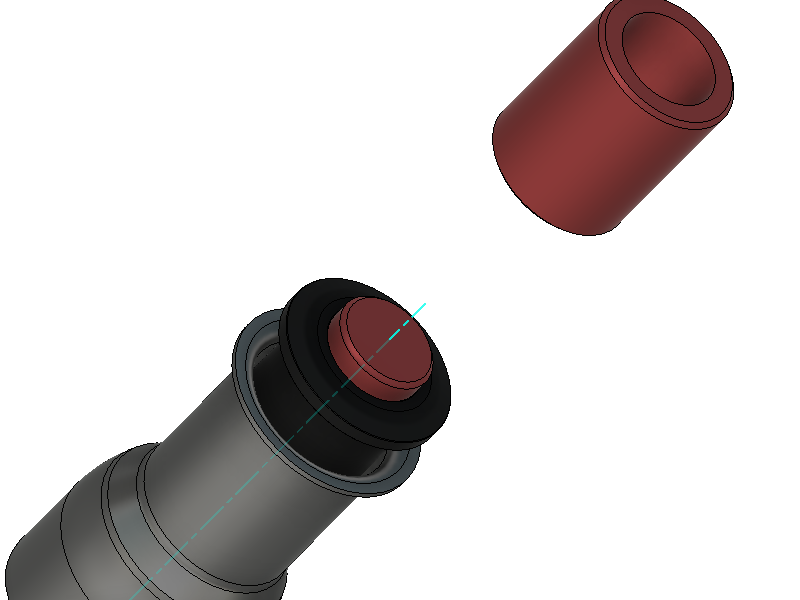
I used the 914Rubber rubber bushings.
They took some effort to slide into the arms by themselves, not too bad.
My order of installation.
Push bushing into "short" side of arm tube with arm laying flat on side facing trunk wall, "tall" side of arm facing upwards.
Then I pushed the axle into already installed bushing from the top side.
Now place bushing in arm. This side gave me more trouble or resistance.
See newly drawn pics for a rough idea how it was done.
Powered by Invision Power Board (http://www.invisionboard.com)
© Invision Power Services (http://www.invisionpower.com)