Printable Version of Topic
Click here to view this topic in its original format
914World.com _ 914World Garage _ Rusteration rebuild
Posted by: Duane921 May 23 2020, 05:22 AM

ooooo
![popcorn[1].gif](style_emoticons/default/popcorn[1].gif) Me likey
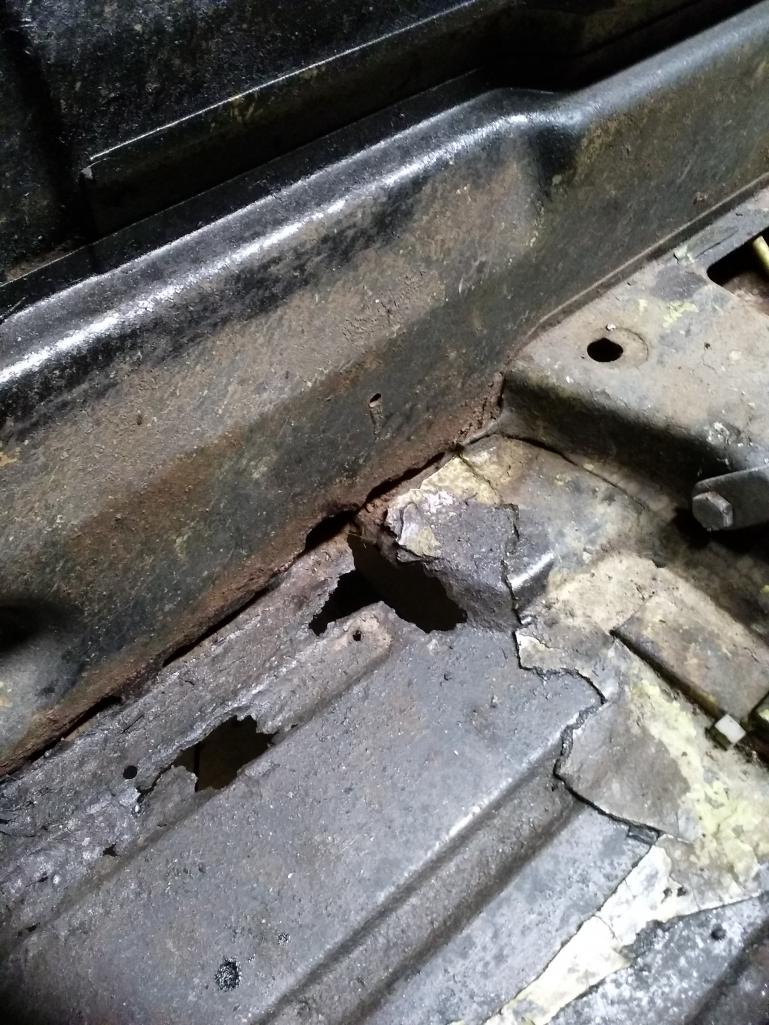
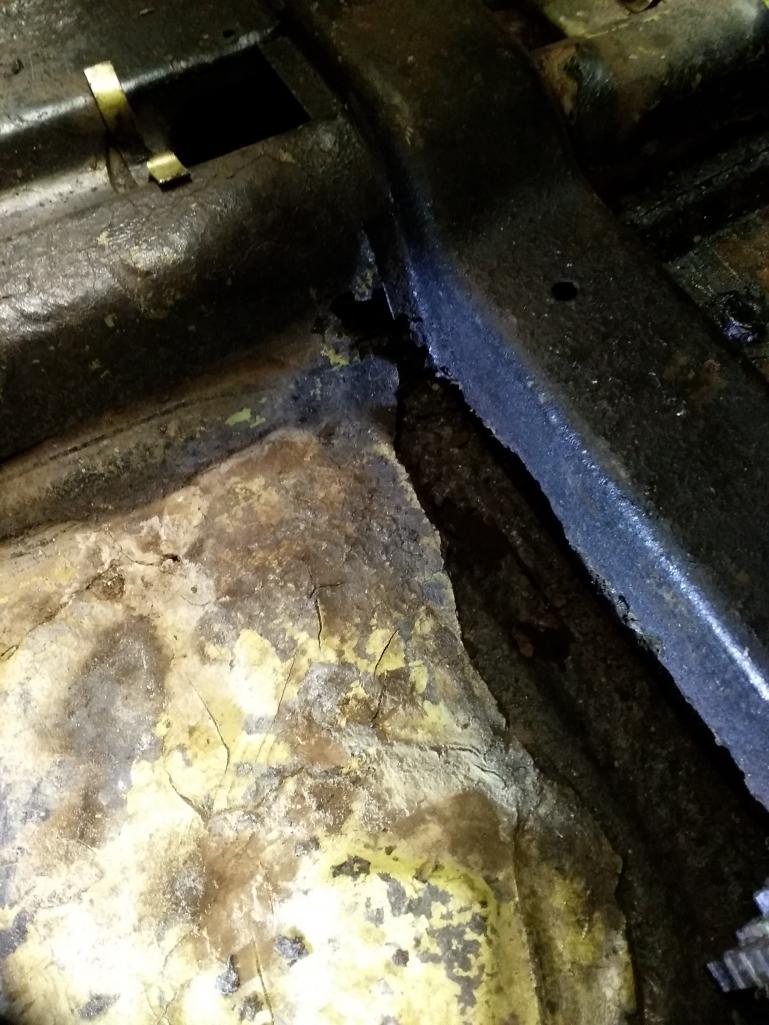
Me likeyMy goal is to build a vintage racer. I have restored one 914 already but want to have a little fun with this one. It is in need of a lot of work but that's the part i enjoy most. I have the car completely stripped down and parts are in for the rear floor pan, cross member, and inner firewall. The car is on a rotisserie and has been supported with braces in the door wells and measurements are dead on. That's the good part. The bad part comes next. Time to remove those pieces. That's where i can use some advice. Is there a best way to remove those or do i just start cutting away?
Attached thumbnail(s)
Posted by: Cairo94507 May 23 2020, 06:34 AM
I would spend some time reading a lot of the restoration/rustoration threads and see how others have done it. Then I would tackle it one panel at a time. Depending upon your welding skills you may want to practice welding on old panels first to get dialed in. Take your time and don't overheat the metal. 
Posted by: Duane921 May 23 2020, 07:08 AM
I would spend some time reading a lot of the restoration/rustoration threads and see how others have done it. Then I would tackle it one panel at a time. Depending upon your welding skills you may want to practice welding on old panels first to get dialed in. Take your time and don't overheat the metal.
I have been reading every thread and watching every video i can find. I am still looking to see if it is best to remove all three at once then replace with new or remove one at a time and spot weld to surrounding pieces that will not be replaced. Im thinking all three at the same time but wanted to get some advice in the matter before starting. Thanks for the feedback.
Posted by: bkrantz May 23 2020, 08:38 PM
On my project, I cut out the rear half of the floor in sections (between the side sills and the center tunnel) along with the side sections of the cross brace. I made my first cuts, with a cutting disk, about an inch from the sides and rear, and just in front of the cross brace. I then went after the remaining edges with a spot weld cutting bit.
I did not remove the inner fire wall, just patched it in a couple of places, but that would be next.
The the replacements would be the opposite order, rebuilding from the inner-most out.
Posted by: bbrock May 23 2020, 08:41 PM
If it were me, I'd do them one at a time starting with the firewall. Then I would do the cross member and finish with the floor. That way, you are retaining as much structural integrity as possible through the whole process. I would worry about things wracking if all three were taken out at once unless you have braced the bejeezus out of it diagonally across the floor.
Posted by: Duane921 May 24 2020, 04:03 AM
If it were me, I'd do them one at a time starting with the firewall. Then I would do the cross member and finish with the floor. That way, you are retaining as much structural integrity as possible through the whole process. I would worry about things wracking if all three were taken out at once unless you have braced the bejeezus out of it diagonally across the floor.
No cross braces in it at this time. I like the odea of one at a time the more i think about it. Thanks for the advice fellas.
Posted by: budk May 24 2020, 06:02 AM
Add bracing to maintain the door gap. I did door bracing and X bracing for the floor.
Posted by: Duane921 May 24 2020, 08:01 AM
I have similar door braces already. I like what you did with the x braces on the floor. I think it will be the next thing I do before removing the floor pan, cross member, and inner fire wall. Thanks for the picture. Good advice.
Posted by: Duane921 Jun 22 2020, 03:44 AM
Let the surgery begin. Cross braces are now in place.
Powered by Invision Power Board (http://www.invisionboard.com)
© Invision Power Services (http://www.invisionpower.com)