Printable Version of Topic
Click here to view this topic in its original format
914World.com _ 914World Garage _ New steering rack eyebolt - and rebuild kit available soon (how to shown)
Posted by: Mikey914 Aug 1 2020, 09:49 AM
So as many of you know we do a rebuild service on the steering racks and one of the things most customer want to replace is the eyebolts. The rubber is usually old and broken down. we now have a solution and an inexpensive one too.
We will rebuild customer parts if sent in with steering racks at no cost as part of the service.
The metal outer castings we have accumulated with the many steering racks we have acquired. So we can sell these outright and can give a core credit if returned. The main advantage to doing this is that your eye bolt casting will be plated. they are pretty durable and covered in oil or grease from what we have seen so it's not a part that really rusts away.
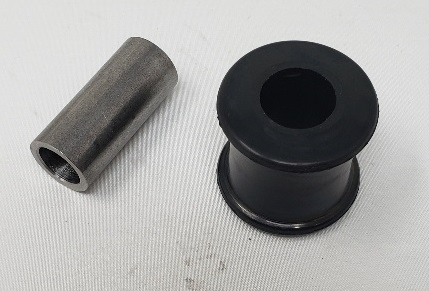
We will be selling a "kit" of 2 new rubber bushings, and 2 new metal shafts for $19.99 on GB
The process is show below on how to replace these bushings.
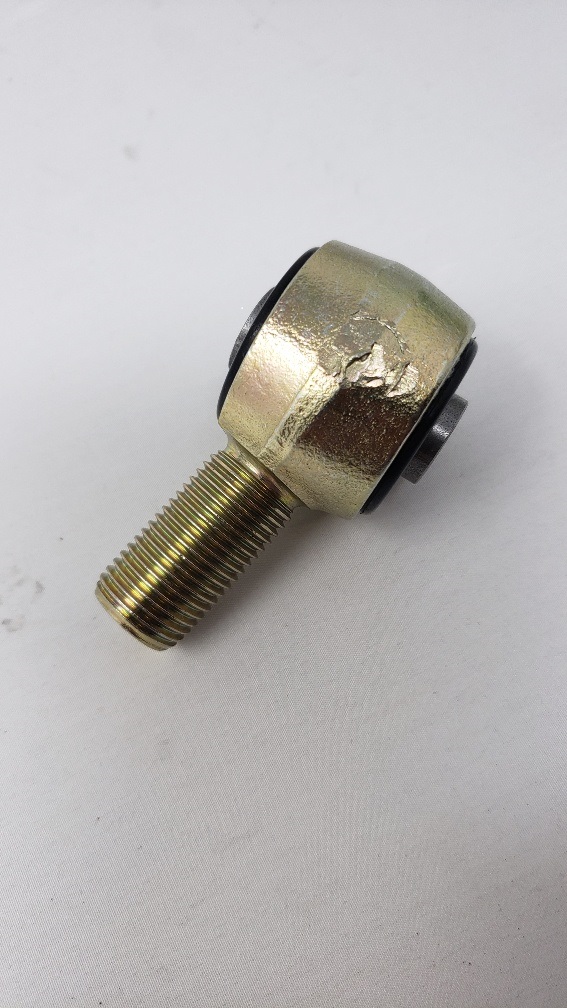
1st you have to press out the old rubber and metal bushing. you can do so using a similar technique to the install using a bench vice and sockets.
The product is designed with VERY tight tolerances. The rubber has to fit securely into the eye bolt casting so it was designed to be a very tight fit. The metal bushing "tube" were actually machined so that once the rubber was compressed they would fit and expand the rubber further locking it into place.
While this looks like a simple process it took us about 6 months to finally get it right.
Now it can be a simple project for you!
The eyebolt IS NOT included in the $19.99 kit on the rubber and tubes
Attached image(s)

Posted by: Mikey914 Aug 1 2020, 09:50 AM
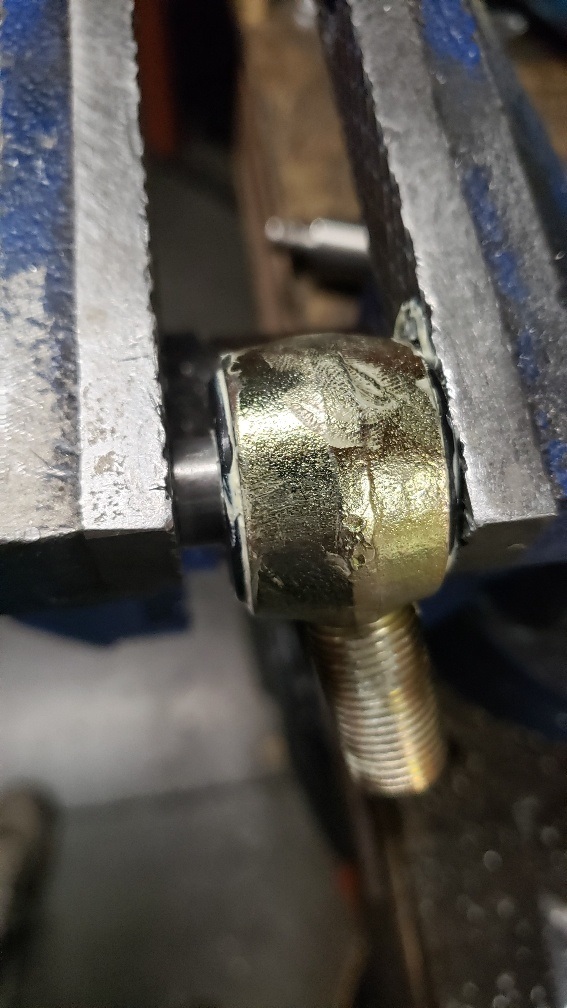
1st you need to lubricate the the bushing and push in using a bench vice.
The rubber has the proper density that it will pop out the back side when released from the vice
Attached image(s)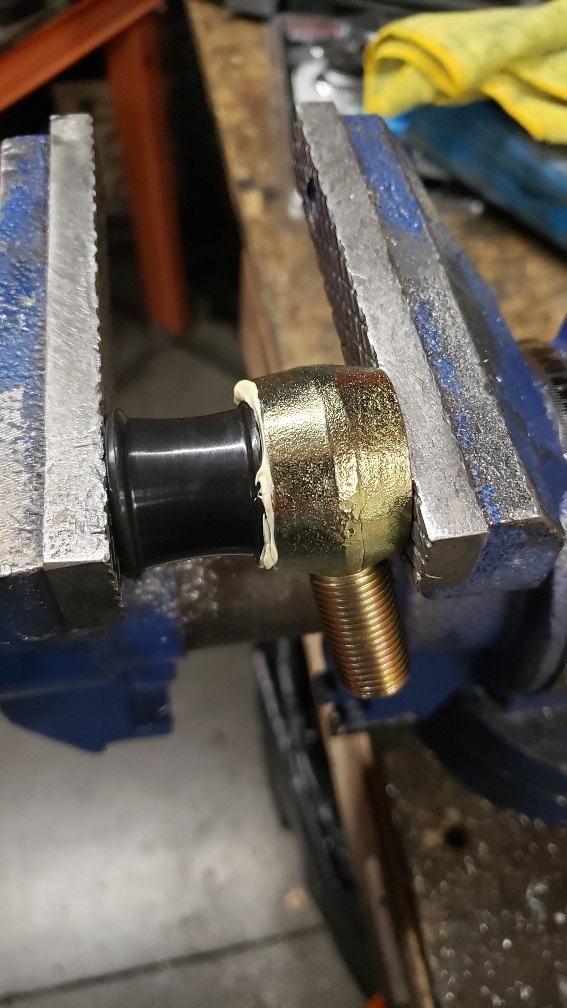
Posted by: Mikey914 Aug 1 2020, 09:52 AM
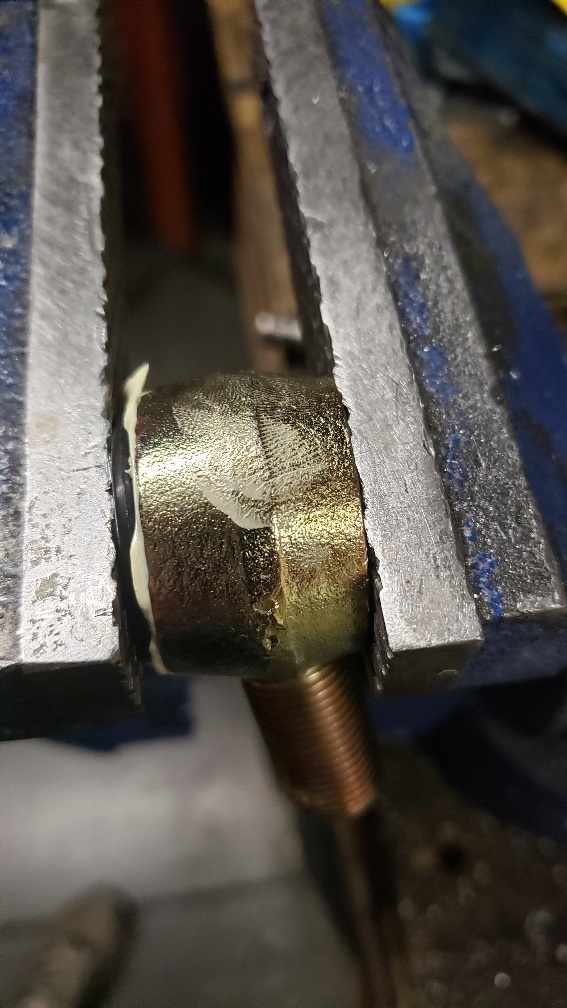
Then insert the tube using the same technique
When it is flush in the vice you can use a wrench to center the tube.
Attached image(s)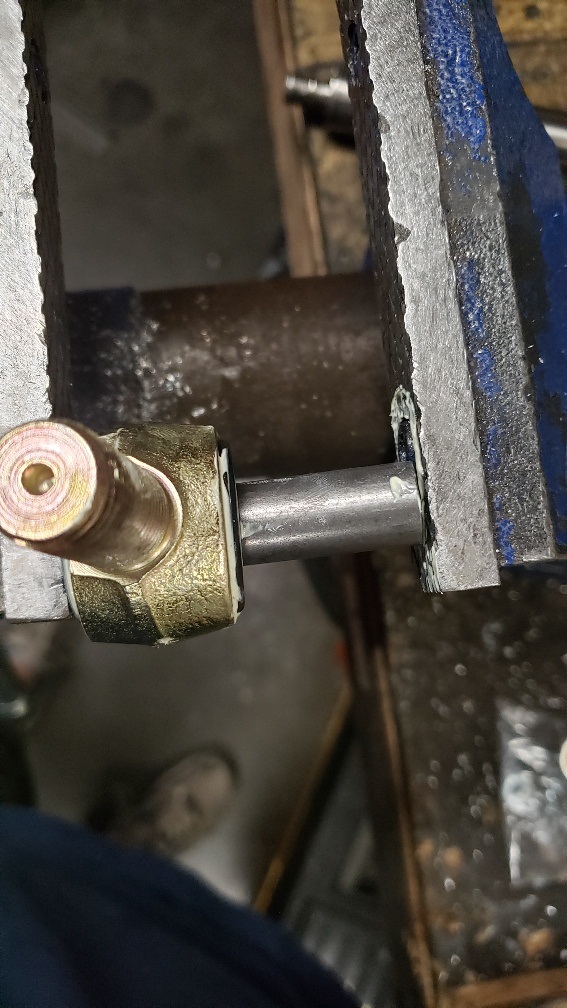

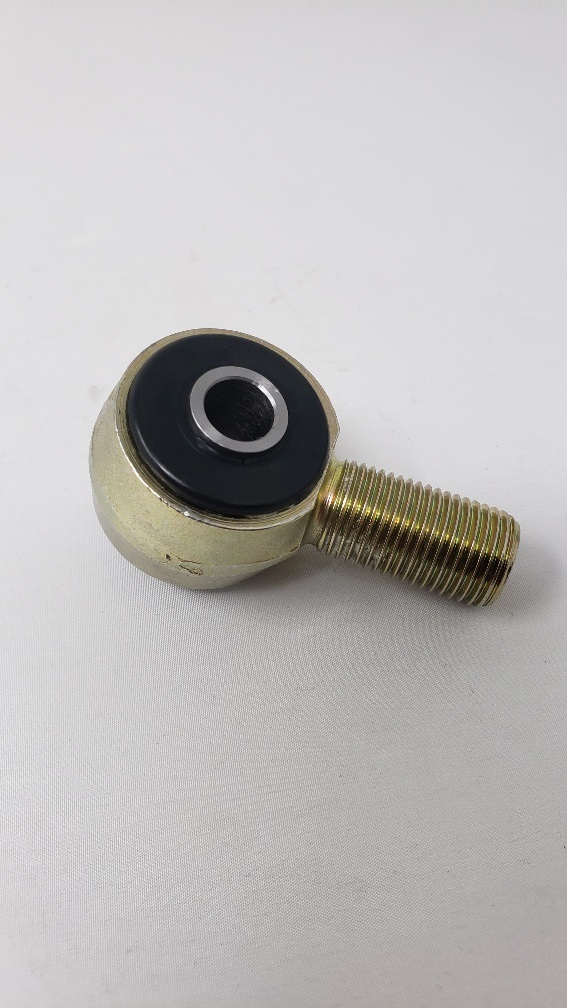
Posted by: Mikey914 Aug 1 2020, 09:53 AM
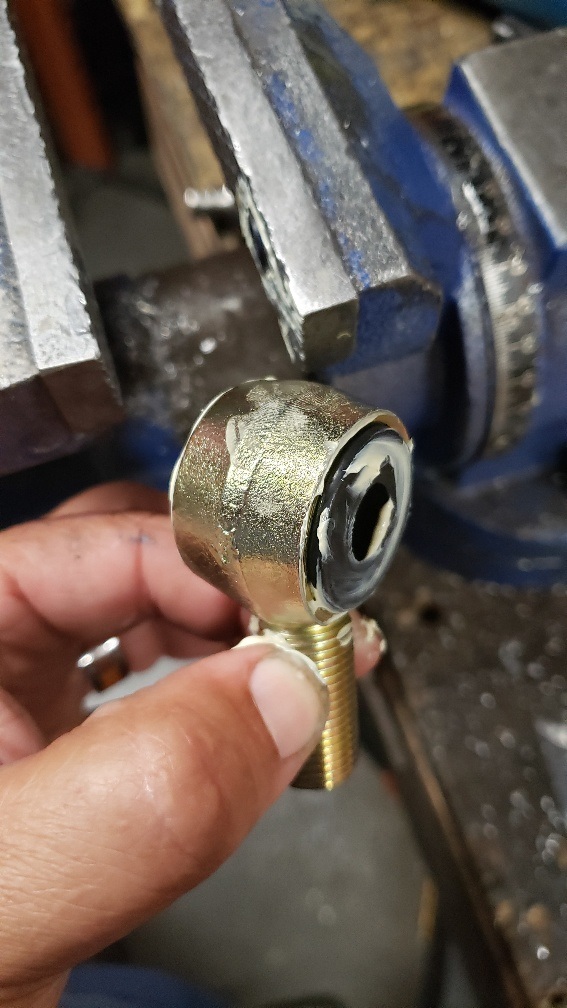
And the finished part
Attached image(s)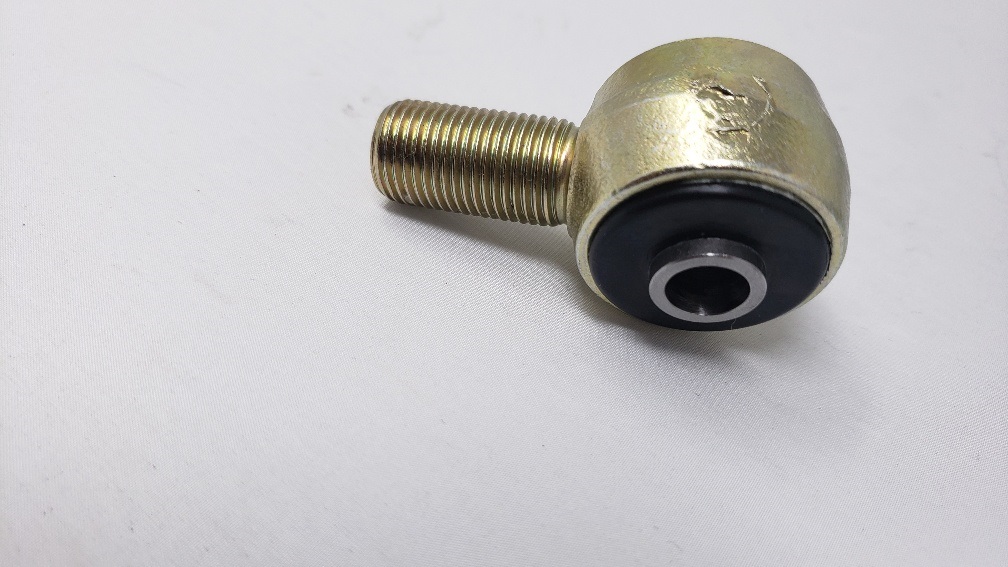
Powered by Invision Power Board (http://www.invisionboard.com)
© Invision Power Services (http://www.invisionpower.com)