Printable Version of Topic
Click here to view this topic in its original format
914World.com _ 914World Garage _ Rear Sway bar install
Posted by: roundtwo Jun 13 2021, 06:48 PM
Trying to get prepped for all my welding needs. Id like to Pre-fit the rear sway bar so I can determine exactly we’re to mount the bushing mount backing plates. I want to be sure they’re perpendicular to the sway bar in just the right spot
1. See first pick. Do I install the bushings in the drop links first and then install the ball ends? Or, do I install the ball cups on the balls and then have them pressed into the drop links? Any tips on how to get these hard bushings into the drop links?
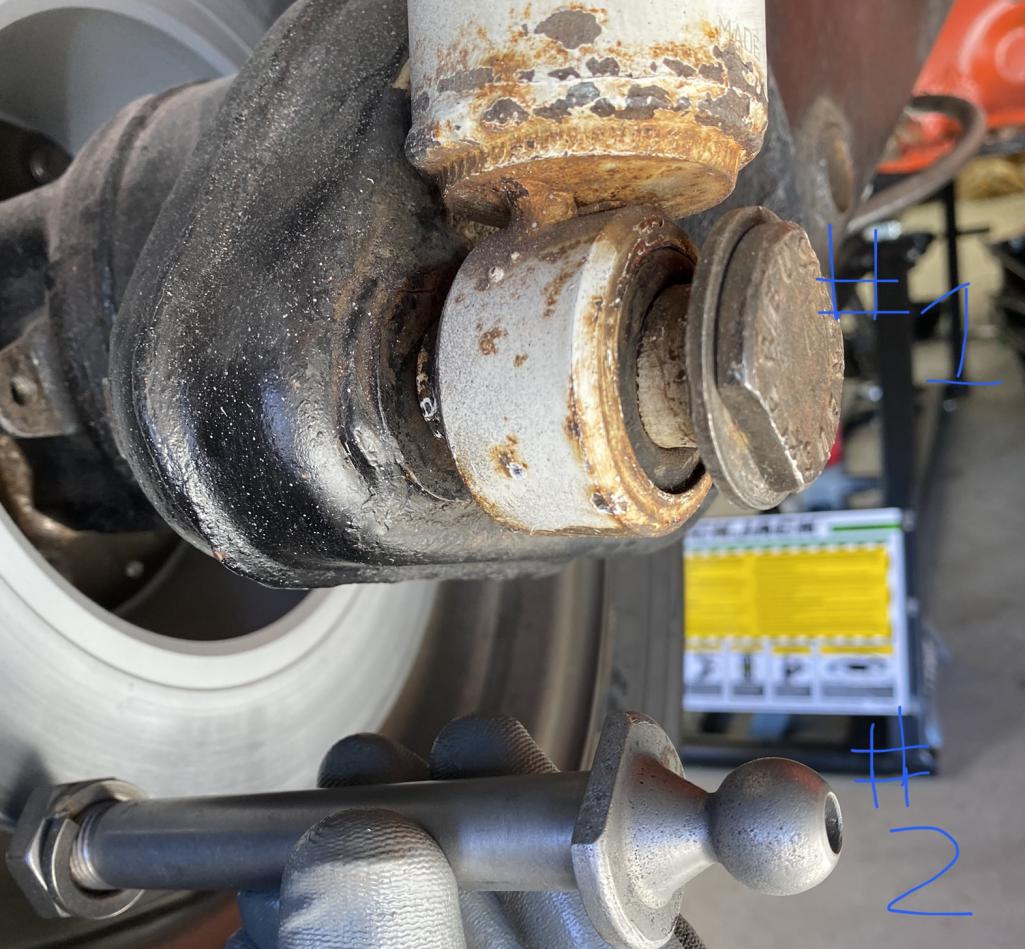
2. Do I simply replace the new shock base metal rod labeled #1 with #2. See second pic
I’ve read the rear sway bar mounts instructions on the Pelican Parts web site. Very helpful- He just doesn’t cover the actual sway bar assembly. Bar is 16mm. Installing on a 1970.
Many thanks. 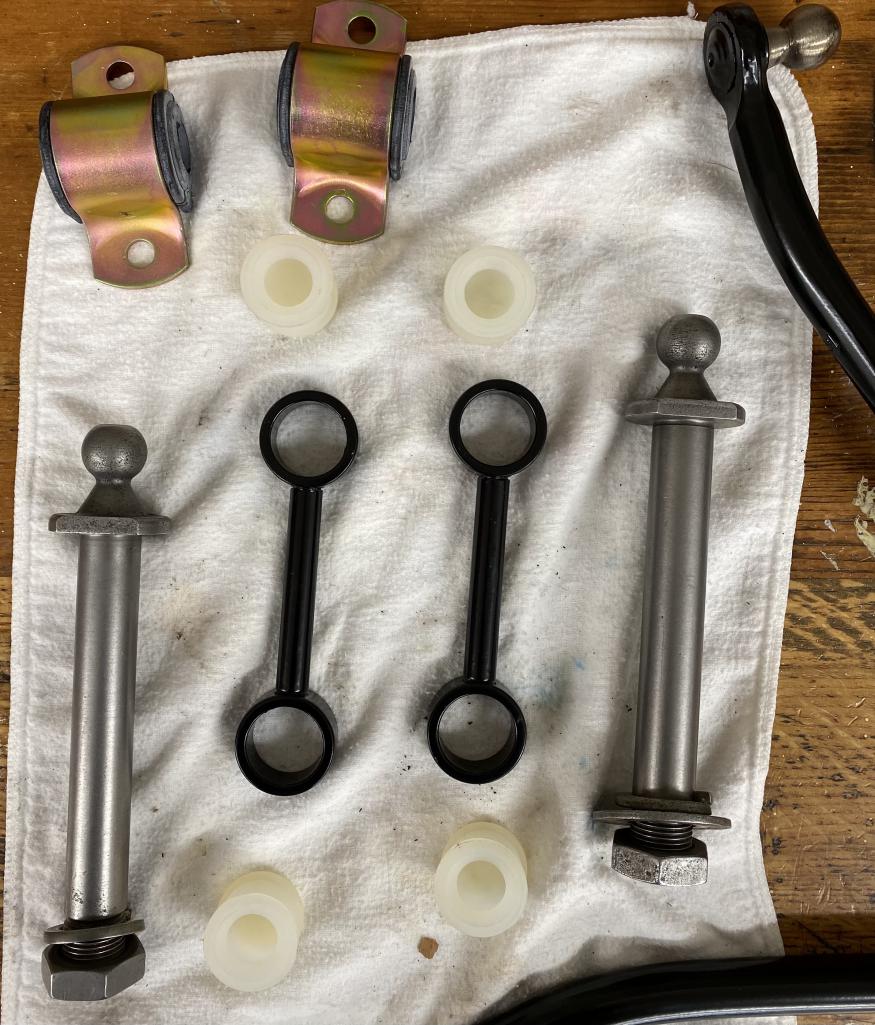
Posted by: roundtwo Jun 13 2021, 06:50 PM
Adding sway bar on this build 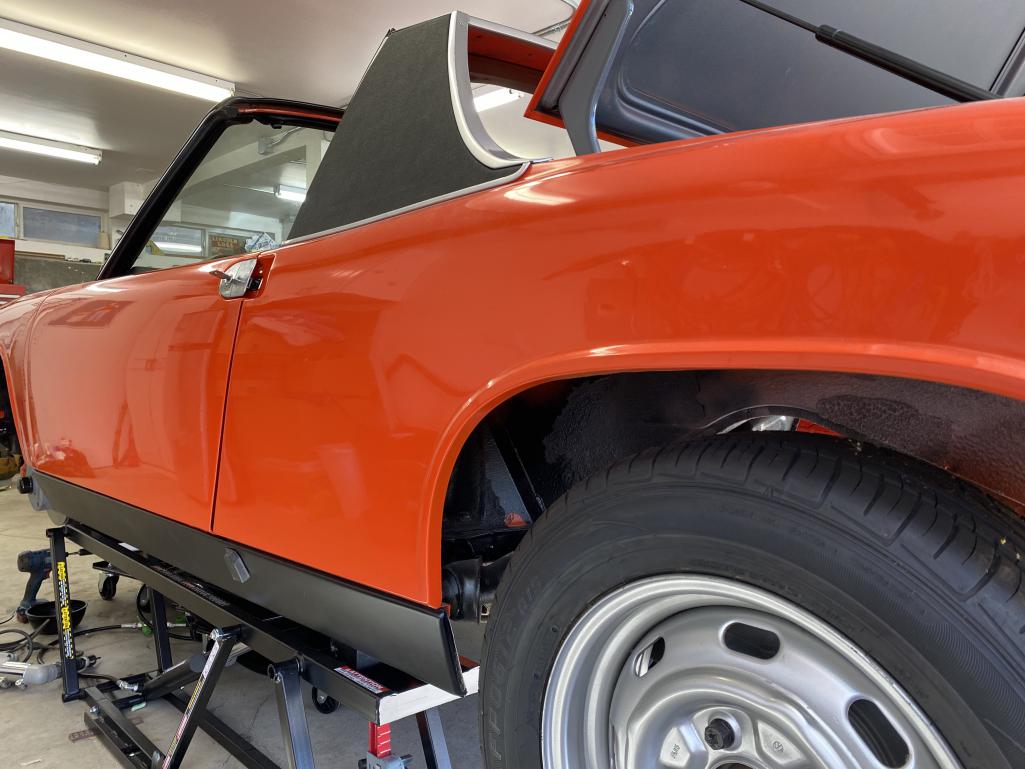
Posted by: ClayPerrine Jun 13 2021, 07:07 PM
The big bolt with the ball end replaces the lower shock mount bolt.
The drop links need the bushings inserted with one facing each way.
The bushings fit over the bar and the bar bolts to the sway bar plates under the back end. If the car didn't come from the factory with a sway bar, then the plates won't be there and have to be welded onto the chassis.
https://914rubber.com/914ltd-early-rear-sway-bar-mount-bracket-set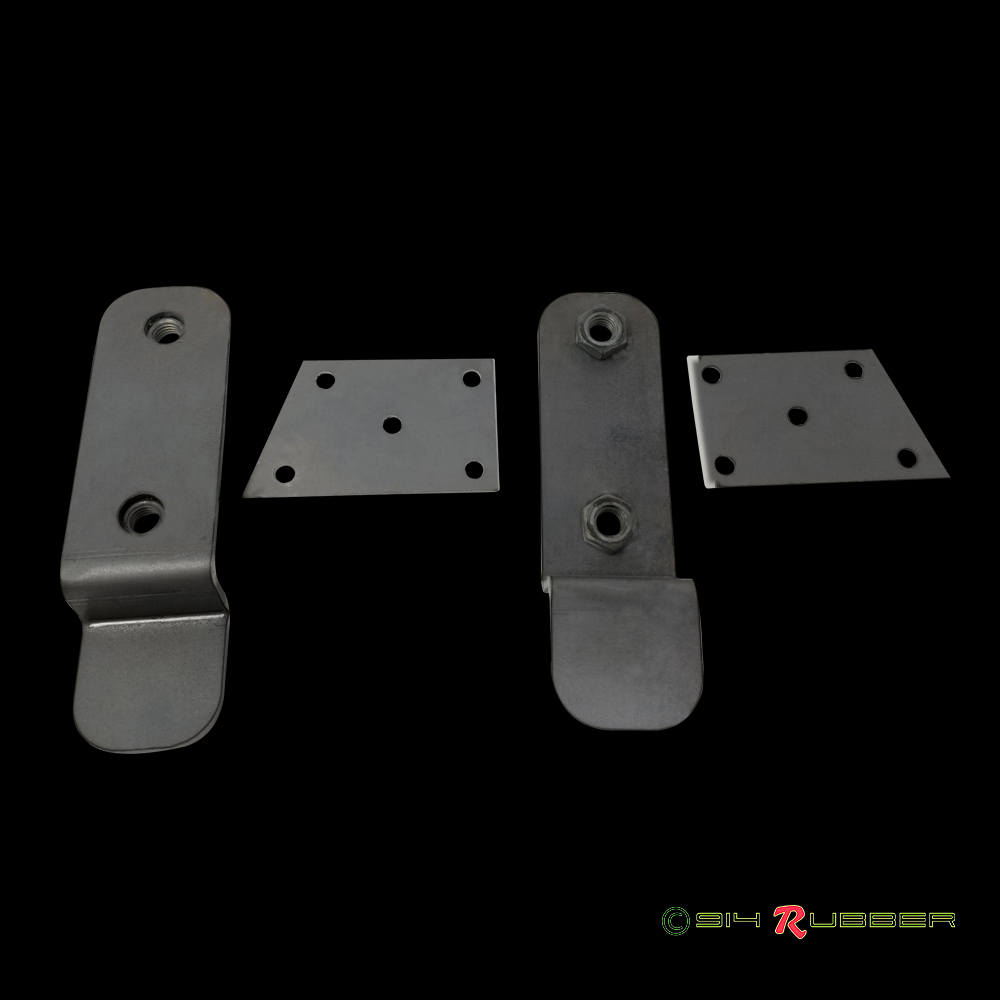
Not my car....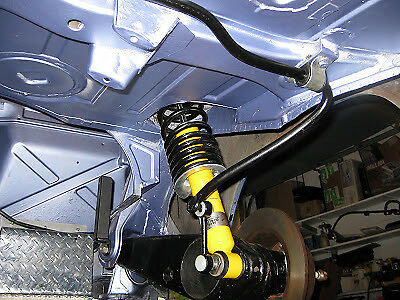
Check and see if you have the brackets. If not, just order a pair and get them welded on.
Clay
Posted by: bkrantz Jun 13 2021, 07:38 PM
I put the bushings into the drop links first (used my hydraulic press), and then squeezed the links onto the trailing arms and sway bars, with a large clamp.
Posted by: barefoot Jun 14 2021, 11:12 AM

I put the bushings into the drop links first (used my hydraulic press), and then squeezed the links onto the trailing arms and sway bars, with a large clamp.
Soak the bushings in boiling water then they go in easy
Posted by: ClayPerrine Jun 14 2021, 12:21 PM
I put the bushings into the drop links first (used my hydraulic press), and then squeezed the links onto the trailing arms and sway bars, with a large clamp.
I just use a huge pair of channel locks to push the links onto the balls.
Clay
Posted by: NARP74 Jun 14 2021, 12:41 PM
I just went through this, mine had the mounting brackets which made it easier. I did everything on the car which made it harder. Do as much on the bench as possible. I used boiling water and then a little liquid soap and pressed them on. I removed the muffler to give me as much room as possible. Good luck...
Posted by: roundtwo Jun 14 2021, 07:39 PM
Appreciate all the secrets!
Able to get in the shock mounts in easily. Have the plates/ backing plates on the bench after locating the destination pretty darn close on the sheet metal. That’s where the fun ended. Trying to press in the bushings was a disaster. Even with preheating the bushings, Lots of slippery stuff on the press the bushings kept mushrooming, distorting in shape wanting to crease on themselves. I Tried putting the perfect size socket in the balm cup to keep its shape during pressing. A no go!
Posted by: 76-914 Jun 14 2021, 08:55 PM
Do like Clay said. A giant pair of channel locks and it helps to lube the metal ball ends. I used glycerin. I didn't need to heat them in water but it won't hurt if you do. 
Posted by: roundtwo Jun 14 2021, 10:43 PM
Do like Clay said. A giant pair of channel locks and it helps to lube the metal ball ends. I used glycerin. I didn't need to heat them in water but it won't hurt if you do.
I haven't made it that far. My hurdle is getting the cup bushings into the drop links. Good to know when I make it to the next step. Thanks y'all , Todd
Posted by: LefthandRev Dec 22 2021, 03:58 PM
I used a heat gun, a dull flat head screwdriver, and a bench vice to get them started.
Open-side of the bushing first. Hold the heat gun, warm up the bushing. No higher than 200F, or you start to bubble the silicone. Push the lip through the ring and work it in slowly until about 90% (or all if you can manage) is started through the ring.
Pull the drop-arm out of the vice and with luck, the bushing will not pop off. Now, put the bushing into the vice along the thin portion and tighten it down. Using your screwdriver, inside it into the bushing and pull the lip of the bushing outward through the ring of the arm until it's fully seated.
Rinse, wash, repeat, curse, repeat, curse, repeat, curse...
Posted by: 914werke Dec 22 2021, 04:53 PM
Its worth repeating, use of a bit of lube is helpful but do not use a petroleum based grease (I see this too often) Glycerin or plain 'ol dish soap will do the trick!
Powered by Invision Power Board (http://www.invisionboard.com)
© Invision Power Services (http://www.invisionpower.com)