Printable Version of Topic
Click here to view this topic in its original format
914World.com _ 914World Garage _ Targa pad removal…
Posted by: jim_hoyland May 16 2022, 02:12 PM
Got a pair of new latches for the targa top. Seven horizontal screws and 5 vertical from underneath. Screw heads are buried into the pad. Any tricks here ?I found maybe three of the screws.
Attached thumbnail(s)
Attached image(s)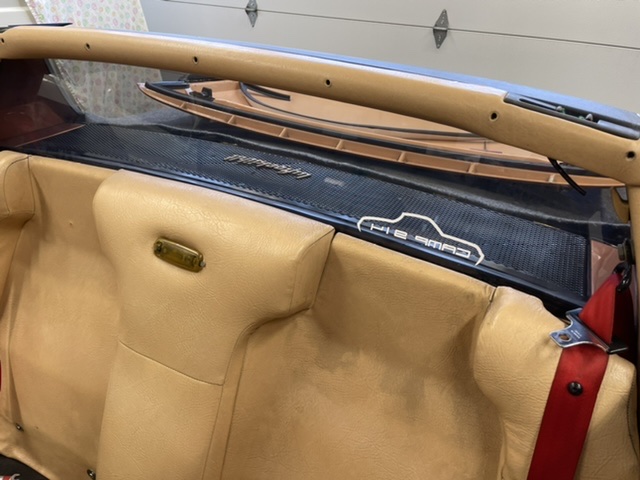
Posted by: Root_Werks May 16 2022, 02:34 PM
On the pad I removed (and tossed), the foam inside the little holes had been shredded up enough to block the screw heads. I used a little pick to sort of clean out each hole. The screw heads don't always match straight to the hole in the pad either. It's frustrating and slow. You should be able to see each screw head....should.
Posted by: jim_hoyland May 16 2022, 03:06 PM

On the pad I removed (and tossed), the foam inside the little holes had been shredded up enough to block the screw heads. I used a little pick to sort of clean out each hole. The screw heads don't always match straight to the hole in the pad either. It's frustrating and slow. You should be able to see each screw head....should.
Good suggestion ! Do the panel covering the rear pillars have to come off ?
I can see one screw hear may have a mated head, that is the screwdriver can bite in…
Posted by: Root_Werks May 16 2022, 03:50 PM
I would take the two side panels off, makes things easier.
Should be one small philips screw at the "coat" hangar and the seatbelt bolt.
I installed a new 914 Rubber rear pad and it was so nice not having foam clogging up the holes.
Posted by: jim_hoyland May 16 2022, 03:53 PM
I would take the two side panels off, makes things easier.
Should be one small philips screw at the "coat" hangar and the seatbelt bolt.
I installed a new 914 Rubber rear pad and it was so nice not having foam clogging up the holes.
I’m inclined to replace it; just gotta dye it tan
Posted by: windforfun May 16 2022, 06:57 PM
The AA roll bar pad fits almost perfectly. And how are you going to dye a black vinyl (rubber) pad tan?
Posted by: Front yard mechanic May 16 2022, 07:13 PM
Use a long number one screwdriver . The length helps center it in the hole in the pad
Posted by: 76-914 May 16 2022, 07:17 PM
Jim, the correct size Phillips is #1 on the list. 2nd, use an ice pick or sharp awl to locate the center of the screw. Often they are not installed straight or do not line up with the center of the hole in the pad. OEM, George's or Mark's. Take your time feeling around. after a couple you will get the hang. Those screws that are vertical are a PITA when the rear glass is in. Not enough room between the handle and glass for your fingers around the handle of the screwdriver when the glass is installed so you may need to grip the handle with a pair of pliers on final tightening or when breaking them loose. 
Posted by: jim_hoyland May 16 2022, 07:39 PM
The AA roll bar pad fits almost perfectly. And how are you going to dye a black vinyl (rubber) pad tan?
We have a local upholstery man who paints the tan over the black.
Posted by: jim_hoyland May 16 2022, 07:41 PM
Got the #1 long shaft screwdriver. Had to stop after getting only two screws
Posted by: windforfun May 16 2022, 07:53 PM
Got the #1 long shaft screwdriver. Had to stop after getting only two screws
I think you need to get a wee bit more aggressive there my friend. Pull on the old fucker & yank him out. Be careful not to damage the side pads.

Posted by: windforfun May 17 2022, 04:11 PM
BTW, some of the screws may already be missing. My "stock" roll bar pad was missing one screw that I obviously, or not so obviously, could't remove.
Posted by: jim_hoyland May 17 2022, 06:00 PM
This project is on hold for awhile. Will restart when I have more time and get some help.
Posted by: JamesM May 18 2022, 01:23 PM
The screw heads don't always match straight to the hole in the pad either.
Thats the kicker, just finding the damn heads of the screws.
One of the pads i removed someone had put a 2nd screw in the hole over the first. so I pulled the screw out of the hole thinking i was good to go, not knowing there was another one hiding back there somewhere still holding the pad on.

Posted by: bob164 May 18 2022, 06:33 PM
Jim,
When you get back to it, give me a call and I will come over to help.
Bob
Posted by: jim_hoyland May 18 2022, 06:51 PM
Jim,
When you get back to it, give me a call and I will come over to help.
Bob
Thanks Bob. Will do
Posted by: Dave_Darling May 18 2022, 11:16 PM
I think I recall that the two little tiny screws in the latch area also held the d**n pad on as well.
--DD
Posted by: mepstein May 19 2022, 08:38 AM
I hate those tiny screws. Made worse after 50 years.
Posted by: windforfun May 19 2022, 10:12 AM
I think I recall that the two little tiny screws in the latch area also held the d**n pad on as well.
--DD
The latch covers only mount to the pad & these screws may be omitted IMO if the latch covers press fit nice & tight. Such is the case with the AA pad.
Posted by: jim_hoyland Aug 16 2022, 04:18 PM
Restarting the targa pad removal. Gonna pull the pillar covers, try the #1 Phillips, and it that fails I’ll try drilling the screw heads off ?
Any suggestions on drill bits ?
Posted by: JeffBowlsby Aug 16 2022, 04:50 PM
I use an awl as a probe to locate the screw heads.
Posted by: jim_hoyland Aug 16 2022, 07:05 PM
I use an awl as a probe to locate the screw heads.
Thanks, I’ll try that !
Posted by: 914_teener Aug 16 2022, 07:25 PM
I'll be in Long Beach this coming Sat Jim if you need help.
Ping me PM or cell.
Posted by: jim_hoyland Aug 16 2022, 08:52 PM
I'll be in Long Beach this coming Sat Jim if you need help.
Ping me PM or cell.
Thanks Rob. I’ll follow up after taking another run at it

Posted by: jim_hoyland Aug 18 2022, 04:28 PM
After hours of frustration, I trekked down to Keith’s. He is a master craftsman and endless patience. It took the two of us 3 hours to remove the targa pad; and 10 minutes to replace the targa top latches, that’s why I needed to remove the targa pad.
A couple of observations and suggestions arose:
1. Remove the pillar covers.
2. The pad uses 12 short screws that have a washer under the head. While they hold the pad on securely, they don’t make removal and installation easy.
3. Longer screws will make installation easier; that is, long enough to hold the head while find the holes.
4 The horizontal screws can 1 3/4”, vertical screws around 1 1/2” Longer screws make finding the holes easier. And they helped snug in the ends around the latch cover.
And all that was just to replace the two targa top latches…..
Attached image(s)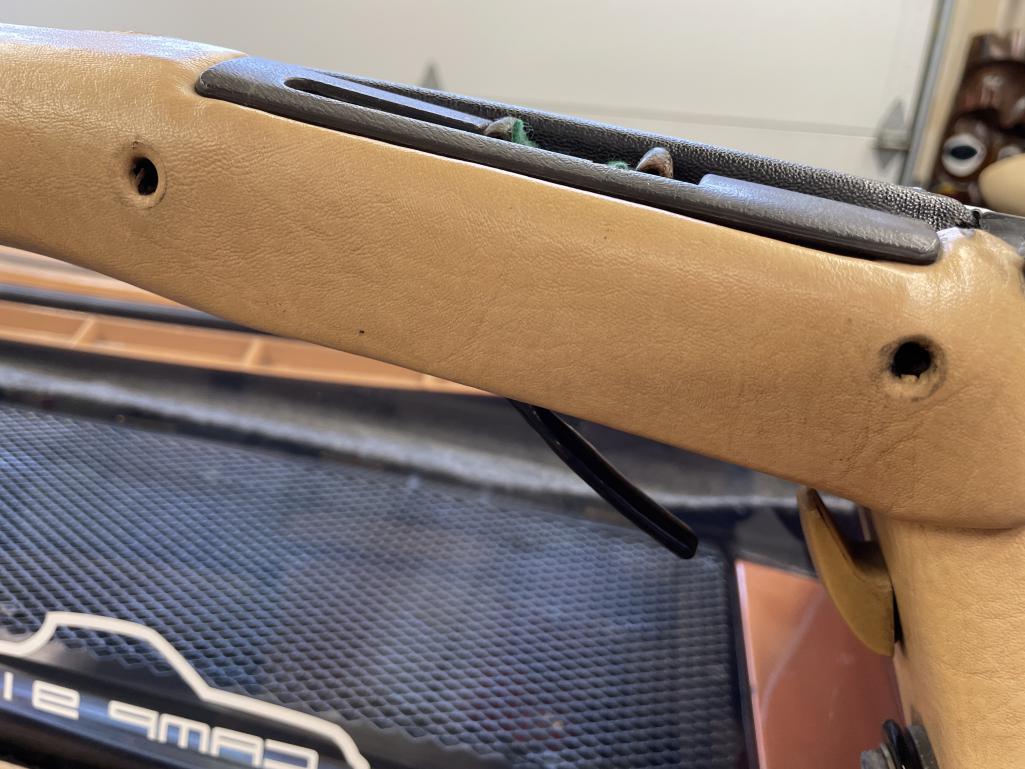
Powered by Invision Power Board (http://www.invisionboard.com)
© Invision Power Services (http://www.invisionpower.com)