Printable Version of Topic
Click here to view this topic in its original format
914World.com _ 914World Garage _ stubborn exhaust manifold gaskets
Posted by: 87m491 Feb 20 2024, 06:55 AM
Finally swapping in SS heater boxes I acquired years ago and I can't budge the existing manifold gaskets. I have read and tried a few options, trying to leverage a pick under and edge and walk it out, no luck., the gasket is very tight against the engine. Trying to lever a screwdriver head against and gasket edge and the head to deform the gasket a touch except that my head's fin started to deform before the gasket! Any other tricks before I give up and just try reusing the gaskets that won't seem to come out?
Thx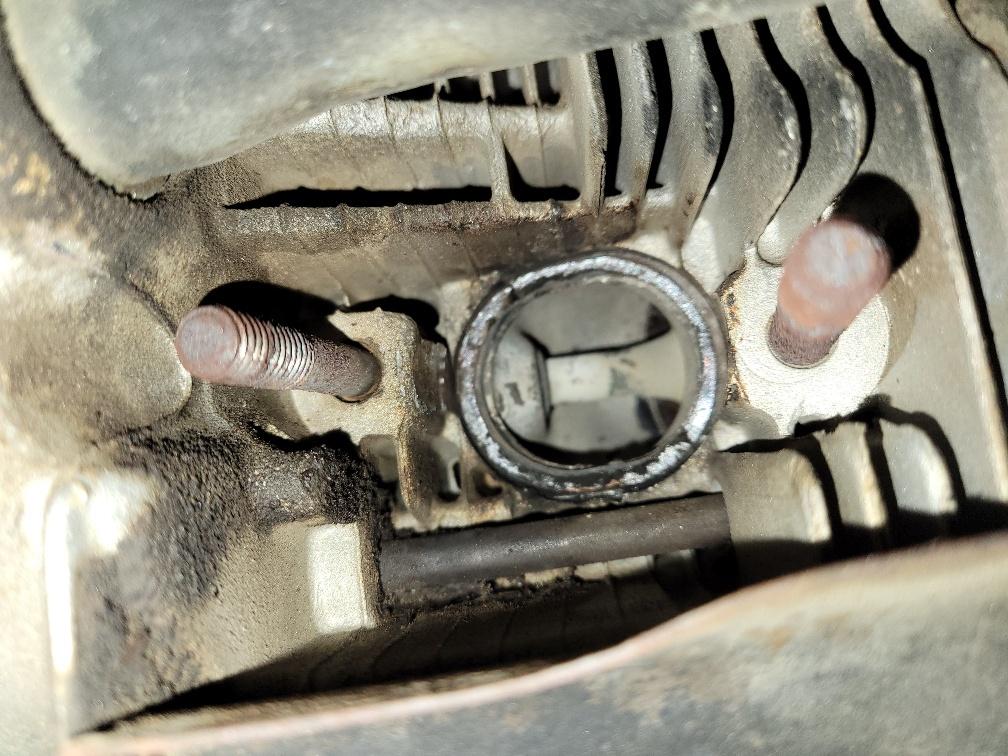
Posted by: barefoot Feb 20 2024, 06:56 AM
If they're not damaged in the sealing face, just re-use them.
Posted by: windforfun Feb 20 2024, 11:52 AM
What is the gasket material? Can you cut them?
![]()
![]()
![]()
Posted by: TROJANMAN Feb 20 2024, 12:17 PM
When all else fails, torch it. ![]()
Posted by: Shivers Feb 20 2024, 12:22 PM
I agree, throw some flame on it.
Posted by: 930cabman Feb 20 2024, 01:24 PM
It's hard for me to see, but if it's the copper sealing ring, I go after these with a narrow screwdriver and deform it (collapse it) and then pull it out.
Posted by: 87m491 Feb 20 2024, 04:46 PM
Theoretically copper but not very malleable from my efforts.
What is the gasket material? Can you cut them?
Posted by: 87m491 Feb 20 2024, 04:48 PM
It's hard for me to see, but if it's the copper sealing ring, I go after these with a narrow screwdriver and deform it (collapse it) and then pull it out.
As noted, BTDT and the engine metal deformed before the gasket. Will try the heat suggestion. If not luck I'll leave them in.
Posted by: GregAmy Feb 20 2024, 05:35 PM
I snag 'em with a bent pick. $10 for "the good ones" at HF.
https://www.harborfreight.com/pick-and-hook-set-7-piece-69592.html
They're cheap enough I'll almost always replace the seals. I keep a handfull in my toolbox because I don't want to have to do the job again.
Posted by: DC_neun_vierzehn Feb 20 2024, 05:51 PM
Sounds like someone may have applied some sealant when they installed those and they baked the copper rings on real good. Or those suckers have just been on there forever. Applying some heat to the rings could help. I would try to work a pick around the entire edge of the copper rings (delicately and then more forcefully with each full rotation) before applying heat.
Posted by: windforfun Feb 20 2024, 06:05 PM
I snag 'em with a bent pick. $10 for "the good ones" at HF.
https://www.harborfreight.com/pick-and-hook-set-7-piece-69592.html
They're cheap enough I'll almost always replace the seals. I keep a handfull in my toolbox because I don't want to have to do the job again.
This kinda reminds me of what my dentist uses. And he's board certified.
Posted by: 930cabman Feb 20 2024, 07:08 PM
I snag 'em with a bent pick. $10 for "the good ones" at HF.
https://www.harborfreight.com/pick-and-hook-set-7-piece-69592.html
They're cheap enough I'll almost always replace the seals. I keep a handfull in my toolbox because I don't want to have to do the job again.
This kinda reminds me of what my dentist uses. And he's board certified.
Which board is he certified? 2x4?
Posted by: Eric_Ciampa Feb 20 2024, 07:57 PM
I remember deforming one stubborn one. I might have used a punch to deform and create a flat lip to pull out.
Posted by: 87m491 Feb 25 2024, 02:16 PM
Sounds like someone may have applied some sealant when they installed those and they baked the copper rings on real good. Or those suckers have just been on there forever. Applying some heat to the rings could help. I would try to work a pick around the entire edge of the copper rings (delicately and then more forcefully with each full rotation) before applying heat.
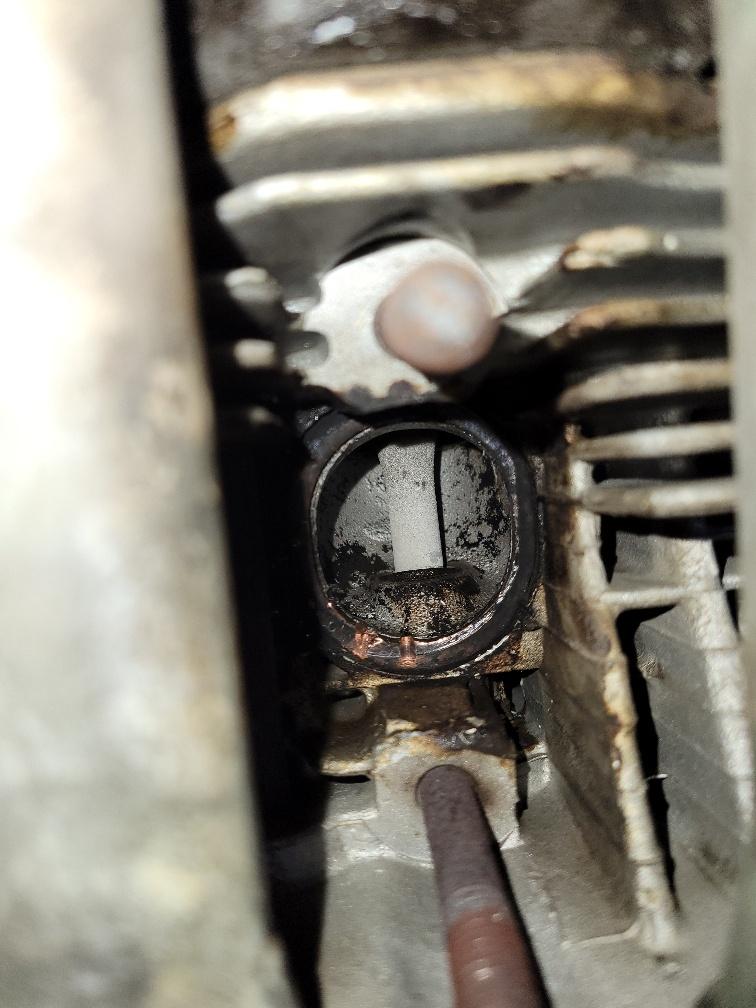
Indeed. I took a smallish flat head screwdriver and reformed the last 1/4 inch at a 90 degree angle and could not get under the gasket. I used a cold chisel to cut/deform the gasket, which they did, see copper colored areas in the picture, but still absolutely no opening to lever/pull against. Then tried propane always fun 12 inches from your face. Absolutely won't budge. I reinstalled the heat exchangers and will revisit next fall when I drop the engine to reseal it and can attack from a better angle.
Posted by: rhodyguy Feb 25 2024, 02:36 PM
A couple of whacks on the ring with a hammer and sharp narrow wood chisel helps getting stuck ones out. The copper is fairly soft.
Posted by: windforfun Feb 25 2024, 04:26 PM
![]()
![]()
![]()
Cut them with a sharp steel wood chisel. You'll probably need to sharpen the chisel afterwards. Use a bench grinder & an oil stone.
Posted by: technicalninja Feb 25 2024, 05:11 PM
Sounds like someone may have applied some sealant when they installed those and they baked the copper rings on real good. Or those suckers have just been on there forever. Applying some heat to the rings could help. I would try to work a pick around the entire edge of the copper rings (delicately and then more forcefully with each full rotation) before applying heat.
Indeed. I took a smallish flat head screwdriver and reformed the last 1/4 inch at a 90 degree angle and could not get under the gasket. I used a cold chisel to cut/deform the gasket, which they did, see copper colored areas in the picture, but still absolutely no opening to lever/pull against. Then tried propane always fun 12 inches from your face. Absolutely won't budge. I reinstalled the heat exchangers and will revisit next fall when I drop the engine to reseal it and can attack from a better angle.

That one is toast now!
If you run that the groove will allow a 1000+ degree leak that will eat the head casting...
That needs to be replace now IMO.
Posted by: 930cabman Feb 27 2024, 02:57 PM
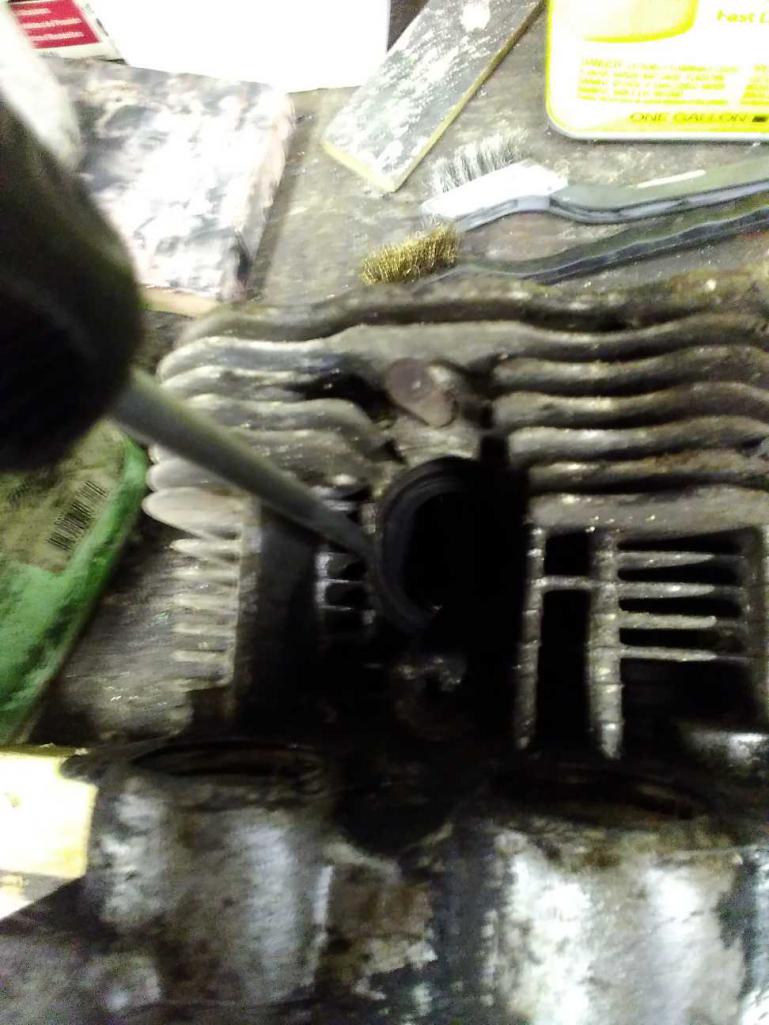 Long thin blade slotted screwdriver, a good rap with a SMH
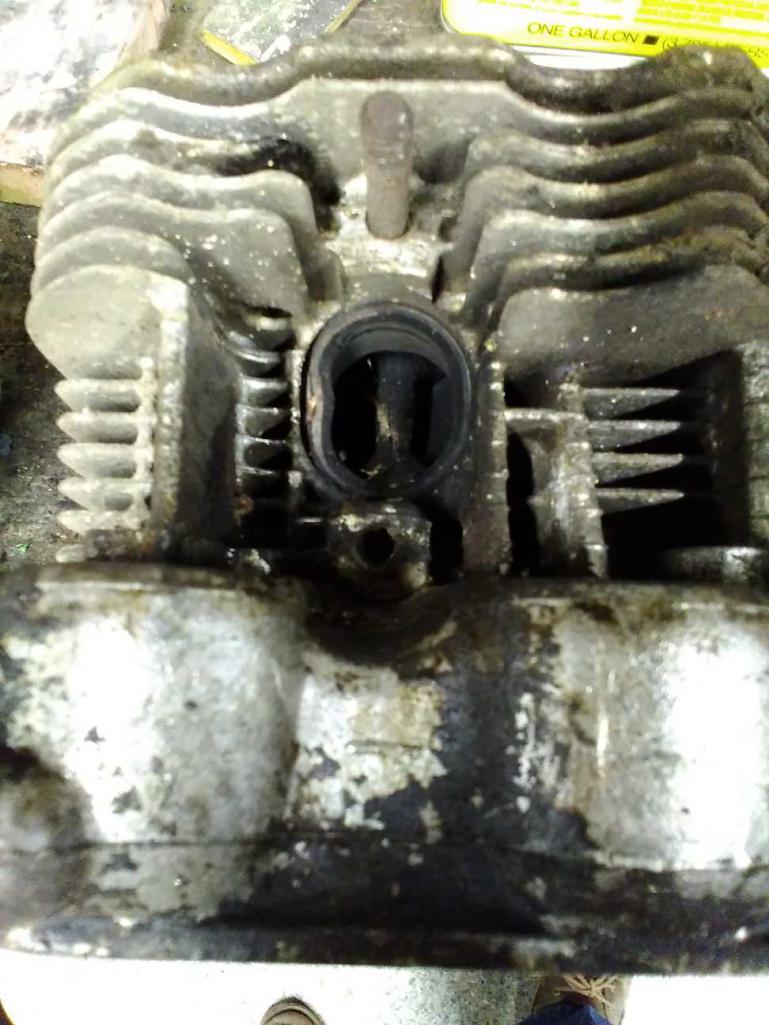 Deformed copper gasket
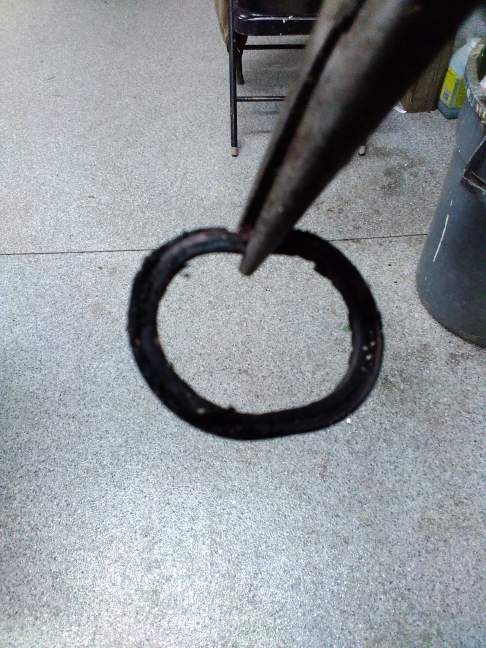 Done like dinner
Posted by: rjames Feb 27 2024, 08:15 PM
If you run that the groove will allow a 1000+ degree leak that will eat the head casting...
That needs to be replace now IMO.
Don't run it without replacing it first.
Posted by: worn Feb 27 2024, 08:26 PM
I snag 'em with a bent pick. $10 for "the good ones" at HF.
https://www.harborfreight.com/pick-and-hook-set-7-piece-69592.html
They're cheap enough I'll almost always replace the seals. I keep a handfull in my toolbox because I don't want to have to do the job again.
This kinda reminds me of what my dentist uses. And he's board certified.
Which board is he certified? 2x4?
Keep this in mind: to anneal and soften copper you heat till they glow a dull red and quench it in cold water. That hardens steel, but it softens copper silver or gold. You want the gasket soft enough to deform.
Posted by: 87m491 Feb 28 2024, 07:23 AM
Deforming of single cylinder gasket on bench I could likely handle.
Posted by: 930cabman Feb 28 2024, 10:22 AM
Deforming of single cylinder gasket on bench I could likely handle.
I'll bet it can be done on your back under the car. Just make sure you have eye protection
Posted by: 73-914 Feb 28 2024, 11:20 AM
1/4 in Cold chisel will cut it easy
Posted by: 87m491 Feb 28 2024, 01:35 PM
1/4 in Cold chisel will cut it easy
As with so many things on the internet YMMV (Widely) Previously posted, in situ, is exactly what a fairly new cold chisel and 2.5lb small sledge, and heat, got me.
Appreciate the tips but until I pull the engine, it likely stays put.

Posted by: technicalninja Feb 28 2024, 02:36 PM
I did mine in our 75 upside down.
They were stuck like a bitch too.
I used the cheapy harbor freight pick to clear around the perimeter of the copper ring and the parting line at the head exit FIRST.
Got all the carbon cleaned off and hit it with PB blaster. Let it sit over night.
Still stuck pretty well and I just worked the pick under the oval until they finally popped free.
You're still super dirty around the ring...
Posted by: rhodyguy Feb 28 2024, 03:16 PM
The cold steel chisel is too blunt. Consider the indentations in the copper.
Posted by: 87m491 Mar 4 2024, 07:24 AM
I did mine in our 75 upside down.
They were stuck like a bitch too.
I used the cheapy harbor freight pick to clear around the perimeter of the copper ring and the parting line at the head exit FIRST.
Got all the carbon cleaned off and hit it with PB blaster. Let it sit over night.
Still stuck pretty well and I just worked the pick under the oval until they finally popped free.
You're still super dirty around the ring...
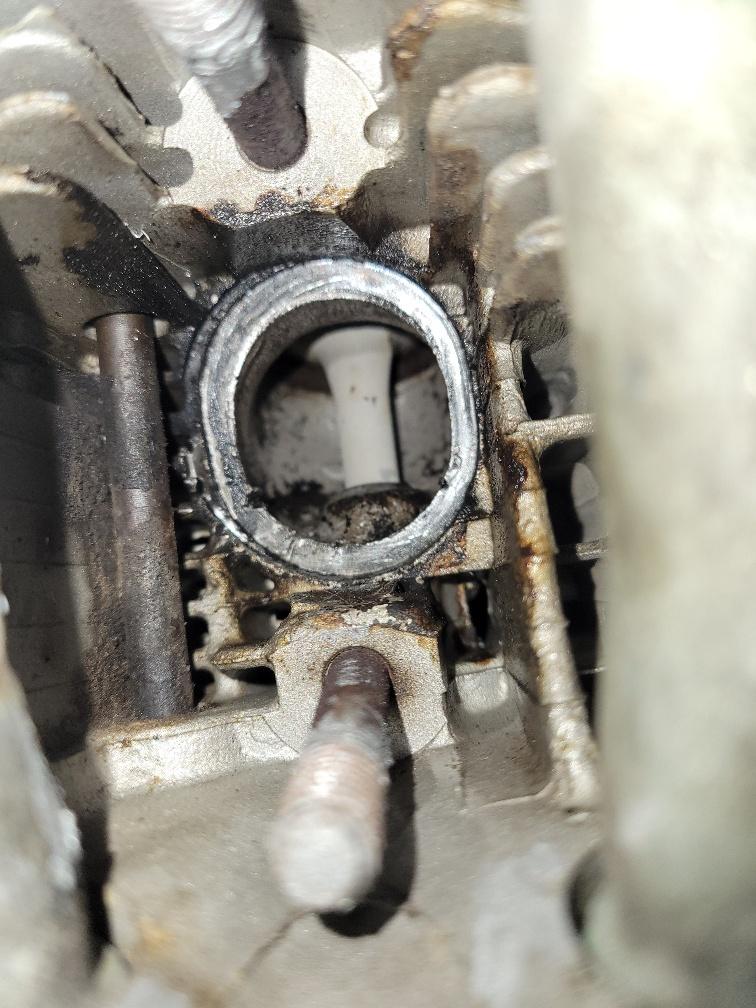
Because I like closure on threads, and public ridicule, here's the rest of of the story. Given the precise fit, decades old, and hundreds of heat cycled nature of the gasket's history, there was NO WAY any pick was getting in between the gasket and the cylinder head period. I turned a nice flat bladed screw drivers tip 90 degrees and ground a nice sharp edge on it and it got me no where trying to lever around the gasket. Not heat, not penetrant nor cold chisel budged it at all.
I then went with a previously broken wood chisel (~3/16s wide) and put a nice point on it.
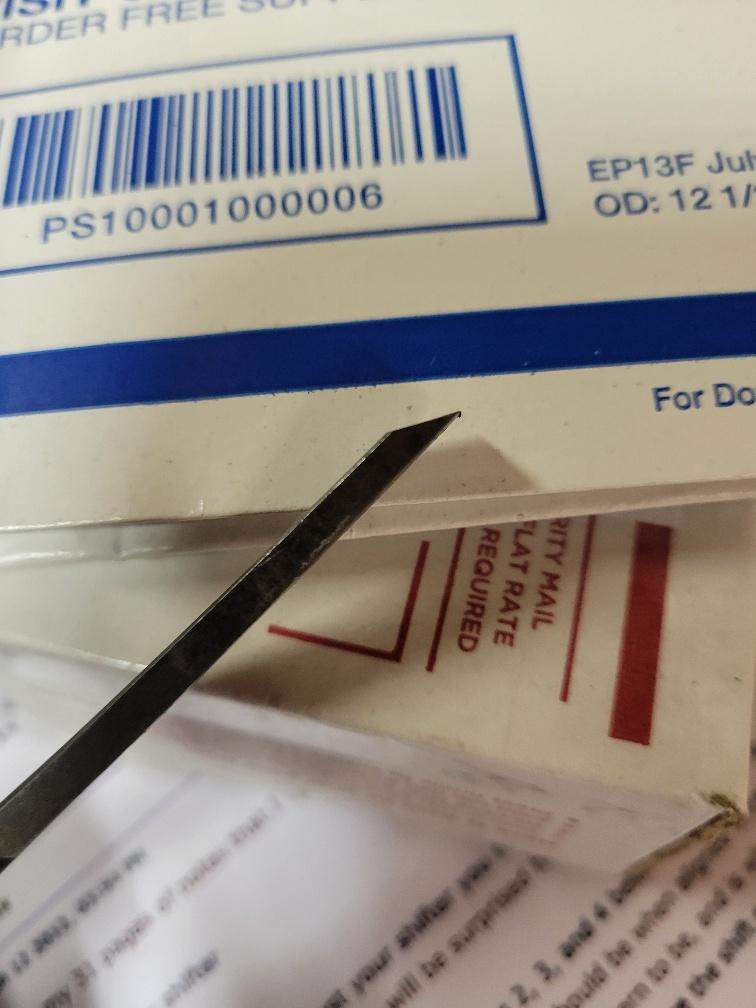
While the chisel dug through the gasket, one mis strike also left a nice gouge on an engine fin and still didn't immediately provide an opening to lever out the gasket!
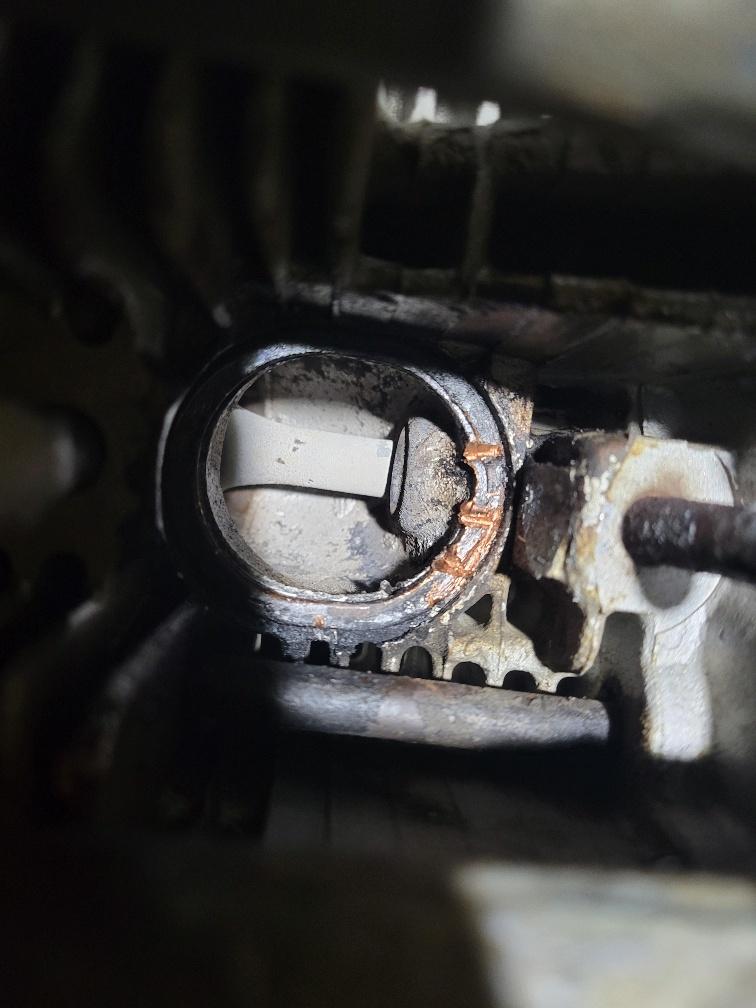
One might think such a deep cleave in the gasket would easily accept another screw driver blade surfaces to work against but that fit was tight!
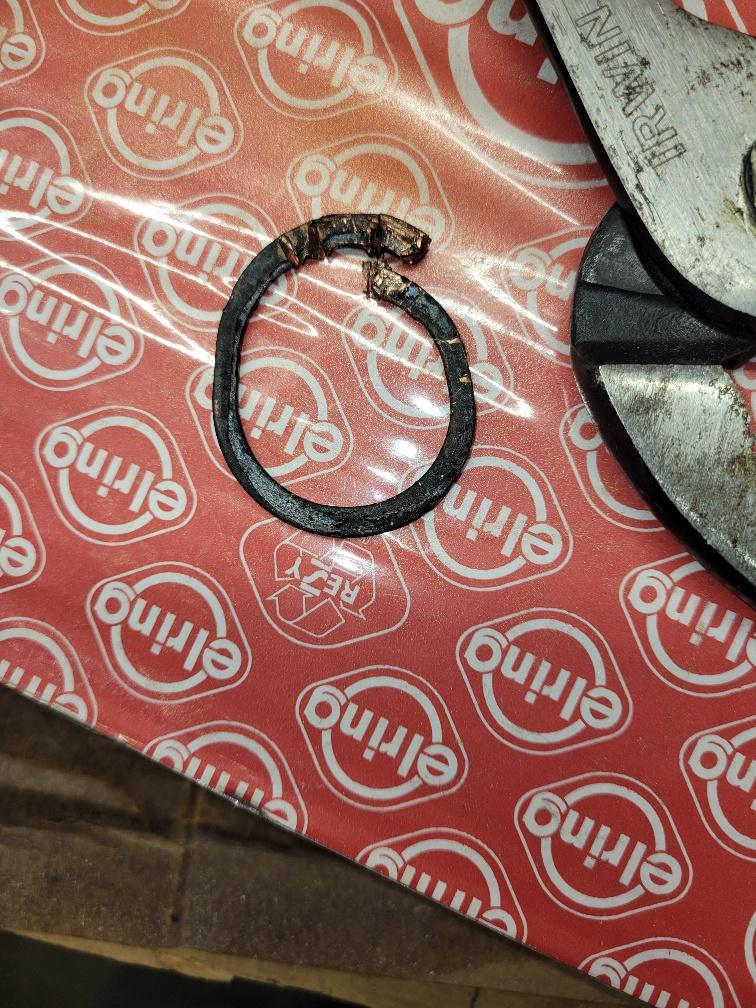
Success was finally achieved but the remaining 3 will await an engine drop and then oil return tube removal so as to proved a few more degrees of leverage which hopefully will make it less of a PITA next winter.
Interestingly I "sound checked" the gasket on removal. While a new one tinkled nicely as the hit the floor. The replacement which I annealed before installing made virtually no sound when dropped on concrete and the removed unit was definitely somewhere in the middle, i.e., maybe is was not annealed and that added to its stubborn removal?
Thanks for the suggestions.
Posted by: GregAmy Mar 4 2024, 08:10 AM
Good on you for keeping at it!
Posted by: 930cabman Mar 4 2024, 09:21 AM
Glad you got it out, but I would be careful of causing damage to the aluminum sealing surface of the head. In the past I have had luck with collapsing the copper and pulling it out with a needle nose. Sorry for the poor pics
Powered by Invision Power Board (http://www.invisionboard.com)
© Invision Power Services (http://www.invisionpower.com)
