Printable Version of Topic
Click here to view this topic in its original format
914World.com _ 914World Garage _ Install front bearings and attach hubs
Posted by: watsonrx13 Sep 24 2005, 04:18 AM
This is a step-by-step instruction to install new bearings in the front hubs and attach the hubs to the car. I am going to make the assumption that you have already purchased new hubs or removed all of the seals and bearing from the old hub and had it checked for correct thickness and trueness. My recommendation is to purchase new hubs/discs.
When you get the bearings, remove the race and place them in a freezer. This will slightly shrink the race, so that you can start the installation of the bearings into the hub.
Attached image(s)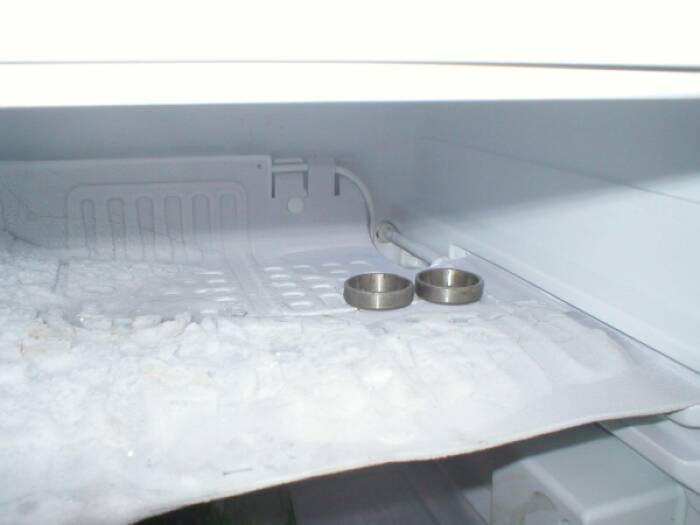
Posted by: watsonrx13 Sep 24 2005, 04:18 AM
This is what the back side of the hub looks like before the race/bearing is installed. I like to lightly rub some 600 grit wet-dry, where the bearings are going to be seated, just to clean up any burs or flash rust.You'll notice the shelf/lip. The race needs to be flush against this lip. Also note that the small opening goes in first.
Attached image(s)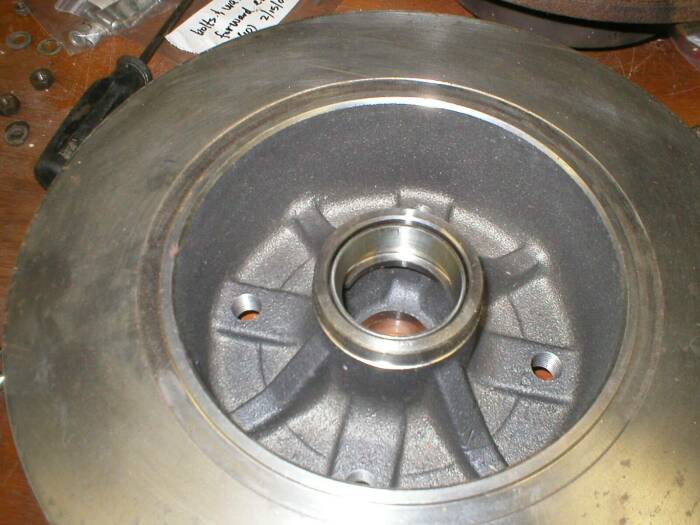
Posted by: watsonrx13 Sep 24 2005, 04:18 AM
I used the hammer to carefully tap the race down to the top of the hub. Then I used the driver to carefully tap the race until it was fully seated against the lip.
Attached image(s)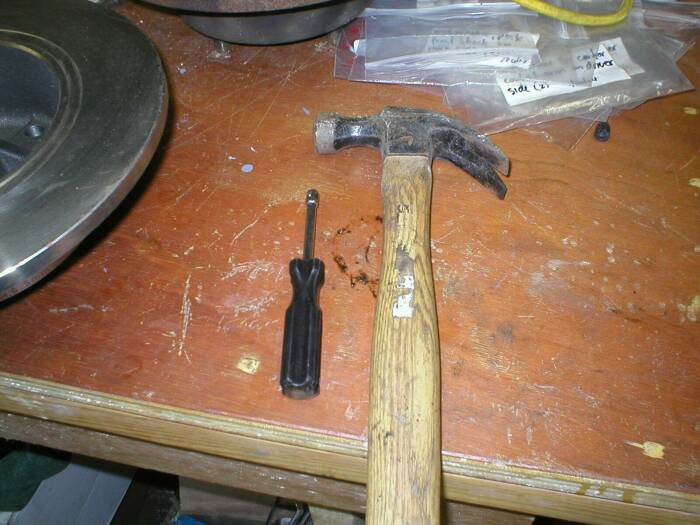
Posted by: watsonrx13 Sep 24 2005, 04:19 AM
This shows how I used the driver to seat the race.
Attached image(s)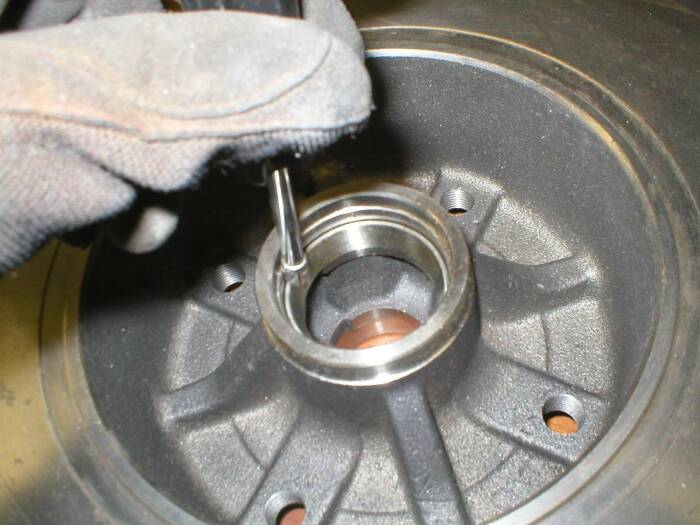
Posted by: watsonrx13 Sep 24 2005, 04:19 AM
This shows the race fully seated.
Attached image(s)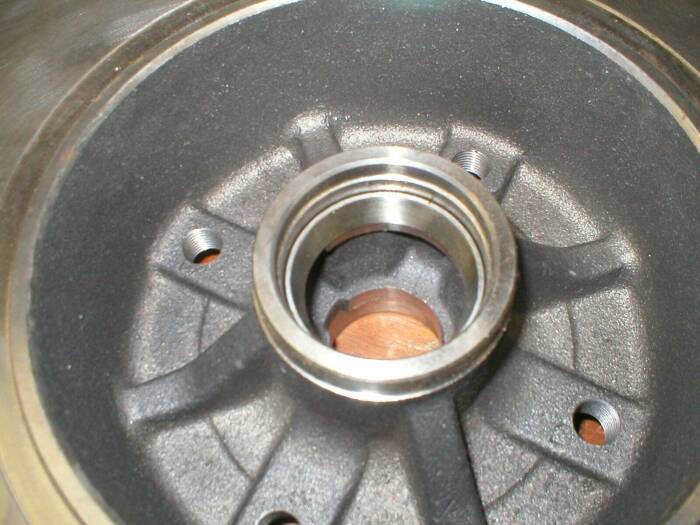
Posted by: watsonrx13 Sep 24 2005, 04:19 AM
Next, I flipped the hub over. Again, you'll notice the lip. There are 2 different sizes of race/bearings. The small bearing goes on the outside/front, the larger, on the inside/back.
Attached image(s)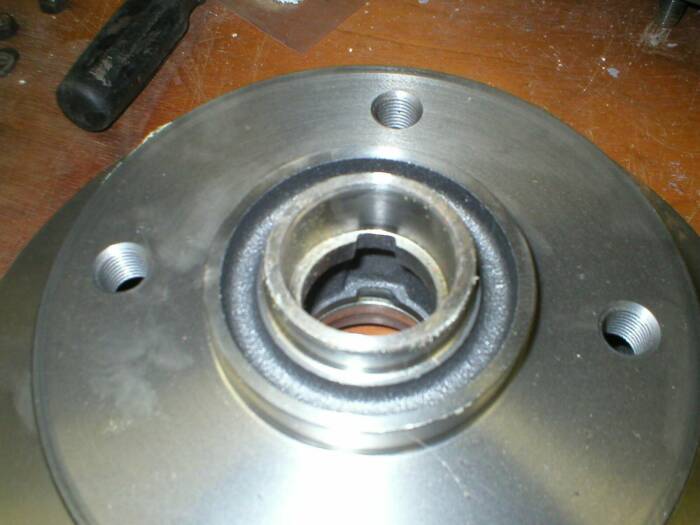
Posted by: watsonrx13 Sep 24 2005, 04:20 AM
Again, I removed the frozen race and set it in the hub. I used the hammer to tap the race down to the top of the hub.
Attached image(s)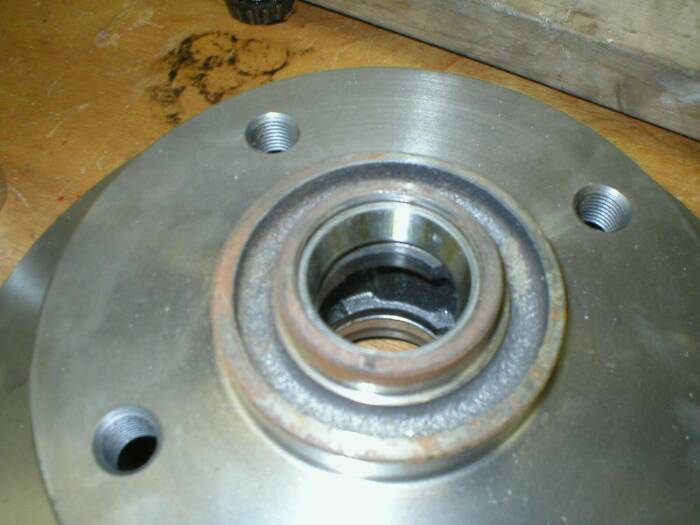
Posted by: watsonrx13 Sep 24 2005, 04:20 AM
I then used a 1 1/8" deep socket to carefully press the race into place. The 1 1/8" socket is just slightly larger than the inner diameter of the race, but slightly smaller that the diameter of the hub.
Attached image(s)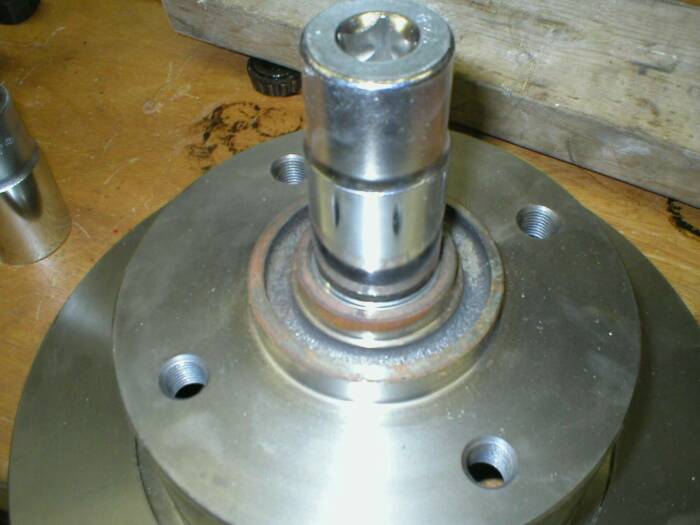
Posted by: watsonrx13 Sep 24 2005, 04:20 AM
This shows the outside race fully seated.
Attached image(s)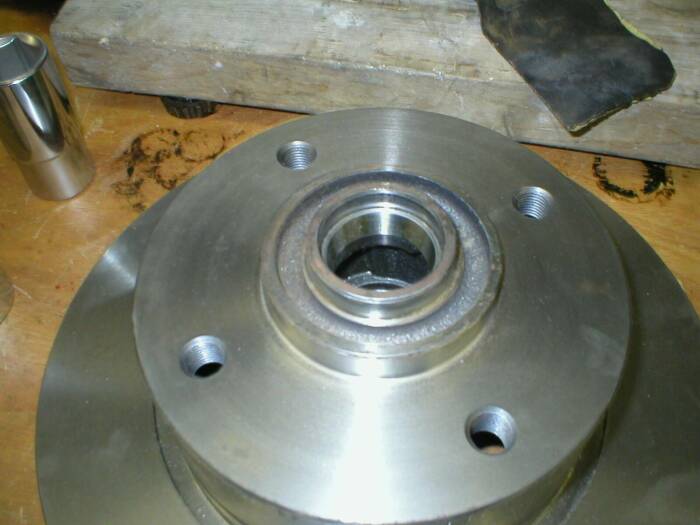
Posted by: watsonrx13 Sep 24 2005, 04:21 AM
Here's where the front hub attaches to the steering spindle.
Attached image(s)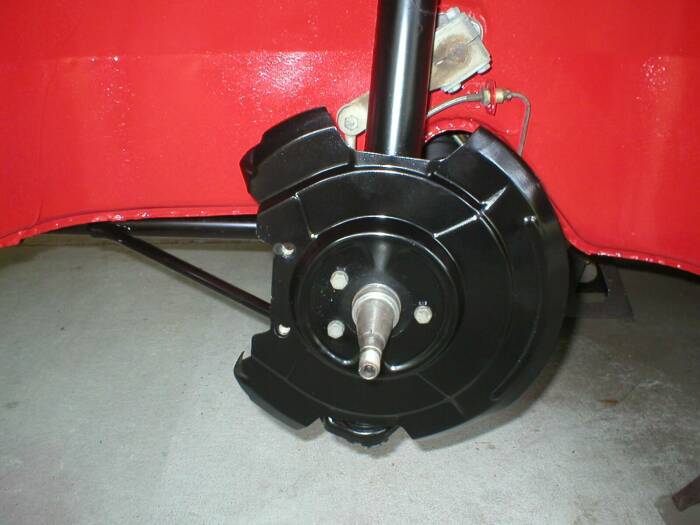
Posted by: watsonrx13 Sep 24 2005, 04:21 AM
I'm holding the large bearing. The next step is to completely pack the bearing with grease by hand. Take your time and make several passes, pressing the grease into all of the crevices, including the inner and outer edges.
Attached image(s)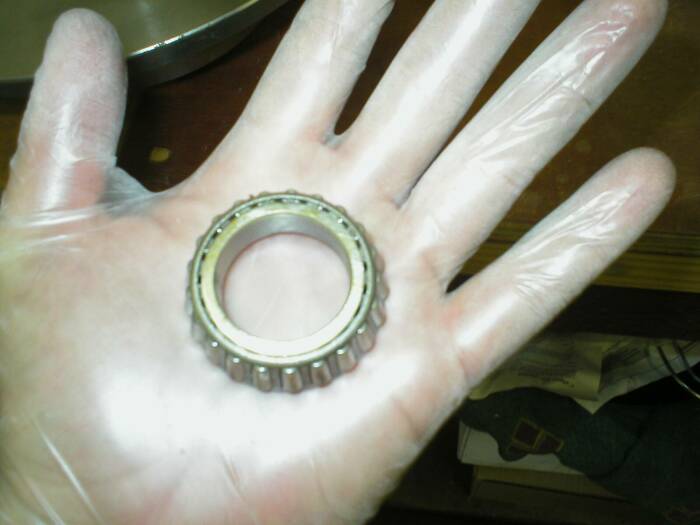
Posted by: watsonrx13 Sep 24 2005, 04:21 AM
Once the bearing is filled with grease, place this large one in the back of the hub, where the race was previously installed.
Attached image(s)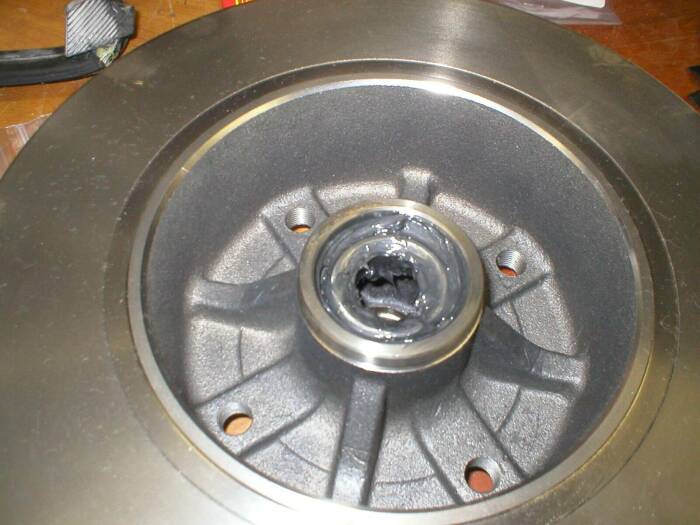
Posted by: watsonrx13 Sep 24 2005, 04:22 AM
This shows the seal that will be pressed in the hub to hold the large bearin in place. BTW, this is the back side of the seal.
Attached image(s)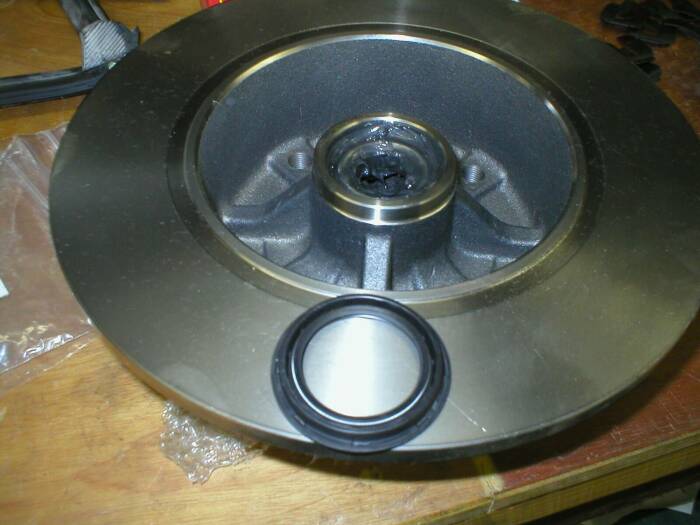
Posted by: watsonrx13 Sep 24 2005, 04:22 AM
This shows the seal in place.
Attached image(s)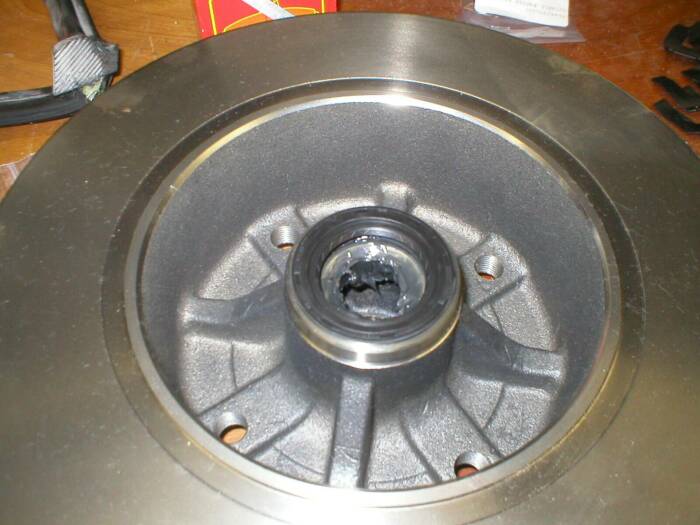
Posted by: watsonrx13 Sep 24 2005, 04:22 AM
Throughout the installation, I have worn gloves. The gloves keep any moisture or oils from getting on the new metal, thus minimizing any flash rust. Next, place the hub onto the spindle. I used a small piece of wood to hold the hub in place until I was ready to install the nut.
Attached image(s)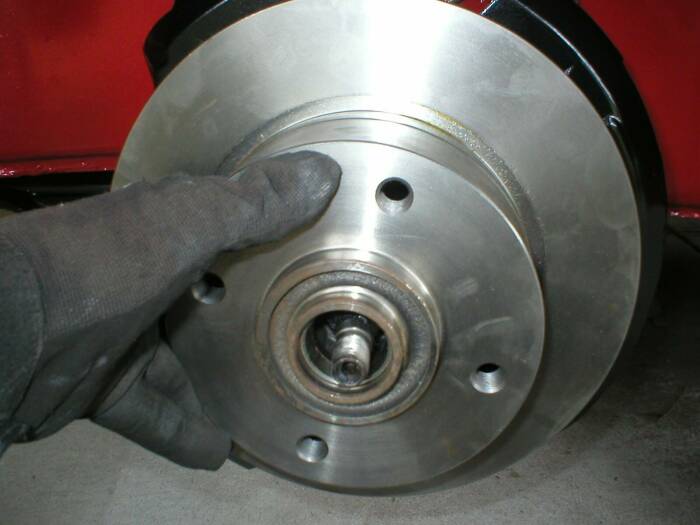
Posted by: watsonrx13 Sep 24 2005, 04:23 AM
This shows the slotted washer and nut that will be attached to the spindle. Now I packed the small bearing with grease. Again, get as much in the cracks as you can.
Attached image(s)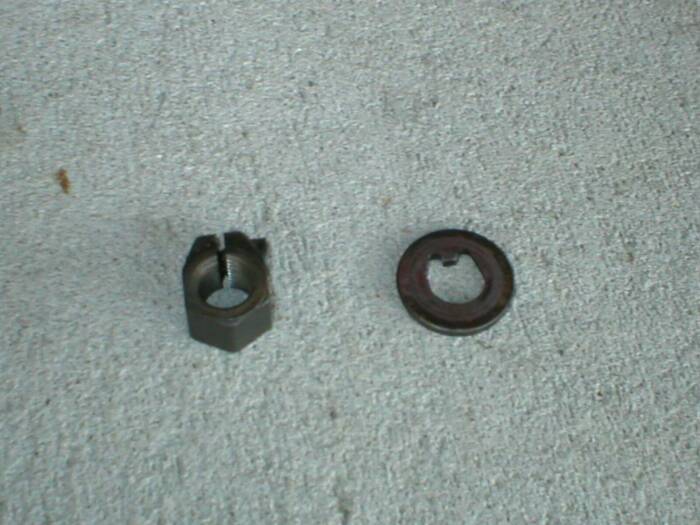
Posted by: watsonrx13 Sep 24 2005, 04:23 AM
Attach the slotted washer and the nut. Please take note, the threads are opposite on each side. The driver's side has reverse threads, therefore, the nuts will only fit on one side. Next, tighten the nut with a cresent wrench while rotating the disc. When the disc starts to bind, loosen the nut by 1/2 turn. Spin the disc several times to make certain that it is not binding anywhere. Next tighten the clamping nut with an allen wrench.
Attached image(s)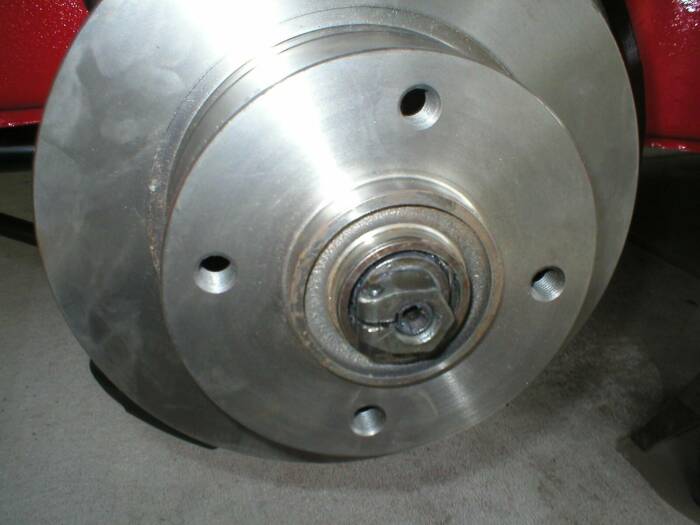
Posted by: watsonrx13 Sep 24 2005, 04:23 AM
Finally, smear some grease on the nut and install the grease cap by gently tapping with a rubber hammer. Don't add any grease to the cap.
Here's a link to my http://www.tampabay914.com/ for other steps I've taken to restore this car.
BTW, this is my 1000th post...
Attached image(s)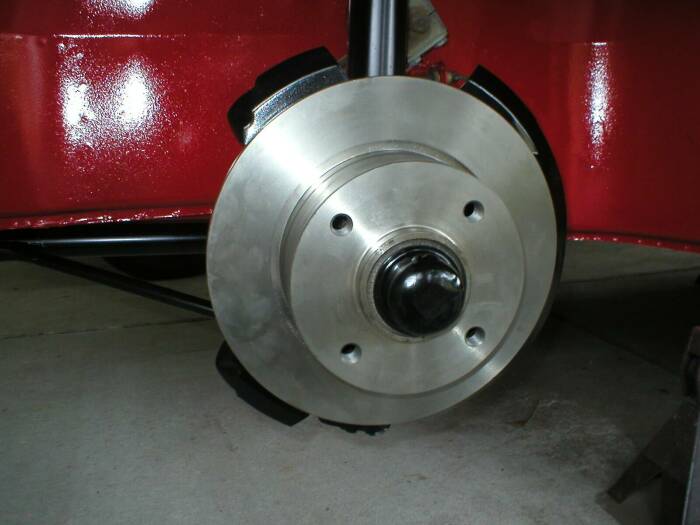
Posted by: Brando Sep 24 2005, 10:34 AM
Yay! Nice how-to! 
Posted by: SpecialK Sep 24 2005, 10:46 AM
Most excellent pictorial!  But you left out the most important part of any "job gone right"........treat yourself to an ice cold beer, you earned it!
Posted by: Brando Sep 24 2005, 01:08 PM
I like any walkthrough that has "Step 3: Have a beir"
Posted by: messix Sep 24 2005, 06:00 PM
i don't know about any one else out there, but i've had enough with you stuck up, clean freak, show off, pinky lifting, guys with eat off of clean fender wells, and shiney struts, and garage floors that look like it was poured yesterday.
we all know that ins't real life. lets see some real garage shots with 90 weight stains on the floor, some parts that are as dirty as  and some general garage clutter.
Attached image(s)
Posted by: URY914 Sep 25 2005, 06:07 AM
Rob,
You're a regular Bob Villa of the 914 World. Great job.
Paul
Posted by: jet1 Sep 25 2005, 09:48 AM
Classic!
Powered by Invision Power Board (http://www.invisionboard.com)
© Invision Power Services (http://www.invisionpower.com)