Printable Version of Topic
Click here to view this topic in its original format
914World.com _ 914World Garage _ Porskee's Progress Thread
Posted by: thomasotten Nov 30 2005, 11:07 PM
I decided to start this thread, as a way of keeping organized, and for those who enjoy seeing projects from start to finish. Also, since I am taking photos of the process, every step of the way, I am sure I can benefit from the advice of those who have gone before. I have a few other prequel-threads, but I think since I am now starting the major body work towards the goal of repainting, I will stick with this thread from here on out.
Before I start posting recent photos, let us cast our minds back to the summer of 1991. This is a photo of the car as it looked then. It was taken shortly after I met my wife, then girlfriend. She calls the car "Porskee", her pet name for it. Notice the "whale tail" on the back. Funny, I used to like that silly whaletail! I have become much more of a purist, lately, but not extremely so. I sold that whale tail to somebody, and he has tried over and over to sell it, but he can't give it away! Also, notice the IMSA air dam on the front - something I liked, yet disliked at the same time. It also has these crappy aftermarket mirrors that would never stay in position. The wheels, were one of the first things I added to the car, a few years earlier. I really wanted Fuchs  , but being in High School at the time, I could not afford them. By the time this photo was taken, I had already converted the brown interior to black, and had the engine rebuilt once.
Attached image(s)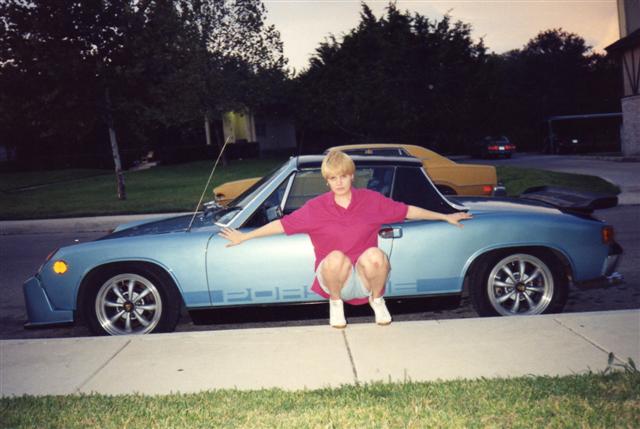
Posted by: thomasotten Nov 30 2005, 11:14 PM
This is the car as it looks today, 2005. The American Eagle wheels are replaced with Deep Six Fuchs, the whailtail is gone, and the original fron bumper has been restored, and a ltd. edition front spoiler is present. Although it might not be apparent, the car needs a paint job. The top surfaces are faded badly, and the car has been hit several times, so the paint is blended everywhere, and doesn't match. Not a very good job at blending, and not very good body work was done to the panels. The passenger side door has serious waves in it, and the rear quarter's are bondo-heavy.
Attached image(s)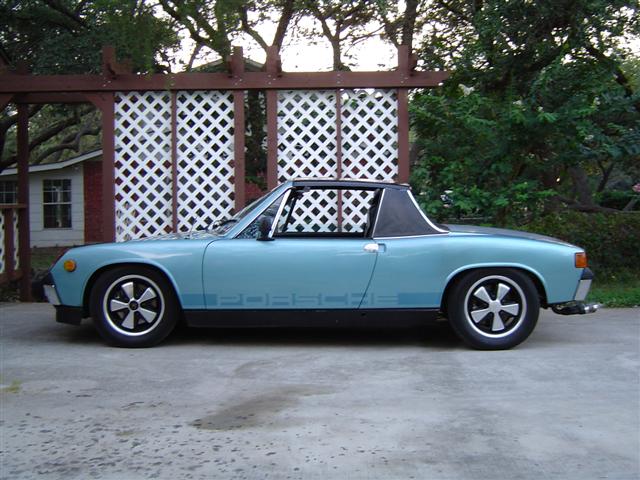
Posted by: thomasotten Nov 30 2005, 11:18 PM
When I was in 4th and 5th grade I used to draw 914's and 911's all the time. I remember there was a magazine that had a full color spread on the Chalon kit that I used to drool over. But in high school, I think this magazine got me most interested in them again:
Attached image(s)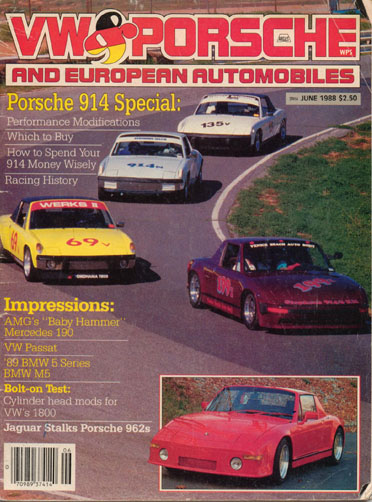
Posted by: thomasotten Nov 30 2005, 11:30 PM
I am going for a complete restoration, within reasonable means, or course. I would say the thing that holds me back the most is myself: and I am very picky about what I want. Like for instance, Fuchs had to be the non-highly polished ones.
I also plan on painting this car myself, which has been taking a lot of time in practice. Also, I am short on garage space, which is sometimes frustrating.
Attached image(s)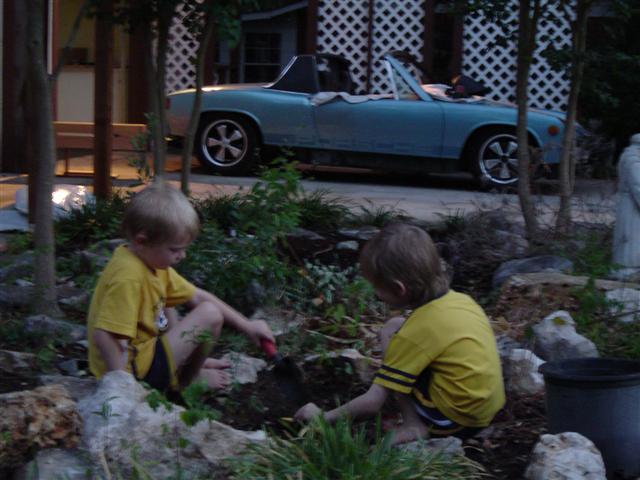
Posted by: thomasotten Nov 30 2005, 11:36 PM
Just a couple of shots to get up-to-date. This is what I did last year on the car:
Attached image(s)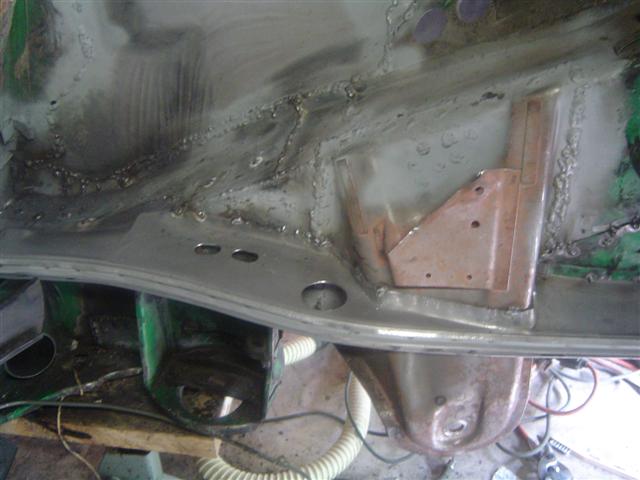
Posted by: thomasotten Nov 30 2005, 11:37 PM
Inner Longitudinal.
Attached image(s)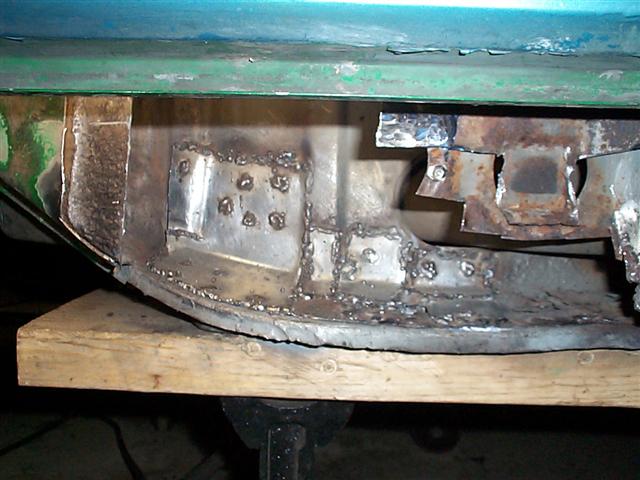
Posted by: thomasotten Nov 30 2005, 11:45 PM
Thank God, the major rust repairs are done. That whole console removal and replacement was a very hard experience. Mostly because I didn't do it at my house. At that time, I did not have the garage space to do the repair. So I did it at my Mom's house, which meant that I had to haul tools back and forth, and just spend a lot of time away from my family. If I had to do it again, I would have rather put it on jackstands in the front of my house than to have to do it at someone else's house. Those new seals where damn expensive, BTW.
Attached image(s)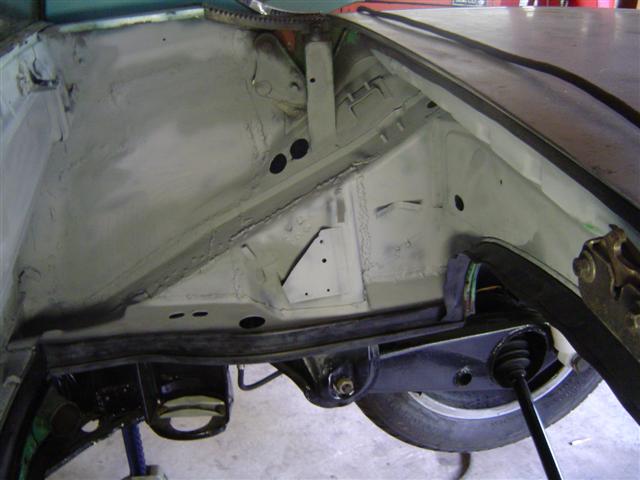
Posted by: thomasotten Nov 30 2005, 11:47 PM
New coupler installed....
Attached image(s)
Posted by: thomasotten Nov 30 2005, 11:58 PM
Well, enough of the past. I am now focusing on the body of the car. If I am going to paint this car, one thing that should be done first is replace that cracked windshield.
Note: this is NOT the proper tool to use to remove the molding.
Attached image(s)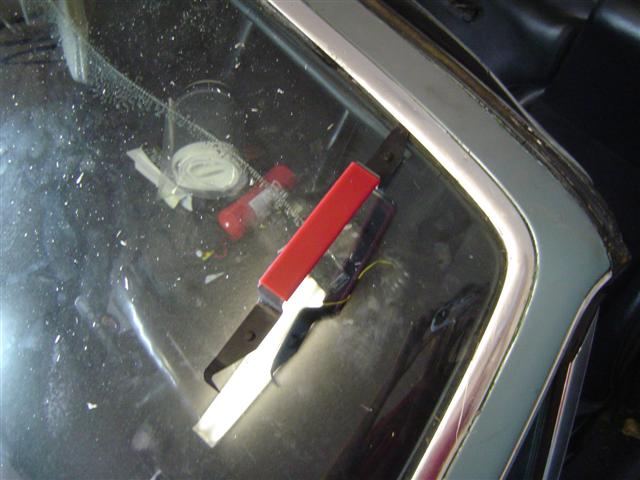
Posted by: thomasotten Dec 1 2005, 12:02 AM
Oddly enough, this large putty knife seemed to help alot.
Attached image(s)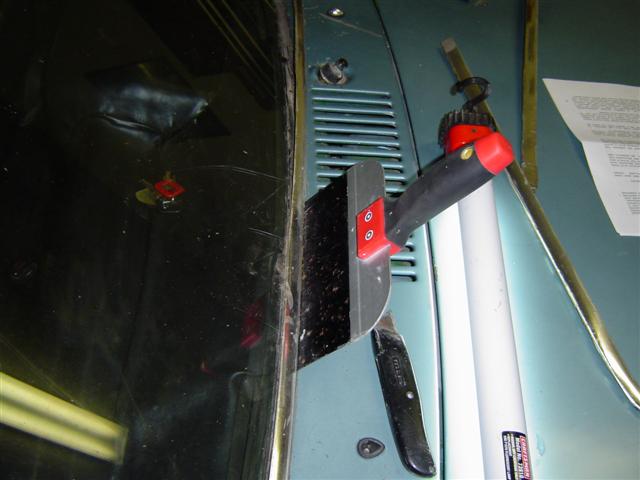
Posted by: thomasotten Dec 1 2005, 12:09 AM
Got the windshield out - came out real easy once the chrome was off. There was a lot of rust under there though...
Attached image(s)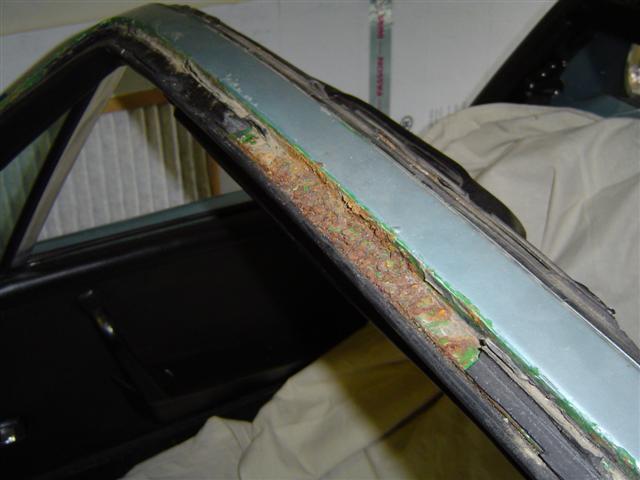
Posted by: thomasotten Dec 1 2005, 12:13 AM
holes!
Attached image(s)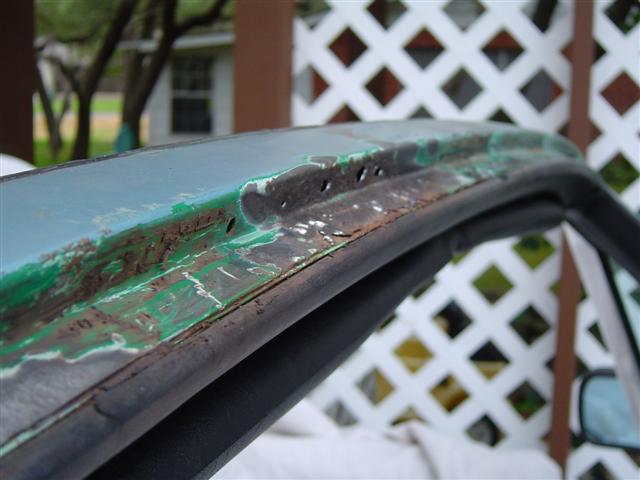
Posted by: thomasotten Dec 1 2005, 12:14 AM
Hod to weld up some holes.
Attached image(s)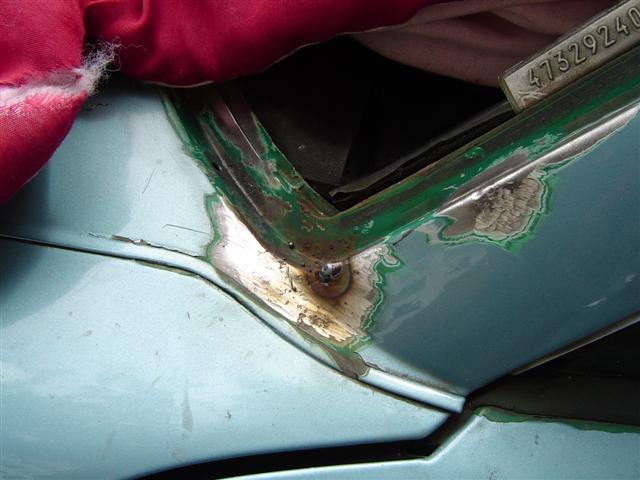
Posted by: thomasotten Dec 1 2005, 12:15 AM
..
Attached image(s)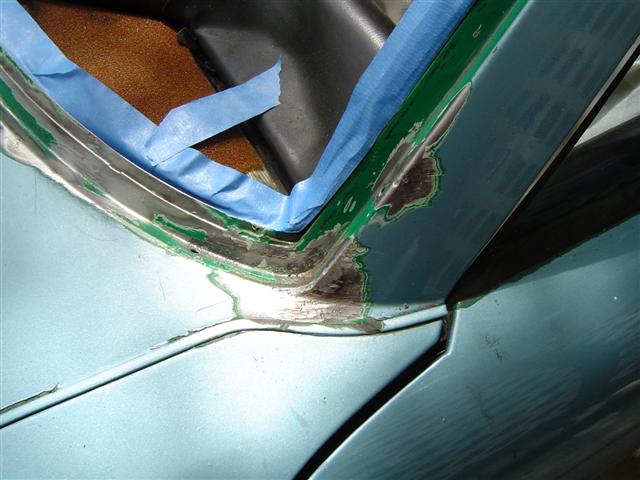
Posted by: thomasotten Dec 1 2005, 12:16 AM
POR-15
Attached image(s)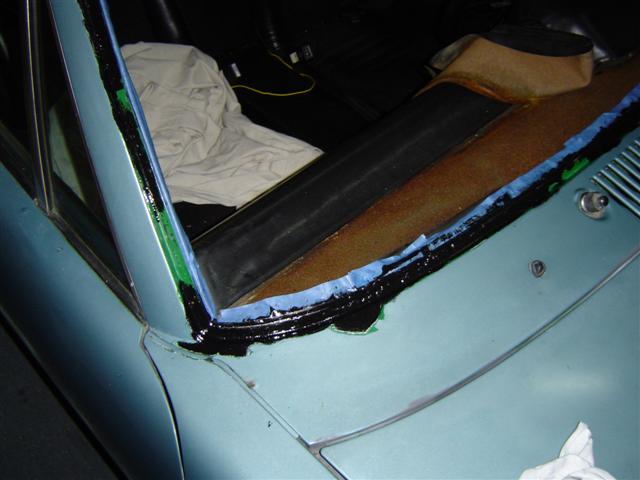
Posted by: thomasotten Dec 1 2005, 12:17 AM
POR-15
Attached image(s)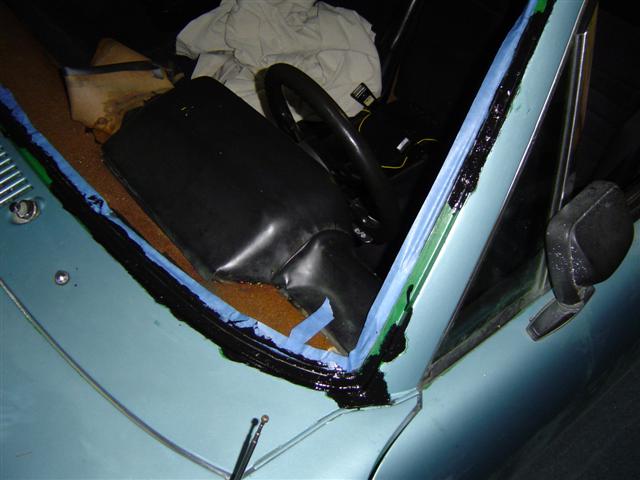
Posted by: thomasotten Dec 1 2005, 12:21 AM
Now they say the best time to replace the dash-to-windshield bead is when you do the windshield, so I ordered one. I ordered an original, paid close to $100 for it. Guess what they sent me? A repro - notice that it has no metal in it. I won't say who the parts supplier was, but their first initial is A and their last initial is A. Anyway, they refunded me the difference, and the repro seal here is really just fine, although you do have to glue it in.
Attached image(s)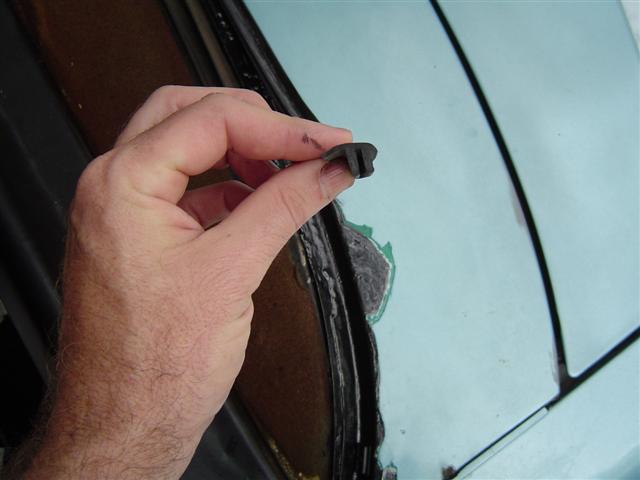
Posted by: thomasotten Dec 1 2005, 12:27 AM
On to the dash...
Attached image(s)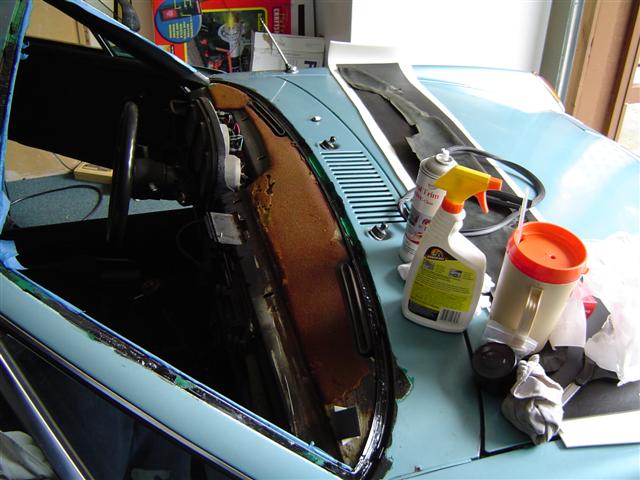
Posted by: thomasotten Dec 1 2005, 12:30 AM
Removed the old "foam" from the dash...
Attached image(s)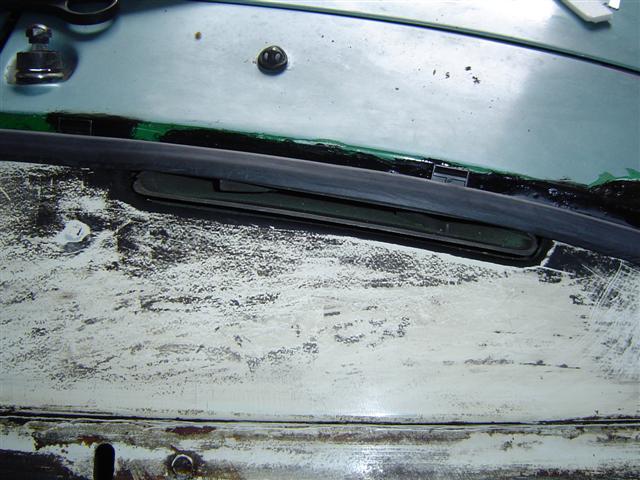
Posted by: thomasotten Dec 1 2005, 12:31 AM
rough template...
Attached image(s)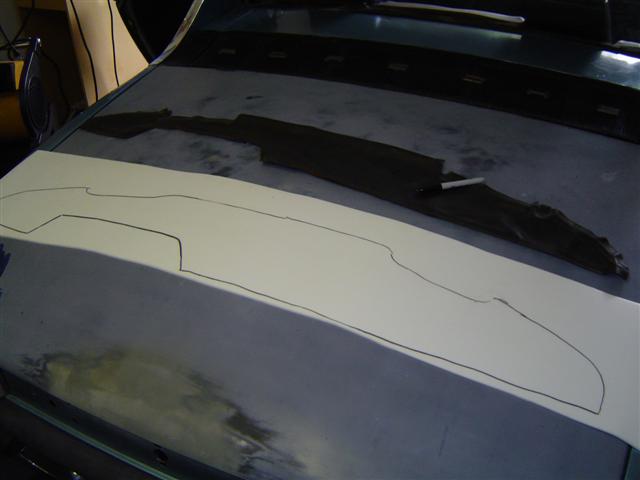
Posted by: thomasotten Dec 1 2005, 12:33 AM
a lot of cutting, triming.
Attached image(s)
Posted by: thomasotten Dec 1 2005, 12:36 AM
final form.
Attached image(s)
Posted by: thomasotten Dec 1 2005, 12:39 AM
I tapered the edges of the foam for smoother edges...
Attached image(s)
Posted by: thomasotten Dec 1 2005, 12:40 AM
3M Glue
Attached image(s)
Posted by: thomasotten Dec 1 2005, 12:42 AM
Heavy stuff to keep the vinyl down...
Attached image(s)
Posted by: thomasotten Dec 1 2005, 12:44 AM
...
Attached image(s)
Posted by: thomasotten Dec 1 2005, 12:45 AM
final dash
Attached image(s)
Posted by: thomasotten Dec 1 2005, 12:59 AM
Well, that's all for tonight.... I'll put some more photos tommorrow.
Posted by: michelko Dec 1 2005, 01:27 AM
Very nice 
keep on posting pics
Posted by: Jeroen Dec 1 2005, 06:23 AM
nice job!
Posted by: Dead Air Dec 1 2005, 06:31 AM
SWEET!
My "seester" lives in Universal City. SA is a nice place!
Posted by: MJHanna Dec 1 2005, 07:06 AM
Nice going you going to leave the windshield out to Paint it? What color are you going to paint it as it looks to be originally GREEN? 
Posted by: thomasotten Dec 1 2005, 08:17 AM
| QUOTE (MJHanna @ Dec 1 2005, 05:06 AM) |
| Nice going you going to leave the windshield out to Paint it? What color are you going to paint it as it looks to be originally GREEN? |
It will be a metallic blue of some sort, but I will be painting all the trunks, and any visible green area. The PO sprayed undercoating to change the color of the trunks - that stuff was a pain to get off.
Posted by: thomasotten Dec 4 2005, 10:33 PM
Starting major body work. I decided to start with the worst area first: Right rear quarter that is caked on with bondo. Why is there a crack here, let's see...
Attached image(s)
Posted by: thomasotten Dec 4 2005, 10:33 PM
About 1/2" in some areas...
Attached image(s)
Posted by: thomasotten Dec 4 2005, 10:34 PM
dust everywhere
Attached image(s)
Posted by: thomasotten Dec 4 2005, 10:37 PM
I always wondered why they rust bubbles here...
Attached image(s)
Posted by: thomasotten Dec 4 2005, 10:38 PM
Some sort of rubbery material under the metal??
Attached image(s)
Posted by: thomasotten Dec 4 2005, 10:39 PM
new piece of galvanized metal
Attached image(s)
Posted by: thomasotten Dec 4 2005, 10:39 PM
...
Attached image(s)
Posted by: thomasotten Dec 4 2005, 10:42 PM
Filling in the holes that the dent puller left...
Attached image(s)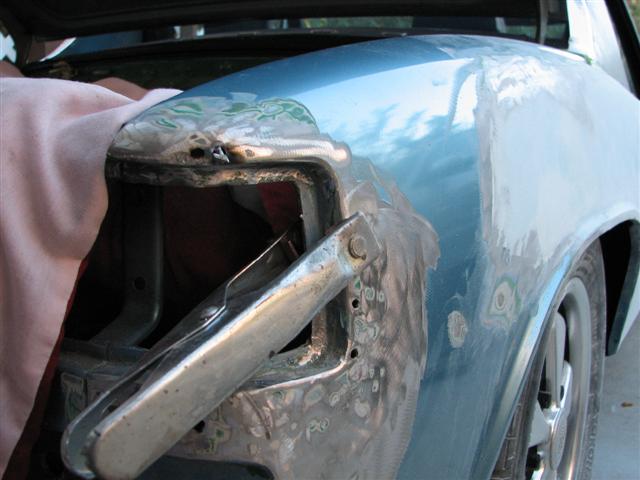
Posted by: thomasotten Dec 4 2005, 10:43 PM
...
Attached image(s)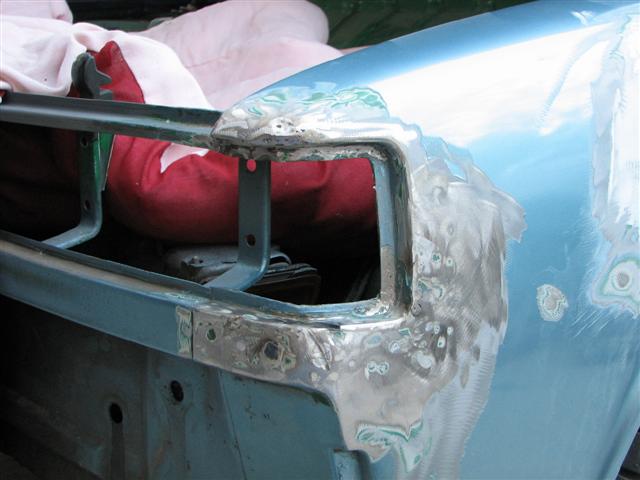
Posted by: thomasotten Dec 4 2005, 10:52 PM
This quarter panel has been a pain... I finally got the panel to look like it should after a lot of beating. Turns out, the upper curved part was pressed doen, and that is why the whole fender was bulging out. I ended up getting it pretty close to where it needed to be, and now this side doesn't look like it was "rolled"...
Attached image(s)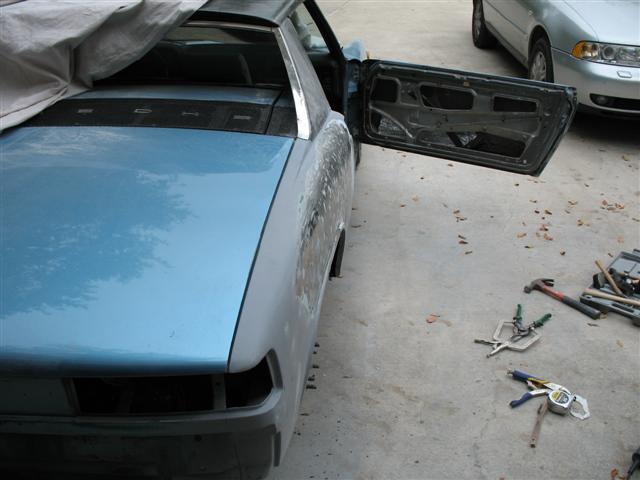
Posted by: thomasotten Dec 4 2005, 10:53 PM
...
Attached image(s)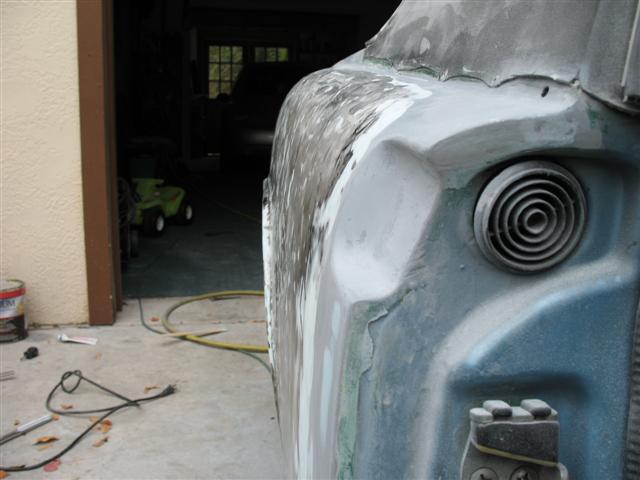
Posted by: thomasotten Dec 4 2005, 10:54 PM
Most of the panel now only requires a skim coat of filler, rather than the 1/2" that the last guy who fixed it put on...
Attached image(s)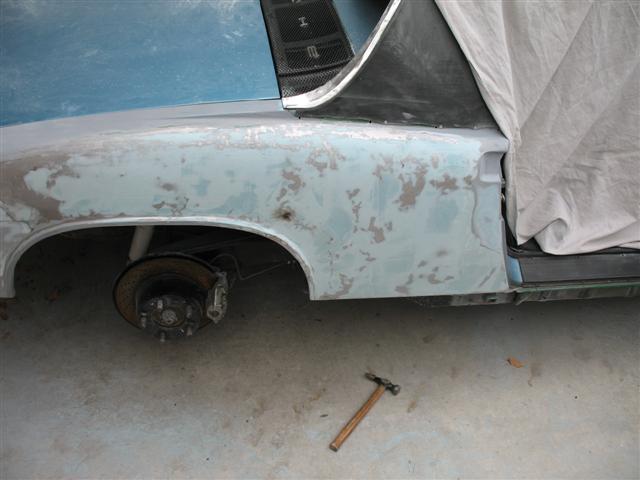
Posted by: thomasotten Dec 4 2005, 10:55 PM
...
Attached image(s)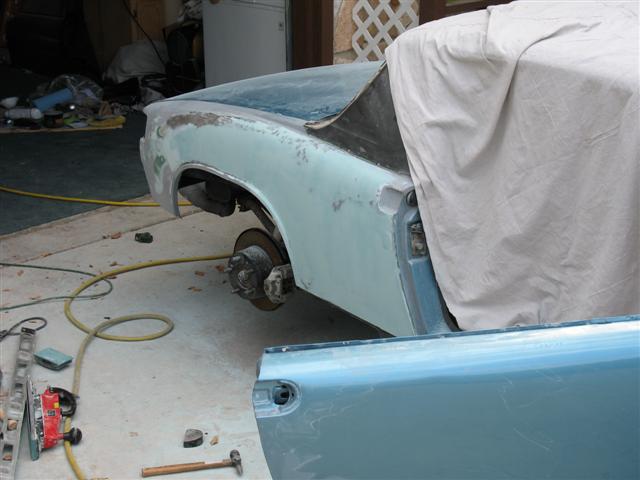
Posted by: thomasotten Dec 4 2005, 11:13 PM
More pics in a few days... keep posting???
Posted by: Hammy Dec 4 2005, 11:16 PM
Yes keep posting. 
Posted by: 914helo Dec 4 2005, 11:49 PM
Keep posting Of course, it makes me feel like a lazy bum, but definately keep posting!
Posted by: michelko Dec 5 2005, 01:21 AM
| QUOTE (thomasotten @ Dec 4 2005, 08:33 PM) |
| About 1/2" in some areas... |
Hey same as mine, just other colour

Let us see all the pic´s of your progress.
Posted by: Series9 Dec 5 2005, 01:33 AM
I think it's SO cool that you have your high school 914, with pictures of your future wife and kids over the years.
I'm sorry to say that I have no pictures of my first ('87). I still have the VIN tag, though. It's rivited to my tool box. I totalled it into the back of an Audi that had those new fangled ABS brakes in '88. 
And, I vividly remember that magazine issue you posted. I read it during class in high school.
Posted by: Gint Dec 5 2005, 06:45 AM

Nice work.
By all means, keep those pics coming boys and girls!

Posted by: thomasotten Dec 5 2005, 09:11 PM
While doing some work in the trunk, I decided to play 914 pickup truck with one of my boys. This is the trunk after I removed the undercoating that the PO thought would hide the green paint.
Attached image(s)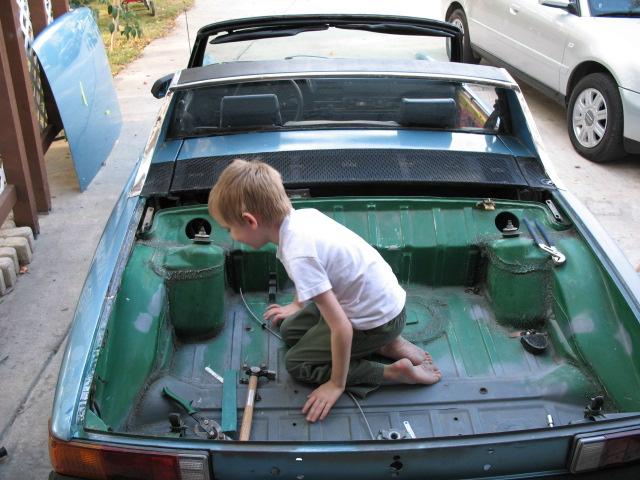
Posted by: thomasotten Dec 5 2005, 09:20 PM
Overall, not too much rust in the trunk, which is good. Oh, what goes in the four holes near the lower part of the trunk? I am drawing a blank.
Attached image(s)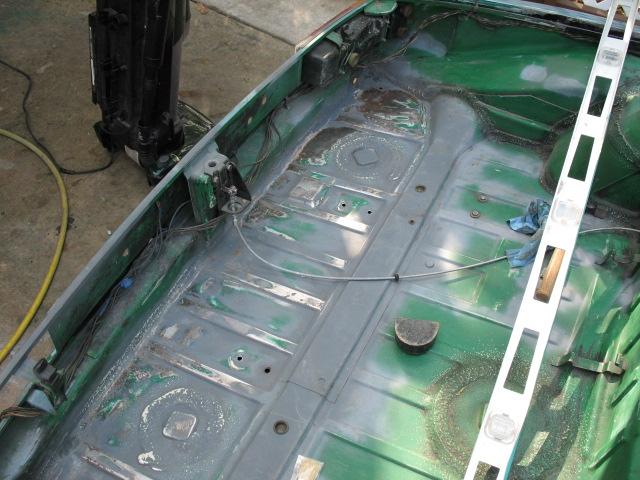
Posted by: thomasotten Dec 5 2005, 09:22 PM
Treated with metal-ready
Attached image(s)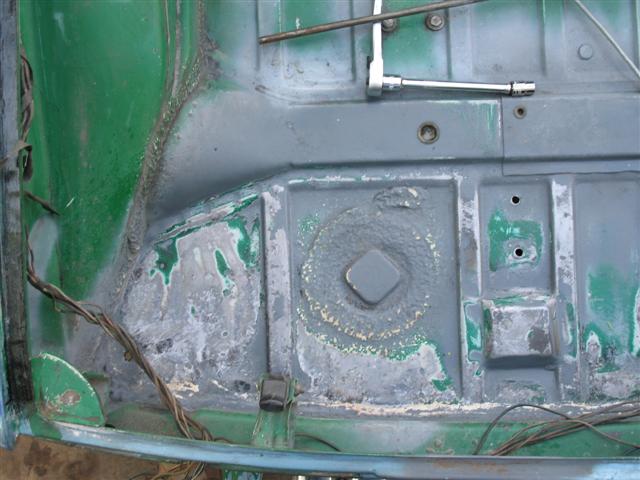
Posted by: Lou W Dec 5 2005, 09:23 PM
Your're doing a great job.
Posted by: thomasotten Dec 5 2005, 09:24 PM
Coating with POR-15, great stuff...
Attached image(s)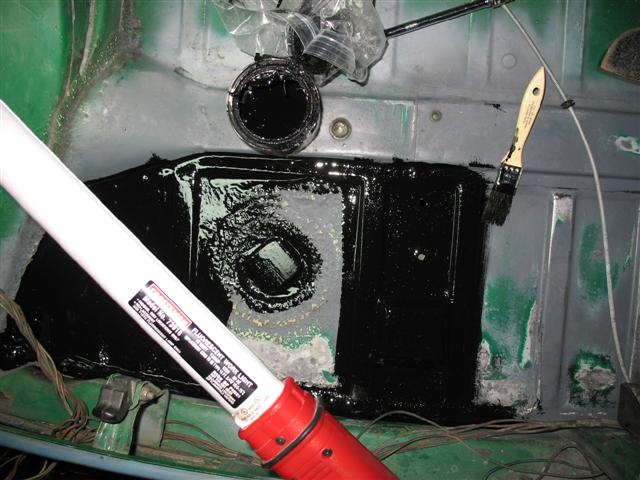
Posted by: thomasotten Dec 5 2005, 09:26 PM
What would we do without this stuff?
Attached image(s)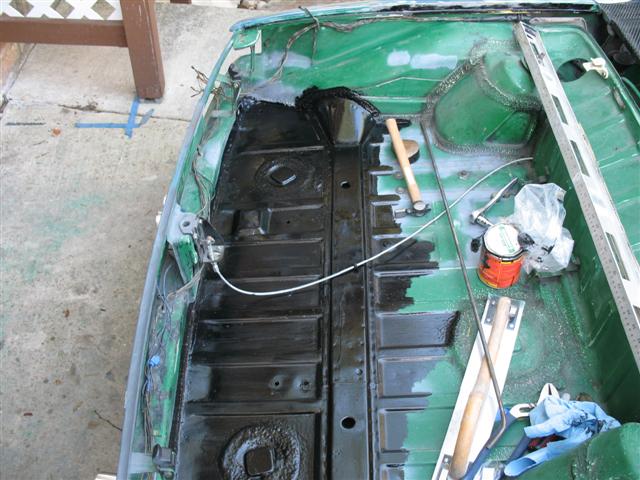
Posted by: thomasotten Dec 5 2005, 09:27 PM
...
Attached image(s)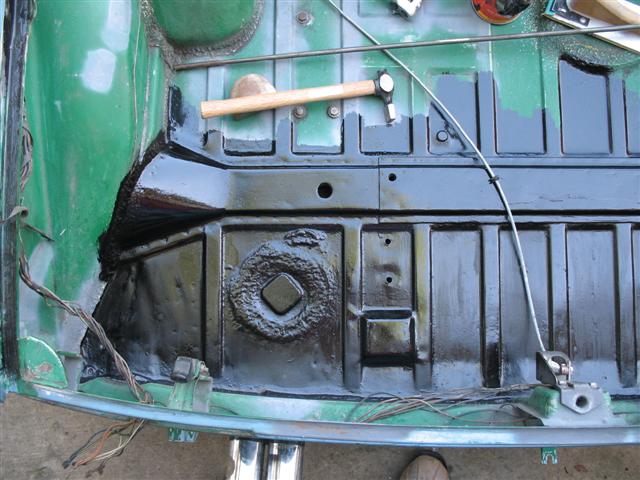
Posted by: thomasotten Dec 5 2005, 09:28 PM
Doesn't everyone just love the fall weather?
Attached image(s)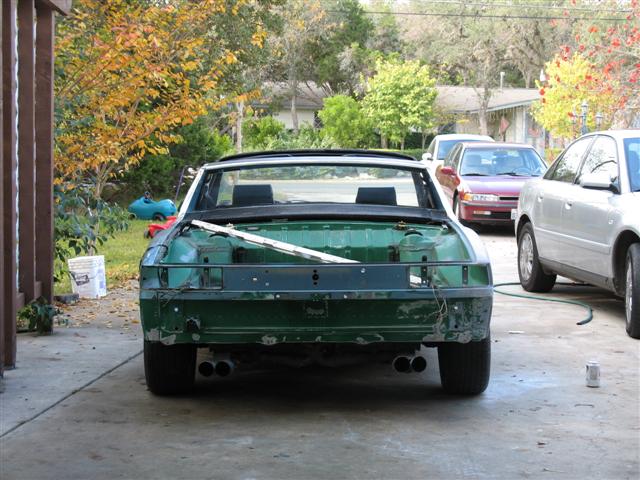
Posted by: watsonrx13 Dec 6 2005, 05:34 AM
| QUOTE (thomasotten @ Dec 5 2005, 11:20 PM) |
| Overall, not too much rust in the trunk, which is good. Oh, what goes in the four holes near the lower part of the trunk? I am drawing a blank. |
I think the PO drilled out the spot-welds for the muffler heat shield....
BTW, great job....
Posted by: maf914 Dec 6 2005, 08:00 AM
| QUOTE (watsonrx13 @ Dec 6 2005, 03:34 AM) | ||
I think the PO drilled out the spot-welds for the muffler heat shield.... BTW, great job.... |
When I saw the four holes I thought aftermarket rear sway bar mounting brackets. But, Rob is probably right about the heat shield. I don't know where the spot welds are for it.

Good work, and thanks so much for the photos.
Posted by: thomasotten Dec 6 2005, 12:14 PM
No, the heat shield is still there, did mine perhaps have at once the factory sway bar?
Posted by: watsonrx13 Dec 6 2005, 12:45 PM
| QUOTE (thomasotten @ Dec 6 2005, 02:14 PM) |
| No, the heat shield is still there, did mine perhaps have at once the factory sway bar? |
Maybe someone installed a rear sway bar afterwards.
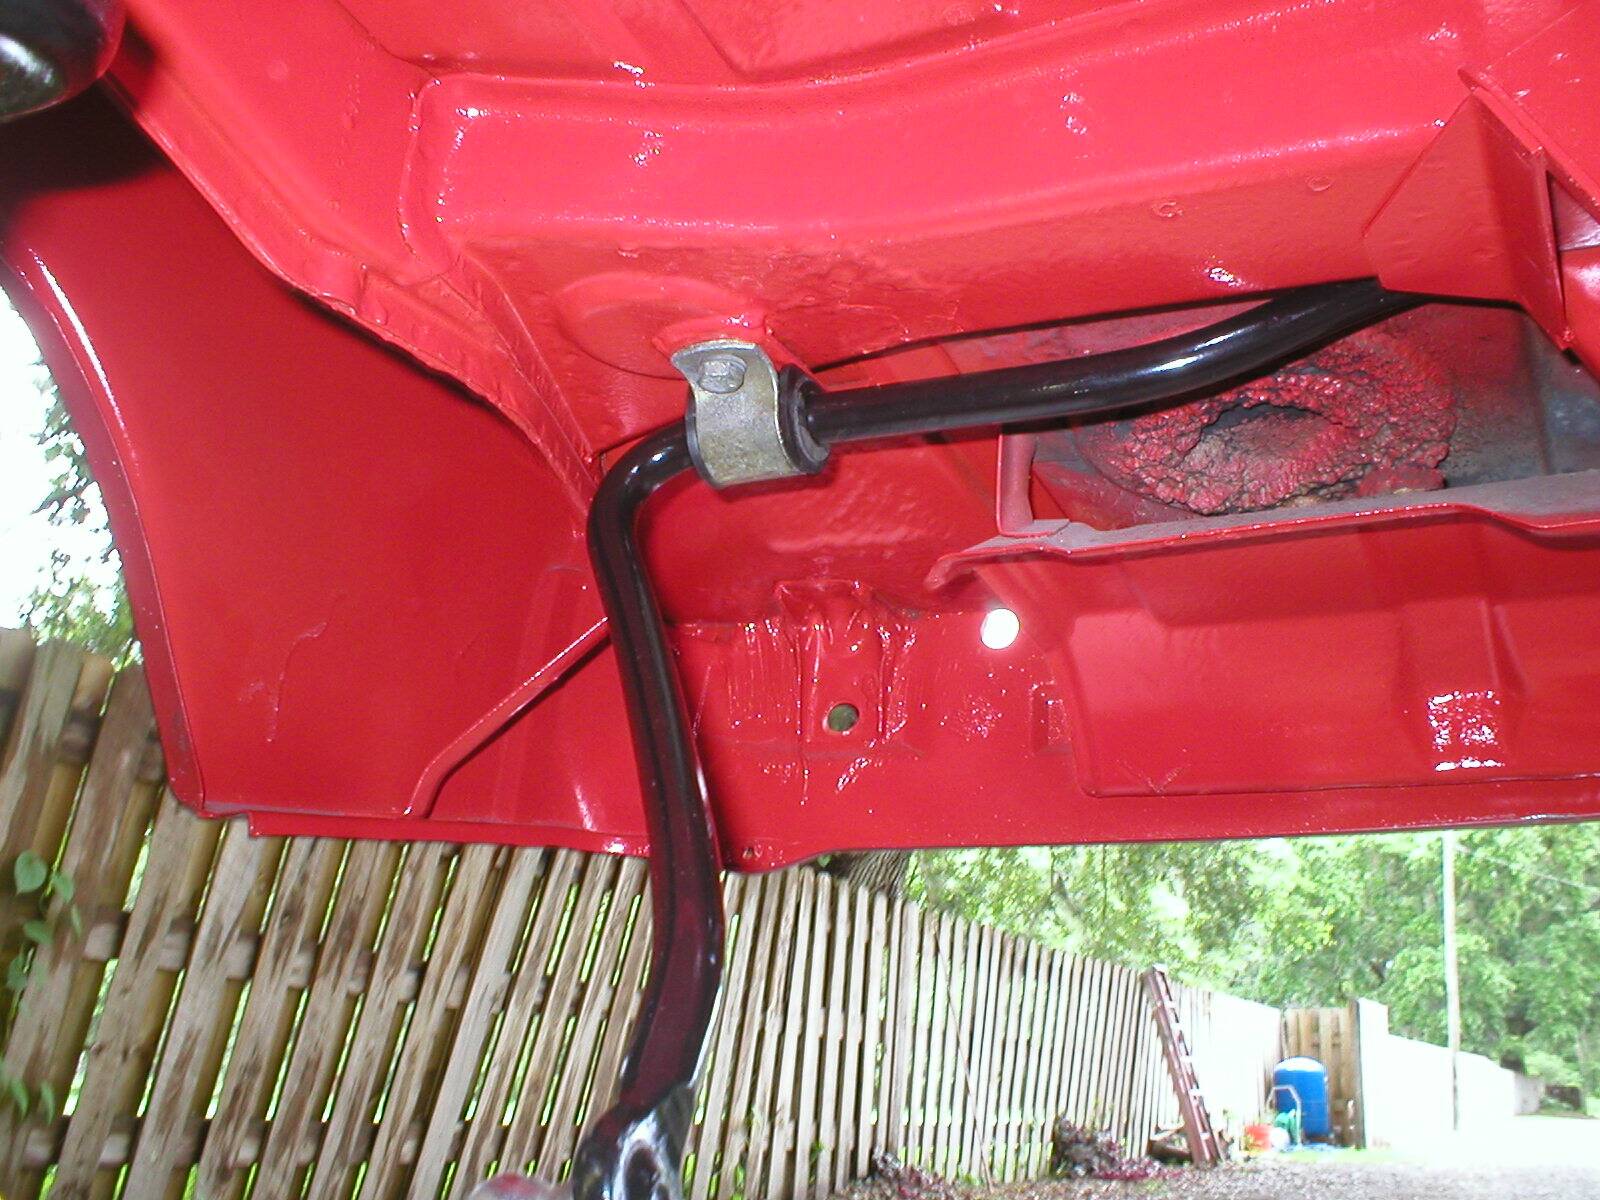
This shows the factory installed sway bar on a '74. You'll notice that the mounting tabs are on the square support beam, outside the round cut out. Maybe someone else has a guess...
-- Rob
Attached thumbnail(s)
Posted by: thomasotten Dec 13 2005, 11:49 PM
Well, the four holes were determined to be from an aftermarket rear sway bar. The holes were promptly welded up.
Attached image(s)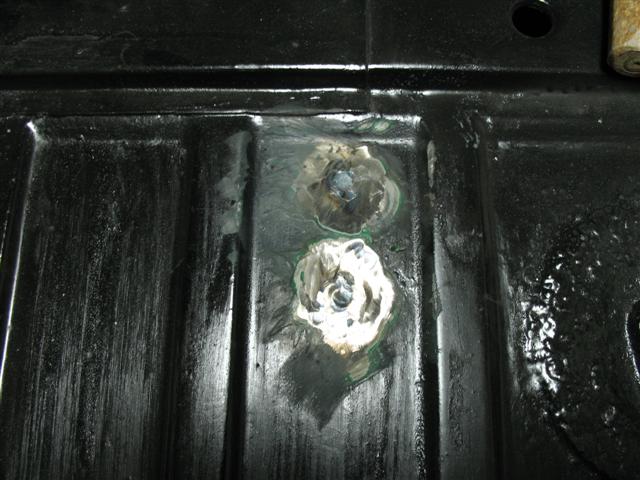
Posted by: thomasotten Dec 14 2005, 12:00 AM
Speaking of welding up. My car has a rear reflector on it. Which means it has holes drilled in the rear panel. But it has more holes than needed to mount the reflector. Like, they misfired when they drilled the holes or something.
Attached image(s)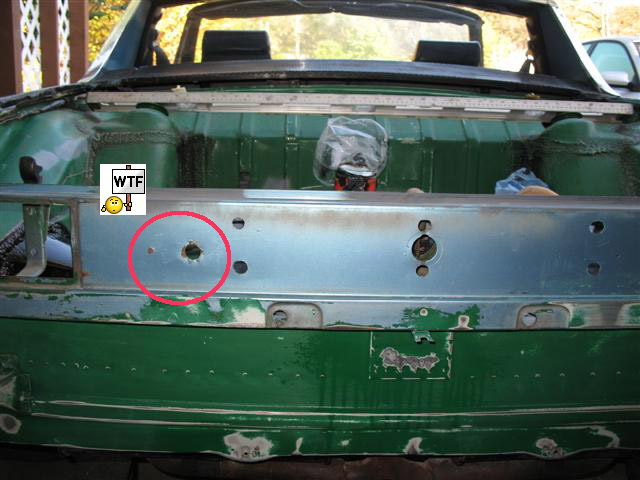
Posted by: thomasotten Dec 14 2005, 12:02 AM
So, more welding required...
Attached image(s)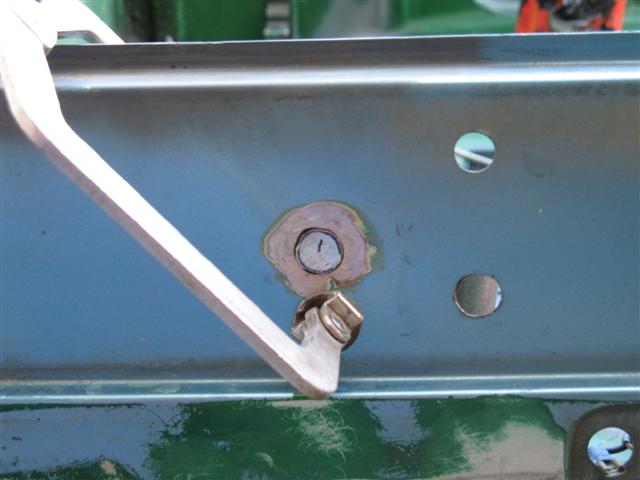
Posted by: thomasotten Dec 14 2005, 12:03 AM
Heat absorption block...
Attached image(s)
Posted by: thomasotten Dec 14 2005, 12:04 AM
Now, that's better...
Attached image(s)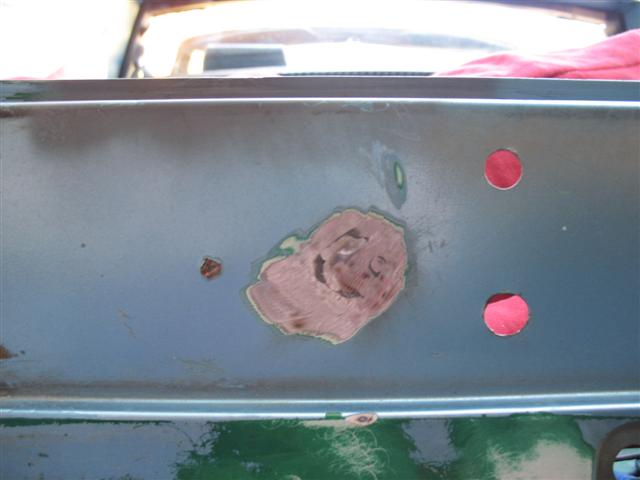
Posted by: thomasotten Dec 14 2005, 12:09 AM
Now, the rear reflector is something I haven't decided on yet. Do I want it on, or go stock with a nice emblem? Since I can't decide yet, I decided to weld all the holes up.
Attached image(s)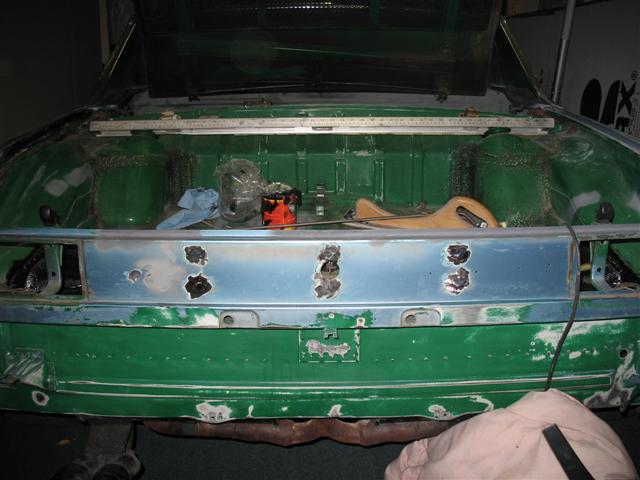
Posted by: thomasotten Dec 14 2005, 12:13 AM
Besides, if I do attach this thing again, I won't redrill. If you cut the mounting thread off, you are left with a flat surface. There you can apply 3M double sided tape. I tried it, it works, and holds good. Why drill when you don't have to?
Attached image(s)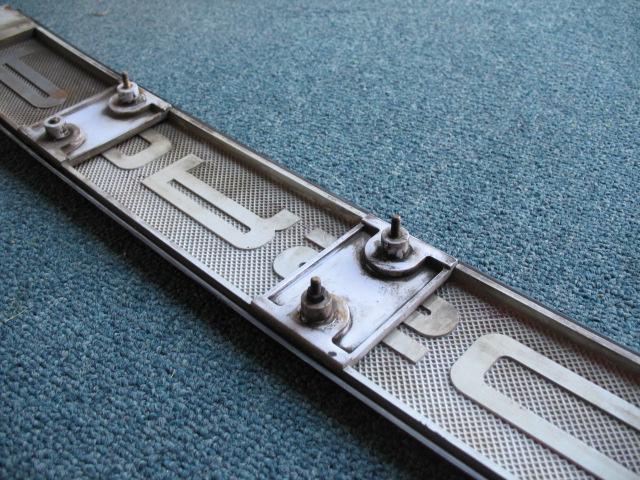
Posted by: thomasotten Dec 14 2005, 12:19 AM
Ok, next I installed a pair of these Camp914 rear trunk shocks. There I go, drilling holes after I just removed a bunch...
I also installed the adjustable lid hinge pivots.
Attached image(s)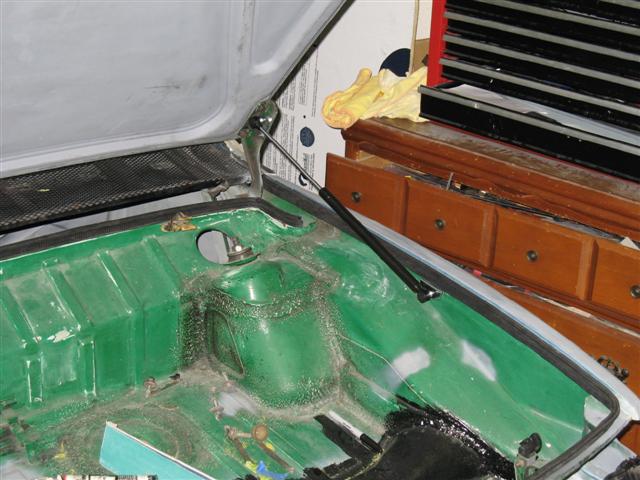
Posted by: Eric_Shea Dec 14 2005, 12:22 AM
Excellent.
Posted by: thomasotten Dec 14 2005, 12:25 AM
Next I decided to decrease the negative camber on my rear suspension. I measured about 2.5 degrees on the right.
BEFORE
Attached image(s)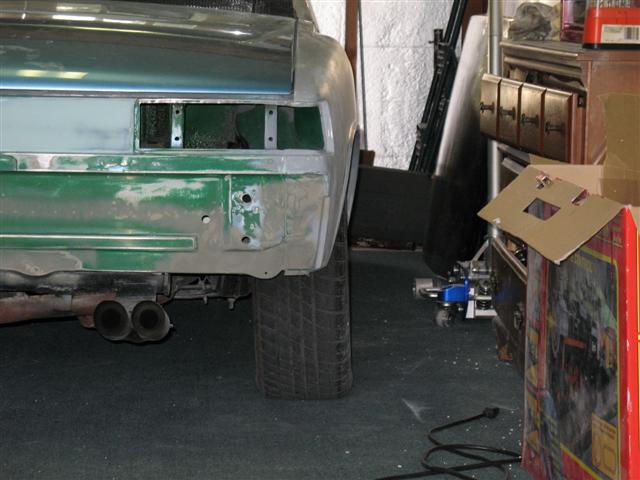
Posted by: thomasotten Dec 14 2005, 12:27 AM
Well, this is how many shims I am running. Kinda a lot. Could maybe use one more.
Attached image(s)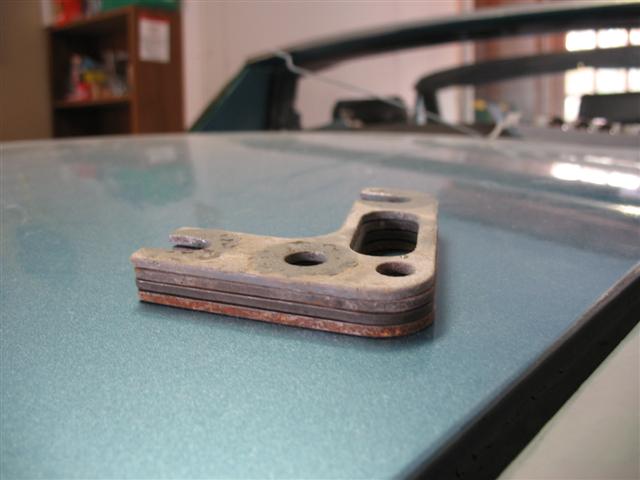
Posted by: thomasotten Dec 14 2005, 12:29 AM
AFTER
Now it looks more like the other side. Is this still too much? What is factory tolerance?
Attached image(s)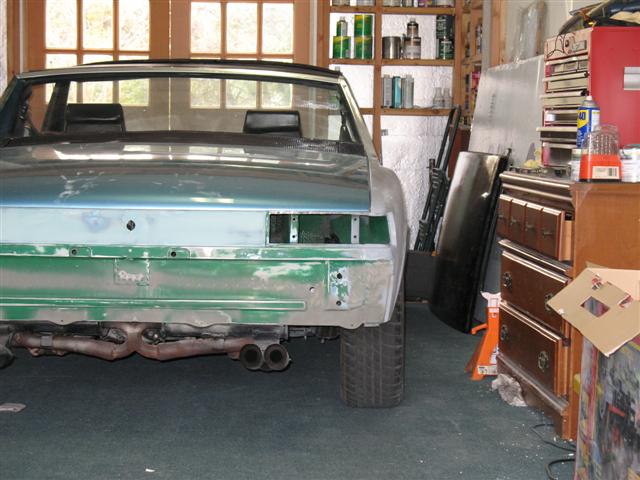
Posted by: thomasotten Dec 14 2005, 12:41 AM
Oh yes, and I am still working on this rear fender. It has been such a pain, getting it wave-free. My wife is starting to get after me because I keep working on it. She doesn't understand the pleasures of being a 914 man. It is very close at this point. Shown here is a skim coat of filler sanded down. The trouble is that the rear fenders are contoured in all directions, unlike a door, that only contours from top to bottom.
I have been sanding with a 4' level with sandpaper stuck to it. Using a big level helps reduces waves.
Attached image(s)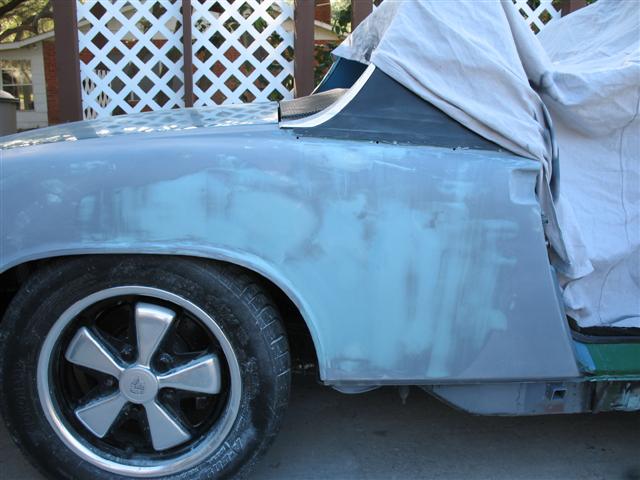
Powered by Invision Power Board (http://www.invisionboard.com)
© Invision Power Services (http://www.invisionpower.com)