Printable Version of Topic
Click here to view this topic in its original format
914World.com _ 914World Garage _ My shot at explaining valve adjustment on a 4 pot
Posted by: DNHunt May 20 2006, 08:10 PM
I couldn't find Mile's drawing of a cam (it magically made everything make sense to me) so, I decided to try my hand at it.
First, jack the car up so it assumes the usual and comfortable position of a 914. Resting securely on jackstands. I won't get under it without jackstands cause the thing jumps off of jacks. I have a dented long on the driver's side and a dented rocker panel on the other side to prove it
Dave
Attached image(s)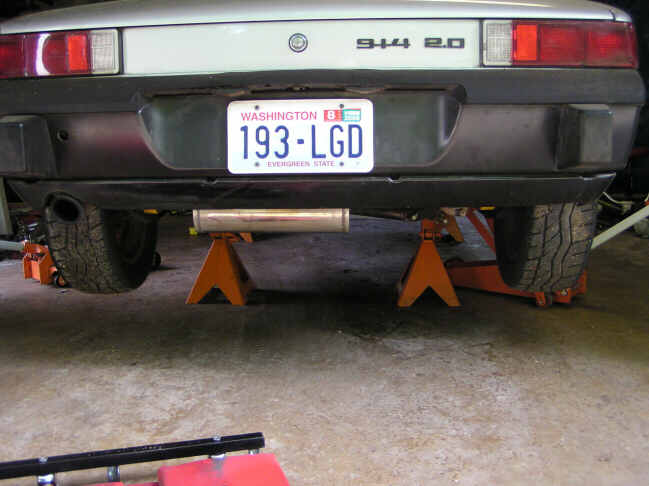
Posted by: DNHunt May 20 2006, 08:14 PM
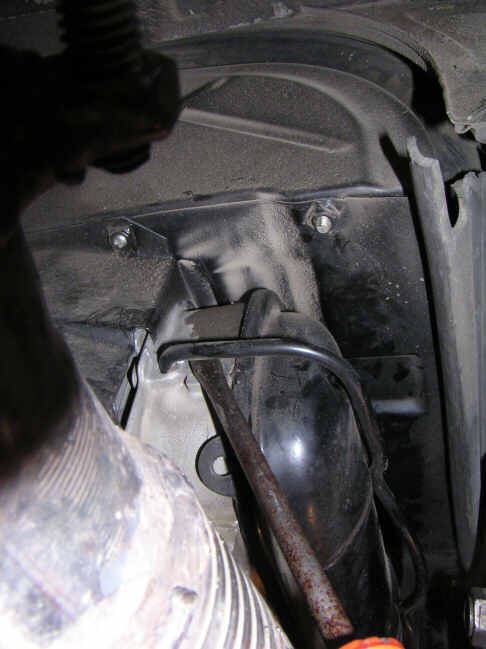
Get under the car and remove the valve covers. I've used the big butt(like me) method with a shop rag looped over the bale or the screw driver prying the bale down or off. Whatever works for you.
Attached image(s)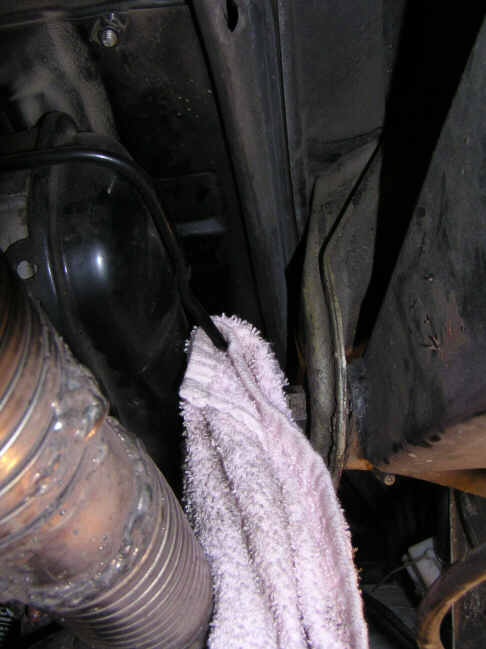
Posted by: DNHunt May 20 2006, 08:15 PM
Here's what you will see. The rocker assembly
Attached image(s)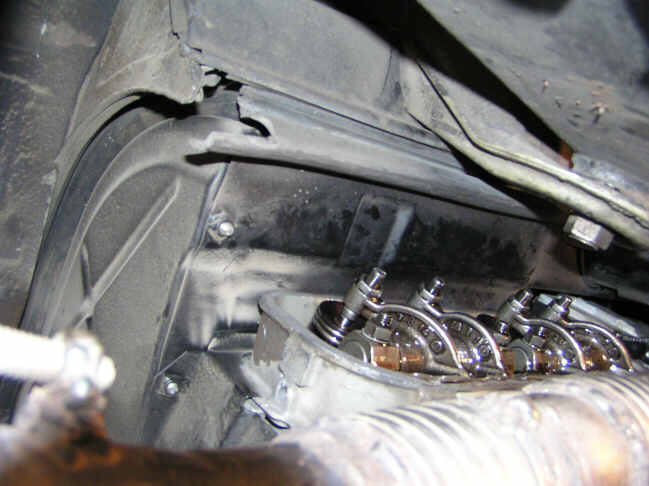
Posted by: DNHunt May 20 2006, 08:25 PM
The whole process works because the flat aircooled /4s are really beautifully simple. Like lifter on opposite sides of the engine and therefore rockers share the same cam lobe. Dr. Porsche was really clever. #1 exhaust shares the same cam lobe with #3 exhaust, #1 intake with #3 intake, #2 intake with #4 intake and #2 exhaust with # 4 exhaust. When #1 exhaust is on the cam nose and the valve is open # 3 exhaust should be on the valve seat and can be adjusted. The same applies for all of the pairs of valves. Way cool.
At the risk of failing to live up to Mile's tradition here is my drawing of this neat little situation. If you get this valve adjustment is really simple.
Attached image(s)
Posted by: DNHunt May 20 2006, 08:33 PM
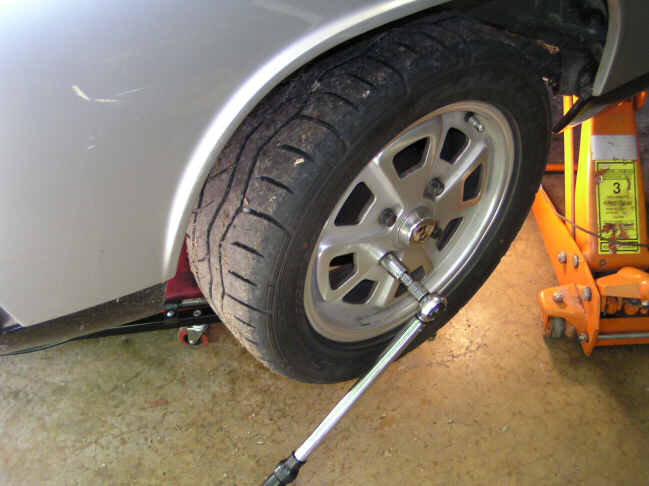
As a practical matter lock a road wheel so it will not turn and put the car in 5th with the brake off. Start by rotating the free wheel (I go in the same direction the car rolls so the engine is turning forward) until the a valve is fully open. You can start anywhere but, I try to keep it simple and start by locking the passenger wheel and rotating the driver's wheel. Since I don't have dust shields I use a small C clamp on the rotor. Most people use a brealer bar or large ratchet on a lug.
Attached image(s)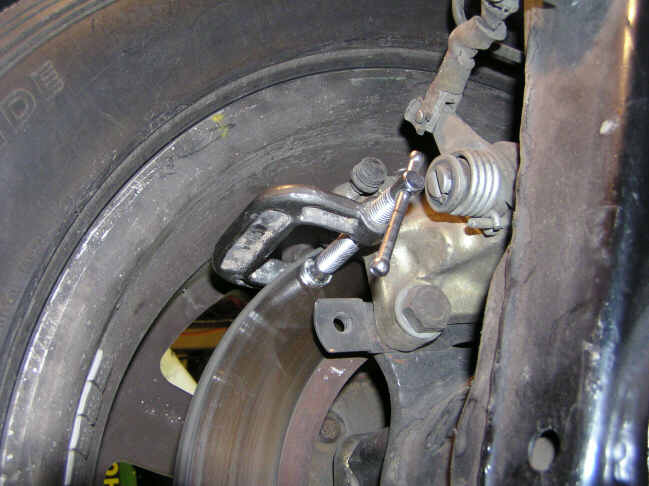
Posted by: DNHunt May 20 2006, 08:37 PM
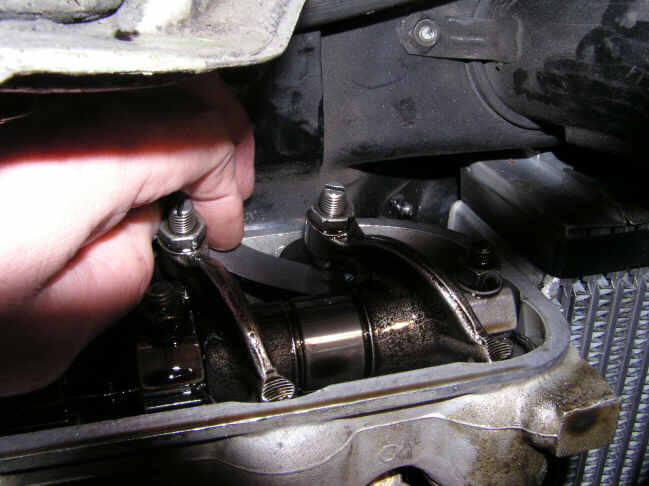
I start by watching #2 exhaust and turing until it is fully open but you could start anyway. The beauty of thios is it works for big cams too. Here is #2 exhaust valve open. See how you can see the cup that the pushrod fits in beyond the edge of the head.
Attached image(s)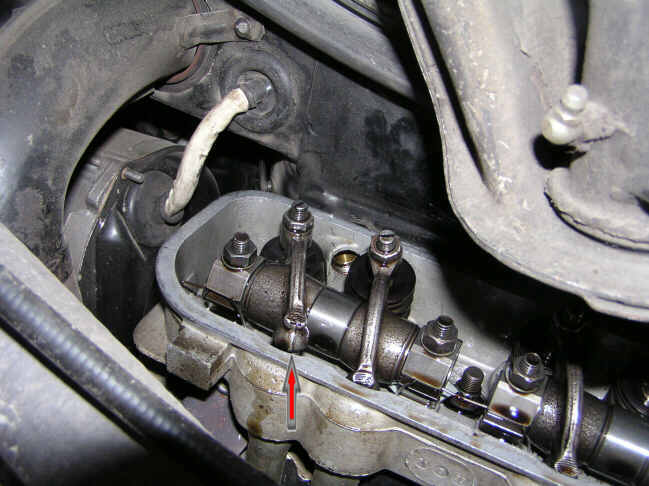
Posted by: DNHunt May 20 2006, 08:47 PM
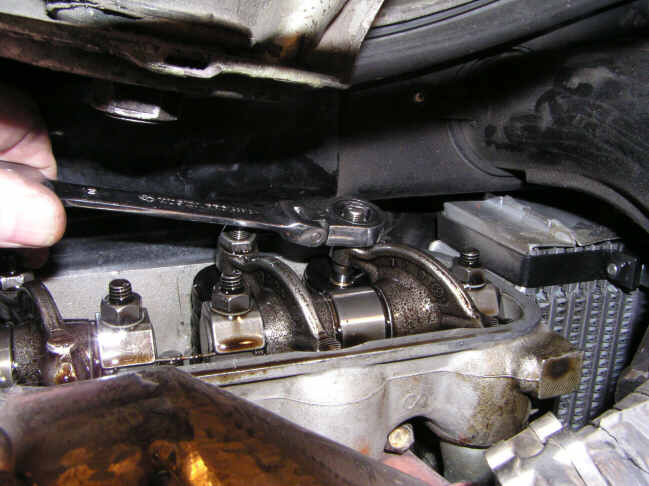
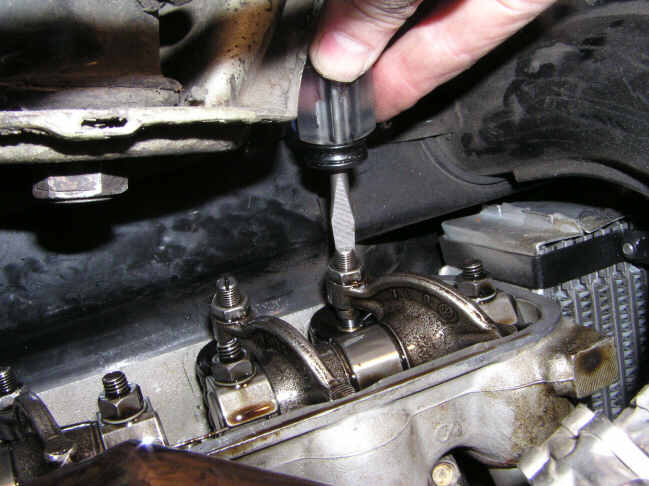
On the opposite side of the engine #4 exhaust valve is ready for adjustment because the lifter is on the base circle of the cam opposite the nose of the same lobe #2 exhaust shares with it. Look at my diagram. The nut can be loosened and the adjusting screw turned in and out to get the proper adjustment.
I can't explain what it should feel like when you slide a feeler gauge through the space between the valve stem and adjuster. It has pretty good resistance and the next smallest size shouldn't go through. The best thing is get someone to show you the first time. Similar to finding an older woman the first time.
My engine has chrome moly pushrods so the lash is zero. To set that the rockers should just move on the rocker shaft fore and aft.
Attached image(s)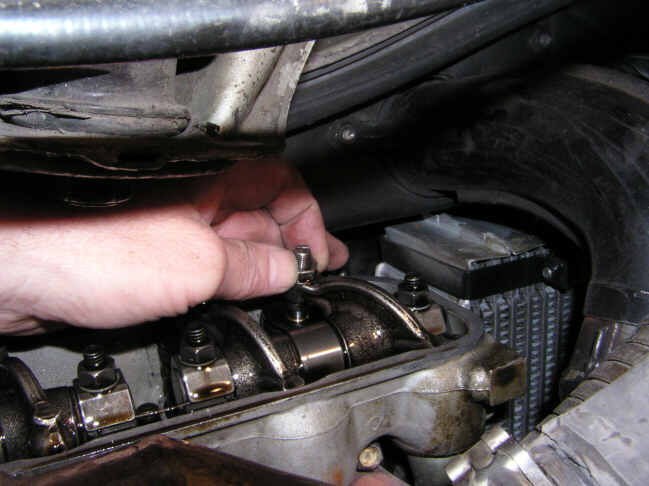
Posted by: DNHunt May 20 2006, 08:52 PM
Next rotate the engine until #2 intake is open. See how the adjuster is toward the midline of the engine.
Attached image(s)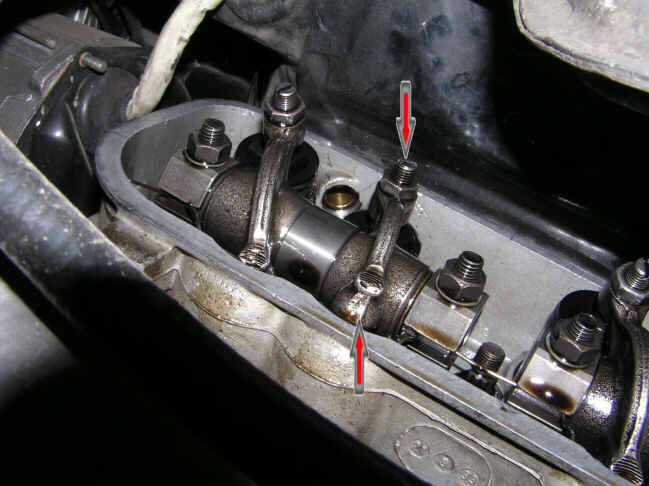
Posted by: DNHunt May 20 2006, 08:54 PM
Adjust #4 intake cause it is on the valve seat and the lifter is on the base circle
Attached image(s)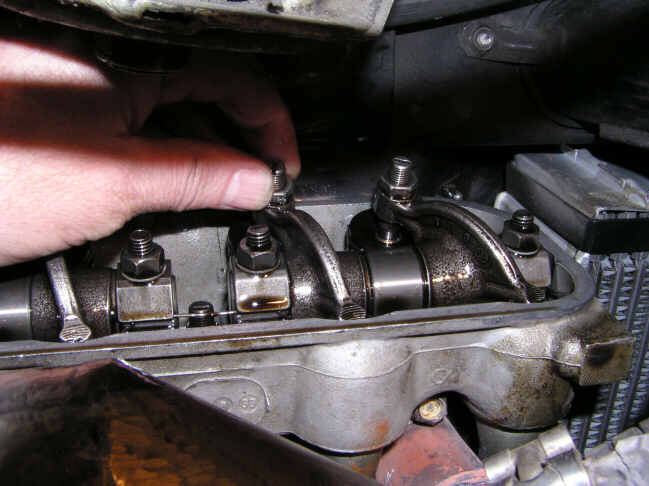
Posted by: DNHunt May 20 2006, 08:55 PM
Rotate until #1 intake is open.
Attached image(s)
Posted by: DNHunt May 20 2006, 08:56 PM
Adjust #3 intake
Attached image(s)
Posted by: DNHunt May 20 2006, 08:57 PM
Rotate a gain until #1 exhaust is open.
Attached image(s)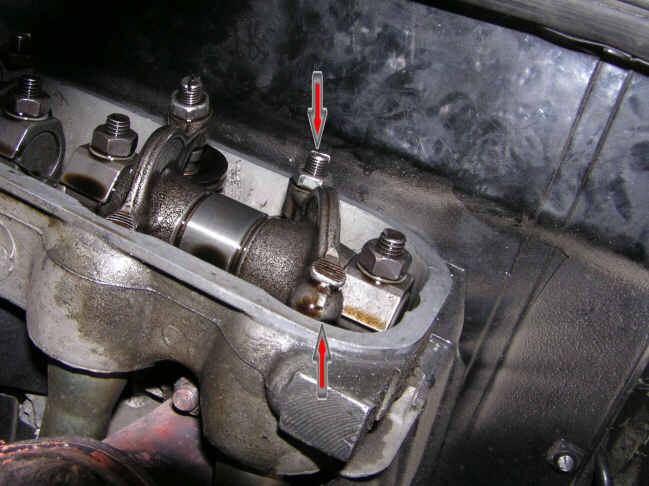
Posted by: DNHunt May 20 2006, 08:58 PM
Adjust #3 exhaust
Attached image(s)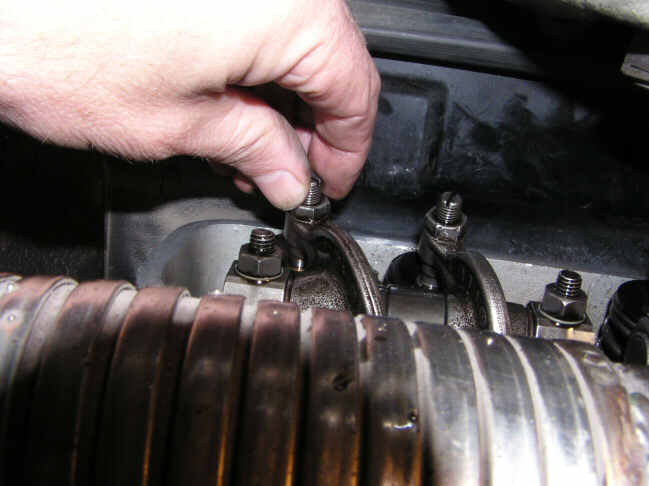
Posted by: DNHunt May 20 2006, 09:00 PM
Now block the other wheel so you can check the opposite valves for openning. You just finished adjusting all of these and are half way done.
Attached image(s)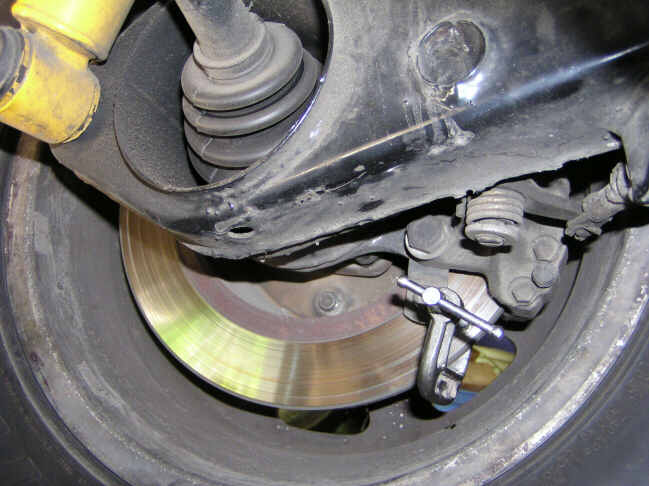

Posted by: DNHunt May 20 2006, 09:01 PM
Check #4 exhaust for full openning
Attached image(s)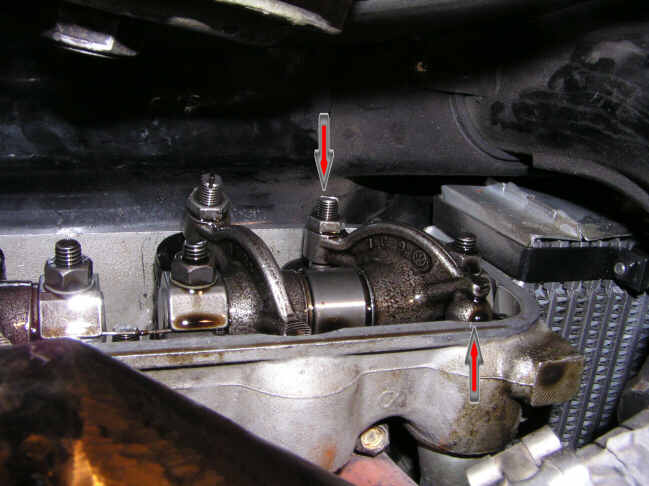
Posted by: DNHunt May 20 2006, 09:02 PM
Adjust #2 exhaust
Attached image(s)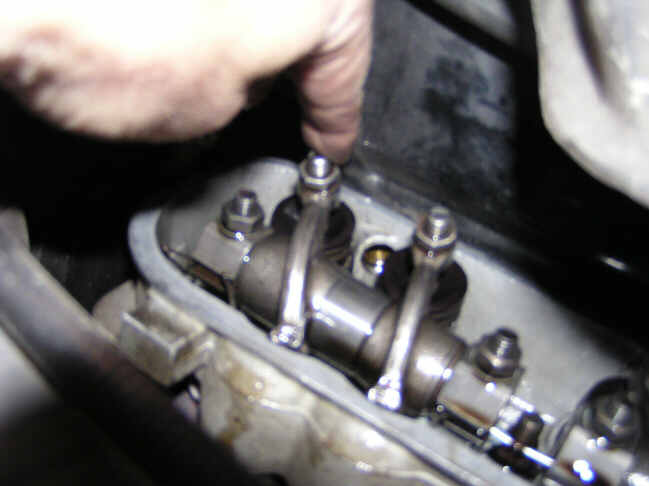
Posted by: DNHunt May 20 2006, 09:03 PM
Check #4 intake for full open.
Attached image(s)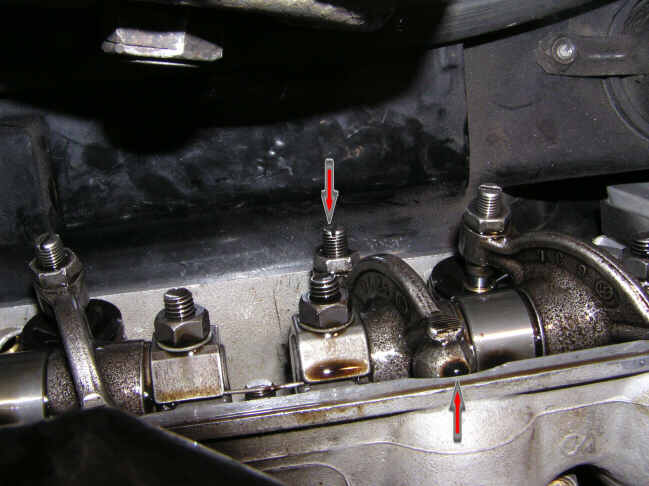
Posted by: DNHunt May 20 2006, 09:04 PM
Adjust #2 intake
Attached image(s)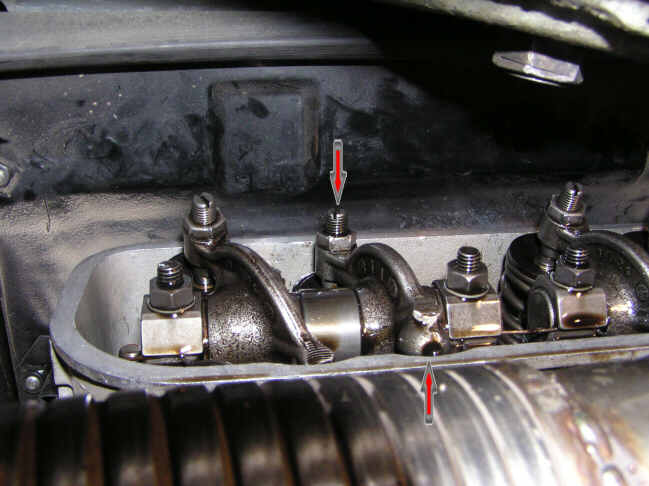
Posted by: DNHunt May 20 2006, 09:06 PM
Ditto for cylinder #3 intake and exhaust. Rotate until they are open and adjust the opposite valves.
Check # 3 intake
Attached image(s)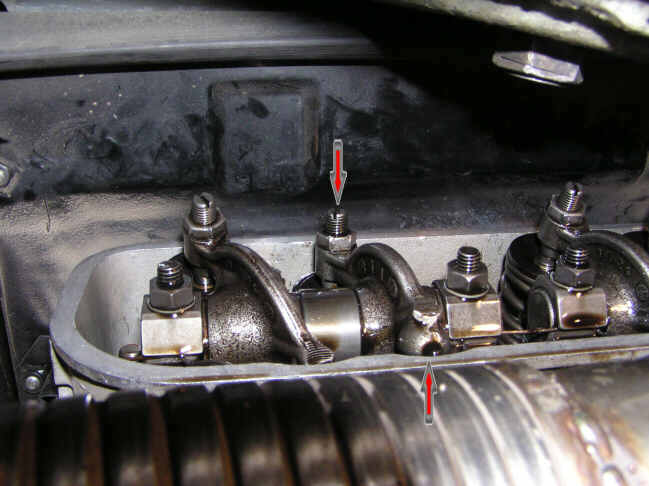
Posted by: DNHunt May 20 2006, 09:07 PM
Adjust #1 intake
Attached image(s)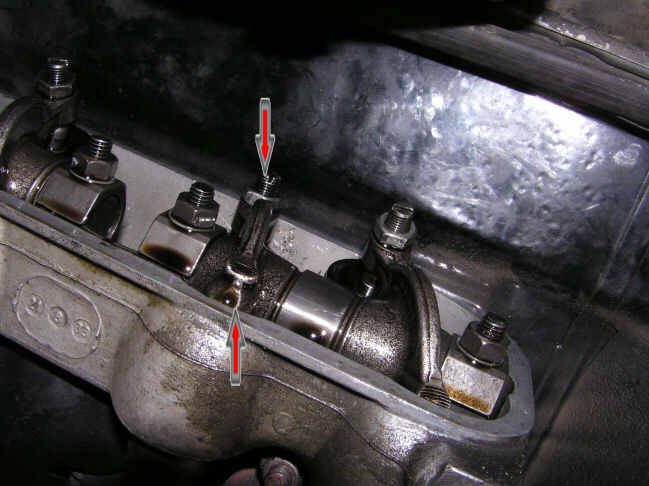
Posted by: DNHunt May 20 2006, 09:07 PM
Check #3 exhaust.
Attached image(s)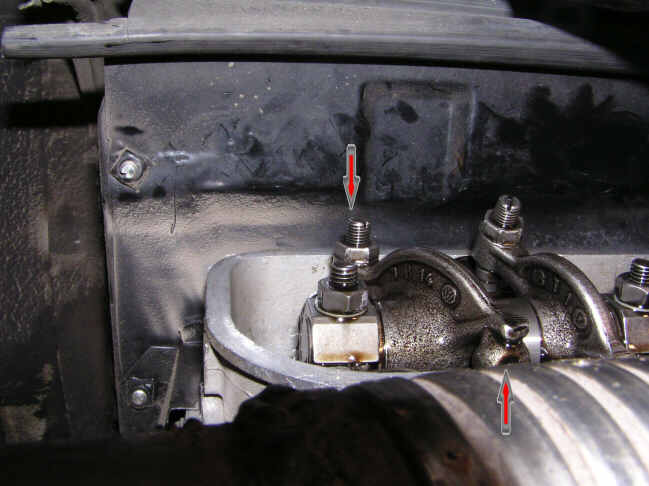
Posted by: DNHunt May 20 2006, 09:08 PM
Adjust #1 exhaust.
Attached image(s)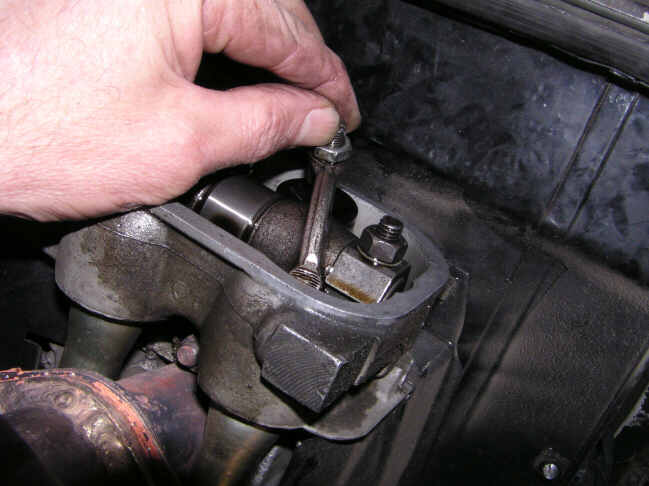
Posted by: DNHunt May 20 2006, 09:10 PM
Tighten everything and check the valve cover gaskets. I reused these cause they are in good shape but, I always travel with a pair.
Attached image(s)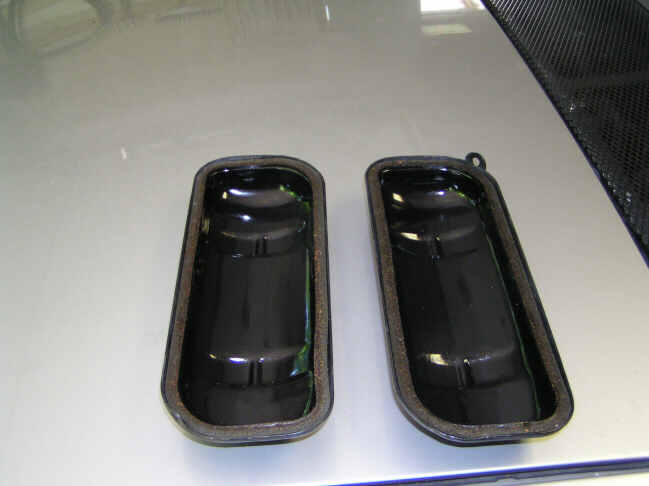
Posted by: DNHunt May 20 2006, 09:12 PM
I suppose this is a bit of urban myth but, I've always been told that the VW logo goes upside down when you install the valve covers.
Dave
Attached image(s)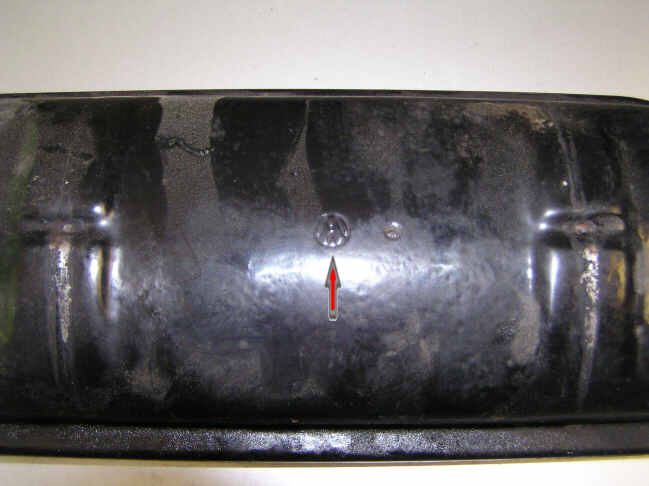
Posted by: mcbain77 May 20 2006, 09:14 PM
Fuchin Classic.
Posted by: elwood-914 May 20 2006, 10:14 PM
Great Job Dave!! Good luck on your trip next week. This has to go classic. 
Posted by: Aaron Cox May 20 2006, 10:58 PM
very nice. ive always done it like this.
Posted by: newto914s May 20 2006, 11:47 PM
Classic for sure! Thanks for the cam drawing, learn something new everday.
Samson
Posted by: lotus_65 May 21 2006, 05:34 AM
thanks!
it couldn't have come at a better time, i'll be doing it later today.
Posted by: Spoke May 21 2006, 06:08 AM
I like the cam drawing, saves me from reading.
Out of curiousity, I assume just about everyone here adjusts their own valves. Back in the day since this procedure is done every 3K miles or so, how much did the Porsche dealer charge to do this?
Spoke
Posted by: rhodyguy May 21 2006, 07:05 AM
very nice dave. you and jerry have a fun drive.
k
Posted by: scottb May 21 2006, 11:35 AM
dave,
very nice write up.
what header are you running? i know i don't have that much room to work with my SS heat exchangers on.... in fact, i don't see this as being done with the exchangers in place.
cheers....
scott
Posted by: Tobra May 21 2006, 12:15 PM
You could never get nice pictures like that with the HE in place, unless you had a fiber optic camera or something. Just did mine not too long ago, used the old school method, 1 then 2 etc. I am just programmed for doing it that way, from doing the bug for so many years
Powered by Invision Power Board (http://www.invisionboard.com)
© Invision Power Services (http://www.invisionpower.com)