Printable Version of Topic
Click here to view this topic in its original format
914World.com _ 914World Garage _ 914 Rotesserie
Posted by: RD Evans Oct 11 2003, 07:36 PM
Has anyone built a rotisserie using this set of plans, http://www.autoatlanta.com/tech/rotisserie_build.html ? If so, how did it work out and how do you get the body jacked high enough to attach it?
Thanks... 
Posted by: Brad Roberts Oct 12 2003, 02:43 AM
I havent used those plans.. but we have built 2-3 now. I borrow 3-4 decent sized buddies and we lift the car up onto it (without suspension/engine/trans) Pretty easy actually.
Like this:
This 9146 is currently at the body shop.
B
Posted by: 914gem Oct 12 2003, 12:16 PM
I used the plans as a guide but it looked much the same. Sold it to a guy in KC Kansas. Bid mistake selling it, I'll have to build another. To lift the car I put the car as high a I could go with jack stands and very carefully lift one end at a time with an engine hoist. Once you have it up make sure you tie the stands together before you do anything else. When I built mine I ran the beam that ties the stands together all the way through the stand. I made my lock downs behind the stands so I don't have be anywhere near under the car when I tighten down the beam that ties the stands together.
Posted by: RD Evans Oct 12 2003, 12:18 PM
I think I've the issue of getting the car on the rotesserie. I'm going to add a beam in the ceiling of the garage I building and use a chain hoist and helpers to guide the car.
Posted by: tracks914 Oct 12 2003, 12:21 PM
Rotisserie works great if you don't have to ever move it . I chose to build another form of stand.
Attached image(s)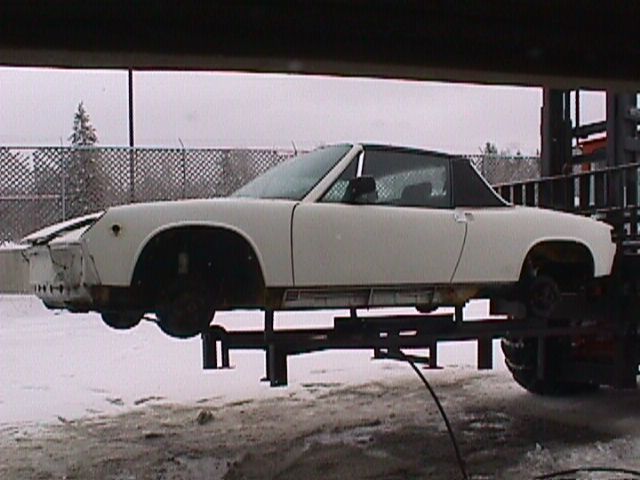
Posted by: David_S Oct 12 2003, 05:18 PM
Here is the one that I made out of drill pipe that was laying around. Cost was about $10.00 and that was for the four casters. Chief helper is standing next to the car! I didn't know how these cars would hold up mounting the rotisserie at the bumper mounts, so I mounted mine at the front suspension mounts and transmission mounts in the rear.
Attached image(s)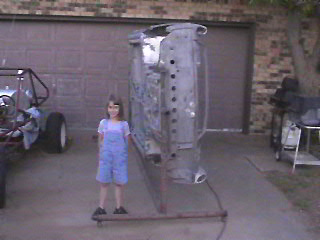
Posted by: ChrisReale Oct 12 2003, 05:26 PM
Is the kid part of the stand also? Like a tool holder 
Posted by: David_S Oct 12 2003, 08:46 PM
The kid so far hasn't became part of the stand. She is also a pretty darn good tool getter. She has also scraped off more of the undercoating than I have. She is closer to being the "future owner" than her mom is! I think this car will be hers, and the 76 that is going to be redone after this one will probably belong to my son who is 7 months old now !!!!
Posted by: ChrisReale Oct 12 2003, 08:50 PM
Send her to Seattle! I have two wheel wells with undercoating left to remove!
Posted by: David_S Oct 12 2003, 09:04 PM
Well, if she knew that she could go see her Uncle John and Aunt Melody that live in Woodinville, she would probably have her bags packed in a heartbeat!
Posted by: mr914 Oct 13 2003, 01:59 PM
I built mine after looking at several sets of plans and photos on the net.
Mine cost less than $450 to build.
I used 4 6" industrial casters with brakes ($110)
2 Ag grade D rings ($12)
Misc hardware ($25)
2 2-ton cum alongs ($50)
The rest is cost of steel and a 12pack for my machinest buddy to bore holes.
I can lift mine from sitting on the ground.
I wish I had seen thoes plans for buidling my yoke. I built my yoke out of 1" sq tubing by bolting 8" peices to the bumper mount holes and then welding up the tubing to attach. Crude but effective.
Photos soon.
Posted by: mr914 Oct 13 2003, 08:59 PM
Front side
Attached image(s)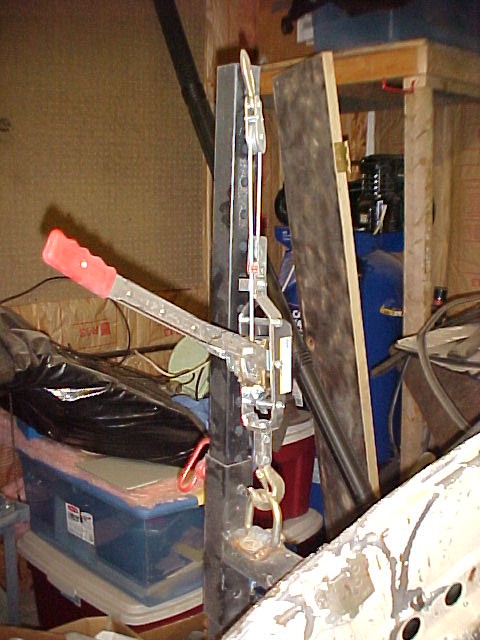
Posted by: mr914 Oct 13 2003, 09:01 PM
Back side
Attached image(s)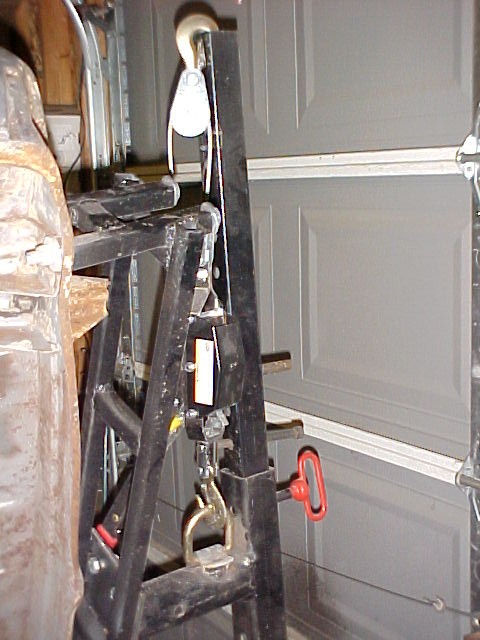
Posted by: mr914 Oct 13 2003, 09:02 PM
The frame. No I don't have concerns about colapse 
Attached image(s)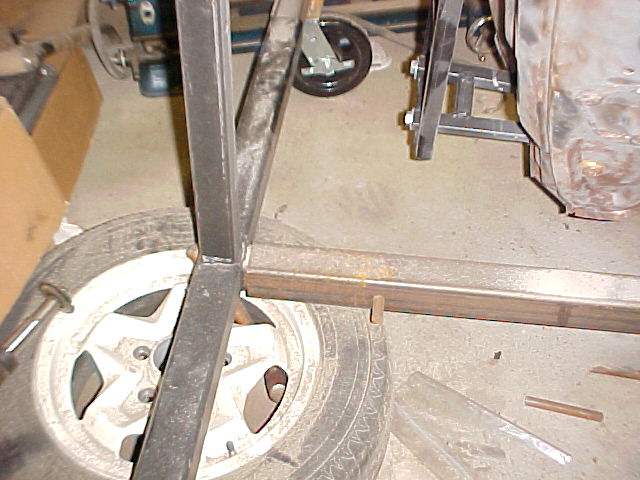
Posted by: mr914 Oct 13 2003, 09:06 PM
Casters are mounted to a plate on a seperate tube. Extendable from 6" to 24"
That way if I have to transport on a trailer. I can insert a smaller square tube for mounting on the trailer....
Attached image(s)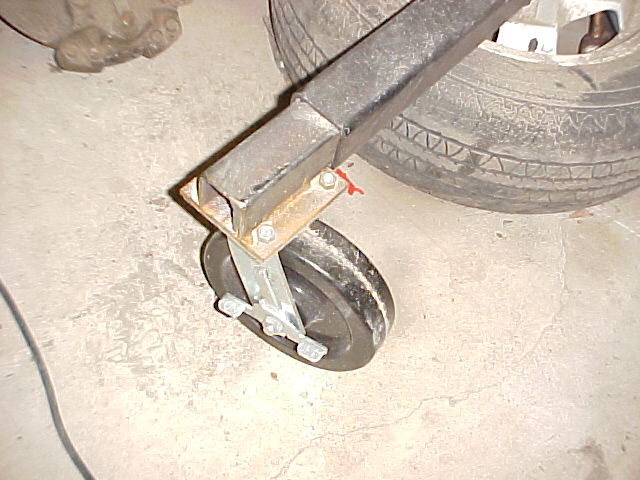
Posted by: mr914 Oct 13 2003, 09:07 PM
This is what I use for a counter ballance.
Crude but effective
Attached image(s)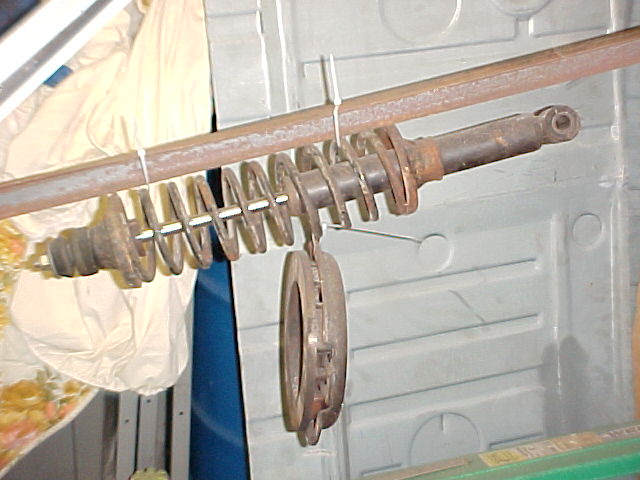
Posted by: mr914 Oct 13 2003, 09:09 PM
Closer detail of center section
Attached image(s)
Posted by: mr914 Oct 13 2003, 09:10 PM
another view
Attached image(s)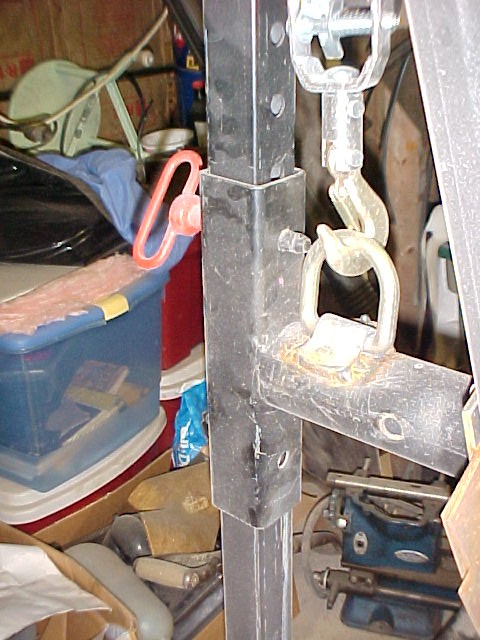
Posted by: mr914 Oct 13 2003, 09:13 PM
View two.
I used a 7x14" plate for shimming. In final assembly, I used about .070" in shims to true up the pivots.
Attached image(s)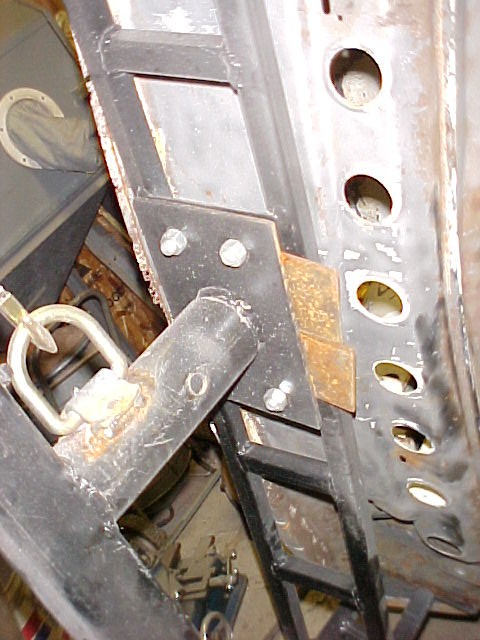
Posted by: mr914 Oct 13 2003, 09:16 PM
The 5/8" pins were $7 each at the hardware store or trailer supply places.
They were $2.25 each at the farm supply stores! Tractor supply, Wheeler's, Country General... 
Attached image(s)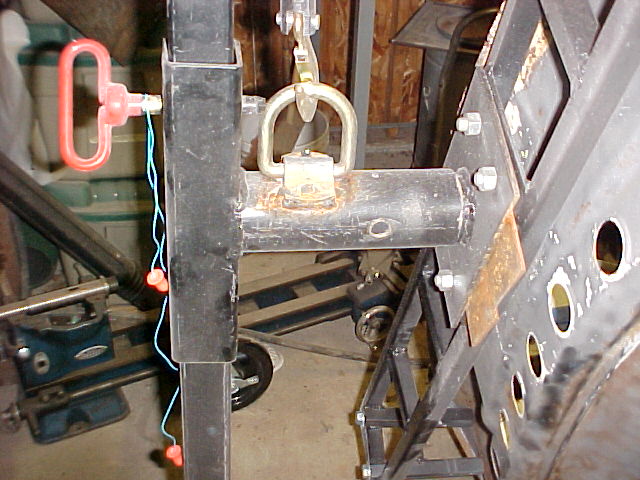
Posted by: mr914 Oct 13 2003, 09:20 PM
Screw McMaster Carr and Graingers 
Check out your independant auto part or industrial supply stores 
They rock!  I bought casters that should be $100 each for $25 each. The cum-alongs for $24 each
Attached image(s)
Posted by: mr914 Oct 13 2003, 09:23 PM
BTW the D rings were $20 each at the trailer depot. $6 each at the farm store.
Support you farm store....
For those of you in the inner city. Consider mail order....
Attached image(s)
Posted by: mr914 Oct 13 2003, 09:25 PM
My yokes are crude. But an exact fit.
I'd use the yokes in the first post on this thread..
Wish I had those prints before I built mine.
Attached image(s)
Posted by: mr914 Oct 13 2003, 09:31 PM
Hardest part is clearance. I ended up using 1/2" all thread (readi-rod). I threw my first set out because of them being too short to clear the radius of the front trunk.
Good luck on building the rotiserie.....
IF YOU WANT ANY FURTHER INFORMATION ON MINE. PM ME. I'll send you what I know...
Attached image(s)
Powered by Invision Power Board (http://www.invisionboard.com)
© Invision Power Services (http://www.invisionpower.com)