Printable Version of Topic
Click here to view this topic in its original format
914World.com _ 914World Garage _ Something I've been working on
Posted by: brer Jan 27 2007, 10:04 PM
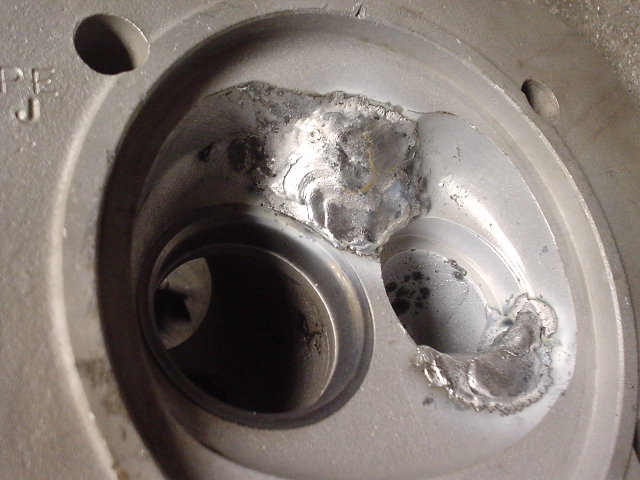
Lessons are going well. I still have a penchant for adding way too much material.
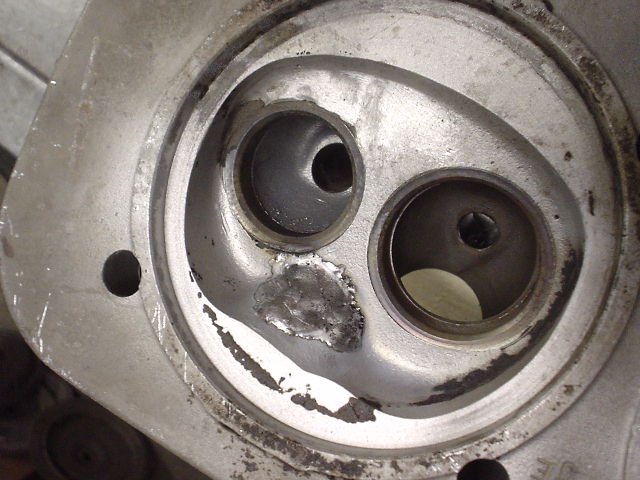
These are my 2L heads. Plenty of practice in these babies. 
Only had 4 sessions so far. Getting easier and easier though i'm not welding beer cans yet.
(converting to 12mm plugs, fixing cracks and upping valves sizes)
Attached image(s)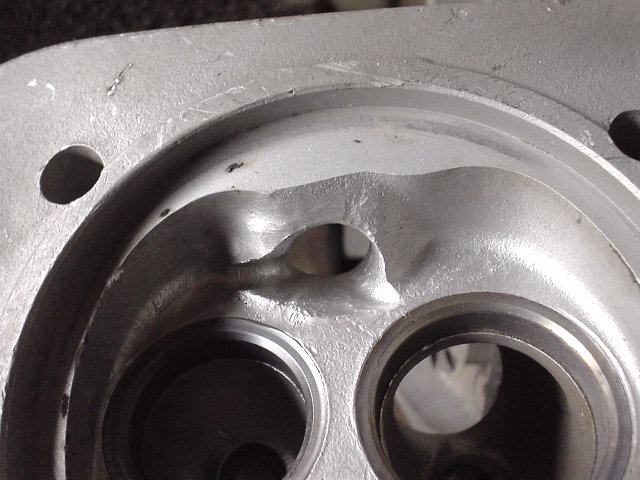
Posted by: Aaron Cox Jan 27 2007, 10:18 PM
dude! looks like fun! are you heating the heads prior to welding, and slow cooling em?
Posted by: brer Jan 27 2007, 10:26 PM
heating them up first.
letting them cool on the welding bench which absorbs quite a bit of heat during the welding. slow cooling isn't something I have access to at this point though i'm told it helps the heads.
can you add some insight into slow cooling?
benefits for? or what happens when you dont?
and yea, its totally fun. I can only stomach about 45 minutes a session though as the concentration level is really intense with the heat and all.
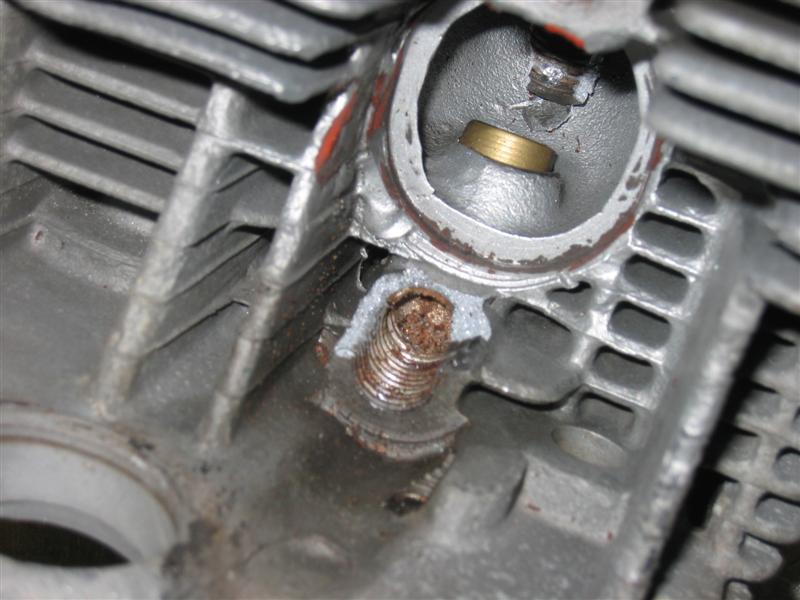
Posted by: Jake Raby Jan 27 2007, 10:31 PM
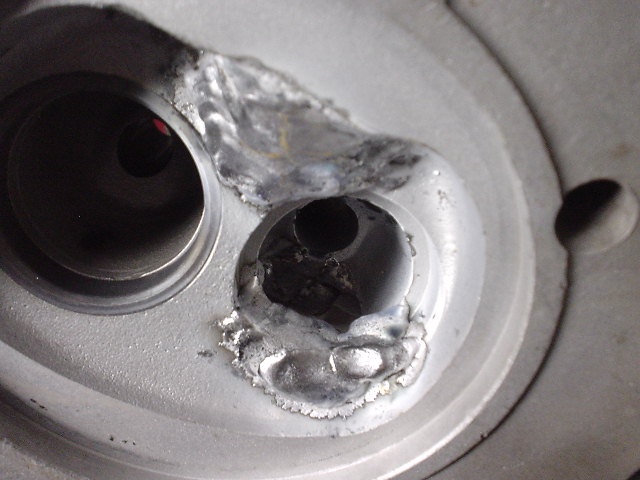
Looks pretty good.. Looks like you may be using a little too much amperage in the one pic, hence the contaminants being pulled all the way to the surface of the weld.
TIV head castings are very difficult to weld, you have done better than most shops do..
The best way to post cool a head is in a preheated oven, when the head is introduced fresh off the bench turn the oven on the warm setting and then switch it off allowing the head to cool to room temp prior to removing.
Len put 10 hours of preheat,weld and post cooling into the "Mighty Spyder" heads, these procedures are what makes a welded head a success or a catastrophe.
Posted by: Jake Raby Jan 27 2007, 10:34 PM
Also, use a stainless wire brush on the head and then clean it with acetone prior to welding. I use the stainless brush, then acetone and then introduce the tig torch and pass it over the area to be welded, you'll see the contaminants pulled to the surface as black deposits. Do this procedure 3-4 times before introducing any filler material to the area to be welded..
Posted by: brer Jan 27 2007, 10:41 PM
thanks for the tip! I'll try the acetone out.
Preheated oven would be nice, I'm not sure how my pals wife would feel about my heads in her oven though! 
Posted by: scotty b Jan 28 2007, 10:10 AM
You can slow cool them easily by burying them in sand after you weld them. Have a barrel or bucket half filled, and another ready to dump sand on top of the head once placed. Let it sit overnight.
Posted by: brer Jan 28 2007, 11:08 AM
Like a hungee! mate.
Posted by: scotty b Jan 28 2007, 11:16 AM
I've never welded on any heads and am curious as to what filler rod you are using? Also what amperage are you running?
Posted by: brer Jan 28 2007, 09:49 PM
I'll have to read the box when i'm there next for what type of rod it is. As far as the amps, the TIG welder has a foot control that allow variable control... argon sheild as well.
just like a gas pedal, step on it and off ya go!.
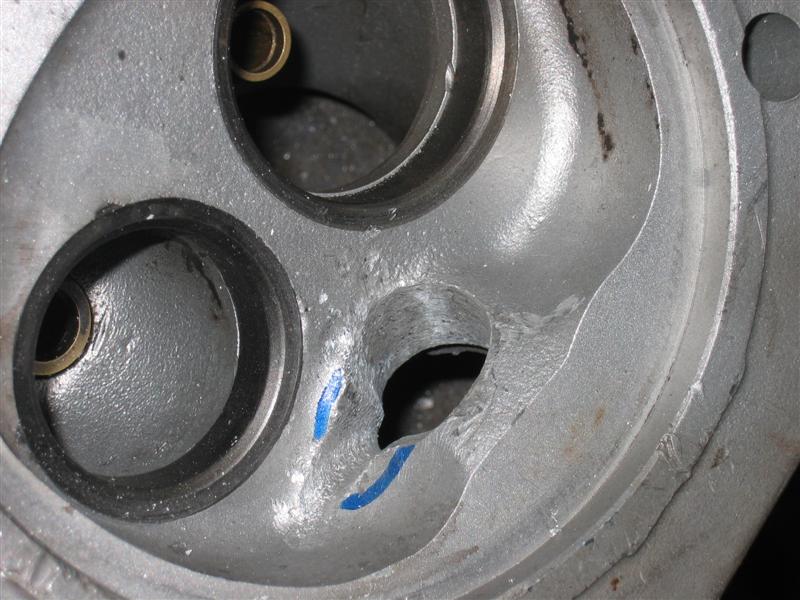
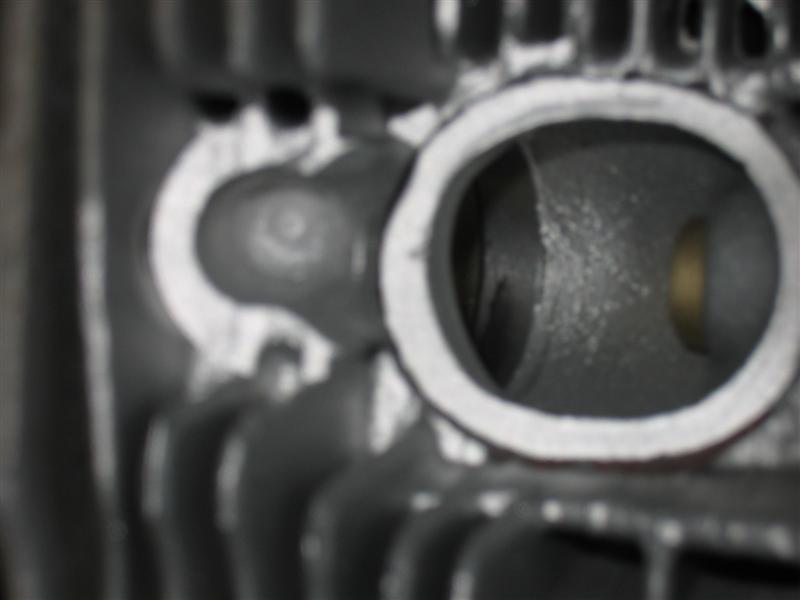
more before pics of the heads.
Attached image(s)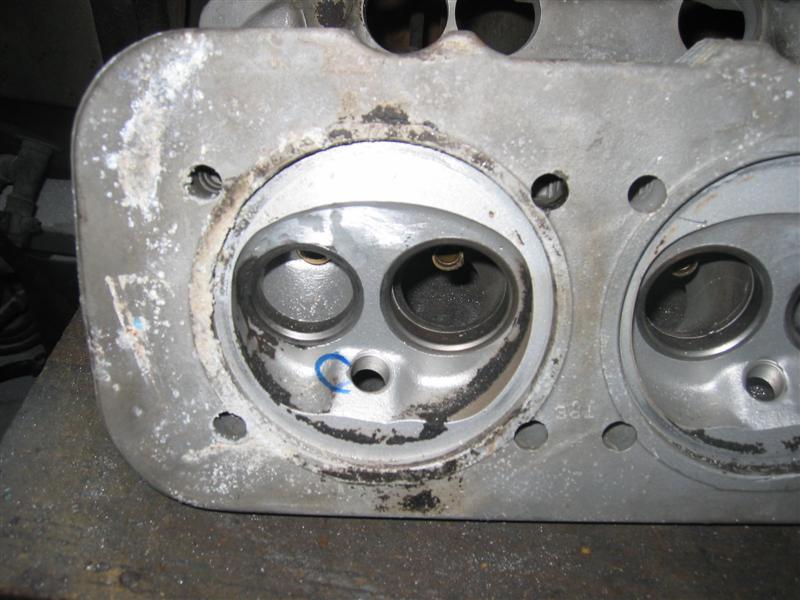
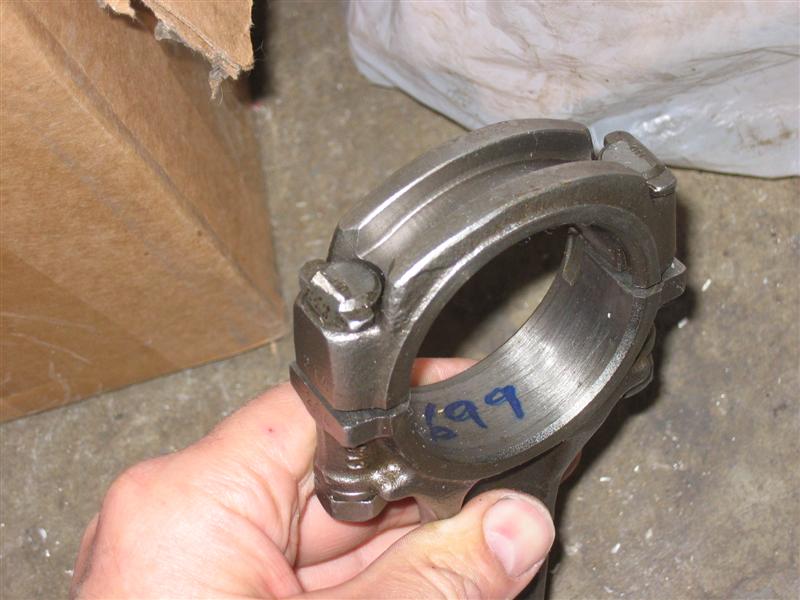
Posted by: brer Jan 28 2007, 09:52 PM
since i'm posting crappy pics, here's the rods for the 2L
If I recall, 590g each (or 690?) cant remember exactly. done by Pauter quite awhile back and never run.
Attached image(s)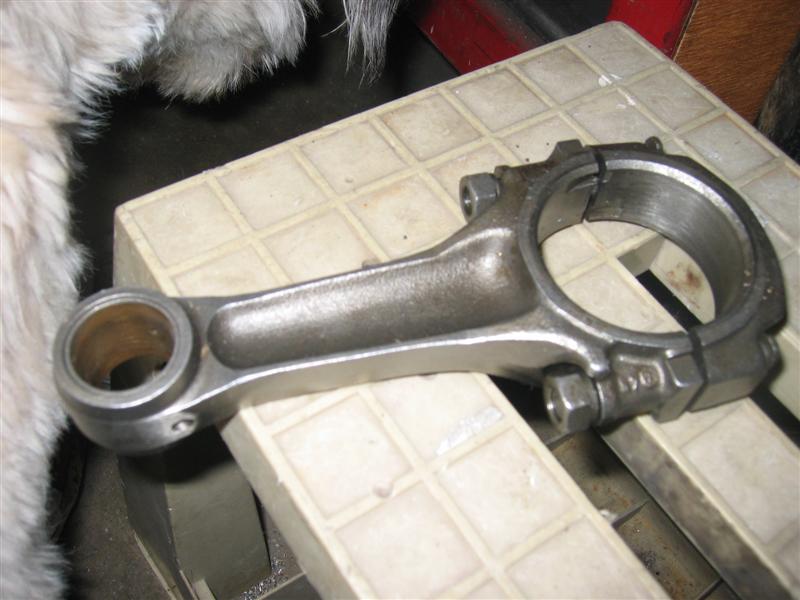
Powered by Invision Power Board (http://www.invisionboard.com)
© Invision Power Services (http://www.invisionpower.com)