Printable Version of Topic
Click here to view this topic in its original format
914World.com _ 914World Garage _ Is there a Dr. in the house?
Posted by: rdauenhauer Mar 31 2007, 08:37 PM
Well attempting to reassemble the 901 Ive run into two obsticals.
First is that when dissasembling the thing I didnt pay attention to
the gaskets used to set the Pinnion depth  They were definitly light green
but I kinda remember there being two??
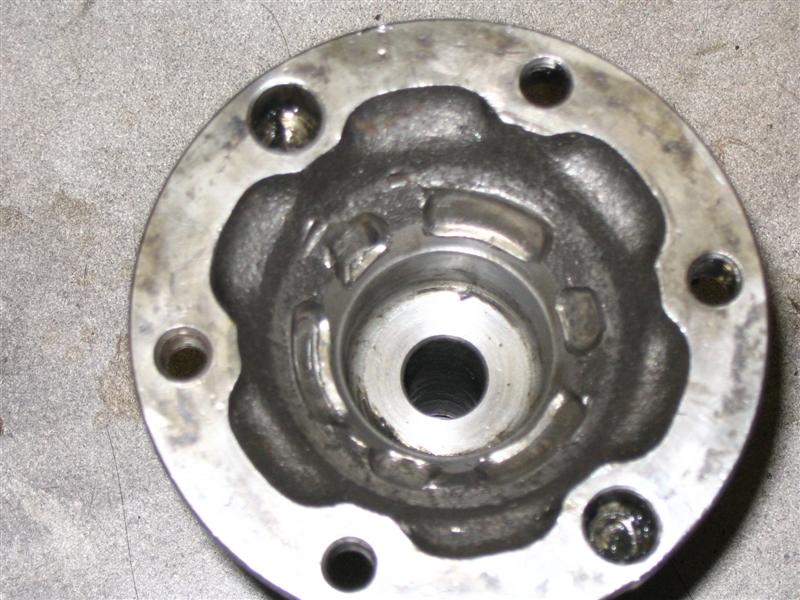
the other problem is that In the storage & moving of parts I did something to
the ring/carrier (pumpkin) and the spider gears have flipped over and for the life of me I can get the back oriented correctly ... 
Is there a trick?
Posted by: Joe Ricard Mar 31 2007, 08:46 PM
Well I opened this in hopes of helping.
But I have no idea. Paper gaskets of the same thickess and qty are essential.
Posted by: John Mar 31 2007, 08:54 PM
Need pictures.
Posted by: BMXerror Apr 1 2007, 11:11 AM
Dr. Evil to the tranny room... Paging Dr. Evil. Dr Evil to the Tranny room.
Mark D.
Posted by: rdauenhauer Apr 1 2007, 11:32 AM
Well I figured out the carrier issue  Its like a rubics cube, you have
to puzzle over it a while twisting this way and that. 
As to the gasket deal-o I think Im kinda screwed. I should have noted the thickness color and or # of gaskets but didnt.
I might be in for a bunch assembly/ dissassembly to get it correct
Posted by: brp914 Apr 1 2007, 12:22 PM
if by this statement that intend to set the pinion depth using a trial and error method with machinists blue, or grease, or other method - don't bother, it won't work. allow me to refine that: it is considerable bother AND it won't work, even assuming you don't smash your fingers. Well, folks say...I have no firsthand knowledge, ofcourse.

Posted by: JPB Apr 1 2007, 12:38 PM
Start with three gaskets and if its to loose go to two. How do I know? Not only do I look like a trany expert but I stayed at a Holliday Inn last night! Don't say I'm cute cuz thats not me.
Attached image(s)
Posted by: sixnotfour Apr 1 2007, 12:43 PM
Call the local shops that may have the pinion depth tool
Akers
Chris's German
John Walker
Bernie Buschan
your favorite Gerbers
Posted by: rdauenhauer Apr 1 2007, 01:49 PM
Pinnion depth tool?
Posted by: rdauenhauer Apr 1 2007, 01:51 PM
Found a third issue,
this cant be right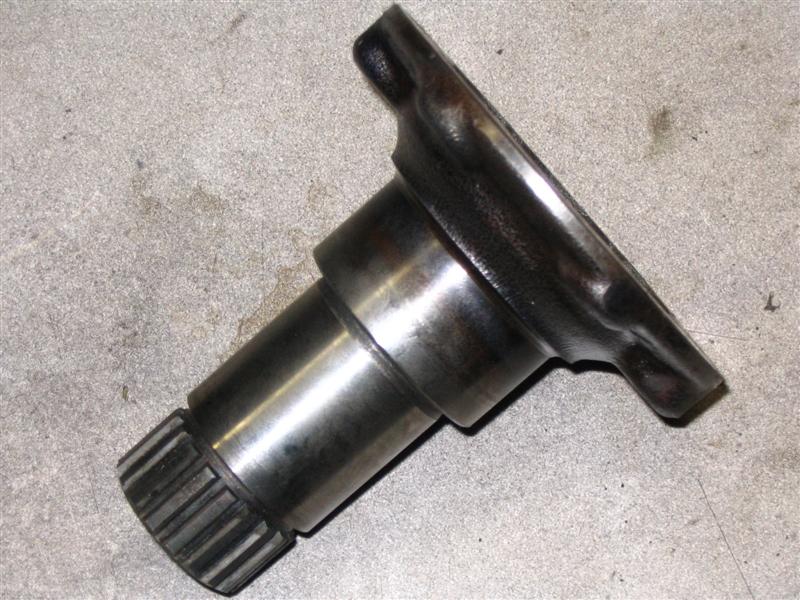
Posted by: sixnotfour Apr 1 2007, 02:21 PM
Pinion Depth ---Tool , Gauge , Setting fixture, you pick , They will know what you are talking about and if they dont , they cant do it properly.
Posted by: Dr Evil Apr 1 2007, 09:27 PM
Dude, throw on all the gaskets and be happy. It is not gonna be THAT touchy. Besides, the dimentions change as the gaskets age and the thickness is not exact when you measure the old ones. IIRC, you had three. I am glad you figured out the carrier as trying to explain how it goes together is a difficult task.
Your output flange looks wierd. I am 95% sure that I have spares if you need.
JPB, that guy in the pic looks kinda fruity 
Posted by: rdauenhauer Apr 1 2007, 09:45 PM
Yup after agonizing over it for a bit I said WTF and put it together with the
Lt. Green & Tan (the thinest and middle) gaskets. The output flange looks like a CV let go some time in its past, Yes I had spares.
I got stuck at trying to remove the small seal in the shift support


 how the hell do get that thing out !!!
Posted by: Dr Evil Apr 1 2007, 10:35 PM
HAHA! Now you know why I charge 
Some times I can just pry it out, others I have to surgically collapse it to relieve the interferenc fit and then pry it out. Just dont get frustrated and score the bore and make sure you file out any nicks you put in the inner shaft bushing so it doesnt bind or wear your shaft.
Powered by Invision Power Board (http://www.invisionboard.com)
© Invision Power Services (http://www.invisionpower.com)