Printable Version of Topic
Click here to view this topic in its original format
914World.com _ 914World Garage _ Progress
Posted by: craig downs Jan 20 2008, 06:13 PM
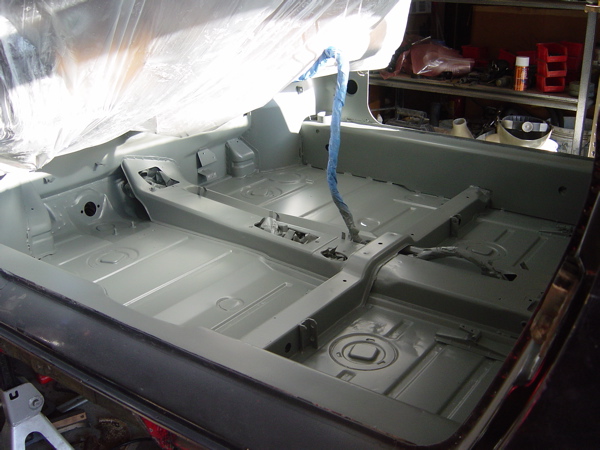
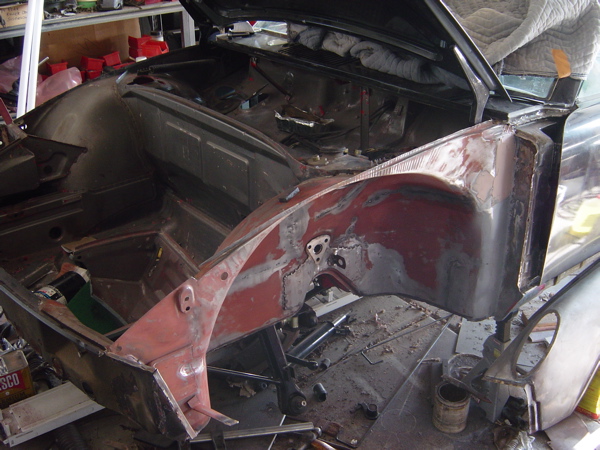
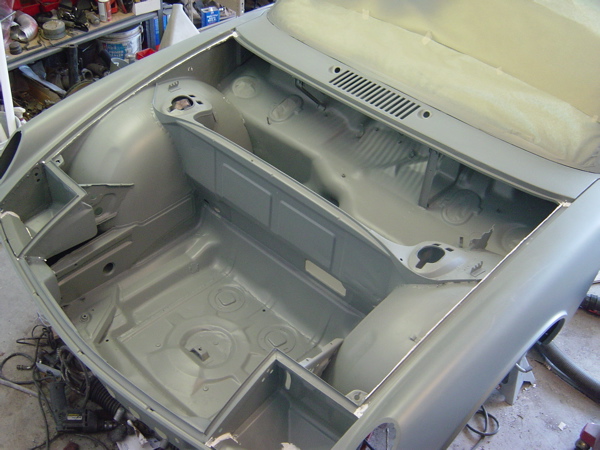
After a lot of work I finally primed the interior compartment today.
I stripped off the paint
Installed Engman's long stiffener kit,
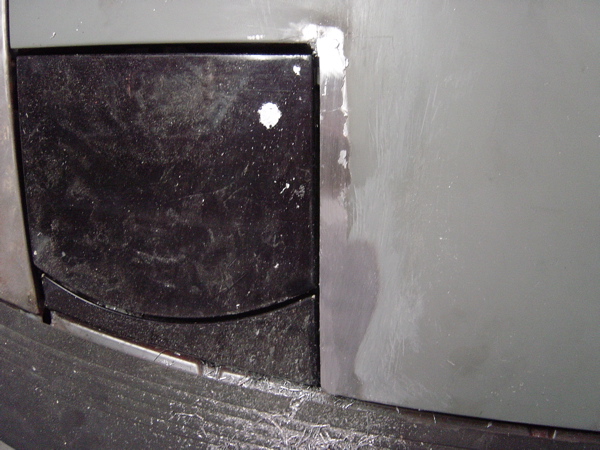
Redid the speaker hole patch in the fire wall
Made a hand throttle
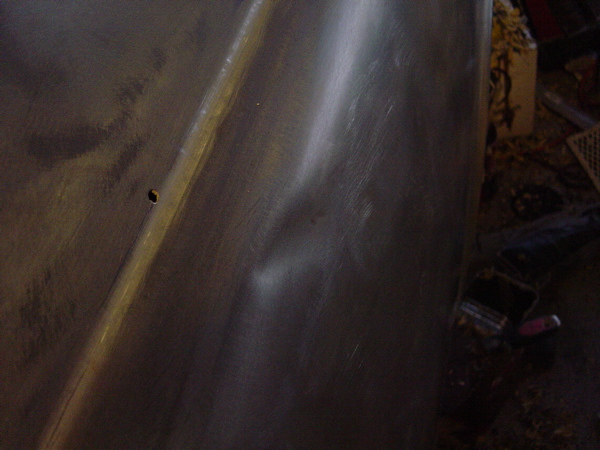
This is the speaker hole patch before and after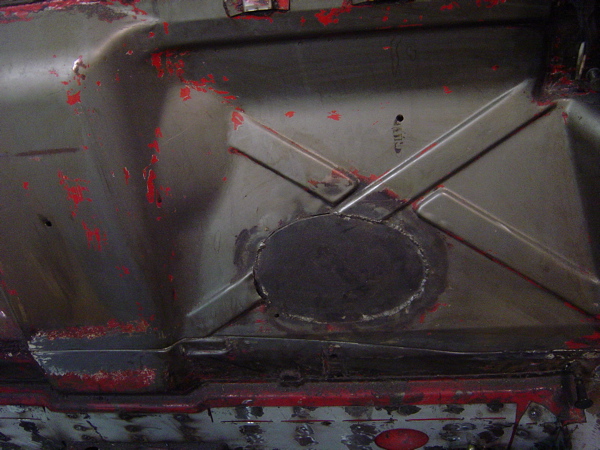
Attached image(s)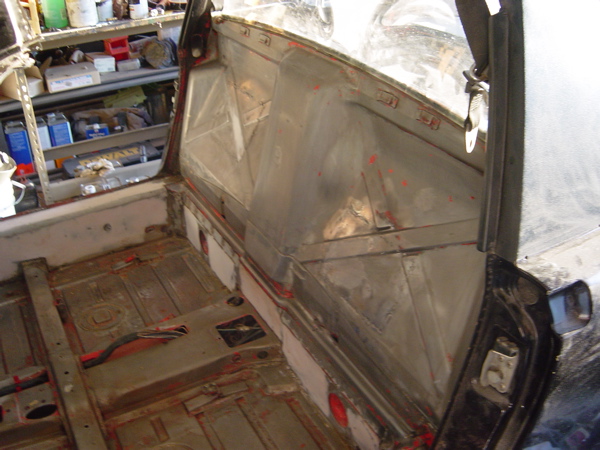
Posted by: craig downs Jan 20 2008, 06:18 PM
Paint srtipped and cleaned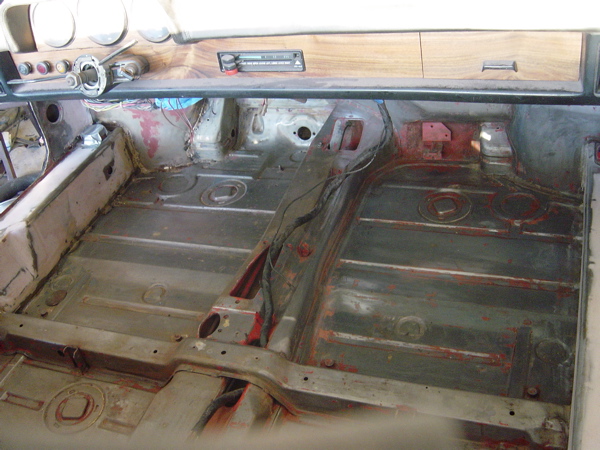
Posted by: craig downs Jan 20 2008, 06:20 PM
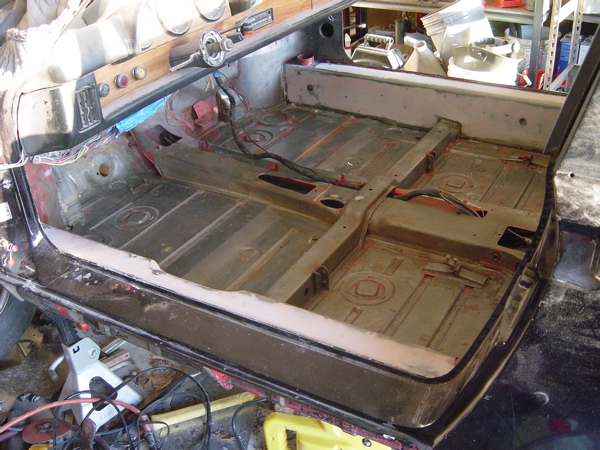
And Primed 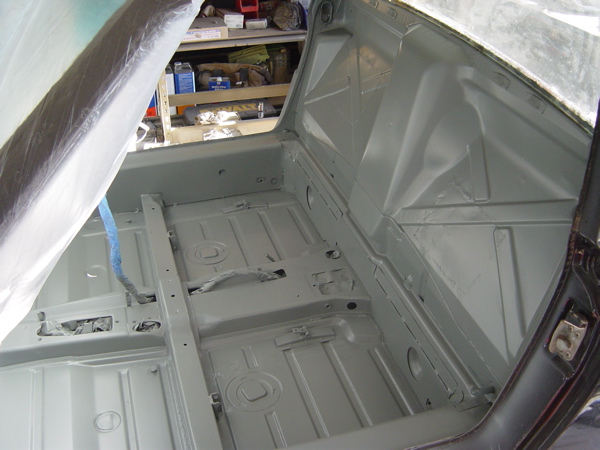
Posted by: craig downs Jan 20 2008, 06:40 PM
I just bought this new spray gun last week its a Devilbiss Plus. I've always like the
the old school guns with a pressure pot but this new gun is awesome. The delivery
is much like my older ones but atomizes so much better. 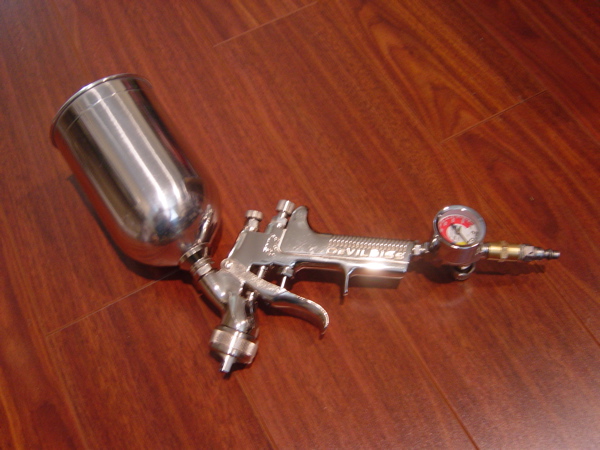
Posted by: stateofidleness Jan 20 2008, 06:59 PM
man, i wish someone could help me with that!
ive got weld/patching needs and am on the fence about paying some shop huge $$$ to do the floorpans, hell hole, and engman's kit install...
any volunteers?  lol
lol
Posted by: Grimstead Jan 20 2008, 08:07 PM
That is a great job Craig! Have you decided about the spray on sound deadener for the firewall? I think having mine sprayed on both sides really helps (and I still plan to use that B-Quite I bought last year as well).

Posted by: Lou W Jan 20 2008, 08:31 PM
Looks great Craig, keep the pictures coming. 
Hi Bill (Grimstead).
Posted by: Aaron Cox Jan 20 2008, 09:22 PM
dude! you da man!!
Posted by: David_S Jan 20 2008, 11:17 PM

man, i wish someone could help me with that!
ive got weld/patching needs and am on the fence about paying some shop huge $$$ to do the floorpans, hell hole, and engman's kit install...
any volunteers?
lolIf only S.A. wasnt as far away as it is !!!!!! Think about how to get the thing up here and I can mount it to my rotisserie and make the floorpans and hell hole a lot easier !!!
Posted by: Toast Jan 21 2008, 12:34 PM
Cool Craig!! 
Nice to see you again. 
Good Luck!
Posted by: KaptKaos Jan 21 2008, 02:33 PM
Nice. I love the look of a clean painted interior. 
Posted by: Grimstead Apr 27 2008, 09:45 PM
![]()
Post more pics!

Posted by: KaptKaos Apr 27 2008, 11:36 PM
Thanks for the reminder Bill.
Yeah! More pix!!
Posted by: toon1 Apr 27 2008, 11:49 PM
That is a great job Craig! Have you decided about the spray on sound deadener for the firewall? I think having mine sprayed on both sides really helps (and I still plan to use that B-Quite I bought last year as well).
that looks good craig!! good job. Interiors are not easy to do.
I used" quiet car "on the engine bay side of the fire wall. It works good, easy to install and paintable.
Keep up the good work
Posted by: craig downs Apr 28 2008, 01:24 AM
So you dug up my thread. Ok I'll post some more pics tomorrow as I've got quite a lot more done.
Thank you for all the good comments.
Thanks Toon. I remember see your engine compartment and my jaw dropped in awe.
Very nice job. I was considering using Quite Car before I saw your job and after seeing you use it I bought some. I'm going to spray it in the interior cabin, front and
rear trunks, engine compartment ,and underneath. I'm going for a quite comfortable car because me and the misses with be going to a lot of places with it.
Posted by: thesey914 Apr 28 2008, 04:20 AM
nice repair Criag - I'm so glad that you replaced that speaker hole with a proper patch.
Posted by: Grimstead May 25 2008, 12:23 PM
![popcorn[1].gif](style_emoticons/default/popcorn[1].gif)
Posted by: KaptKaos May 25 2008, 12:52 PM

Posted by: sww914 May 25 2008, 01:19 PM
When you're painting interiors, trunks, or engine compartments a very easy way to mask the odd shaped parts like wire harnesses, steering wheels, or shifters is to wrap them with aluminum foil. It's cheap and easy to apply and remove. With tape at 6-8 bucks a roll a couple dollars of foil goes a long way.
Posted by: computers4kids May 25 2008, 01:38 PM
When you're painting interiors, trunks, or engine compartments a very easy way to mask the odd shaped parts like wire harnesses, steering wheels, or shifters is to wrap them with aluminum foil. It's cheap and easy to apply and remove. With tape at 6-8 bucks a roll a couple dollars of foil goes a long way.
Excellent idea...I never thought of that.
Posted by: 3d914 May 25 2008, 02:52 PM
Very nice work Craig. What was your choice of primer, and how does it fit into your paint method?
I was under the impression that the type of primer had to match the paint method used (single stage, multi-coat, etc), so I've reached a stopping point.
I've narrowed the primer down to either Epoxy or Polyester. Since it looks like you used chemical paint remover I suspect you went with an epoxy primer.
Keep up the good work & pics.
Posted by: craig downs May 25 2008, 11:38 PM
Thanks Stephen
I used PPG DP40 epoxy primer and had good luck with. I'm planning on using a primer surfacer over it then block sanding it then a sealer before the top coat.
You have to make sure that all the primer you use is compatible with each other and
your top coat.
Posted by: craig downs May 26 2008, 12:02 AM
Ok guys here is some more.
On to the front where I install a sway bar with Enmans swaybar supports. I then added some more weld to the front panel and wheel house because I replaced those years ago after a accident. I removed the fenders because the doors gaps were to wide and it made it a little easier to work on. They came off easy because I braised
them on before.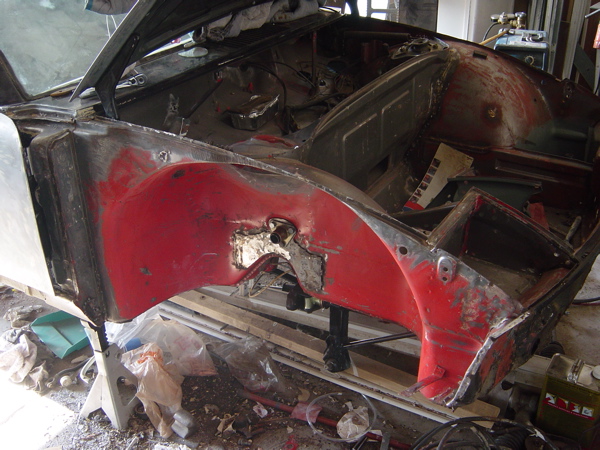
Posted by: craig downs May 26 2008, 12:03 AM
I had to remove the head light box because when I put it in before it rubbed with the corner of the hood.
As it turn out it was to wide so I had to shorten it and now its just right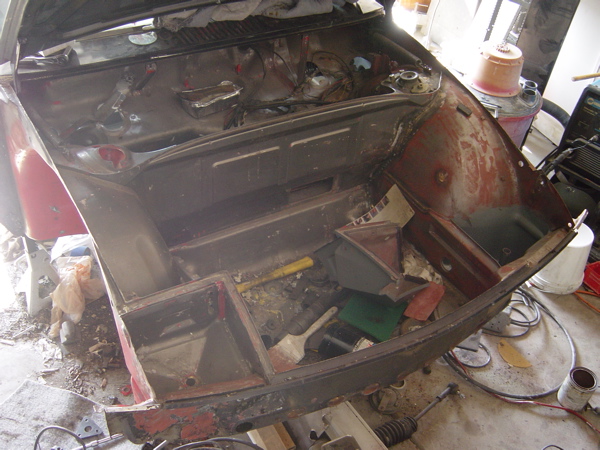
Posted by: sww914 May 26 2008, 12:06 AM
When you're painting interiors, trunks, or engine compartments a very easy way to mask the odd shaped parts like wire harnesses, steering wheels, or shifters is to wrap them with aluminum foil. It's cheap and easy to apply and remove. With tape at 6-8 bucks a roll a couple dollars of foil goes a long way.
Excellent idea...I never thought of that.
I never did either. 25 years ago a little tiny old Mexican dude told me- joo white guys don't know how to do nothing. Wrap that sheet in teen foil, ees much faster.
Posted by: craig downs May 26 2008, 12:11 AM
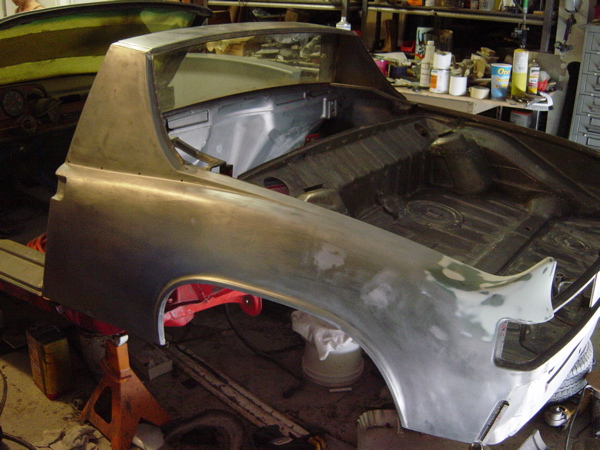
With the fenders install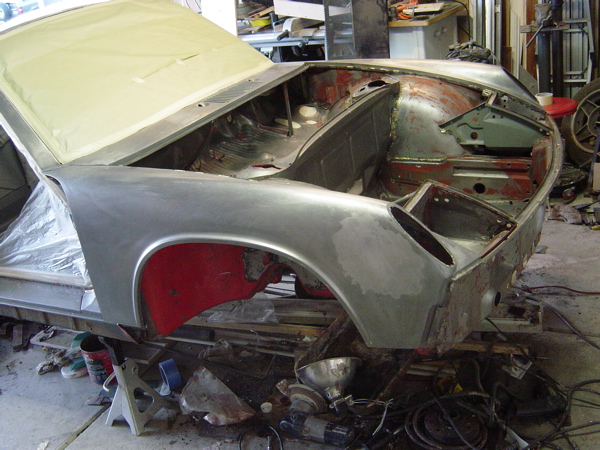
Posted by: craig downs May 26 2008, 12:24 AM
I thought it would be a good idea to check and make sure everything lined up with the hood, headlight doors and ebrows, and the fenders before I finalized everything. As it turned out everything looked good except the hood gap on the passenger side headlight door. So I added to the hood with some lead. Sorry I started taking pics after I had the lead on.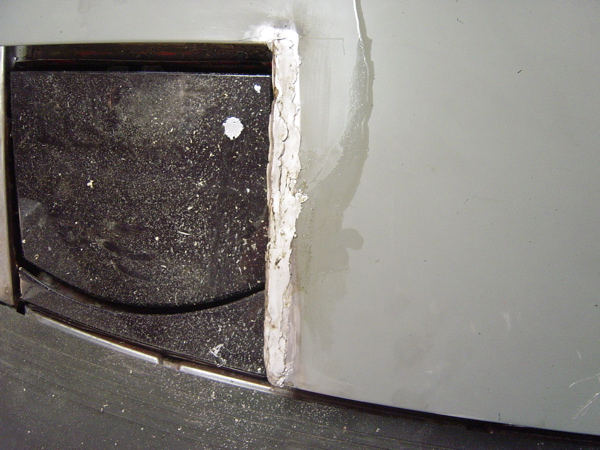
Posted by: craig downs May 26 2008, 12:27 AM
Hear it is done along with the drivers side.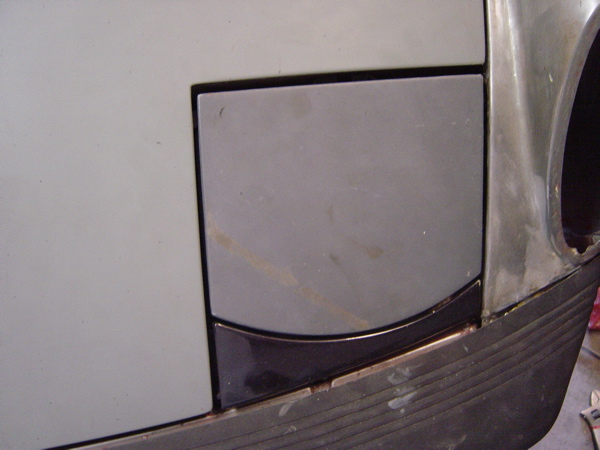
Posted by: craig downs May 26 2008, 12:30 AM
Thanks Steve for the tip about using foil. I never thought about it but that would work pretty good and yes it is cheaper than tape.
Posted by: MrKona May 26 2008, 01:13 AM
This is a great thread. Thanks for taking the time to post.
Posted by: craig downs Aug 3 2008, 12:43 AM
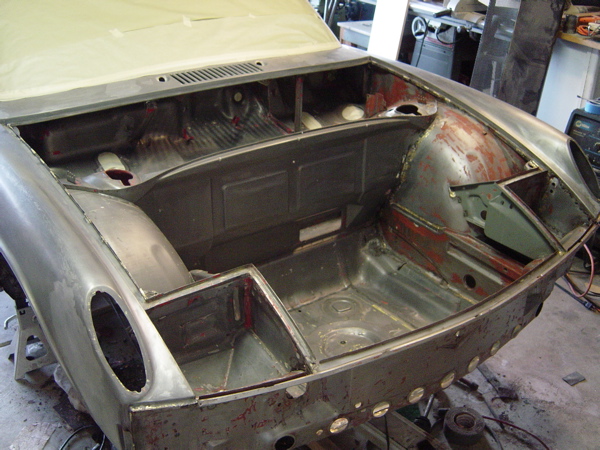
Ok I've been bad about updating my progress its been awhile but its coming along pretty good. So here is the front end primed with PPG DP 40.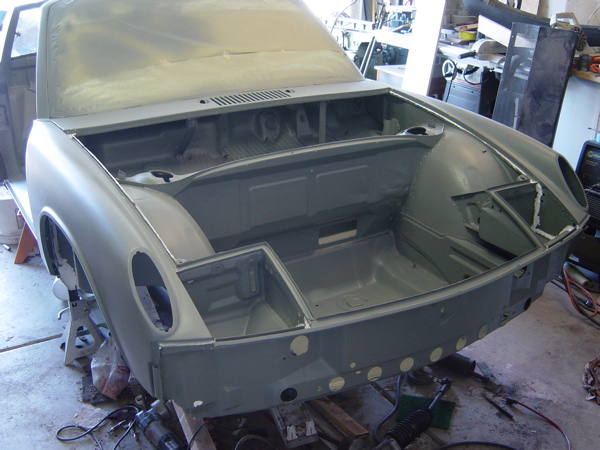
Posted by: craig downs Aug 3 2008, 12:58 AM
My wife came out and said I'm board is there anything I can do.
So I said hmm do you want to strip some paint and she said ok.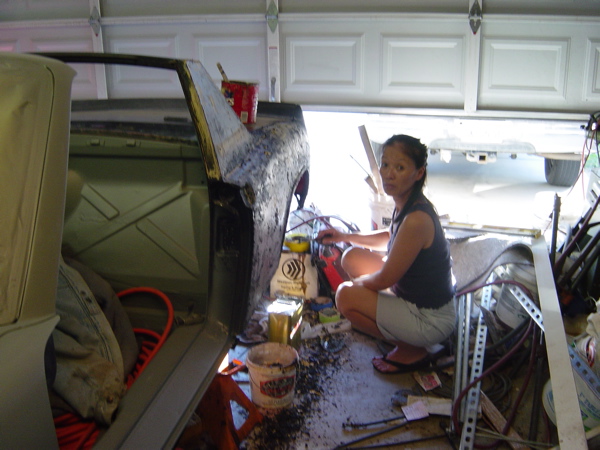

Posted by: craig downs Aug 3 2008, 01:04 AM
I was painting a wine rack for work and when I closed the garage door it pushed it over and fell on the car and made a dent but I was able to metal finish it without to much trouble.
Posted by: craig downs Aug 3 2008, 01:16 AM
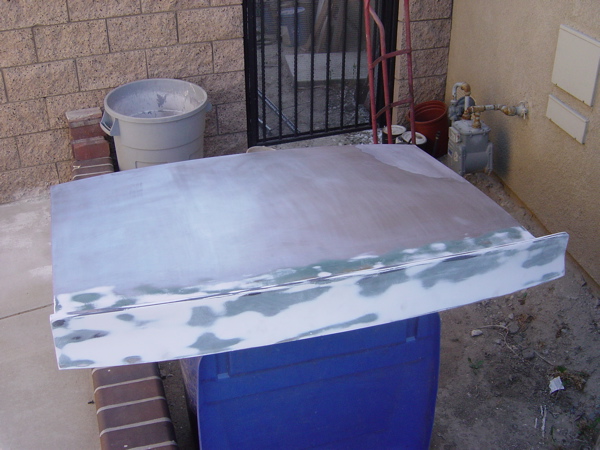
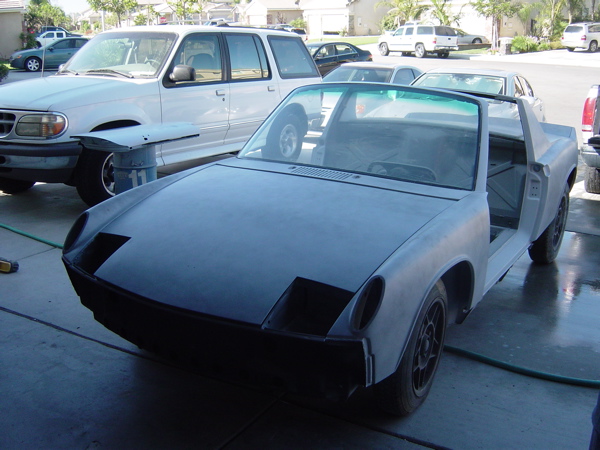
This is how I chose to do the spoiler. I cut off the ends and mounted them on the rear fenders. I mixed up some fiberglass resin and took some mat and shredded it and
mixed it in with the resin used it to blend it into the lid. You have to make sure you get all the air pockets out of the resin or you could have trouble later on. Then I used body filler with fiberglass strands to finish it.
Attached image(s)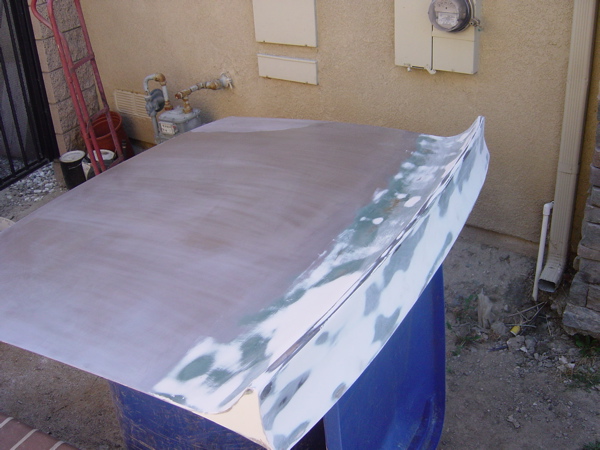
Posted by: craig downs Aug 3 2008, 01:19 AM
Here is how the ends look like.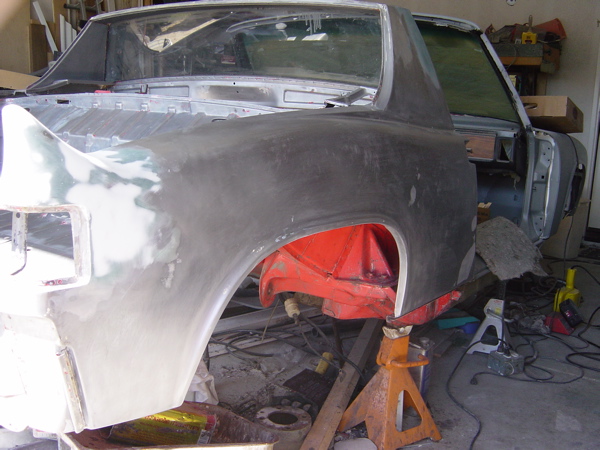
Posted by: Grimstead Aug 9 2008, 12:29 PM
There you are, hiding on the third page...
![]()
The car is looking great, I really do admire your level of detail on everything you do be it your car or my house
Posted by: Grimstead Sep 3 2008, 11:55 PM
![]()

Posted by: craig downs Sep 4 2008, 12:36 AM
Alright I'll see what I can do
Posted by: craig downs Sep 4 2008, 12:59 AM
Rear end ready for 1st coat of primer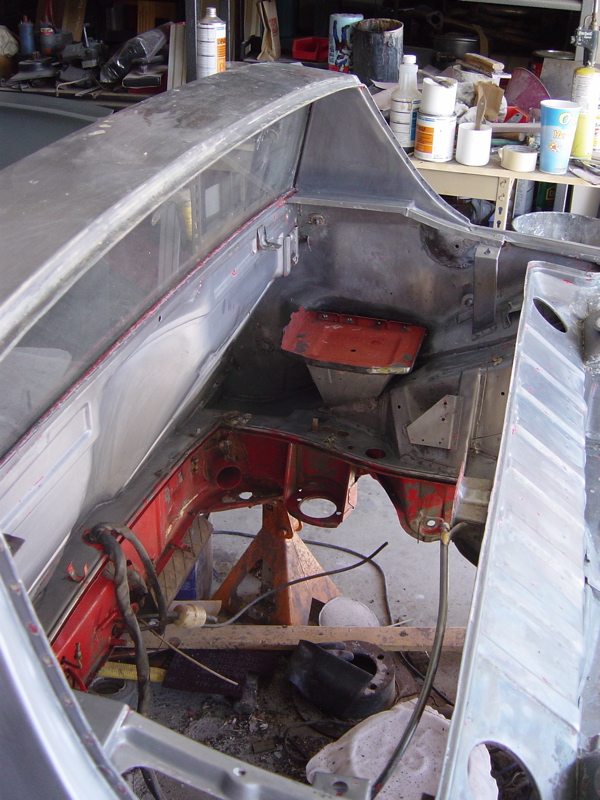
Posted by: craig downs Sep 4 2008, 01:02 AM
Rear end primed with epoxy primed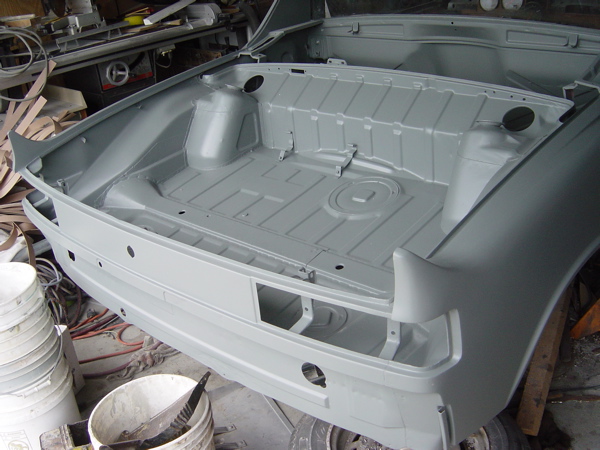

Posted by: craig downs Sep 4 2008, 01:06 AM
Next I sprayed some primer surfacer and a guide coat to aid with sanding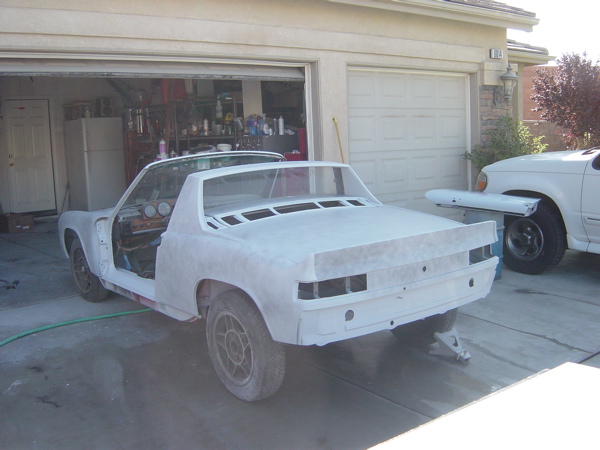
Posted by: craig downs Sep 4 2008, 01:13 AM
I put the suspension back on the car so I can push it in and out of the garage while wet sanding and painting. After over a year on jack stands here is the mess that was created.
Boy what a mess.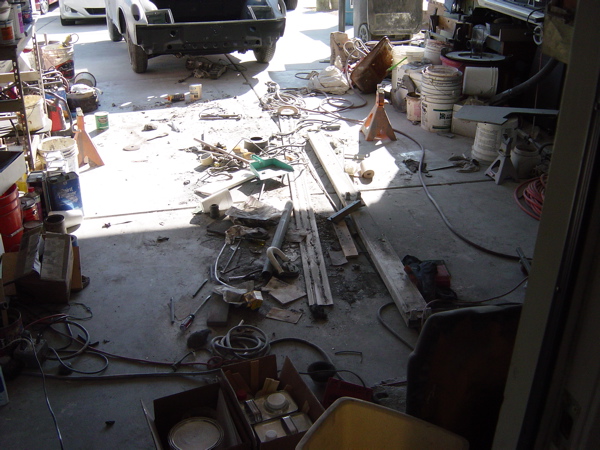
Posted by: George H. Sep 4 2008, 01:24 AM
Craig
send these pics to info@wcr09.com so I can make your "start" file
nice work by the way
Posted by: Joe Sharp Sep 4 2008, 08:14 AM
Craig: My car has been on the stands so long that I done major cleaning under it 4 times.
Powered by Invision Power Board (http://www.invisionboard.com)
© Invision Power Services (http://www.invisionpower.com)