Printable Version of Topic
Click here to view this topic in its original format
914World.com _ 914World Garage _ Front suspenion A-arm refurm
Posted by: racunniff Feb 9 2008, 09:55 PM
My car had the most annoying popping / grinding sound coming from the passenger's side front A-arm. It got to the point that I almost did not want to drive the car any more. So, I decided to do something about it. Once I had diagnosed that it was the A-arm bearings causing the sound, I went to the Pelican and ordered http://www.pelicanparts.com/catalog/shopcart/9144/POR_9144_SUSshk_pg5.htm#item31 (part number 99-3014-340-M230):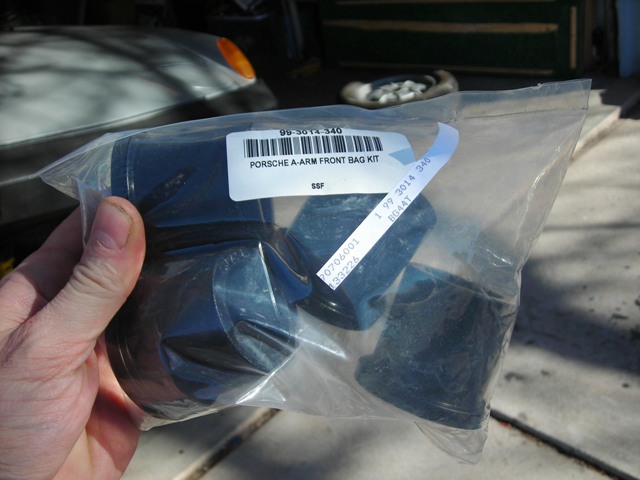
You'll need the following tools:
- Sockets - 11mm, 13mm, 17mm, 19mm
- Allen wrench - 8mm
- A BFH - "Big Friendly Hammer"
- Rubber mallet
- Breaker bar, pry bars, chisels, heat source, etc.
- Some grease (I used some white lithium grease)
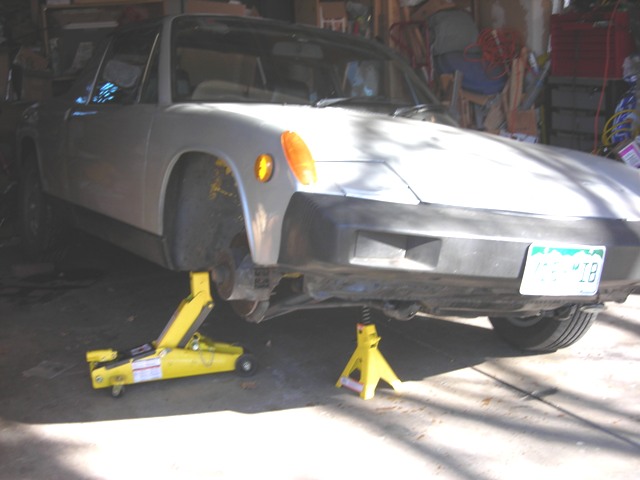
I jacked the car up, and removed the wheel, so I could access the suspension:
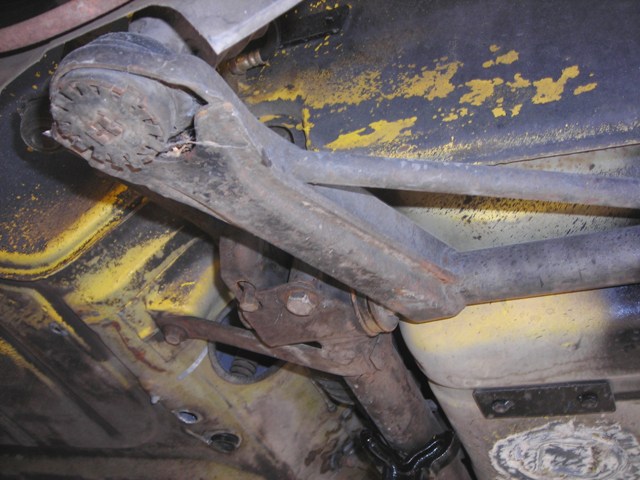
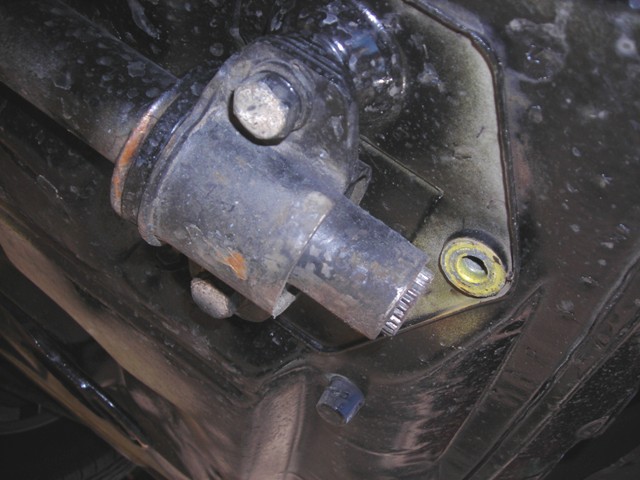
Here is what the A-arm looked like at the begnining of this whole process:
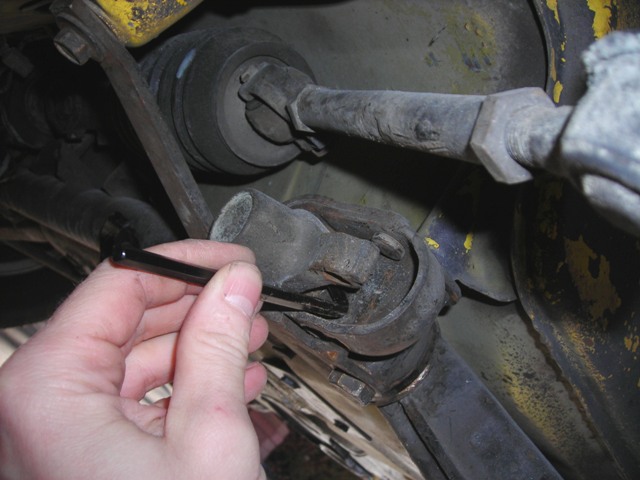
First step in removing the A-arm is to remove the torsion bar adjusting screw (using an 11mm socket) and then pry the adjusting arm off the torsion bar (I used an Allen wrench as a lever to push it from behind):
Next is to remove the tapered pin from the ball joint. You back the nut off so it's clear of the threads (using a 13mm socket) and then you *carefully* strike it with a hammer - here is my BFH about to strike the nut (which has been soaking for a bit in penetrating oil). You have to hit it pretty hard to loosen it, but eventually, it will pop forward:
Once you get the initial "pop" you'll need to remove the nut and then use another bolt or something as a drift to push the pin far enough out so you can get at it with vice grips or something.
Coming soon, Part II
Posted by: racunniff Feb 9 2008, 10:03 PM
Part II
Next, you need to pop the ball joint out of the strut. This is pretty tricky. I ended up using a long lever to push it down (not shown: I also put a jack under the brake rotor "hat top" to keep the strut from lowering as I pried):
Next, you remove the rear bolt that attaches the A-arm to the aux front support (using a 19mm socket):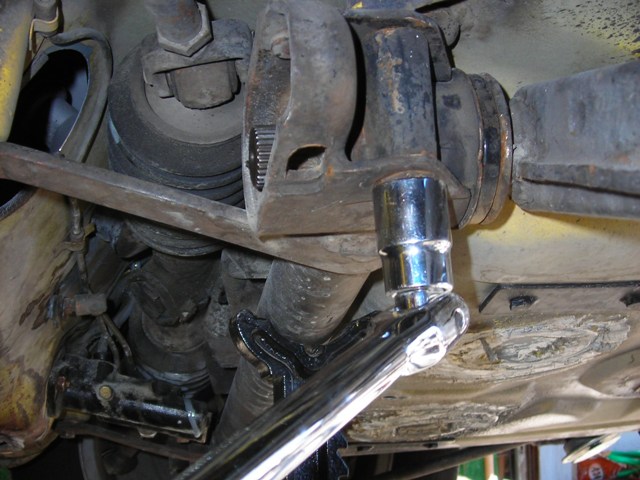
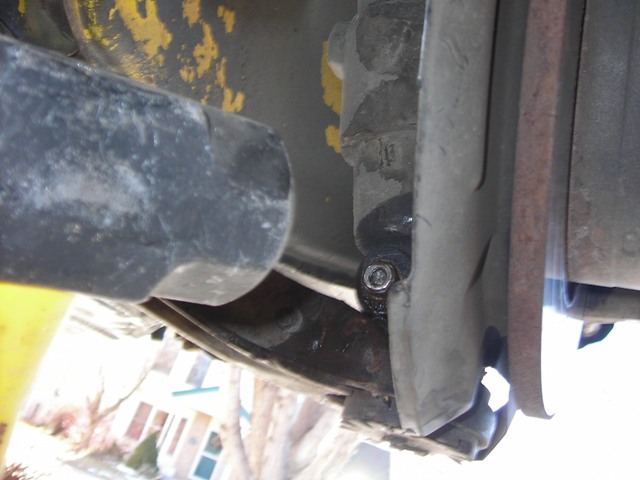
Remove the front guard clip (using an 8mm Allen wrench - I had to actually use the key style, since my 8mm hex socket would not fit all the way in to the bolt  ):
):
And then remove the two bolts holding the front of the A-arm on (using a 17mm socket):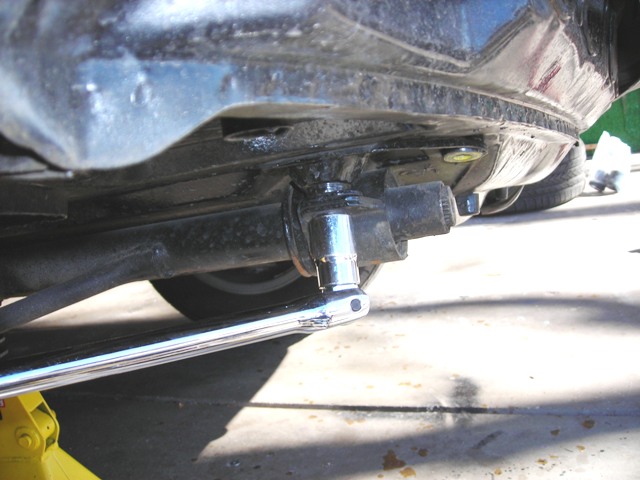
Coming soon, Part III
Posted by: racunniff Feb 9 2008, 10:13 PM
Part III
The Haynes book says "push the control arm out" but I had to use a crowbar to free it from the rear mounting point: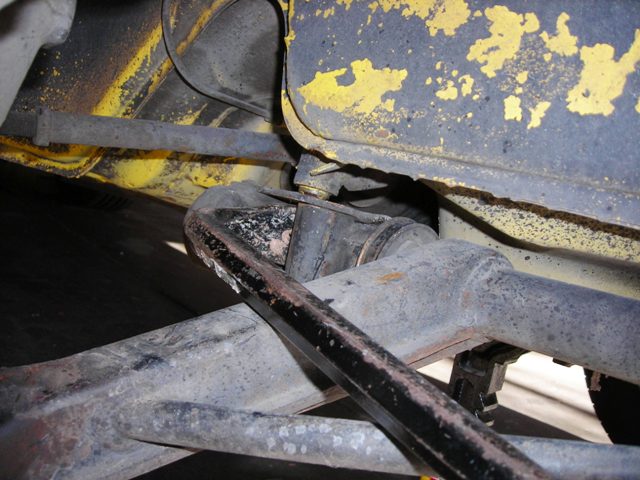
And that's it for removal from the car. Here is the whole assembly - note the rust and general "old" appearance of the part: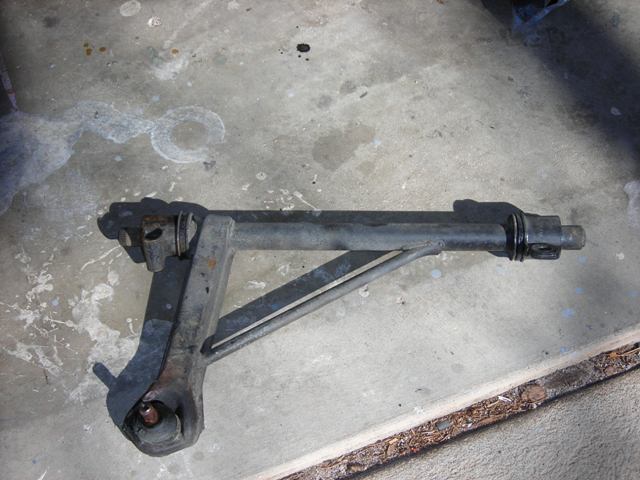
But the fun is just beginning. To replace the bushings, you need to get them off the A-arm. For me, the front popped off pretty easily: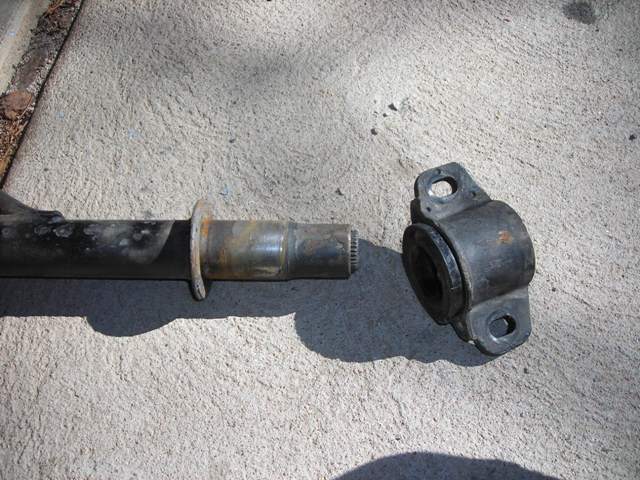
And this is where the cause of the "popping" or "grinding" becomes evident - there is surface rust on the bearing surface.
You then need to get the old bushing out. I used two chisels on opposite sides of the "shoulder" of the bushing to pry it: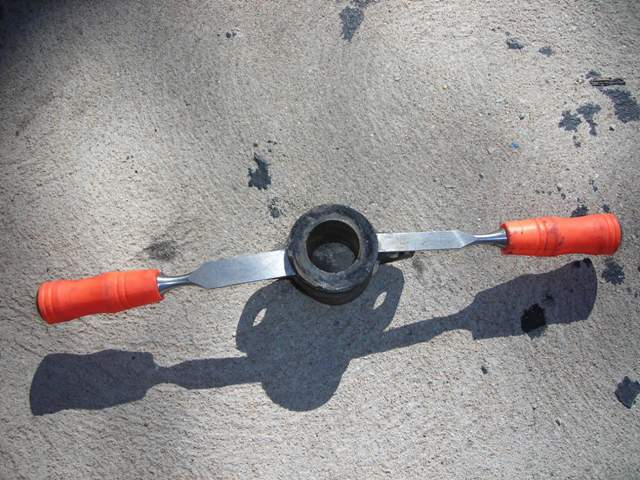
You can also push from the back with a very large socket or other such drift. But for me, once I got it most of the way out with the chisels, the old bushing just popped out. The bushing itself was not in terrible condition, but it's not going back in with those nice shiny new ones waiting...
This is where it got nasty. The rear bushing / bearing would *not* come off. Using a hint from Pelican's http://www.pelicanparts.com/techarticles/911_suspension_bushings/911_suspension_bushings_front2.htm, I applied heat to it: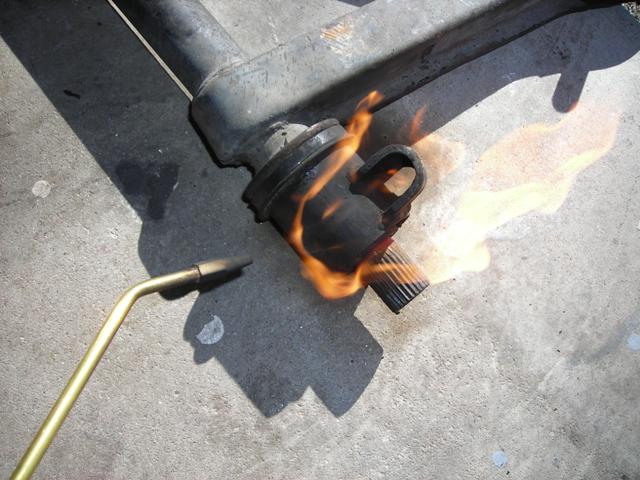
With enough heat, enough prying, and hitting it hard enough with my BFH, I finally got it off. Again, once it moved a couple of cm, it came off (hint: use a breaker bar in the bolt hole to lever it back and forth - it also gives you a place to hit it with your favorite BFH).
Coming soon, Part IV
Posted by: racunniff Feb 9 2008, 10:22 PM
Part IV
With the rear bushing off, I found more rust: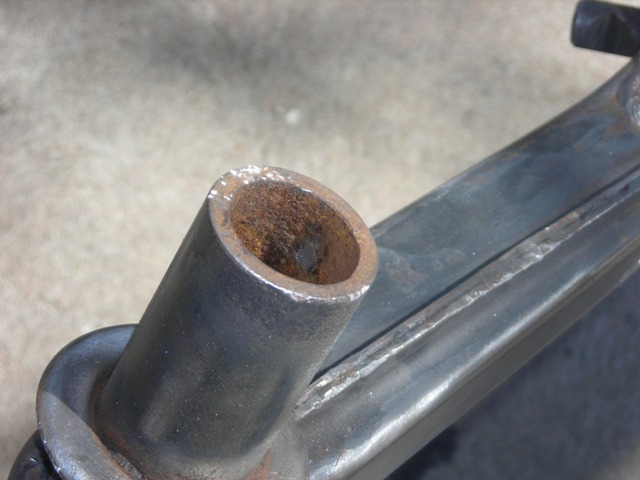
And a nice pile of rust flakes where I'd been standing as I pried the bushing off: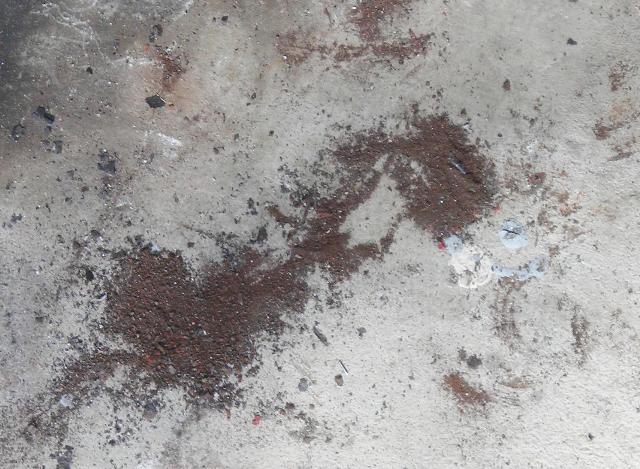
So, I took my angle grinder with a wire wheel and took the whole thing down to nice shiny metal: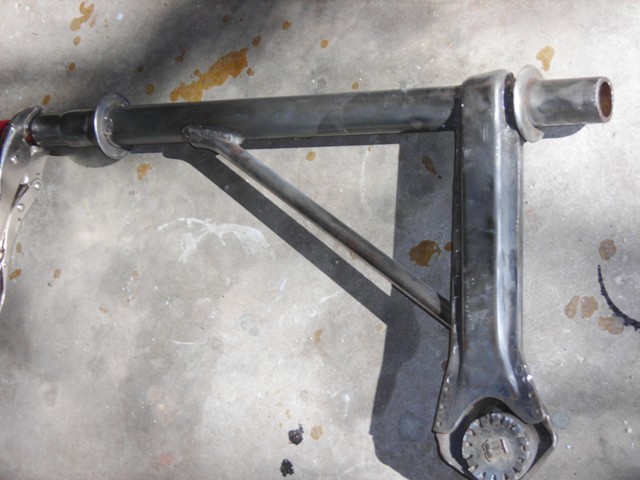
I also treated the interior of the A-arm with some rust converter, hopefully stopping the rust in there. That done, I rattle-canned it with some nice shiny black rust preventative paint (making sure I taped the bearing surfaces so they would not get paint on them):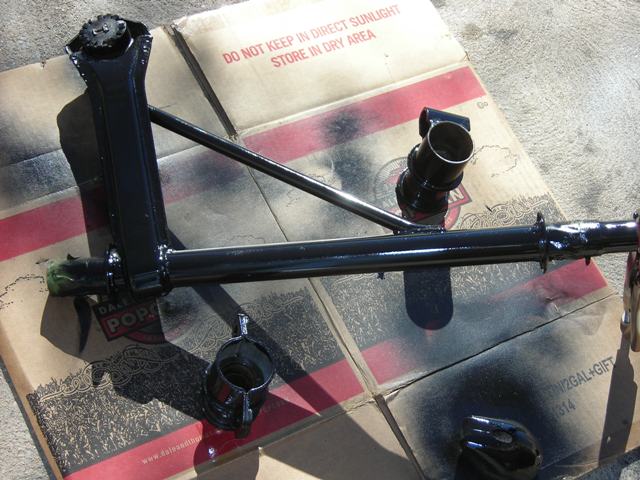
Coming soon - Part V
Posted by: racunniff Feb 9 2008, 10:31 PM
Part V
And now, for the whole point of this exercise - installing the bushings. There are two different bushings in the bag - a front bushing (with "2557" stamped on it):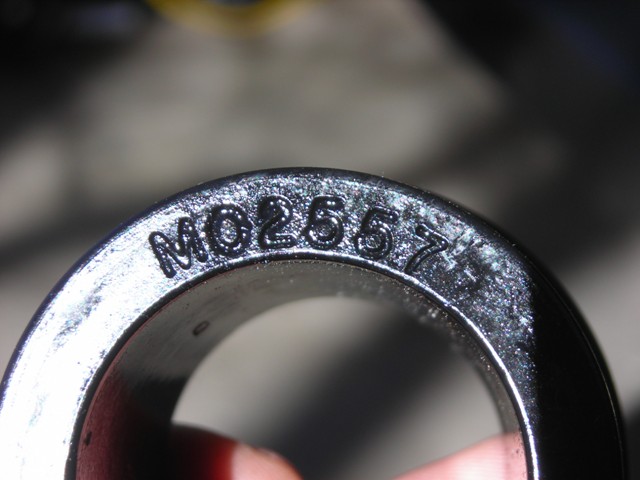
...and a rear bushing (with "2558" stamped on it):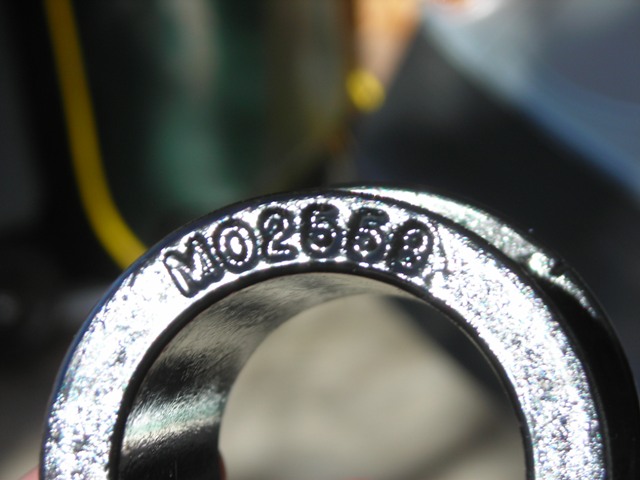
I put the front bushing on first. I lightly greased the A-arm bearing surface with some lithium grease, and then pushed the bushing on. I then lightly greased the front mounting point and pushed it on over the bushing. The front went on pretty easily (make sure that the "washer"-like reinforcements are facing the correct direction, which is "up" relative to the installed position of the arm):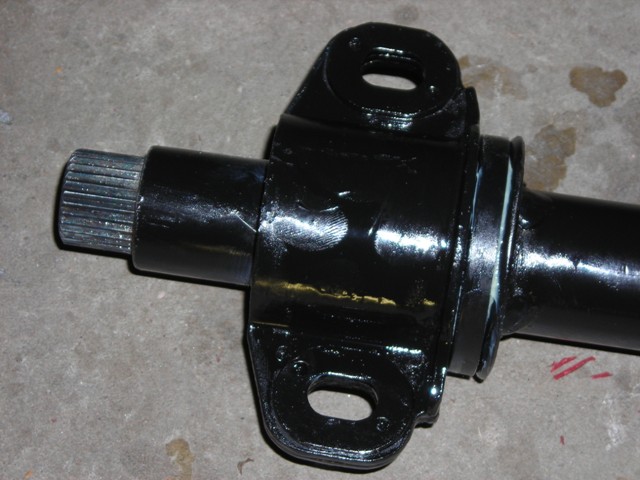
The rear was, well, a pain in the rear. It was a much tighter fit - appropriate, I guess, given than it was much harder to remove. You can use the old rear bushing as a drift and a rubber mallet to push the bushing on (after lightly greasing again). And then you put the front mounting point on (don't forget the grease) - and here, you pretty much have to use a BFH again. You can invert the old bushing, putting the wide part of the shoulder against the mounting point, and strike it with the hammer until it is well in place (make sure the bolt hole is on the correct side of the A-arm):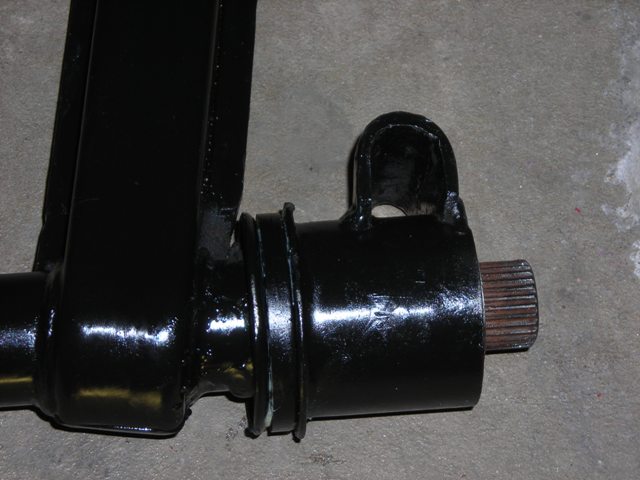
And here it all is, all shiny and pretty and ready to reinstall: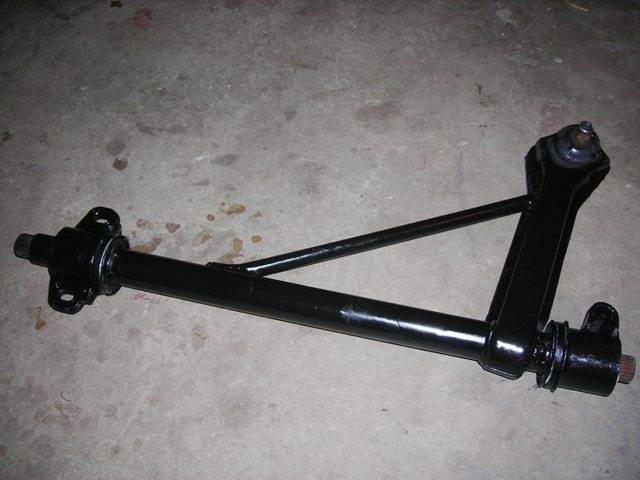
Coming soon, Part VI
Posted by: racunniff Feb 9 2008, 10:44 PM
Part VI
As the Haynes manual says - installation is the reverse of removal  . But here are a couple of tips:
- Have the rear bushing at an angle sufficient that the ball joint top is below the strut
- Use a lever to push the ball joint back up into the strut (you probably want to push the brake rotor toward the car so the ball joint top lines up properly with the strut)
- You can hit the "ears" of the front mounting point with a BFH to get the rear bolt hole into the proper position
- Make sure your torsion bar is properly placed front-to-back inside the A-arm so the torsion bar adjuster will go on properly
The torque settings you will need, according to Haynes, are:
- 47 Ft-Lb Bolt on ball joint taper pin
- 34 Ft-Lb Front support bolts
- 33 Ft-Lb Rear support bolt (??? - I'm not sure this is correct)
There is not a recommended setting for the hex bolt that holds the front clip on - I think you just put it on "hand-tight" - it's not really structural.
Here's mine, reinstalled and happy:
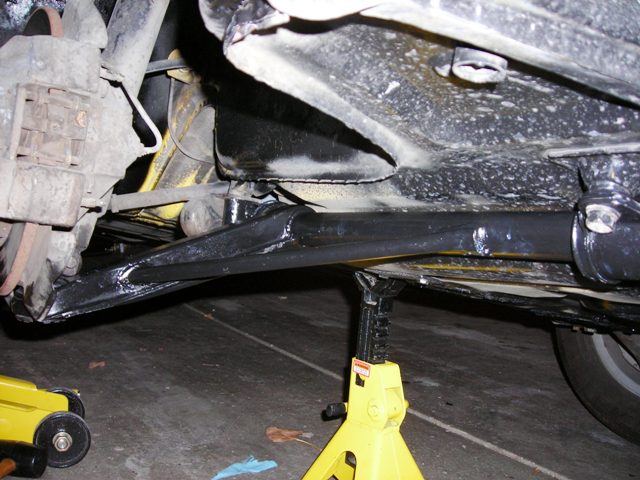
I drove it around the neighborhood - and the pops & squeaks are gone!

The final thing you should do is reinstall your wheel, and then drive it in and out of the driveway a couple of times to settle the strut, then adjust your ride height (using that same torsion rod adjusting screw way back in Part I)
And, finally, a preview of one of the next projects - my ball joint boot is torn
- I'm probably just going to replace the whole thing: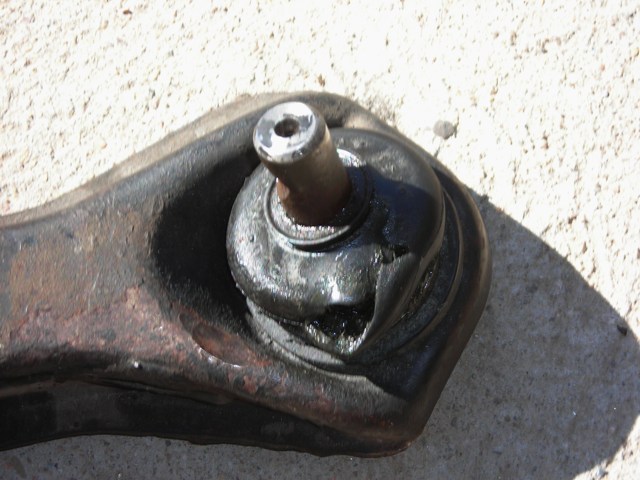
Posted by: daveyboybadion Feb 10 2008, 12:12 AM
Thanks for a very informative post. From your avatar can we infer that your 914 has been electrified? If so could you post the details?...daveyboy
Posted by: racunniff Feb 10 2008, 08:24 AM

Thanks for a very informative post. From your avatar can we infer that your 914 has been electrified? If so could you post the details?...daveyboy
Indeed - see http://volt914.blogspot.com for all the gory details. In short - 144V system AC motor with regenerative braking, top speed probably 90-ish (never taken it there), range (in the summer) roughly 100 miles.
Posted by: Eric_Shea Feb 10 2008, 08:36 AM
It looks as though this is the second go-round on the bushings. The ones you took off don't appear to be stock.
Good work! 
Posted by: crash914 Feb 10 2008, 08:49 AM
OK, since no one else brought it up...
VOte for classic!!!!!
Posted by: TeenerTim Feb 10 2008, 08:56 AM
I did this exact same job yesterday. There is no need to remove the rear bolt next to the adjuster. It just holds the rack support to the frame.
Posted by: rhodyguy Feb 10 2008, 09:35 AM
not to argue the point, but that 47 ft lbs on the tapered pin nut seems like alot. side note...cleaning the pin hole, lubing, and fully seating the pin with a drift is sort of important. trying to draw it in with the nut resulted disaster for me. good work. eliminating the annoying SQUEEK, SQUEEK is rewarding.
k
Posted by: r_towle Feb 10 2008, 10:30 AM
You need a front cap on the torsion tube to retain the torsion bar and keep it from walking out the front of the tube.
Not sure where that went, but you NEED this little part.
Rich
Posted by: rhodyguy Feb 10 2008, 10:36 AM
the little felt ring gasket at the rear too.
k
Posted by: racunniff Feb 10 2008, 10:39 AM
the little felt ring gasket at the rear too.
k
Yeah, I was looking at Pelican Parts yesterday and noticed those were available. It could very well be that is why there is rust *inside* the A-arm - no seals / gaskets... I'll update the thread with pix when I do the driver's side.
Posted by: rhodyguy Feb 10 2008, 10:52 AM
did you grease the length of the torsion bar? that helps with the rust issue. if you need a gasket on the side you did, just pop the adj cap off and slide the gasket over the t bar end.
k
Posted by: racunniff Feb 10 2008, 06:42 PM
did you grease the length of the torsion bar? that helps with the rust issue. if you need a gasket on the side you did, just pop the adj cap off and slide the gasket over the t bar end.
k
Yes, that I did, great minds think alike
. I should have put it in the main post. I'll try your suggestion and follow up next weekend.
Powered by Invision Power Board (http://www.invisionboard.com)
© Invision Power Services (http://www.invisionpower.com)