Printable Version of Topic
Click here to view this topic in its original format
914World.com _ 914World Garage _ My WCR 09 Thread
Posted by: DNHunt Sep 27 2008, 01:15 PM
I promised my daughter a trip through the redwoods and down the California coast. My list of projects isn't long, three things really. Install new struts and bleed brakes, rebuild my engine and tune said engine. The problem is I haven't gotten the last 2 things right in the last few tries. I'm allowing plenty of time go around. This build will succeed!
Poor car on jack stands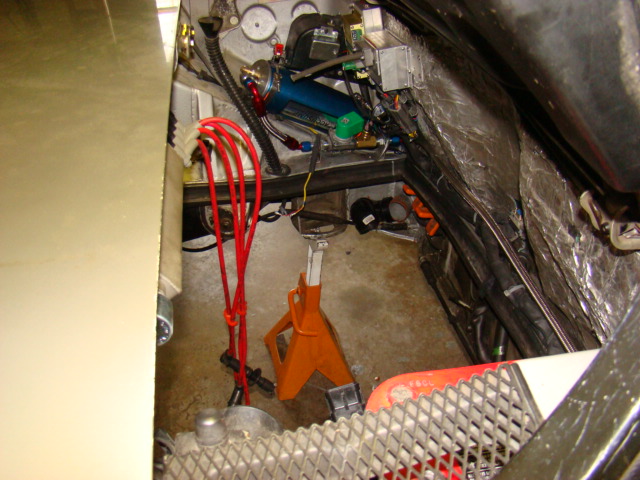
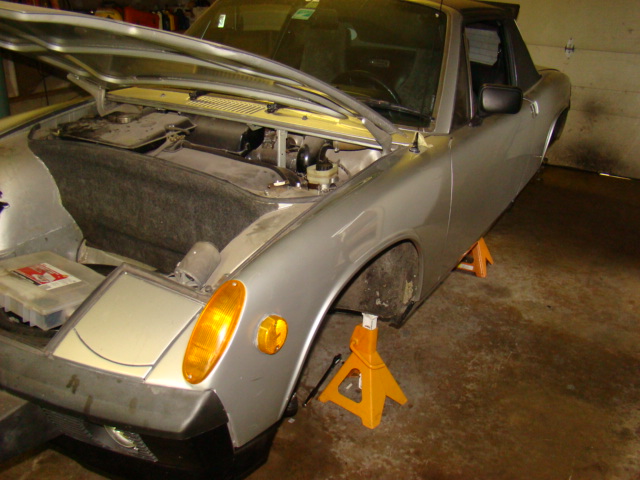
So, here I go
Dave
Posted by: DNHunt Sep 27 2008, 02:18 PM
I'm going to try and document my engine build paying attention to everything I can. This will be a 2382, 98 X 78.6.
I started a while ago with case selection. Supposedly 1.7l cases are better EA I guess but I have 2 GA cases. One I sent to get machined and the other I had done locally. Choosing between the 2 I looked at the case split between the main bearings. movement of the case halves will cause a dull gray look and loss of machining marks. This case shows it was moving.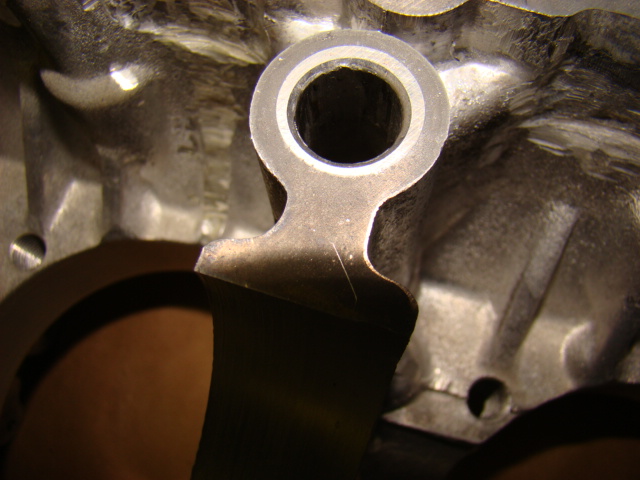
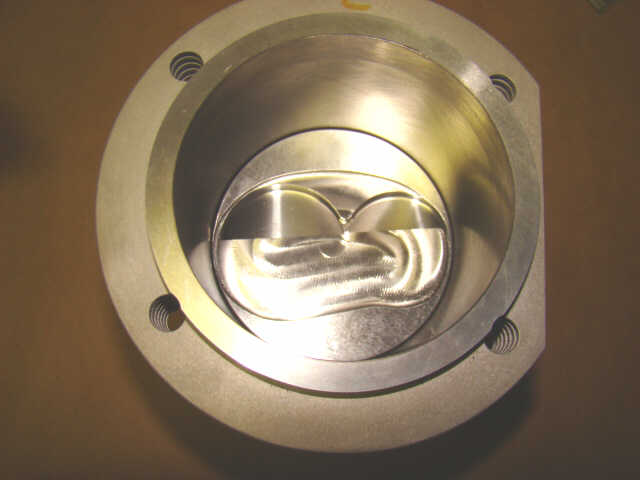
I would have preferred it look more like this but, those are hard to find around the center main. It is brighter silver colored and you can see machine marks still.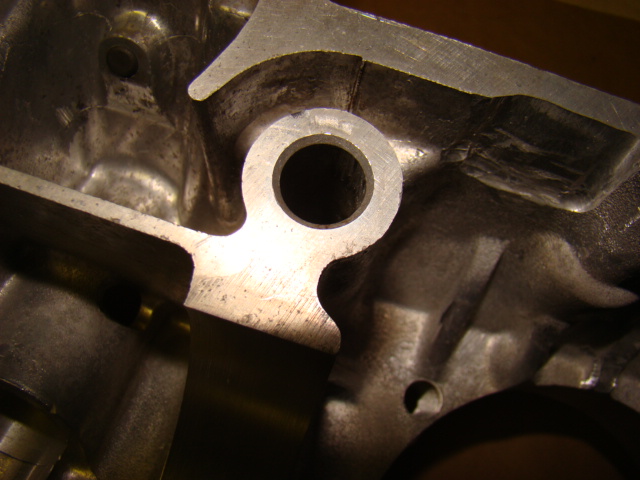
As a quick test you can use a not too worn old bearing to see if the the journal are enlarged. If it slips in and out easily align bore for sure. If it is tight keep checking.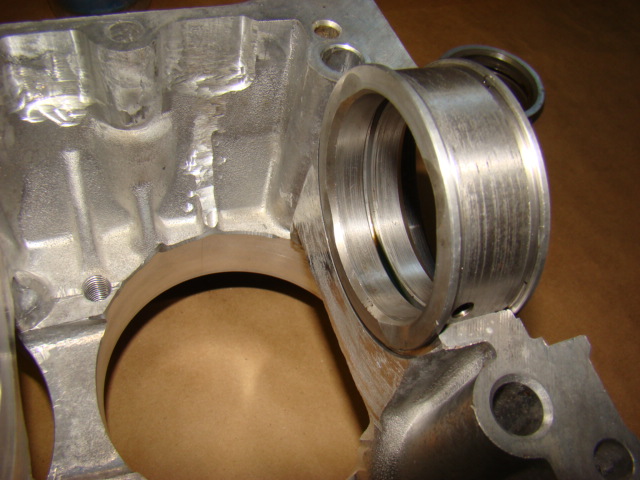
Bolt it together and see if you can catch the parting line with a finger nail. If you can you should probably align bore.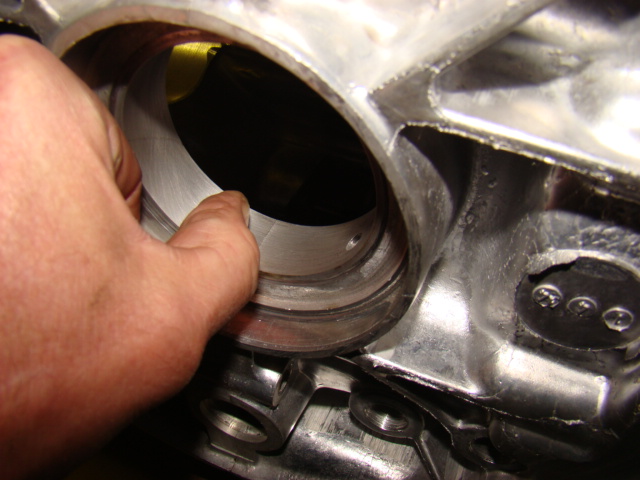
Finally, if all of that looks pretty good you can measure the bores with a bore gauge or have your machinist do it. This case had an oval shaped bore and had been moving so it got align bored and decked. I'm still hoping the other case is better.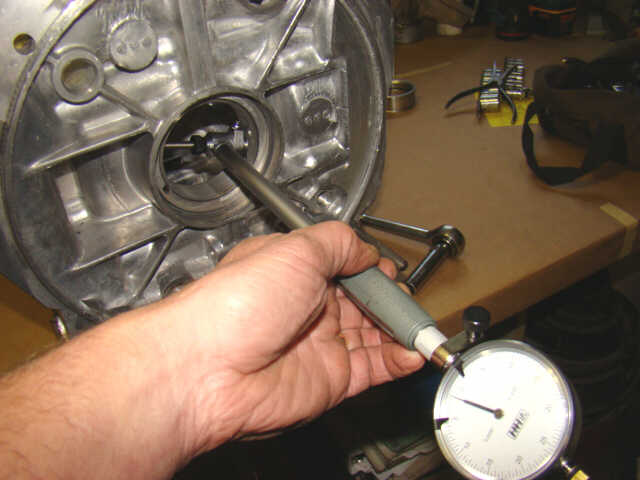
Posted by: DNHunt Sep 27 2008, 02:32 PM
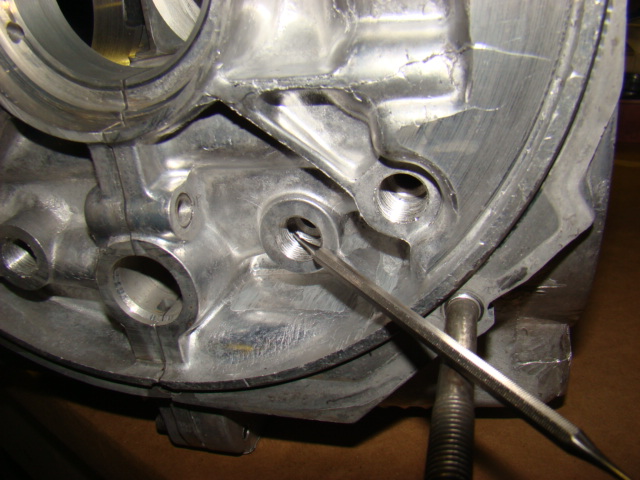
Ah, galley plugs. Removing the pressed in factory one helps assure no leaks and gives you access to clean the passages better.
Here's what I use a 5/16 drill to pop through the stock plug. Often they come out on this drill. If not I use a #4 extractor and wiggle and work it backwards. I prep the hole with a 37/64 drill in a drill press and tap with a 3/8 NPT tap.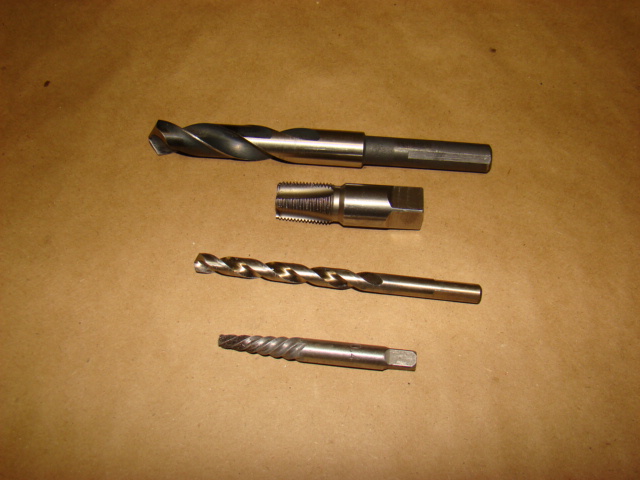
There are 3 in the back of the case,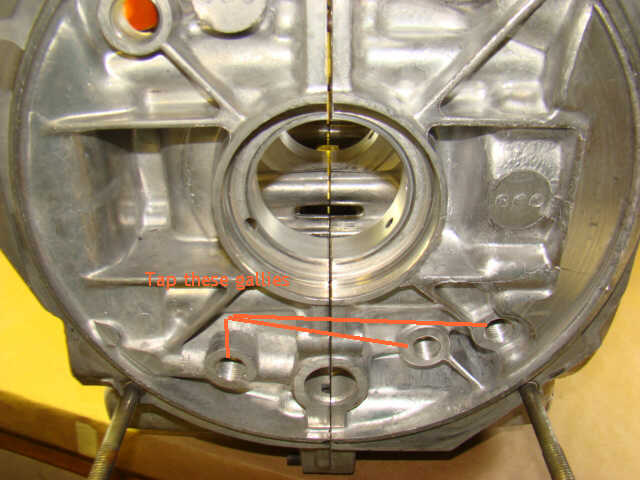
and 2 in the passenger side front.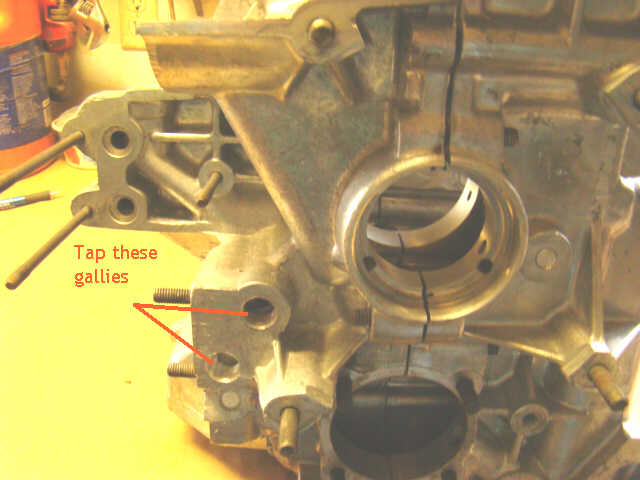
Here it is on the drill press.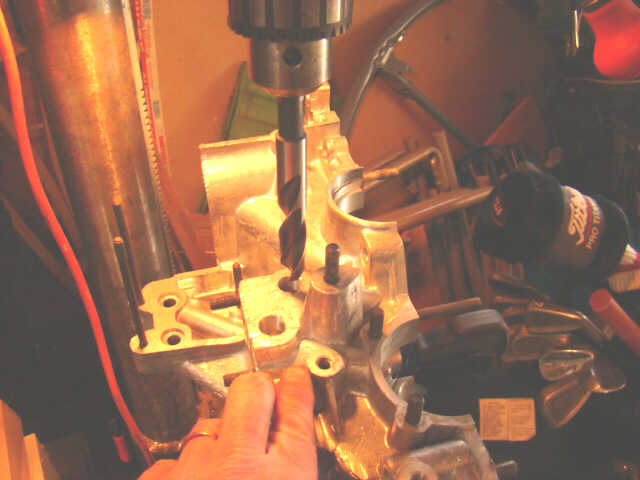
And here is the tap.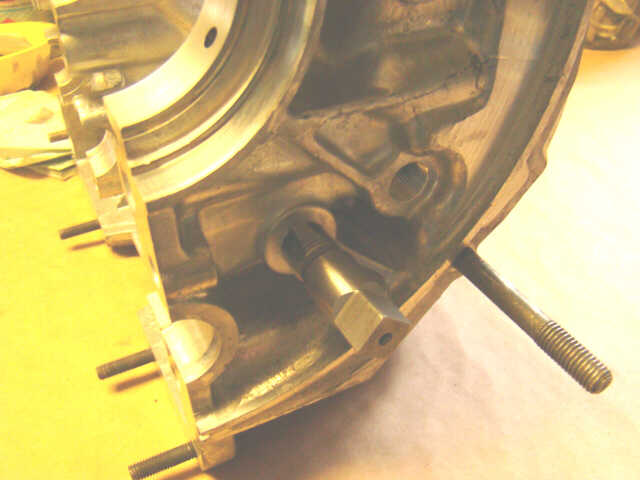
Beware of the passenger side back closest to the parting line. THe passage to the rear cam bearing is pretty close to the surface and if the plug sets too deeply into the case oil can be resricted to that bearing 
Posted by: DNHunt Sep 27 2008, 02:50 PM
My pistons and cylinders arrived so it was time to find out what they were like. The first thing I did was measure stuff. I measured the area that fits into the case register so I could anticipate the diameter of the shims I will need. I measured them at room temp and at 400 degrees. These are Nickies and the aluminum will expand more than the steel shims. 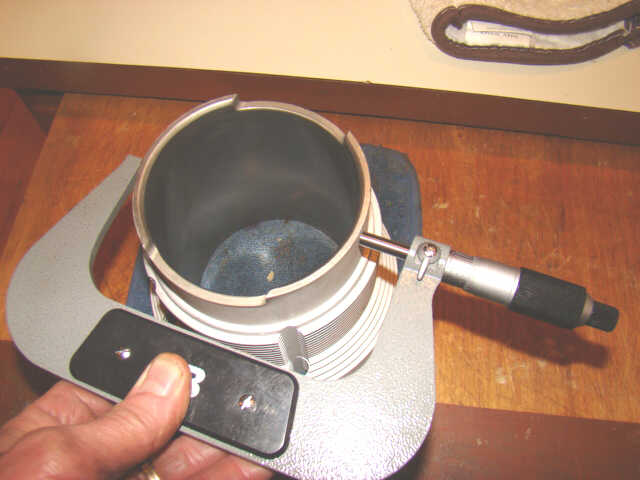
I also measured the height to see if they were the same and they are.
Next I checked piston to cylinder clearance. This should be set at the machinist but, I wanted to verify it. First I used the cylinder bore gauge. I would expect with iron cylinders that piston to cylinder clearance would change with heat and the room temp reading I had would be way to tight at operating temps. On the opposite side I would expect ring gaps done at room temp would be fine at operating temps.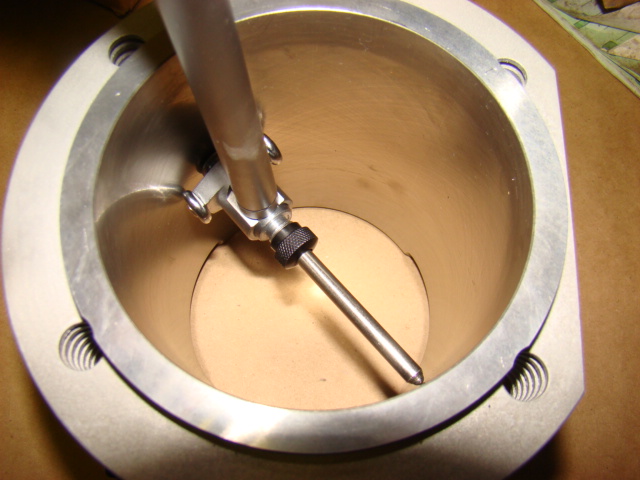
Then I measured the diameter of the piston 1/2 " from the bottom of the skirt. Nice and tight.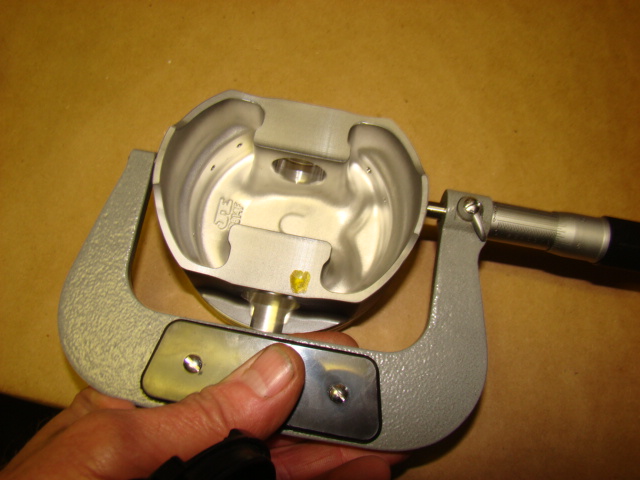
I slipped the piston into the cylinder and it slides through slowly on it's own.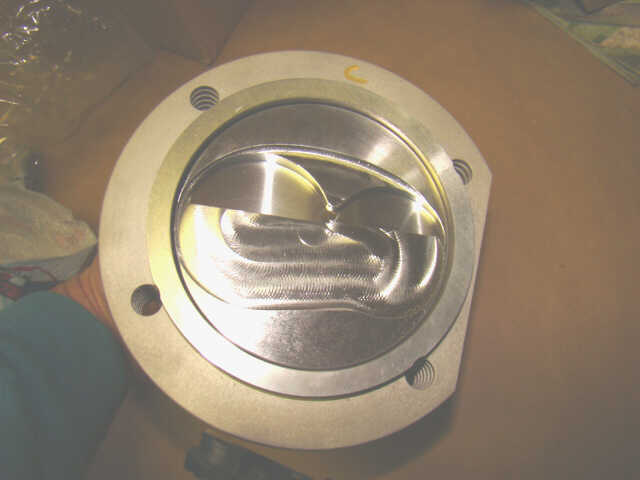
The under side shows it's nice and tight.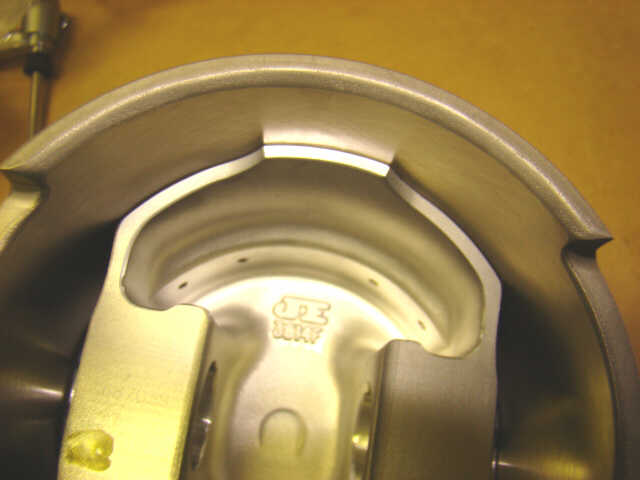
Posted by: DNHunt Sep 27 2008, 02:56 PM
Gapping rings was next.
Since the cylinders are aluminum and the rings are iron I checked the gap at 400 degrees, 65 degrees and 25 degrees. At running temps the gaps are very near what the ring suppliers suggest. I don't think I'll start it at 20 degrees.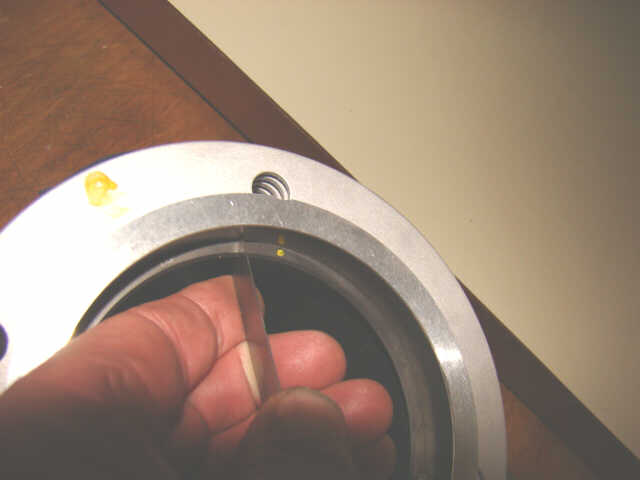
That's all for now. The pistons are off so everything can get balanced.
Dave
Posted by: Todd Enlund Sep 27 2008, 11:52 PM
![popcorn[1].gif](style_emoticons/default/popcorn[1].gif)

I'll be watching this thread for sure. Go get 'em, Dave!
I'm hopeful that my car will make '09... but it's not likely.
Posted by: messix Sep 28 2008, 12:00 AM
good to see you working on it. 
Posted by: dw914er Sep 28 2008, 12:13 AM
rock on!!!!!! Hopefully I'll get to see the final result at WCR!!!
Posted by: DNHunt Sep 28 2008, 08:29 AM
Can't give up.
Gonna whip this thing
 .
.Dave
Posted by: jim_hoyland Sep 28 2008, 10:27 PM

Can't give up.
Gonna whip this thing
.Dave
Looks good Dave !
Was the WCR 2008 ride too confortable ?
Attached image(s)
Posted by: Root_Werks Sep 29 2008, 10:18 AM
Keep us posted Dave. I'll be doin' the 4cyl thing for quite a while myself. This should be a very interesting thread for me. 
Posted by: Tom Oct 2 2008, 06:29 PM
Great pics, Dave. You'll get it this time. Let us know if you need any tool handers or real help.
Powered by Invision Power Board (http://www.invisionboard.com)
© Invision Power Services (http://www.invisionpower.com)