Printable Version of Topic
Click here to view this topic in its original format
914World.com _ 914World Garage _ Rear sway bar bushings. . .
Posted by: aircooledtechguy Jun 12 2009, 02:28 PM
I bought new drop link bushings from Pelican. The old ones were broken and easy to remove. What is the best technique for installing these in the drop links since they have the shoulders on both sides?? Then the best technique for installing them on the ball ends when the time comes?? I really don't want to break my new bushings. Thanks!!
Attached thumbnail(s)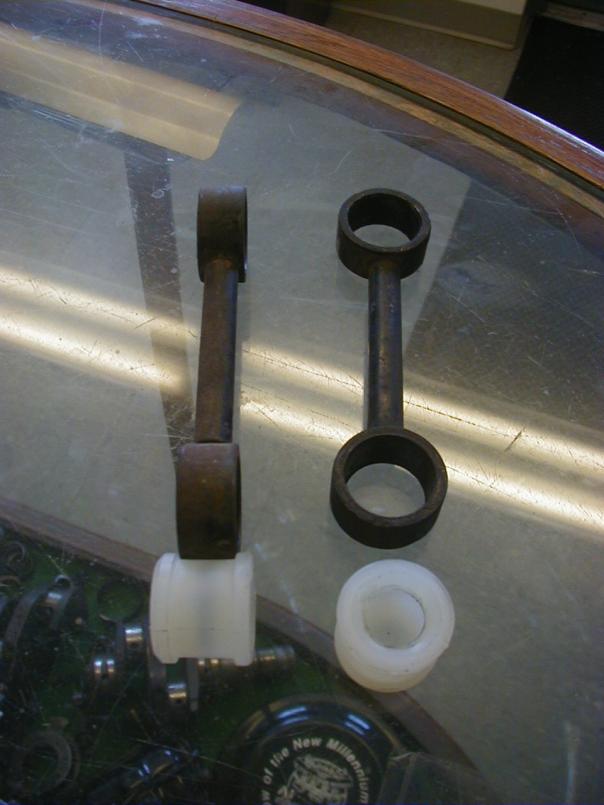
Posted by: Spoke Jun 12 2009, 03:54 PM
I just got one side of the open side started and squeezed the rest in. They are pretty pliable when new.
Then to install on the swaybar, I greased the ball and socket and just pressed in with a large set of channel locks.
Posted by: rascobo Jun 12 2009, 04:11 PM

I bought new drop link bushings from Pelican. The old ones were broken and easy to remove. What is the best technique for installing these in the drop links since they have the shoulders on both sides?? Then the best technique for installing them on the ball ends when the time comes?? I really don't want to break my new bushings. Thanks!!
Soak them in boiling water to soften them and they go in easier. I have used a couple pair of vice-grips, one on each side of the bushing or a vise to gently press it in. Then to mount the links on the ball joints, first apply some suspension lube or any grease available, next, pierce the back side of each bushing with a sharp object of some sort, to allow air to escape, and finally, again use a lg pair of vice-grips or a hammer to force them on the balls. You don't have to worry about breaking the bashings as they're pretty malleable.

Posted by: aircooledtechguy Jun 15 2009, 09:42 AM
Thanks for the suggestions guys. I successfully installed my rear sway bar  Let the tire punishment begin!!
Powered by Invision Power Board (http://www.invisionboard.com)
© Invision Power Services (http://www.invisionpower.com)