Printable Version of Topic
Click here to view this topic in its original format
914World.com _ 914World Garage _ Headlight assembly
Posted by: PanelBilly Jun 23 2009, 08:26 PM
Pull the headlight wires into the bucket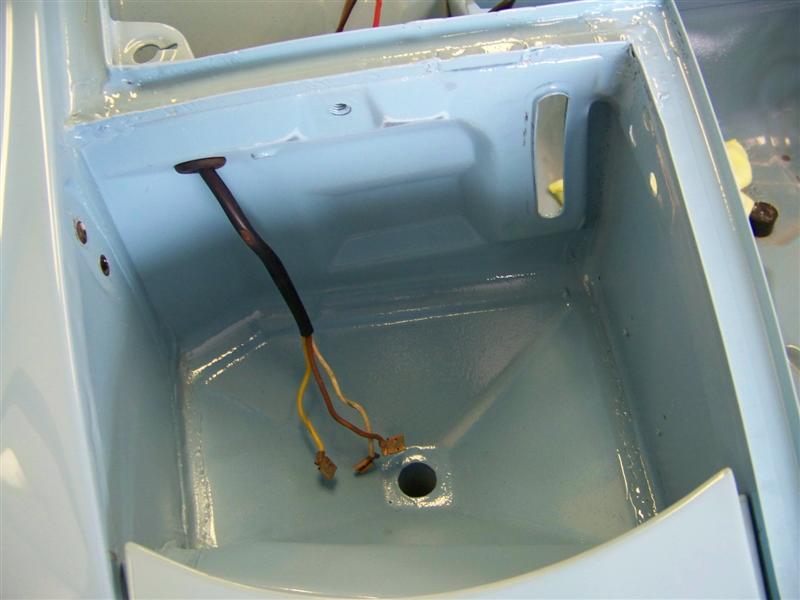
These are the headlight wires without the plastic shield on them. 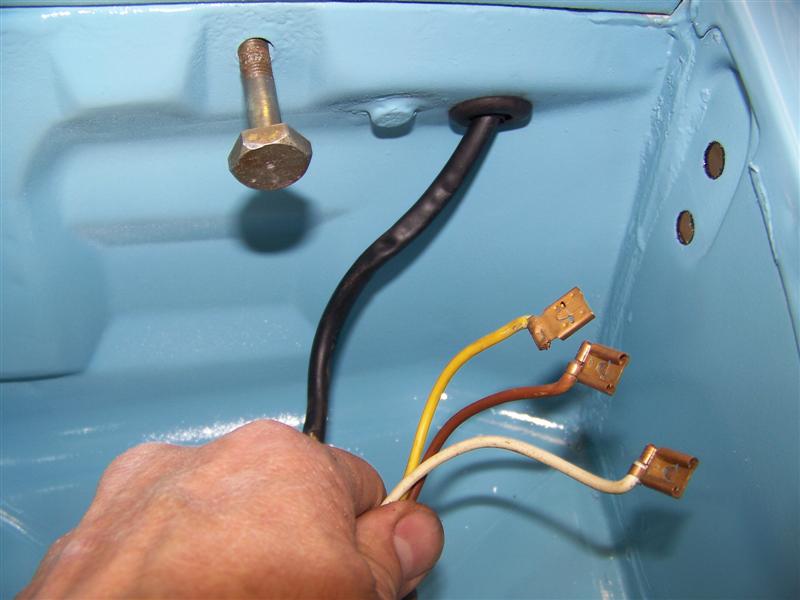
Connect the works of the headlight hardaware to the cover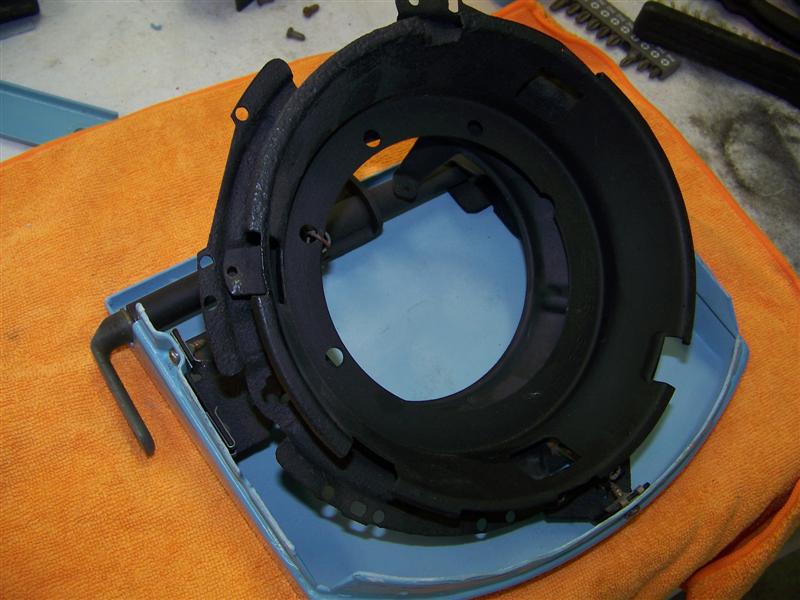
Posted by: PanelBilly Jun 23 2009, 08:31 PM
Screw in the stop bolt. Clean the threads before and it will adjust much easier to make adjustments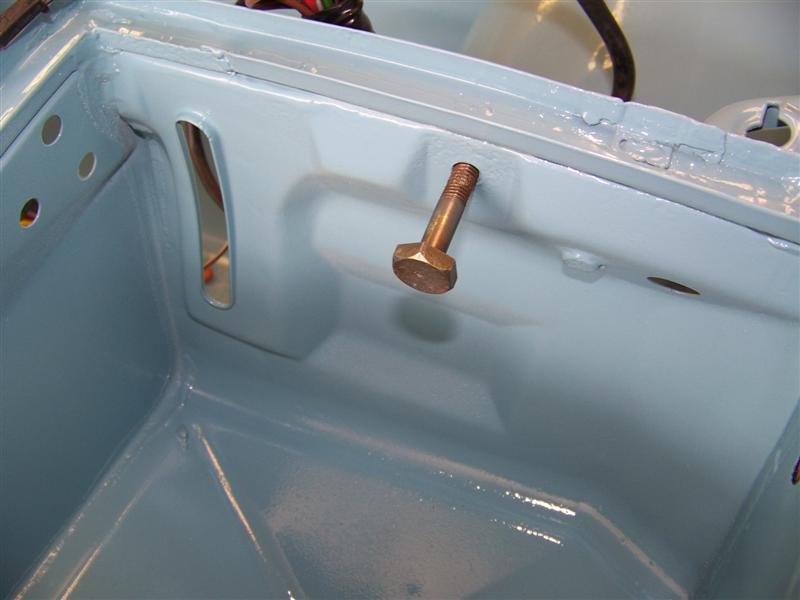
Screw in the lock bolt on the back side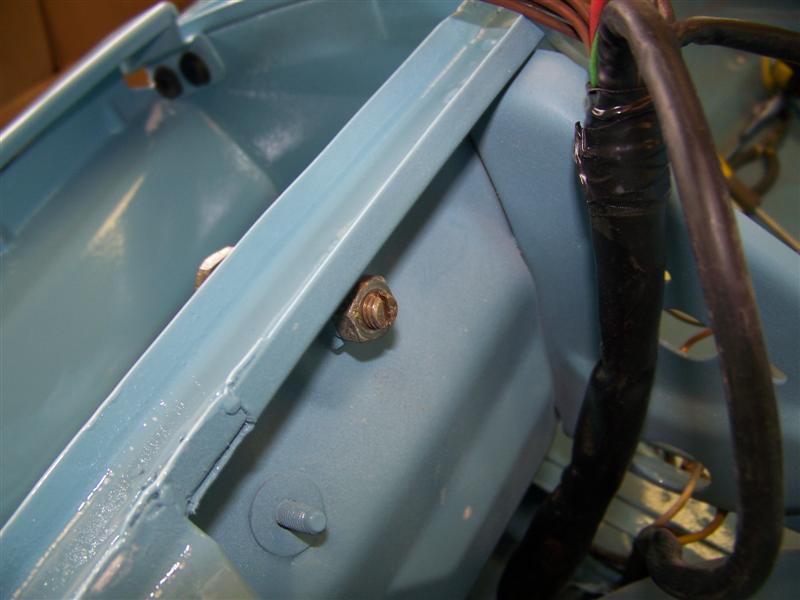
If you painted the car, clean the ground connection. Note on newer models it is a clip on fitting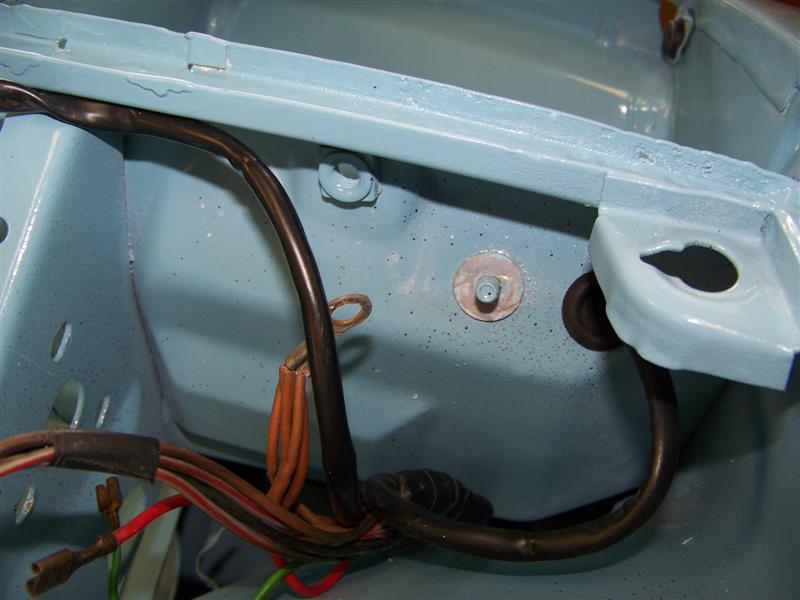
Posted by: PanelBilly Jun 23 2009, 08:39 PM
Push on the rubber shield for the turn light and side light wires. Pull them through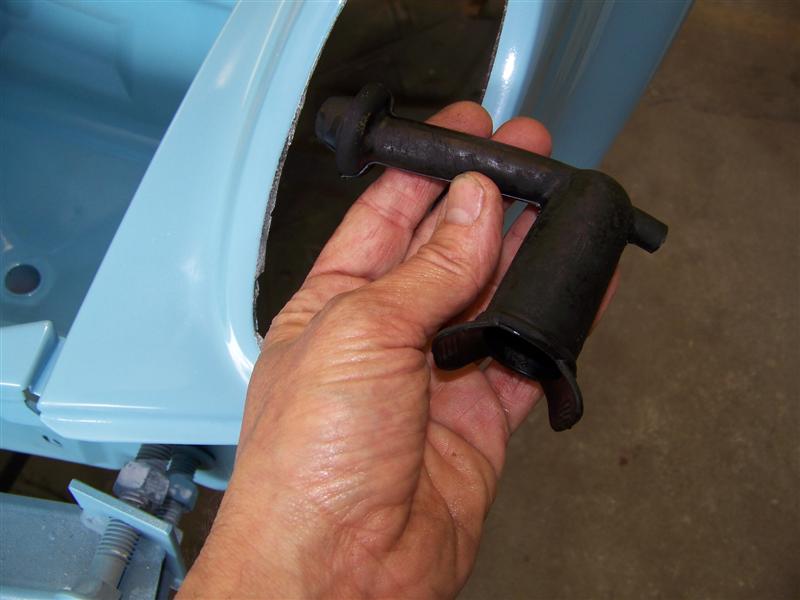
Slip the headlight cover assembly into the bucket. Note that it slips into a notch toward the outside of the car first. Secure with plate and screws in fender well
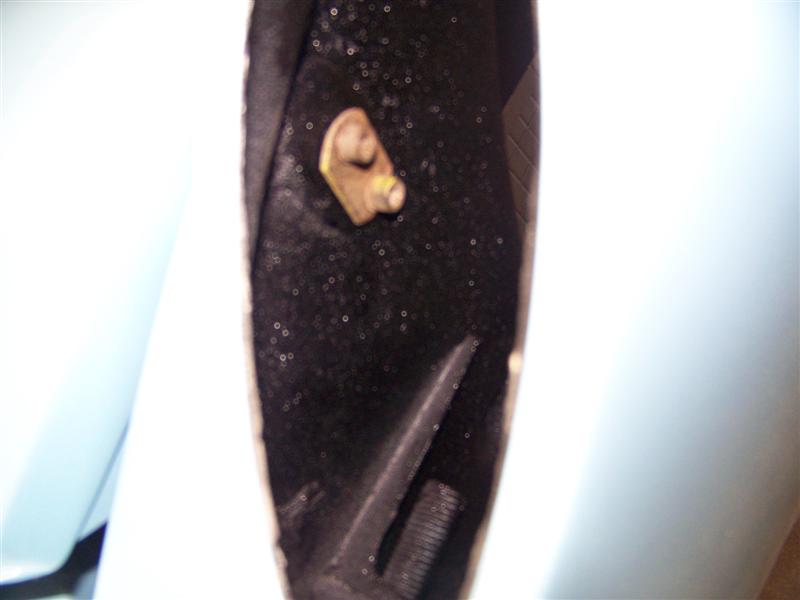
The secure the inside pivot 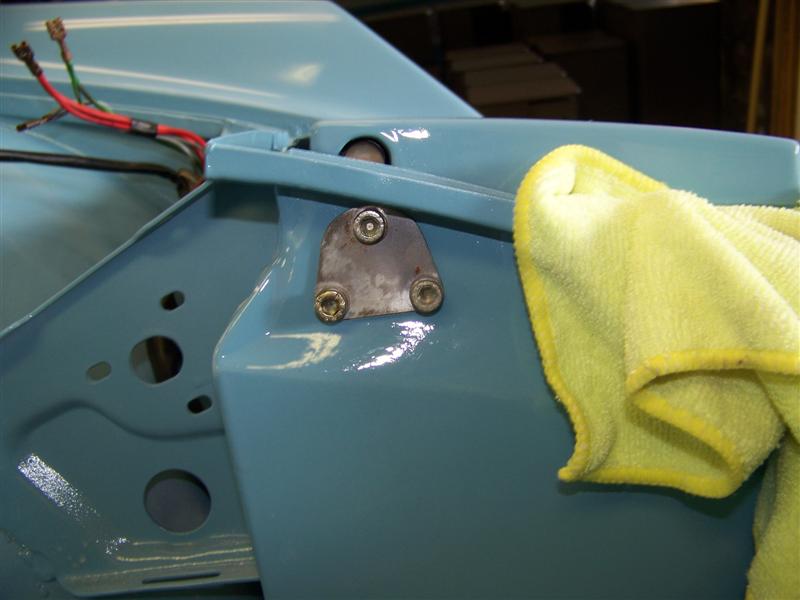
Posted by: PanelBilly Jun 23 2009, 08:48 PM
Slip the boot on the back of the bucket and push the bar though from the back. Connect it to the pivot point on the headlight assembly.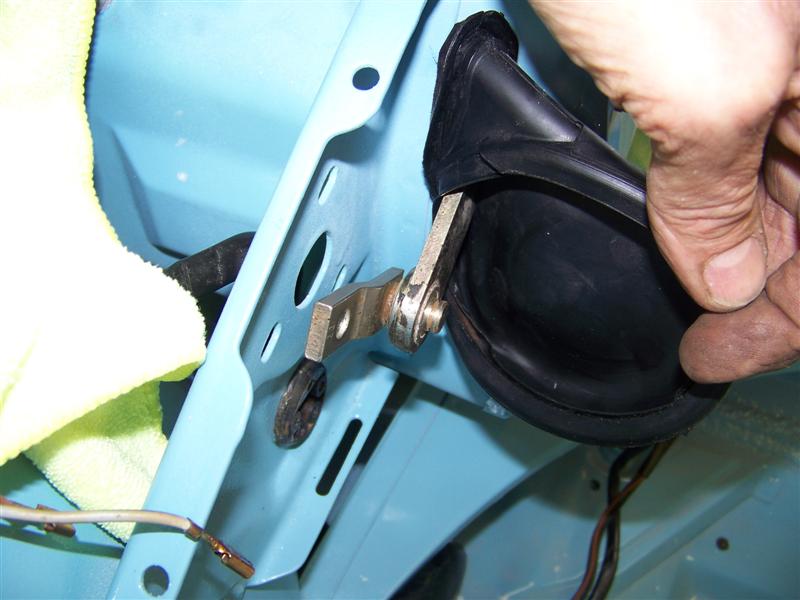
Push the relay socket into place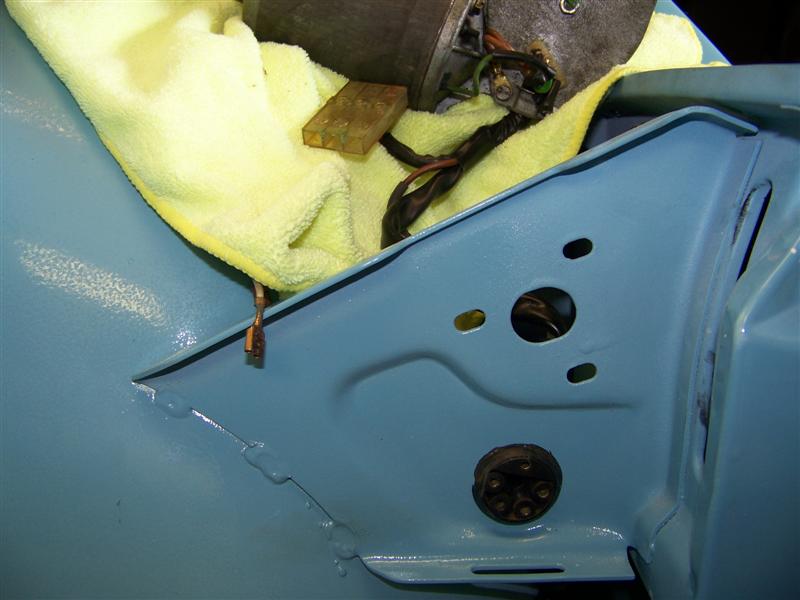
While holding the plate that the boot fits to in place, put the motor in place. You either need three hands here or be good at multitasking. 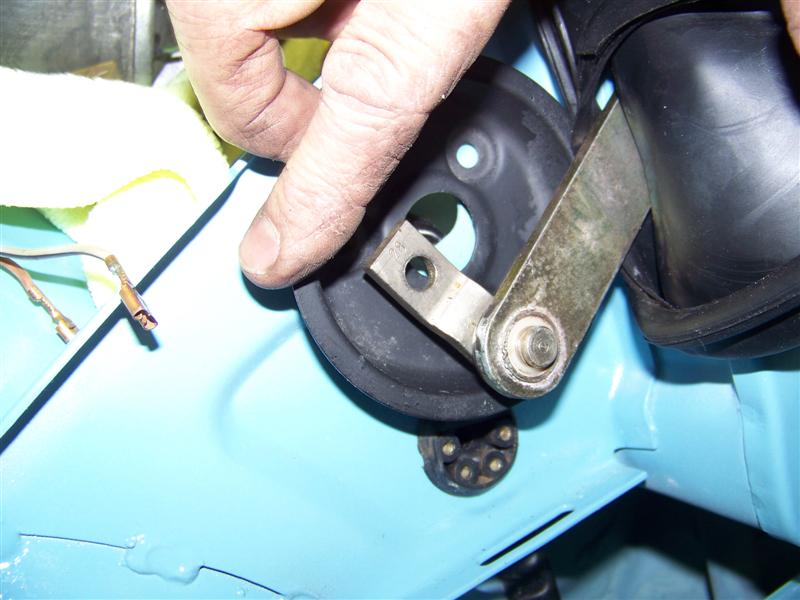
Posted by: PanelBilly Jun 23 2009, 08:57 PM
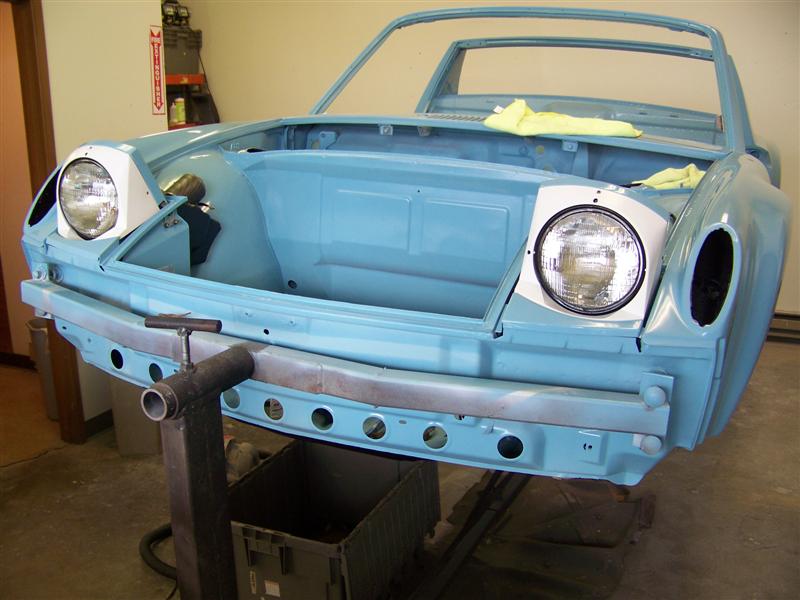
Locate the headlight cover in the closed position and tighten the center bolt with the bar in the farthest point in rotation. Connect your wires.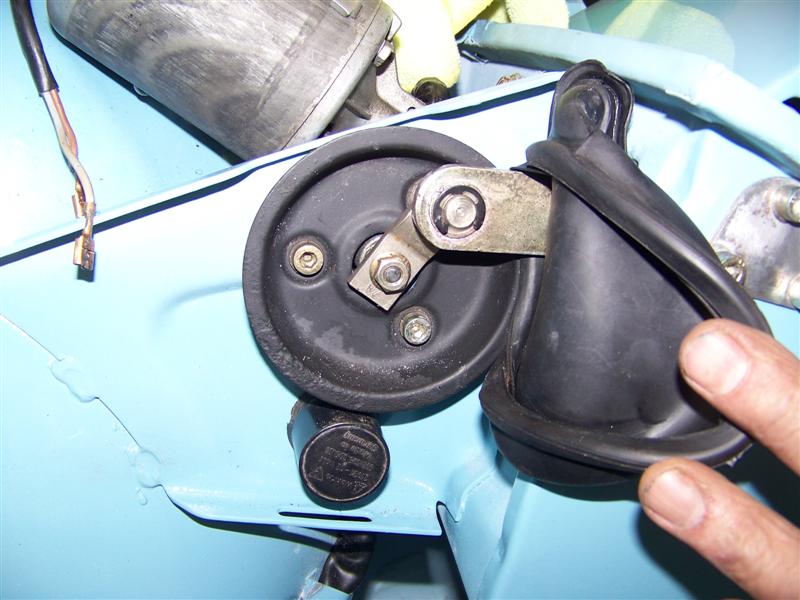
Screw on the headlight shields and the black covers on the inside of the trunk.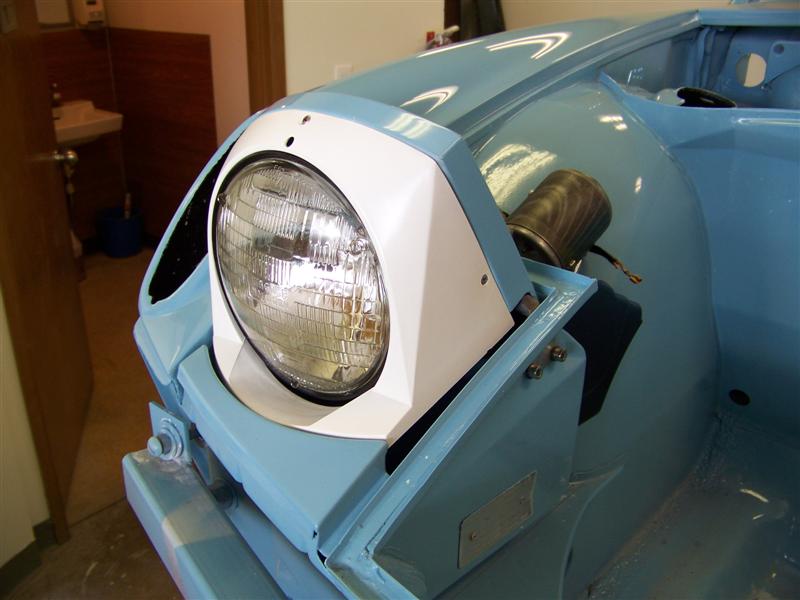
all done.
Attached image(s)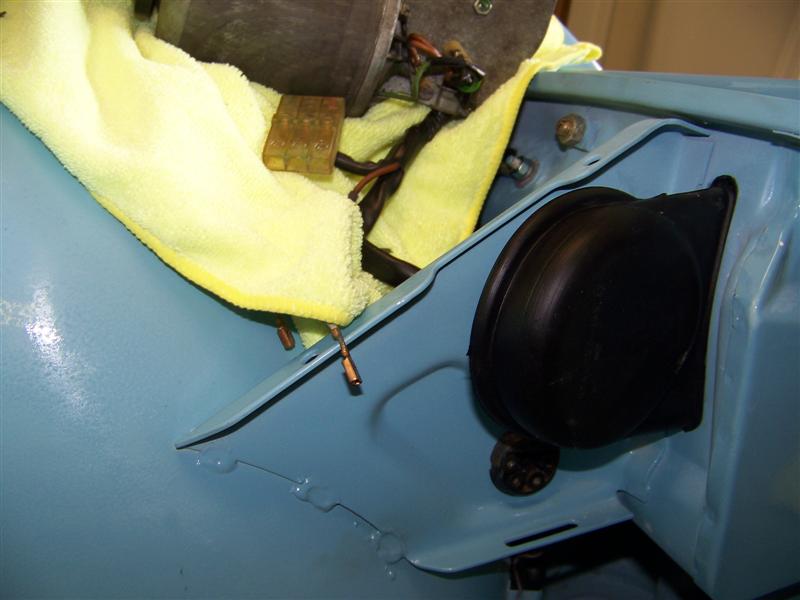
Posted by: 6freak Jun 24 2009, 01:53 PM
RIGHT ON BILLY ...  let me know if you need a hand with anything
....You mite want to stop though i seen a blemish in the paint so you have to sand down the whole car and respray it 
Posted by: PanelBilly Jun 24 2009, 02:30 PM
Hey one of the headlight covers hasn't been cut and buffed yet! I'll need to go back and do that after a few months.
Posted by: FourBlades Jun 24 2009, 02:53 PM
That is a great sequence of pictures.
Your car looks super nice.... 
Classic thread????
John
Posted by: RiqueMar Jun 24 2009, 02:57 PM
Nice. Hey, what year is your car? I only ask because I tried to put on those late rubber boots that I grabbed off a 75', but it wouldn't fit on my 70'?
Posted by: PanelBilly Jun 24 2009, 11:41 PM

Nice. Hey, what year is your car? I only ask because I tried to put on those late rubber boots that I grabbed off a 75', but it wouldn't fit on my 70'?
Born 1973 reborn 2009 or maybe 2010 or uh TBD?
Posted by: tod914 Jun 24 2009, 11:55 PM
Awesome job Billy. Can't wait to see the finished car. Dig the white head lamp covers too.
Posted by: Strudelwagon Jul 2 2011, 09:12 PM
Thanks Billy,
I was scratching my head a bit and then I found your thread. Huge help 
SW
Posted by: smveril Apr 16 2012, 06:31 PM
My 73 2.0 L is also being restored. I removed many parts but the restoration shop removed the headlights. I put the headlight motors back in but I may be missing parts for the headlights themselves.
Do I have all the pieces (besides the white cover, which I have)?
Posted by: Eric_Shea Apr 16 2012, 07:36 PM
For the most part. How about the armature? 1st and 3rd pictures in Post #4. 1st picture in post #5. You'll also need backing plates and M6 Hex caps. Pictures 2 and 3 in post #3
Powered by Invision Power Board (http://www.invisionboard.com)
© Invision Power Services (http://www.invisionpower.com)