Printable Version of Topic
Click here to view this topic in its original format
914World.com _ 914World Garage _ Return of the Jedi: The legend of Narparu continues.
Posted by: fiid Jun 26 2009, 06:47 PM
News is that I bought a new tub, and I'm starting a new progress thread for it. I have pics forthcoming too.....
Here's my previous http://www.914world.com/bbs2/index.php?showtopic=7882.
Posted by: fiid Jun 26 2009, 07:06 PM
Here is the new beastie. The goal for this one is to make it somewhat nice; unlike my current car. My current car is going to be turned into a track something; maybe PCA; or maybe Lemons. Maybe both, which should nicely annoy my local PCA.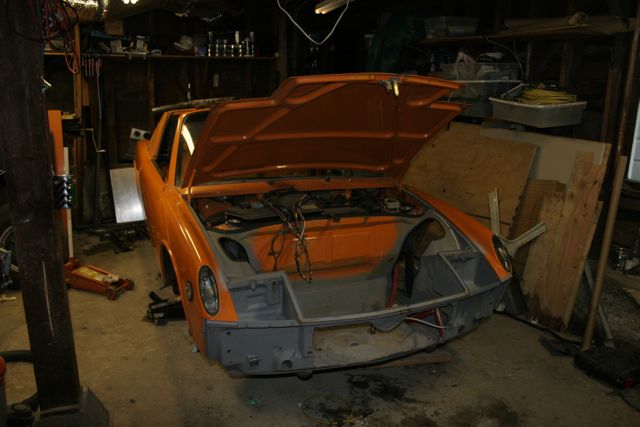
Posted by: Gint Jun 26 2009, 08:26 PM

Right on Fiid!

Posted by: McMark Jun 26 2009, 08:42 PM
Very cool! I'm definitely in for a work day. I can bring my hammer and dolly for dent bumping. Or maybe a little welding.
Or even better...  the actual motor swap.
Or maybe all three.
Posted by: RobW Jun 26 2009, 08:57 PM
Very cool! I'm definitely in for a work day. I can bring my hammer and dolly for dent bumping. Or maybe a little welding.
Or even better...
the actual motor swap. Or maybe all three.
+1

Posted by: Andyrew Jun 26 2009, 09:51 PM
Glad to see your still kickin it 914 style Fiid!
Posted by: Dr Evil Jun 26 2009, 11:13 PM
Missed you, Fiid
Posted by: fiid Jun 28 2009, 05:55 AM
Aww. You guys rock. 
I've been working on dents and welding up holes in the new tub... progress is slow; however. This is a big project.
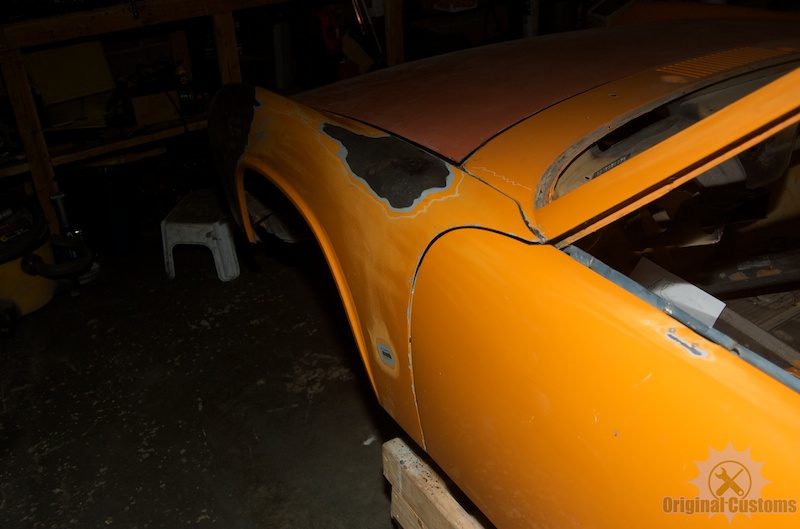
I've been working on hammering this dent out. I think the backend has been hit before. I'm planning to weld up the badge holes and go stealth with it.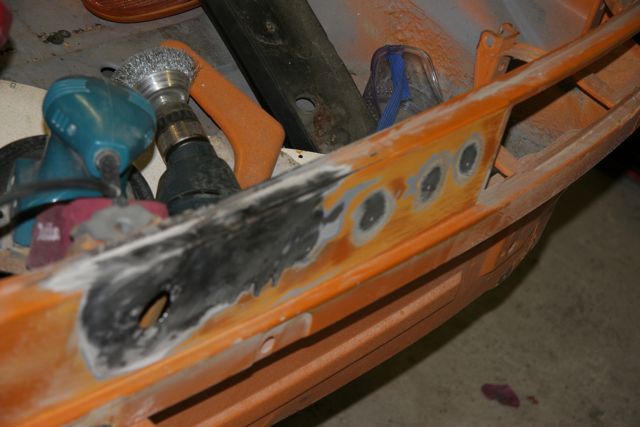
The rear decklid, btw was toast, so we made these wings out of it for our lemons car....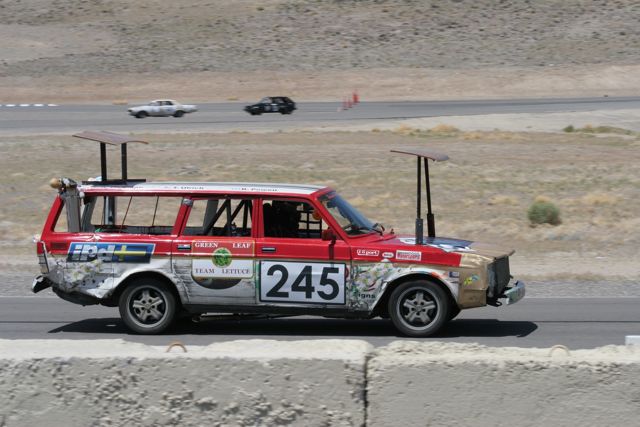
The PO had riveted panels in to cover up rust, so I removed all the rivets and am in the process of welding in new peices of metal where rust used to be. There's a few other places where the car has been cut and I'm putting it back the way it should be. I'm aiming for nice, tho, not concourse; so I don't mind a few weld seams here and there.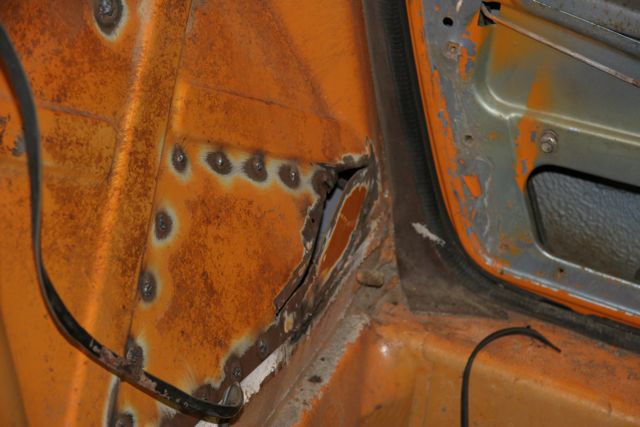
Posted by: abbott295 Jun 28 2009, 08:56 AM
I must have missed something. (Probably have missed a lot of things in my life.) But... You race lemons? I thought that's what demolition derbys were for.
Posted by: fiid Jun 28 2009, 09:11 AM
I must have missed something. (Probably have missed a lot of things in my life.) But... You race lemons? I thought that's what demolition derbys were for.
It's a race called the 24 Hours of LeMons. Basically; you track prepare a sub-$500 car (you get to spend more than that on safety gear) and race it; endurance style for about 16 hours or so (about 8 hours per day over a weekend). It's a lot of fun; and a bit cleaner than a demolition derby; but not always *that* much cleaner

http://www.24hoursoflemons.com/
Posted by: McMark Mar 11 2012, 08:01 PM
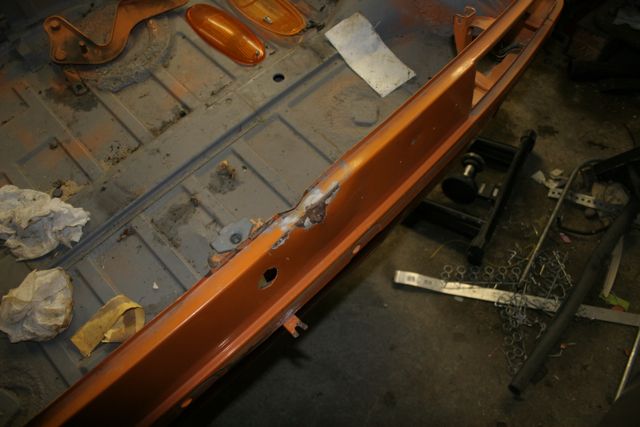
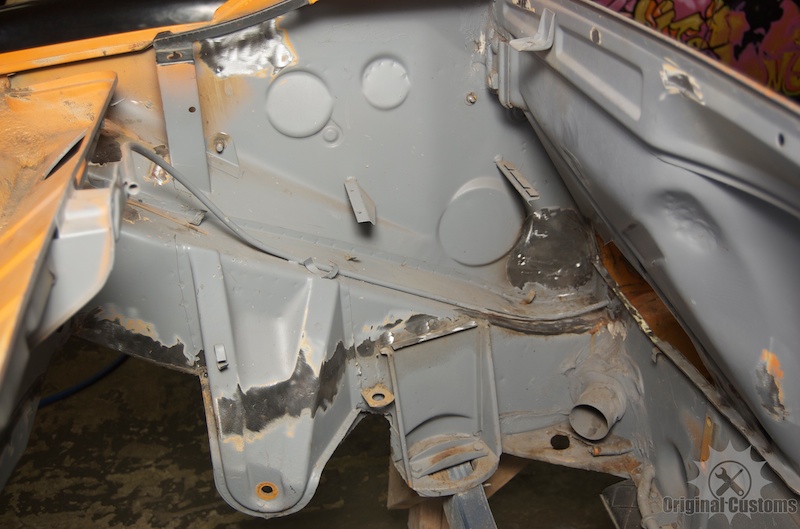
I've been working on Fiid's new chassis and I thought I should update this thread for him, since the body is almost ready for paint.
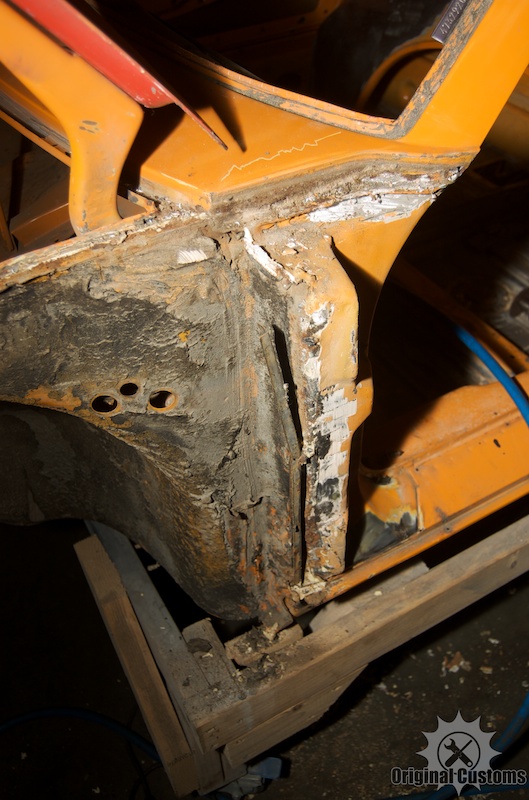
Cleaned up some previous patching.
Attached image(s)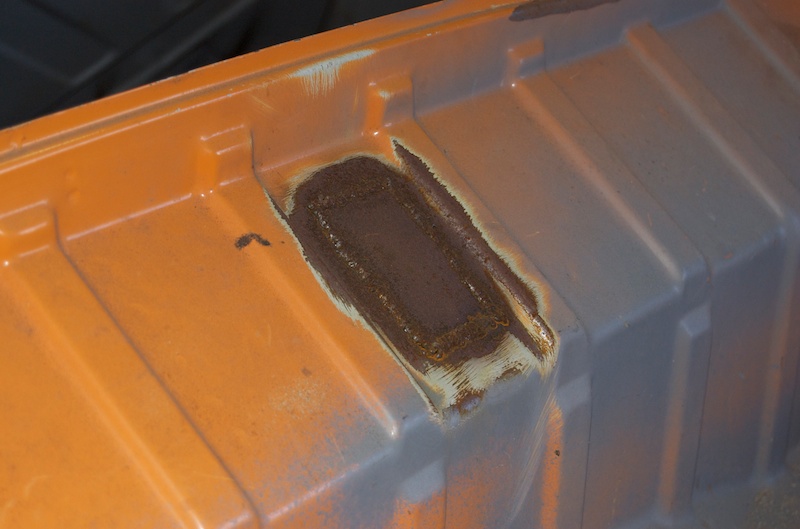
Posted by: McMark Mar 11 2012, 08:03 PM
We completely removed the engine shelf, since it's worthless in a watercooled car. Once this is painted it'll look like it was never there.
Attached image(s)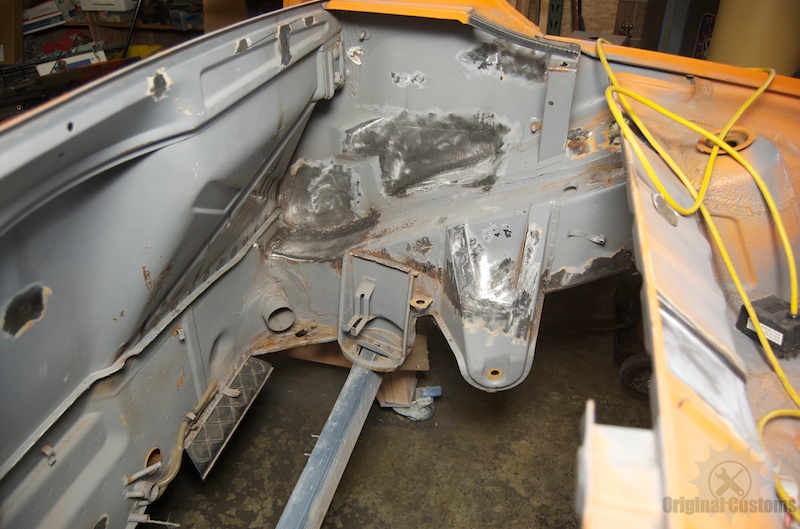

Posted by: McMark Mar 11 2012, 08:05 PM
More patching holes...
Attached image(s)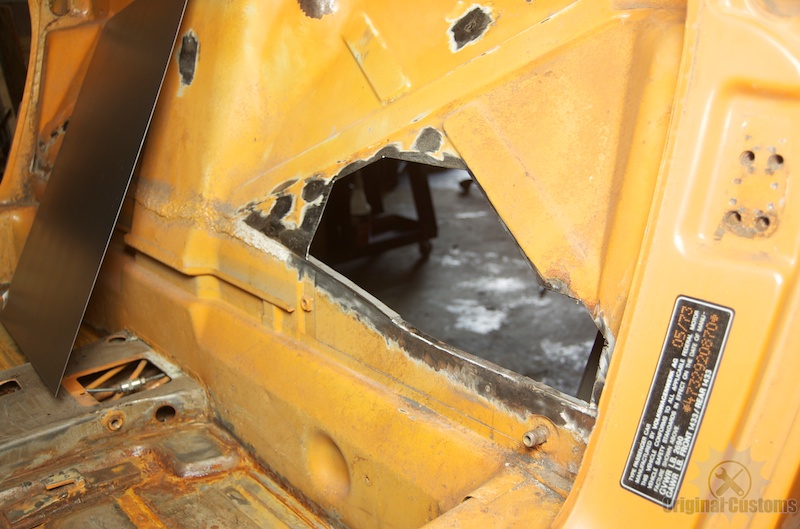
Posted by: RobW Mar 11 2012, 08:06 PM
Nice work... you know how to build and save a nice car! 
Posted by: McMark Mar 11 2012, 08:08 PM
More tomorrow... 
Posted by: McMark Mar 13 2012, 11:24 AM
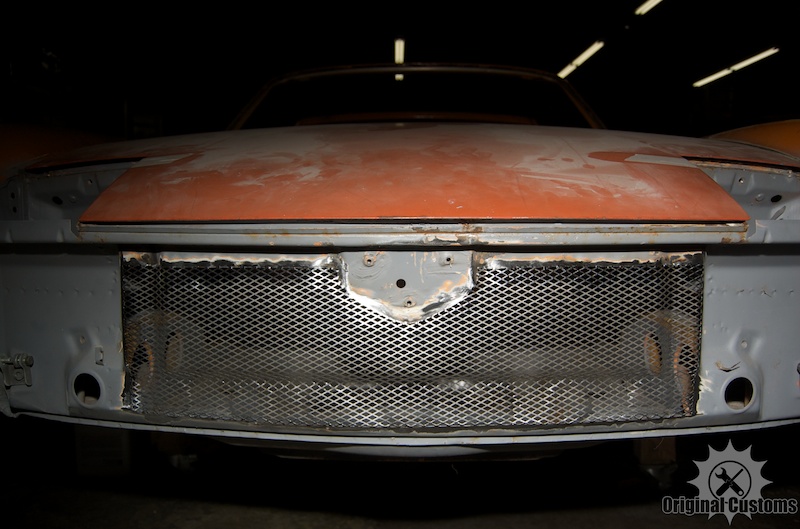
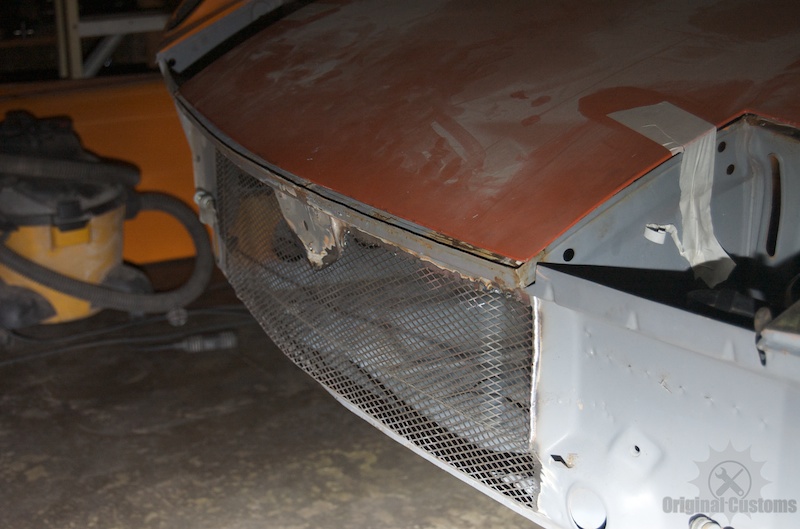
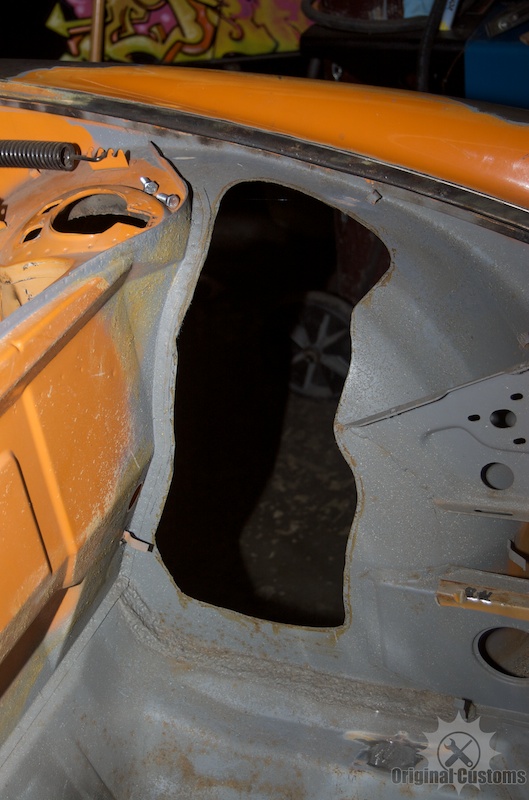
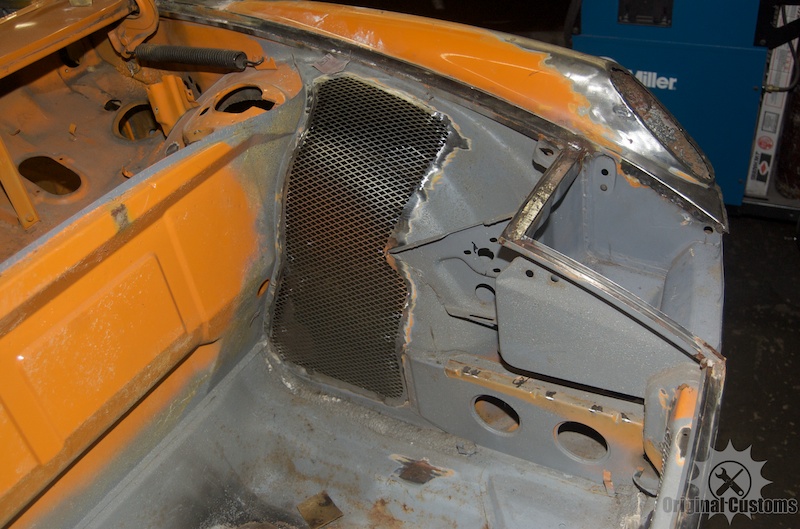
The first big custom project was to clean up the rough-cut front opening and then weld in diamond-punched steel. This ain't your hardware store expanded metal.  Each little leg had to be welded and ground, but this stuff almost perfectly matches the stock engine grill. I used another 914 as a press-mold and formed the expanded metal to exactly the same as a stock 914.
Attached image(s)
Posted by: McMark Mar 13 2012, 11:28 AM
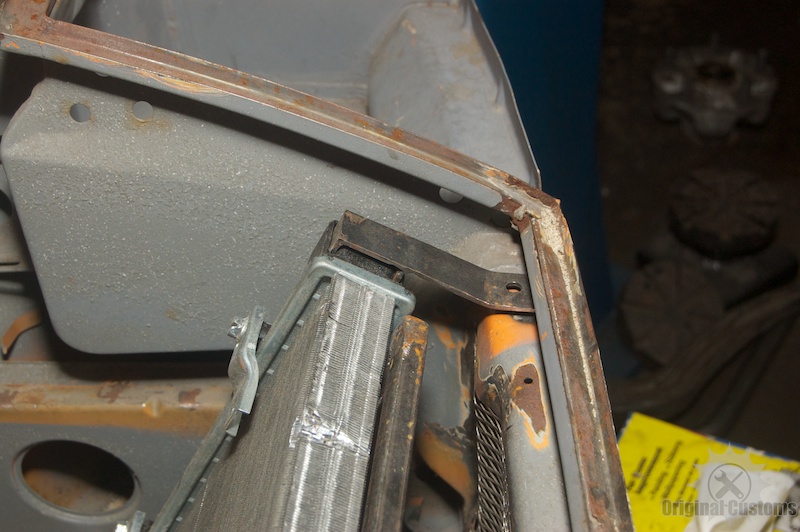
Replaced sections of the seal channel.
Attached image(s)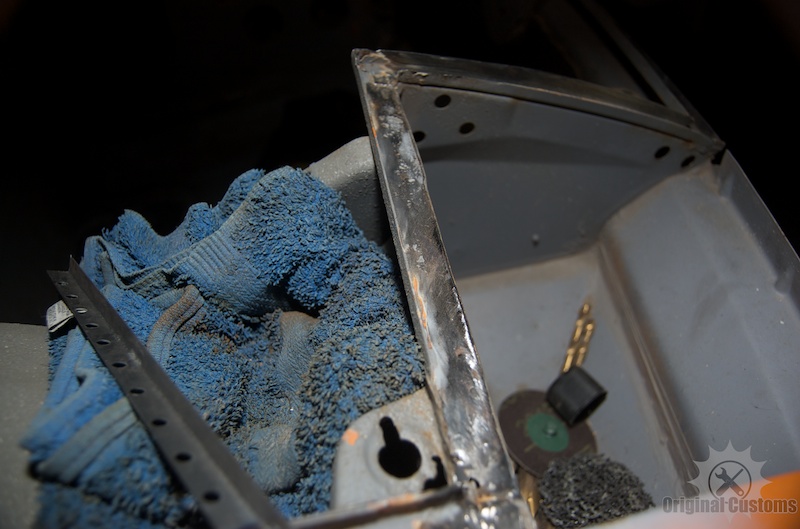
Posted by: McMark Mar 27 2012, 05:27 PM
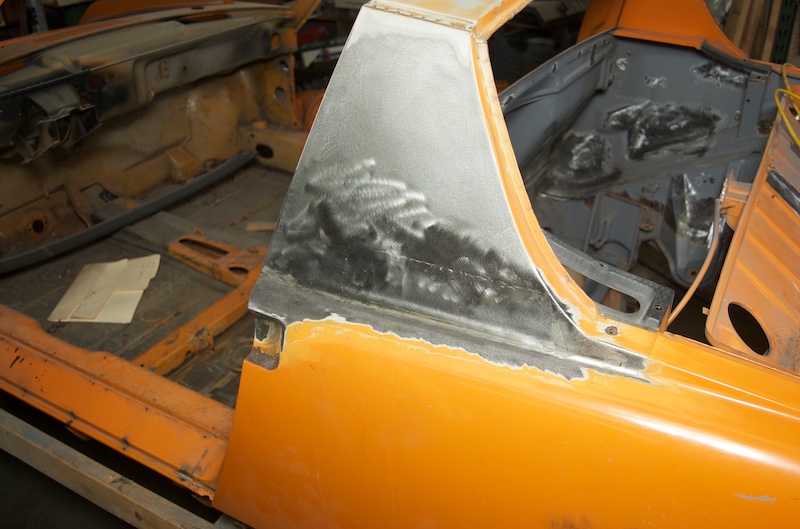
Got a little more work done. I'm not sure if anyone's reading this... 
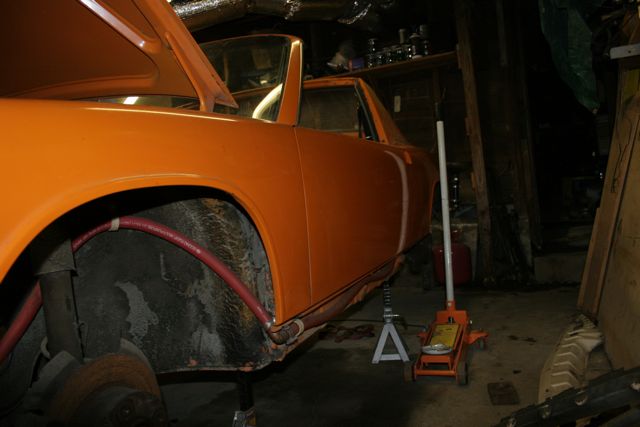
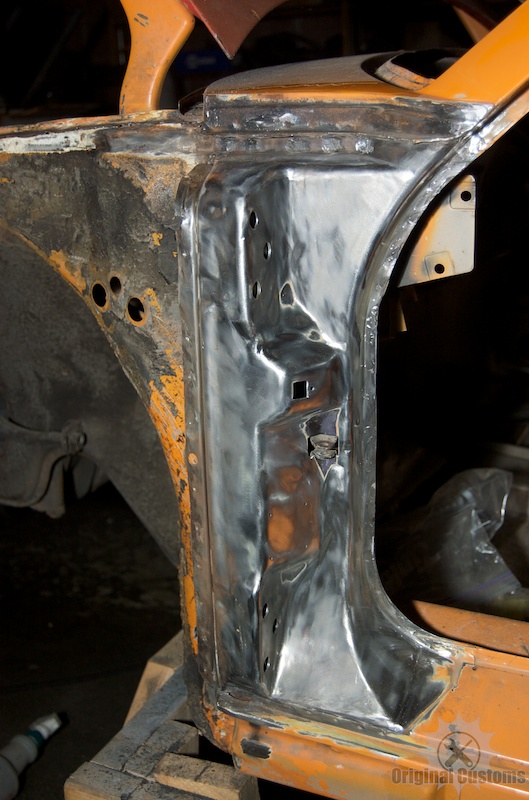
The driver's side door jamb had been crushed and a new fender 'installed'. It was pretty crappy work. So the fender came off, a replacement door jamb installed and then the fender was reinstalled correctly.
Attached image(s)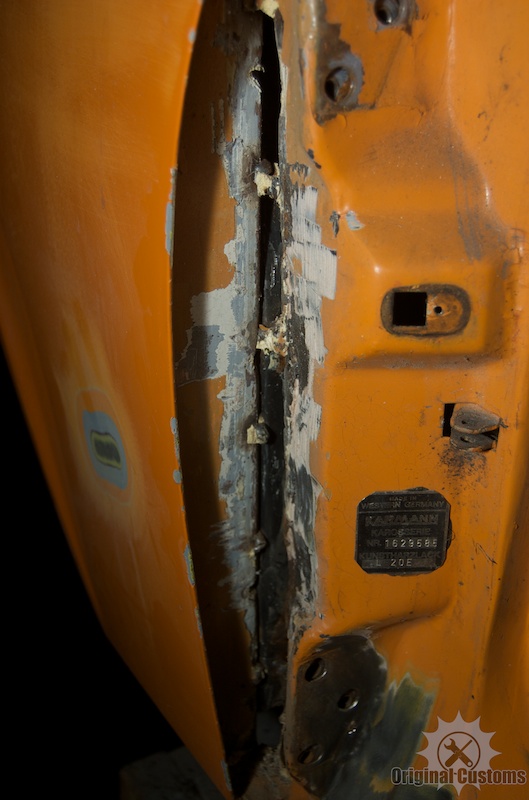
Posted by: McMark Mar 27 2012, 05:29 PM
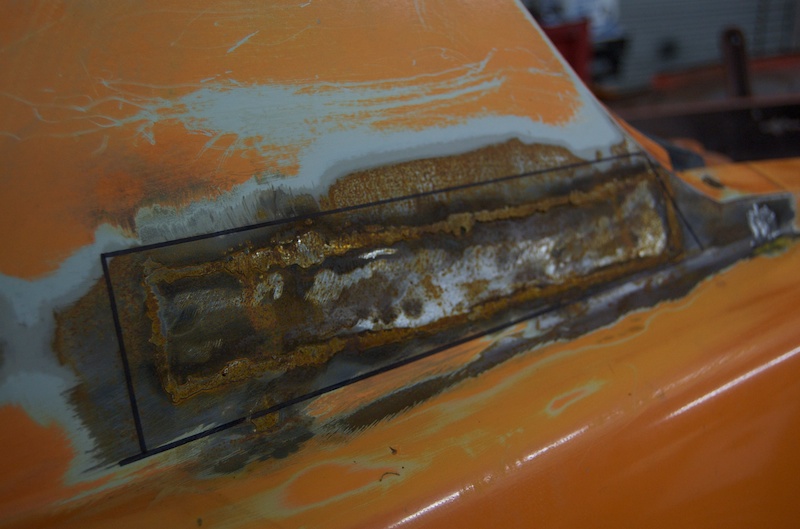
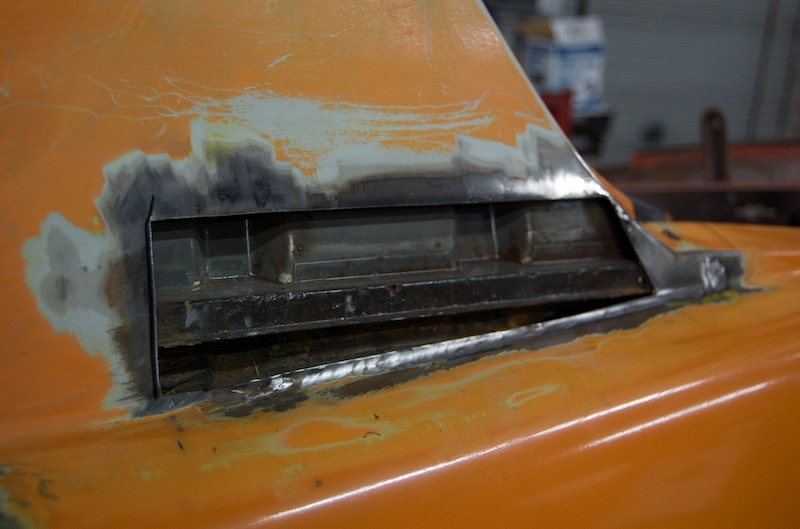
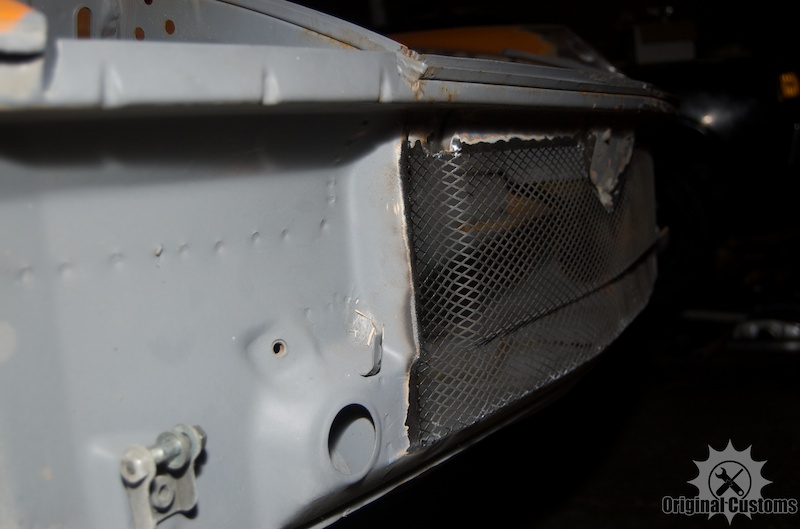
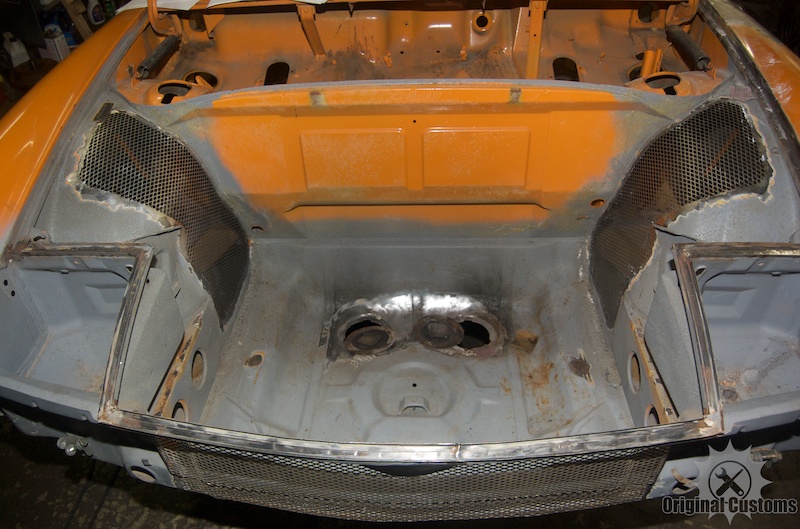
The front air inlet turned out so well, we decided to use the same treatment on the fender outlet holes. 
Attached image(s)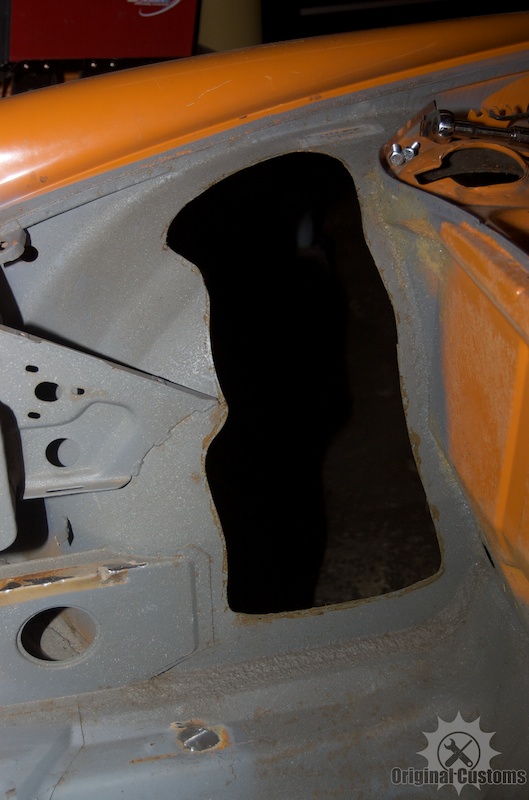

Posted by: McMark Mar 27 2012, 05:32 PM
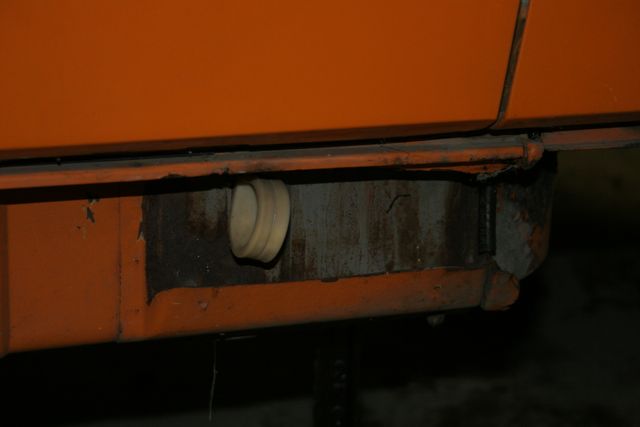
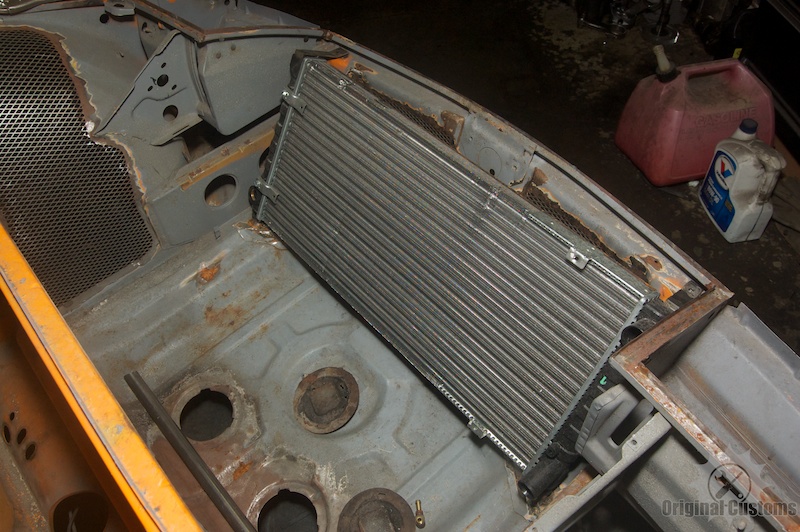
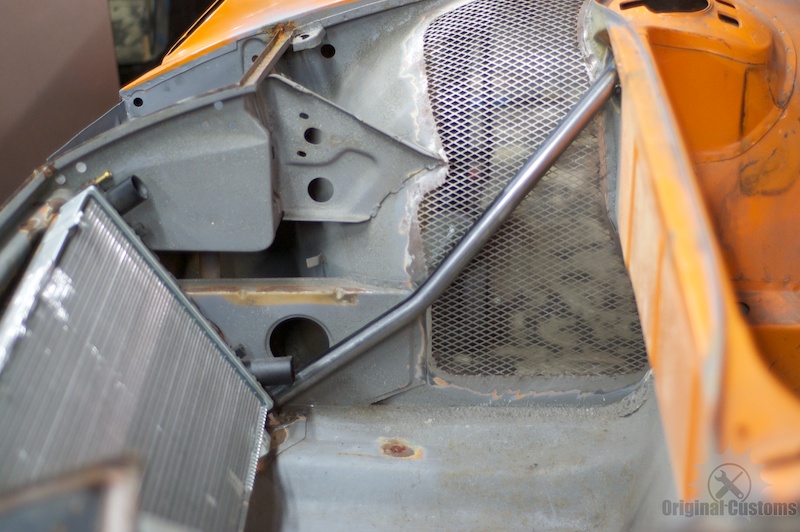
Finally, a minimalist approach to radiator mounting. Two tube sections were welded on the bottom, and two small brackets on top are all that's needed. And there is very little modification to the chassis. The radiator is off of a modern VW and is the same unit Fiid is using in his current setup. So we know it works.
Attached image(s)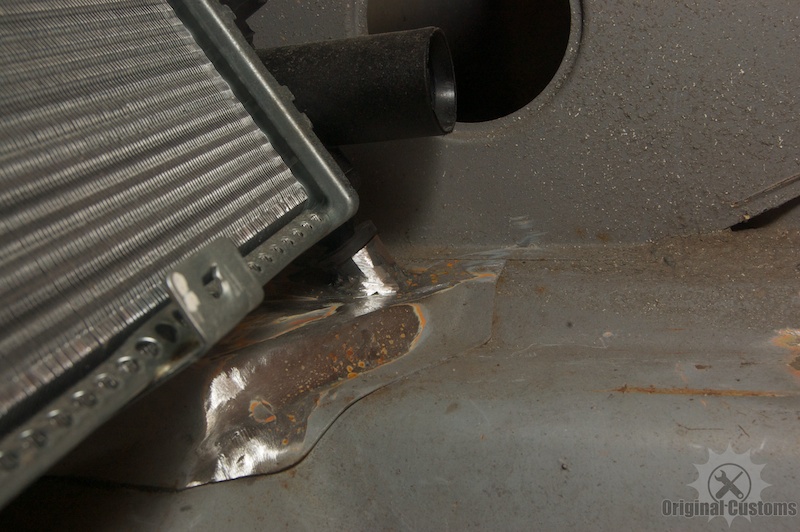
Posted by: FourBlades Mar 27 2012, 05:40 PM
I like that mesh covering the holes. That probably preserves a good part of the strength of the sheet metal.
Do the little strips of mesh burn through easily when welding?
John
Posted by: effutuo101 Mar 27 2012, 06:03 PM
The legend continues. keep us posted.
Posted by: McMark Mar 27 2012, 06:07 PM
Not with the TIG welder.
Posted by: bulitt Mar 27 2012, 07:30 PM
Mark- is the engine shelf just spot welded on?
Thanks.
Posted by: McMark Mar 27 2012, 07:41 PM
Yup the sides are, but the front section isn't. It's part of a bigger piece.
Posted by: McMark Apr 15 2012, 05:50 PM
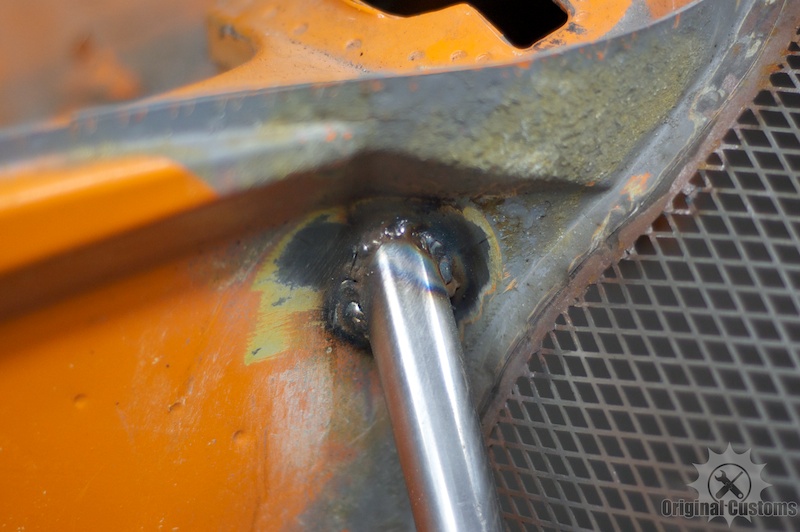
Since someone posted about the fender openings causing stress cracking of the inner fenders, we added these support braces from 1" DOM 0.120" tubing. A single 20° bend keeps them tucked against the wall.
Attached image(s)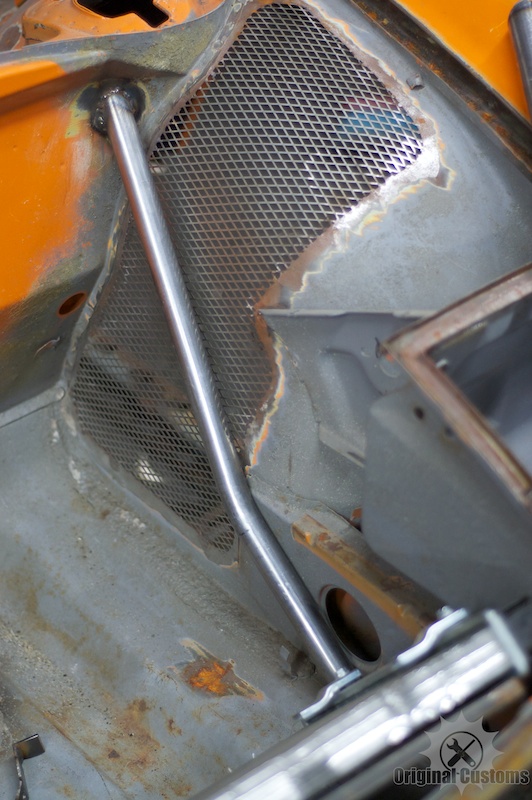
Posted by: McMark Apr 15 2012, 05:55 PM
That's it for the front end. Now to work on the back...
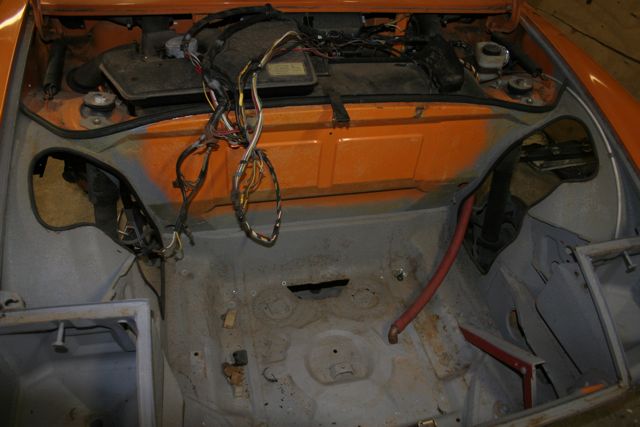
From Fiid's previous build thread (the 'mockup' car) there was some interference between the turbo and the rear trunk. Easiest and effective solution? Cut out the rear trunk.
This is the old car. On the new car, we took a different approach.
Attached image(s)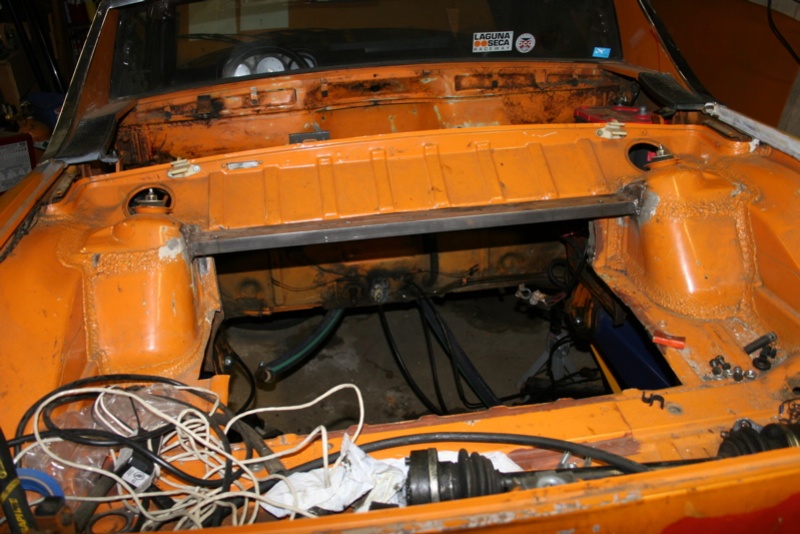
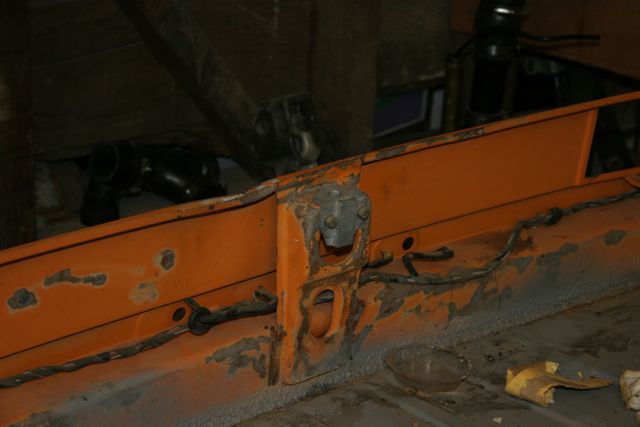
Posted by: McMark Apr 15 2012, 06:02 PM
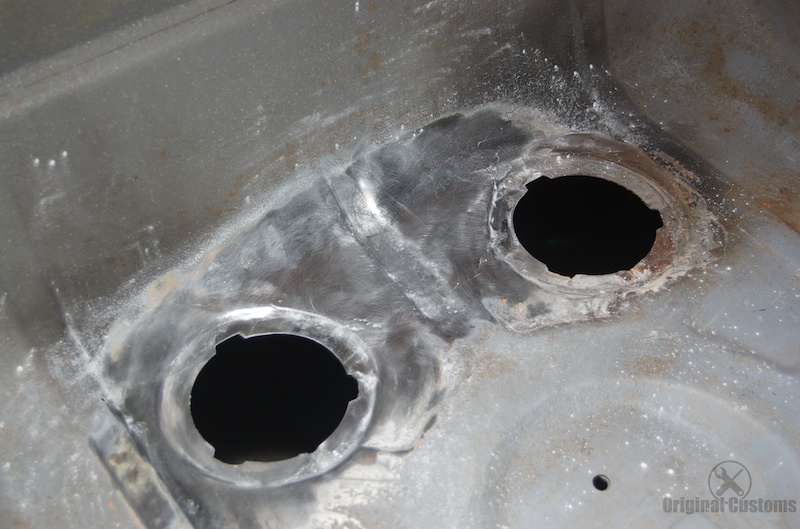
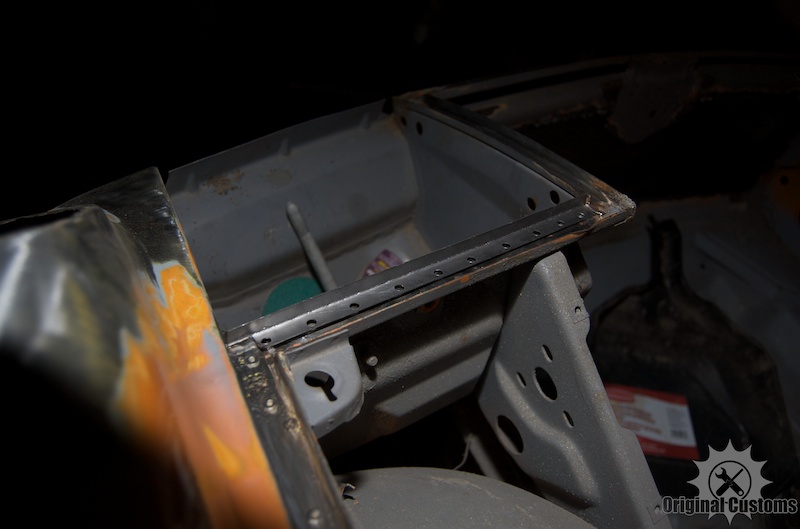
The process started out the same. Cut a big hole in the back.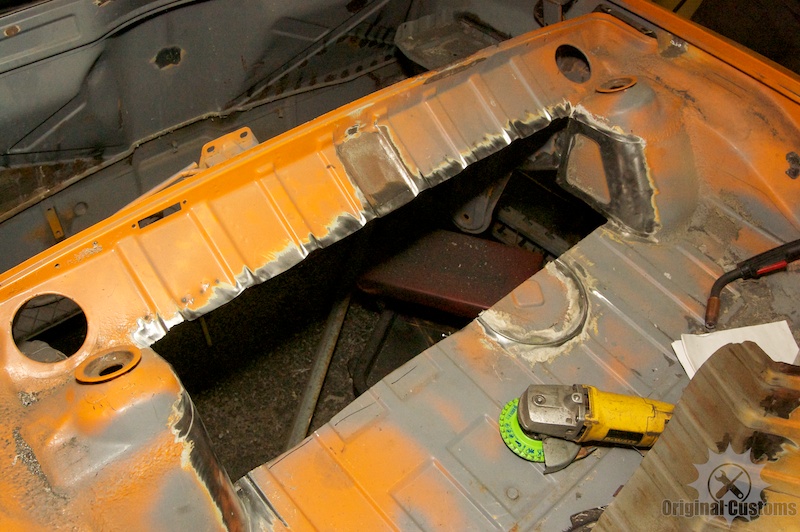
The we pulled a section from a parts car and welded that in. This is the upper-most portion of the area between the shock towers, just reoriented horizontally. This gave a nice smooth curve and maintained all the factory ribbing.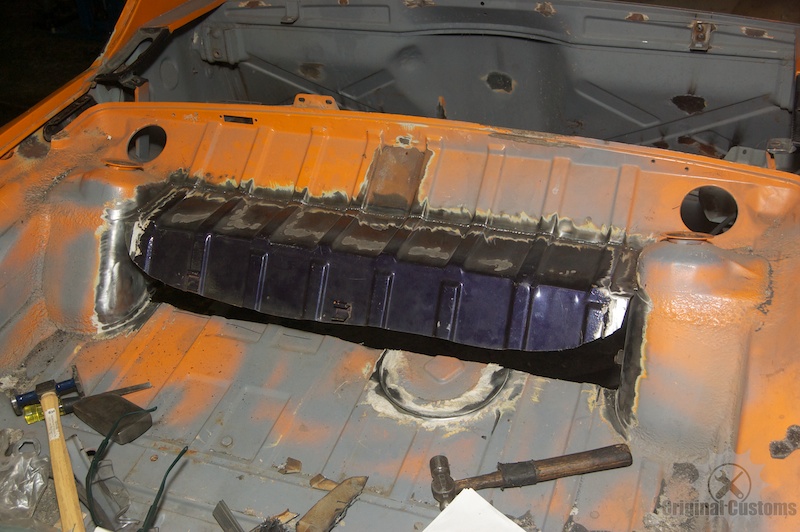
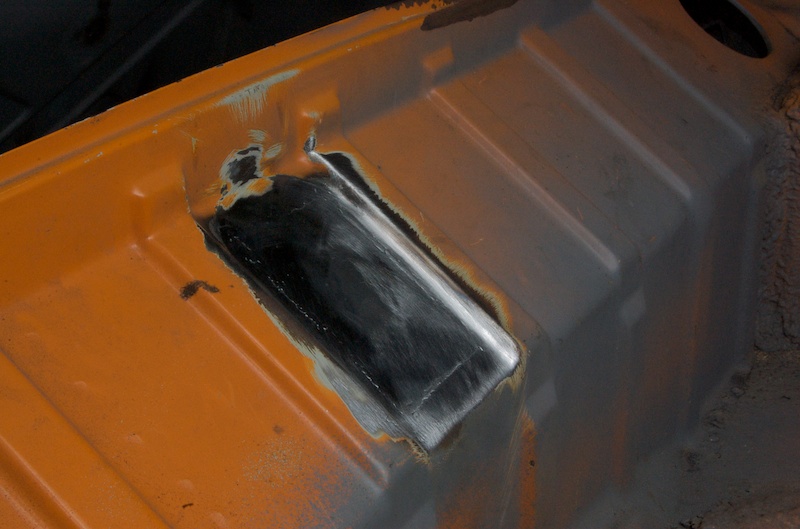
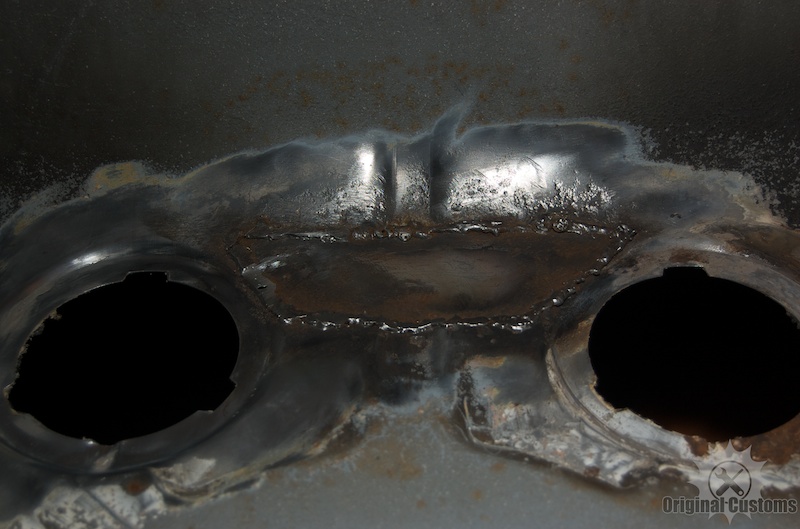
Then a section from the rear trunk floor finished it off. This is the section that rusts out on most cars. The 'knockout' holes don't serve any purpose here, but it lends some originality and interest to this area, so we left them. 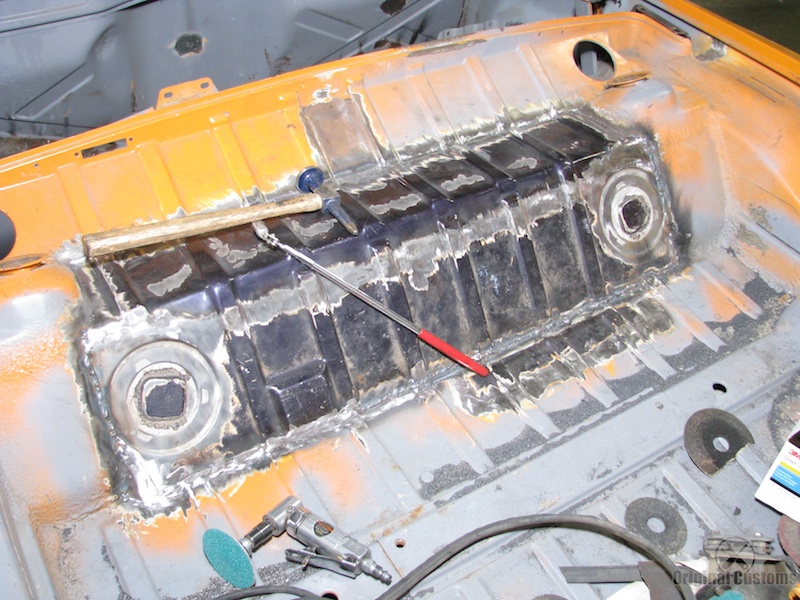
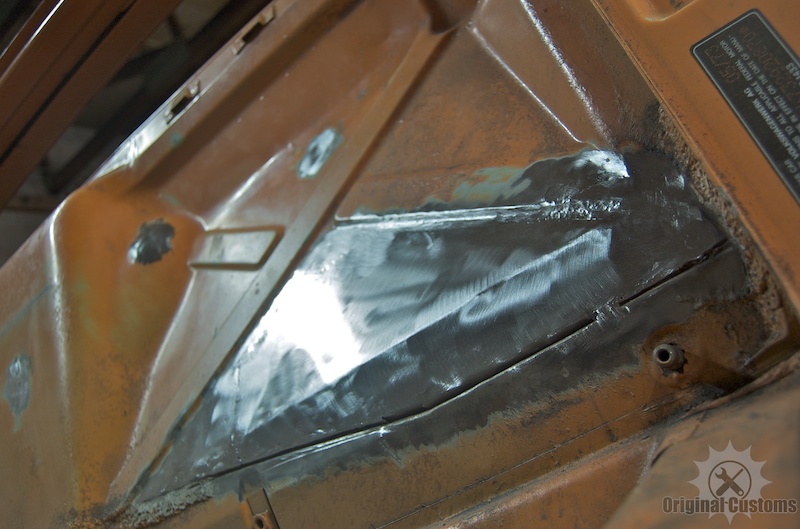
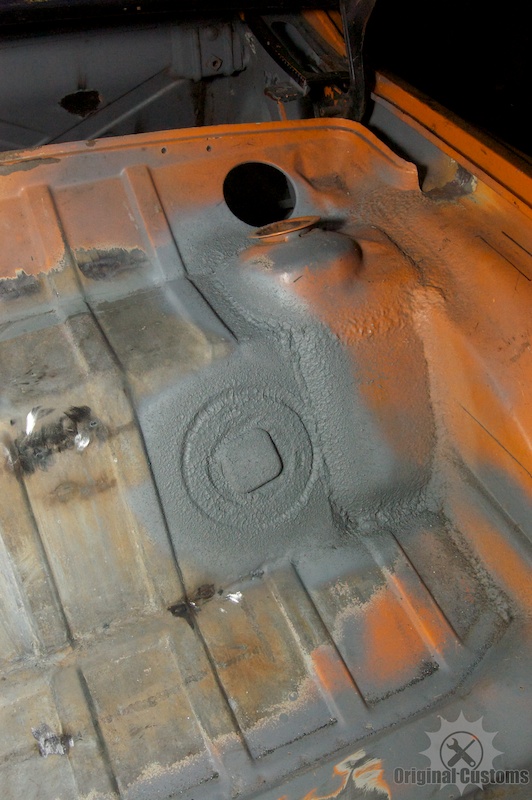
Here is the same area media blasted to bare metal.
Posted by: McMark Apr 15 2012, 06:07 PM
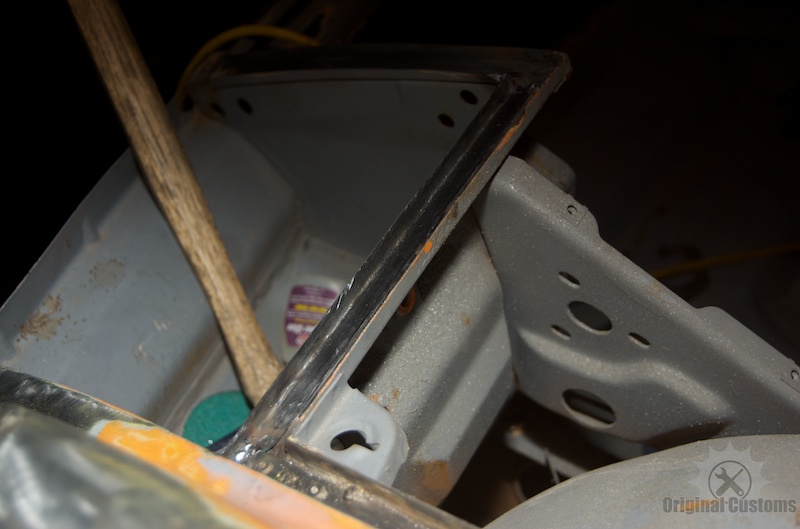
Since the original metal between the shock towers is a boxed section (two layers) I created a second layer below to reinforce this area again and maintain the strength.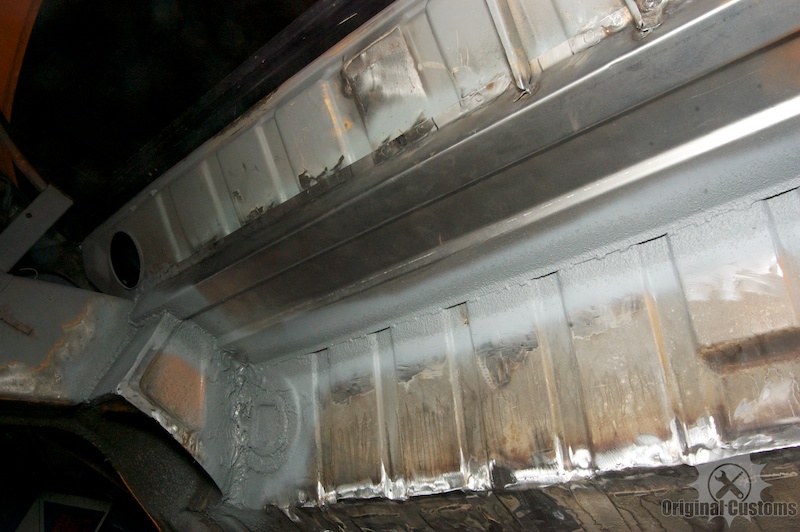
Then a quick spritz with my new Wurth adjustable seam sealer gun gives it a factory finish.
Posted by: kg6dxn Apr 15 2012, 07:38 PM

Awesome!
Posted by: jcambo7 Apr 16 2012, 09:30 AM

Art work
Posted by: Irish914 Apr 16 2012, 10:42 AM

Posted by: OmaPossu Apr 16 2012, 12:48 PM
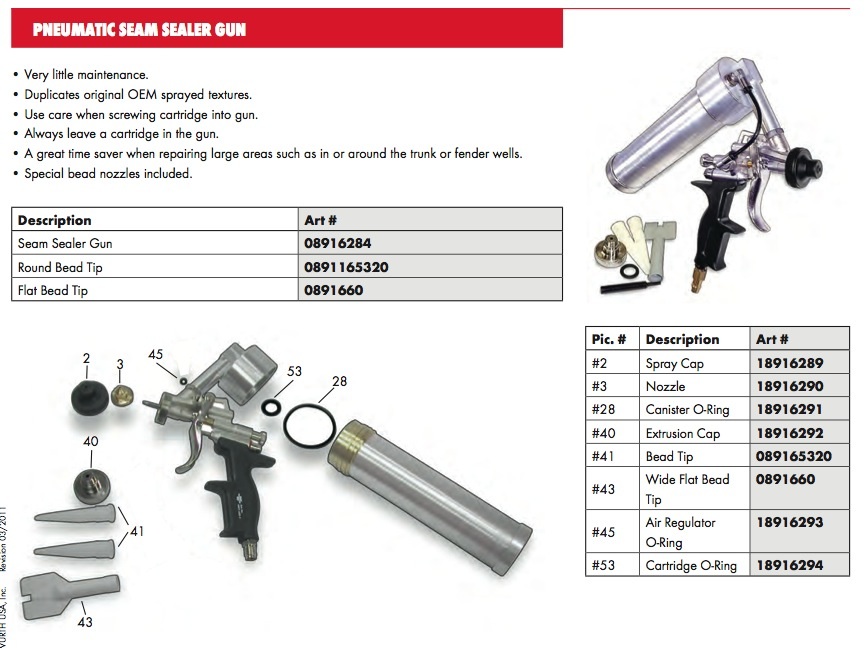
"Then a quick spritz with my new Wurth adjustable seam sealer gun gives it a factory finish."
What kind of sealer gun? Need one..
Posted by: ChrisNPDrider Apr 16 2012, 09:49 PM
nice 
very original
and custom

Posted by: McMark Apr 16 2012, 10:47 PM
"Then a quick spritz with my new Wurth adjustable seam sealer gun gives it a factory finish."
What kind of sealer gun? Need one..
Not cheap, but it works pretty well.
Attached image(s)
Posted by: dakotaewing Apr 17 2012, 09:42 AM
Mark -
What are you using to bend the DOM ?
I need to do something similar in my car, but either need to make the investment in a tube bender, or hire someone to do it...
Just wondering what the costs would be... ???
Posted by: McMark Apr 17 2012, 12:12 PM
http://jd2.com/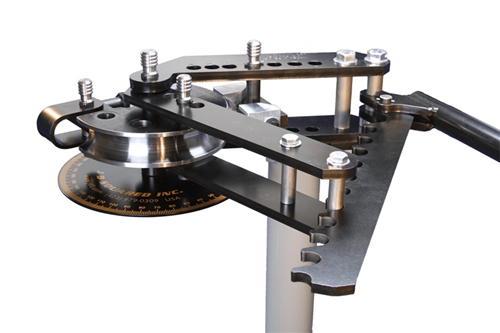
Buying the mandrels really adds up. I might be able to loan my mandrels out, depending on what projects I have going on.
Posted by: jwhcars Apr 17 2012, 02:23 PM
Very nice indeed !!
Powered by Invision Power Board (http://www.invisionboard.com)
© Invision Power Services (http://www.invisionpower.com)