Printable Version of Topic
Click here to view this topic in its original format
914World.com _ 914World Garage _ How to make your own Bronze shift bushing.
Posted by: rick 918-S Sep 13 2009, 05:26 PM
I needed to change my rear shift bushing for my side shift transaxle. The last time I installed my drive assembly I used some shrink tube around the outer surface of the busing to tighten it up in the hole through the shift console. Even though I used the shrink tube it was still loose on the outer surface and even looser on the inside hole. Here's a picture showing the space with a pick tool. 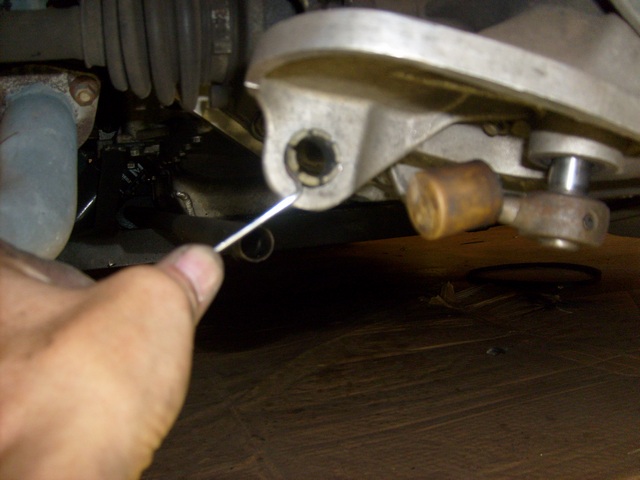
Heres a picture of the band aid repair.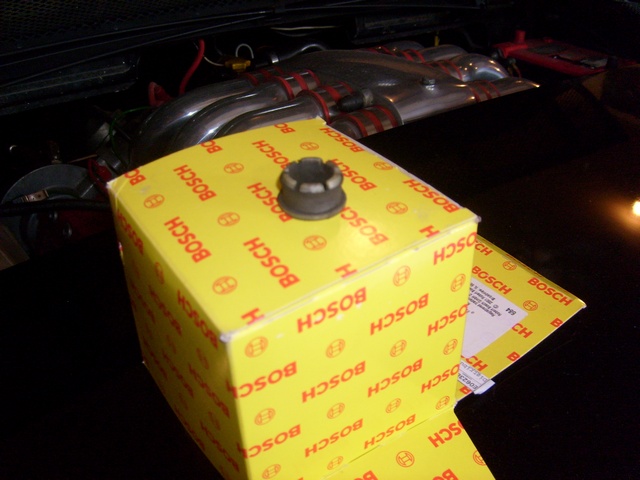
And the shrink tube.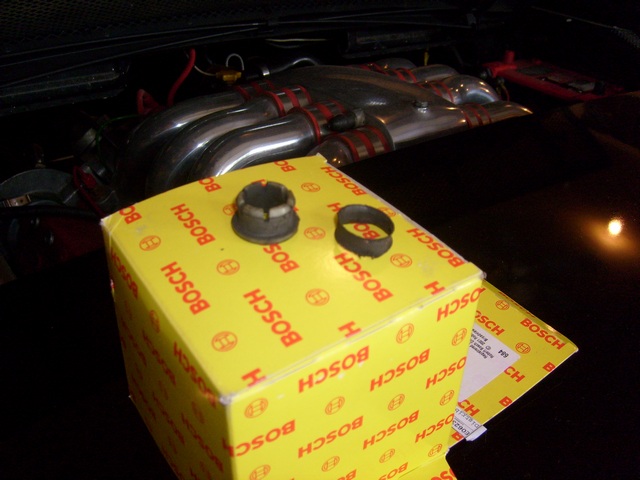
And the real reason I used the shrink tube. The bushing was cracked.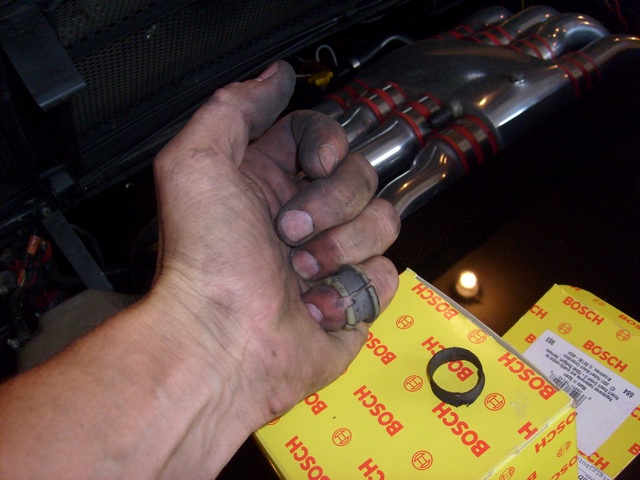
Posted by: rick 918-S Sep 13 2009, 05:42 PM
So, I was at Menards looking for some hardware when I spotted some bronze bushings. I rememered I wanted to fix this plastic problem for some time and bought several sizes to see what I could come up with.
I ended up using a 5/8 I.D. X 3/4 O.D X 3/4 long shoulder.
I checked the 5/8 I.D. bushing on my shift shaft and it seemed to fit OK. A little loose but not any looser than the plastic one I had.
Then I tried the 3/4 I.D X 7/8 O.D X 3/4 bushing into the shift console. I Ended up filing the bushing some but in the end I just filed out the aluminum console. It was slightly out of round so I couldn't quit get the bushing to fit. In the end the fit was VERY snug! I also shortened the length to about 3/8" so I could push it into the aluminum console without it coming though the other side.
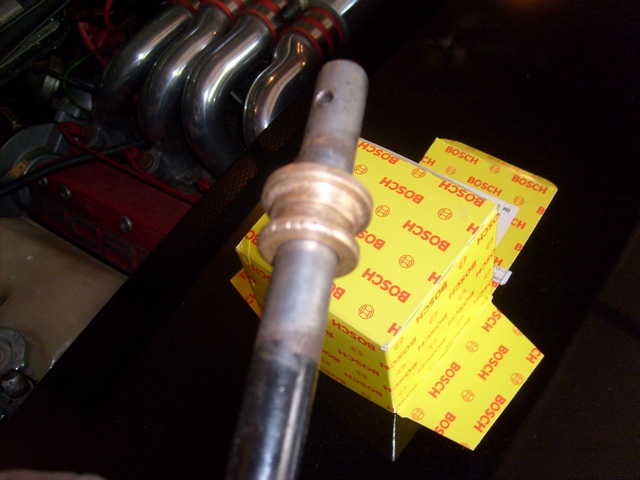
Then I filed the 5/8 I.D. X 3/4 O.D X 3/4 so it would slide into the 3/4 I.D X 7/8 O.D
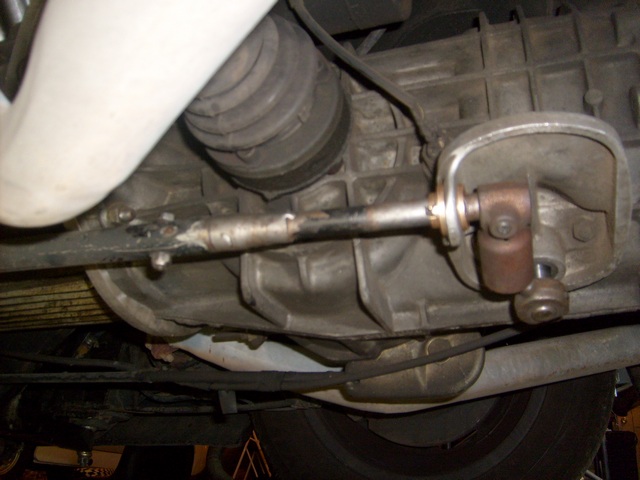
Here are a couple photos. You'll get the picture.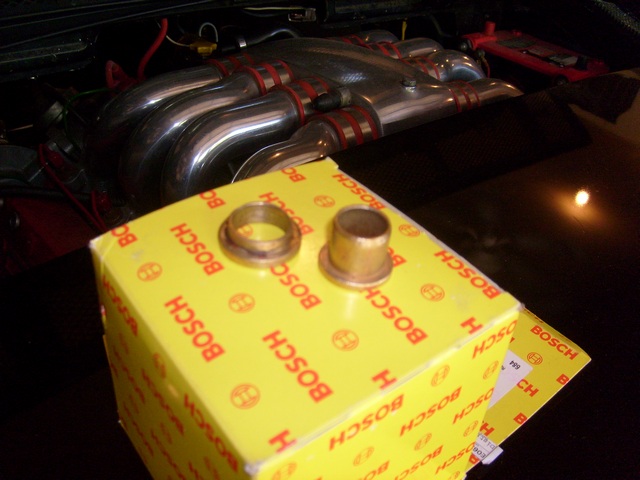
Then I used some red Lock-Tite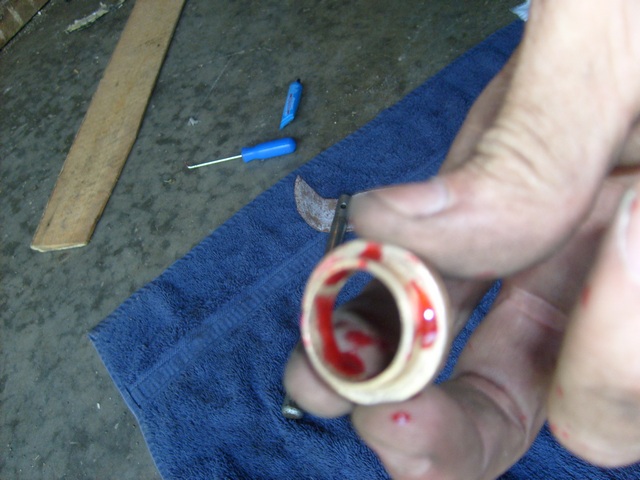
Then I used a clamp and a socket and pressed the two bushings into each other and the console.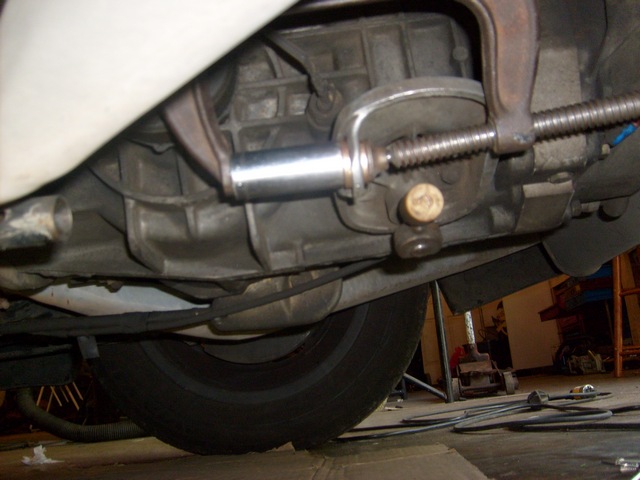
Posted by: rick 918-S Sep 13 2009, 05:47 PM
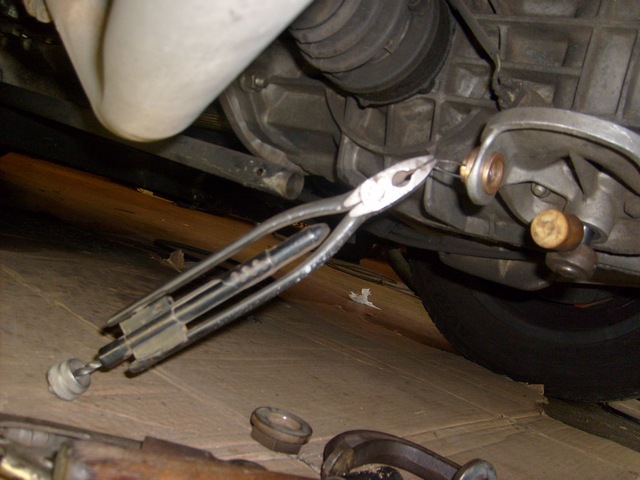
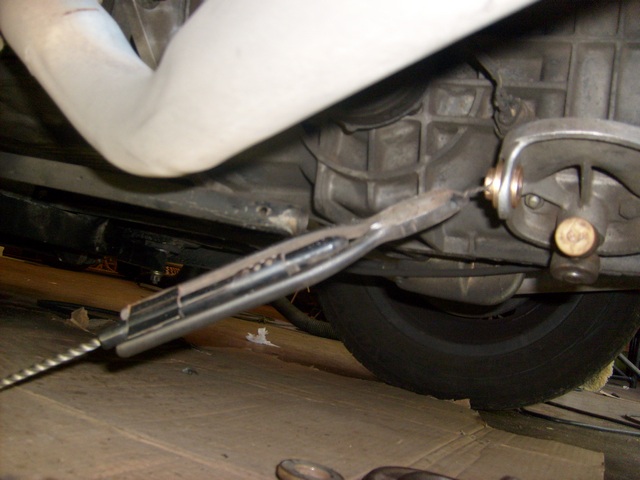
Then I used a small drill bit and drilled two small holes through both bushing flanges and the aluminum console and added a safety wire. The press fit was so tight I didn't need the safety wire. But I added it anyway. 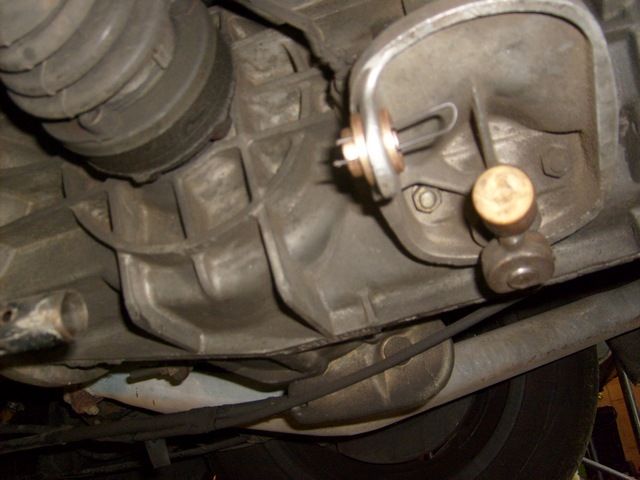
Posted by: tat2dphreak Sep 13 2009, 06:07 PM
great write up! we need to find the right size for the firewall now 
Posted by: zymurgist Sep 13 2009, 06:22 PM
Cool!
I bet you were looking for an excuse to use your safety wire pliers. I try to use my cool specialty tools whenever I can. 
Posted by: rick 918-S Sep 13 2009, 06:26 PM

Cool!
I bet you were looking for an excuse to use your safety wire pliers. I try to use my cool specialty tools whenever I can.
Yep, I've owned them for about 25 years and hardly used them. It was fun.
Posted by: ClayPerrine Sep 13 2009, 09:31 PM
This is kinda cool... I had exactly the same idea...
It is on Betty's car right now!!!
Weird......
Powered by Invision Power Board (http://www.invisionboard.com)
© Invision Power Services (http://www.invisionpower.com)