|
|
|
Porsche, and the Porsche crest are registered trademarks of Dr. Ing. h.c. F. Porsche AG.
This site is not affiliated with Porsche in any way. Its only purpose is to provide an online forum for car enthusiasts. All other trademarks are property of their respective owners. |
|
|


| bulitt |
 Oct 22 2012, 05:38 PM Oct 22 2012, 05:38 PM
Post
#1
|
|
Achtzylinder  Group: Members Posts: 4,188 Joined: 2-October 11 Member No.: 13,632 Region Association: South East States |
I am replacing my passenger side window and could not find a tech article on this so thought I would document it. I will probably need this info again in about a year as my short term memory is shot... (IMG:style_emoticons/default/biggrin.gif)
1973 with new style regulator. You will need a phillips head screw driver, 4mm hex wrench, 10mm and 13mm sockets. Propane torch or heat gun. 3m Window urethane. latex gloves, masking tape, acetone or adhesive remover, popsicle stick or plastic spreader. Make sure you wear safety glasses and gloves. Even though this is tempered glass it is still very sharp! Start by pulling the rubber cover off the window crank. Then remove screw from crank and remove crank. 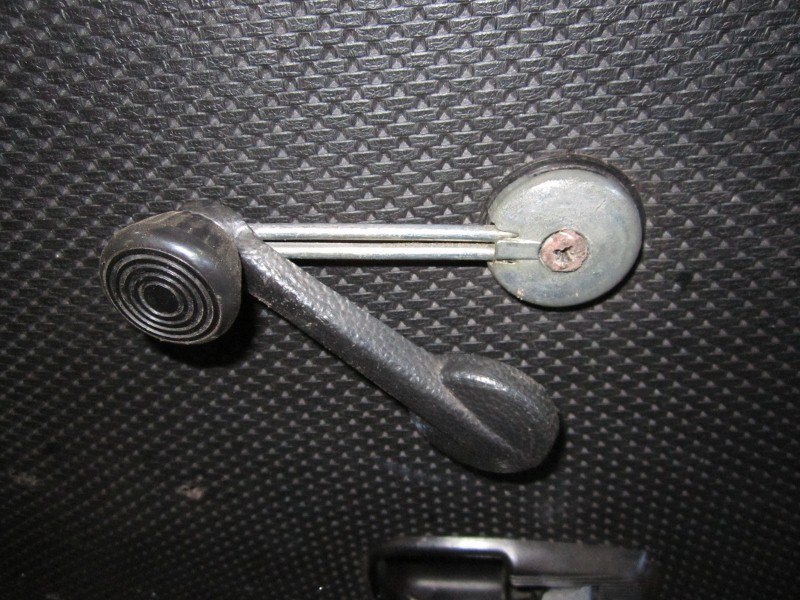 Remove door latch cover screw. Slide plastic cover off latch. 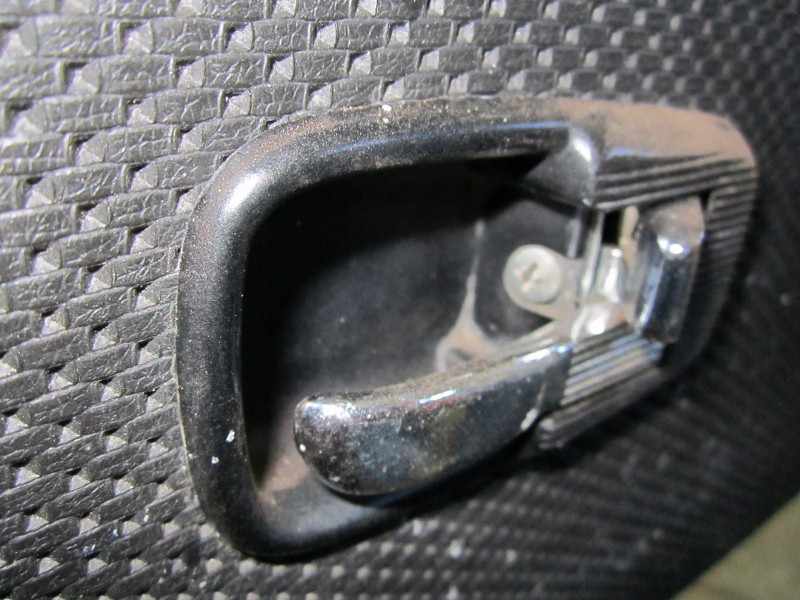 Remove three screws along bottom of arm rest. Then slide arm rest forward and down to remove. 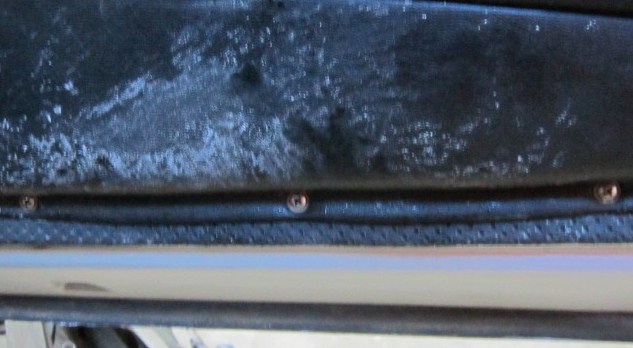 Remove three hex head screws with 4mm hex wrench from arm rest. You can see in this picture how the lower portion of the arm rest must be slid forward to remove or the plastic arms will break off. (someone broke the front one). 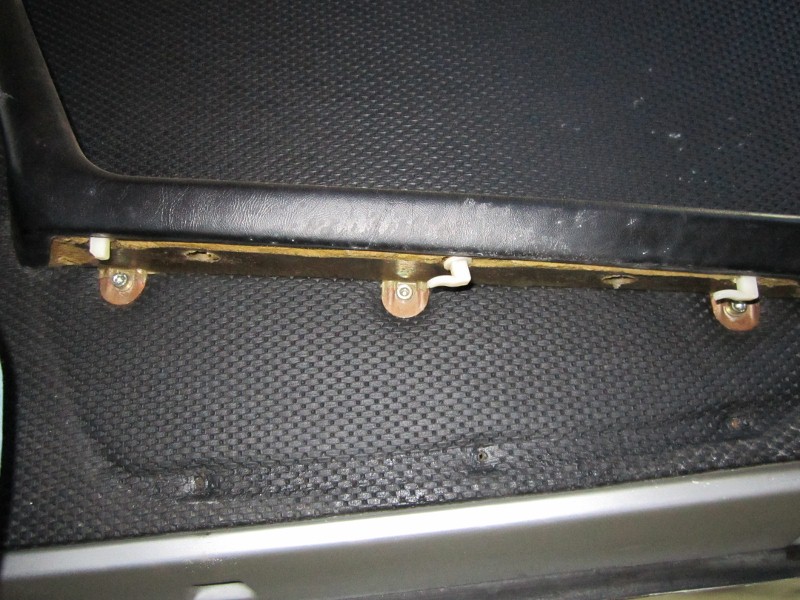 Remove the 4mm hex screw from top of door handle. Remove arm rest. 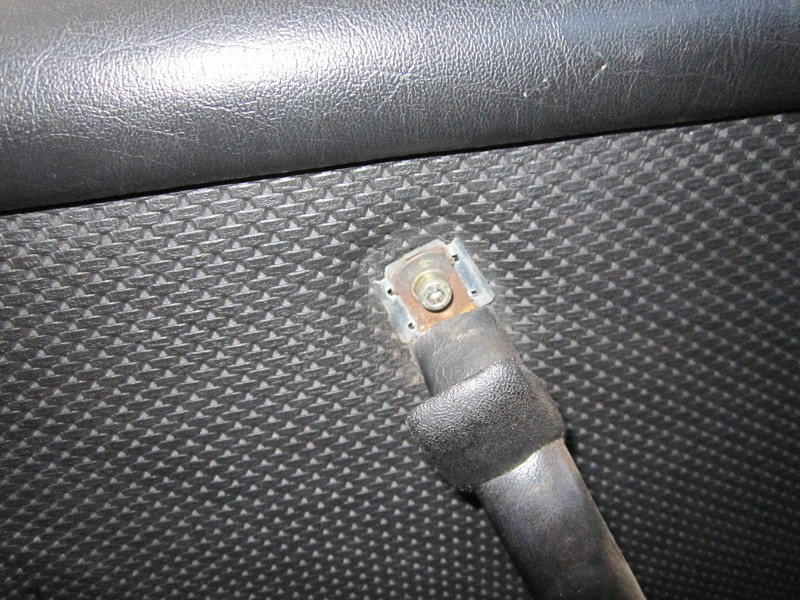 Gently pry plastic door panel clips away from door along perimeter. Then lift door panel up and off. 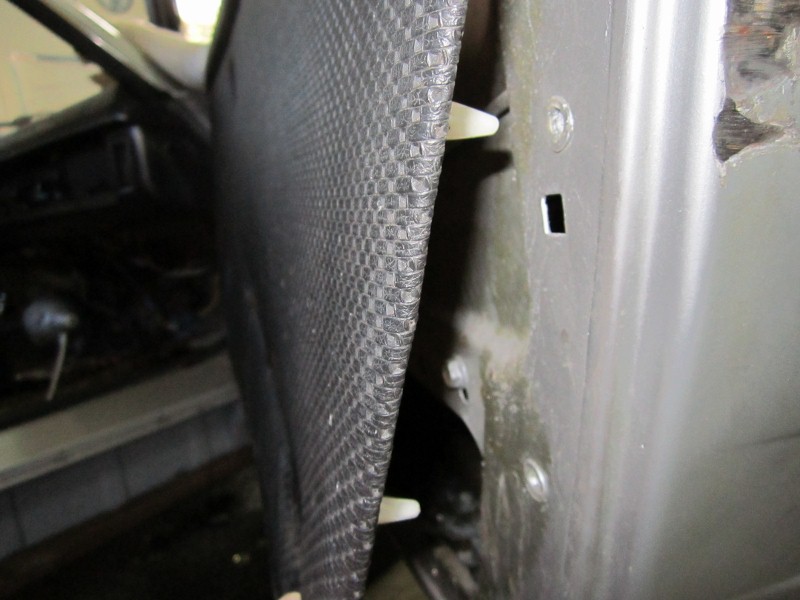 Remove vapor barrier from door if it is still on. Remove front glass lifter bracket bolt with 13mm socket. 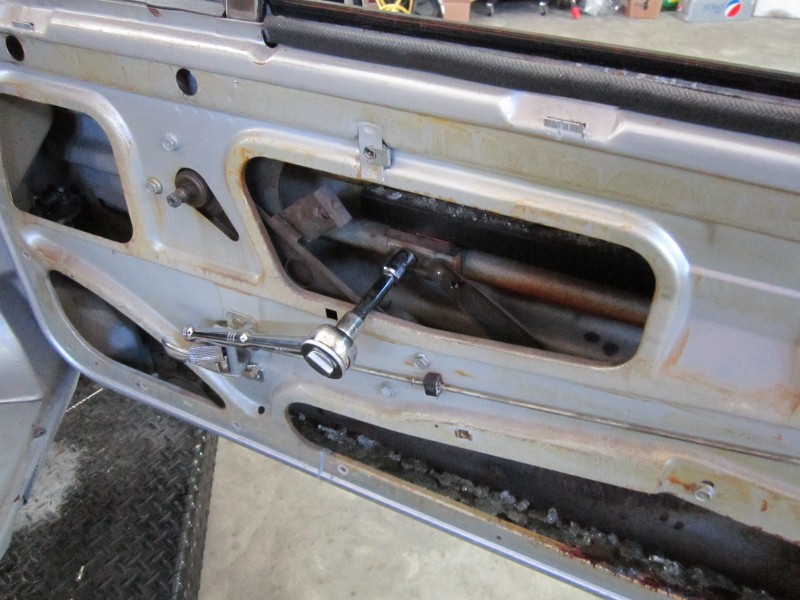 Slide rear actuator arm slider off glass lifter bracket. Remove glass lifter bracket from door.- (note- if your window is intact you will need to remove the front guide/vent window first to be able to remove the intact window/bracket). 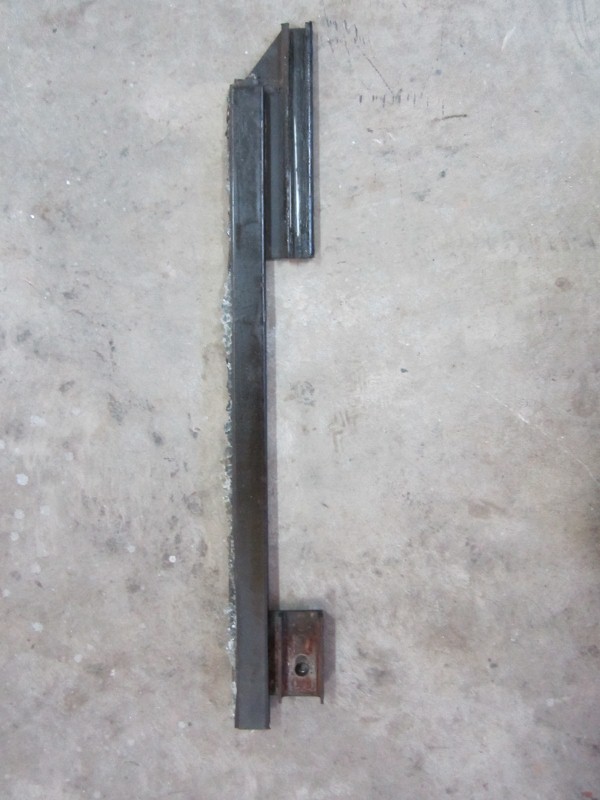 As you can see the bracket has some broken glass remaining in the channel- glued in with urethane. 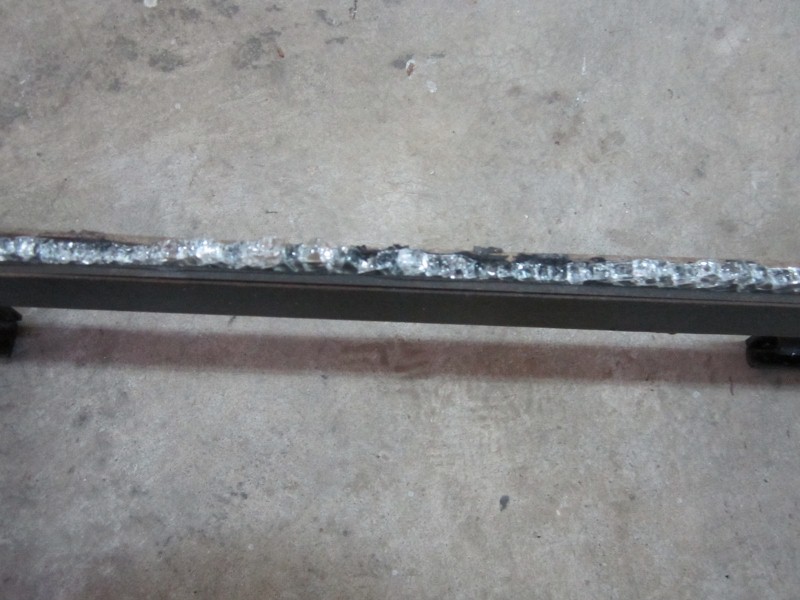 To remove this glass and urethane heat sides with heat gun or propane torch. 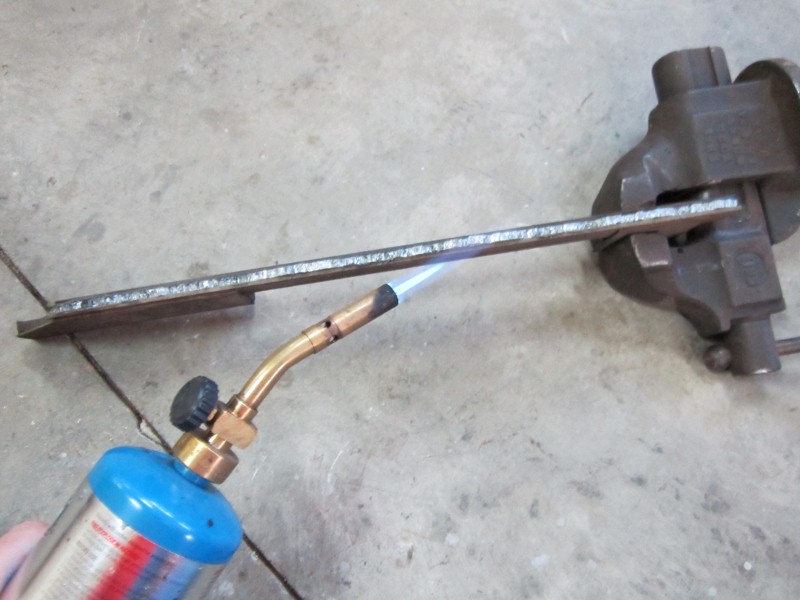 Pry up the urethane and it should come right out with the remaining glass. As you can see this glass was installed using a urethane channel approx 1/16" thick on each side. Easier for the manufacturer to assemble the glass and lifter than using squeeze urethane. 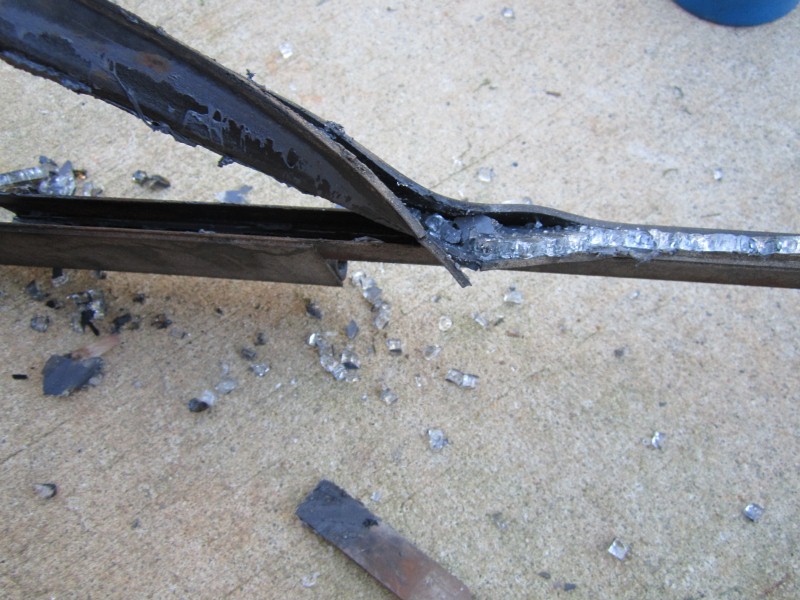 Next clean out the bracket channel with 3m adhesive remover, or heat and scrape, or bead blast. Once the channel is clean it is time to install the new glass panel. On the glass measure 4-3/16" from the front edge (measured along the bottom edge of the glass!). Place tape on this mark. This will locate the front of the glass lifter bracket. (ok, this may differ for early style regulators and even on late cars. You may have to measure off the other window) 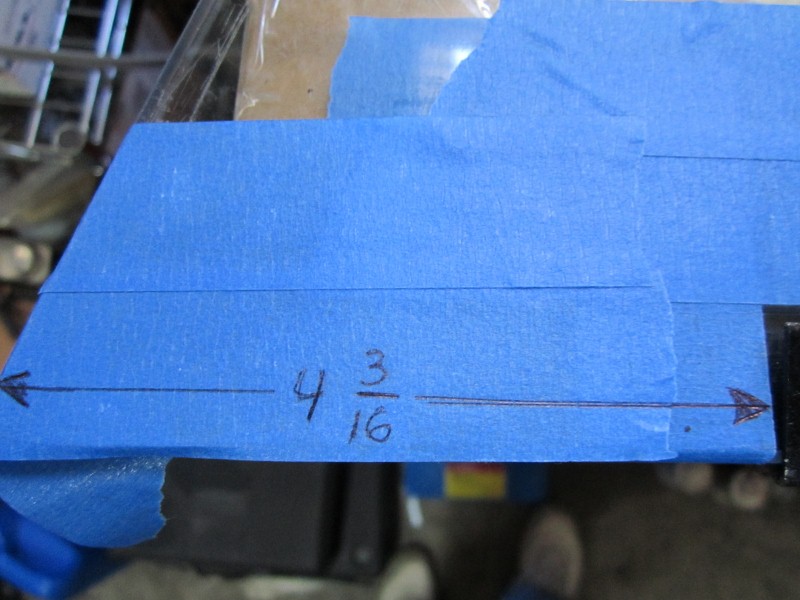 Place the bracket on the glass and tape around it on both side of the glass. This will keep the urethane from getting on the glass where you don't want it. 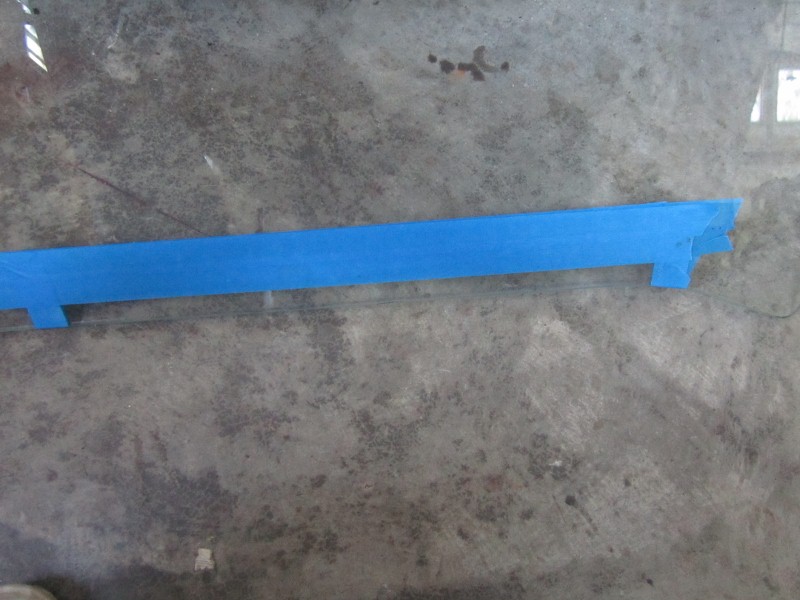 When you install the glass into the bracket you will need to have urethane on both sides and bottom of the glass. Remember the U-channel shape you removed. This needs to be duplicated. To do so I taped spacers (18ga. wire) to each side of the glass. Trial fit the bracket to make sure it slides over the spacers. Cut 1/4" off the same wire and drop into the bottom of the channel- it will stay there to leave room for the urethane on the bottom.  I used 3m Urethane Window Weld. Comes in a tube which fits standard size caulk guns. 3m site says you have about 10-15 minutes before set up. Warm the tube prior because the product is heavy and it will flow easier when warm. Purchased this at the local FLAPS @ 24$. Summit sells it for @17$ 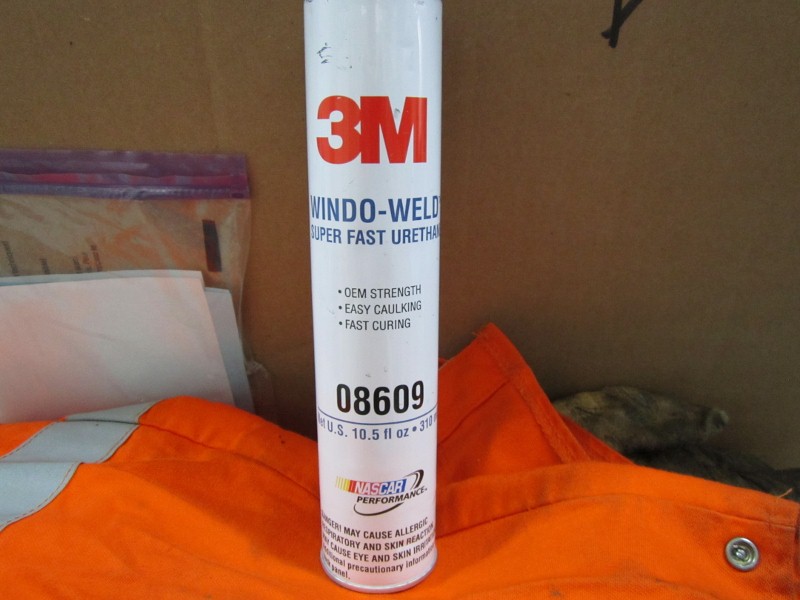 Check the expiration date on top- 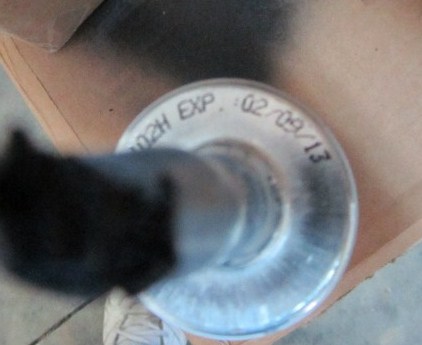 Put it into the gun, puncture the top, screw on the nozzle and trim allowing a 1/4" hole in nozzle. 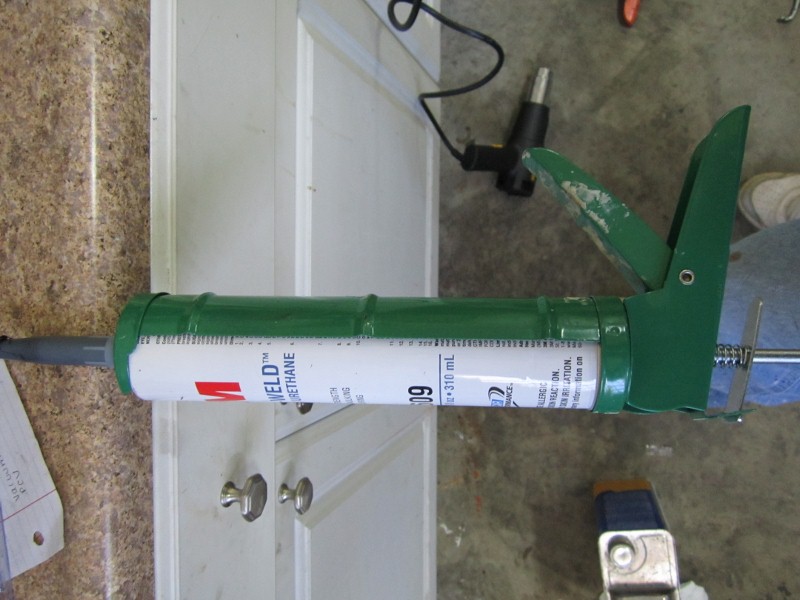 Put your latex gloves on. Clean the glass surface with 3m adhesive remover or acetone. This stuff is very sticky and difficult to remove-read the warning on the container. Squeeze a good size bead into the bottom of the bracket. Squeeze beads on both sides of the glass thicker than the spacers. You have plenty of product here...plenty. Smooth the beads on the glass but keep it thick- you want it to squish out. Make sure you have the front edge of the glass oriented to the front of the bracket (don't install it backwards). Slide the bracket onto the glass aligning the front of the bracket on your 4-3/16" mark. Make sure the spacers go into the bracket. 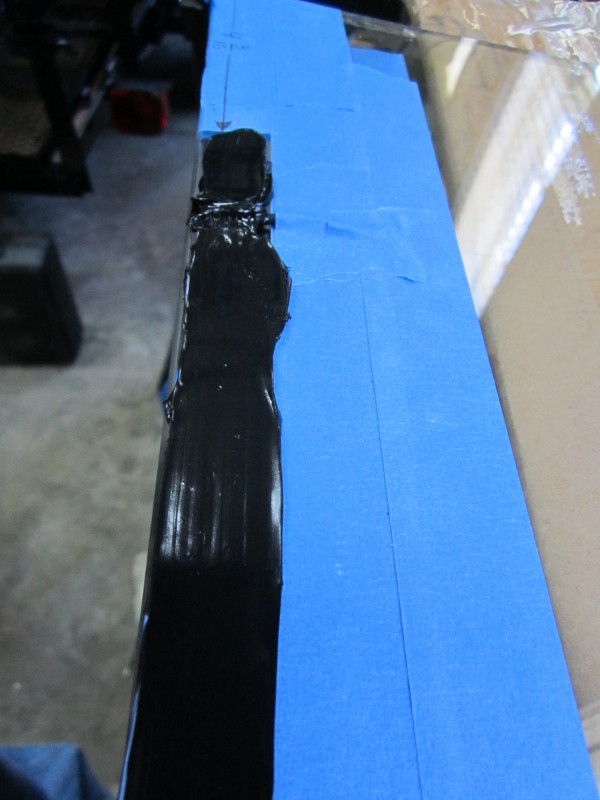 Push the glass down into the bracket channel. Make sure it bottoms out. Gently remove the wire spacers. Squeeze some urethane into the wire spacer holes. Take you popsicle stick or spreader, remove excess urethane and smooth the urethane around the bracket edges. Make sure there are no holes. Gently remove the masking tape. Clean off any urethane you don't want on the glass with 3m adhesive remover or acetone. Set the window aside in a vertical position with the weight of the glass bearing down on the bracket. It needs to cure for a minimum of 24 hours (24-48hrs per the 3m site). |
   |

 
|
Posts in this topic
 bulitt How to Install a Side Window. Oct 22 2012, 05:38 PM
 bulitt Good time to address any dirt or rust in your door... Oct 22 2012, 05:39 PM wingnut86 :first:
Excellent Thread... Oct 22 2012, 06:41 PM Griffinroydonald Glad the window worked out for you :wavebye: Oct 22 2012, 07:10 PM euro911 I need to do this on a couple of cars. Thanks.
.... Oct 22 2012, 07:35 PM Olympic 914 Yeah I know its an old thread.... But I'm doin... May 25 2017, 02:21 PM
bulitt Good time to address any dirt or rust in your door... Oct 22 2012, 05:39 PM wingnut86 :first:
Excellent Thread... Oct 22 2012, 06:41 PM Griffinroydonald Glad the window worked out for you :wavebye: Oct 22 2012, 07:10 PM euro911 I need to do this on a couple of cars. Thanks.
.... Oct 22 2012, 07:35 PM Olympic 914 Yeah I know its an old thread.... But I'm doin... May 25 2017, 02:21 PM
 jmitro
Yeah I know its an old thread.... But I'm doi... Jun 30 2018, 09:02 PM Olympic 914 Edit, Double post. May 25 2017, 02:22 PM r_towle Bob,
Can you explain that using metric terms plea... Jul 1 2018, 10:50 AM
jmitro
Yeah I know its an old thread.... But I'm doi... Jun 30 2018, 09:02 PM Olympic 914 Edit, Double post. May 25 2017, 02:22 PM r_towle Bob,
Can you explain that using metric terms plea... Jul 1 2018, 10:50 AM  |
1 User(s) are reading this topic (1 Guests and 0 Anonymous Users)
0 Members:

|
Lo-Fi Version | Time is now: 29th May 2024 - 03:22 AM |
Invision Power Board
v9.1.4 © 2024 IPS, Inc.