|
|
|
Porsche, and the Porsche crest are registered trademarks of Dr. Ing. h.c. F. Porsche AG.
This site is not affiliated with Porsche in any way. Its only purpose is to provide an online forum for car enthusiasts. All other trademarks are property of their respective owners. |
|
|

  |

| ringerdc |
 Oct 11 2013, 10:25 PM Oct 11 2013, 10:25 PM
Post
#1
|
|
Newbie  Group: Members Posts: 11 Joined: 28-January 13 From: Calistoga, Northern California Member No.: 15,443 Region Association: Northern California |
any advice on what product and/or techniques to remove the residual adhesive from the engine compartment after removing the rubber insulation pad?
|
   |

 
|
| r_towle |
Oct 11 2013, 10:26 PM
Post
#2
|
|
Custom Member Group: Members Posts: 24,585 Joined: 9-January 03 From: Taxachusetts Member No.: 124 Region Association: North East States |
3m adhesive remover
|
|
|
|
| mrbubblehead |
Oct 11 2013, 11:37 PM
Post
#3
|
|
Twodollardoug Group: Members Posts: 1,155 Joined: 17-December 10 From: calimesa ca. Member No.: 12,492 Region Association: Southern California |
goof off and elbow grease.
|
|
|
|
| Steve |
Oct 11 2013, 11:50 PM
Post
#4
|
|
914 Guru Group: Members Posts: 5,606 Joined: 14-June 03 From: Orange County, CA Member No.: 822 Region Association: Southern California |
I tried goof off, 3m adhesive remover and then a scraper. Then I ended up with a wire wheel and ended up having to prime and paint it. Major hassle.
|
|
|
|
| ringerdc |
Oct 12 2013, 12:39 AM
Post
#5
|
|
Newbie Group: Members Posts: 11 Joined: 28-January 13 From: Calistoga, Northern California Member No.: 15,443 Region Association: Northern California |
That is what I am trying to avoid.
|
|
|
|
| Rand |
Oct 12 2013, 02:42 AM
Post
#6
|
|
Cross Member Group: Members Posts: 7,409 Joined: 8-February 05 From: OR Member No.: 3,573 Region Association: None |
This is simple. What new surface do you want??
If paint, then fuck it and take the big ass sander to it. Power tools with abrasives all the way. Then prime and paint. (I went with the hammered finish paint) If you prefer fabric or something, then who cares, just re-glue the new material to it. If you encounter rust, then obviously that needs to be treated first. |
|
|
|
| Randal |
Oct 12 2013, 11:46 AM
Post
#7
|
|
Advanced Member Group: Members Posts: 4,446 Joined: 29-May 03 From: Los Altos, CA Member No.: 750 |
QUOTE(r_towle @ Oct 11 2013, 09:26 PM)  3m adhesive remover +1 It takes time and multiple applications, but works. In the trunk I just went for it with a HF grinder with wire wheel attachment. 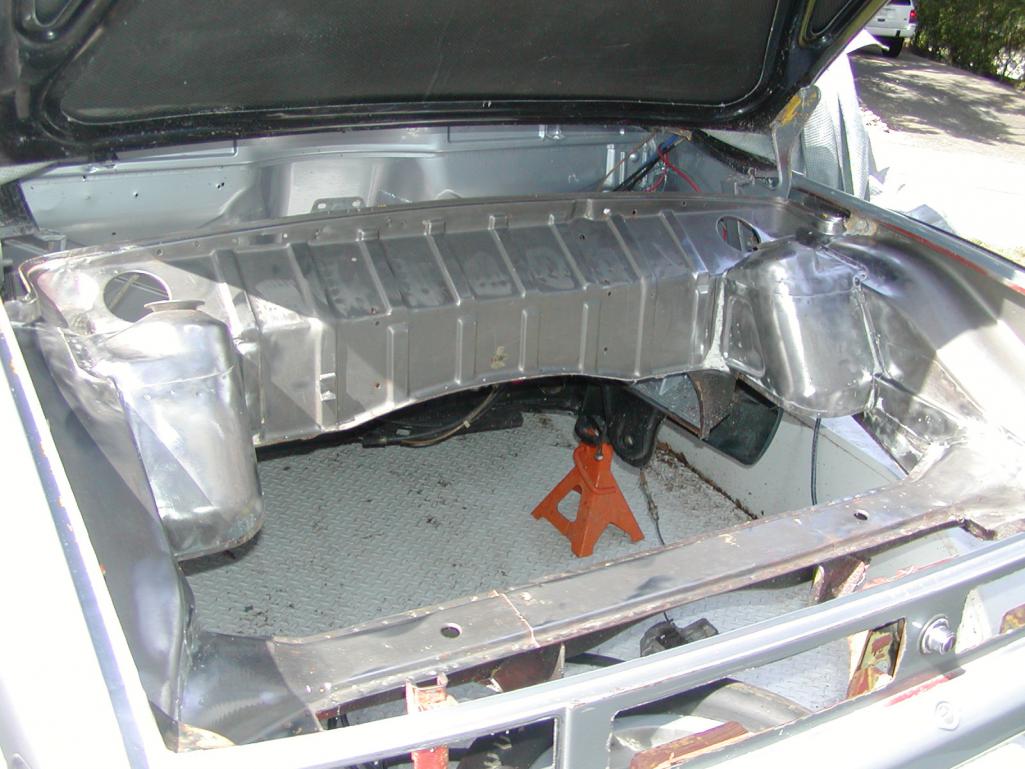 |
|
|
|
|
1 User(s) are reading this topic (1 Guests and 0 Anonymous Users)
0 Members:

|
Lo-Fi Version | Time is now: 2nd June 2024 - 12:25 AM |
Invision Power Board
v9.1.4 © 2024 IPS, Inc.