|
|
|
Porsche, and the Porsche crest are registered trademarks of Dr. Ing. h.c. F. Porsche AG.
This site is not affiliated with Porsche in any way. Its only purpose is to provide an online forum for car enthusiasts. All other trademarks are property of their respective owners. |
|
|


| jim_hoyland |
 Mar 14 2022, 11:12 AM Mar 14 2022, 11:12 AM
Post
#1
|
|
Get that VIN ?  Group: Members Posts: 9,818 Joined: 1-May 03 From: Sunset Beach, CA Member No.: 643 Region Association: Southern California |
Before I replace the targa top and door piller rubbers, I need to review the ins/outs of this. Seems like there’s a good thread How To do this……
@Mikey914 |
   |

 
|
  |
Replies(1 - 11)
| Mikey914 |
Mar 14 2022, 11:39 AM
Post
#2
|
|
The rubber man Group: Members Posts: 12,772 Joined: 27-December 04 From: Hillsboro, OR Member No.: 3,348 Region Association: None |
Targa roof to window seal-
The biggest problem I see with the seals is that most people try to pull the seals on the roof at the top of the window. Yes they can be pulled through the track, and you think that you have relieved all the tension, but in a month or more, the vibration / expansion and contraction will eventually allow the runner to return to the unstretched shape. Rubber has memory, and will do this, so even a small amount of stress will eventually cause this seal to mysteriously shrink. The only way to avoid this is to install the outside edge 1st and them press in the inner edge. I making the seal about 1/4" longer than you think you will need. Install the roof and try to close the front latch. You will notice the seal will "beer can"or crumple in. Take a carpet knife and warm soapy water and shave off up to 1/8" and re try. Continue the process until you can see that seal is actually making contact and is under pressure, but not so much that it deforms the seal. This will allow for the best possible fit. The rubber shrinks over time so the old one will have more clearance. Our seal is designed for an exact fit. The real key is to use a large flat screwdriver. Something with about a 1/2” width. You will literally be pressing it in about 1/2” at a pop. It takes time and is more difficult to install that it appears it should be, but you will reduce wind noise and make a tight fit. VERTICAL TARGA SEALS We make them longer to you can cut for a perfect fit. Once you have the top situated so the height make a perfect seal, you can close the door onto the seal and mark with a pen. Cut below the line. Then try to shut again. You may need to trim a little more off, but you can make the seal sit snugly right on top of the door end cap. TIP- Use soapy water and a break knife (so you have a long blade) to cut the rubber. The soap lubricates the rubber as it cuts. It will cut like butter. Be careful! It will do this to skin also! |
|
|
|
| jim_hoyland |
Mar 14 2022, 12:02 PM
Post
#3
|
|
Get that VIN ? Group: Members Posts: 9,818 Joined: 1-May 03 From: Sunset Beach, CA Member No.: 643 Region Association: Southern California |
Thanks (IMG:style_emoticons/default/smile.gif) Vertical seals went in easy; haven’t cut the bottom ends off yet;thick I should wait until the targa top seal is in.
Attached thumbnail(s) 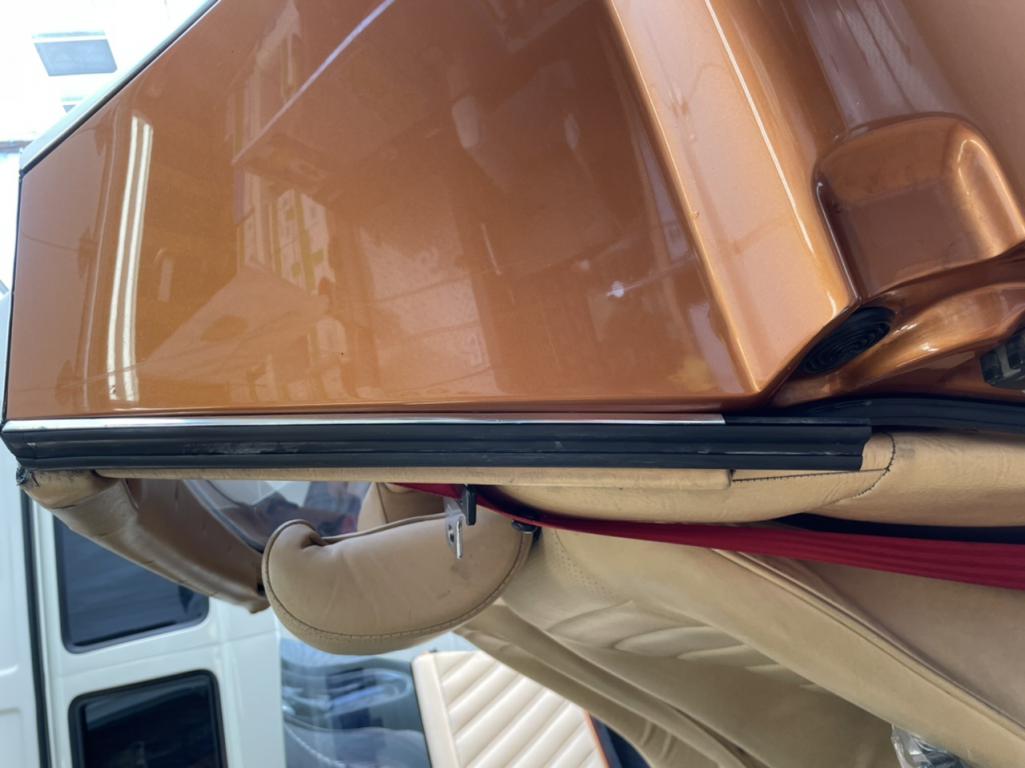
|
|
|
|
| jim_hoyland |
Mar 14 2022, 01:56 PM
Post
#4
|
|
Get that VIN ? Group: Members Posts: 9,818 Joined: 1-May 03 From: Sunset Beach, CA Member No.: 643 Region Association: Southern California |
I’m doing the top seal. Forcing the seals inner edge is really hard. I’ve barely done 4 inches in the past hour.
Attached thumbnail(s) 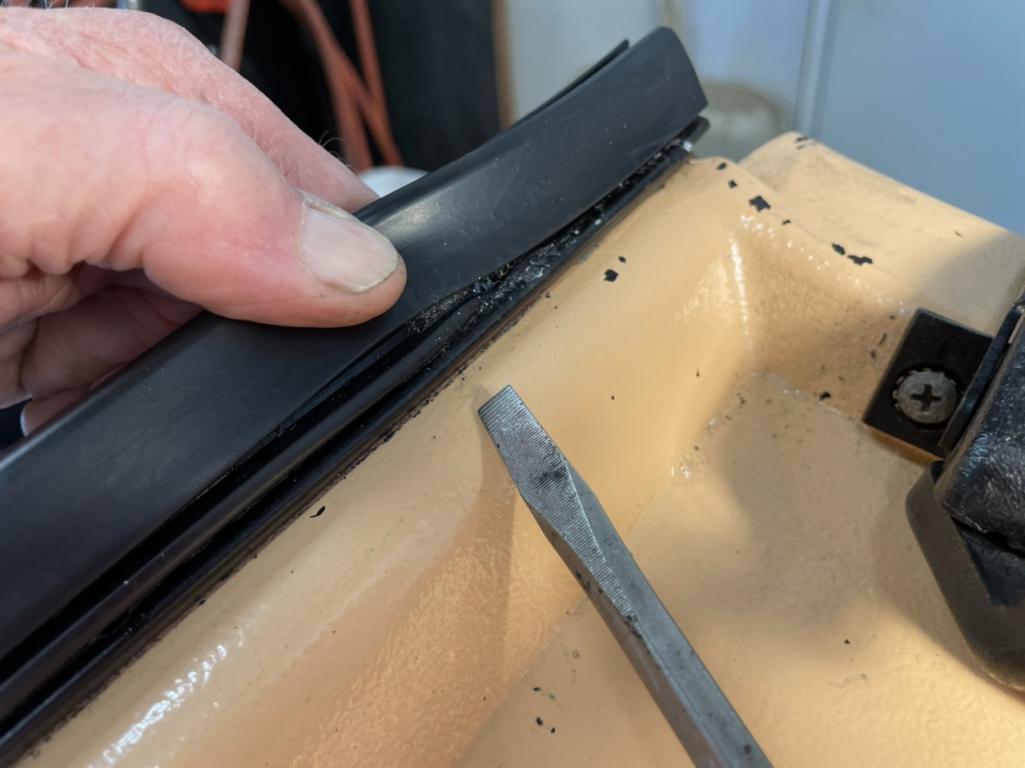
|
|
|
|
| Mikey914 |
Mar 14 2022, 02:12 PM
Post
#5
|
|
The rubber man Group: Members Posts: 12,772 Joined: 27-December 04 From: Hillsboro, OR Member No.: 3,348 Region Association: None |
Yes it is a pain, but you can see how it retains the tension if it's pulled. Vibration along with expansion and contraction will make it magically shrink if you pull it though.
|
|
|
|
| jim_hoyland |
Mar 14 2022, 02:22 PM
Post
#6
|
|
Get that VIN ? Group: Members Posts: 9,818 Joined: 1-May 03 From: Sunset Beach, CA Member No.: 643 Region Association: Southern California |
Gave up today; the fit is just too tight. I’ve done this before and didn’t have such a tight fit. I’m thinking new tracks might be a possibility.
|
|
|
|
| jim_hoyland |
Mar 14 2022, 07:11 PM
Post
#7
|
|
Get that VIN ? Group: Members Posts: 9,818 Joined: 1-May 03 From: Sunset Beach, CA Member No.: 643 Region Association: Southern California |
The AA website gives this installation instruction “ easily replaced with a wide blade screw driver and some silicone grease just fit the inner side into the channel and then pinch the outside in with a screwdriver. remember not to cut it short as it will shrink to fit! direly needed to seal the wind and water out of your 914 “
Do I fit thr inner edge first or outer edge ? @Mikey914 |
|
|
|
| fsh2liv |
Mar 14 2022, 10:03 PM
Post
#8
|
|
Newbie Group: Members Posts: 26 Joined: 22-November 13 From: Colorado Member No.: 16,687 Region Association: Rocky Mountains |
Targa seal. Nice product but a pain to install. Was told by a guy at 914Rubber to use soap and they will slide in "like butter". not. Will try the above mentioned technique. Thanks.
|
|
|
|
| Mikey914 |
Mar 15 2022, 10:03 AM
Post
#9
|
|
The rubber man Group: Members Posts: 12,772 Joined: 27-December 04 From: Hillsboro, OR Member No.: 3,348 Region Association: None |
Re read my post. The warm soapy water will make make the rubber "cut like butter".
As far as new tracks go I haven't used them or even seen them. These were made to work with the OEM tracks. If they held tolerance, and actually made them to factory specs, there should be no issue. They require more time and patience to get these intalled, as you are installing 1/2" at a time. I start by locating exactly where I want the corner block to sit, and work to ward the front. I do put the onside lip on 1st as it seems easier to me. |
|
|
|
| jim_hoyland |
Mar 16 2022, 04:50 PM
Post
#10
|
|
Get that VIN ? Group: Members Posts: 9,818 Joined: 1-May 03 From: Sunset Beach, CA Member No.: 643 Region Association: Southern California |
It took two sets of hands to get to the side targa top seal on. Keith Hully ( 914Toy ) assisted and we got the second track done in 35 minutes ! The first side took almost an hour.
First- I helps to have clean tracks. If the edges have any corrosion, the install is harder. Smooth any irregularities Second- while one person pushes the inner lip into the track, the second person needs to steady the top so it doesn’t move around. Second person also holds flashlight on section being done (inner side) Third- as stated by Mark, only try doing 1/2” at a time, sometimes we crawled along at 1/4” A short stubby screwdriver works best Fourth- Measure twice, The new seal will be at least as long as the old seal So, it’s done, the result is good. @Mikey914 |
|
|
|
| Mikey914 |
Mar 16 2022, 05:19 PM
Post
#11
|
|
The rubber man Group: Members Posts: 12,772 Joined: 27-December 04 From: Hillsboro, OR Member No.: 3,348 Region Association: None |
Thanks Jim,
The cutting is where the cuts like butter comment comes in. Sharp knife, soapy water. I like to cut long, and try to fit shaving off maybe 1/16" to get the fit perfect. You can tell as it's when the seal compresses onto the main block and doesn't "beer can" when you pull it tight. That will get a perfect watertight seal between the the two seals. |
|
|
|
| Robarabian |
Mar 16 2022, 08:34 PM
Post
#12
|
|
914 A Roo Group: Members Posts: 702 Joined: 11-February 19 From: Simi Valley, Kalifornia Member No.: 22,865 Region Association: Southern California |
I have to do this soon. Thanks for the tips Jim!
|
|
|
|
|
1 User(s) are reading this topic (1 Guests and 0 Anonymous Users)
0 Members:

|
Lo-Fi Version | Time is now: 15th July 2025 - 03:25 AM |
Invision Power Board
v9.1.4 © 2025 IPS, Inc.