|
|
|
Porsche, and the Porsche crest are registered trademarks of Dr. Ing. h.c. F. Porsche AG.
This site is not affiliated with Porsche in any way. Its only purpose is to provide an online forum for car enthusiasts. All other trademarks are property of their respective owners. |
|
|


| markb |
 Jan 10 2007, 05:50 PM Jan 10 2007, 05:50 PM
Post
#1
|
|
914less :(  Group: Members Posts: 5,450 Joined: 22-January 03 From: Nipomo, CA Member No.: 180 Region Association: Central California |
I was re-keying a lock for someone today, and thought it might be a good time to take some pictures & explain how you can do this yourself. It’s not rocket science, if I can do it, anyone can do it. Please correct me if I’m wrong, or use the wrong terminology.
I’ll start with a door handle, because that seems to be what needs to be re-keyed the most. 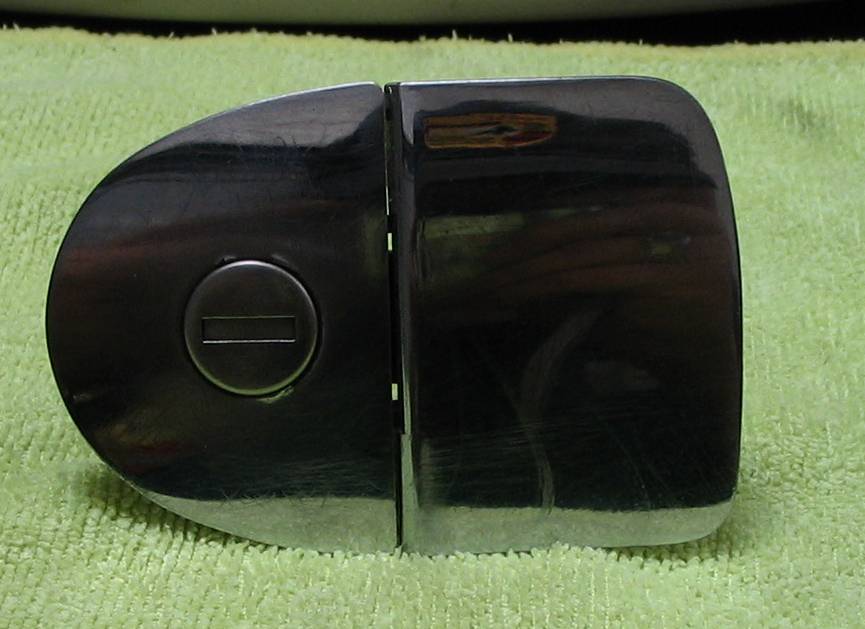 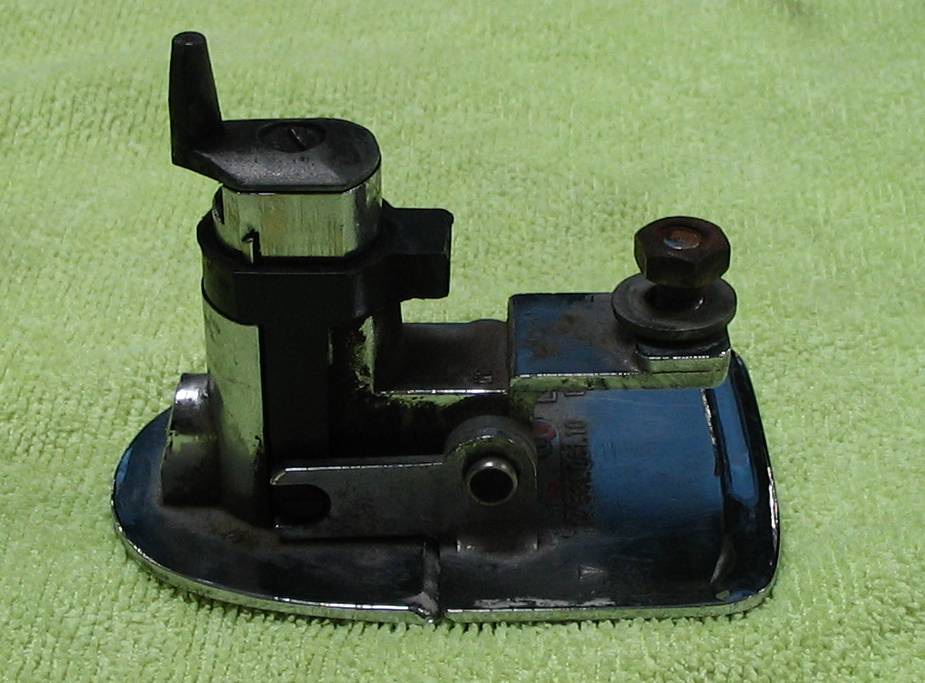 Your standard 914 door handle. |
   |

 
|
  |
Replies(1 - 19)
| markb |
Jan 10 2007, 05:55 PM
Post
#2
|
|
914less :( Group: Members Posts: 5,450 Joined: 22-January 03 From: Nipomo, CA Member No.: 180 Region Association: Central California |
Remove the screw that holds the tumbler in place.
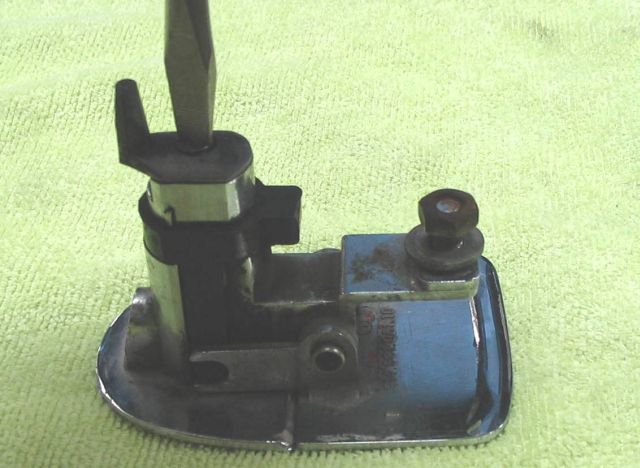 Once the screw is removed, remove the lever and spring. 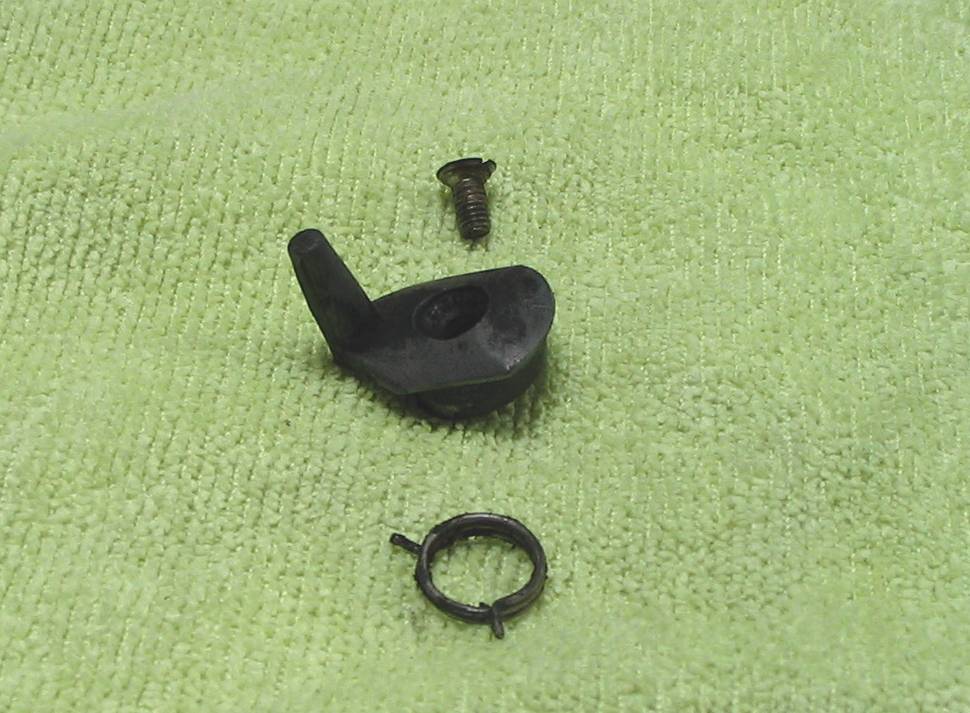 Insert the key in the tumbler and remove the tumbler. 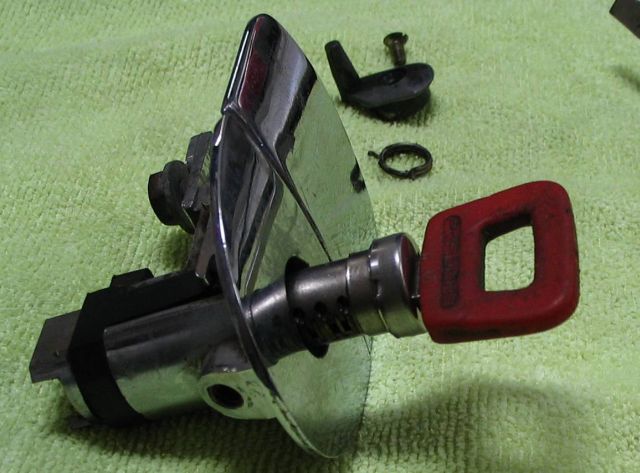 |
|
|
|
| markb |
Jan 10 2007, 05:58 PM
Post
#3
|
|
914less :( Group: Members Posts: 5,450 Joined: 22-January 03 From: Nipomo, CA Member No.: 180 Region Association: Central California |
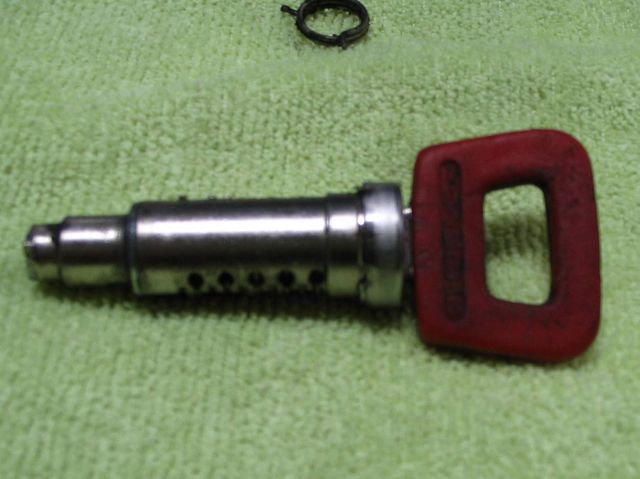 Once the tumbler is removed, you can see how the wafers sit. When you remove the key from the tumbler, make sure to hold the wafers lightly in place with your fingers (these little puppies can go flying). 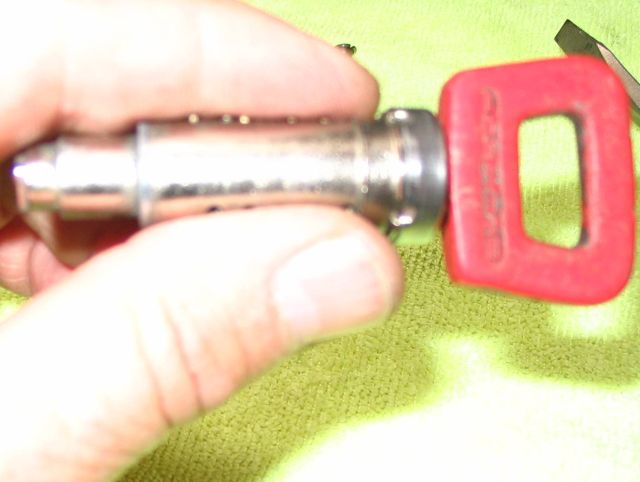 This is what you should have. 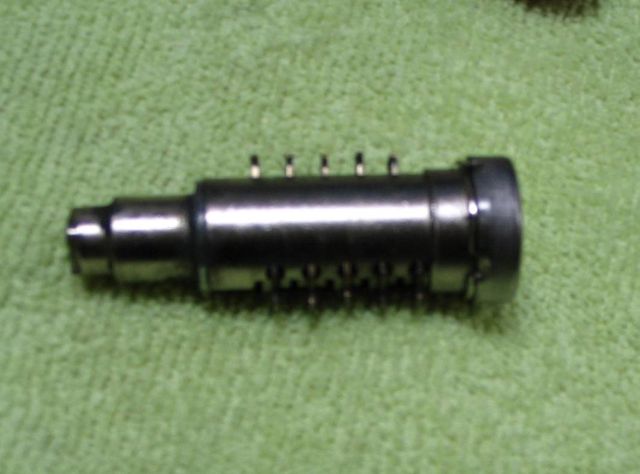 |
|
|
|
| markb |
Jan 10 2007, 06:03 PM
Post
#4
|
|
914less :( Group: Members Posts: 5,450 Joined: 22-January 03 From: Nipomo, CA Member No.: 180 Region Association: Central California |
This might be a good time to discuss the wafers
There are 5 different wafers 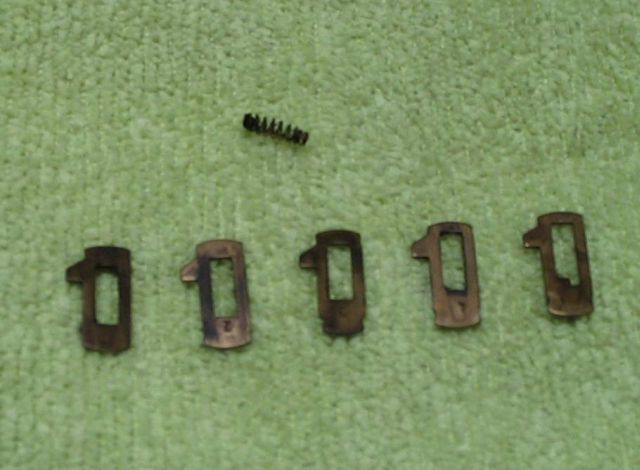 From left to right, they are numbered 1, 2, 3, and 4. The last wafer is the infamous “valet” wafer. This is the one that keeps the valet key from working the trunks & glovebox locks. Notice the “ledge” on the wafer. Here are the keys, so you can see the difference. The valet key has 2 slots, where the normal key has only one. 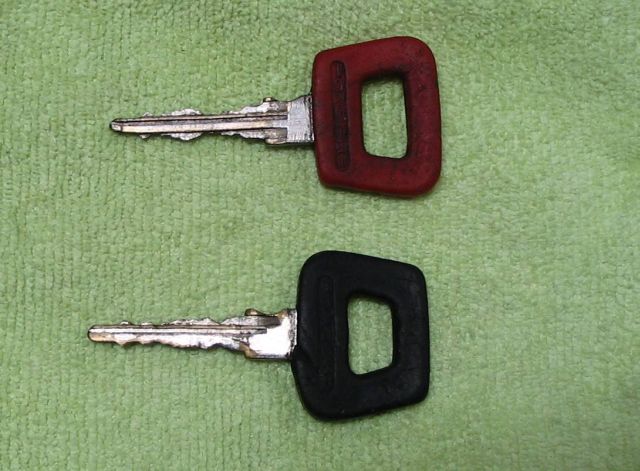 Ever wanted to see a brand new key? Here you go. 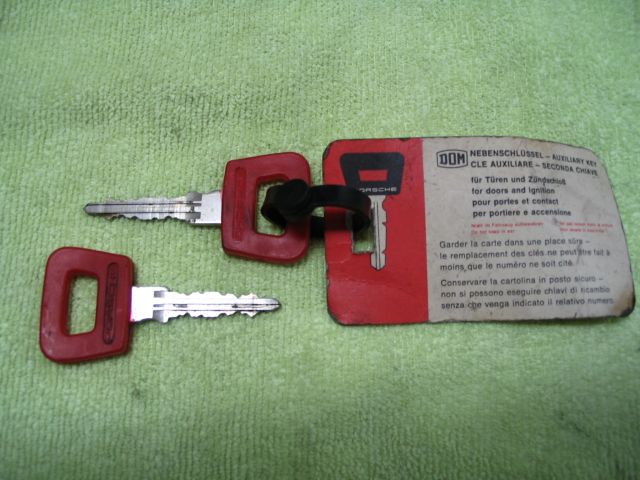 |
|
|
|
| markb |
Jan 10 2007, 06:11 PM
Post
#5
|
|
914less :( Group: Members Posts: 5,450 Joined: 22-January 03 From: Nipomo, CA Member No.: 180 Region Association: Central California |
Before you start replacing wafers, wipe the accumulated gunk off of the parts. I’ve been told it’s better to put the wafers back in dry, and lube things up once it’s back together.
Now you need to move the wafers around until they are flush with the tumbler. Put the key in the tumbler, and look to see which wafers are not flush. Now look to see if they are not flush at the bottom of the wafer, or the top. One at a time, replace with other wafers that aren’t flush, until you have them all flush. Be careful not to lose any of the springs. They’re pretty small, and probably full of old lubricant, so they may come out when you remove the wafer. Many times you can just rearrange the wafers without having to have spares. If you do need spares, I would rob them from another lock that usually isn’t used. For instance, when was the last time you locked your glovebox? Or your front trunk? These would be the ones I would rob for wafers. Just make sure you’re not using one of the valet wafers. If you’re like me, and have a few broken door handles lying around, you can rob them for parts. Before: 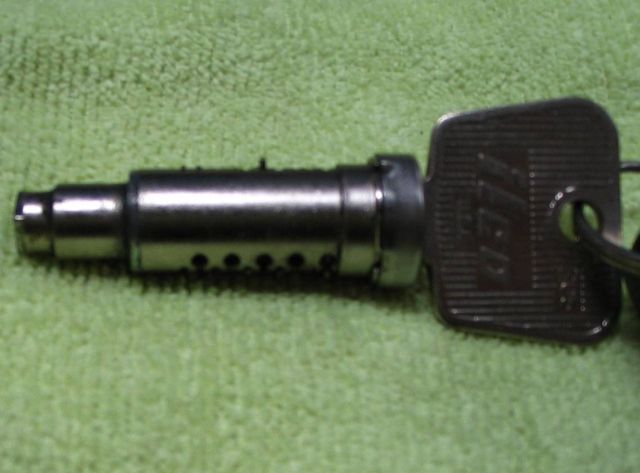 After:  |
|
|
|
| markb |
Jan 10 2007, 06:22 PM
Post
#6
|
|
914less :( Group: Members Posts: 5,450 Joined: 22-January 03 From: Nipomo, CA Member No.: 180 Region Association: Central California |
Since you have the door handle out, you should check the plastic actuator (these have a tendency to break) to see if it needs to be replaced. Yup, this one is broken. The originals were white, the replacements are black.
 Wipe it all down to remove the old lube, and re-lube with a good lubricant. I like either of these: 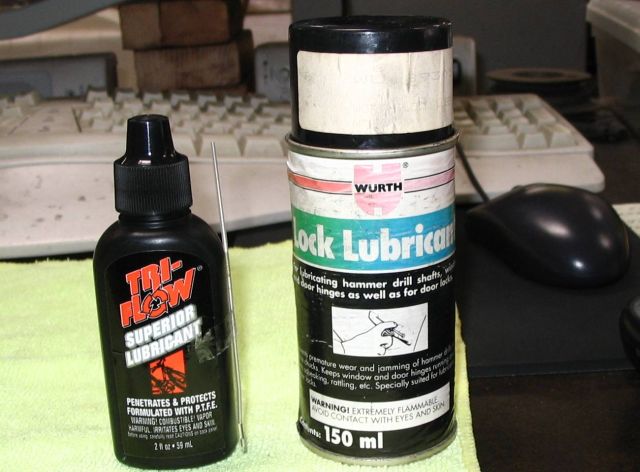 DO NOT USE GRAPHITE!!! It’s an abrasive, and it gums things up. Once you have all the wafers in flush, put the tumbler back in the handle. There is a small seal that fits around the outer edge of the tumbler where it meets the handle, and helps to keep dirt & water out of the handle. If the seal is still good, re-use it. If it’s in pieces, go ahead and reassemble without it. I haven’t had any problems with any handles that didn’t have this seal. The tumbler only fits in one way, so check to make sure it fits correctly, and make very sure the key rotates the tumbler easily, and with the key in either way. Once that is done, put the spring in place, and use the lever to help seat the spring. Put the screw back in, and you now have a re-keyed door handle! That's all for now. I'll do more later on each of the locks on a 914. Here's a picture of all that we'll eventually cover. 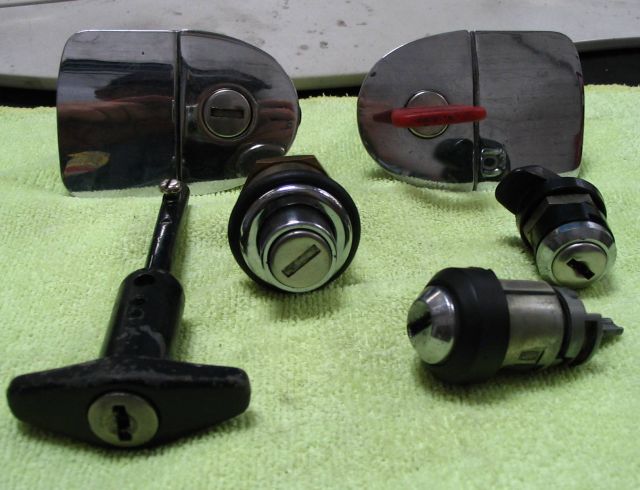 |
|
|
|
| Joe Bob |
Jan 10 2007, 06:47 PM
Post
#7
|
|
Retired admin, banned a few times Group: Members Posts: 17,427 Joined: 24-December 02 From: Boulder CO Member No.: 5 Region Association: None |
Good write up....
|
|
|
|
| markb |
Jan 10 2007, 06:49 PM
Post
#8
|
|
914less :( Group: Members Posts: 5,450 Joined: 22-January 03 From: Nipomo, CA Member No.: 180 Region Association: Central California |
Thanks. My brain hurts now, so I have to wait awhile before I do more. (IMG:style_emoticons/default/biggrin.gif)
|
|
|
|
| cooltimes |
Jan 10 2007, 07:00 PM
Post
#9
|
|
Advanced Member Group: Members Posts: 2,508 Joined: 18-May 04 Member No.: 2,081 Region Association: None |
Mark, nice lesson. Couple of questions.
Are you setting the tumbler wafers for one universal key for all your locks or for a new key for each lock? Can we save this to our own system or is it going to the classics? Thanks Cooley |
|
|
|
| markb |
Jan 10 2007, 07:04 PM
Post
#10
|
|
914less :( Group: Members Posts: 5,450 Joined: 22-January 03 From: Nipomo, CA Member No.: 180 Region Association: Central California |
I'm keying a whole set to one key at the moment. When you rearrange the wafers, it's for whatever key you want to use. I don't think there is a universal key.
You may save this however you like. |
|
|
|
| Brian_Boss |
Jan 10 2007, 08:39 PM
Post
#11
|
|
Member Group: Members Posts: 324 Joined: 3-June 03 From: Dallas, TX Member No.: 781 |
One additional thought to a great write up. If, after optimally rearranging the wafers, you end up with one or two that don't match the key and you don't have a spare cylinder, just leave them out - it won't hurt anything. The locks have more tumblers than most cars, even with a couple missing.
|
|
|
|
| markb |
Jan 10 2007, 08:41 PM
Post
#12
|
|
914less :( Group: Members Posts: 5,450 Joined: 22-January 03 From: Nipomo, CA Member No.: 180 Region Association: Central California |
I just re-read the how-to over on Pelican. You might want to reference that one also when you start to re-key.
|
|
|
|
| 914Sixer |
Jan 10 2007, 10:25 PM
Post
#13
|
|
914 Guru Group: Members Posts: 9,492 Joined: 17-January 05 From: San Angelo Texas Member No.: 3,457 Region Association: Southwest Region |
One thing I have noticed over the years, the pins do not always have numbers stamped on them.
|
|
|
|
| markb |
Jan 10 2007, 10:30 PM
Post
#14
|
|
914less :( Group: Members Posts: 5,450 Joined: 22-January 03 From: Nipomo, CA Member No.: 180 Region Association: Central California |
QUOTE(914Sixer @ Jan 10 2007, 08:25 PM)  One thing I have noticed over the years, the pins do not always have numbers stamped on them. I noticed that. I went thru & cleaned all of the ones I had, so I could find some that had numbers. I guess the only real way to tell is to compare them. |
|
|
|
| hwgunner |
Jan 10 2007, 10:57 PM
Post
#15
|
|
914 Parts @ Discount Prices 800.321.5432 Group: Members Posts: 1,714 Joined: 11-November 04 From: Santa Maria, Ca Member No.: 3,095 Region Association: None |
Mark, you are the man. I'm still going to pay you to do it when its time though. Remember, I part 'em out for a reason.
|
|
|
|
| markb |
Jan 11 2007, 07:35 PM
Post
#16
|
|
914less :( Group: Members Posts: 5,450 Joined: 22-January 03 From: Nipomo, CA Member No.: 180 Region Association: Central California |
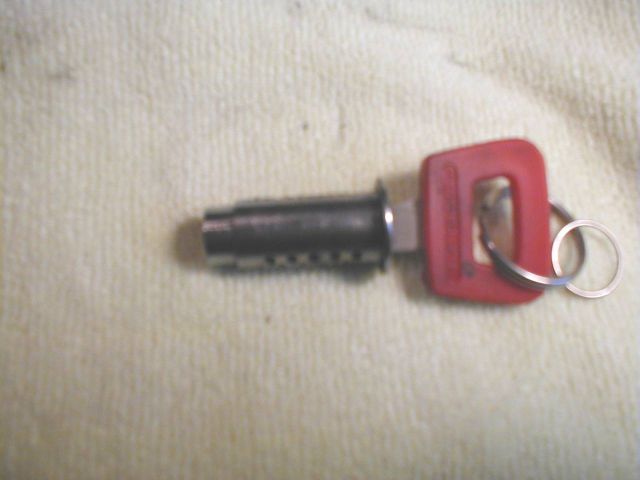
Ok, moving on to the ignition switch. tumbler There are differences in the early (70-71) and the later (72-76), and I believe there are even differences in the 72-74 to 75-76, but I haven’t knowingly done the 75-76 years, so I can’t state that for a fact. What I’ll do is show the 70-71 and the 72-up side by side.
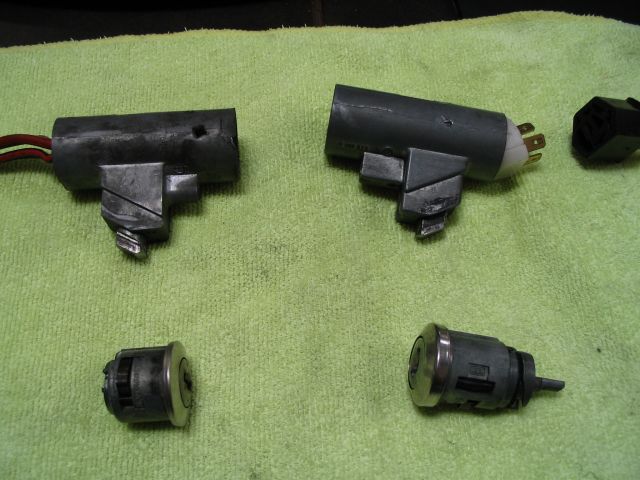 On the left is the early switch, tumbler & housing, and on the right the later switch, tumbler & housing. If I get the names for things wrong, someone please correct me. I’m going to start with the later tumbler, because they seem to be the most common in use. To remove the tumbler from the housing, there is a small hole that you put a small punch tip or screwdriver tip into that will release the tumbler. If you look at the early switch, you can see this hole. I *believe* the hole has to be drilled in a new housing, but I’ve never run across one that didn’t have the hole. I’ll be using a standard Porsche tumbler to re-key. These are the tools I tend to use for re-keying ignition tumblers. 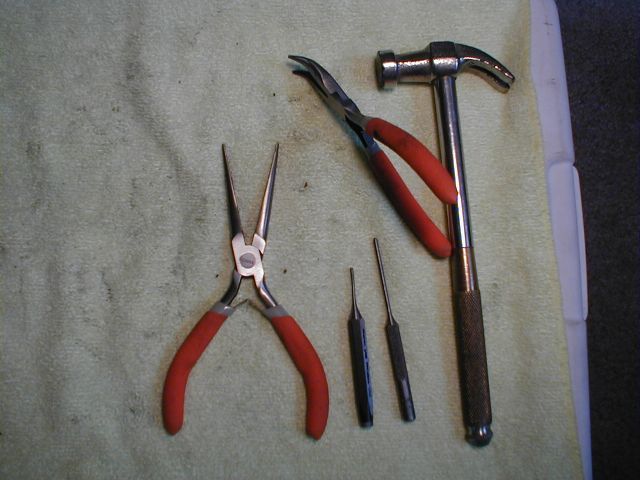 A couple of small needlenose pliers, one set curved, at least on punch, 1/16 in size, and a small hammer. |
|
|
|
| markb |
Jan 11 2007, 07:40 PM
Post
#17
|
|
914less :( Group: Members Posts: 5,450 Joined: 22-January 03 From: Nipomo, CA Member No.: 180 Region Association: Central California |
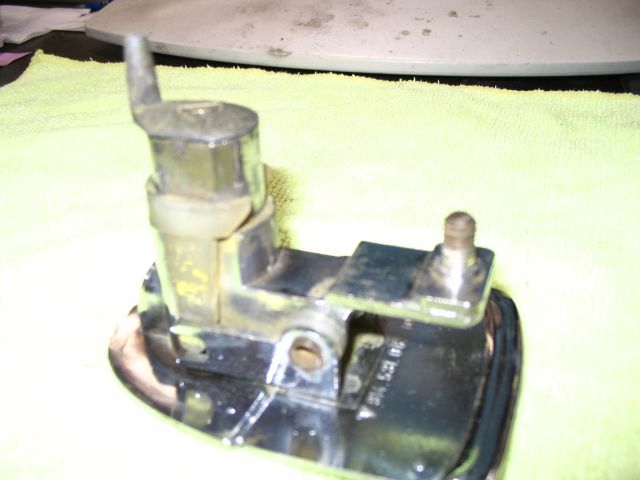
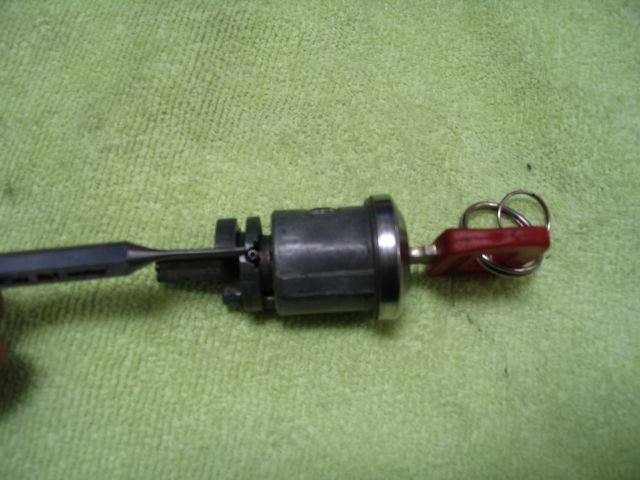
At the tip of the punch, you’ll see a pin. There’s one on each side that have to be removed. That’s where the small needlenose pliers come into play. These can be real fun to get out, so be patient. You *can* use the punch to knock them through, and if you choose to do it this way, make sure the key is out of the tumbler, because it may be in the way (I bent a punch trying to push a pin past the key). I prefer to take my time and pull them out.
 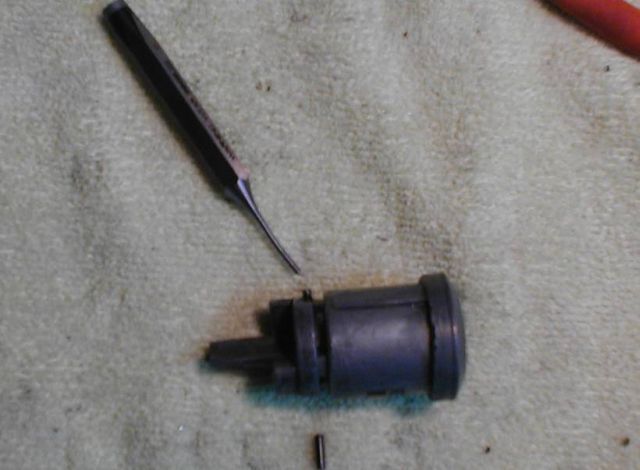 Once the pins are out, the tumbler is in 3 pieces. Take the time to clean everything up before you continue. 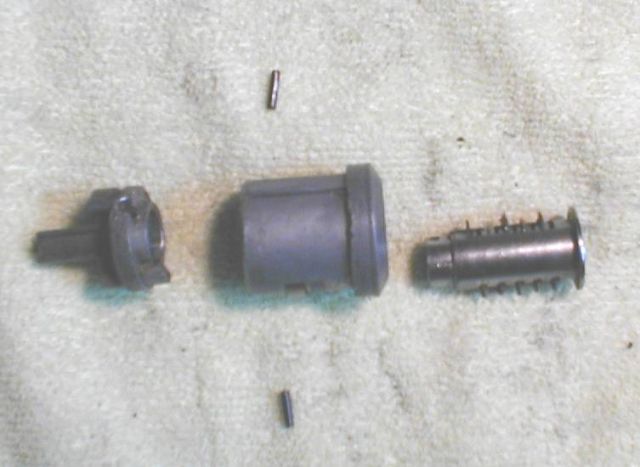 |
|
|
|
| markb |
Jan 11 2007, 07:46 PM
Post
#18
|
|
914less :( Group: Members Posts: 5,450 Joined: 22-January 03 From: Nipomo, CA Member No.: 180 Region Association: Central California |
Now you re-key the tumbler by replacing the wafers as we did with the door key. Again, it’s trial and error until they are all flush with the tumbler housing. Make sure you DO NOT use one of the valet wafers in this tumbler!
 Sorry for the blurry pictures, I must have gotten some lessons from SirAndy. (IMG:style_emoticons/default/biggrin.gif) The pieces only go back together one way, so make sure you have it together properly before you put the pins in. 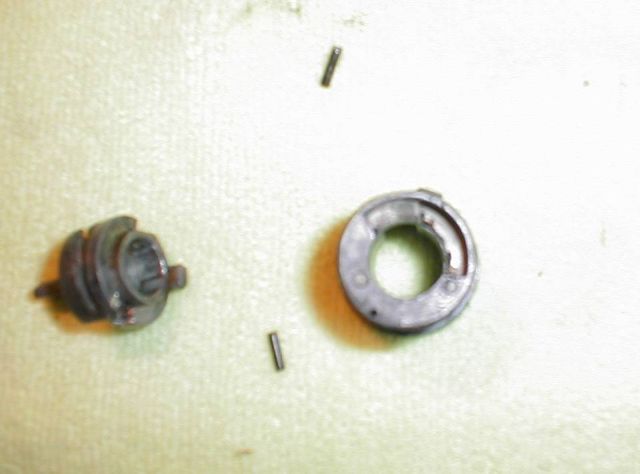 The end piece on the left only goes into the middle piece one way, and also only goes onto the tumbler one way. 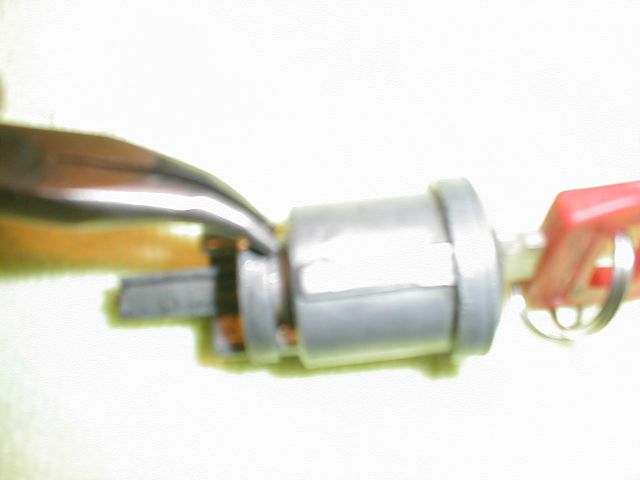 I put the pins in using the curved pliers, then tap *lightly* with the small hammer. DON’T FORCE IT!!! You can bend a pin that way. Gentle is the keyword here, and tap the pins in a little at a time, checking the key each time. If the pin goes in too far, it can keep the key from going in all the way. The pins should be about flush with the top of the tumbler housing. As you’re testing the key, keep a slight pressure on the opposite end, it seems it’s needs some resistance to operate properly. Once the pins are in place, make sure everything turns easily, and the key goes in & out smoothly. Now you can lubricate the tumbler, and re-insert in the housing. That’s pretty much all there is to it. I’ll be doing a write-up on the early ignition switch next time. |
|
|
|
| 913B |
Jan 12 2007, 09:39 AM
Post
#19
|
|
Senior Member Group: Members Posts: 876 Joined: 25-April 05 From: South Bay/SoCal Member No.: 3,983 Region Association: None |
Great Write Up, thanks. I need to get off my but and do it.
Cant wait to see the write up for the early ignition sw. Ted |
 |
|
| Bartlett 914 |
Jan 12 2007, 12:48 PM
Post
#20
|
|
Advanced Member Group: Members Posts: 2,218 Joined: 30-August 05 From: South Elgin IL Member No.: 4,707 Region Association: Upper MidWest |
If you have a glove box or a front trunk lock but no key, can the tumbler be removed?
|
|
|
|
|
1 User(s) are reading this topic (1 Guests and 0 Anonymous Users)
0 Members:

|
Lo-Fi Version | Time is now: 8th June 2026 - 10:13 PM |
Invision Power Board
v9.1.4 © 2026 IPS, Inc.