|
|
|
Porsche, and the Porsche crest are registered trademarks of Dr. Ing. h.c. F. Porsche AG.
This site is not affiliated with Porsche in any way. Its only purpose is to provide an online forum for car enthusiasts. All other trademarks are property of their respective owners. |
|
|


| Gudhjem |
 Feb 1 2011, 11:03 PM Feb 1 2011, 11:03 PM
Post
#1
|
|
Member  Group: Members Posts: 133 Joined: 29-March 07 From: Castro Valley, CA Member No.: 7,629 Region Association: Northern California |
Here's my story so far.
Last summer I noticed this creeping up my driver’s side long: 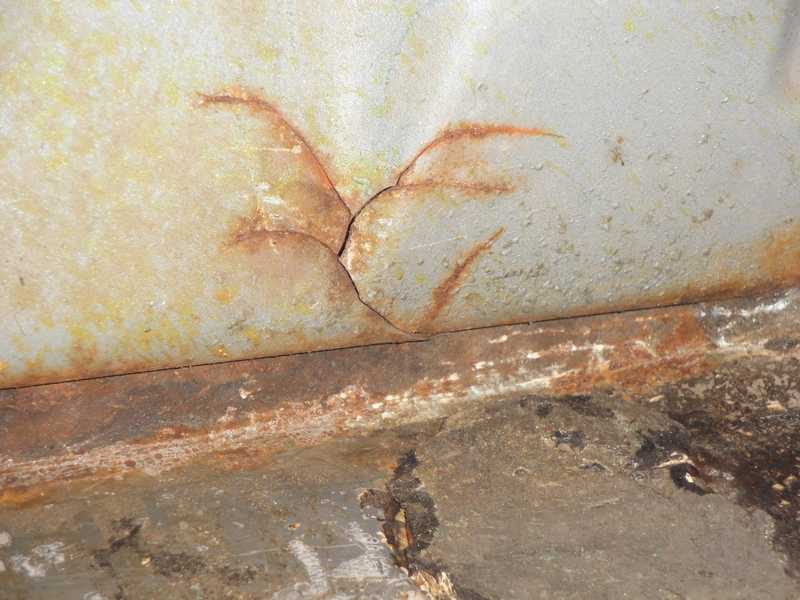 So I decided I had to fix that, and then noticed this a little flaking of the tar under the driver’s seat: 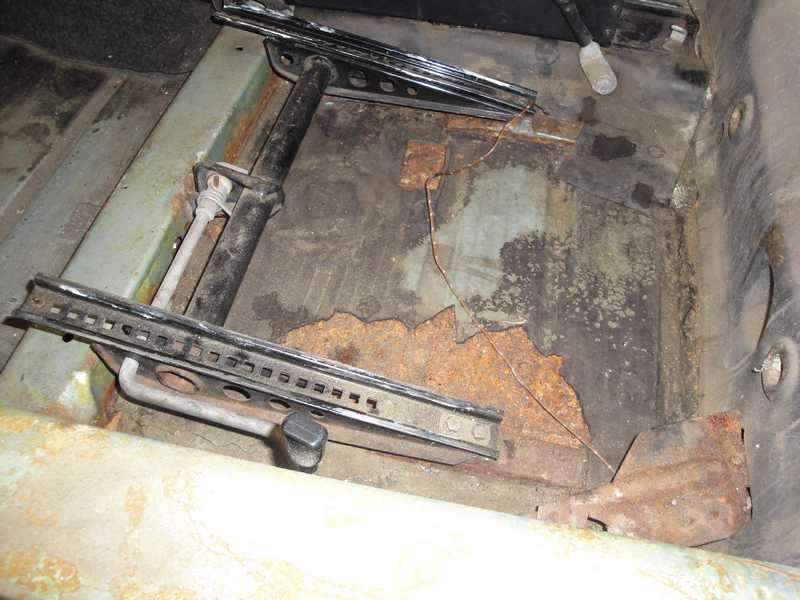 A little poking around and cleaning revealed this: 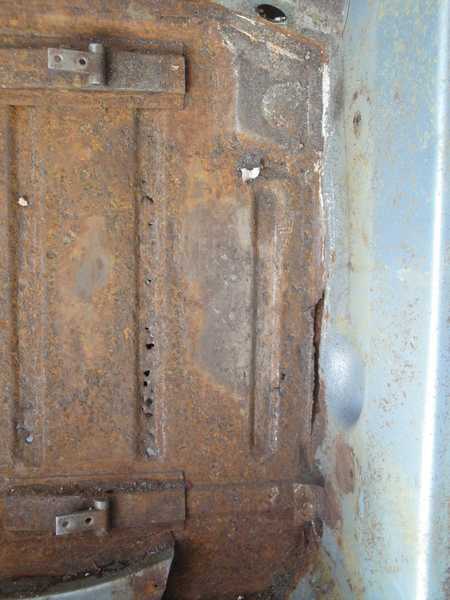 And while I’m fixing those, the PO’s repair of the passenger suspension console looked a little suspect: 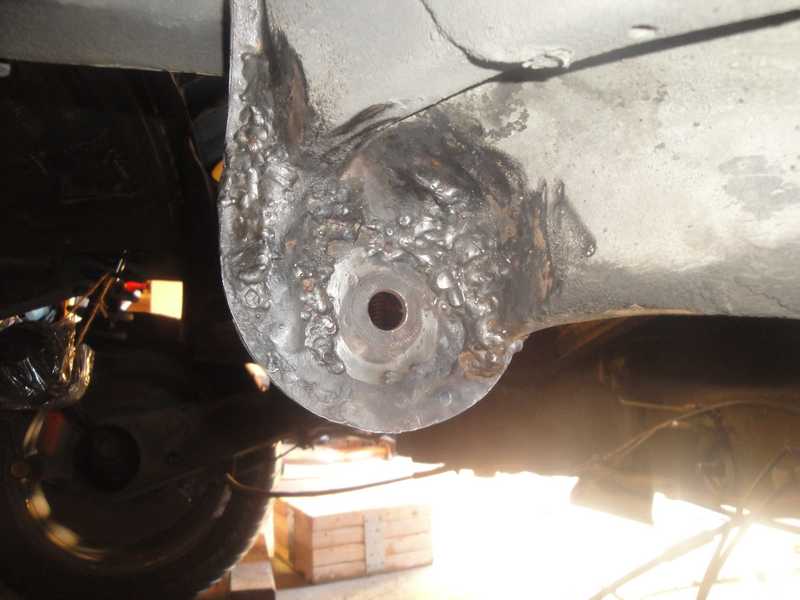 and I should probably figure out why I occasionally smell gasoline, and While I’m in There ™ …… so these things go, until I arrive here: 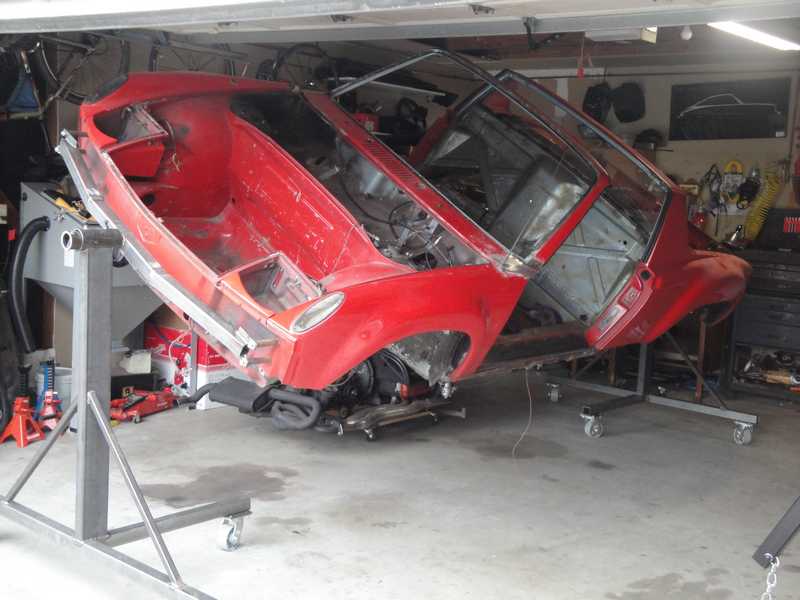 (IMG:style_emoticons/default/confused24.gif) (IMG:style_emoticons/default/confused24.gif) I discovered enough rust and other issues that I’ve decided to strip her down to the bare tub, and do everything right. I’ve been at it since July 2010, and figured I’d make a progress thread since all the cool kids are doing it. Besides, I rely on this site a lot, and it will be easier to explain what I’m asking when I come up with lame questions (and there will be many of those). About the car: It’s a 1973 2.0 that’s pretty much stock except for the FG flares a PO put on and the unusual 4-bolt wheels. 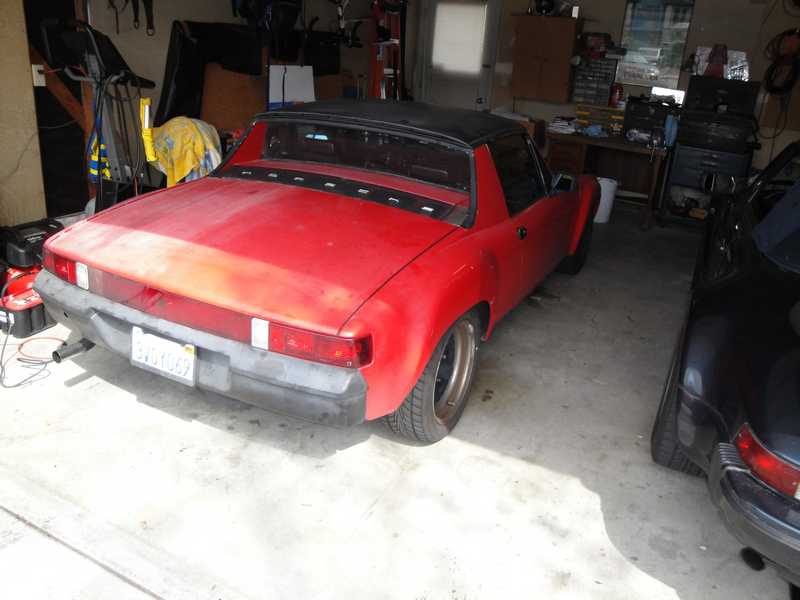 As far as I can tell it’s straight and never been in an accident, unless you count a dent in the bottom of the front trunk. It started out as a Florida car, but as far as I can tell from the title it came to California in the 70’s. I’ve owned it since 1996. I rebuilt the engine from the bottom up in 1998 (back when there were sites like the 2-trunk tribune and roadglue was big). continued... |
   |

 
|
  |
Replies
| Gudhjem |
Oct 24 2012, 02:37 PM
Post
#2
|
|
Member Group: Members Posts: 133 Joined: 29-March 07 From: Castro Valley, CA Member No.: 7,629 Region Association: Northern California |
It’s been a long, long time since my last update – another new baby, a few other things, but my build is still happening and still moving along, every bit as slowly as I thought it would.
Progress in the past 18 months: I have the car on a rotisserie. While I’m making the structural repairs I have the door gaps supported: 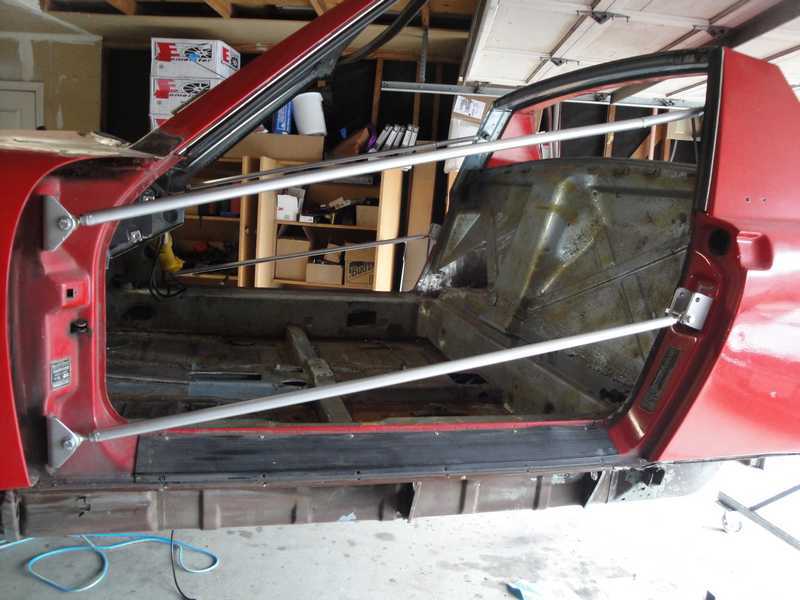 I also have the car supported in several spots under the longs. I started digging into the hell hole and discovered tinworm between the panels near the outer suspension console, so ended up removing the inner wheelhouse all the way past the where the outer suspension console mounts, and forward to the passenger long. My plan is to leave the engine compartment inner long in place. Doing that would allow me to use it to locate the other half that sits on the outside (what Restoration Design calls the inner wheelhouse). The engine compartment long had some pitting and the “floor” of it, below the hell hole and up as high as the hot air duct, was hopeless. So I cut out the rusted parts, fabricated and welded in some patches, and was able to keep the original . I am replicating the 2-ply approach of the original in all replacement pieces. A couple of pieces I fabricated: Hell hole patch, goes below battery: 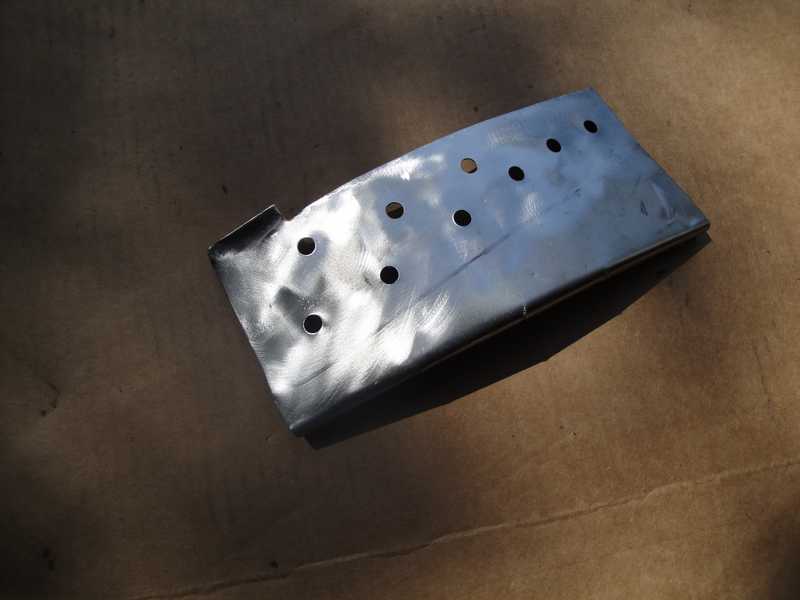 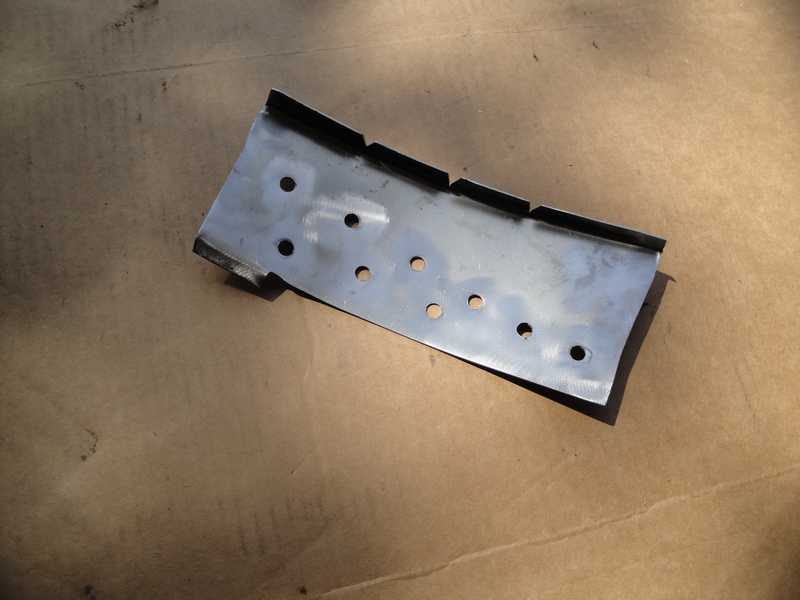 The piece that patch sits on top of, already in place: 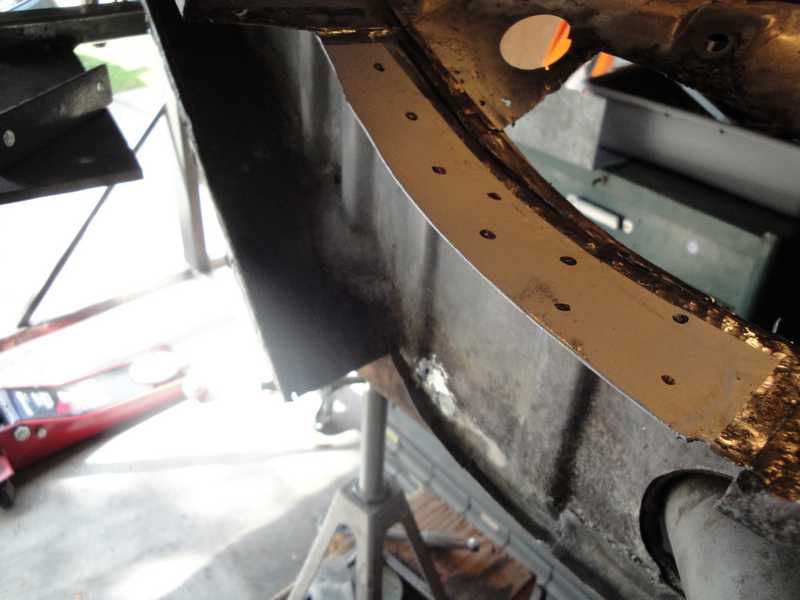 The patches welded together: 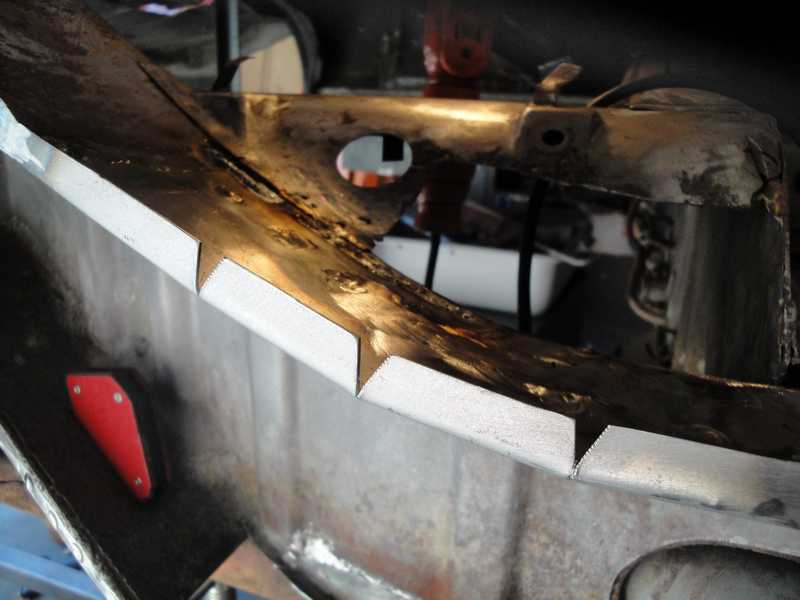 I added this piece to the RD inner wheelhouse, just below the jack receiver, so I would have material to tap into when I get to mounting the rocker panel. 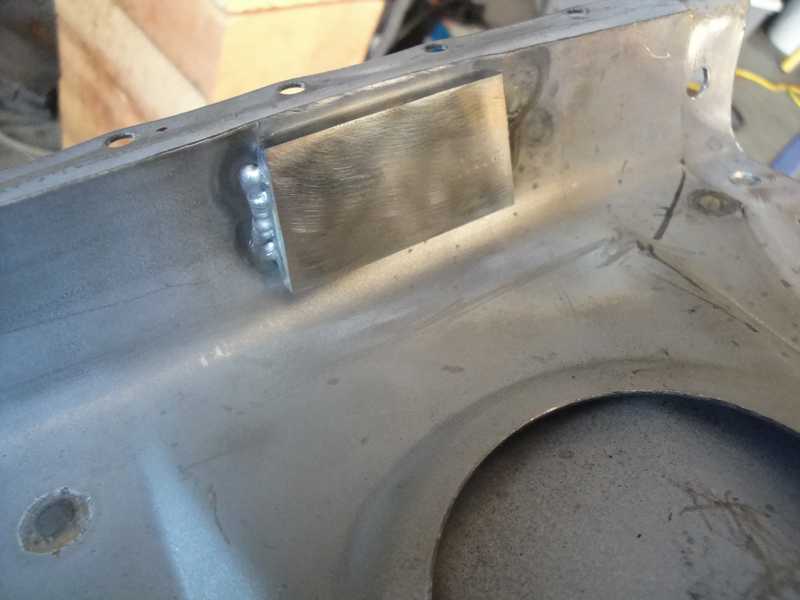 I fabricated and welded on a splice plate to back up the butt weld when I put the wheelhouse piece on. It has an odd shape to accommodate the shape of the RD piece, which is double-walled: 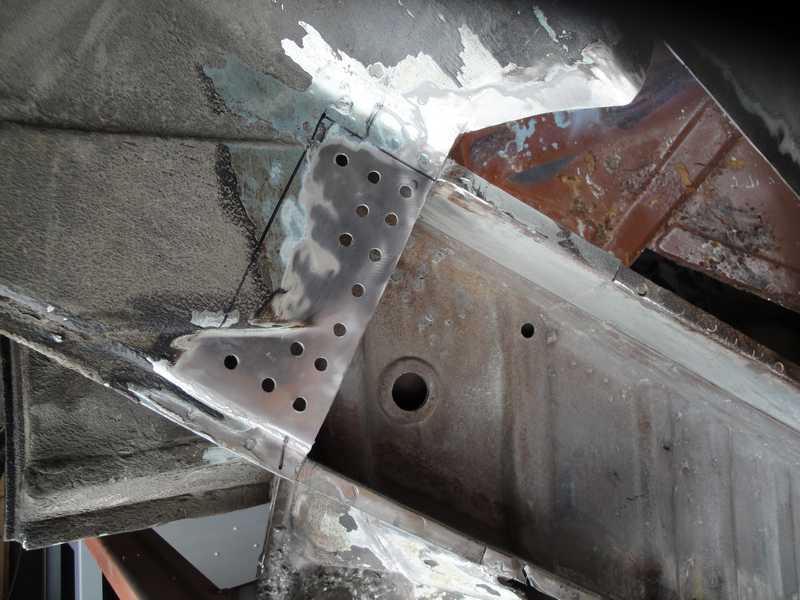  In the below pic you can see a couple of other patches below the air duct, and a patch for the internal portion of the long floor (the external ply will go on later). The splice plate is upper left: 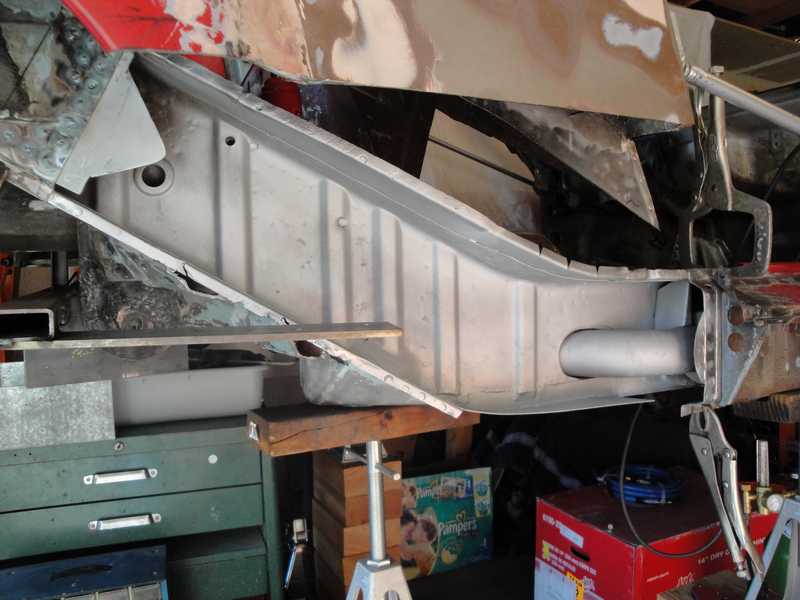 Here’s the RD piece clamped in place: 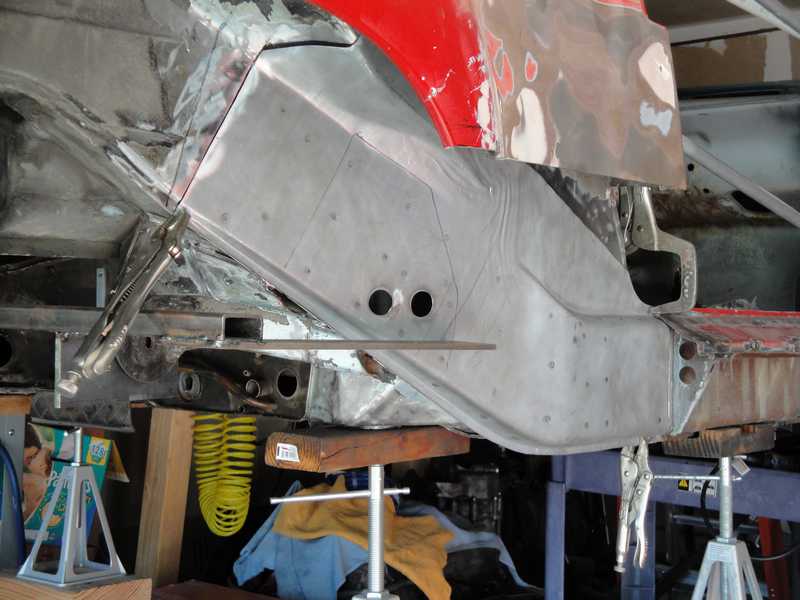 And here it is tacked: 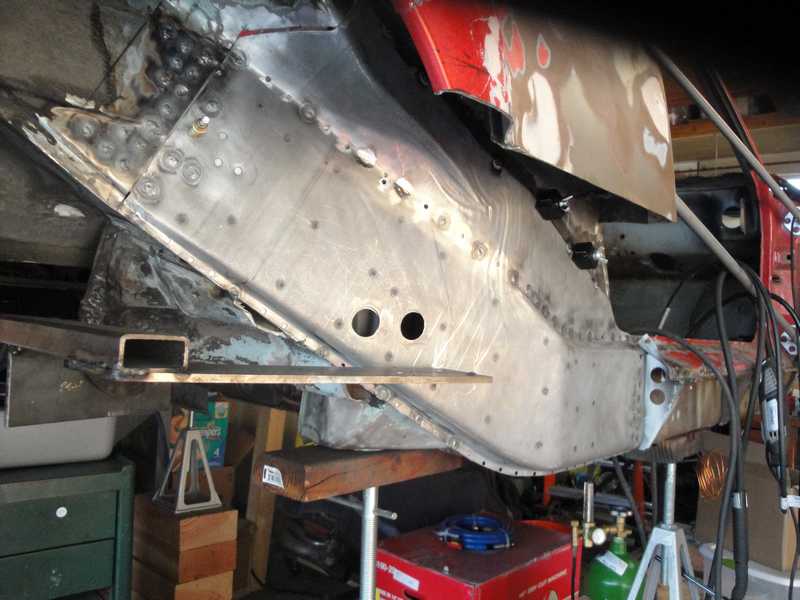 The fit is generally pretty good. You can see a gap in the upper left where the bend in the RD piece does not match the counter of the existing wall, but that’ll be easy enough to patch. For placement, I am relying mostly on the fact that I was able to leave the other half mostly in place, and so could locate this piece on its counterpart. The angle remains consistent, as near as I can measure it. My focus is getting correct placement of the outer console. You can see my jig in the pic. It’s attached to the inner console, and the inner and outer on the driver’s side. I am confident I will be able to accurately place the outer console front-to-back, since my jig has no play for this dimension. Up down has some play in the jig, but that ‘s dictated by having to sit flush with the wheelhouse anyway. Same goes for vertical and horizontal orientation. As I mentioned in this thread: http://www.914world.com/bbs2/index.php?showtopic=140467 The outer console will sit too far away from the inner console, and from the drive’s side suspension, by about 3/16”. 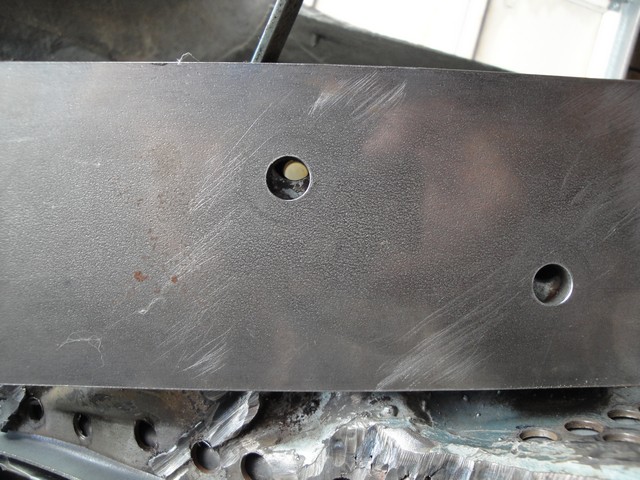 The only explanation I can come up with is that the RD piece is that much wider than my original piece. Since there is no real way to rework the piece to remove that difference, I plan to live with it. I’m really not sure what this will impact in terms of alignment, and whether it will be a problem when I mount my trailing arms (what will take up the slack?). Happy to receive any more input on this. Hopefully the next updates is weeks, not 18 months, away. My helper: 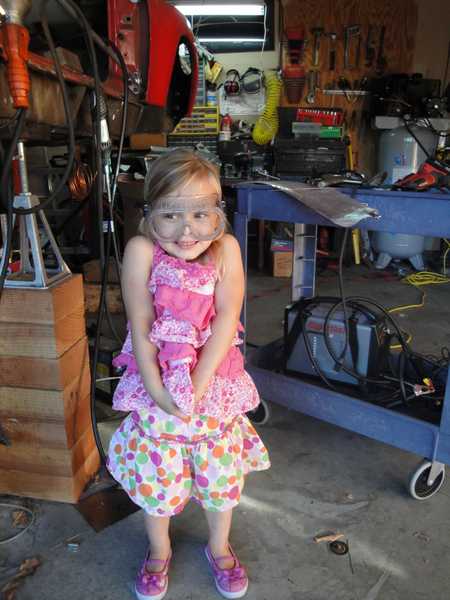 |
|
|
|
Posts in this topic
 Gudhjem Steve’s ’73 Restoration Thread – It starts with a little crack Feb 1 2011, 11:03 PM
 Gudhjem The car has, I’ve now discovered, a few rust iss... Feb 1 2011, 11:09 PM silver74insocal looks great dude!! my vote is for the meta... Feb 1 2011, 11:38 PM
 hot_shoe914
looks great dude!! my vote is for the met... Feb 1 2011, 11:52 PM orange914 i look forward to watching the passion and progres... Feb 1 2011, 11:55 PM Gudhjem A little progress this past weekend:
I was able t... Feb 7 2011, 06:24 PM SirAndy Looks like a serious mess. Hopefully I’ll be ab... Feb 7 2011, 07:03 PM FourBlades Your build is looking good. You got a lot of rust... Feb 7 2011, 06:55 PM Krieger May the force be with you... Feb 7 2011, 07:28 PM TargaToy What's the piece that spans from the tab where... Feb 7 2011, 08:23 PM SirAndy What's the piece that spans from the tab where... Feb 7 2011, 09:04 PM FourBlades Very nice work man! :trophy:
It is very re... Oct 24 2012, 03:24 PM ThePaintedMan Steve,
Great work, I envy what youre doing and ... Oct 24 2012, 06:08 PM doug_b_928 This looks terrific, Steve. The braces for the do... Feb 1 2013, 08:43 PM jeeperjohn56 Your doing a great job Steve, keep the picture.s c... Feb 2 2013, 03:41 AM Cairo94507 Great thread and it looks like you have the suppor... Feb 2 2013, 08:26 AM sixnotfour :agree: Feb 2 2013, 04:52 PM Krieger Nice work! Your daughters still smiling so yo... Feb 3 2013, 08:42 AM Gudhjem Thanks for the encouragement!
I've made s... Feb 5 2013, 11:30 AM
hot_shoe914
looks great dude!! my vote is for the met... Feb 1 2011, 11:52 PM orange914 i look forward to watching the passion and progres... Feb 1 2011, 11:55 PM Gudhjem A little progress this past weekend:
I was able t... Feb 7 2011, 06:24 PM SirAndy Looks like a serious mess. Hopefully I’ll be ab... Feb 7 2011, 07:03 PM FourBlades Your build is looking good. You got a lot of rust... Feb 7 2011, 06:55 PM Krieger May the force be with you... Feb 7 2011, 07:28 PM TargaToy What's the piece that spans from the tab where... Feb 7 2011, 08:23 PM SirAndy What's the piece that spans from the tab where... Feb 7 2011, 09:04 PM FourBlades Very nice work man! :trophy:
It is very re... Oct 24 2012, 03:24 PM ThePaintedMan Steve,
Great work, I envy what youre doing and ... Oct 24 2012, 06:08 PM doug_b_928 This looks terrific, Steve. The braces for the do... Feb 1 2013, 08:43 PM jeeperjohn56 Your doing a great job Steve, keep the picture.s c... Feb 2 2013, 03:41 AM Cairo94507 Great thread and it looks like you have the suppor... Feb 2 2013, 08:26 AM sixnotfour :agree: Feb 2 2013, 04:52 PM Krieger Nice work! Your daughters still smiling so yo... Feb 3 2013, 08:42 AM Gudhjem Thanks for the encouragement!
I've made s... Feb 5 2013, 11:30 AM |
1 User(s) are reading this topic (1 Guests and 0 Anonymous Users)
0 Members:

|
Lo-Fi Version | Time is now: 8th July 2025 - 03:53 PM |
Invision Power Board
v9.1.4 © 2025 IPS, Inc.