|
|
|
Porsche, and the Porsche crest are registered trademarks of Dr. Ing. h.c. F. Porsche AG.
This site is not affiliated with Porsche in any way. Its only purpose is to provide an online forum for car enthusiasts. All other trademarks are property of their respective owners. |
|
|


| SpecialInt |
 Feb 4 2014, 07:22 PM Feb 4 2014, 07:22 PM
Post
#1
|
|
Newbie  Group: Members Posts: 6 Joined: 3-December 13 From: Maryland Member No.: 16,722 Region Association: None |
I have some SS heat exchangers for sale and someone asked if I had tested them for leaks. I had not. A few people chimed in with some procedures to test them. Thought I would document my test so anyone selling a set could easily check for leaks.
Needed. 1 valve stem. Long for alloy wheels. 1 one x six or similar 6 bolt 12 washers 6 nuts Some gasket material/ pond liner/ vinyl or similar You can get rubber plugs from Home Depot or make the with the items below. Home made plugs 4 lg fender washers 4 med fender washer smaller than exhaust tube at head. 4 small rubber washers 4 lg o rings 3 bolts/nuts Some basic tools. Cut some gasket material to fit the muffler end of the exchangers. Place it against the flange and mark the holes. Punch out the holes Place the 1x6 against the exchanger flanges. Mark the holes Drill the holes where marked Bolt the exchangers to the wood Fill the exchangers with water. Make sure you lift the head ends up where you fill the so they are full or close to full of water. Insert the plugs. If you made some like I did you will need an air gun to tighten them since you can't hold the nut. Insert the plug made with the valve stem. Lay them flat on the floor. Use about 20 PSI at the valve stem. The flanges started leaking at the gaskets but the heated air ducts showed no signs of leakage Attached thumbnail(s) 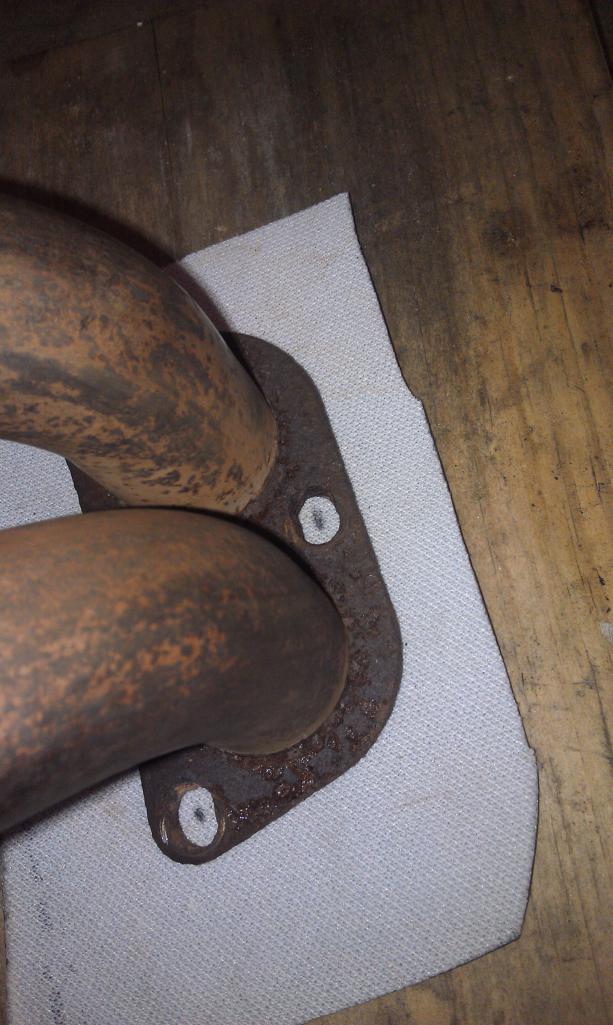 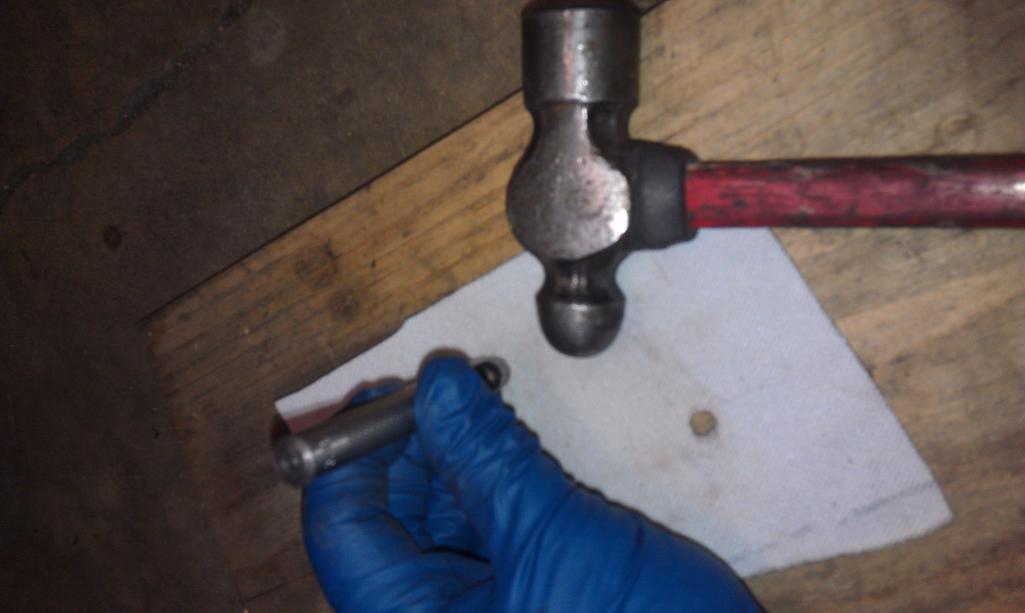
|
   |

 
|
  |
Replies
| barefoot |
Feb 6 2014, 07:48 PM
Post
#2
|
|
Senior Member Group: Members Posts: 1,280 Joined: 19-March 13 From: Charleston SC Member No.: 15,673 Region Association: South East States |
I did a simpler test, corked the outlet ends with large cap plugs (and sone grease), then filled the pipes with water with the H/E's angled such that the inlet ends were higher than the outlets, (At about 30 degree angle to horizontal) but level, so both inlets on one H/E were on same plane. Then filled with water up to full level and let sit for a day, then checked to see if water level had gone down, they checked OK, no change in level.
|
|
|
|
Posts in this topic
 SpecialInt DIY to leak test heat exchangers with water and air Feb 4 2014, 07:22 PM
 SpecialInt
I have some SS heat exchangers for sale and someo... Feb 4 2014, 07:24 PM SpecialInt More pics Feb 4 2014, 07:27 PM SpecialInt More Feb 4 2014, 07:30 PM SpecialInt More Feb 4 2014, 07:31 PM jimkelly :bump:
certainly more than one way to skin a cat... Feb 5 2014, 09:39 AM RFoulds I bought these because of how thorough he tested t... Feb 6 2014, 05:23 PM r_towle Amazing idea, not something I would have gone thro... Feb 6 2014, 06:29 PM McMark I don't think the sitting water is a great tes... Feb 6 2014, 08:31 PM
SpecialInt
I have some SS heat exchangers for sale and someo... Feb 4 2014, 07:24 PM SpecialInt More pics Feb 4 2014, 07:27 PM SpecialInt More Feb 4 2014, 07:30 PM SpecialInt More Feb 4 2014, 07:31 PM jimkelly :bump:
certainly more than one way to skin a cat... Feb 5 2014, 09:39 AM RFoulds I bought these because of how thorough he tested t... Feb 6 2014, 05:23 PM r_towle Amazing idea, not something I would have gone thro... Feb 6 2014, 06:29 PM McMark I don't think the sitting water is a great tes... Feb 6 2014, 08:31 PM
 SpecialInt To be fair to those who deserve credit (as Jim Kel... Feb 7 2014, 09:53 PM Cap'n Krusty I've worked on literally hundreds, maybe even ... Feb 7 2014, 11:36 PM 930cabman
I've worked on literally hundreds, maybe even... Dec 12 2021, 05:15 PM Mark Henry Holy necro thread batman! :blink:
I use a c... Dec 12 2021, 07:08 PM
SpecialInt To be fair to those who deserve credit (as Jim Kel... Feb 7 2014, 09:53 PM Cap'n Krusty I've worked on literally hundreds, maybe even ... Feb 7 2014, 11:36 PM 930cabman
I've worked on literally hundreds, maybe even... Dec 12 2021, 05:15 PM Mark Henry Holy necro thread batman! :blink:
I use a c... Dec 12 2021, 07:08 PM |
1 User(s) are reading this topic (1 Guests and 0 Anonymous Users)
0 Members:

|
Lo-Fi Version | Time is now: 6th June 2024 - 10:58 PM |
Invision Power Board
v9.1.4 © 2024 IPS, Inc.