|
|
|
Porsche, and the Porsche crest are registered trademarks of Dr. Ing. h.c. F. Porsche AG.
This site is not affiliated with Porsche in any way. Its only purpose is to provide an online forum for car enthusiasts. All other trademarks are property of their respective owners. |
|
|


| TINKERGINEERING |
 Jun 19 2025, 02:59 PM Jun 19 2025, 02:59 PM
Post
#1
|
|
Member  Group: Members Posts: 225 Joined: 15-March 20 From: Sierra Madre, CA Member No.: 24,031 Region Association: Southern California |
Hello!
I am working on backdating my bumpers, and I would post this in a WTB section but I figured on here I could also get some great advice - Here is the bumper I have currently - this is after about a week of hammering and hammering, trying to smooth it out - I am going to be powder coating it white (like all the rest of the brightwork - its going to be sickk), so it dosent need to have a perfect paint job, but just smooth- here are the pics of what I am working with currently. Does anybody have a front early bumper that I could buy for a couple hundred dollars? Should I keep hammering this out and see where it takes me? I am also going to have to do a bit of welding - you can see the crack in the last photo. Any advice will be helpful!! thxx The actual backdating process is going well thanks to bigkensteele's thread on the topic! My video will be posted once I finish on my Youtube! -> Tinkergineering check insta for the process as well if you're curious (IMG:style_emoticons/default/biggrin.gif) insta Attached thumbnail(s) 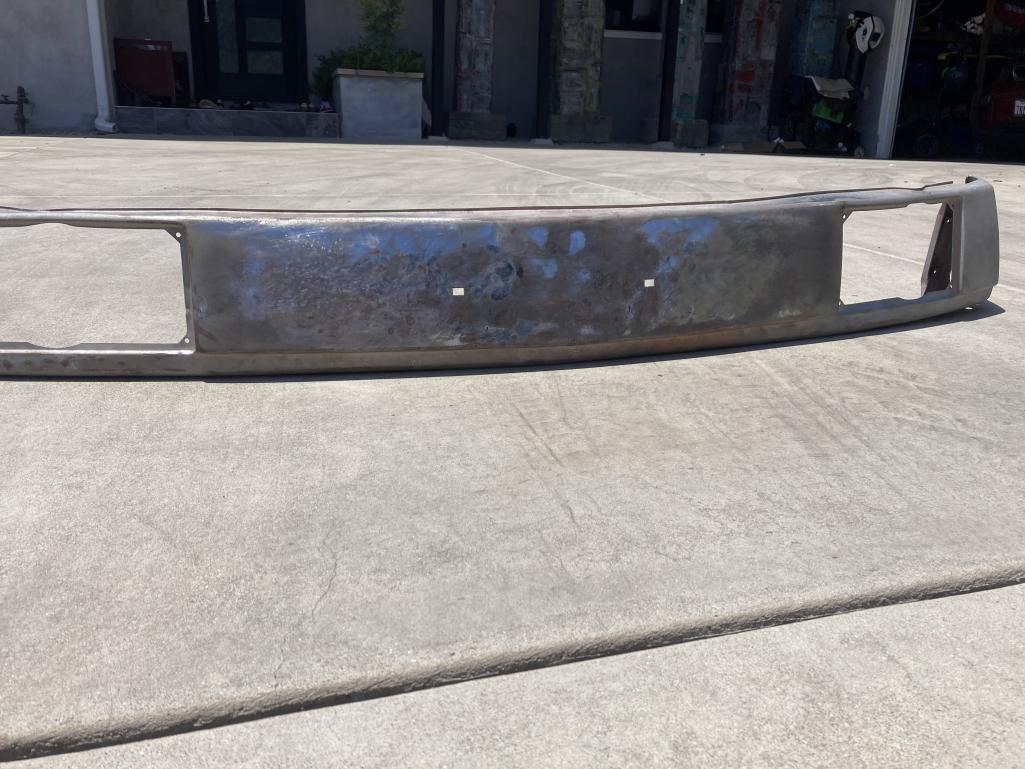
|
   |

 
|
  |
Replies
| Chad911sc |
Jun 19 2025, 05:19 PM
Post
#2
|
|
Member Group: Members Posts: 155 Joined: 24-September 24 From: Florida Member No.: 28,374 Region Association: South East States |
Yeah as said above, won’t be able to powder coat it.
But you can make it look great with a good fiber hair filler. It’s stronger and it looks like you have some pretty good dents and malformations going on there. Step 1) sand it down with a piece of 80 grit sandpaper on a block. They make very hard foam blocks of different sizes that are cheap on Amazon. Obviously if you have a DA sander that works best, but not needed. Step 2) After using that block you will see all the shiny high spots and the dark low spots. Use a body hammer and the chunk of heavy steel that comes with it to gently tap down the high spots. (Also cheap on Amazon)From the backside, gently tap up the low spots, just enough to get the big ones out, but don’t try to get those perfect because your filler will take care of those. Then hit the front of the bumper again with the 80 grit on the block to see if it’s acceptable. Step 3) Use rust converter of your choice, I use Corroseal, to seal off the surface rust that’s deep in the pores that your sandpaper will not reach. That has to sit for a day or two. Then I sand it back off with 220 grit to get back to the shiny metal, and whatever is left that you can’t reach, is now treated and sealed. Step 4) Use your filler to fill the remaining low spots and then sand it back down with the 80 grit on a block again. This process of applying the filler, usually has to be repeated several times to get it nice and straight. Use X patterns to sand it down to keep the cut even. Don’t just go up and down…or side to side because it will never get straight. Once you’re happy with it, sand it down completely with 220 grit on that same foam block. On all your edges and corners, you just use the paper with your hand only to conform to the shape of whatever you’re sanding. Now you’re ready for primer! Step 5) Wipe down entire surface to be painted with metal prep cleaner/degreaser. Use tack cloth to remove dust. Use a good self etching epoxy primer! This will ensure it will not rust again in your lifetime. Put on first coat lightly, don’t try to cover it all in one shot. 15 mins later, put on a nice medium coat and cover it all without getting too close and running it. This will give you good practice for your color coat. If you do put a run it in, no worries, you’re gonna sand it down anyway. Give that a day to set up and dry. Then sand it with 400-600 grit paper. I usually have a hose just barely running over the top of the area I am sanding. This keeps the cut nice and even and keeps your paper from loading up. You want to just follow the shape of the object. You don’t want to push hard into it or use your finger tips with pressure because you will dig grooves that will show up once your clear is on. Just flat hand with light pressure, and I usually fold the paper in half. Go Very Easy on the edges and corners or you will break through the primer. Not a huge concern if it’s a small spot or three. But just don’t sand off big places to bare metal because you are loosing all your metal protection. Step 6) Color. Wipe down entire surface with metal prep cleaner. Use tack cloth to remove dust.You can now use a single stage color and be done. The best final result of looks and durability will be with a two stage though. Put your base color down and then clear coat it. The color placement is the same as the primer. Light coat focusing on the edges and corners first. Then second and 3rd coat of needed to get your coverage. Once you think you have it all covered, take a led light and really go over it to make sure you have full coverage. Once your clear is on it’s too late. Step 7) Clear coat. Wipe down entire surface with metal prep cleaner. Use tack cloth to remove dust. Same as before, light coat first. 2nd coat medium and 3rd coat medium again. I usually bury the 3rd coat, but that comes with years of doing it and wouldn’t advise because pretty much a guaranteed run. 15 mins between coats. This metal finishing process will work every time on anything you desire. Follow it step by step!! Skip one tiny step to the finishes detriment and ultimately yours. When your done you will be satisfied with your hard work! (IMG:style_emoticons/default/first.gif) Attached thumbnail(s) 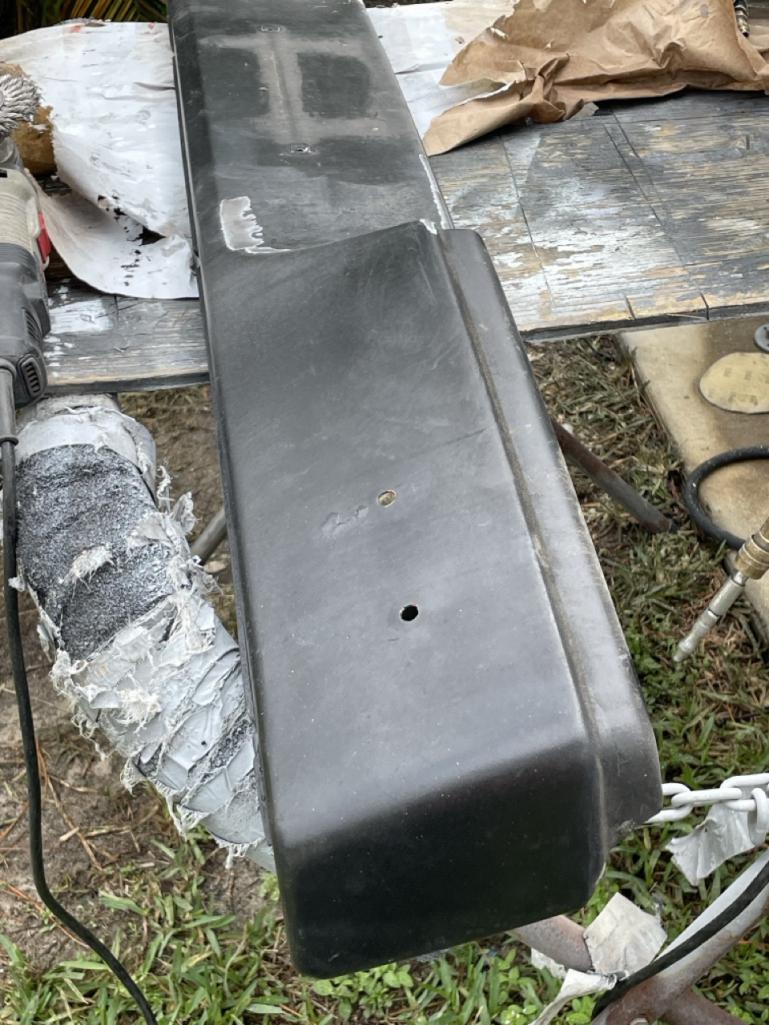 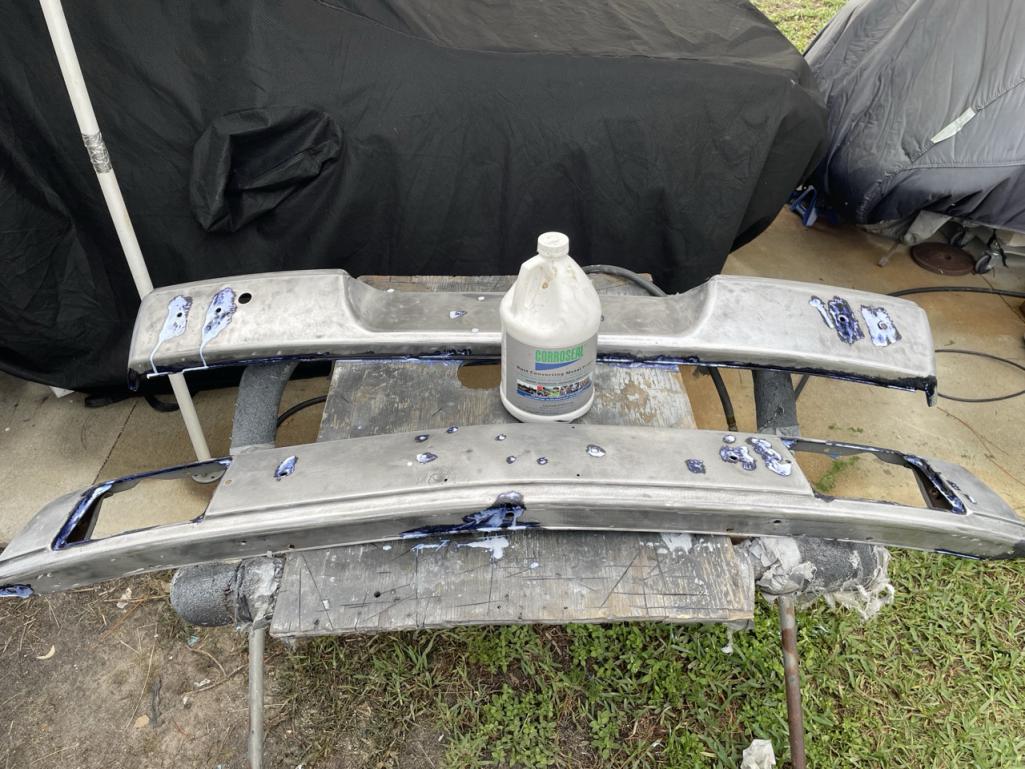 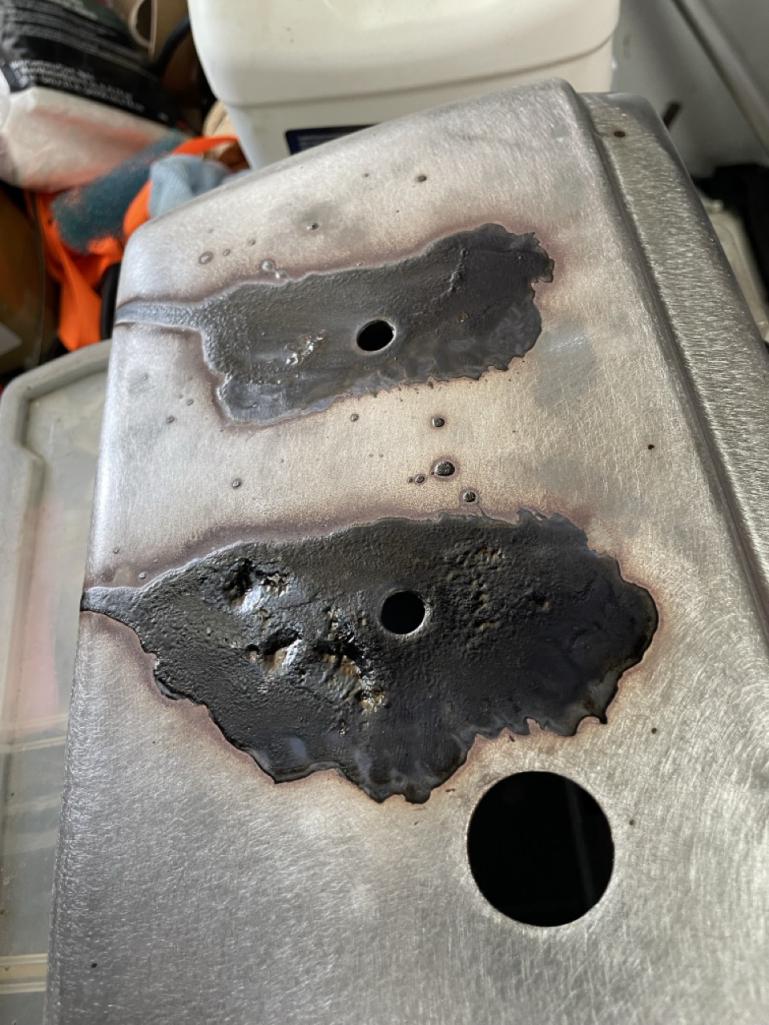 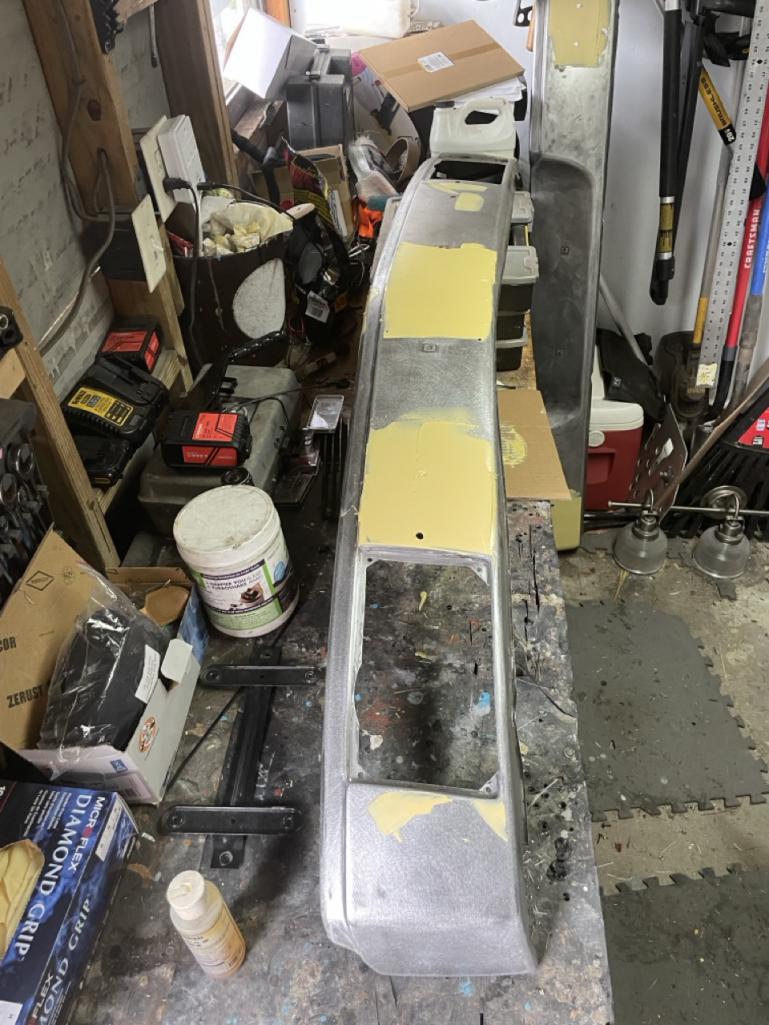 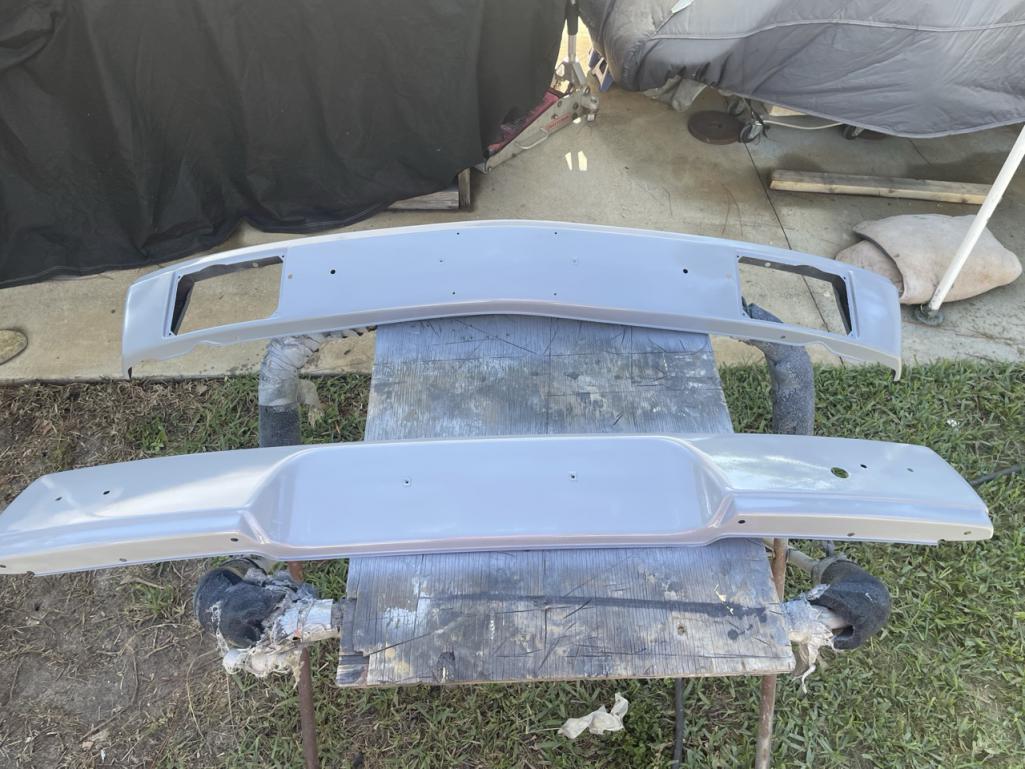 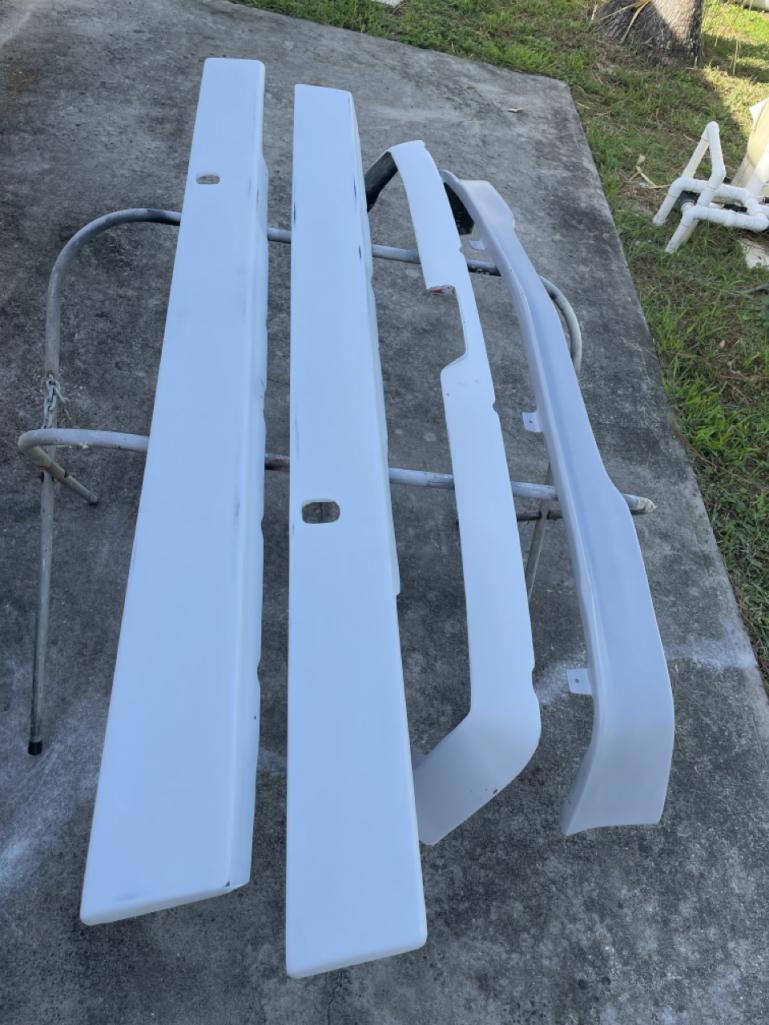 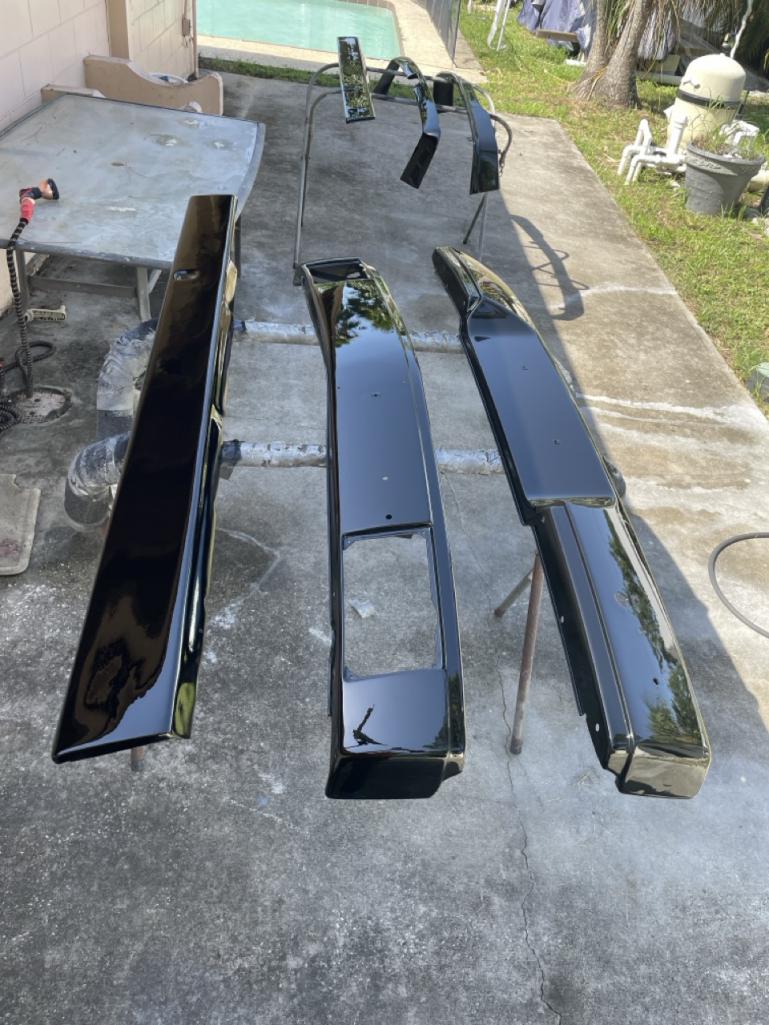 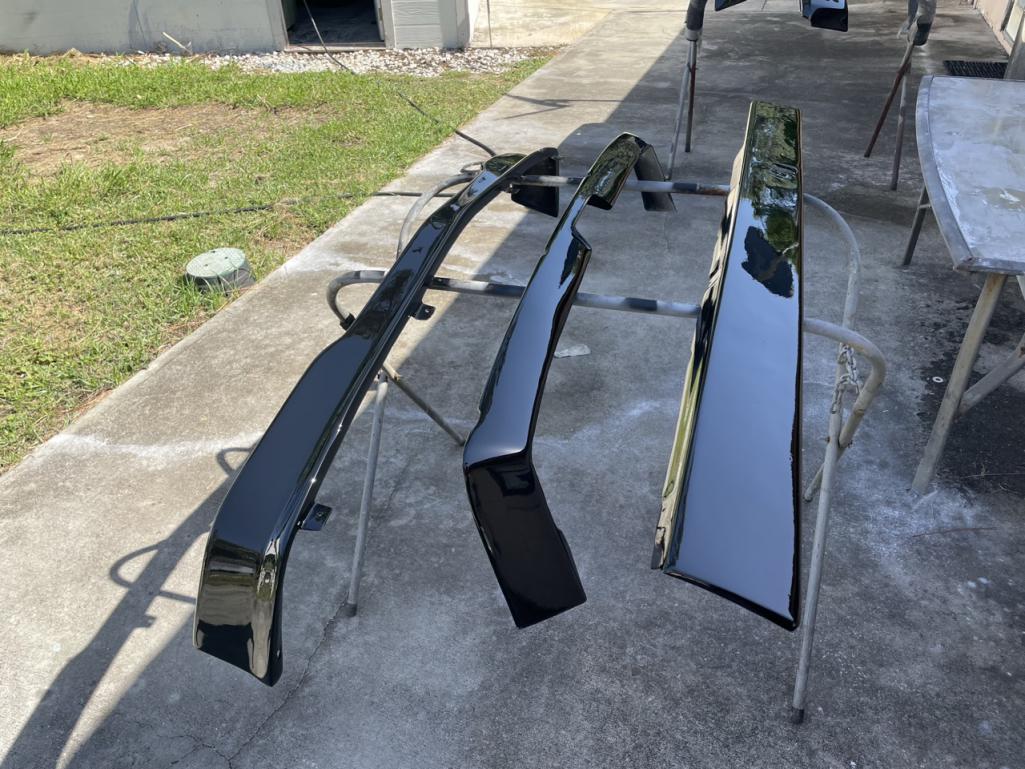
|
|
|
|
Posts in this topic
 TINKERGINEERING Early Bumper help Jun 19 2025, 02:59 PM
 TINKERGINEERING pic2 Jun 19 2025, 03:00 PM TINKERGINEERING pic3 - you kinda get the idea - its ok but definit... Jun 19 2025, 03:01 PM mepstein Powder coating probably won’t be ideal since it ... Jun 19 2025, 03:33 PM
 bkrantz
Powder coating probably won’t be ideal since it... Jun 20 2025, 08:27 PM Shivers This video may be of interest. I wanted to keep my... Jun 19 2025, 03:46 PM TINKERGINEERING Awesome ok!
I will keep working it - thanks fo... Jun 19 2025, 04:52 PM mepstein Wear a good respirator any time you sand or clean... Jun 20 2025, 12:49 AM jim_hoyland Great step by step for bumper refinishing :) :) ... Jun 20 2025, 07:24 PM Robarabian Frances,
If you end up needing a rear, I have a d... Jun 20 2025, 09:35 PM Chris914n6 You want to paint the bumpers. Chips are inevitabl... Jun 20 2025, 10:14 PM TINKERGINEERING WOW! Thanks guys! - I do have a great rear... Jun 21 2025, 03:07 PM sixnotfour Dang , wrong side... the left front gets hit a lot... Jun 21 2025, 04:51 PM
bkrantz
Powder coating probably won’t be ideal since it... Jun 20 2025, 08:27 PM Shivers This video may be of interest. I wanted to keep my... Jun 19 2025, 03:46 PM TINKERGINEERING Awesome ok!
I will keep working it - thanks fo... Jun 19 2025, 04:52 PM mepstein Wear a good respirator any time you sand or clean... Jun 20 2025, 12:49 AM jim_hoyland Great step by step for bumper refinishing :) :) ... Jun 20 2025, 07:24 PM Robarabian Frances,
If you end up needing a rear, I have a d... Jun 20 2025, 09:35 PM Chris914n6 You want to paint the bumpers. Chips are inevitabl... Jun 20 2025, 10:14 PM TINKERGINEERING WOW! Thanks guys! - I do have a great rear... Jun 21 2025, 03:07 PM sixnotfour Dang , wrong side... the left front gets hit a lot... Jun 21 2025, 04:51 PM |
1 User(s) are reading this topic (1 Guests and 0 Anonymous Users)
0 Members:

|
Lo-Fi Version | Time is now: 2nd July 2025 - 01:32 PM |
Invision Power Board
v9.1.4 © 2025 IPS, Inc.