|
|
|
Porsche, and the Porsche crest are registered trademarks of Dr. Ing. h.c. F. Porsche AG.
This site is not affiliated with Porsche in any way. Its only purpose is to provide an online forum for car enthusiasts. All other trademarks are property of their respective owners. |
|
|

  |

| RustyWa |
 May 18 2004, 11:01 PM May 18 2004, 11:01 PM
Post
#1
|
|
Working Member  Group: Members Posts: 610 Joined: 2-January 03 From: Kent, WA Member No.: 72 |
So I got new side seals and am reusing the old rear seal. I'm assuming the side seals need to be trimmed, but my question is by how much? I don't remember how they mated together.
This photo shows the side seal running all the way to the end of the track. Attached image(s) 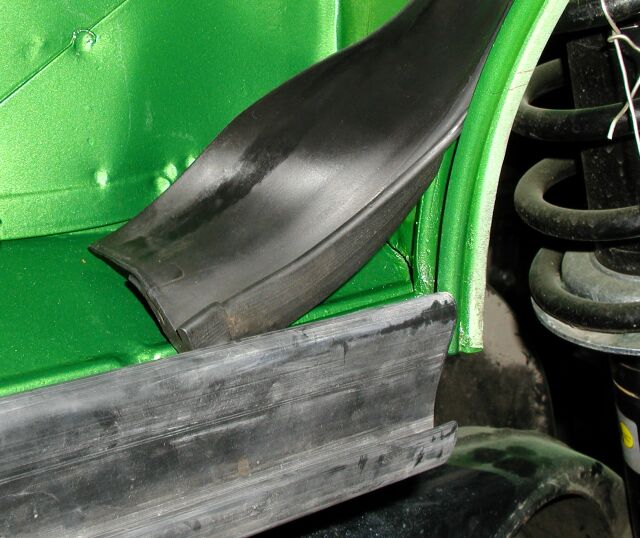
|
   |

 
|
| RustyWa |
May 18 2004, 11:04 PM
Post
#2
|
|
Working Member Group: Members Posts: 610 Joined: 2-January 03 From: Kent, WA Member No.: 72 |
Here's the other side.. The old side seals are long gone.
Attached image(s) 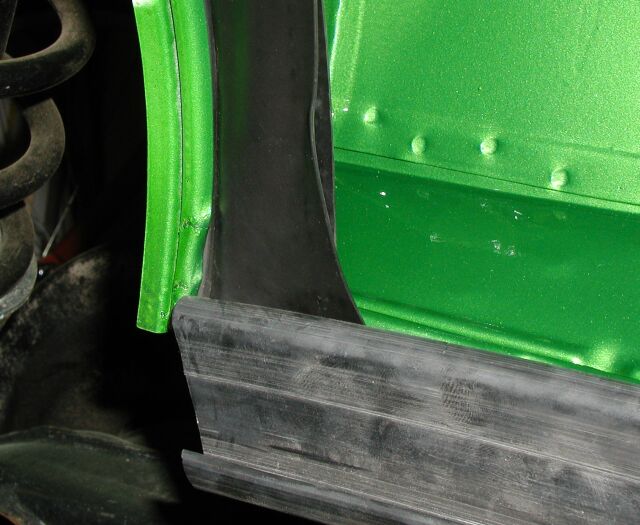
|
|
|
|
| SpecialK |
May 19 2004, 12:42 AM
Post
#3
|
|
aircraft surgeon Group: Benefactors Posts: 3,211 Joined: 15-March 04 From: Pacific, MO Member No.: 1,797 |
Okay granted, it's been along time since I've seen my engine compartment with the engine seals installed, but those don't look like what I remember. I believe that they resembled the rear seal (split), and went above and below the engine tin. But then again...
Maybe this pic from PP helps. Attached image(s) 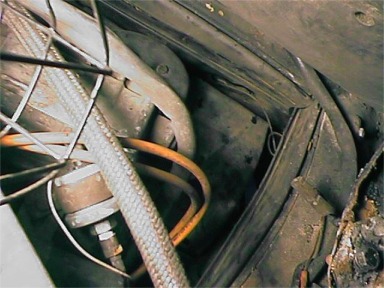
|
|
|
|
| mightyohm |
May 19 2004, 12:56 AM
Post
#4
|
|
Advanced Member Group: Benefactors Posts: 2,277 Joined: 16-January 03 From: Seattle, WA Member No.: 162 Region Association: Pacific Northwest |
I can't help, but WOW, that's some nice paint in the engine compartment!
|
|
|
|
| Rusty |
May 19 2004, 06:33 AM
Post
#5
|
|
Wanted: Engine case GA003709 Group: Admin Posts: 7,941 Joined: 24-December 02 From: North Alabama Member No.: 6 Region Association: Galt's Gulch |
QUOTE(RustyWa @ May 19 2004, 09:01 AM) So I got new side seals and am reusing the old rear seal. I'm assuming the side seals need to be trimmed, but my question is by how much? I don't remember how they mated together. This photo shows the side seal running all the way to the end of the track. hey Rusty! (IMG:style_emoticons/default/smoke.gif) That's pretty beauteous! Since rubber tends to shrink over time, I would see how much of that new seal you can get into the seam. Perhaps a bit of creative fitting and scrunching, and you can get at least part of that "excess" into the channel. No, I don't remember how they mate together. (IMG:style_emoticons/default/unsure.gif) -Rusty (IMG:style_emoticons/default/smoke.gif) |
|
|
|
| maf914 |
May 19 2004, 10:54 AM
Post
#6
|
|
Not a Guru! Group: Members Posts: 3,049 Joined: 30-April 03 From: Central Florida Member No.: 632 Region Association: None |
Does anyone have any good suggestions about how to install these rubber pieces into the channels in the engine compartment? Is there some trick method to get them in? Thanks.
Mike |
|
|
|
| SirAndy |
May 19 2004, 11:53 AM
Post
#7
|
|
Resident German Group: Admin Posts: 41,651 Joined: 21-January 03 From: Oakland, Kalifornia Member No.: 179 Region Association: Northern California |
don't trim your side pieces!!!!
they are correct! the back seal (the one that makes the big arch) needs to go down past the side pieces (in front of them). it looks wrong from your pictures. the back seal should point somewhat downward not upward. i think you might got it in flipped, can't really tell from the pictures ... but it needs to overlap the side peices on both ends ... Andy Attached image(s) 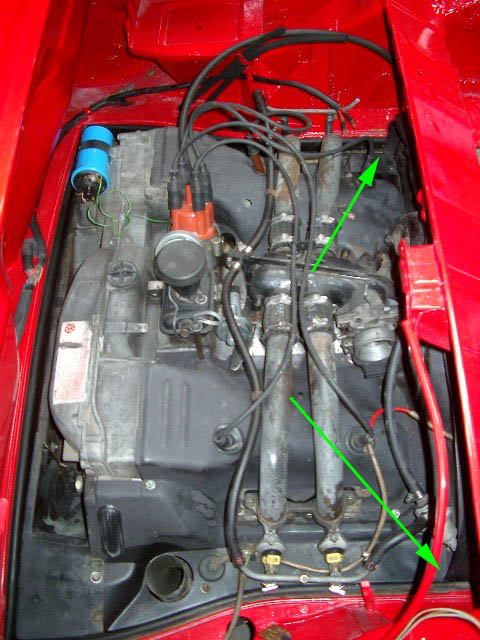
|
|
|
|
| tod914 |
May 19 2004, 12:51 PM
Post
#8
|
|
Advanced Member Group: Members Posts: 3,755 Joined: 19-January 03 From: Lincoln Park, NJ Member No.: 170 |
QUOTE i think you might got it in flipped, ... agree |
|
|
|
| RustyWa |
May 19 2004, 01:53 PM
Post
#9
|
|
Working Member Group: Members Posts: 610 Joined: 2-January 03 From: Kent, WA Member No.: 72 |
QUOTE(SirAndy @ May 19 2004, 09:53 AM) don't trim your side pieces!!!! they are correct! the back seal (the one that makes the big arch) needs to go down past the side pieces (in front of them). it looks wrong from your pictures. the back seal should point somewhat downward not upward. i think you might got it in flipped, can't really tell from the pictures ... but it needs to overlap the side peices on both ends ... Andy The back seal is pointing downwards, the picture is kind of funky. In that first photo showing the rear (old) seal, there is a little portion say 1/2" long, that isn't "squished". Is that where that back seal ran past the vertical channel? I need to look at it more tonight, but it would appear that I need to trim like 1/4" of the side seals back so the vertical could run past it. I know rubber likes to shrink a little with age. Thanks for the paint comments, it's less than a week old. |
|
|
|
| Jeffs9146 |
May 19 2004, 02:56 PM
Post
#10
|
|
Ski Bum Group: Members Posts: 4,062 Joined: 10-January 03 From: Discovery Bay, Ca Member No.: 128 |
Here is a photo of my 6 with the engine out!
Jeff Attached image(s) 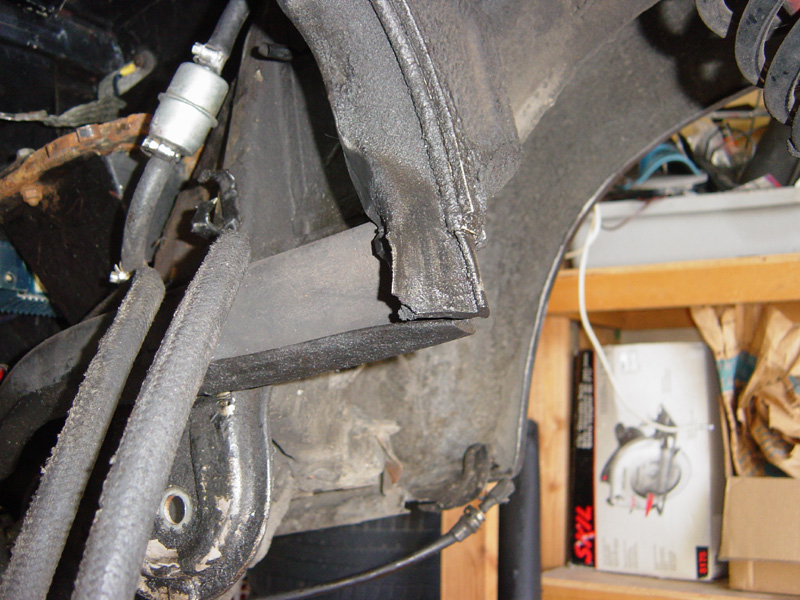
|
|
|
|
| nebreitling |
May 19 2004, 06:02 PM
Post
#11
|
|
Member Emeritus Group: Members Posts: 3,314 Joined: 26-March 03 From: San Francisco Member No.: 478 |
Hey Eric
let's see the paint on the rest of the car! |
|
|
|
| RustyWa |
May 19 2004, 06:17 PM
Post
#12
|
|
Working Member Group: Members Posts: 610 Joined: 2-January 03 From: Kent, WA Member No.: 72 |
QUOTE Here is a photo of my 6 with the engine out! Ah, that's a good photo. Thanks... QUOTE let's see the paint on the rest of the car! Gotta keep the folks happy... (IMG:style_emoticons/default/biggrin.gif) Attached image(s) 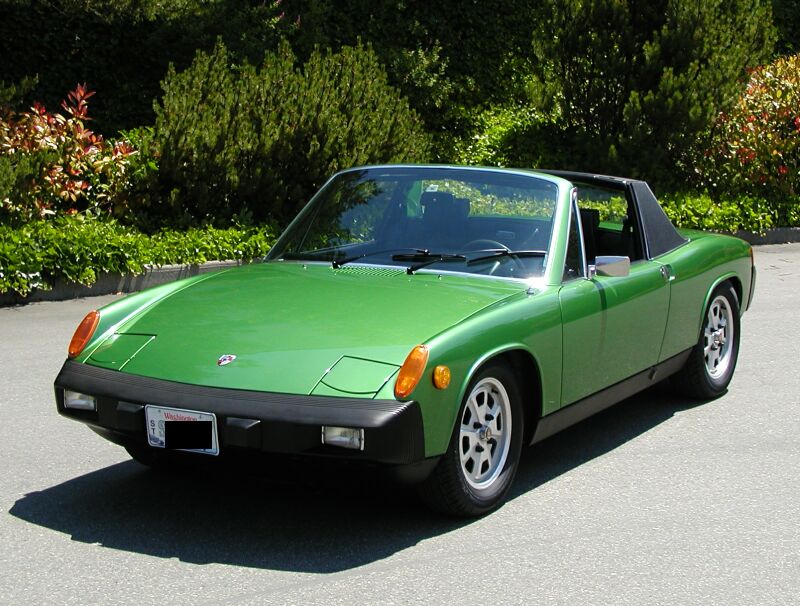
|
|
|
|
| RustyWa |
May 19 2004, 06:17 PM
Post
#13
|
|
Working Member Group: Members Posts: 610 Joined: 2-January 03 From: Kent, WA Member No.: 72 |
Same place, later in the day.
Attached image(s) 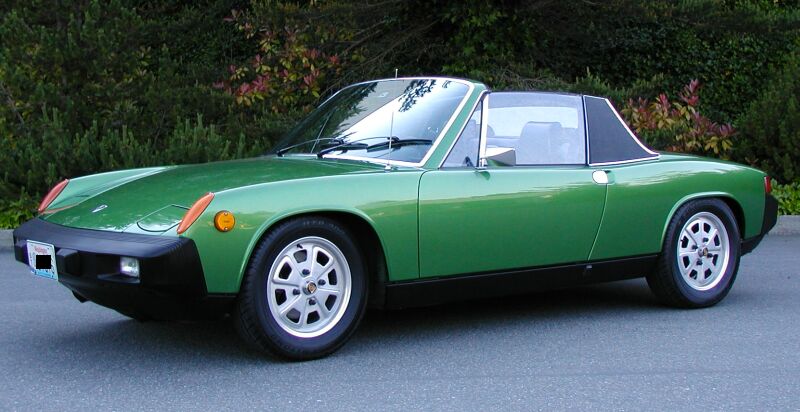
|
|
|
|
| nebreitling |
May 19 2004, 06:39 PM
Post
#14
|
|
Member Emeritus Group: Members Posts: 3,314 Joined: 26-March 03 From: San Francisco Member No.: 478 |
it ain't ugly!
|
|
|
|
| rhodyguy |
May 19 2004, 07:52 PM
Post
#15
|
|
Chimp Sanctuary NW. Check it out. Group: Members Posts: 22,081 Joined: 2-March 03 From: Orion's Bell. The BELL! Member No.: 378 Region Association: Galt's Gulch |
pictures don't do eric's car's paint job justice. it's beautiful. for a green car (IMG:style_emoticons/default/wink.gif) .
kevin Attached image(s) 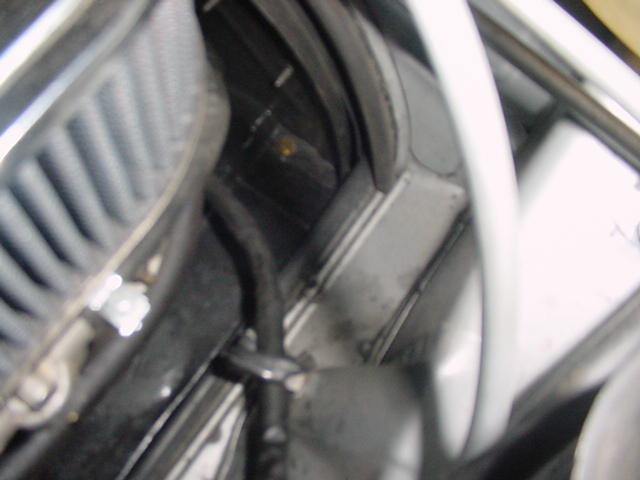
|
|
|
|
| rhodyguy |
May 19 2004, 07:57 PM
Post
#16
|
|
Chimp Sanctuary NW. Check it out. Group: Members Posts: 22,081 Joined: 2-March 03 From: Orion's Bell. The BELL! Member No.: 378 Region Association: Galt's Gulch |
iirc, i did the rear first. a little glycerin helps a bunch.
kevin |
|
|
|
| RustyWa |
May 19 2004, 10:55 PM
Post
#17
|
|
Working Member Group: Members Posts: 610 Joined: 2-January 03 From: Kent, WA Member No.: 72 |
Ok, I got them all in. You are right Kevin. If I would have done the rear seal first, it would have been much less trouble and more self-explanatory while installing them. They look installed just like Jeff's photo shows.
I thought I read in this thread where someone asked how to install them? (IMG:style_emoticons/default/confused24.gif) I used a flat piece of wood, about 1/2" x 3/16 x however long. Working from below, starting at one end, place the seal into the upper part of the channel and push from the bottom with the wood. |
|
|
|
| SirAndy |
May 19 2004, 11:30 PM
Post
#18
|
|
Resident German Group: Admin Posts: 41,651 Joined: 21-January 03 From: Oakland, Kalifornia Member No.: 179 Region Association: Northern California |
i just lubed up the channel with some WD40 and slid them in ...
werked fine for me, no sweat ... Andy |
|
|
|
|
1 User(s) are reading this topic (1 Guests and 0 Anonymous Users)
0 Members:

|
Lo-Fi Version | Time is now: 22nd May 2024 - 07:16 AM |
Invision Power Board
v9.1.4 © 2024 IPS, Inc.